In today’s post I will be showing you some Scoliosis Exercises and I will also be sharing a FREE Crochet Pattern with you called the Berry Topper!
This post contains affiliate links. You can make a purchase using these links that I provide where I may receive compensation (at no added cost to you.) Purchases you make will help keep my website, Etsy Shop, and my Ravelry Store going and provide quality designs just for you!
One of the best things we can do to stay healthy, help with Scoliosis or other chronic diseases is Exercise, so below are some Scoliosis Exercises. That is a bad word, right?? lol Seriously, it is the best thing that I have found to do that helps relieve my chronic pain from Scoliosis is to exercise. So in today’s post, Scoliosis Exercises, I am going to share with you a few of the exercises that I have found most helpful.
Before you try ANY of these exercises, please consult your doctor! I don’t want you to get hurt trying something new or that goes against what a doctor or physical therapist would prescribe.
When I go to the doctor with a new area that is causing me pain, what is the first thing they always suggest? That is right, exercise! If you try pain relievers and they don’t work or your doctor doesn’t have a clue what is wrong with you they always send you to Physical Therapy. When you go to Physical Therapy, what do they have you do?? That is right, excercise! lol
Well, below are a few of the exercise or poses that I can do, to a certain degree, is Yoga. I LOVE Yoga! You don’t have to push yourself to lift 50 lbs or try move your body into impossible angles, it is all about your breathing and a comfortable stretch. Here are some poses many of us can do and it FEELS soooooo good! lol

I could do this Yoga pose all day long! It is the Cat or Camel Pose.
40% off Select Men’s Grooming with code 888065

This Yoga Pose feels ssssssssssssssssoooooooooo so good, it is the Pelvic Tilts.

You ever get to where you have crocheted for so long that it feels like your neck is going to fall off of your head? Well this Cervical Extension puts your head back on your neck. lol

Do you have terrible balance too? Well the Tree Pose can help with this as well and the stretch is Oh! So! Amazing!
These picture and Yoga poses are not my own, I borrowed the pictures from a post on Pinterest. You can find my Pinterest Pins and my business account here. You can find the full article from ZooZee here. These poses that I have shared with you will also help you straighten up your posture. If you have Scoliosis like me though, your posture will never straighten up, but your back will benefit from these poses by strengthening the muscles in our backs.
Next week I will be sharing some treatment options for those who suffer from pain due to Scoliosis, chronic diseases, and even from Arthritis. In the mean time, after you do your exercises, try out this new crochet pattern I designed last week specifically for a very special project I am involved in. Happy Crocheting!
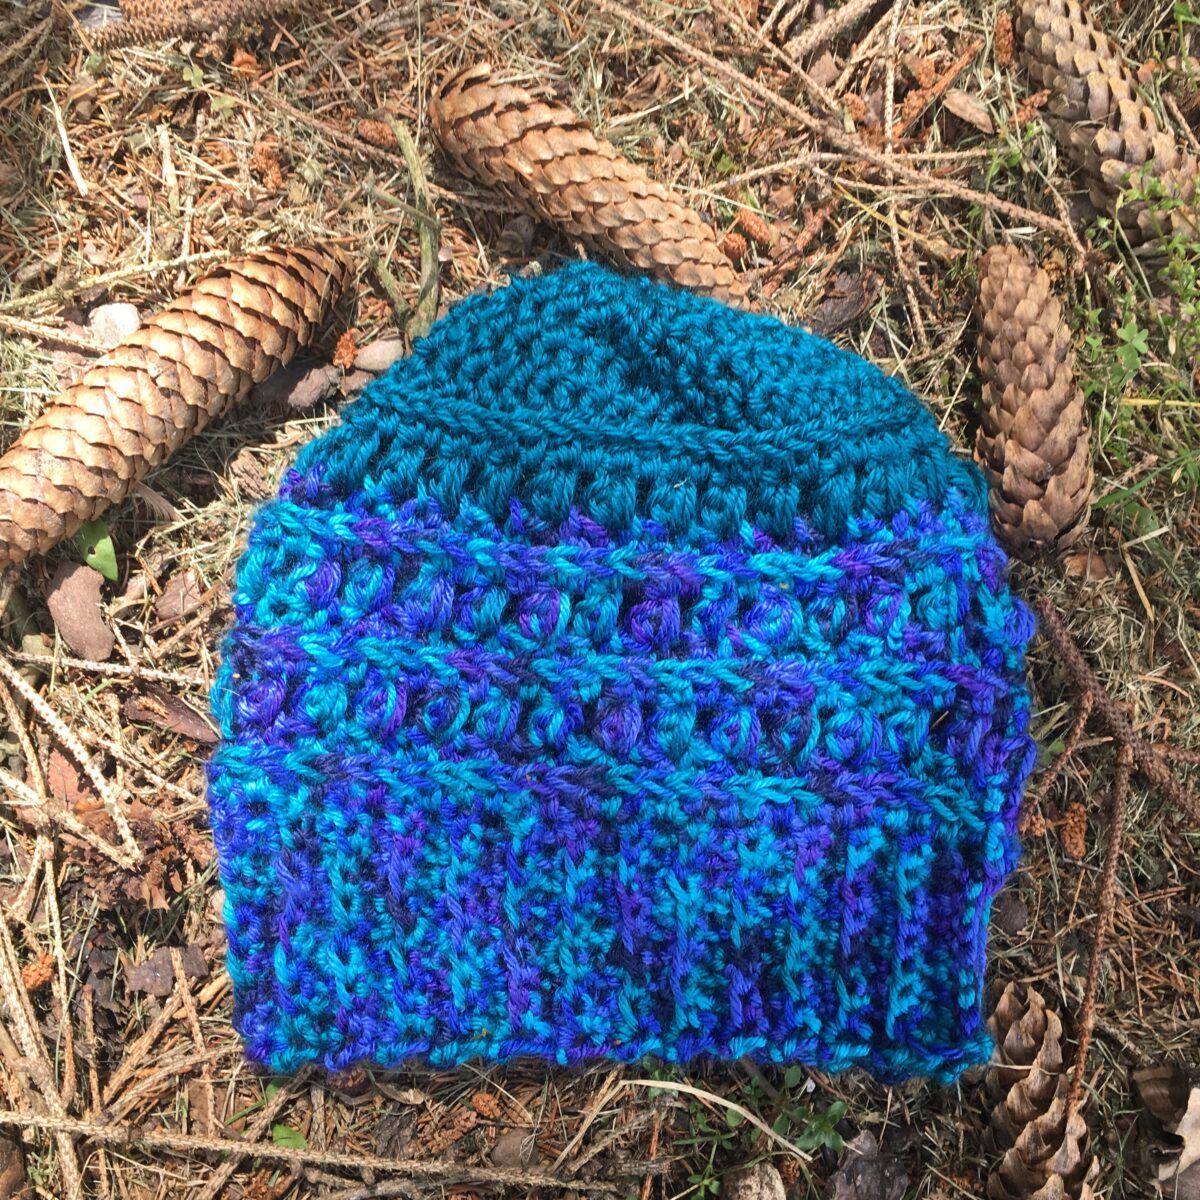
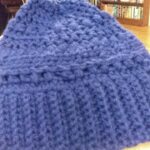
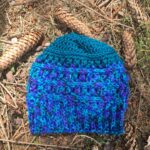
Berry Topper
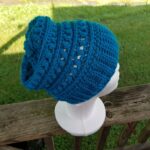
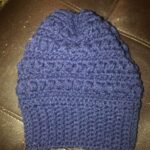
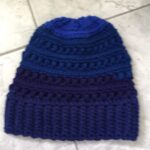
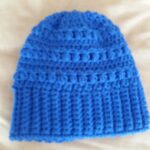
The Berry Topper is a FREE Crochet Pattern I designed specifically for Lion Brand Yarn’s #HatNotHate a Hat Drive against Bullying.
Here is more information from Lion Brand Yarn:
If you aren’t familiar with the Hat Not Hate campaign, Lion Brand Yarn Company launched our anti-bullying campaign in 2018. We encourage people to make, wear, and post handmade blue hats, adding #HatNotHate when sharing on social platforms. Blue hats are our symbol in the “craftivist” movement to eradicate bullying.
READ MORE ON HATNOTHATE.ORG
Materials Needed
- J 6.0 mm Crochet Hook
- Medium Weight #4 yarn (120-200 yards)
- Scissors
- Tapestry Needle
Stitches Used/Abbreviations
- HDC – Half Double Crochet
- SS – Slip Stitch
- CH – Chain
- St – Stitch
HDC2TOG – Half Double Crochet 2 Together
Pattern Notes
Pattern is written in U.S. Crochet Terms.
Beginning chain 2 does not count as a stitch.
This pattern is worked from the bottom up.
This pattern is worked in the Round, joining after each Round.
Join is worked in the 1st stitch made in each row.
Special Stitches
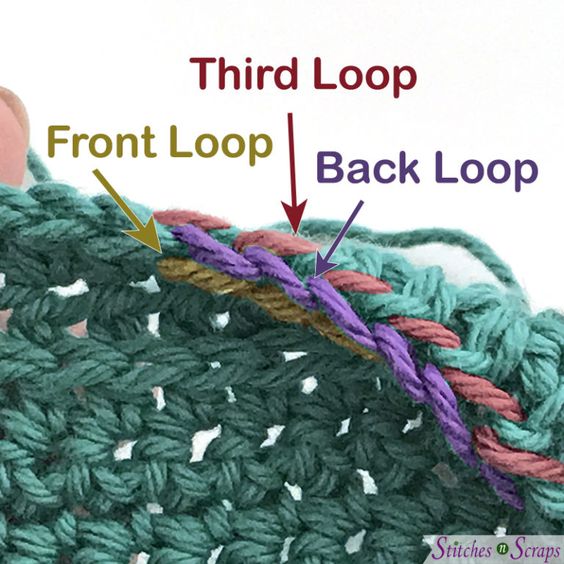
HDC in 3rd Loop or Bump – when working in rounds without turning, the front of the previous round is facing you. In this case, the third loop is at the back. You can find it by tilting the work towards you slightly and looking behind the front and back loops. Video Tutorial here.
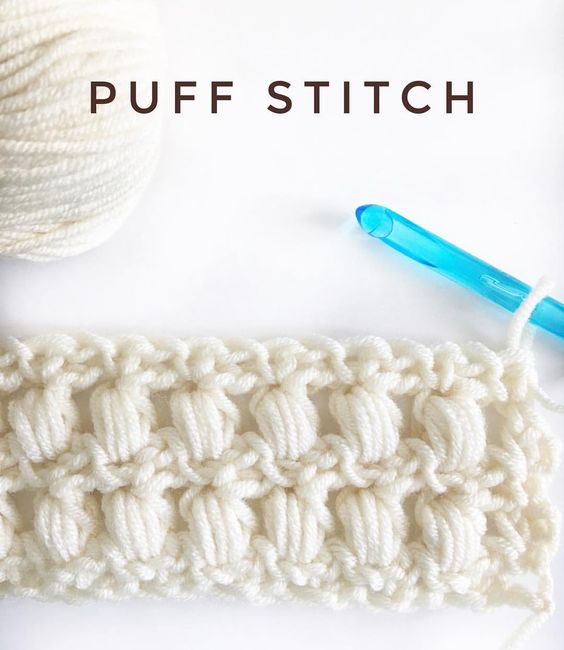
Puff Stitch: YO, insert hook into indicated st. YO, pull up loop. (YO, insert hook into the same st, YO, pull up loop) 2 times. YO, pull through 7 loops on the hook.
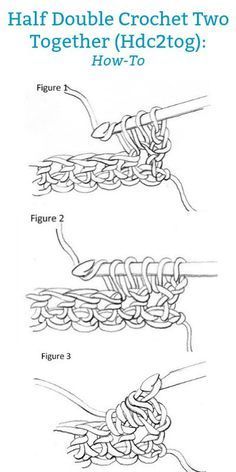
HDC2TOG: Half Double Crochet 2 Together. YO, insert hook into st, YO, pull up a loop, insert hook into next st, YO, pull up a loop and pull through all 4 loops. Video Tutorial here.
BAND:
R1: CH 11, SC into the 2nd CH from your hook and in the next 9 CH. (10)
R2: CH 1, turn. SC into 1st st, BLO of the next 8 ST(s), SC into the last ST. (Go through both loops for the first and last ST.) 1
R3-R56: CH 1, turn. SC in the 1st ST (go through both loops), SC BLO in the next 8 ST(s), SC in the last st. 10 st
Once you work 56 Rows place the Right Sides together and seam by slip stitching or sewing the ribbing closed. Band should measure 16”. Do NOT turn or fasten off.
Hat Body:
R1: Ch 1, sc in same st and each st around. ss to join. (56 st)
R2: Ch 2, hdc in the same st and each st around. ss to join. (56 st)
R3: Ch 2, hdc in the same st, hdc in 3rd loop in the next 55 st. ss to join. (56 st)
R4: Ch 2, hdc in the same st, *skip the next st, puff st in the next st, ch 1. * Repeat * to * around. ss to join. (56 st)
Repeat R2-R4 three times.
Crown:
We will be Decreasing Evenly around during the Rounds below.
R1: Ch 2, HDC in same space and in the next 5 st, *hdc2tog, hdc in the next 6 st.* Repeat * to * around. ss to join.
R2: Ch 2, HDC in same space and in the next 4 st, hdc2tog, hdc in the next 5 st.* Repeat * to * around. ss to join.
R3: Ch 2, HDC in the same space and in the next 3 st, *hdc2tog, hdc in the next 4 st.* ss to join.
R4: Ch 2, HDC in the same space and in the next 2 st, *hdc2tog, hdc in the next 3 st.* ss to join and leave a long tail to sew the Crown closed. I wove the tail into each stitch, pulled tight, and slip stitched in 1st stitch to close.
Fasten off. Using Tapestry Needle weave in any loose ends and fasten off.
Find me, Jo of Jo’s Crafty Hook Designs at any one of these places listed below! Subscribe to my email; follow me on Etsy, Instagram and Twitter; favorite my patterns at Ravelry; and watch and subscribe to my video tutorials on YouTube!
Website: www.joscraftyhook.com
Etsy Shop: www.etsy.com/shop/JosCraftyHook
Facebook: www.facebook.com/JosCraftyHook
Facebook: www.facebook.com/JosCraftyHookDesigns
Ravelry: https://www.ravelry.com/designers/jos-crafty-hook
Instagram: www.instagram.com/joscraftyhook
Instagram: www.instagram.com/jo_bear38
Pinterest: www.pinterest.com/baird0095
Twitter: www.twitter.com/joscraftyhook
Twitter: www.twitter.com/jo_baird
YouTube: https://www.youtube.com/channel/UCk-6IB36bg4gkvaawn3xfdg



This is a topic close to my heart cheers, where are your contact details though?
Thank you! You can find my contact details at the end of any Recent Post, I list all the places you can connect with me. You can also email me at jo@joscraftyhook.com
Hello, happy that i saw on this in bing. Thanks!