How to Balance Your Crochet Creativity with Simple Business Basics
Crochet hobbyists who sell at craft fairs, take occasional commissions, or run a small handmade shop often hit the same wall: the creative part feels joyful, and the business part feels like friction. Pricing handmade crafts can trigger doubt, while paperwork, tracking, and simple systems can feel strangely heavier than a basket of yarn. For creative entrepreneurs, that
tension can quietly stall sales, drain confidence, and make a passion project feel like a chore.
Balancing creativity and business turns those small handmade business challenges into manageable craft selling essentials so the work stays sustainable.
This post contains affiliate links.
Sign up for my Newsletter and receive more great articles from Virginia Cooper of Learn a Living and receive News about my collaborations, new crochet pattern releases and more!
Quick Summary: Creativity Plus Simple Business Basics
● Set clear pricing using simple strategies that protect your time and materials.
● Use simple contracts, invoices, and templates to make projects feel professional.
● Build a basic workflow that keeps orders, deadlines, and communication organized.
● Track finances lightly with an easy system for income, expenses, and records.
● Market authentically and set boundaries that protect your time and reduce stress.
Set Up Simple Systems to Sell Crochet Calmly
This process helps you turn your crochet into a small, steady-selling setup without turning your hobby into a stress factory. You will price confidently, get paid cleanly, ship smoothly, and track money in a way that protects your creative energy.
1. Set a baseline price you can repeat
Start with a simple formula: materials + labor + overhead + profit cushion. Pick an hourly rate you can live with, then test it on one product from start to finish, timing yourself and writing the result down so you are not guessing next time. Many makers begin by doing market research on comparable skilled work and adjusting for complexity and demand.
2. Draft a one-page agreement for every order
Write a short contract or order form that includes: item description, size and color notes, price, timeline, shipping or pickup details, and what happens if the buyer changes their mind. Add a deposit rule and a clear “change requests mean a new quote” sentence so your boundaries are built in. Keep it friendly and simple so you will actually use it.
3. Create invoices that tell buyers exactly how to pay
Make a reusable invoice template with your name, contact info, item summary, total, deposit already paid, remaining balance, due date, and accepted payment methods. Send the invoice when you confirm the order details, not after you finish crocheting, so expectations stay clear. Save each invoice in the same folder so you can find it fast.
4. Build a make-to-ship checklist you follow every time
Create a short workflow list on paper or in your notes app: confirm details, buy supplies, crochet, weave ends, block if needed, quality check, photo, pack, label, ship, send tracking. Use the same bins or envelopes for supplies and packing materials so you reduce decision fatigue. A consistent checklist prevents missed steps when you are tired or juggling multiple projects.
5. Track income and expenses with one beginner system
Choose one place to record everything, such as a spreadsheet or a simple bookkeeping app, then log money weekly in under 10 minutes. Sort each entry into just a few categories like yarn, tools, shipping, fees, and sales income so you can see what is working. The habit of organizing accounting records keeps your numbers from piling up into an overwhelming mess.
Habits That Keep Crochet Creative and Cashflow Calm
When your habits are light and repeatable, your creativity gets protected instead of squeezed. These practices help you market gently, set boundaries without guilt, and keep sales tasks from piling up into a weekend of stress.
Two-Slot Maker Schedule
● What it is: Pick one creative slot and one admin slot, then protect them.
● How often: Weekly
● Why it helps: Your brain stops multitasking, so you finish pieces and follow through.
Five-Point Brand Snapshot
● What it is: Save colors, fonts, and three photo prompts using a centralized brand toolkit.
● How often: Monthly
● Why it helps: You post faster and look consistent without overthinking.
Proof-on-Delivery Note
● What it is: Send a short message requesting a photo and one sentence review.
● How often: Per order
● Why it helps: Future buyers trust you sooner because social proof keeps stacking.
Boundary Script Practice
● What it is: Rehearse one sentence for changes, rushes, and discounts before you reply.
● How often: Weekly
● Why it helps: You prevent scope creep and protect your making time.
Tiny Creative Test
● What it is: Run one caption or photo A B test using a creative testing framework.
● How often: Weekly
● Why it helps: You learn what sells without spamming or guessing.
Common Crochet Business Questions, Answered

Q: How can I decide on fair pricing for my creative projects without feeling
overwhelmed?
A: Start with a simple formula: materials + hours x your hourly rate + a small overhead cushion. If you feel guilty charging, remember that 78% of crafters underprice their work early on, so “too low” is more common than “too high.” Test one price for three sales, then adjust based on demand and how you felt making it.
Q: What are simple ways to keep track of my income and expenses to avoid financial stress?
A: Keep one running list with just five columns: date, item, category, money in, money out. Save receipts in one folder and do a 10 minute weekly check-in so it never piles up. If you must email or archive paperwork, convert scans to a clean PDF using a PDF file converter.
Q: How do I create a basic workflow that helps me stay organized and protects my creative energy?
A: Write a three-step path for every order: confirm details, make, deliver plus one admin step to close it out. Protect a short creativity block too, because creative activity can lessen stress and keep your work enjoyable.
Q: What are some authentic marketing tips that don’t feel pushy or stressful?
A: Share process, not perfection: one progress photo, one helpful tip, and one finished reveal each week. Reuse the same caption structure so you do not reinvent the wheel. Invite people to reply with a color choice or sizing question so it feels like conversation.
Q: If I want to start earning from my crochet hobby, how can I manage payments and set clear agreements easily?
A: Keep it simple with a short written agreement that states the item, price, timeline, revision limits, and delivery method. Decide what documents you need, standardize one template, and store everything in one place so you can find it fast. For taxes and banking setup, many makers
also apply for an employer identification number when it fits their situation.
Build a Crochet Business That Supports Your Creativity

It’s easy to feel pulled between making what you love and keeping the paperwork, pricing, and prep from getting messy. The steady approach is simple: lean on a few foundational creative tools and light business growth routines, then treat the admin side like a system you maintain,
not a crisis you survive. When you do, decisions get faster, stress drops, and scaling craft businesses feels like adding capacity, not adding chaos. Simple systems protect your creativity while your sales grow. Choose three tools you’ll commit to and put a monthly system review on your calendar. That consistency supports creative career development with more stability, resilience, and room to keep enjoying the work.
I hope you this helpful article by Virginia Cooper of Learn a Living. You will also find more of her articles below.
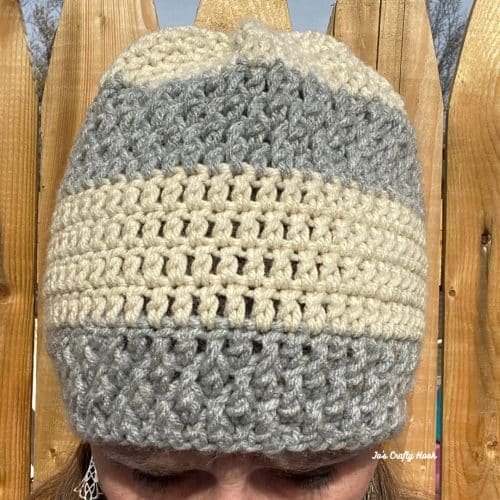
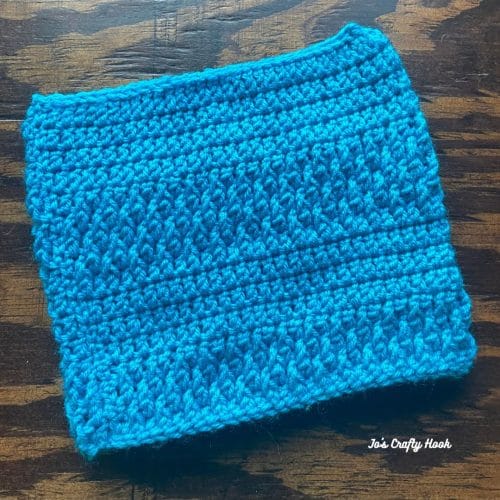
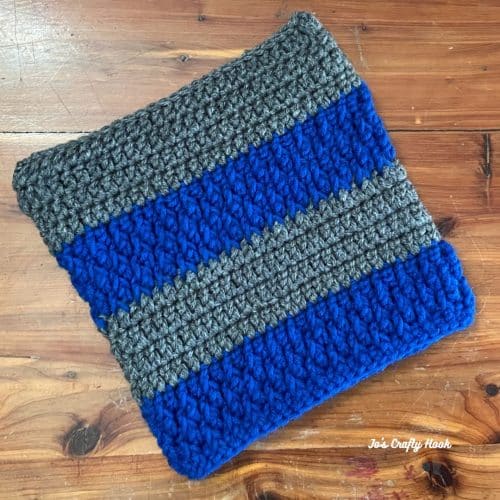
You will find some creative crochet patterns of mine FREE on my website to help you grow your crochet business.
Find me, Jo of Jo’s Crafty Hook at the places listed below.
Email: joeybaird@aol.com
Facebook Group Jo’s Crafty Hookers
Facebook Group Jo’s Crafty Hook Designs
Facebook Page Jo’s Crafty Hook
Facebook Page: Crochet Designer Community