
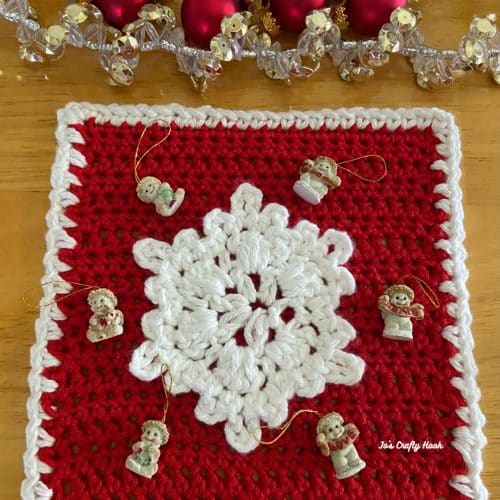
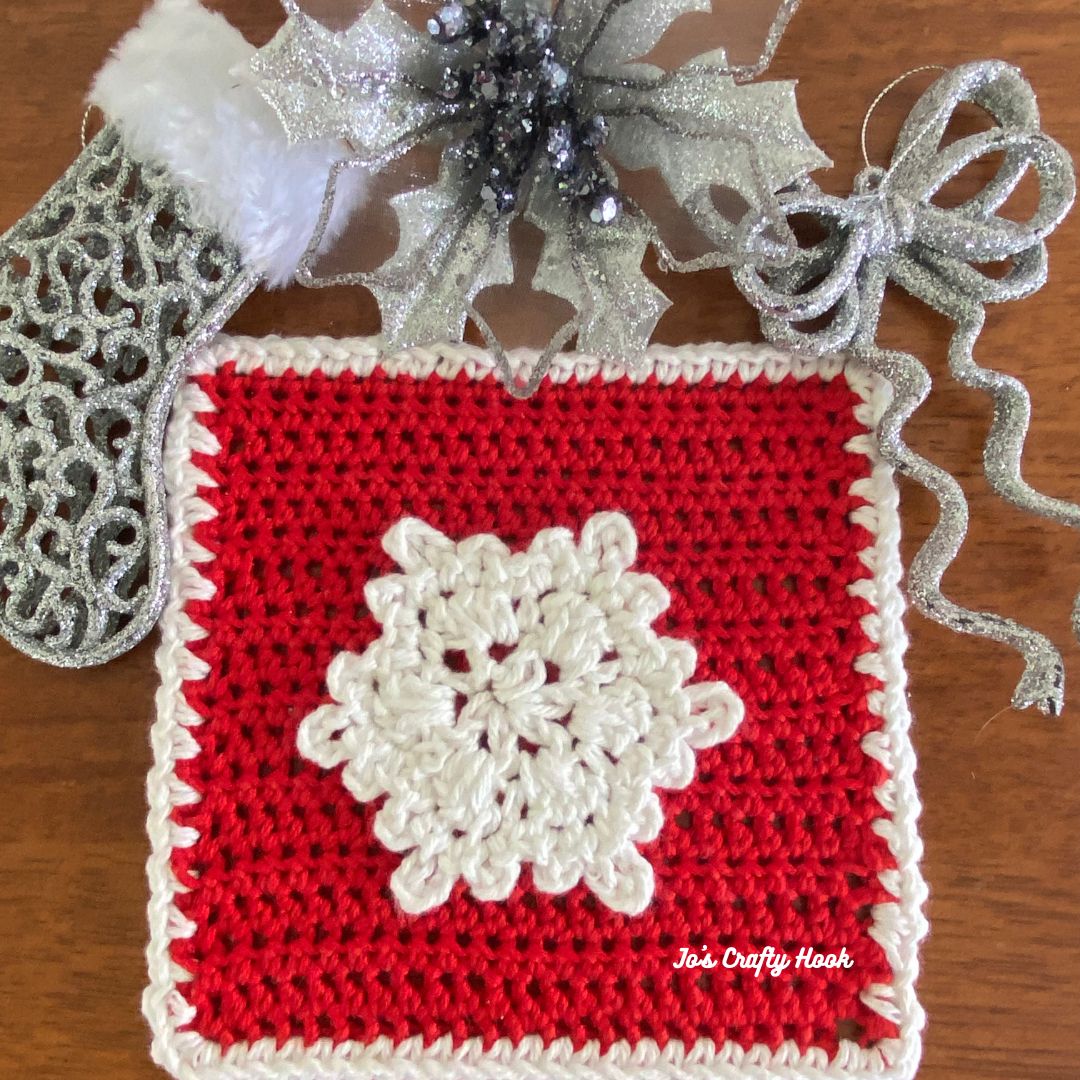
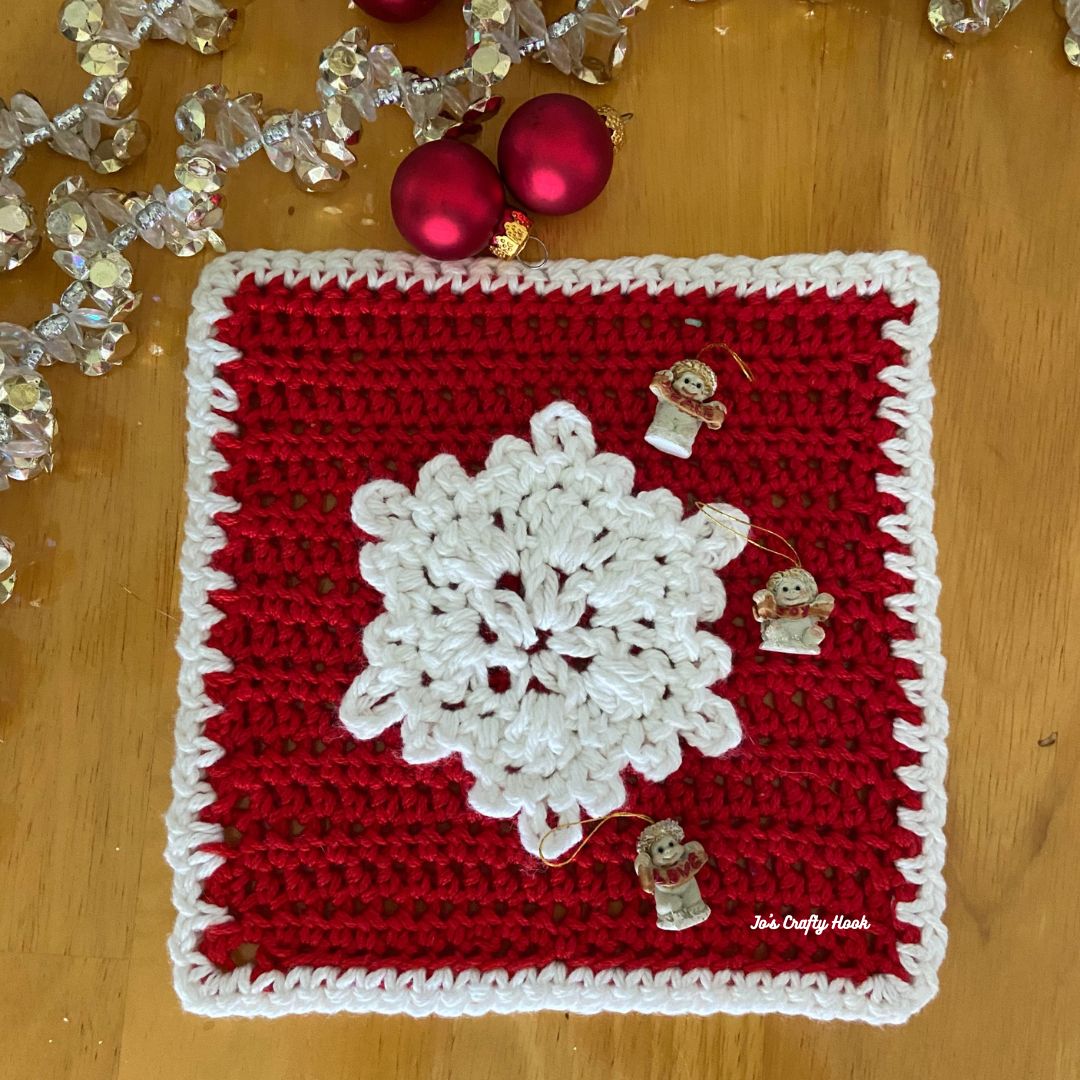
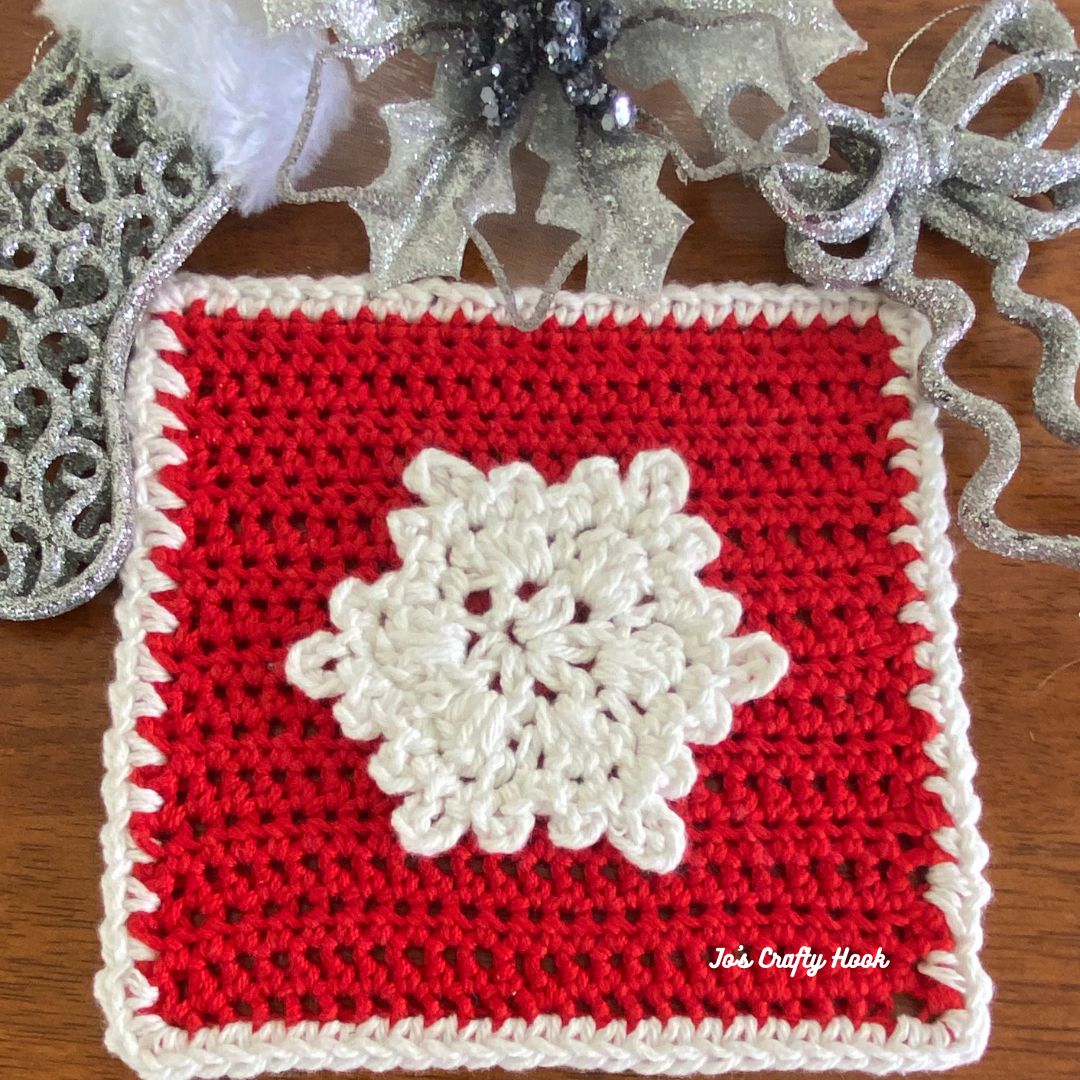
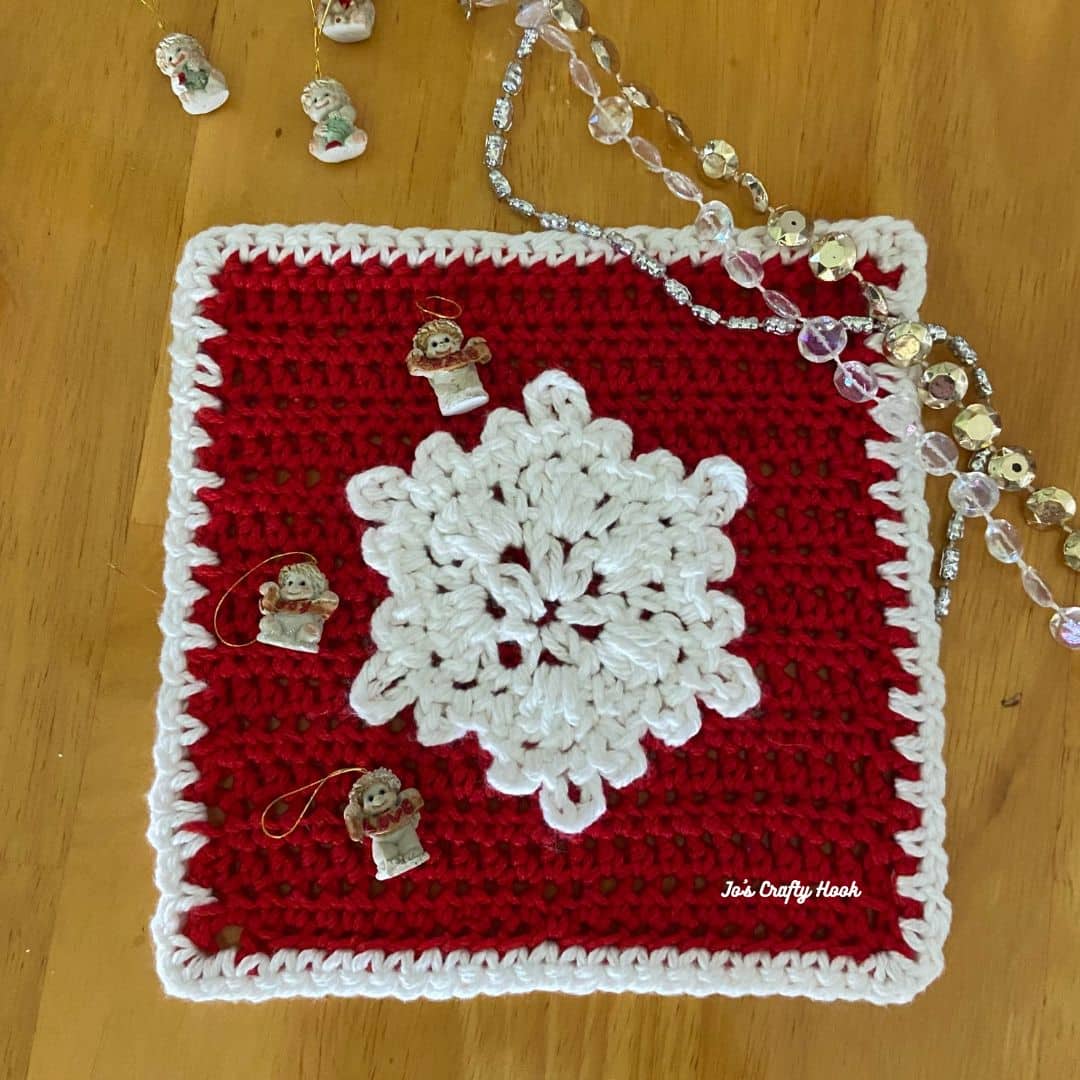
Snowflake Napkin Crochet Pattern
Who doesn’t like to decorate their home for the holidays?! My Snowflake Napkin would be a great addition to your Home Decor. Make the napkin and snowflake together or separate and make your Christmas even brighter!
You can even make just the Snowflake and decorate gift boxes or make as ornaments for your Christmas Tree.
Below you will find a FREE version of my Snowflake Napkin Crochet Pattern that you can made any time of year, not just for Christmas or the Holidays.
Season. 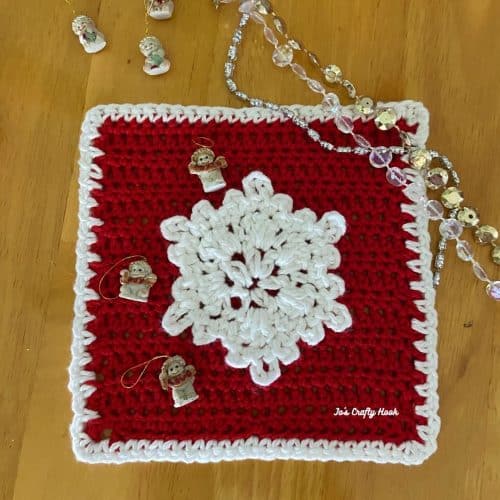
Snowflake Napkin
This post contains affiliate links
Be sure to sign up to my Newsletter and receive information about more free crochet patterns, new crochet pattern releases, and more.
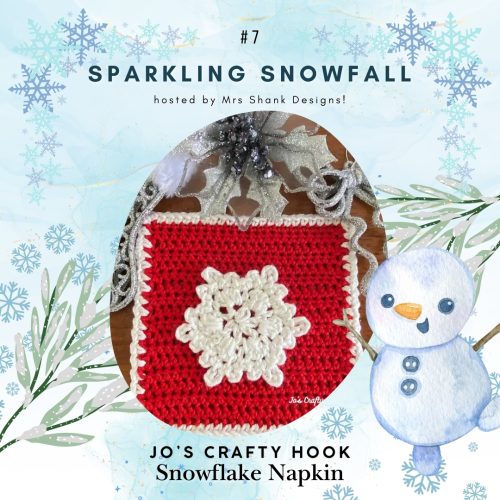
My Snowflake Napkin Crochet Pattern is being featured in Mrs. Shank Designs Sparkling Snowfall Blog Hop and you can get a premium copy for 50% off on December 7-8, 2024!
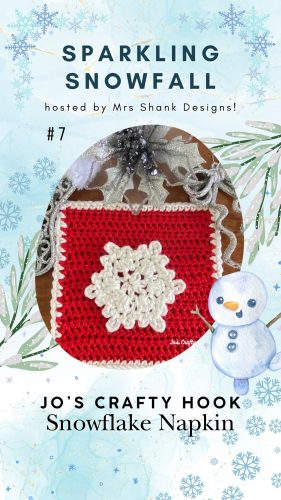
Sparkling Snowfall Blog Hop 2024
December 1-31, 2024
 During the Sparkling Snowfall Blog Hop 2024 you will find FREE and Discounted crochet patterns that are perfect makes for this time of year.
My Featured Day
On December 7-8, 2024 visit the Sparkling Snowfall Blog Hop 2024 by clicking on the image below to get the Coupon Code needed to get my Snowflake Napkin Crochet Pattern for 50% off.

Coupon Code
Once you have the Coupon Code, click on the image below where you will be directed to my Ravelry Store. Use the needed Coupon Code at Checkout to get a premium PDF of my Snowflake Napkin Crochet Pattern for $1.75 (50% off)
Information about the Snowflake Napkin
Inside this Snowflake Napkin Crochet Pattern you will find 2 separate crochet patterns, 1 for a Napkin and another for a Snowflake. You will also find help tips and tricks.
The Snowflake Napkin doesn’t only have to made during the Holidays. You can add a little something extra to match any room in your home by making these 2 crochet patterns together or separately.
Information Needed to Crochet the Snowflake Napkin
I used Lily Sugar n Cream 100% Cotton Yarn (113g / 4oz) (184m / 200yd) for the Snowflake
I used Lion Brand 24/7 Cotton Yarn (3.5 oz/186 yds) for the Napkin
Materials:
MC – 30-40 yds of #4 ply Worsted Weight Cotton Yarn
CC – 10 yds of #4 ply Worsted Weight Cotton Yarn
US G or 4 mm Crochet Hook
Tapestry Needle
Scissors
Finished Size:
Napkin: 6.5” x 6.5”
Snowflake: 4” x 4”
Abbreviations/Stitches Used:
st = stitch
ch = chain
hdc = half double crochet
alt ch 2 = alternate chain 2
sl st = slip stitch
rep = repeat
MC = Main Color
CC = Contrasting Color
Notes:
The napkin is worked flat.
The snowflake is worked in the round.
alt ch 2 counts as a hdc.
If you do not meet gauge, try going up or down a hook size.
Gauge:
US G or 4mm Crochet Hook
16 hdc x 12 rows = 4”
Gauge Swatch:
R1: ch 18, hdc in 3rd ch from hook, hdc across. turn (16 hdc)
R2-12: ch 2, hdc across. turn (16 hdc)
Snowflake Napkin Free Crochet Pattern
Napkin Crochet Pattern
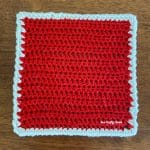
Using MC
R1: fsc 24. turn (24 sc)
Optional: ch 25, sc in 2nd ch from hook, sc across. turn (24 sc)
R2-R17: alt ch 2 or ch 2, hdc across. turn (24 hdc)
R18: ch 1, sc in same st, sc across. (24 sc)
Fasten off and weave in ends.
Border
Change to CC
Note: be sure to have the same number of stitches across the top, bottom and side of the napkin to create a nice straight, flat Napkin.
Across the Top:
attach yarn with a sl st in 1st st of R18. (sc, ch 1, sc) all in 1st st. sc in each st across until last st. (sc, ch 1, sc) all in last st.
Down the Side:
turn slightly to go down the side, ch 1 *sc in next st, ch 1. rep from * until the last st. (sc, ch 1, sc) all in last st
Across the Bottom:
sc in each st across the bottom until last st. (sc, ch 1, sc) all in last st
Up the Side:
turn slightly to go up the side, *ch 1, sc in next st. rep from * until the 1st st. ch 1, sl st in 1st st to join.
Fasten off and weave in ends.
Snowflake Crochet Pattern
Note: the snowflake is worked in the round
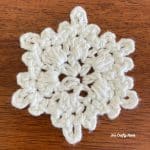
R1: make magic circle, dc, ch 1 for a total of 6 times in magic circle. pull yarn tight to close circle. sl st in 1st st to join. (6 dc, 6 ch-1 sp)
R2: ch 1, sc in same st, 3 dc in next ch-1 sp, *sc in next st, 3 dc in next ch-1 sp. rep from * around until 1st st. sl st in 1st st to join.
R3: ch 1, sc in same st, sl st in next st, ch 3, sl st in same st, sl st in next st, ch 5, sl st in same st, sl st in next st, ch 3, sl st in same st, *sc in next st, sl st in next st, ch 3, sl st in same st, sl st in next st, ch 5, sl st in same st, sl st in next st, ch 3, sl st in same st. rep from * around until 1st st, sl st in 1st st to join.
Fasten off and weave in ends.
Snowflake Placement
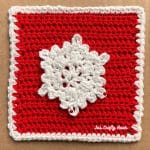
Step 1:
Count over 12 stitches from the edge. (This will be the center of your Napkin)
Step 2:
From the beginning row of your Napkin, count up 9 rows. (This will be the center of your Napkin)
Step 3:
Line up the middle of your Snowflake in the center of your Napkin.
Attaching your Snowflake to Napkin
There are some suggestions below on how you can attach your Snowflake to your Napkin.
I hot glued mine evenly around using the tips of the Snowflake. This allows your Snowflake to lay flat when you want to use the Napkin.
- You can hot glue it to the center of the Napkin
- You can sew it to the center of the Napkin
- You can take it down by sewing the tips of the Snowflake to the Napkin
You can use the suggestions above or use your own method to keep your Snowflake from coming off of your Napkin.
©Jo’s Crafty Hook 2024

That’s it! You have made your own Snowflake Napkin! I would love to see your version!
You can tag me at @joscraftyhook and in my FB Group Jo’s Crafty Hook Designs
You can also find FREE Christmas & Holiday crochet patterns on my website.
You can find more of my premium crochet patterns at my stores listed below and find great savings.
Ravelry Store
Etsy Shop
LoveCrafts
Find me, Jo of Jo’s Crafty Hook at the places listed below.
Email: jo@joscraftyhook.com
Facebook Group Jo’s Crafty Hookers
Facebook Group Jo’s Crafty Hook Designs
Facebook Page Jo’s Crafty Hook
Facebook Page: Crochet Designer Community
![]()