
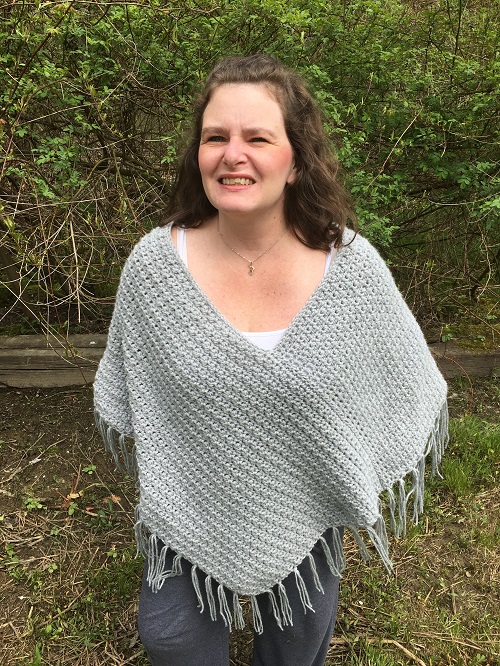
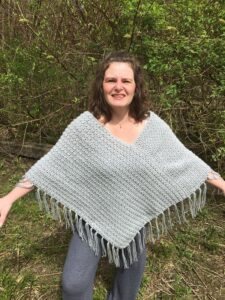
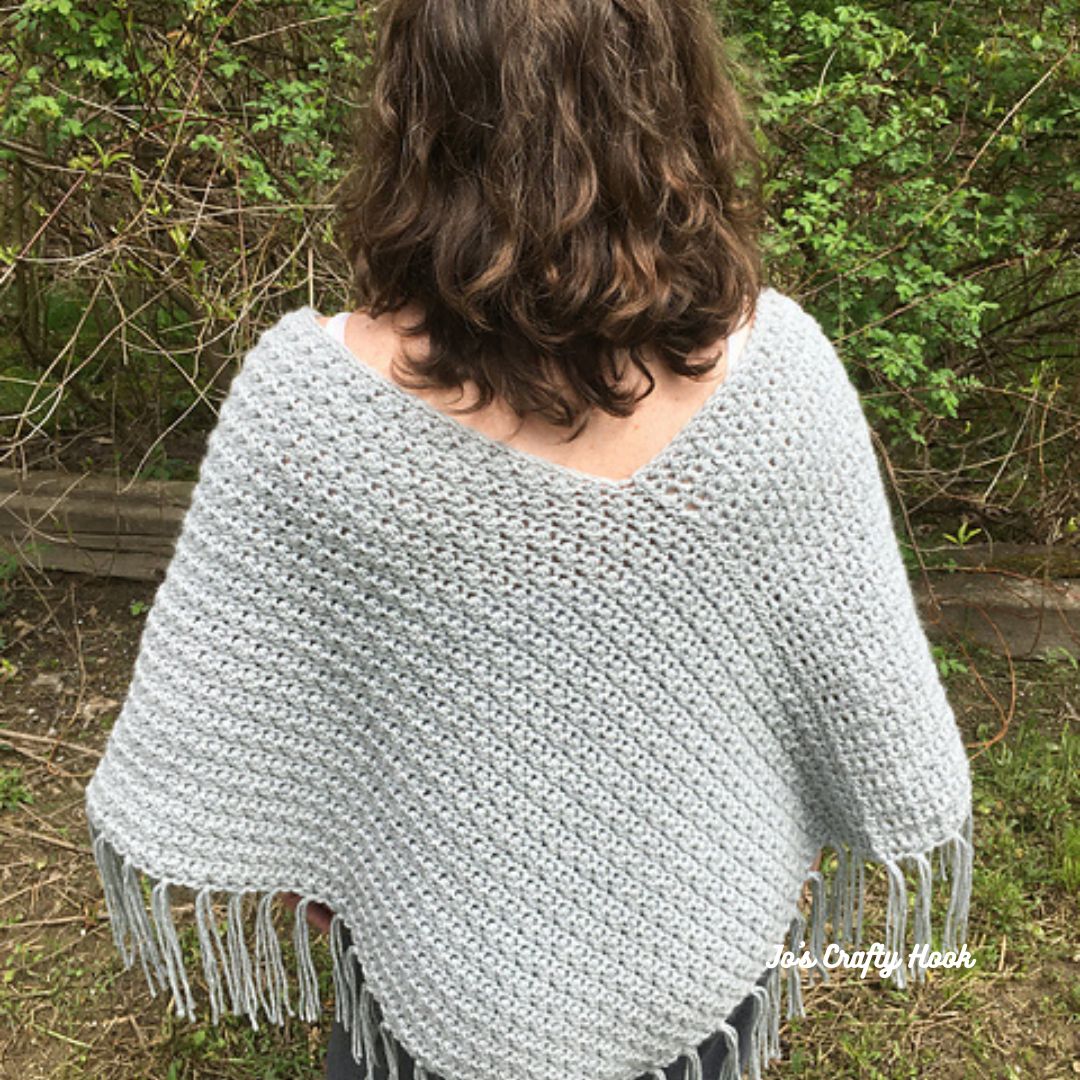
Today I am SO excited to be sharing with you the Nellie Poncho Free Crochet Pattern! I designed the Nellie Poncho in the Spring of 2020 after learning a new stitch while testing for another crochet designer. The Nellie Poncho uses the N Stitch, once you get the hang of it I promise you will LOVE it too!
Below you will find a free copy of the Nellie Poncho crochet pattern.
The Nellie Poncho Free Crochet Pattern has 5 sizes to choose from, so I am sure you can crochet this for yourself or any woman/teen in your life! Also in this crochet pattern you will find picture and video tutorials on how to crochet the N Stitch and on how to sew your 2 panels together.
This Nellie Poncho can be warn in any season no matter where you are in the world. It is perfect for those chilly Spring days, those chilly Summer evenings, in the crispy Fall air, and of course in those cold Winter seasons.
So let’s get started!
This post contains affiliate links
Be sure to sign up for my Newsletter where you will receive messages about New Crochet Pattern Releases; FREE Crochet Patterns; Collaborations and more! For signing up to my Newsletter you will receive a FREE premium crochet pattern!
https://dashboard.mailerlite.com/forms/841383/134719051106616408/share
Nellie Poncho Free Crochet Pattern
Information Needed
Materials:
800-1200 yards #4 Worsted Weight Yarn
US Hook J or 6 mm
US Hook H or 5 mm
Tapestry Needle
Scissors
Gauge:
12 st x 12 rows = 4”
Gauge Swatch:
R1: FSC 12 turn
Optional: Ch 13, sc in the 2nd ch from hook and each st across. turn
R2: Ch 1, sc in the same st, sc in the next st, and hdc in the next st. NS to the last 3 stitches. Hdc in the next st and sc in the last 2 stitches.
R3: Ch 1, sc in the same st and each st across.
R4-R13: Repeat R2 & R3.
Abbreviations/Stitches:
FSC = Foundation Single Crochet
CH = Chain
SC = Single Crochet
ST(S) = Stitch(es)
NS = N Stitch
SP = Space
RS = Right Side
WS = Wrong Side
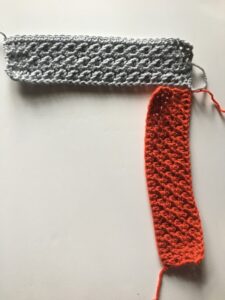
Special Stitch:
The N Stitch
- Sk 1 st
- hdc in the next st
- insert hook from the top to the bottom of the front loop of the skipped stitch
- YO, pull up a loop,
- YO, pull through one loop
- YO, insert the hook back into the same st as the hdc, YO, pull up a loop,
- YO, pull through all 4 loops on hook.
Notes:
Stitch count is a multiple of 2
Ch 1 does not count as a stitch
Photo Tutorials are attached to the pattern. I made them larger to show the steps of the Construction.
There are 5 Construction Steps, so please scroll down for each.
The sizes are Small (Medium, Large, XLarge and 2XLarge) consecutively
Poncho may need to be Blocked
Video Tutorials:
N Stitch Right Handed Version here.
N Stitch Left Handed Version here.
Foundation Single Crochet Right Handed Version here.
Foundation Single Crochet Left Handed Version here.
How to Assemble a Poncho here.
Size Chart
| Size | Width | Length |
| Small | 18” | 26” |
| Medium | 20” | 28” |
| Large | 22” | 30” |
| XLarge | 24” | 32” |
| 2XLarge | 26” | 34” |
Nellie Poncho Crochet Pattern

Panel 1 (make 2)
R1: FSC 100 (106, 112, 118, 124) st
Optional: chain 101 (107, 113, 119, 125), sc in 2nd chain and each st across. 100 (106, 112, 118, 124) st
R2 (RS): ch 1 and sc in same st. sc in the 2nd st, hdc in the next st and NS to the last 3 st. hdc in the next st and sc in the last 2 st.
R3 (WS): Ch 1, sc in the same st and each st across.
R4 – 43 (47, 51, 55, 59): Repeat R2 & R3
Fasten off and weave in ends.
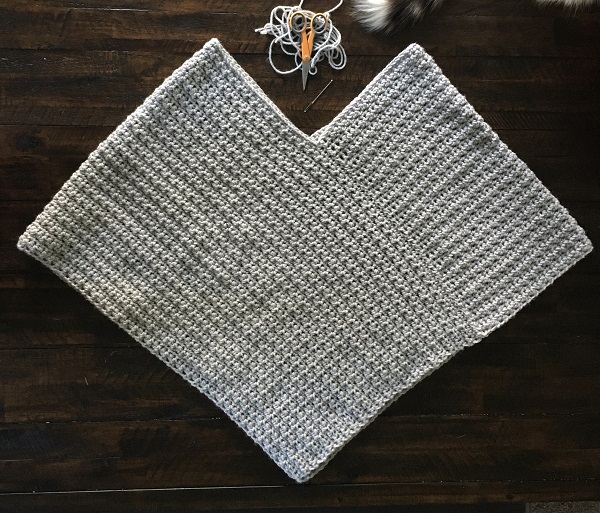
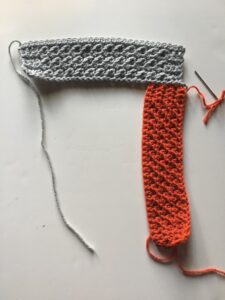
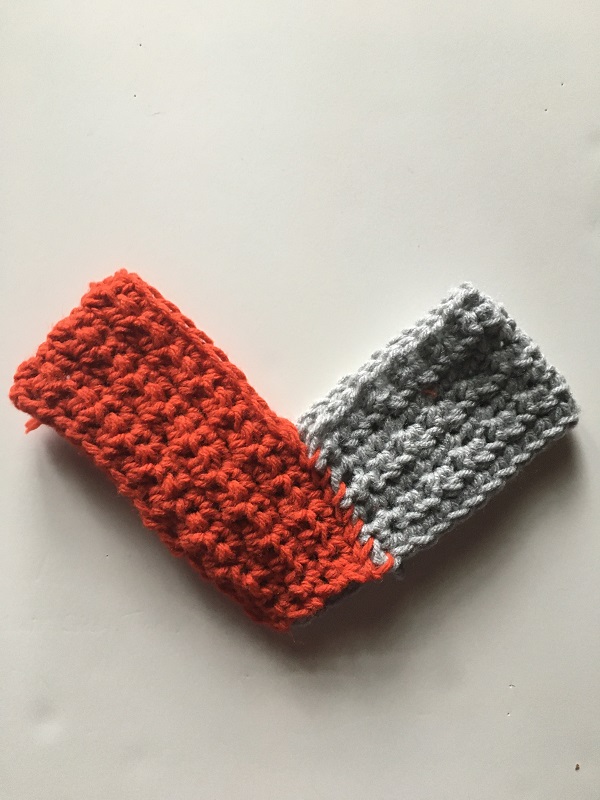
Construction:
Step 1:
Place both Panels Right Side down with Wrong Side Up. Line them up a side panel along the bottom of another panel.
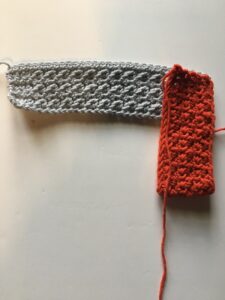
Step 2:
Whip Stitch Together or use whichever stitch you prefer in attaching the Panels together.
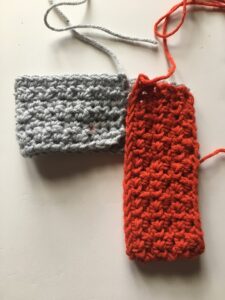
Step 3:
Fold Whipped Stitch Piece to Outer Edge (Top of the Panel.)
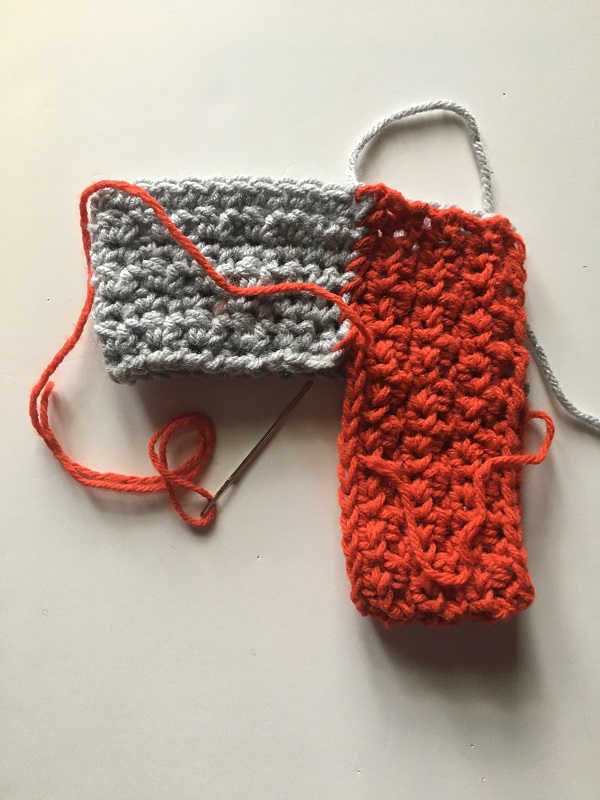
Step 4:
Fold Outer Edge to Join Whipped Stitch Piece
Step 5:
Whip Stitch or use whichever stitch you prefer to sew Closed.
Embellish Your Nellie Poncho

Fringe (Optional)
- Cut pieces of yarn 10”-12” long
- Use 2 strands of yarn for each section of Fringe. If you want a heavier Fringe add more pieces of yarn to suit you.
- Put the ends together and create a loop that can be threaded into the edges of the Poncho. Knot pieces of Fringe onto the Poncho. This will give you 4 strands of yarn to create the Fringe.
- You can use your crochet hook to pull the loops through the edges of the Poncho and then thread the fringe through the loop. Pull tight to create your knot. Make sure to pull the loop in the same direction. This helps all of your knots to match.
Neck Border (Optional):
Switch to H or 5 mm Hook
Attach yarn in any stitch along the Neck Opening, slip stitch, chain 1 and sc in the same stitch. sc in each stitch around.
For a Smaller Neck Opening, add 2-3 more rows of Single Crochet.
@Jo’s Crafty Hook 2024
That’s it, you have created your own version of the Nellie Poncho!

I would love to see what you created!
You can tag me at @joscraftyhook and in my FB Group Jo’s Crafty Hook Designs
You can find more of my crochet patterns at my Ravelry Store, LoveCrafts, and my Etsy Shop
You can also find many types of crochet patterns that are Free on my website.
Be sure to sign up for my Newsletter where you will receive messages about New Crochet Pattern Releases; FREE Crochet Patterns; Collaborations and more! For signing up to my Newsletter you will receive a FREE premium crochet pattern!
https://dashboard.mailerlite.com/forms/841383/134719051106616408/share
You can find more of my crochet patterns at my Ravelry Store, LoveCrafts, and my Etsy Shop
You can also find many types of crochet patterns that are Free on my website.
Find me, Jo of Jo’s Crafty Hook at the places listed below.
Email: jo@joscraftyhook.com
Facebook Group Jo’s Crafty Hookers
Facebook Group Jo’s Crafty Hook Designs
Facebook Page Jo’s Crafty Hook
Facebook Page: Crochet Designer Community
![]()
Thank you for gifting us with your creativity and pattern. Have a wonderful Holiday.
You are welcome! I appreciate your kind words! Happy Thanksgiving!