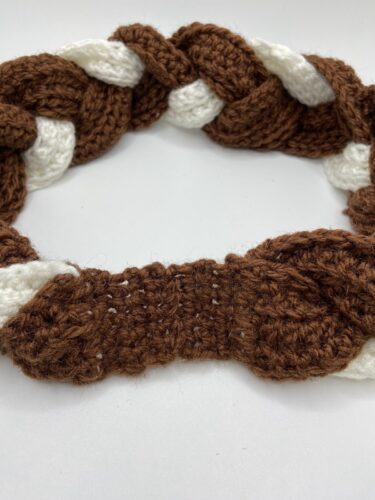
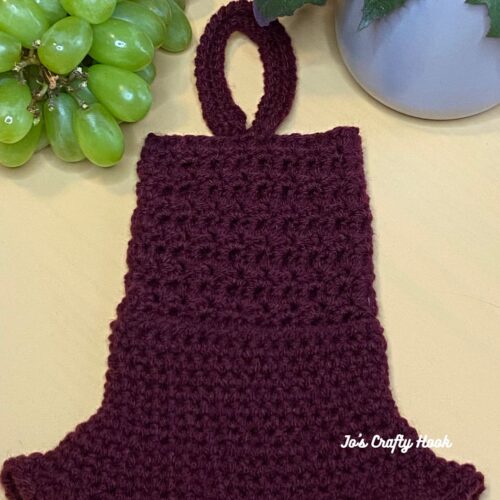
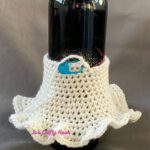
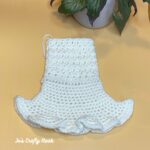
Claret Dress Wine Bottle Cozy Crochet Pattern
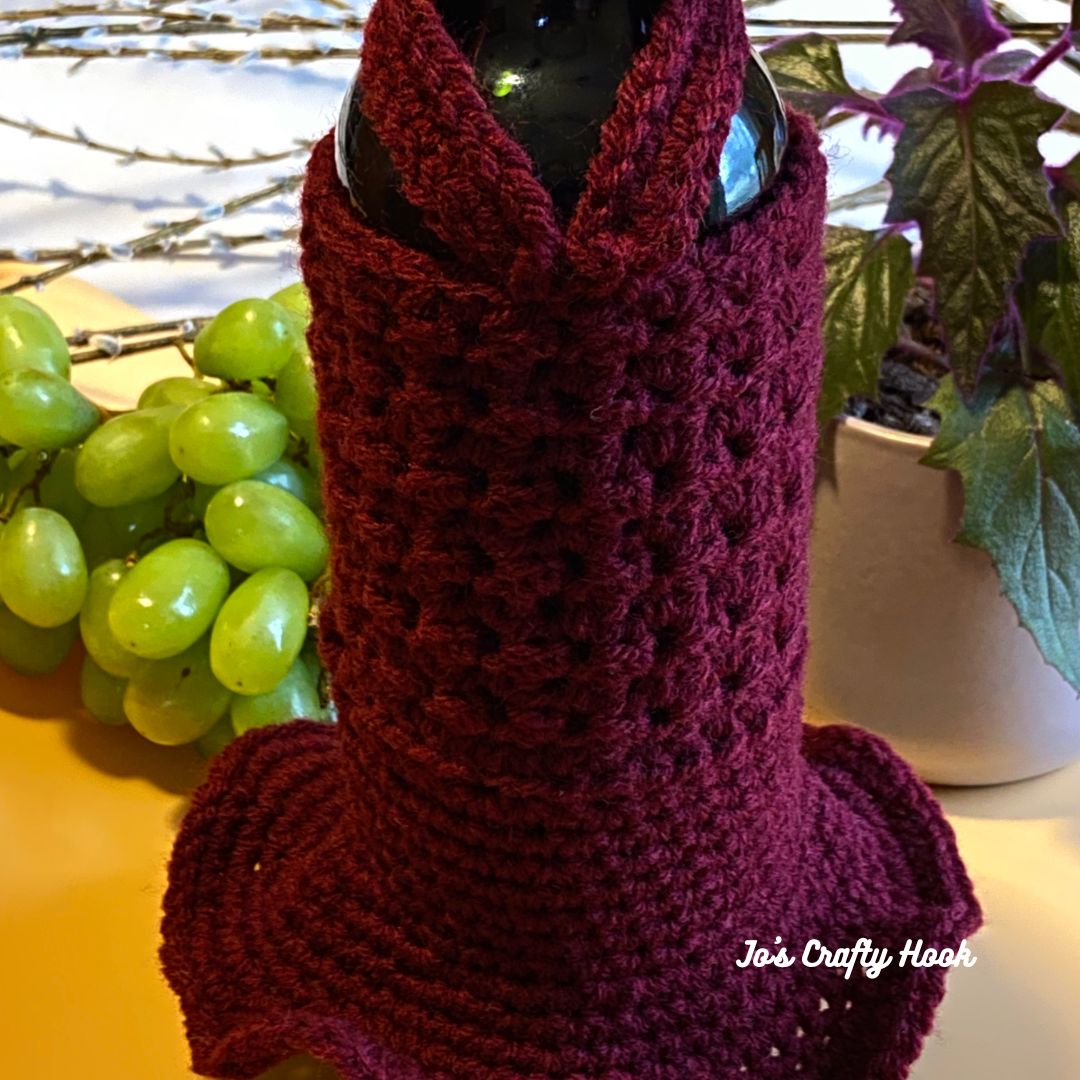
The Claret Dress Wine Bottle Cozy Crochet Pattern is designed to dress up and add a little flair to a wine bottle. You can dress up the wine bottle you give as gifts for Birthdays, Christmas, the Holidays or just because.
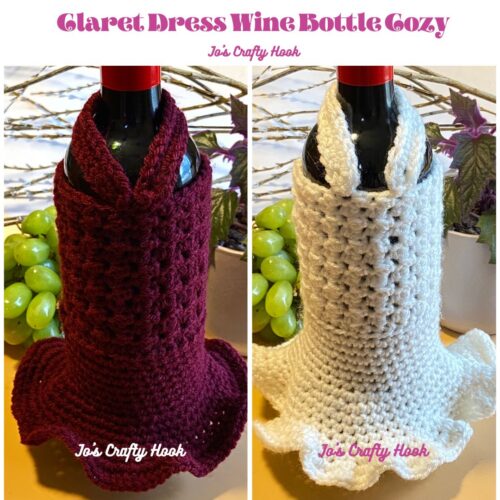
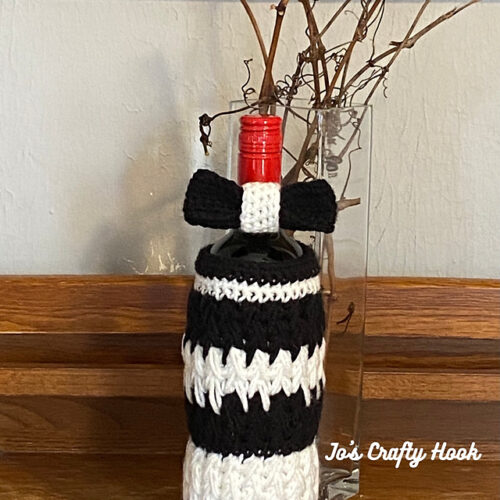
My Tuxedo Wine Cozy Crochet Pattern was designed for the Bring in the New Year FB Hop. I wanted to add a partner crochet pattern to this cozy, so I designed the Claret Dress Wine Bottle Cozy crochet pattern and it definitely came out perfectly as it’s mate.
Be sure to subscribe to my Newsletter while you are here visiting. You will be notified when a new crochet pattern is released; when I am in a collaborating event; and more! As a Bonus, you will get a FREE premium crochet pattern for signing up!
https://dashboard.mailerlite.com/forms/841383/134719051106616408/share
You can get a premium copy of the Tuxedo Wine Cozy from my Ravelry and LoveCrafts Stores for a small fee.
If you would like to gift the gift of wine and dress it up, the Claret Dress Wine Bottle Cozy Crochet Pattern can be found FREE below.
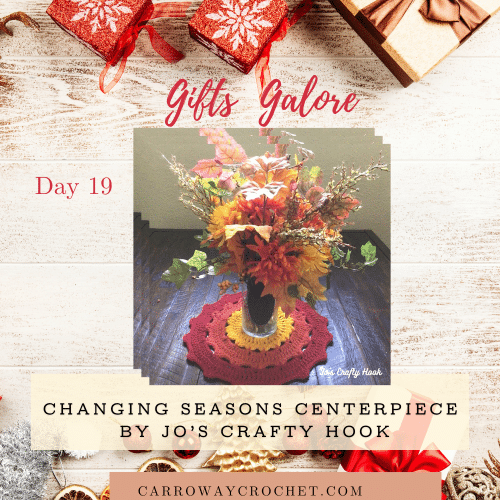
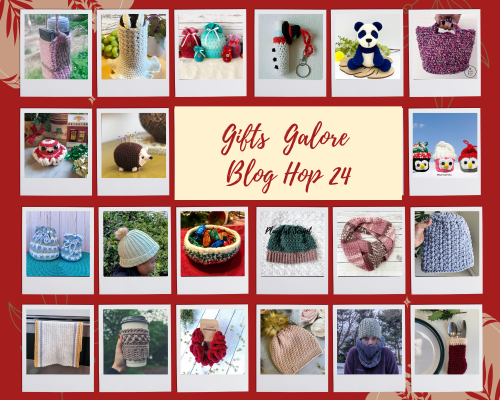
The Gifts Galore 2024 Blog Hop
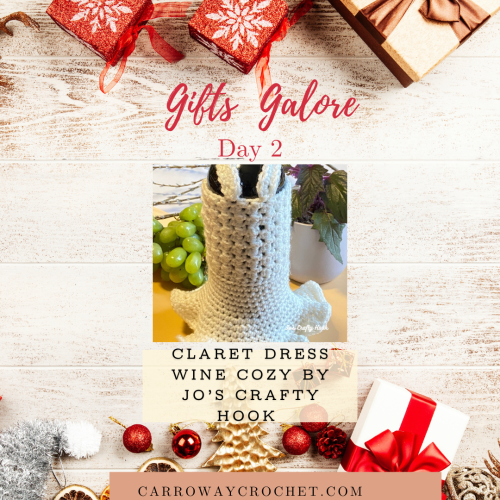
My Claret Dress Wine Bottle Cozy is being featured in the Gifts Galore 2024 Blog Hop hosted by Carroway Crochet this month and you can get a FREE copy for 24 hours, on November 2-3, 2024.
Each day of the Gifts Galore 2024 Blog Hop you can get a FREE crochet pattern daily that is a perfect make for Christmas & the Holidays.
The Gifts Galore 2024 Pattern Bundle
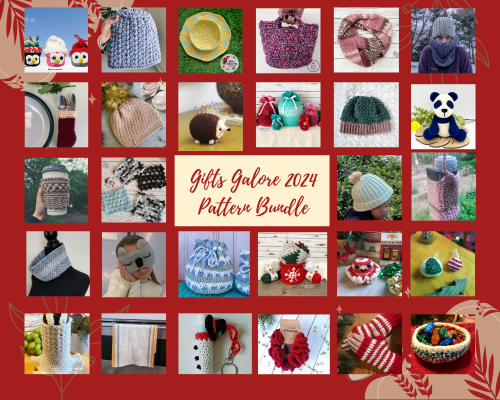
You can purchase the Gift Galore Pattern Bundle for $10.99. The bundle contains ALL 28 premium crochet patterns that are being featured in the blog hop. Grab yourself a copy of this fabulous bundle and start making those Christmas & Holiday gifts now!
My Featured Day – November 2-3, 2024
Visit the Gifts Galore 2024 Blog Hop on my featured day to get the Coupon Code needed to get a FREE copy of my Claret Dress Wine Bottle Cozy Crochet Pattern.

Once you have the Coupon Code, get your FREE copy by clicking on the Download Free PDF button below and use it during checkout at my Ravelry Store.

Return to the Roundup
Visit the Gifts Galore 2024 Blog Hop daily to take advantage of another crochet designer’s free crochet pattern that is a great Christmas & the Holidays make!
Free Claret Wine Bottle Cozy Crochet Pattern
Below you will find a FREE version of the Claret Dress Wine Bottle Cozy Crochet Pattern.

Information Needed for the Claret Wine Bottle Cozy Crochet Pattern
Materials:
30-45 yds of #4 ply Worsted/Aran Weight Yarn
US F or 3.75 mm Crochet Hook
US G or 4 mm Crochet Hook
Scissors
Tapestry Needle
Stitches/Abbreviations Used:
ch = chain
sl st = slip stitch
sc = single crochet
hdc = half double crochet
fsc= foundation single crochet
rep = repeat
sk = skip
SM = Stitch Marker
RS = Right Side
Special Stitch:
Invisible Join – this is used in place of a slip stitch to join.
* Each round you will place a SM in the 1st st.
*Once you complete that round, instead of doing a slip stitch to join, you will start the next round where your SM is placed or the 1st st of the round you just completed.
*Then you will repeat the same step, placing a SM in the 1st st of the new round.
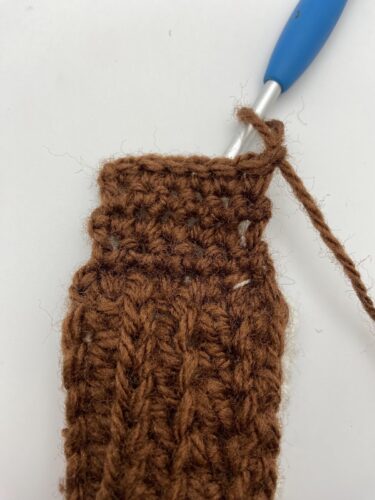
Video Tutorial:
Invisible Join
Notes:
ch 1 does not counts as a st
cozy is worked in the round
skirt is worked top down in the round
bodice is worked from bottom up in the round with turning rows
Bodice Gauge:
US G or 4.5 mm Crochet Hook
12 st x 12 rows = 4”
Gauge Swatch:
R1: ch 13, sc in 2nd ch from hook, sc across. ch 1, turn. (12 sc)
R2: sc in 1st st, *sk st, (sc, hdc) all in next sc. rep until last sc. sc in last sc. ch 1, turn. (12 st)
R3-R12: sc in 1st st, *sk next st, (sc, hdc) all in next sc. rep from * until last sc. sc in last sc. ch 1, turn. (12 st)
**You can purchase the premium version of the Claret Dress Wine Bottle Cozy crochet pattern for a small fee from my Ravelry Store or LoveCrafts . Inside the premium crochet pattern you will find step-by-step picture tutorials for the bodice and skirt part of the crochet pattern**
Claret Dress Wine Cozy Free Crochet Pattern
Skirt
Note: In this part of the crochet pattern the skirt is worked in the round and the row count is 16 rows = 4”
Using G or 4 mm Crochet Hook
R1(RS): fsc 36. Place SM in 1st st. (36 sc)
Optional: ch 36, sl st in 1st ch to join. sc in each st around. Place SM in 1st st. (36 sc)
Note: You will be using the Invisible Join for each row below.
R2-R7: sc in each st around. (36 sc)
R8: sc in next 2 st, 2 sc in next sc *sc in next 2 sc, 2 sc in next sc. rep from * around. (48 sc)
R9-R12: sc in each st around. (48 sc)
R13: *sc next 2 sc, 2 sc in next sc. rep from * around. (64 sc)
R14: sc in each sc around. (64 sc)
R15: 2 sc in each sc around. (128 st)
R16: sc in each sc around. (128 sc)
Fasten off and weave in ends.
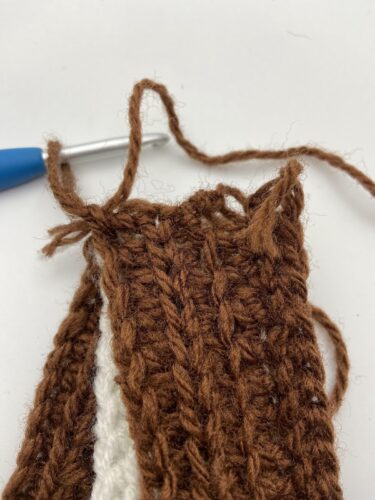
Bodice
Note: In this part of the crochet pattern the bodice is worked with turning rows
 Gauge for Bodice:
US G or 4.5 mm Crochet Hook
12 st x 12 rows = 4”
R1(RS): attach yarn with a sl st in the SM from the foundation row of skirt. sc in same st, sc around. sl st in 1st st to join. (36 sc)
R2: ch 1, turn. sc in same st. *sk sc, (sc, hdc) all in next sc. rep from * until last sc. sc in last sc. sl st in 1st st to join. (36 st)
R3: ch 1, turn. sc in same st, sc in next sc. *sk st, (sc, hdc) all in next sc. rep from * until last sc. sc in last sc. sl st in 1st st to join. (36 st)
R4-R13: Rep R2-R3
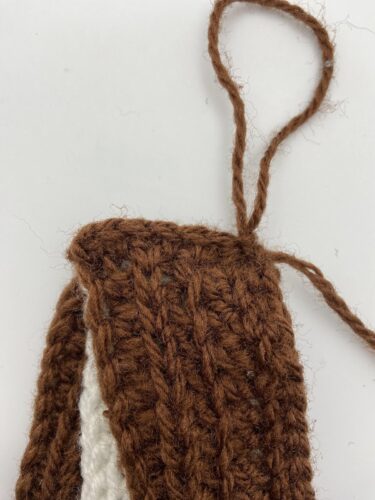
After R13 (RS) place a SM in same st as join.
Fasten off and weave in ends.
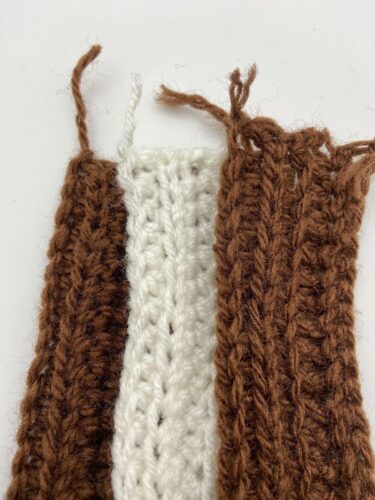
Dress Strap

Using F or 3.75 mm Hook
Step 1:
leaving a long tail of yarn, ch 25, 2 sc in 2nd ch from hook, sc in next 22 st, 2 sc in last st (26 sc)
turn to crochet on the other side of the foundation chain.
Step 2:
2 sc in 1st st, sc in next 22 st, 2 sc in the last st. leave a long enough tail of yarn to attach the strap to the dress. (26 sc)
Fasten off.
Dress Strap Placement
Step 1:
RS – count over 8 st from SM of dress and place SM in same st
Step 2:
(RS) attach your beginning long tail of yarn of your dress strap in the same place as SM and sew strap in place.
Step 3:
(RS) using the ending long tail of yarn of your strap, sk 1 st and in the next st sew strap in place.
Fasten off and weave in ends.
@Jo’s Crafty Hook 2024
Be sure to subscribe to my Newsletter while you are here visiting. You will be notified when a new crochet pattern is released; when I am in a collaborating event; and more! As a Bonus, you will get a FREE premium crochet pattern for signing up!
https://dashboard.mailerlite.com/forms/841383/134719051106616408/share
You can get a premium copy of the Claret Dress Wine Bottle Cozy from my Ravelry and LoveCrafts Stores for a small fee.
You can also get a premium copy of the Tuxedo Wine Bottle Cozy from my Ravelry and LoveCrafts Stores for a small fee.
You can find some of my premium crochet patterns at my Ravelry and LoveCrafts Stores.
![]()
![]()
You can also find some FREE crochet patterns on my website.
Be sure to visit my Sales Page to see all the discounts you can take advantage of this month!
Find me, Jo of Jo’s Crafty Hook at the places listed below.
Email: jo@joscraftyhook.com
Facebook Group Jo’s Crafty Hookers
Facebook Group Jo’s Crafty Hook Designs
Facebook Page Jo’s Crafty Hook
Facebook Page: Crochet Designer Community
![]()


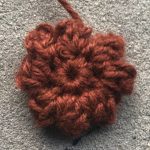
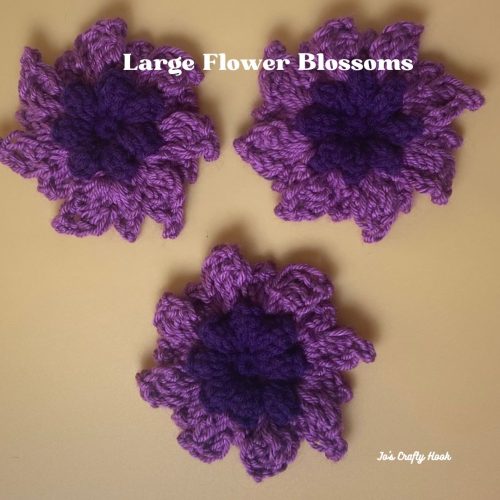
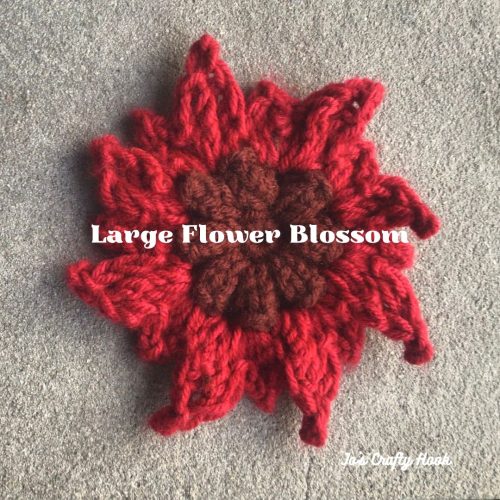
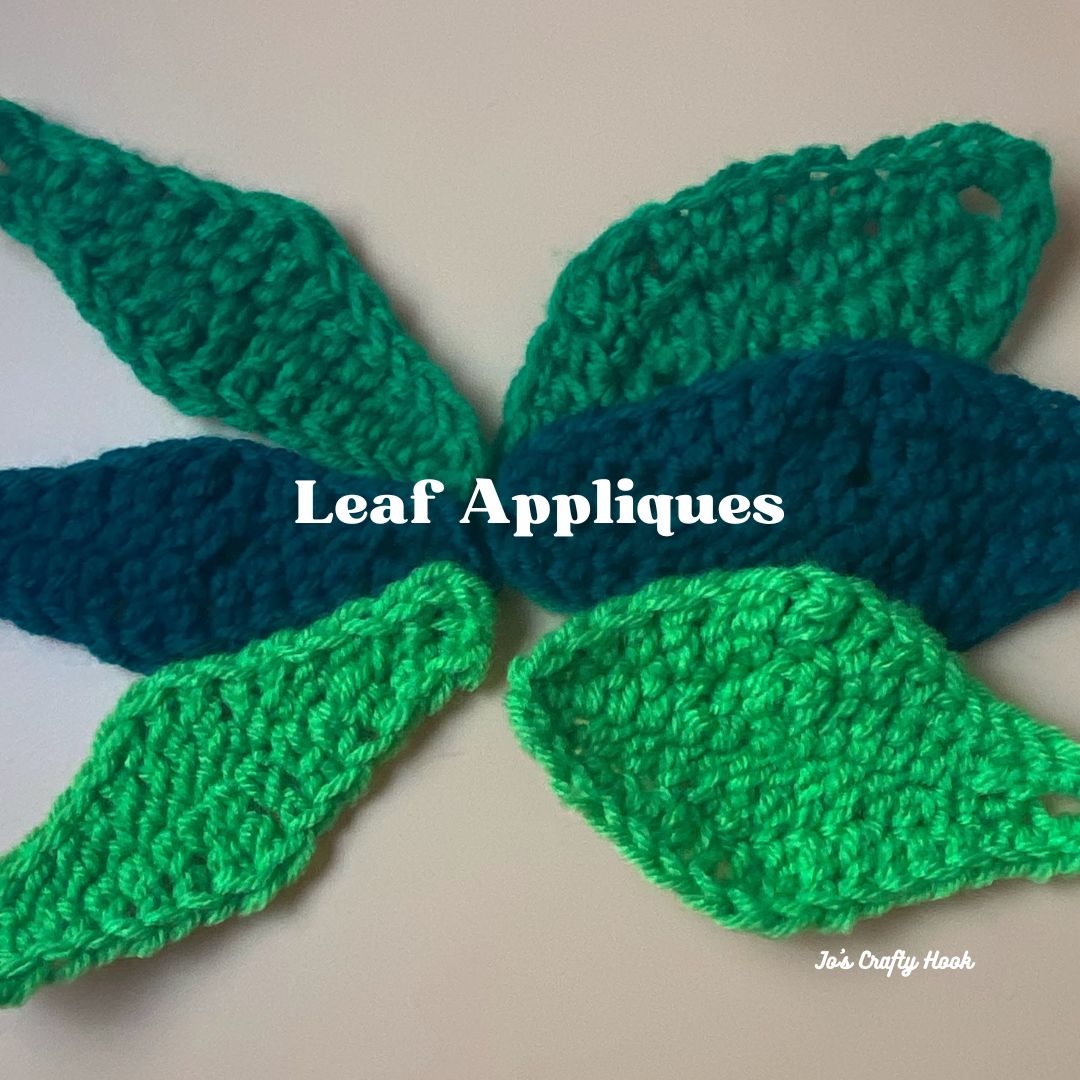
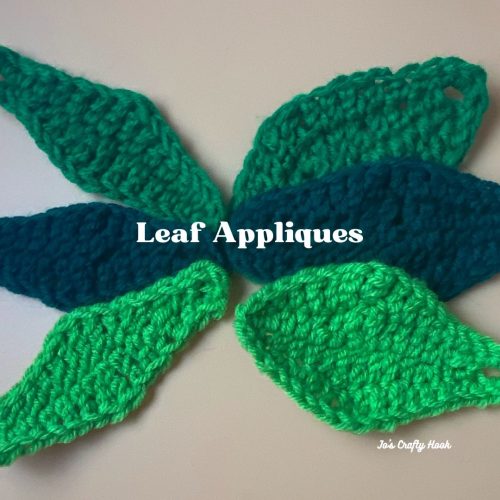
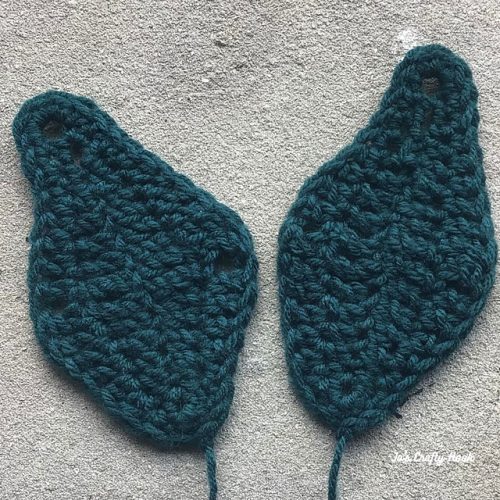
 I have a Blooming Flowers Wall Hanging eBook. It contains all 7 flowers crochet patterns, a leaf appliques crochet pattern with 2 versions and the Styrofoam Ring Cover Crochet Pattern. The eBook can be found at my