Acacia Headband Free Crochet Pattern
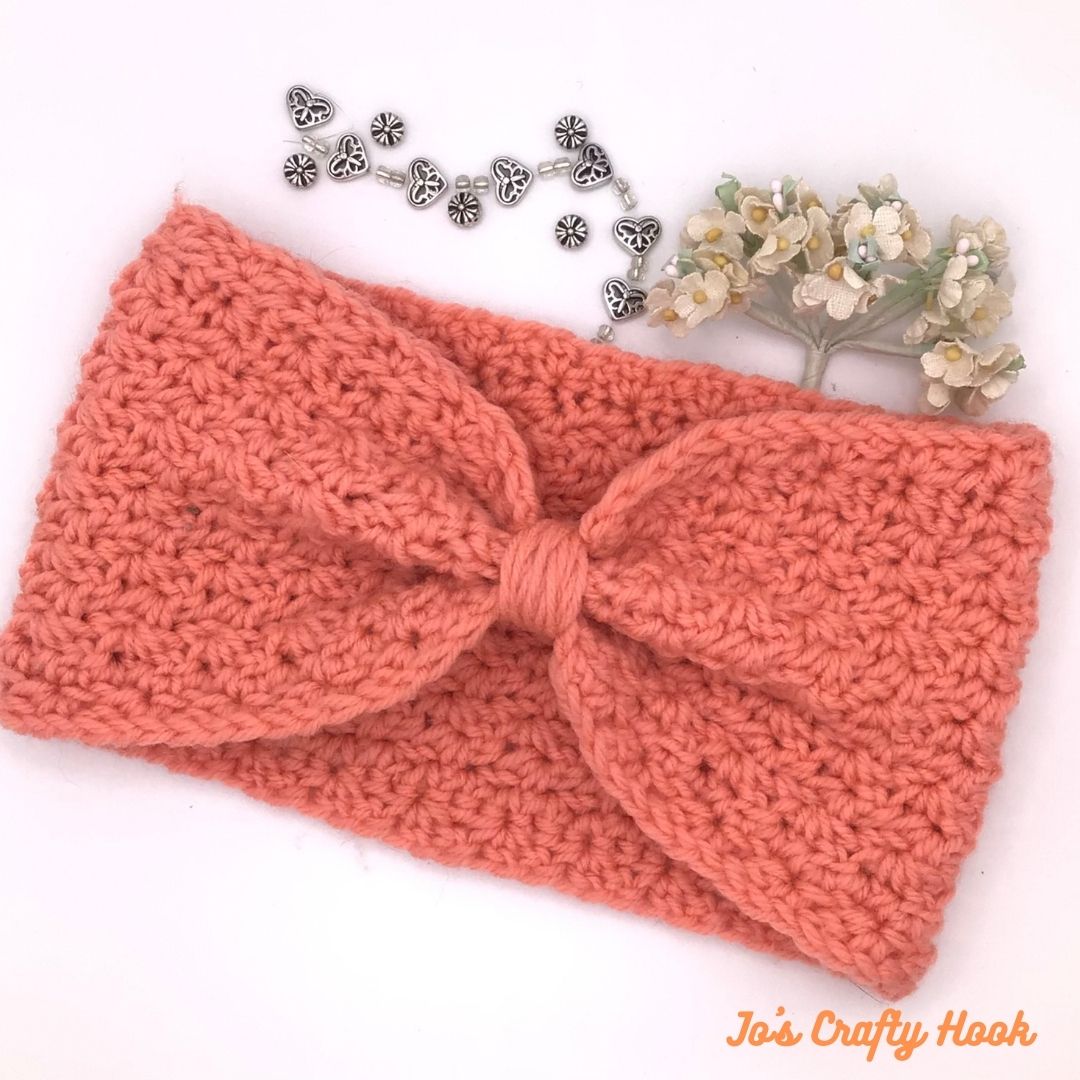
Today’s I am sharing with you my Acacia Headband Free Crochet Pattern. Each year it seems like I learn a new stitch and fall in love with it so much that I design multiple crochet patterns using that stitch. The Acacia Headband uses the wattle stitch that I recently fell in love with.
This post contains affiliate links. If you make a purchase using these links I may receive compensation (at no added cost to you.)
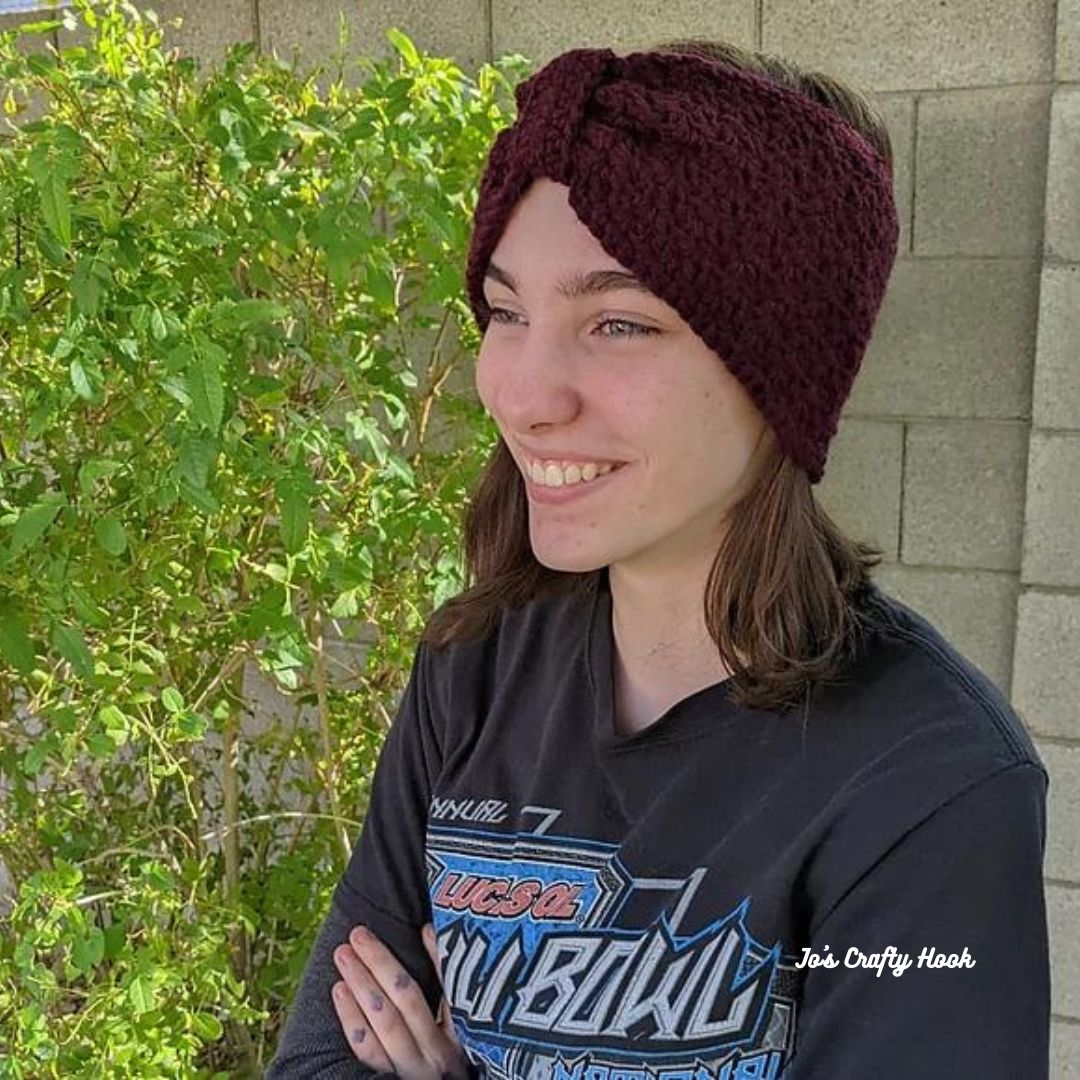
I have used it to design a beanie, a cowl, a skirt, a clutch and now a headband. Of course I have a couple more in the works. 🙂
If you would like to purchase the Ad-Free Premium crochet pattern with multiple sizes, 0-3 mths to Adult Large, you can get it at my Ravelry Store.
************************************************
Acacia Headband Free Crochet Pattern
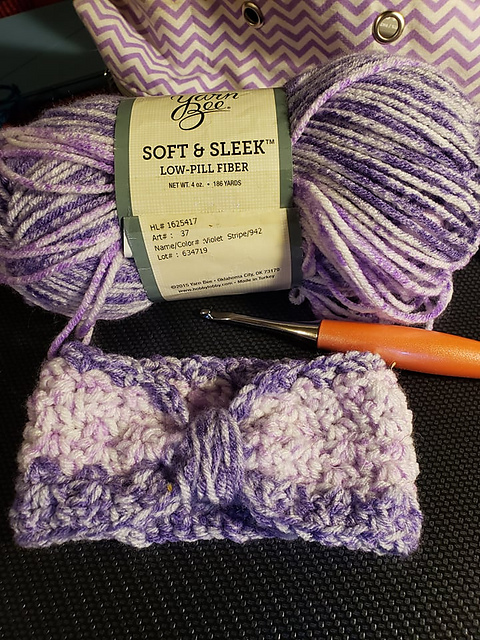
I used 300 yards for the set for the size Medium. I used Joann Fabrics Big Twist Yarn in Apricot. ( 6 oz/380 yds)
Materials:
75-200 yards of 4 ply Worsted or Aran Weight Yarn
US H Hook or 5mm
Tapestry Needle
Scissors
Abbreviations:
fsc = foundation single crochet
sl st = slip stitch
st = stitch
sc = single crochet
sp = spacews = wattle stitch
ch = chain
RS = Right Side
WS = Wrong Side
Gauge:
US H Hook or 5mm
5 ws x 8 Rows = 4”
Special Stitches:
Wattle Stitch = (sc, ch 1, dc) all in same stitch
Gauge Swatch:
R1: fsc 18
Optional: ch 19, sc in 2nd ch from hook and each remaining st. 18 sc
R2: ch 1 and turn. sk 2 st, *[ws (sc, ch 1, dc)] all in same st in next st, sk 2, ws in next st. Repeat from * until the last 3 st. sk 2 st, sc in the last st. (4 ws)
R3: ch 1 and turn. Ws in each ch-1 sp across until the last 3 st. sk 2 st, sc in last st (which will be the ch 1 from the previous row).
R4-R8: Repeat R3
Notes:
Ch 1 does count as a stitch.
The headband is worked in rows.
The Right Side is the foundation single crochet row.
The Headband size: 0-3 mths
Video Tutorials:
Foundation Single Crochet Left Handed here.
Foundation Single Crochet Right Handed here.
Running Stitch Video Tutorial here
0-3 months: 13” x 2.5”
R1: (RS) FSC 45, ch 1 and turn. (45 sc)
Optional: Ch 46, sc in 2nd ch from hook and each st across. Ch 1 and turn. (45 sc)
R2: sk 2 st, ws [(sc, ch 1, dc) all in same st] in the next st, *sk 2 st, ws in next st. Repeat from * until the last 3 st. sk 2 st, sc in last st. Ch 1 and turn. (1 ch-1, 1 sc & 14 ws)
R3: ws in each ch-1 sp across until last 2 st. sk 1 st, sc in last st (which will be the ch 1 from the previous row). Ch 1 and turn. (1 ch-1, 1 sc & 14 ws)
R4: Repeat R3 until you reach your desired height or until the piece measures 2-2.5” being sure to end with an odd row.
Last Row: ch 1 and turn. sc in the first stitch and each stitch across. (44 sc)
Border:
1st Side (shorter side):
Turn your work to go down the side. sc evenly down each end post until you come to the last st. (sc, ch 1, sc) all in the last st.
Bottom (longer side):
Turn your work to work across the bottom. sc evenly in each foundation chain until you come to the last st. (sc, ch 1, sc) all in the last st.
2nd Side (shorter side):
Turn your work to go up the side. sc evenly up each end post until you come to the 1st st of the top. (ch 1, sc) all in the 1st st of top. sl st in 1st st to join.
Fasten off leaving a long tail to close the side of the headband closed. If you would like to create a smaller closer, leave a longer tail of yarn to wrap multiple times around your closure seam. See image below.
Closing instructions:
With RS facing RS, match together the sc row to the fsc row, sew together the side of the headband using the running stitch or whichever stitch you prefer.
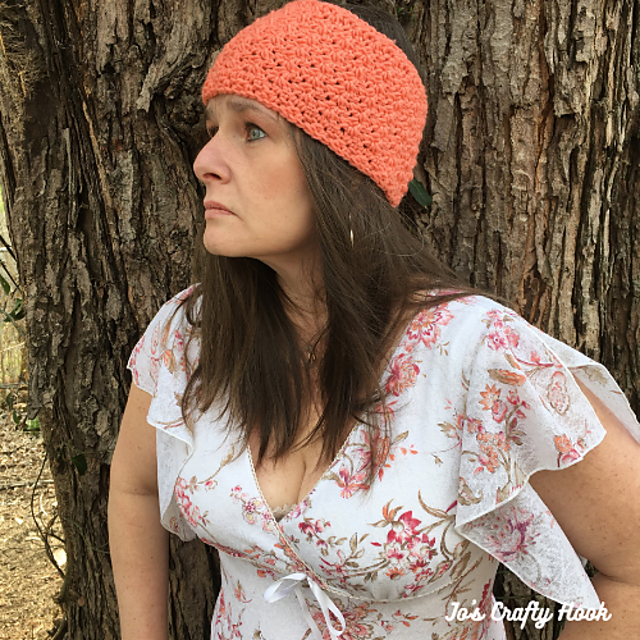
I hope you loved using the Wattle Stitch while making this headband as much as I did!
More of my FREE Crochet Patterns
********************************************************
Find me, Jo of Jo’s Crafty Hook at the places listed below.
Email: jo@joscraftyhook.com
Facebook Group Jo’s Crafty Hookers
Facebook Group Jo’s Crafty Hook Designs
Facebook Page Jo’s Crafty Hook
Facebook Page: Crochet Designer Community

