
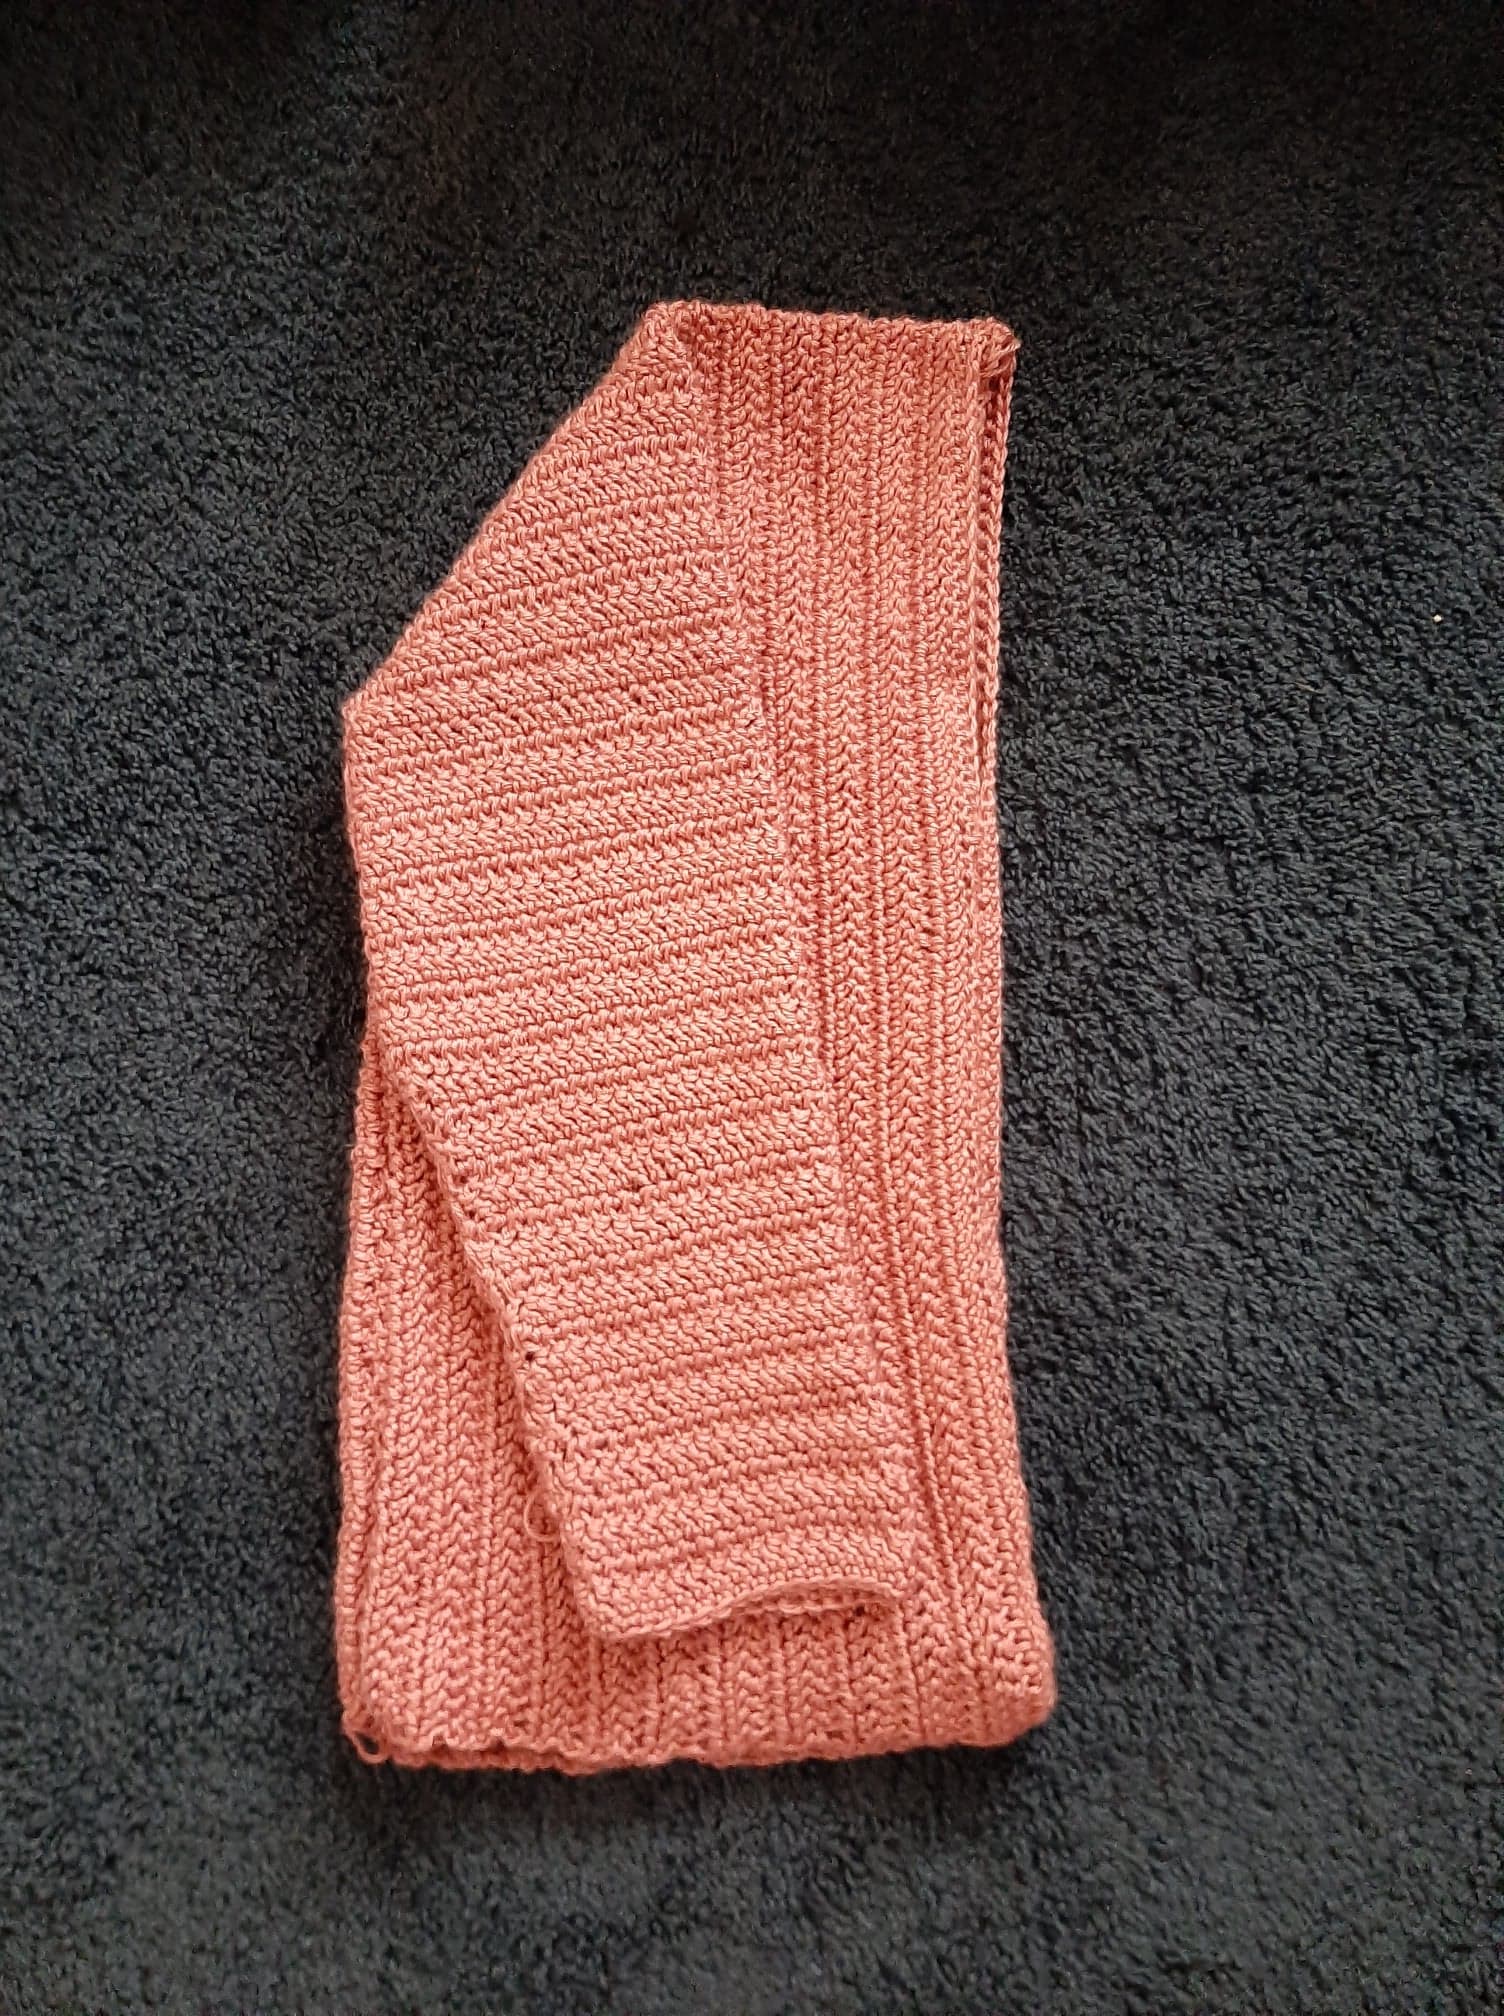
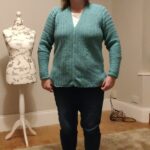
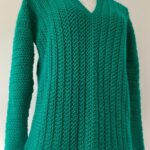
The Fairland Sweater Free Crochet Pattern was inspired by one of my crochet pattern testers, Laura. We both fell in love with the Herringbone Half Double Crochet, which is used in this crochet pattern. Laura told me the design I was using for the Rain Drops Mittens would look awesome in a sweater. Therefore the Fairland Sweater was born.
This page contains affiliate links. You can make a purchase using these links that I provide where I may receive compensation (at no added cost to you.) Purchases you make will help keep my website, Etsy Shop, and my Ravelry Store going and provide quality designs just for you!
The Rain Drops Mittens can be found in my Ravelry Store Jo’s Crafty Hook.
The Fairland Sweater can be found in my Ravelry Store Jo’s Crafty Hook or my Etsy Shop JosCraftyHook.


The great thing I found in designing this sweater was the feedback I received from my pattern testers. It led me to look at the design from their point of views. I always encourage my crochet pattern testers to be completely honest with me whether the comments are good or bad. I ask them: “How am I going to grow as a Crochet Designer if no one gives me feedback; asks questions, or comments on a particular part of the design?” Below you will hear from another one of my testers, so be sure to look for it.
So let’s get started on crocheting the Fairland Sweater!

The Fairland Sweater can be found in my Ravelry Store Jo’s Crafty Hook or my Etsy Shop JosCraftyHook.

Materials:
US Hook I/5.5 or 5.5 mm
900-2500 yards of #4 Worsted Weight Yarn
Scissors
Tapestry Needle
Stitch Markers
Gauge:
US Hook I/5.5 or 5.5 mm
12 HBDC x 8 Rows = 4 inch
Abbreviations:
CH = Chain Ch 1 does NOT count as a stitch
SS = Slip Stitch Ch 2 does NOT count as a stitch
ST = Stitch Ch 3 does count as a stitch
FDC = Foundation Double Crochet
HBDC = Herringbone Double Crochet
DC2TOG = Double Crochet 2 Together
Notes:
Fairland Sweater Back Closure Video here
Fairland Sweater Front Closure Video here
Fairland Sweater Setup Video here
HBDC Video Tutorial here
Gauge Swatch
R1: FDC 14 or chain 17, dc in the 4th st from Hook and each remaining st. Ch 3 (14 st)
R2: Ch 3 and turn. HBDC in each remaining st. (Ch 3 counts as stitch)
R3-R10: Ch 3 and turn. HBDC in each remaining st.
Special Notes
*Sizes range from S, M, L, XL, 2X, and 3X
*The Sweater is crocheted in 2 Panels.
*The Sweater is done in Rows.
*The Sleeves are done in the Round, turning after each row.
*Be sure to note different brands of yarn may result in different sizes and yardage.

These are my Measurements
| Bust Size | 34 | 36 | 38 | 40 | 42 | 44 |
| Sizes | Small | Medium | Large | X-Large | 2X | 3X |
| Panel Width | 8” | 10” | 12” | 14” | 16” | 18” |
| Panel Length | 48” | 52” | 56” | 60” | 64” | 68” |
| Back of Sweater Stitch Count | 68 | 74 | 78 | 82 | 86 | 90 |
| ½ Stitch Count for Sleeves | 18 | 20 | 22 | 24 | 26 | 28 |
| Full Sleeve Opening | 36 | 40 | 44 | 48 | 52 | 56 |
| Front Stitch Count for Sewing | 42 | 44 | 46 | 48 | 50 | 52 |
| Sleeve Length | 16” | 17” | 18” | 19” | 20” | 21” |

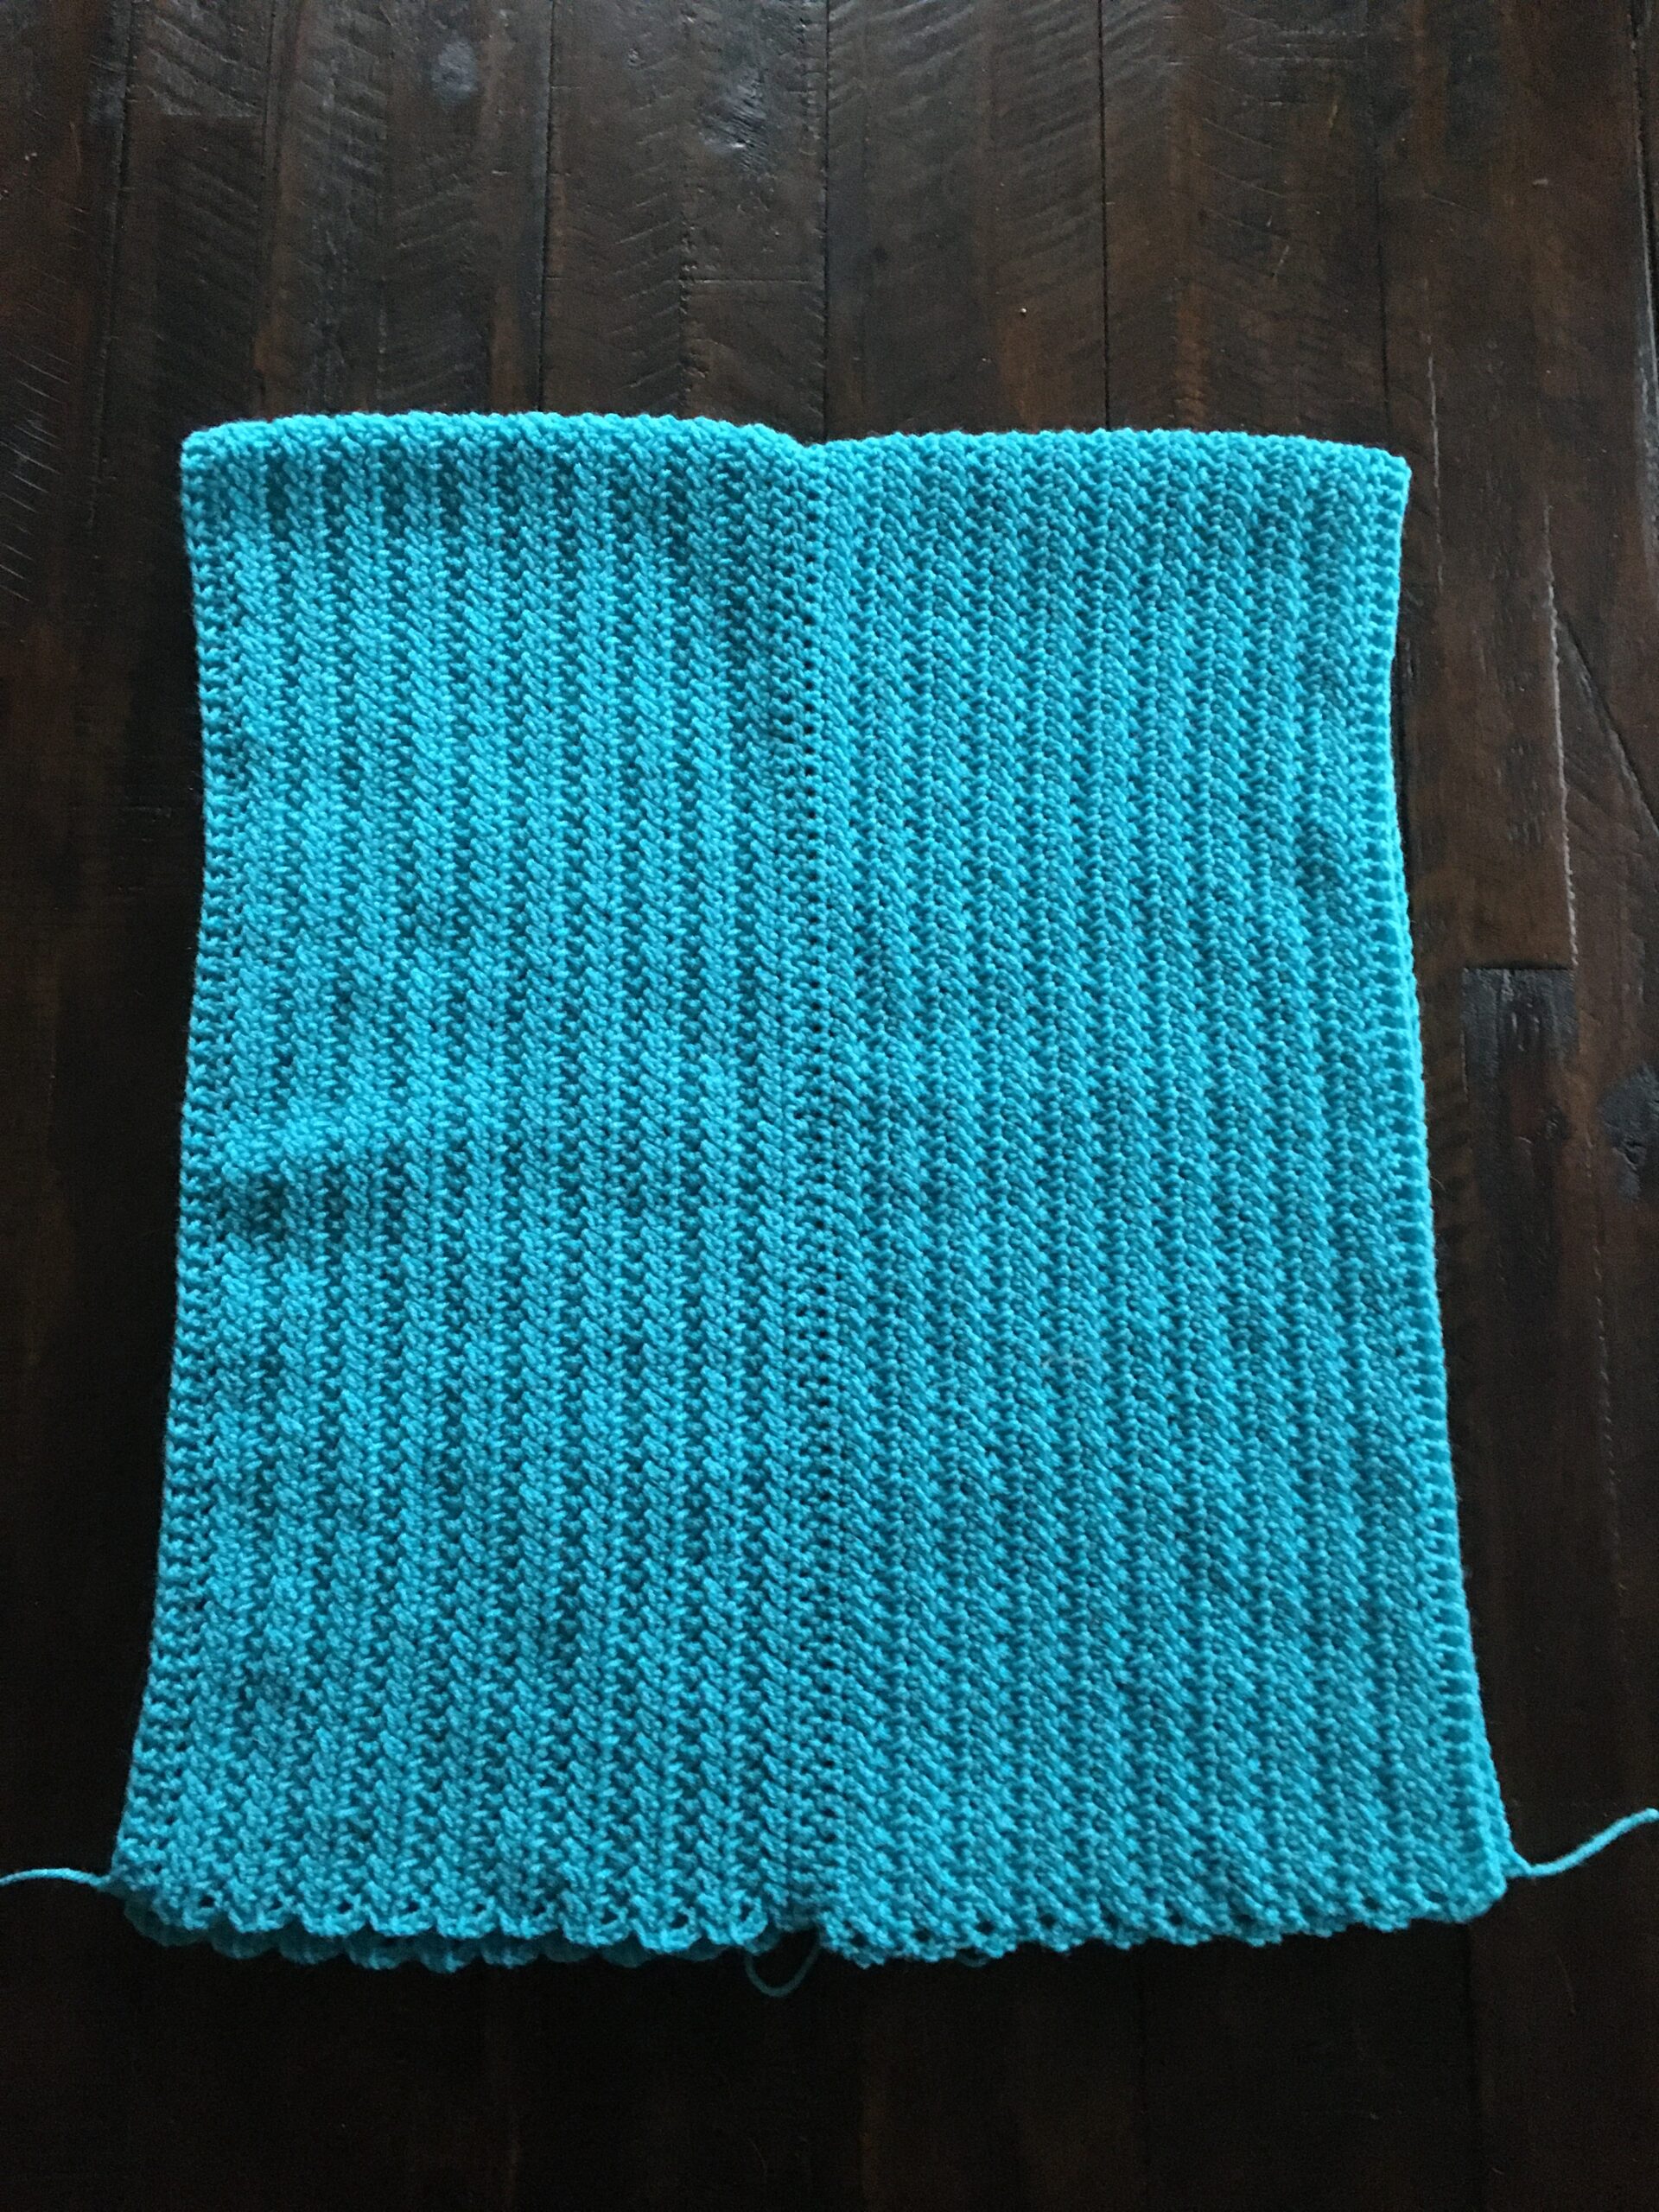
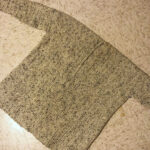
Sweater Panel (make 2)
R1: FDC 136 (148, 156, 164, 172, 180) st Turn
Optional: Ch 139 (151, 159, 167, 175, 183), dc in 4th loop from hook and each st across. Turn 136 (148, 156, 164, 172, 180) st
R2-R20 (22, 24, 26, 28, 30): Ch 3 (counts as st), hbdc in each st across. Turn 136 (148, 156, 164, 172, 180) st
R21 (23, 25, 27, 29, 31): Ch 1, sc in same st and each st across. 136 (148, 156, 164, 172, 180) st
Leave Long Tail for Sewing Panels together
The Fairland Sweater can be found in my Ravelry Store Jo’s Crafty Hook or my Etsy Shop JosCraftyHook.

March is National Craft Month! Get 50% off ALL classes from 3/1-3/31
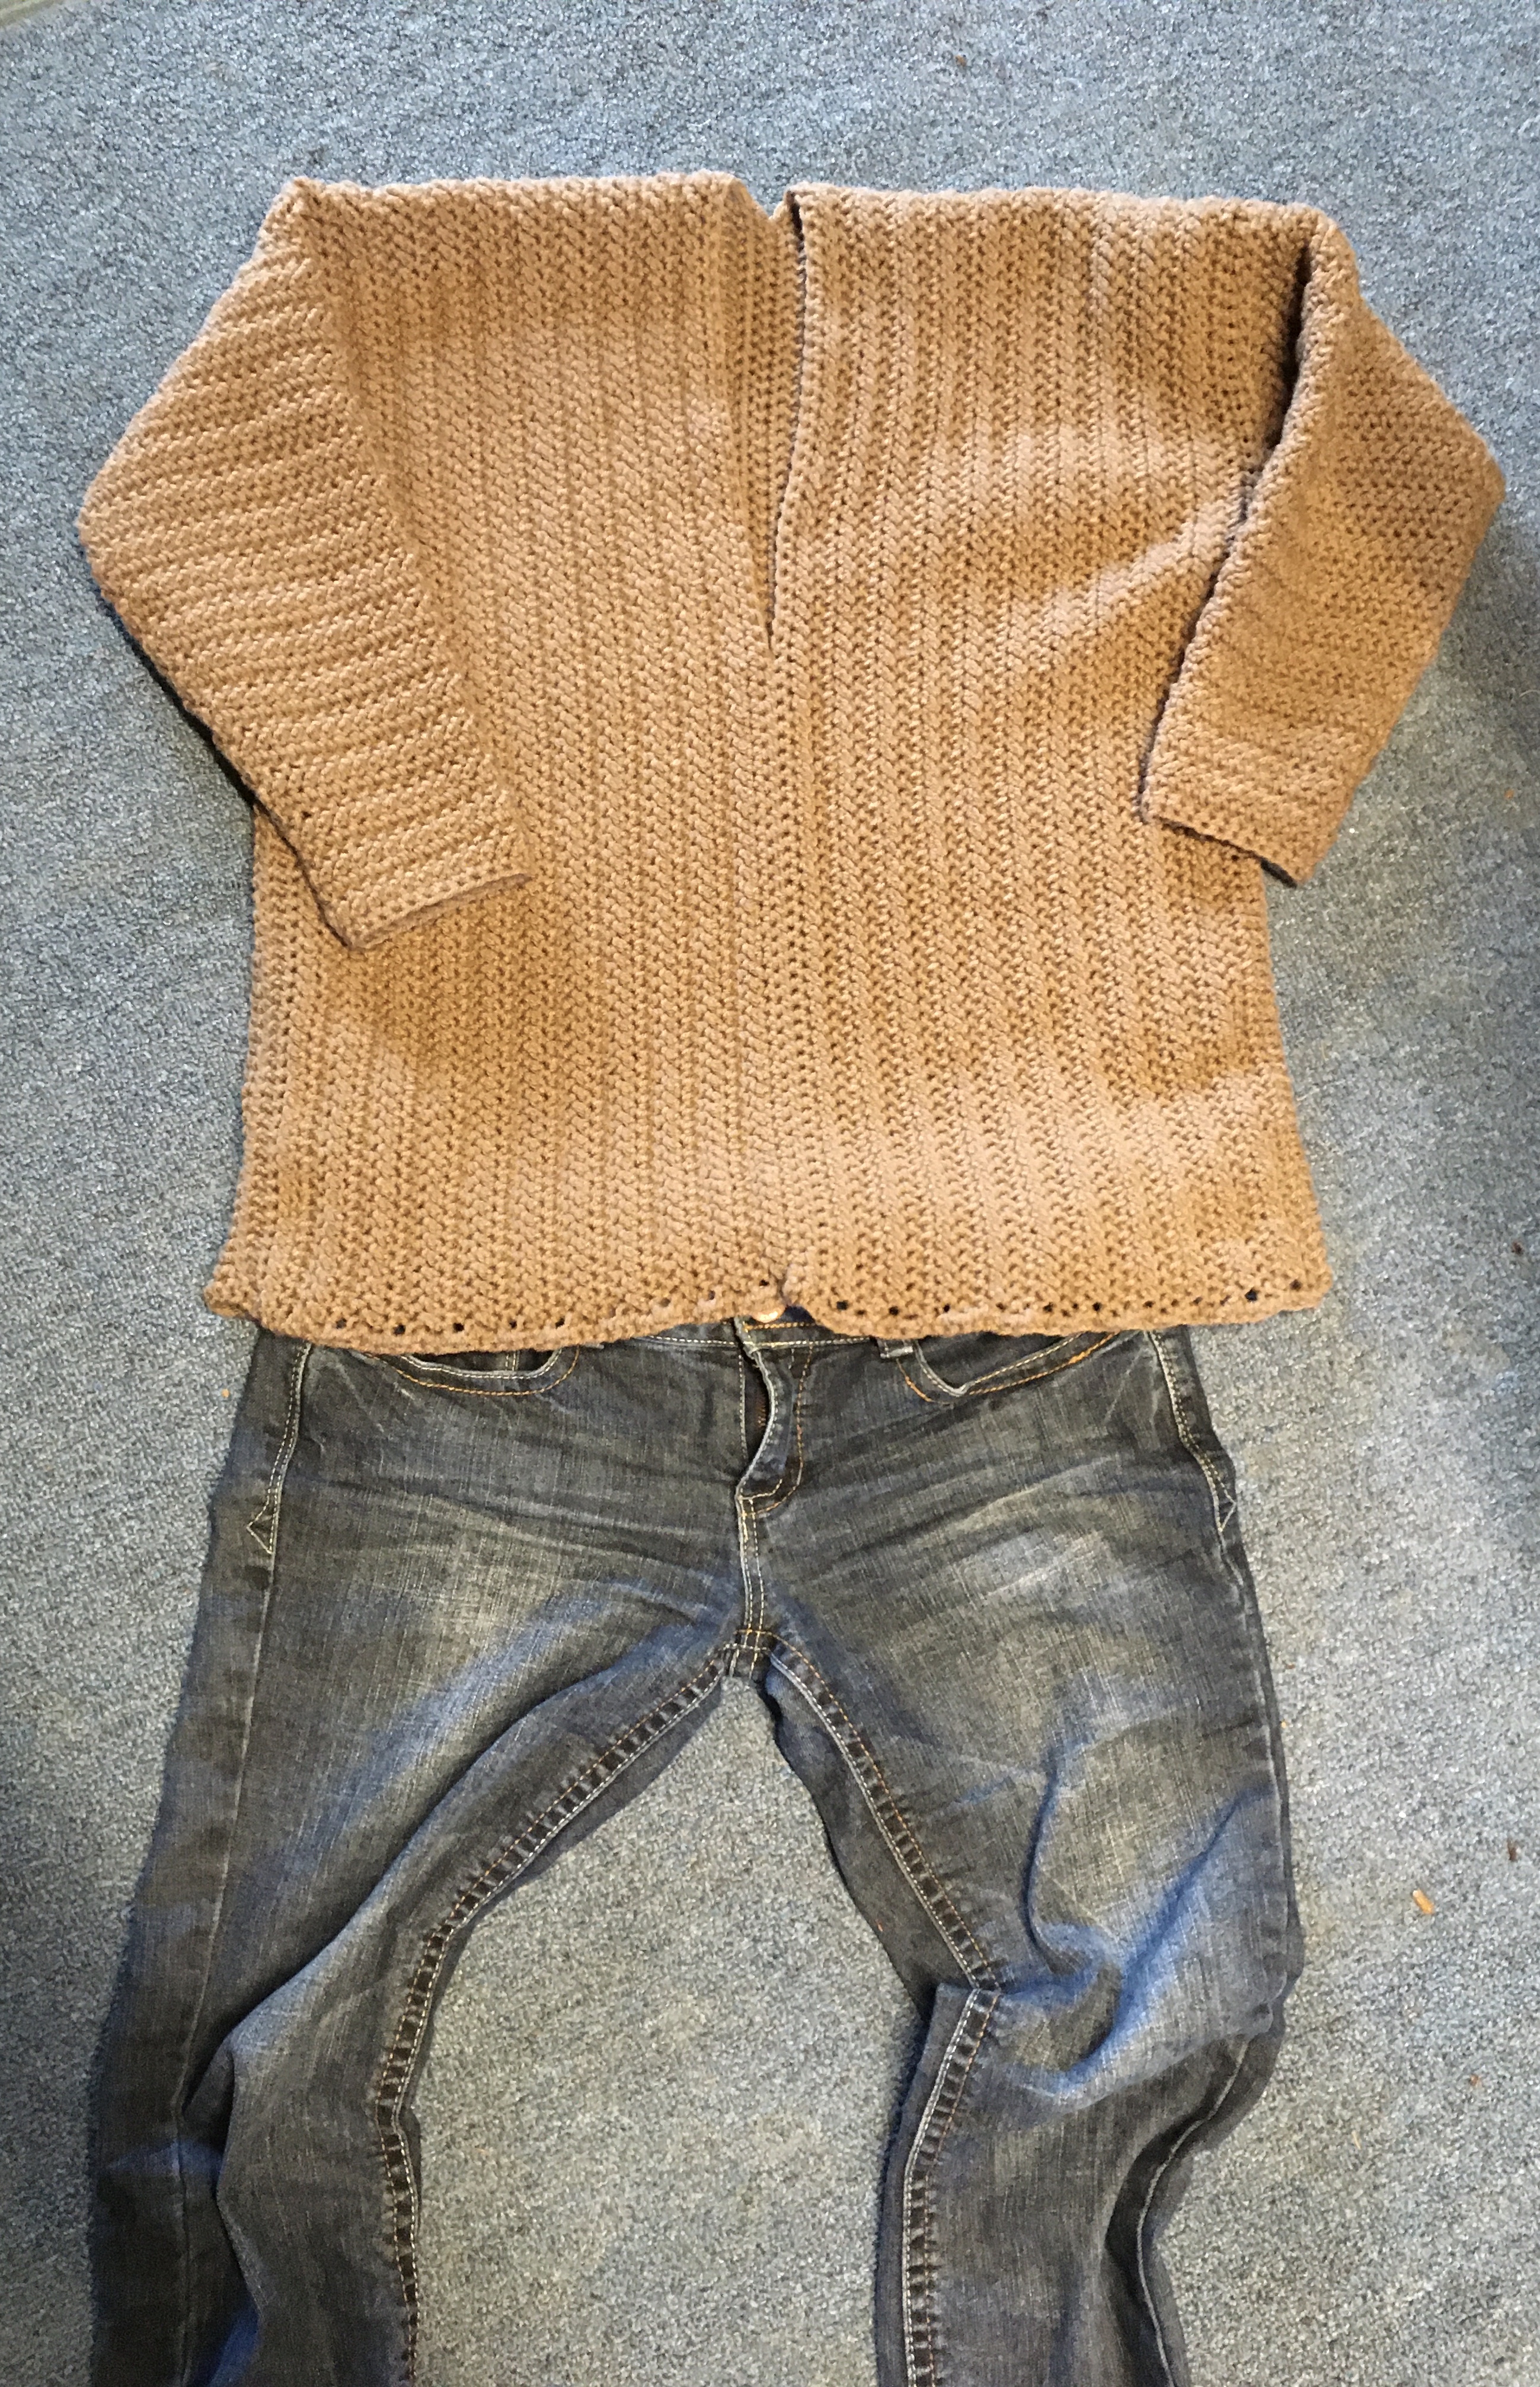
Back of Sweater
Fairland Sweater Setup Video Tutorial
Fairland Sweater Back Closure Video Tutorial
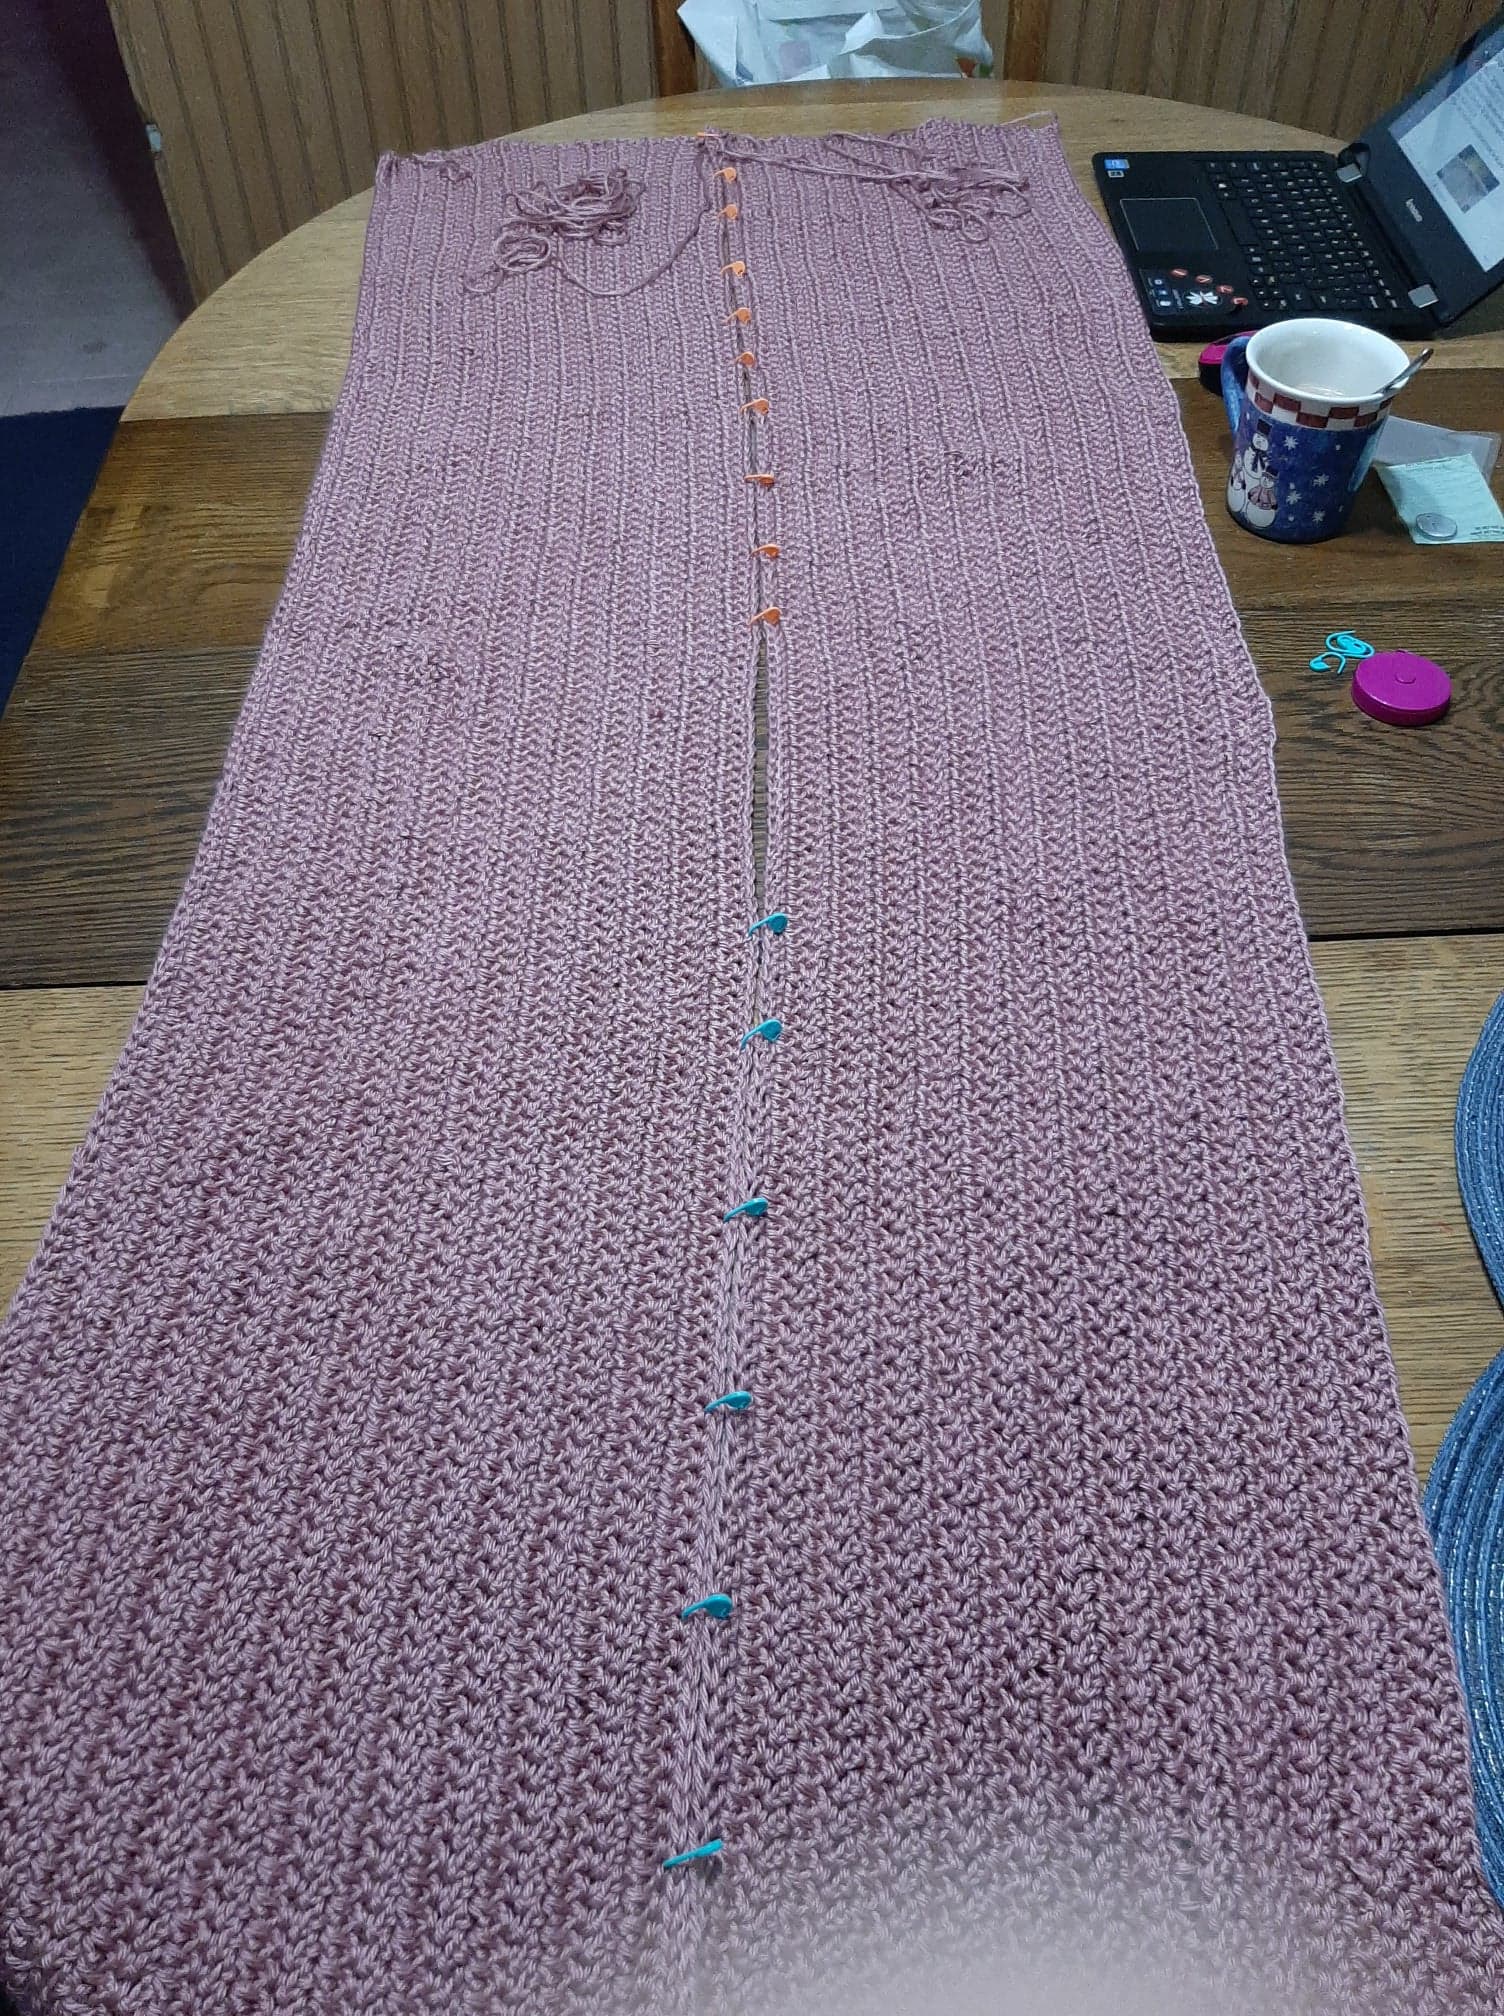
Step 1: Fold Panel in half or count up from the Bottom and place Stitch Marker in 68 (74, 78, 82, 86, 90) st
Step 2: Place Panels together with SC row facing SC row, long tails at opposite ends.
Step 3: Using Long Tail, Sew Panels together using the Mattress Stitch and Stitch Count from Step 1. 68 (74, 78, 82, 86, 90) st
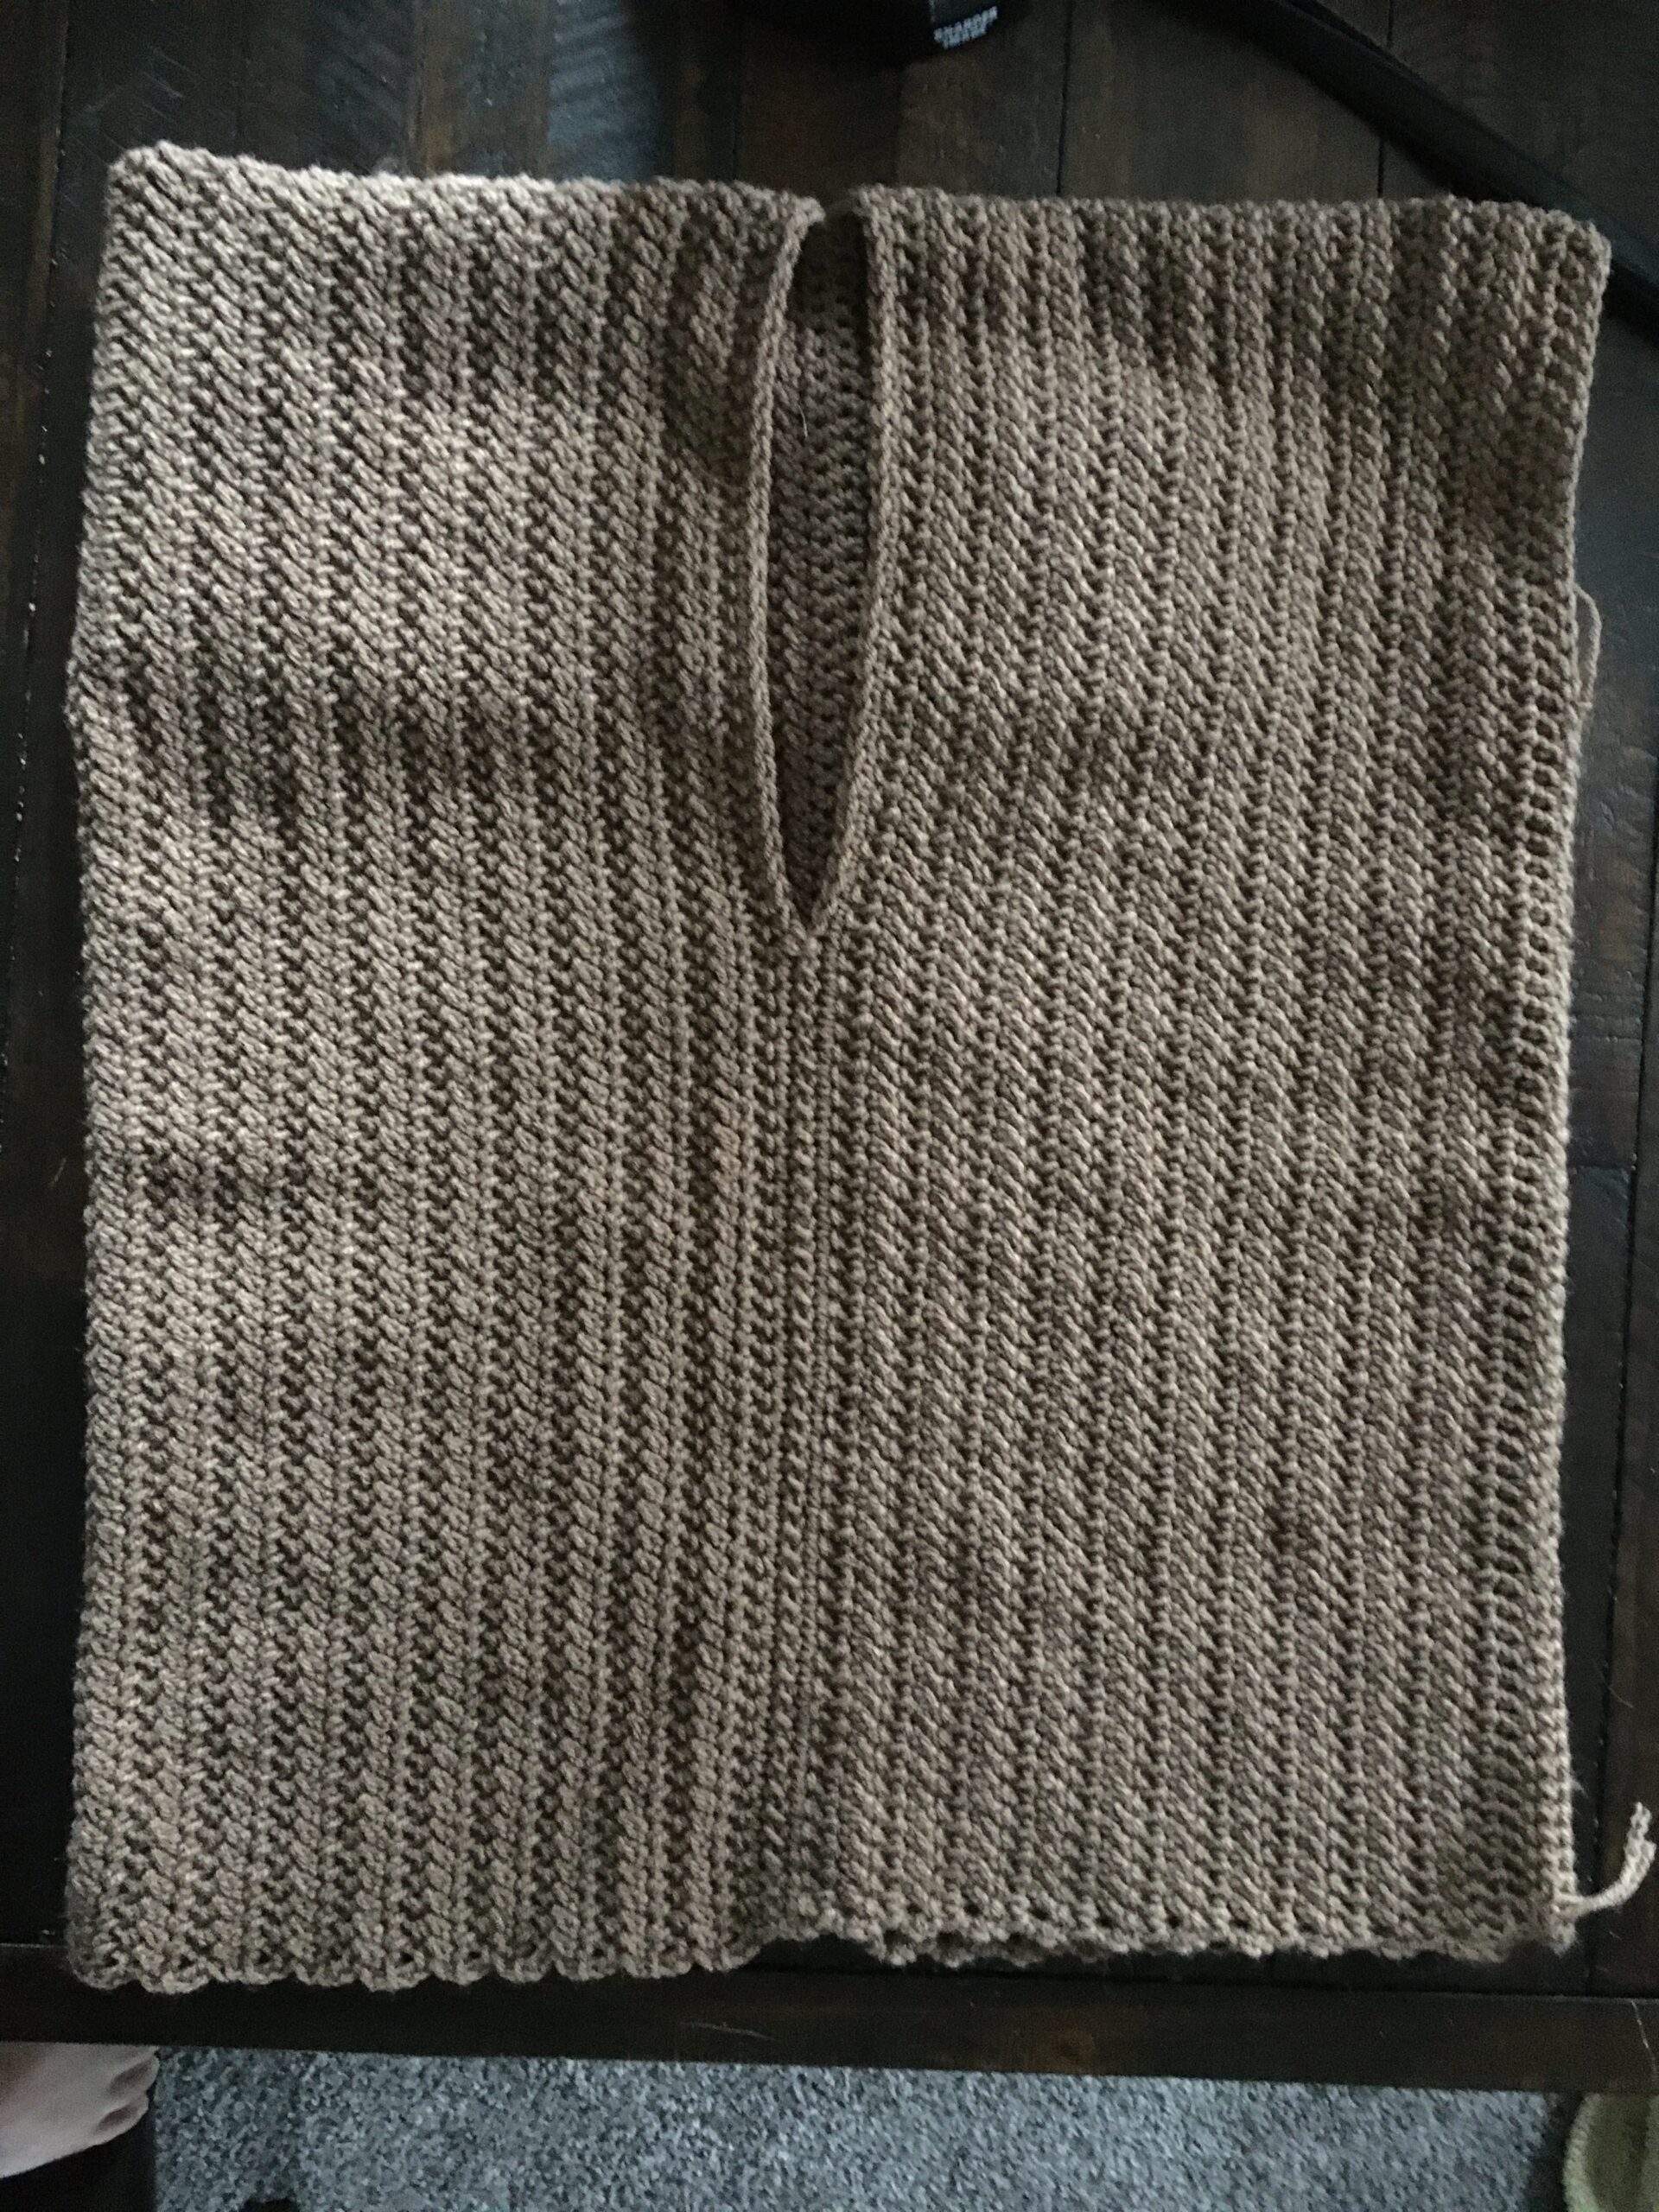
Front of Sweater
Step 1: Turn Panels around with the bottom facing you.
Step 2: Measure 9.5” (10” 10.5” 11” 11.5” 12”) from the bottom and place Stitch Marker in stitch or use Stitch Count in Table above for sewing front panels closed.
Step 3: Using Long Tail, Sew Panels together, starting from the bottom, to create neck opening. 42 (44, 46, 48, 50, 52) st
**The Video Tutorial for sewing the back closed can be used for the front as well.
Another one of my crochet pattern tester was interested in sharing her viewpoint about the Fairland Sweater’s sleeves. Below is what she has to say about altering sleeves to YOUR fit:
The construction of this sweater offers a unique opportunity to easily alter the sleeves for a custom fit. Due to the drop shoulders the sleeve opening will fall on a different place on your arm depending on how you choose to have your sweater fit (form fitting, or loose). I prefer to have my sweaters more form fitting. I made the medium sweater and the sleeve openings felt a little tight for me because they fell very close to my shoulder. All I had to do was go up one size on the sleeve portion and then they fit perfectly! The transverse is also true. If you like a very loose fit to your sweater you may want to go down a size on your sleeves.
Nancy B.
The Fairland Sweater can be found in my Ravelry Store Jo’s Crafty Hook or my Etsy Shop JosCraftyHook.
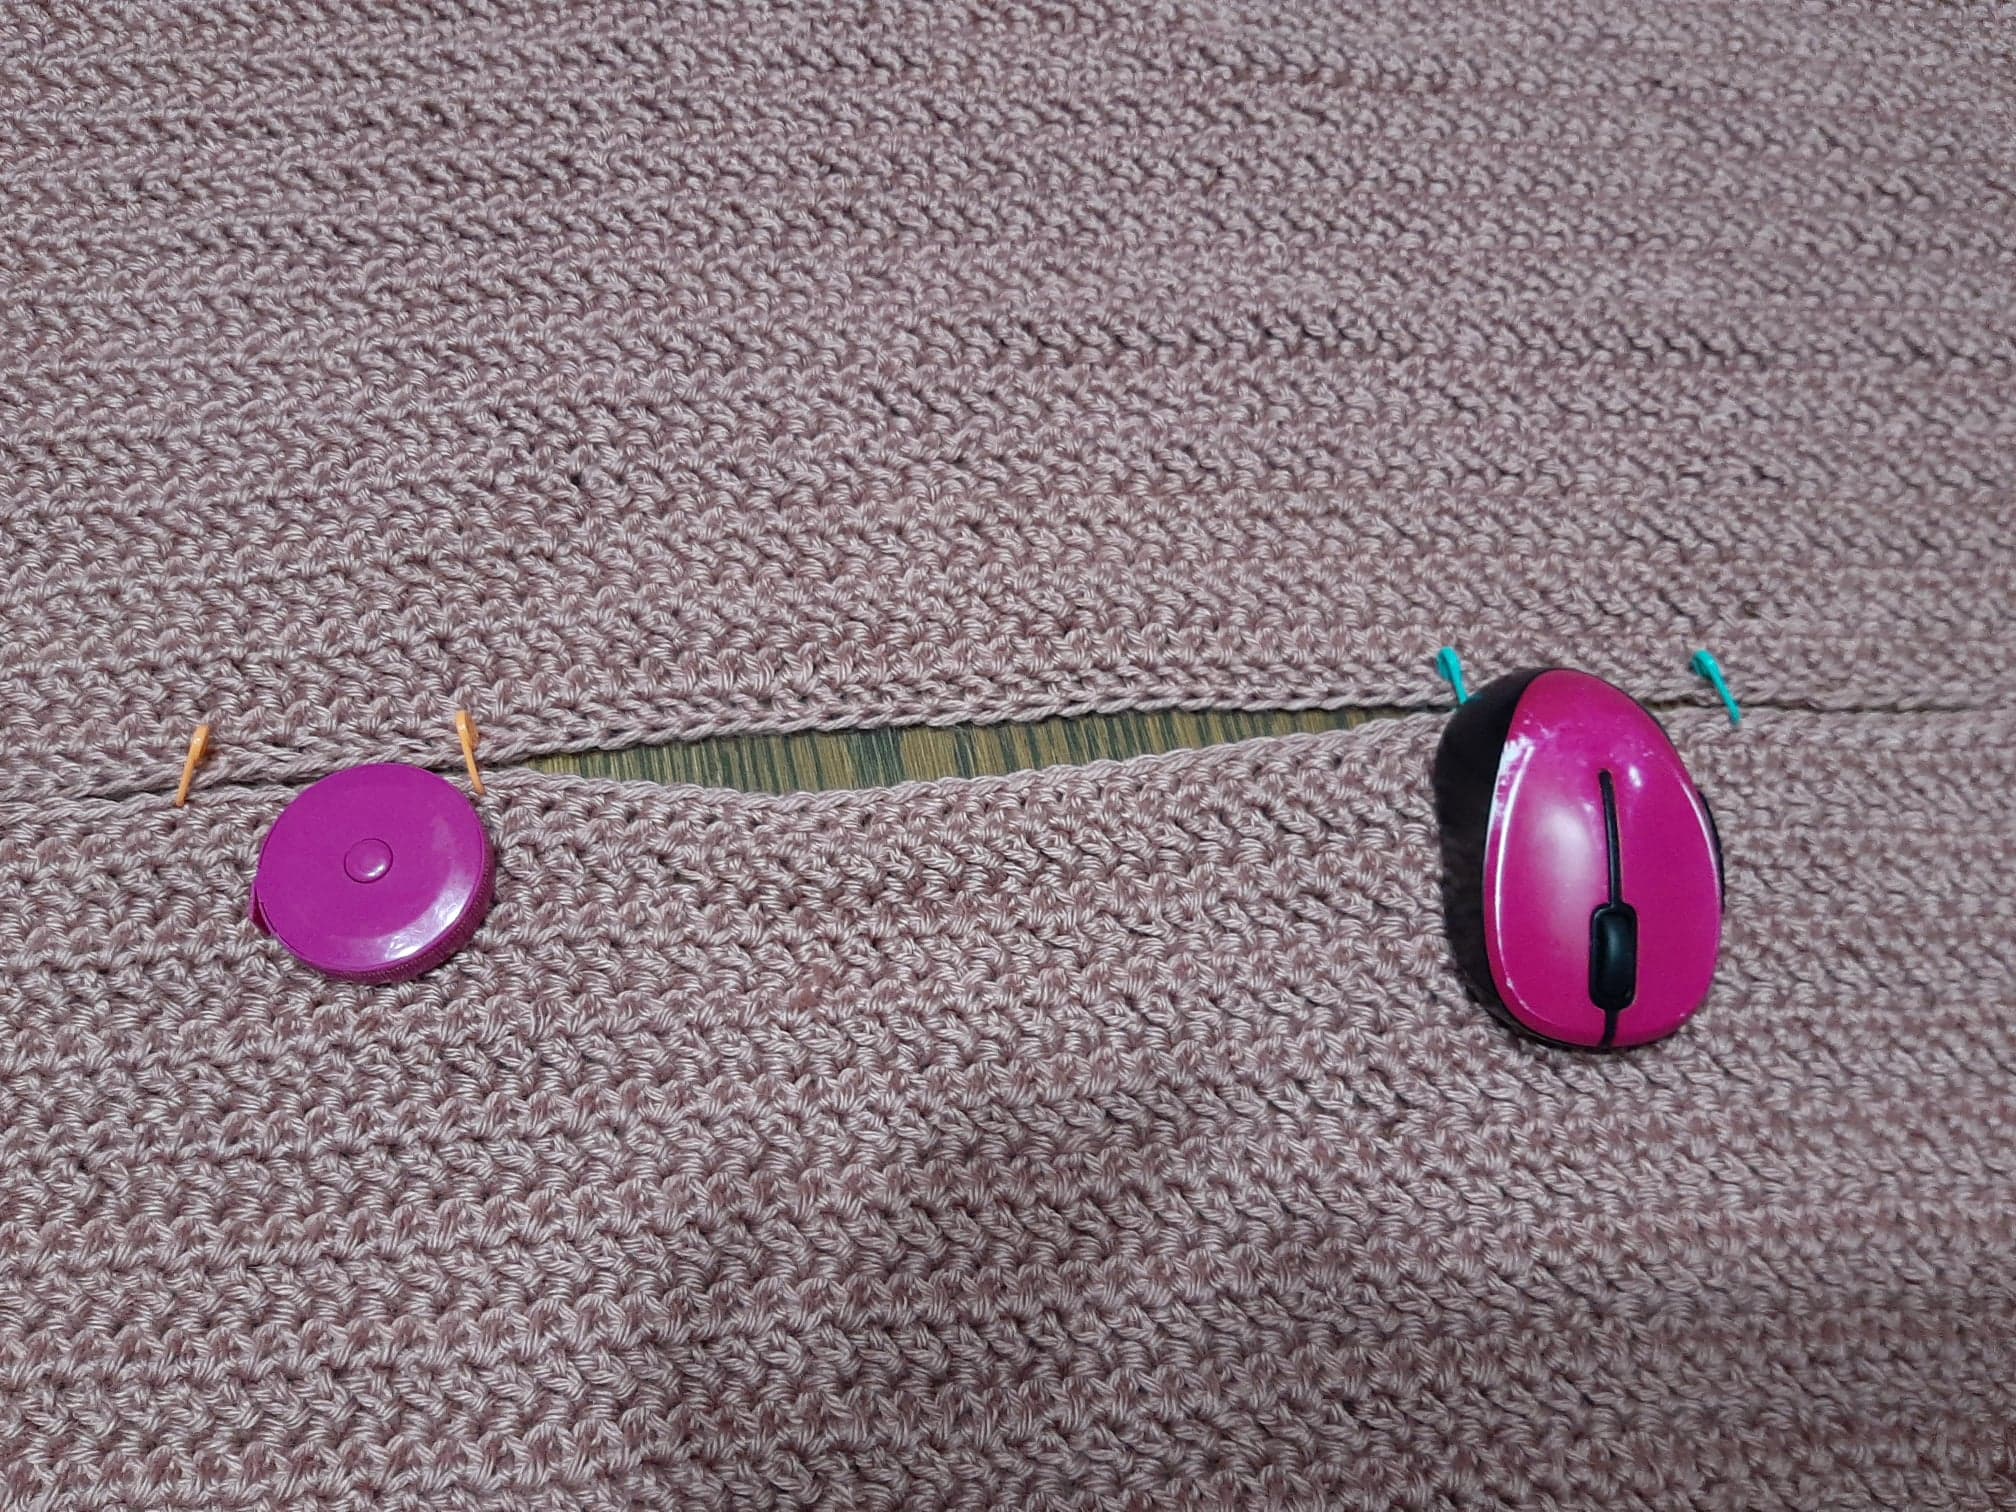
Sleeves Make 2 (repeat on opposite side)
Step 1: From the Top of the Sweater measure 6.5” (7” 7.5” 8” 8.5” 9”) and place Stitch Marker in Stitch on each panel. Leave Stitch Marker in place as a guide to where you will place your first and last stitch for your Sleeves.
Optional: Use the Halfway count from Table above or count 18 (20, 22, 24, 26, 28) from the Top of sweater and place Stitch Marker in Stitch on each side. You will have a total of 36 (40, 44, 48, 52, 56) st for your armhole.
Step 2: Sew Panels together, using the Mattress Stitch, from the bottom using your Stitch Marker, at the Armhole, as a guide for when to stop.
Sleeve – Attaching on the Right Side of the Sweater
R1: Slip Stitch into 1st stitch of Sleeve opening (using your Stitch Marker). Ch 2, hbdc in the same st, and each stitch around. 36 (40, 44, 48, 52, 56) ss in 1st st to join.
R2: Ch 2, turn and hbdc in each st around. Ss in 1st st to join. 36 (40, 44, 48, 52, 56) st
R3: Ch 2, turn and hbdc in each st around. Ss in 1st st to join. 36 (40, 44, 48, 52, 56)
R4-R10 (12, 14, 16, 18, 20): Repeat R2-R3
Sleeve – Decreases
R11 (13, 15, 17, 19, 21): Ch 2, turn, dc2tog in the same st and next st. hbdc in each st until the last 2 st, dc2tog. Ss in 1st st to join. 34 (38, 42, 46, 50, 54) st
R12 (14, 16, 18, 20, 22): Ch 2 and turn. Hbdc in the same st and each st around. Ss in 1st st to join. 34 (38, 42, 46, 50, 54) st
R13 (15, 17, 19, 21, 23): Ch 2, turn, dc2tog in same st and next st. hbdc in each st until the last 2 st, dc2tog. Ss in 1st st to join. 32 (36, 40, 44, 48, 52) st
R14 (16, 18, 20, 22, 24): Ch 2 and turn. Hbdc in the same st and each st around. Ss in 1st st to join. 32 (36, 40, 44, 48, 52)
R15 (17, 19, 21, 23, 25): Ch 2, turn, dc2tog in same st and next st. hbdc in each st until the last 2 st, dc2tog. Ss in 1st st to join. 30 (34, 38, 42, 46, 50) st
R16 (18, 20, 22, 24, 26): Ch 2 and turn. Hbdc in the same st and each st around. Ss in 1st st to join. 30 (34, 38, 42, 46, 50) st
R17 (19, 21, 23, 25, 27): Ch 2, turn, dc2tog in same st and next st. hbdc in each st until the last 2 st, dc2tog. Ss in 1st st to join. 28 (32, 36, 40, 44, 48) st
R18 (20, 22, 24, 26, 28): Ch 2 and turn. Hbdc in the same st and each st around. Ss in 1st st to join. 28 (32, 36, 40, 44, 48) st
R19 (21, 23, 25, 27, 29): Ch 2, turn, dc2tog in same st and next st. hbdc in each st until the last 2 st, dc2tog. Ss in 1st st to join. 26 (30, 34, 38, 42, 46) st
R20 (22, 24, 26, 28, 30): Ch 2 and turn. Hbdc in the same st and each st around. Ss in 1st st to join. 26 (30, 34, 38, 42, 46) st
R21 (23, 25, 27, 29, 31): Ch 2, turn, dc2tog in same st and next st. hbdc in each st until the last 2 st, dc2tog. Ss in 1st st to join. 24 (28, 32, 36, 40, 44) st
R22 (24, 26, 28, 30, 32): Ch 2 and turn. Hbdc in the same st and each st around. Ss in 1st st to join. 24 (28, 32, 36, 40, 44) st
R23 (25, 27, 29, 31, 33): Ch 2, turn, dc2tog in same st and next st. hbdc in each st until the last 2 st, dc2tog. Ss in 1st st to join. 22 (26, 30, 34, 38, 42) st
Sleeve from Elbow to Wrist
R1: Ch 2 and turn. Hbdc in the same st and each st around. Ss in 1st st to join. 22 (26, 30, 34, 38, 42) st
Repeat R1 until Sleeve measures 16” (17” 18” 19” 20” 21”) or desired length. If your Sleeves seem too big or too small try going up or down a size.
Sleeve Edging
R1: Ch 1 and turn. Sc in the same st and each st around. Ss in 1st st to join. 22 (26, 30, 34, 38, 42) st
Fasten off and weave in ends.


The Fairland Sweater can be found in my Ravelry Store Jo’s Crafty Hook or my Etsy Shop JosCraftyHook.
From the Designer:
- Thank you for your interest in this crochet pattern! Check out my other GREAT patterns at my Etsy Shop JosCraftyHook or at my Ravelry Store here! While you are here at my website be sure to subscribe to my Mailing List and Newsletter. This way you will be notified when I release another pattern or blog post!
- If you have any questions or concerns about this pattern or any other pattern please find me at Jo’s Crafty Hook Designs on Facebook or email me at jo@joscraftyhook.com
- You are free to sell or gift the item, please do NOT claim this design as your own. Please forward any one who would like to do this crochet pattern or any of my patterns to my Etsy shop, the Ravelry Store, or to my website. The web addresses for any place to connect with me are listed below.
- Every purchase of my patterns helps! It allows me to buy more yarn so I can create and design more Handmade Crocheted Creations for you to enjoy.
- I would LOVE to see your version of my designs! You can “Hook It” at my Ravelry Jo’s Crafty Hook Designs OR add a pic on my Facebook Page Jo’s Crafty Hook Designs OR at any one of the places below that allows you to connect with me! Pictures, Comments, Feedback, etc. are ALWAYS welcome at my website www.joscraftyhook.com!
Find me, Jo of Jo’s Crafty Hook Designs at any one of these places listed below!
Website: www.joscraftyhook.com
Etsy Shop: www.etsy.com/shop/JosCraftyHook
Facebook: www.facebook.com/JosCraftyHook
Facebook: www.facebook.com/JosCraftyHookDesigns
Ravelry: https://www.ravelry.com/designers/jos-crafty-hook
Instagram: www.instagram.com/joscraftyhook
Instagram: www.instagram.com/jo_bear38
Pinterest: www.pinterest.com/baird0095
Twitter: www.twitter.com/joscraftyhook
Twitter: www.twitter.com/jo_baird
YouTube: https://www.youtube.com/channel/UCk-6IB36bg4gkvaawn3xfdg