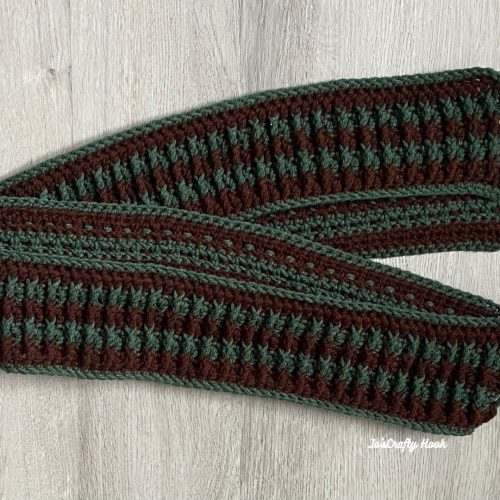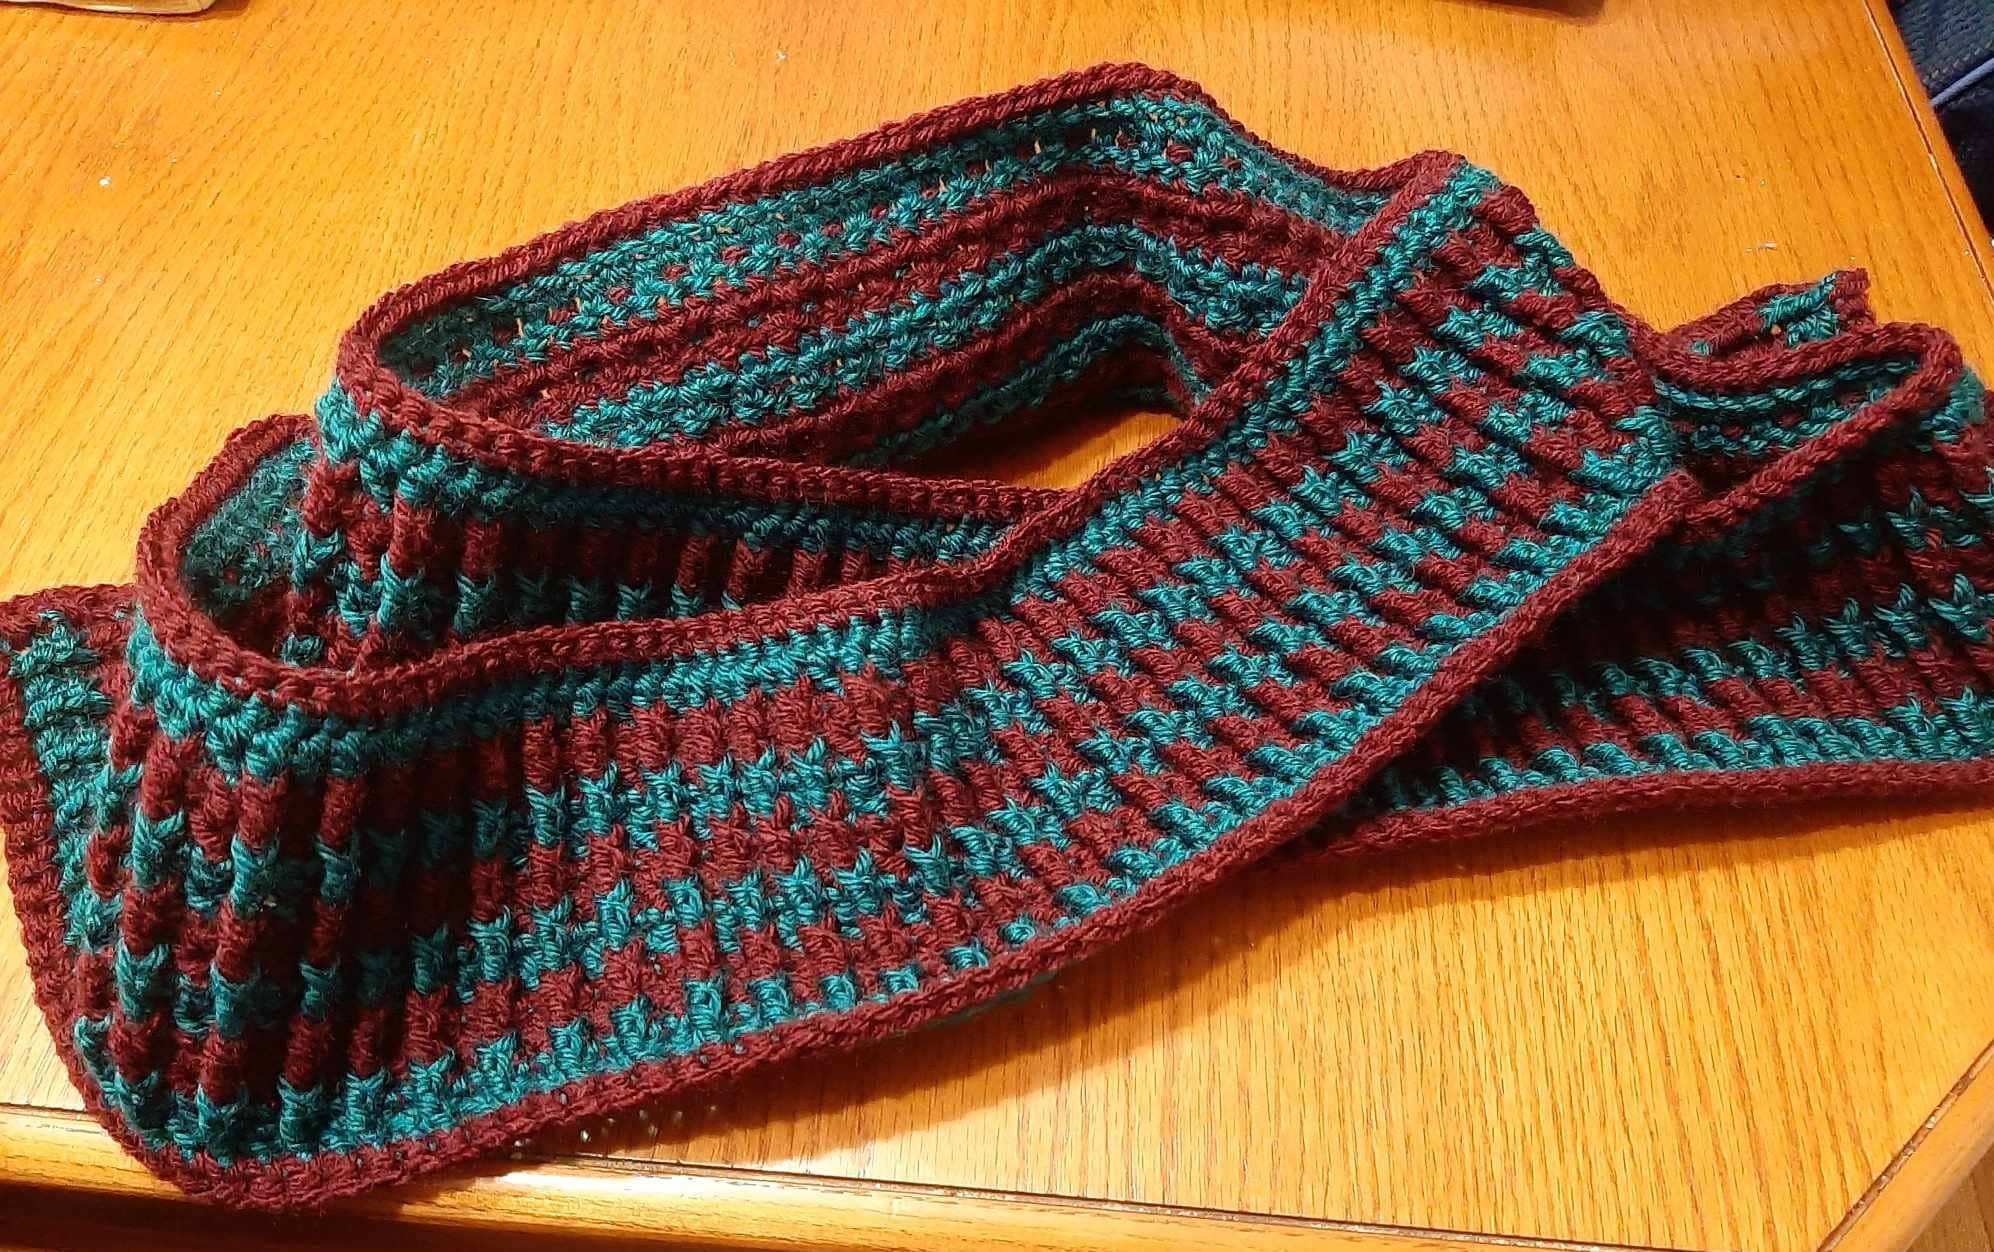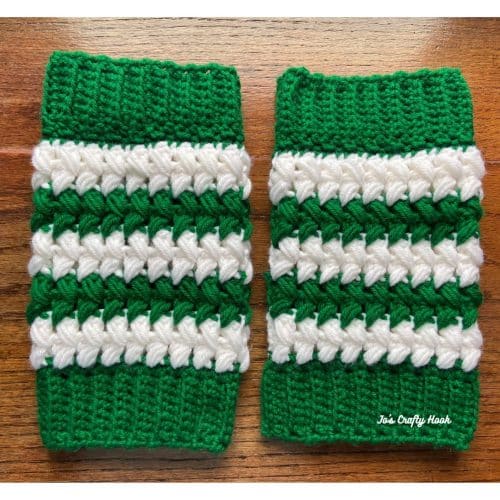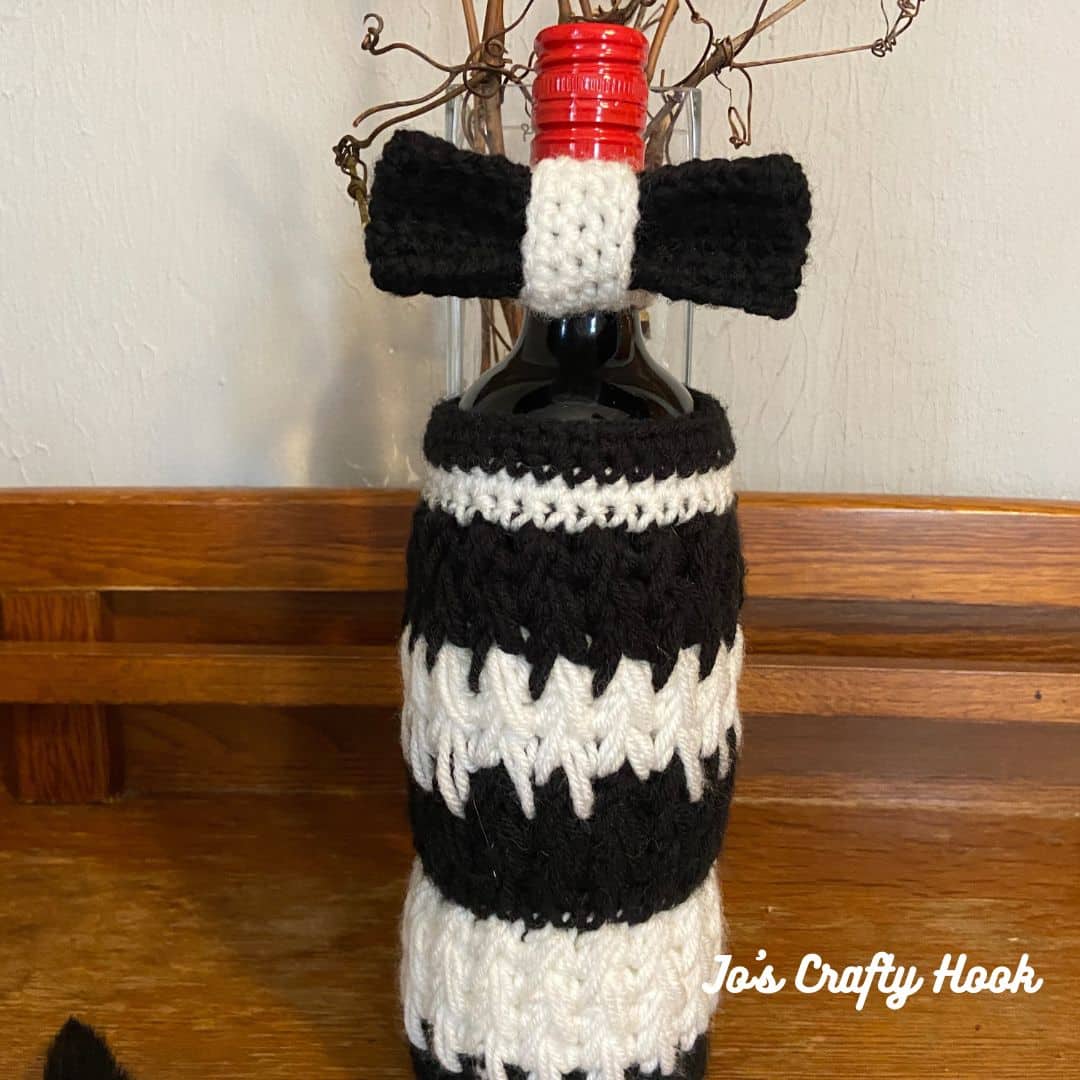
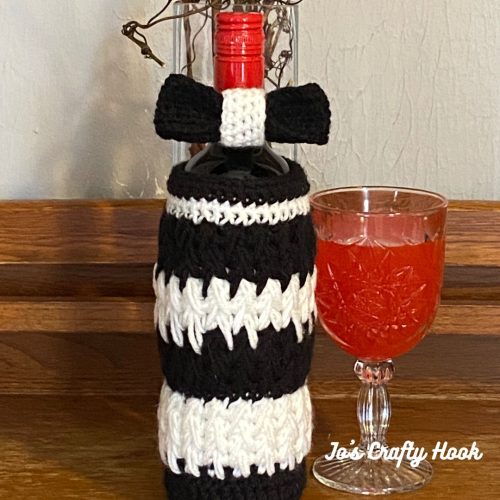
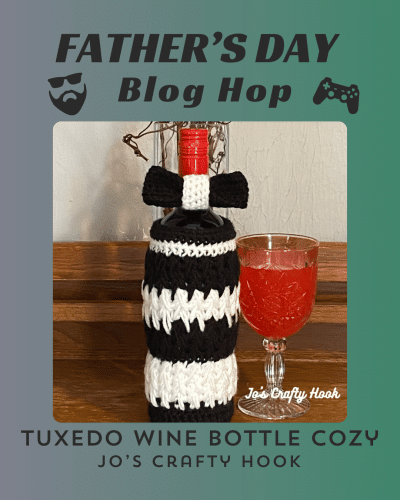
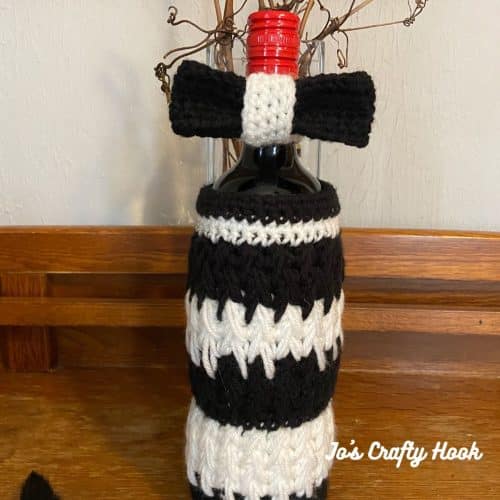
Tuxedo Wine Bottle Cozy Free Crochet Pattern
The Tuxedo Wine Bottle Cozy Free Crochet Pattern would be the perfect gift to add a little class to any wine bottle.
You can dress up a wine bottle when you give it as a Father’s Day Gift; or when you celebrate New Year’s Eve or any of the Holidays.
You make this in so many different colors for any of the holiday season, birthdays and more.
Ad-Free Premium Crochet Pattern
You can purchase an Ad-Free copy of the Tuxedo Wine Bottle Cozy Crochet Pattern at my Ravelry Store for a small fee.

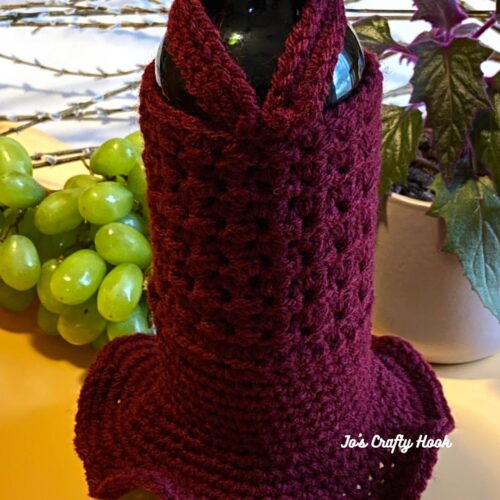
Claret Dress Wine Bottle Cozy Crochet Pattern
You can purchase a copy of my Claret Dress Wine Bottle Cozy Crochet Pattern, that would make the perfect date to the Tuxedo Wine Cozy.
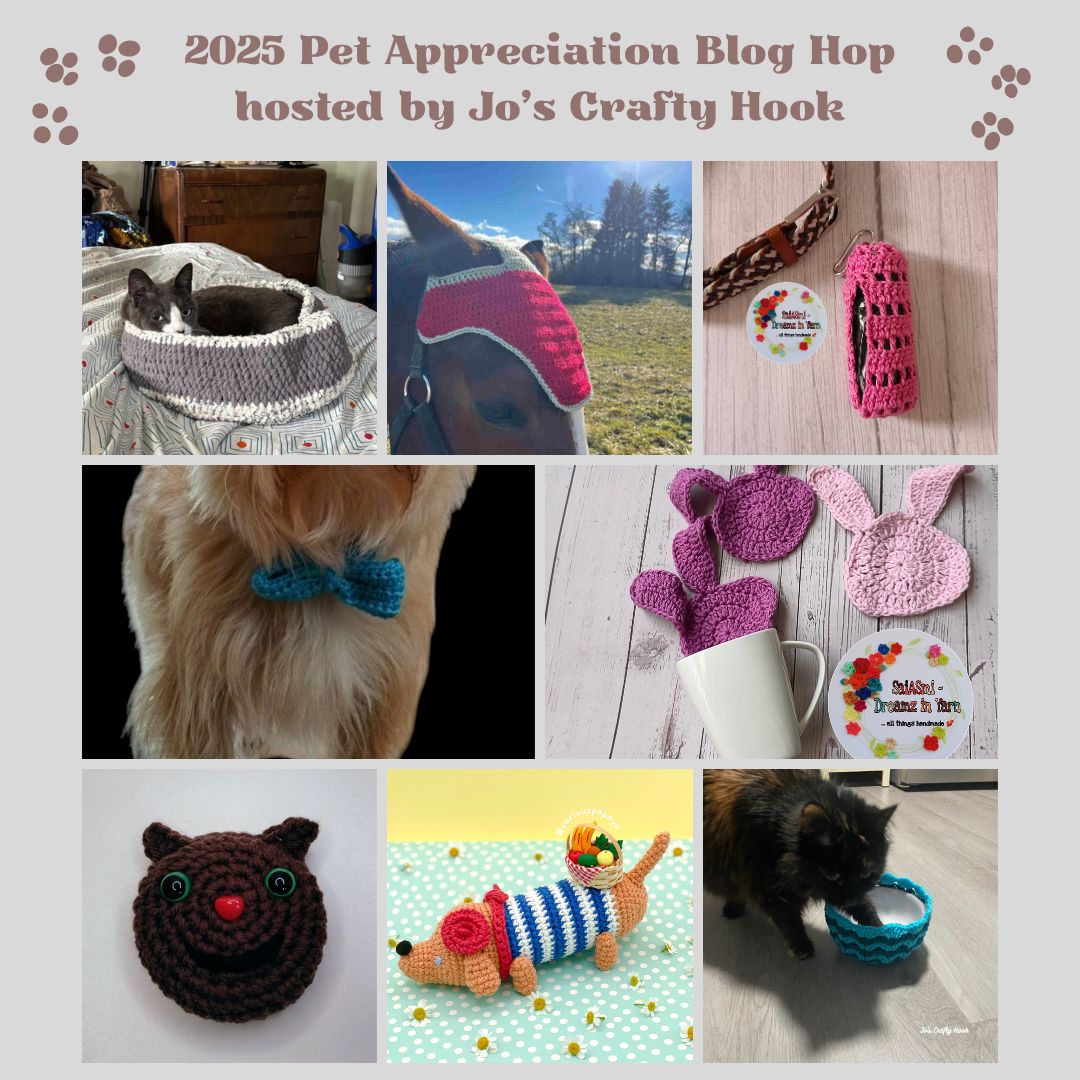
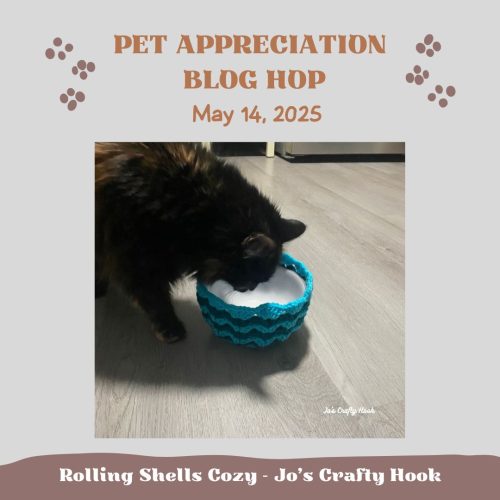
Father’s Day Blog Hop 2025 hosted by Green Fox Farms Designs
My Tuxedo Wine Bottle Cozy Crochet Pattern is being featured in the Father’s Day Blog Hop hosted by Green Fox Farms Designs.
My Day – May 26th – May 27th from 11a EST to 10:59a EST
Visit the Father’s Day Blog Hop 2025 Event’s Page to get the Coupon Code needed to get a FREE premium copy of my Tuxedo Wine Cozy Crochet Patten.
Father’s Day Blog Hop 2025 hosted by Green Fox Farms Designs

Visit my Ravelry Store
Once you have the Coupon Code needed to get a FREE copy, click on the Button below and use the code at checkout from my Ravelry Store.

Father’s Day Pattern Bundle – $10
Get ALL 15 premium crochet patterns inside the Father’s Day Pattern Bundle right NOW $10 and start crocheting the great gift makes for your Dad’s or the men in your life.

Tuxedo Wine Bottle Cozy Free Crochet Pattern
Information Needed
Materials:
35 yds (MC) of #4 ply Worsted/Aran Weight Yarn
25 yds (CC) of #4 ply Worsted/Aran Weight Yarn
US G Crochet Hook or 4 mm
US F Crochet Hook or 3.75 mm
Scissors
Tapestry Needle
Abbreviations/Stitches Used:
ch = chain rep = repeat
sl st = slip stitch RS = Right Side
sc = single crochet WS = Wrong Side
hdc = half double crochet YO = Yarn Over
fs = feather stitch
SM = Stitch Marker
Size:
3” Round by 9” tall
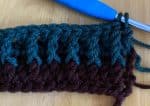
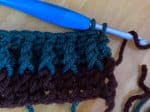
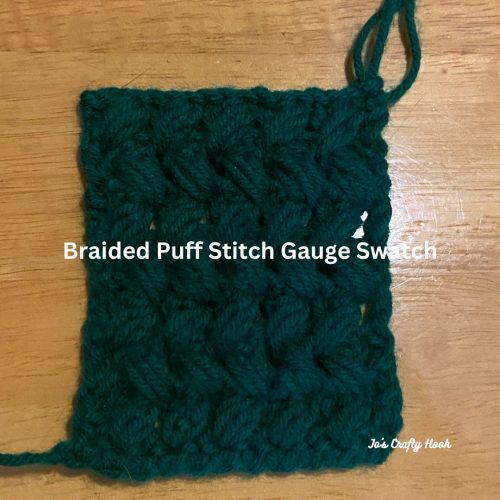
Special Stitches:
Feather Stitch: YO, pull up a loop, hdc in next ch sp. (3 loops on hook) YO, pull up a loop, insert hook in sk ch from previous row. (5 loops on hook) YO, pull up a loop, insert hook in next ch sp. (7 loops on hook) YO and pull through all 7 loops. ch 1
Video Tutorials
Feather Stitch – Right Handed
Feather Stitch – Left Handed
Notes:
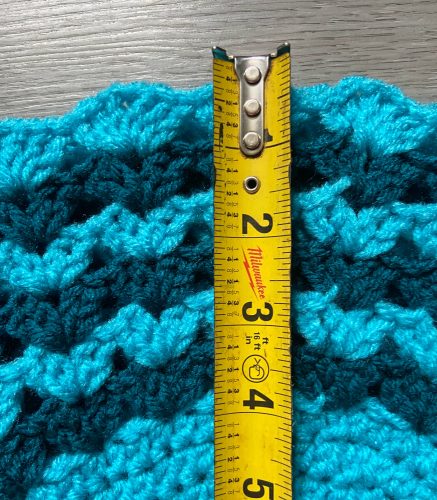
The bottom of the cozy is worked in the round.
The feather stitch is worked in the round with turning rows.
The chain 1 counts as a stitch when used in the feather stitch.
There are helpful step-by-step picture tutorials for the assembly of the extra parts added to the wine bottle.
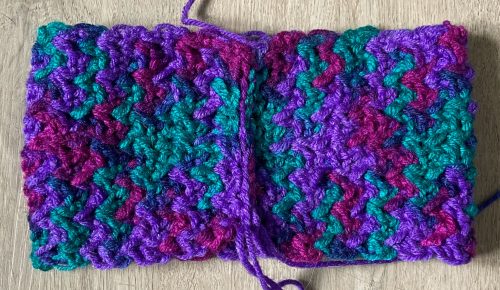
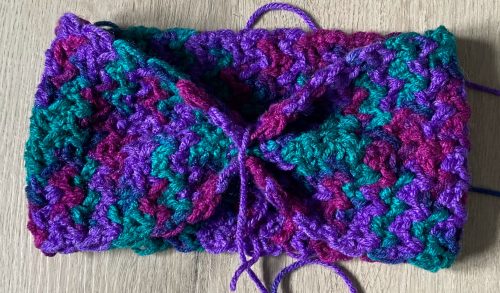
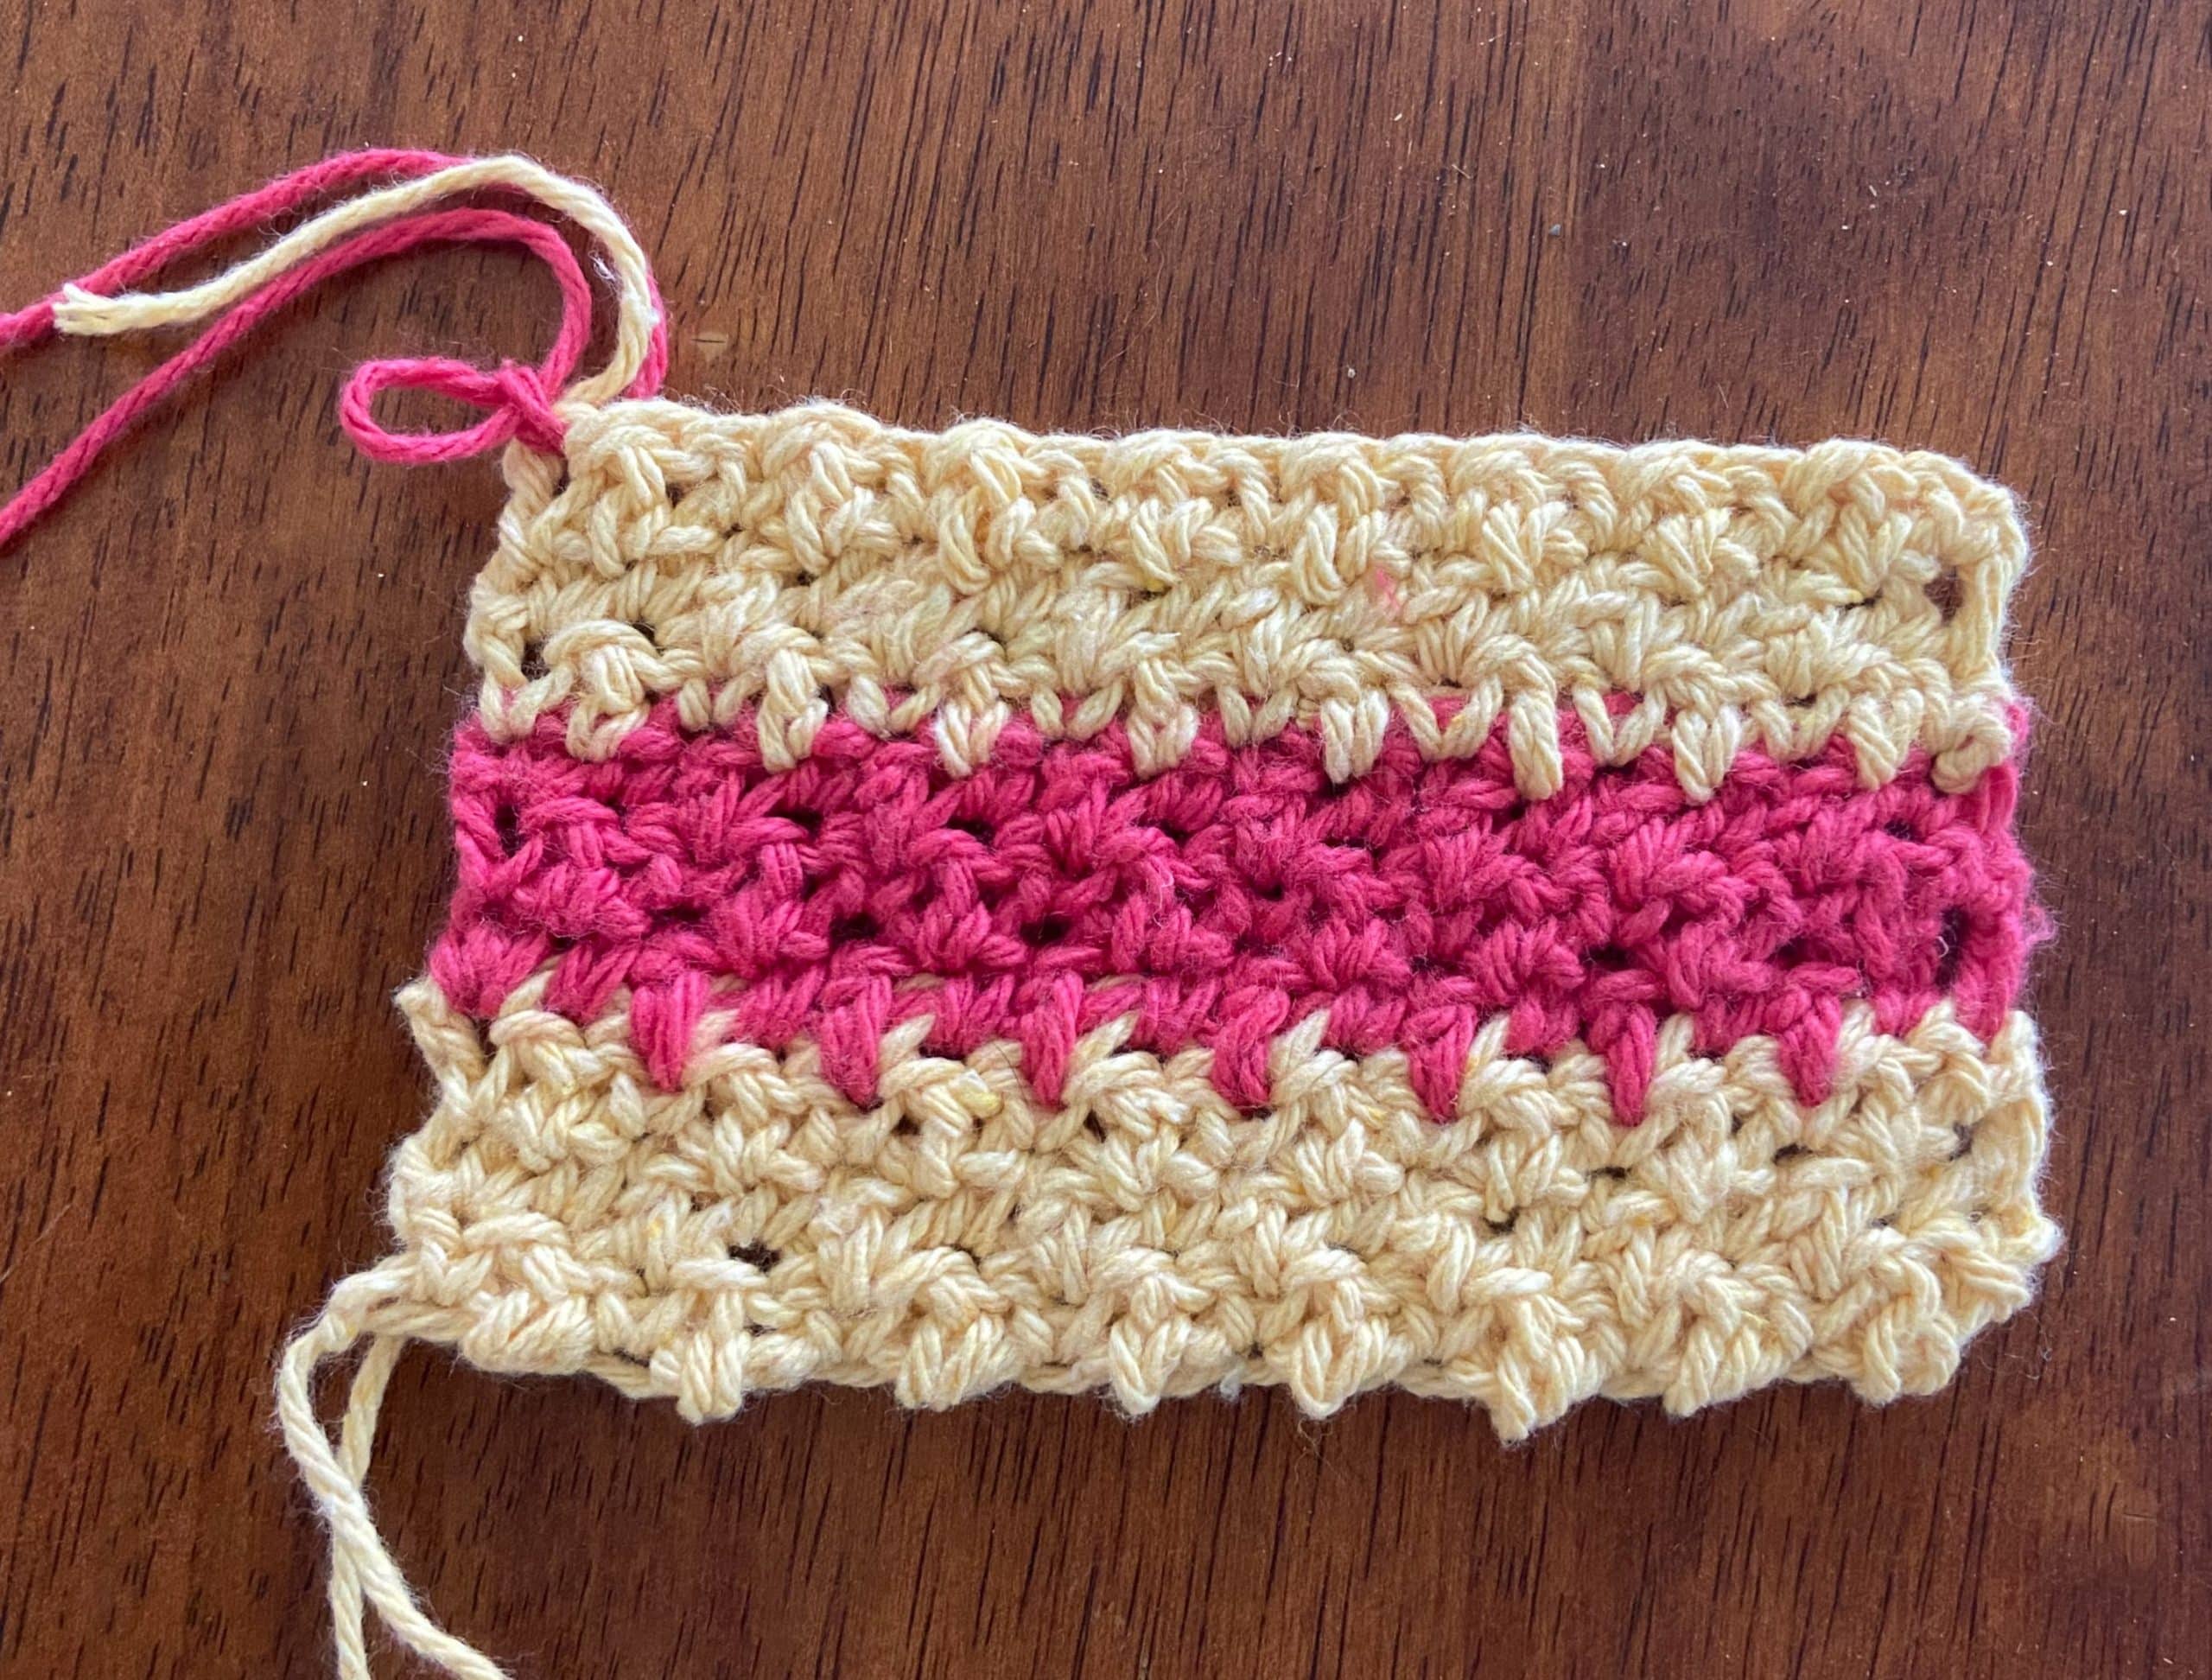
Tuxedo Wine Bottle Cozy Free Crochet Pattern
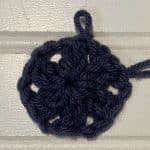
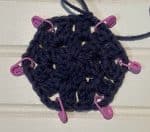
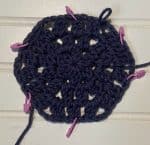
The Bottom of Cozy is worked in the round with no turning rows.
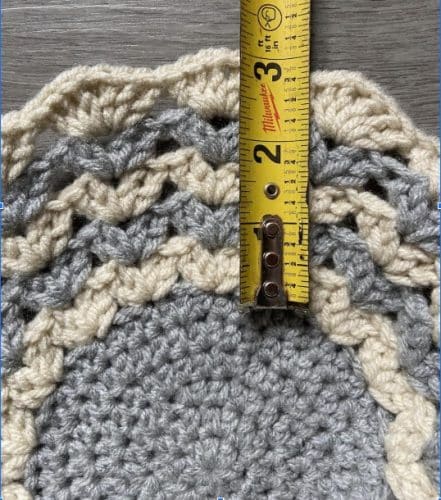
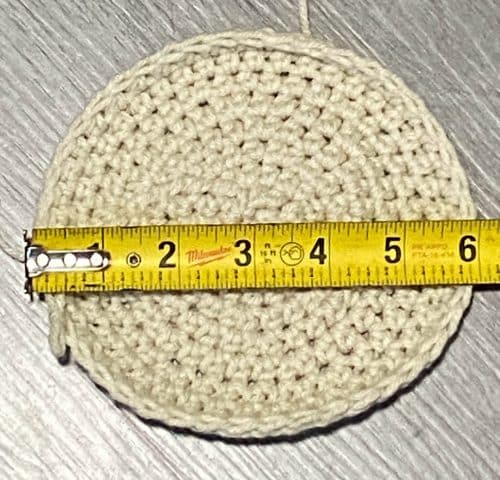
R1-R6 should measure 3” around
Using G Hook
R1: ch 2, 6 sc in ch 1. do not join. place a SM in 1st st (6 sc)
R2: 2 sc in same st, place a SM in 1st st, 2 sc in each st. do not join. (12 sc)
R3: 2 sc in same st. place a SM in 1st st, sc in next st, *2 sc in next st, sc in next st. rep from * around. do not join. (18 sc)
R4: 2 sc in same st. place a SM in 1st st, sc in next 2 st. *2 sc in next st, sc in 2 next st. rep from * around. do not join. place a SM in 1st st (24 sc)
R5: 2 sc in same st. place a SM in 1st st, sc in next 3 st. *2 sc in next st, sc in 3 next st. rep from * around. do not join. (30 sc)
R6: 2 sc in same st. place a SM in 1st st, sc in next 4 st. *2 sc in next st, sc in 4 next st. rep from * around. sl st in 1st st to join. turn (36 sc)
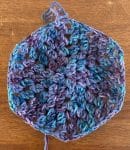
R7: ch 2, hdc in blo around. (36 hdc)
R8-R12: ch 2, hdc in blo around. (36 hdc)
Fasten off and weave in ends.
Change to CC
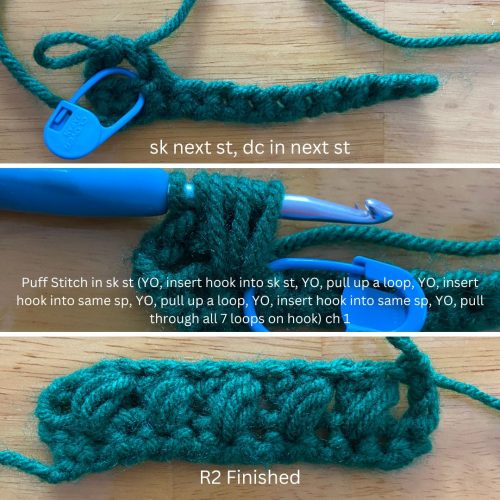
R13: attach yarn with a sl st in 1st st, ch 3 (counts as hdc + ch 1) sk next st. *hdc in next st, ch 1, sk next st. rep from * around until ch-3 sp. sl st in top of ch 2 to join. turn (36 st)
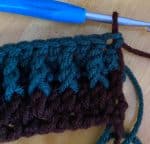
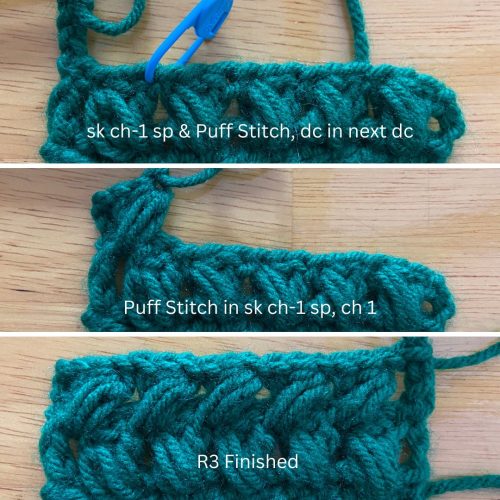
R14: ch 2, *YO, hdc in ch sp, pull up a loop. (3 loops on hook) YO, pull up a loop, insert hook in sk ch from previous row. (5 loops on hook) YO, pull up a loop, insert hook in next ch sp. (7 loops on hook) YO and pull through all 7 loops. Ch 1. (1st feather stitch made). Rep from * around. sl st in top of ch 2 to join. turn (36 st)
R15: ch 2, *YO, pull up a loop, hdc in ch sp. (3 loops on hook) YO, pull up a loop, insert hook in ch from previous row. (5 loops on hook) YO, pull up a loop, insert hook in next ch sp. (7 loops on hook) YO and pull through all 7 loops. Ch 1. (2nd feather stitch made). rep from * around. sl st in top of ch 2 to join. turn (36 st)
Fasten off and weave in ends.
Change to MC
R16-R17: Repeat R14-R15
Fasten off and weave in ends.
Change to CC
R18-R19: Repeat R14-R15
Fasten off and weave in ends.
Change to MC
R20-R21: Repeat R14-R15
Fasten off and weave in ends.
Change to CC
R22-R23: Repeat R14-R15
Fasten off and weave in ends.
Change to MC
R24-R25: ch 1 in same st and each st across. turn
Fasten off and weave in ends.
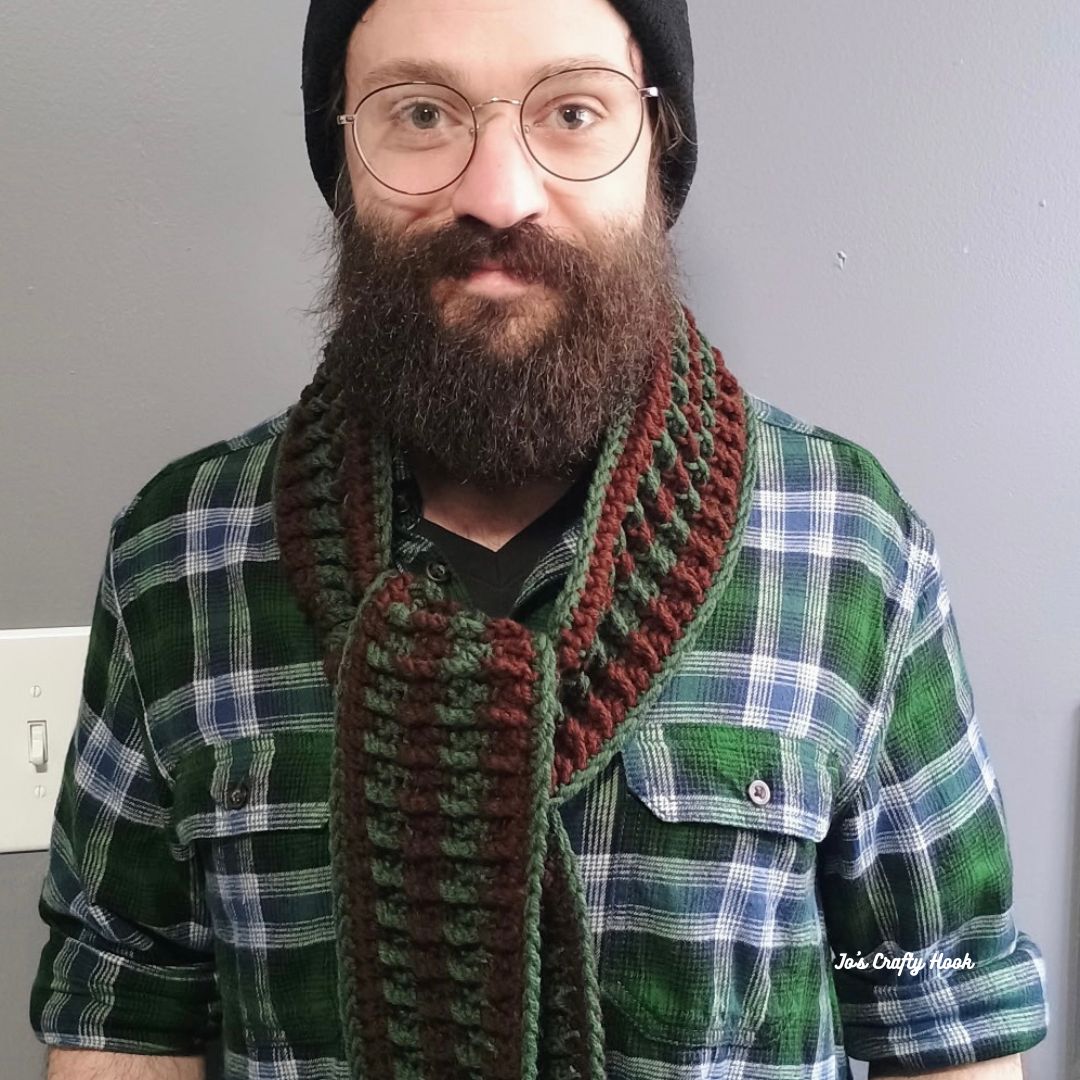
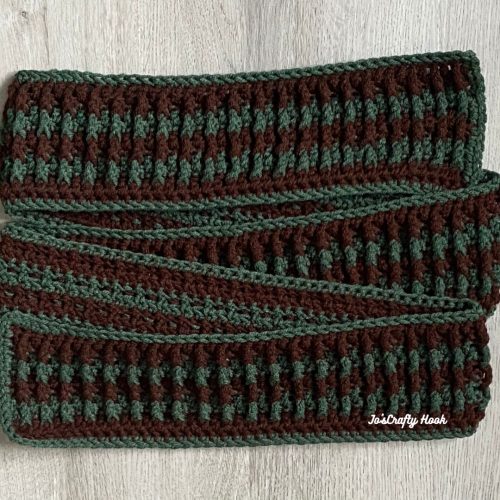
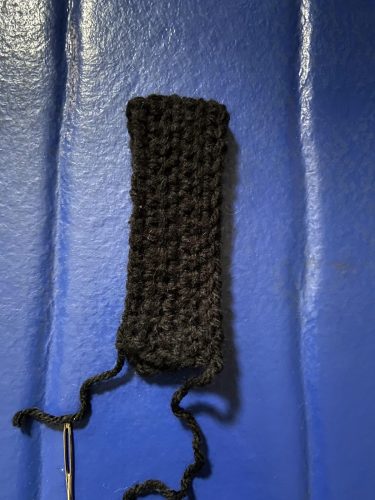
Bow Tie and Necktie Crochet Patterns

Using F Crochet Hook or 3.75 mm
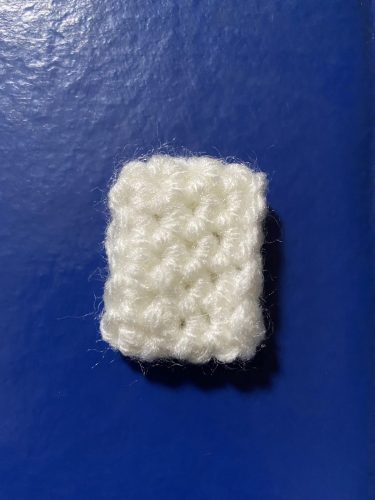
R1: ch 34, sc in 2nd ch from hook and across. turn (33 sc)
R2: ch 2, hdc in next, hdc across. turn (33 hdc)
R3: ch 1, sc in same st, sc across. turn (33 sc)
R4: ch 2, hdc in next st, hdc across. turn (33 hc)
R5: ch 1, sc in same st, sc across. (33 sc)
leave a long chain for joining 2 ends of the bow tie together.
With the WS of bow tie ends facing out, sew the ends of the bow tie together.
Fasten off and weave in ends.
Bow Tie Cincher

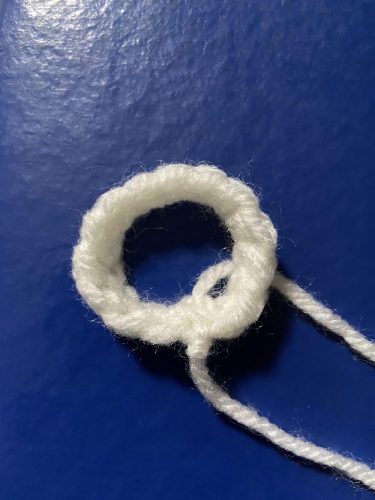
R1: ch 10, turn. sc in 2nd ch from hook and across. sl st in 1st chain to close. turn (9 sc)
R2-R4: ch 1, sc in next st and around. sl st in 1st st to join. turn (9 sc)
Fasten off and weave in ends.
Necktie for Wine Bottle Neck
R1: ch 14, turn. sc in 2nd ch from hook and across. sl st in 1st chain to close. turn (13 sc)
R2: ch 1, sc in next st and around. sl st in 1st st to join. (13 sc)
Leave a long tail of yarn to sew the necktie to the bow tie cincher.
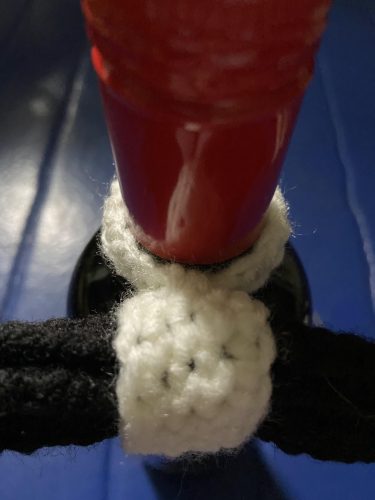
Bow Tie and Necktie Assembly
Step 1:
Lay the bow tie cincher flat facing the way it will be added onto the bow tie.
Step 2:
Place the necktie across the back side of the bow tie cincher, like in the ‘T” shape.
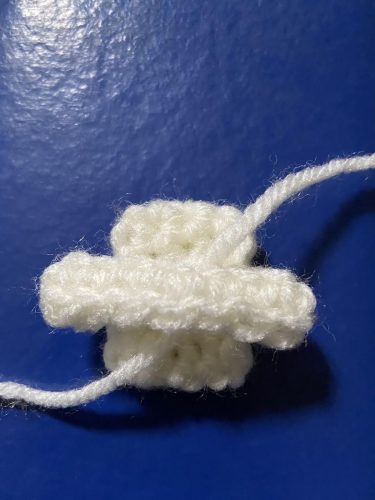
Step 3:
With the RS of the bow tie cincher facing you, use the long tail of yarn from the necktie, sew the necktie to the bow tie cincher.
Step 4:
Add the bow tie cincher to the bow tie.
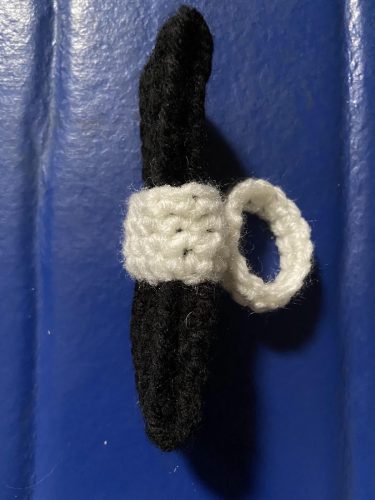
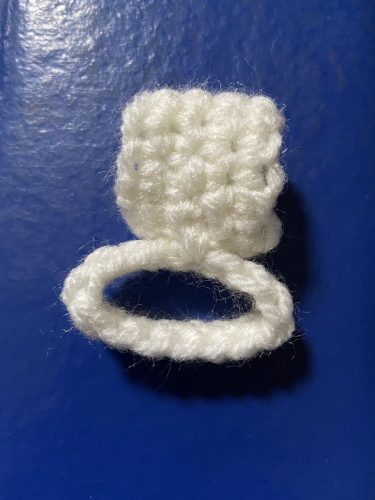
Step 5:
Place the necktie onto the top of the wine bottle.
©Jo’s Crafty Hook 2025
That’s it, you’ve made your version of the Tuxedo Wine Bottle Cozy! You can make this crochet pattern in so many different colors to dress up any flavor of wine.
I would LOVE to see what you create!
You can tag me at @joscraftyhook and in my FB Group Jo’s Crafty Hook Designs
Find my Premium Crochet Patterns at any of my Stores listed below.

![]()
![]()
Find me, Jo of Jo’s Crafty Hook at the places listed below.
Email: joeybaird@aol.com
Facebook Group Jo’s Crafty Hookers
Facebook Group Jo’s Crafty Hook Designs
Facebook Page Jo’s Crafty Hook
Facebook Page: Crochet Designer Community
![]()