
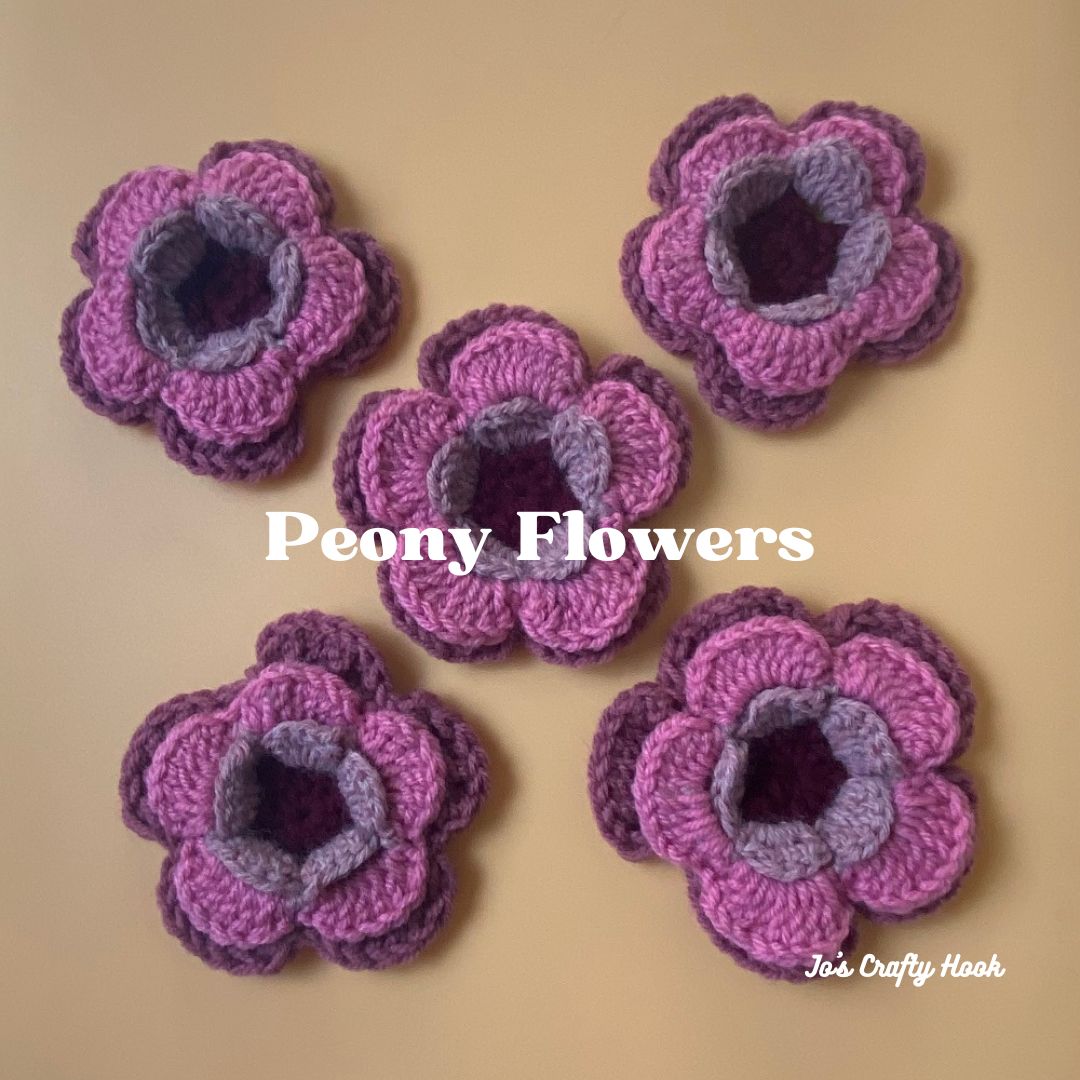
Peony Flower Free Crochet Pattern
Spring is in the air and Easter is just around the corner. I love to see trees are sprouting their new leaves, flowers starting to bloom, and hearing the birds sing!
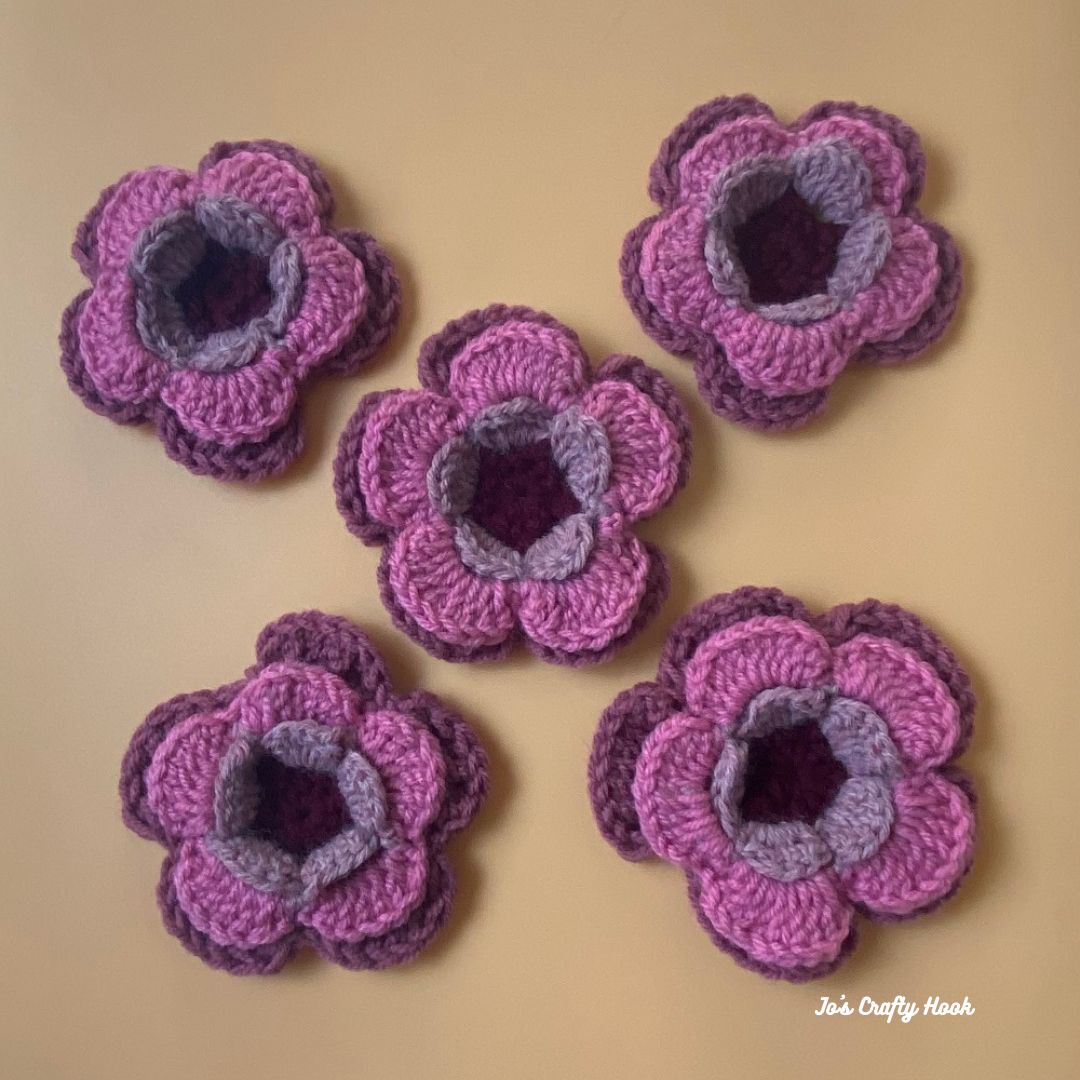
I LOVE to bring fresh flowers in the house; I LOVE their smell; and their colors! So in today’s post I will be sharing with you my Peony Flower Free Crochet Pattern! This way you can surround yourself with flowers all time!
This post contains affiliate links. If you make a purchase using these links I may receive compensation (at no added cost to you.)
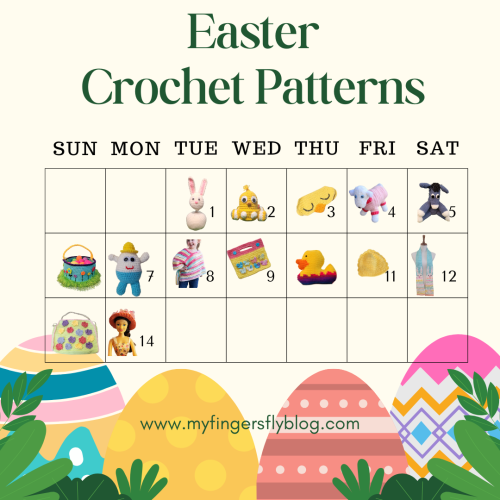
Easter Advent Calendar Event hosted by My Fingers Fly
The Easter Advent Calendar Event runs from April 1-14, 2025 and features free crochet patterns for adorable and cute crochet patterns for Chicks, Easter Basket, Eggs and so much more!
April 13th – Easter Advent FREE Home Decor Crochet Patterns
My Peony Flower Crochet Pattern is being featured April 13th as part of the Flowers day and the FREE crochet pattern can be found below.
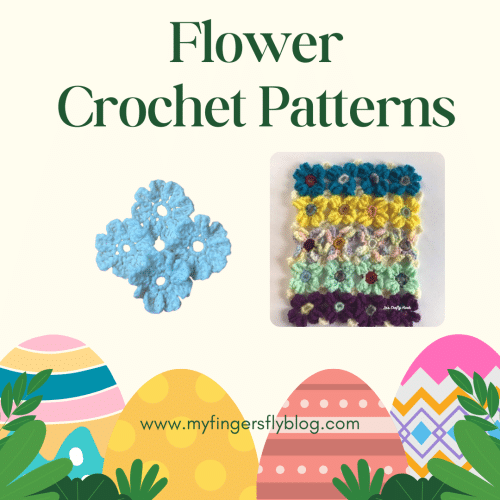
You will find more FREE Flower crochet patterns:
Sunflower Applique Free Crochet Pattern – Jo’s Crafty Hook
Floral Handbag Crochet Pattern – My Fingers Fly
Free Crochet Blossom Flower Pattern – Pocket Yarnlings
Snowdrop Crochet Pattern – Concrete Gems Crochet
Arche de Fleurs Planter Holder Crochet Pattern-Dreams in Yarn
May Flower Coasters Crochet Pattern – Marsha YarnDoodles
Heart Flower Cloth Crochet Pattern – Marsha YarnDoodles
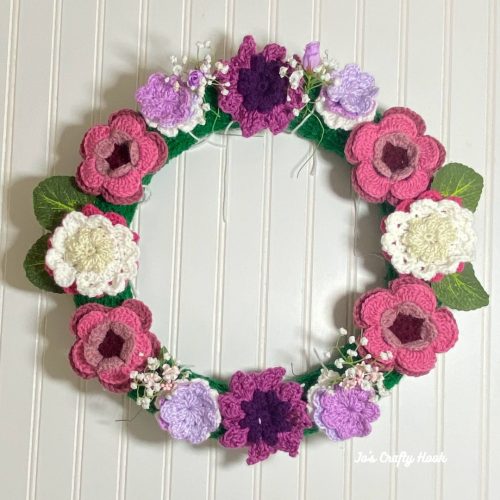
Day 8 – Blooming Flowers Wall Hanging CAL
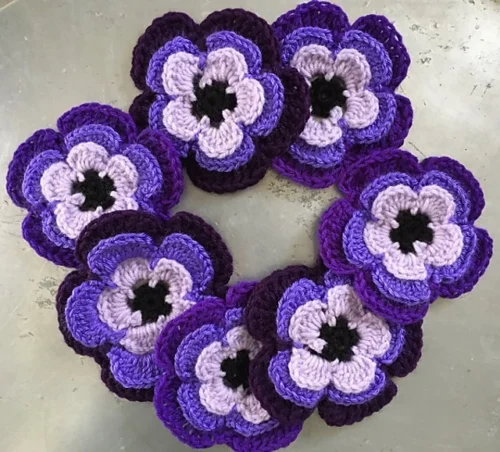
I made 5 Pink Peony Flowers in multiple colors, as appliques for my Blooming Flowers Wall Hanging.
If you would like to add different flowers to your wall hanging, I have a Blooming Flowers Wall Hanging eBook. It contains 6 additional flowers inside; along with a leaf applique crochet patterns and a Styrofoam Ring cover that can be found for $4 at my Ravlery Store.
There are SO many different ways you can use the peony flower crochet pattern. You can use them as appliques, add them to handbags, put them on headbands and SO much more! These crochet patterns are a GREAT scrap busting projects as well!
Information Needed
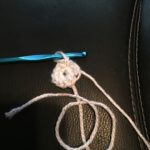
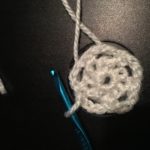
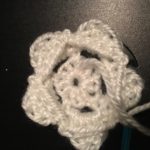
There are helpful picture tutorials for the flower below.
Beginner Friendly
US Terms
I used 200 yards of Red Heart Super Saver 4 ply Worsted Weight Yarn. (198 g/7 oz, 333 meters/364 yards)
Materials:
US Hook H/5.00 mm
200-400 yards of 4 ply Worsted Weight Yarn
Scissors
Tapestry Needle
Abbreviations/Stitches:
ch = chain
sp = space
sk = skip
sl st = slip stitch
sc = single crochet
dc = double crochet
trc = triple crochet
Notes:
I am a left handed so pictures may look different than yours.
ch 1 does not count as a stitch.
The flowers are worked in the round.
Peony Flower Free Crochet Pattern

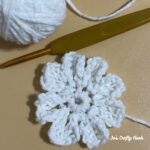
1st layer of petals
**I changed colors after each round of petals**
R1: Make a slip knot, ch 2, 10 sc in the 2nd ch from hook, sl st in 1st sc to join. 10 sc
R2: ch1, sc in the same stitch, *ch 3, sk the next stitch, sc in the next st* Repeat from * to * until you have 5 ch 3 sp, sl st into 1st sc to join. You will work in the ch-3 sp in R3.
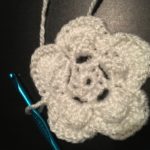
R3: *sc in ch-3, 5 dc, sc in the same ch-3 sp* Repeat from * to * until you have 5 petals. sl st in sc to join.

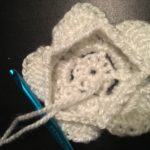
R4: Ch 5, *going behind your petal, sl st in 1st sc on next petal, ch 5* Repeat from * to * until you have 5 ch-5 sp. sl st in 1st ch 5 sp to join.
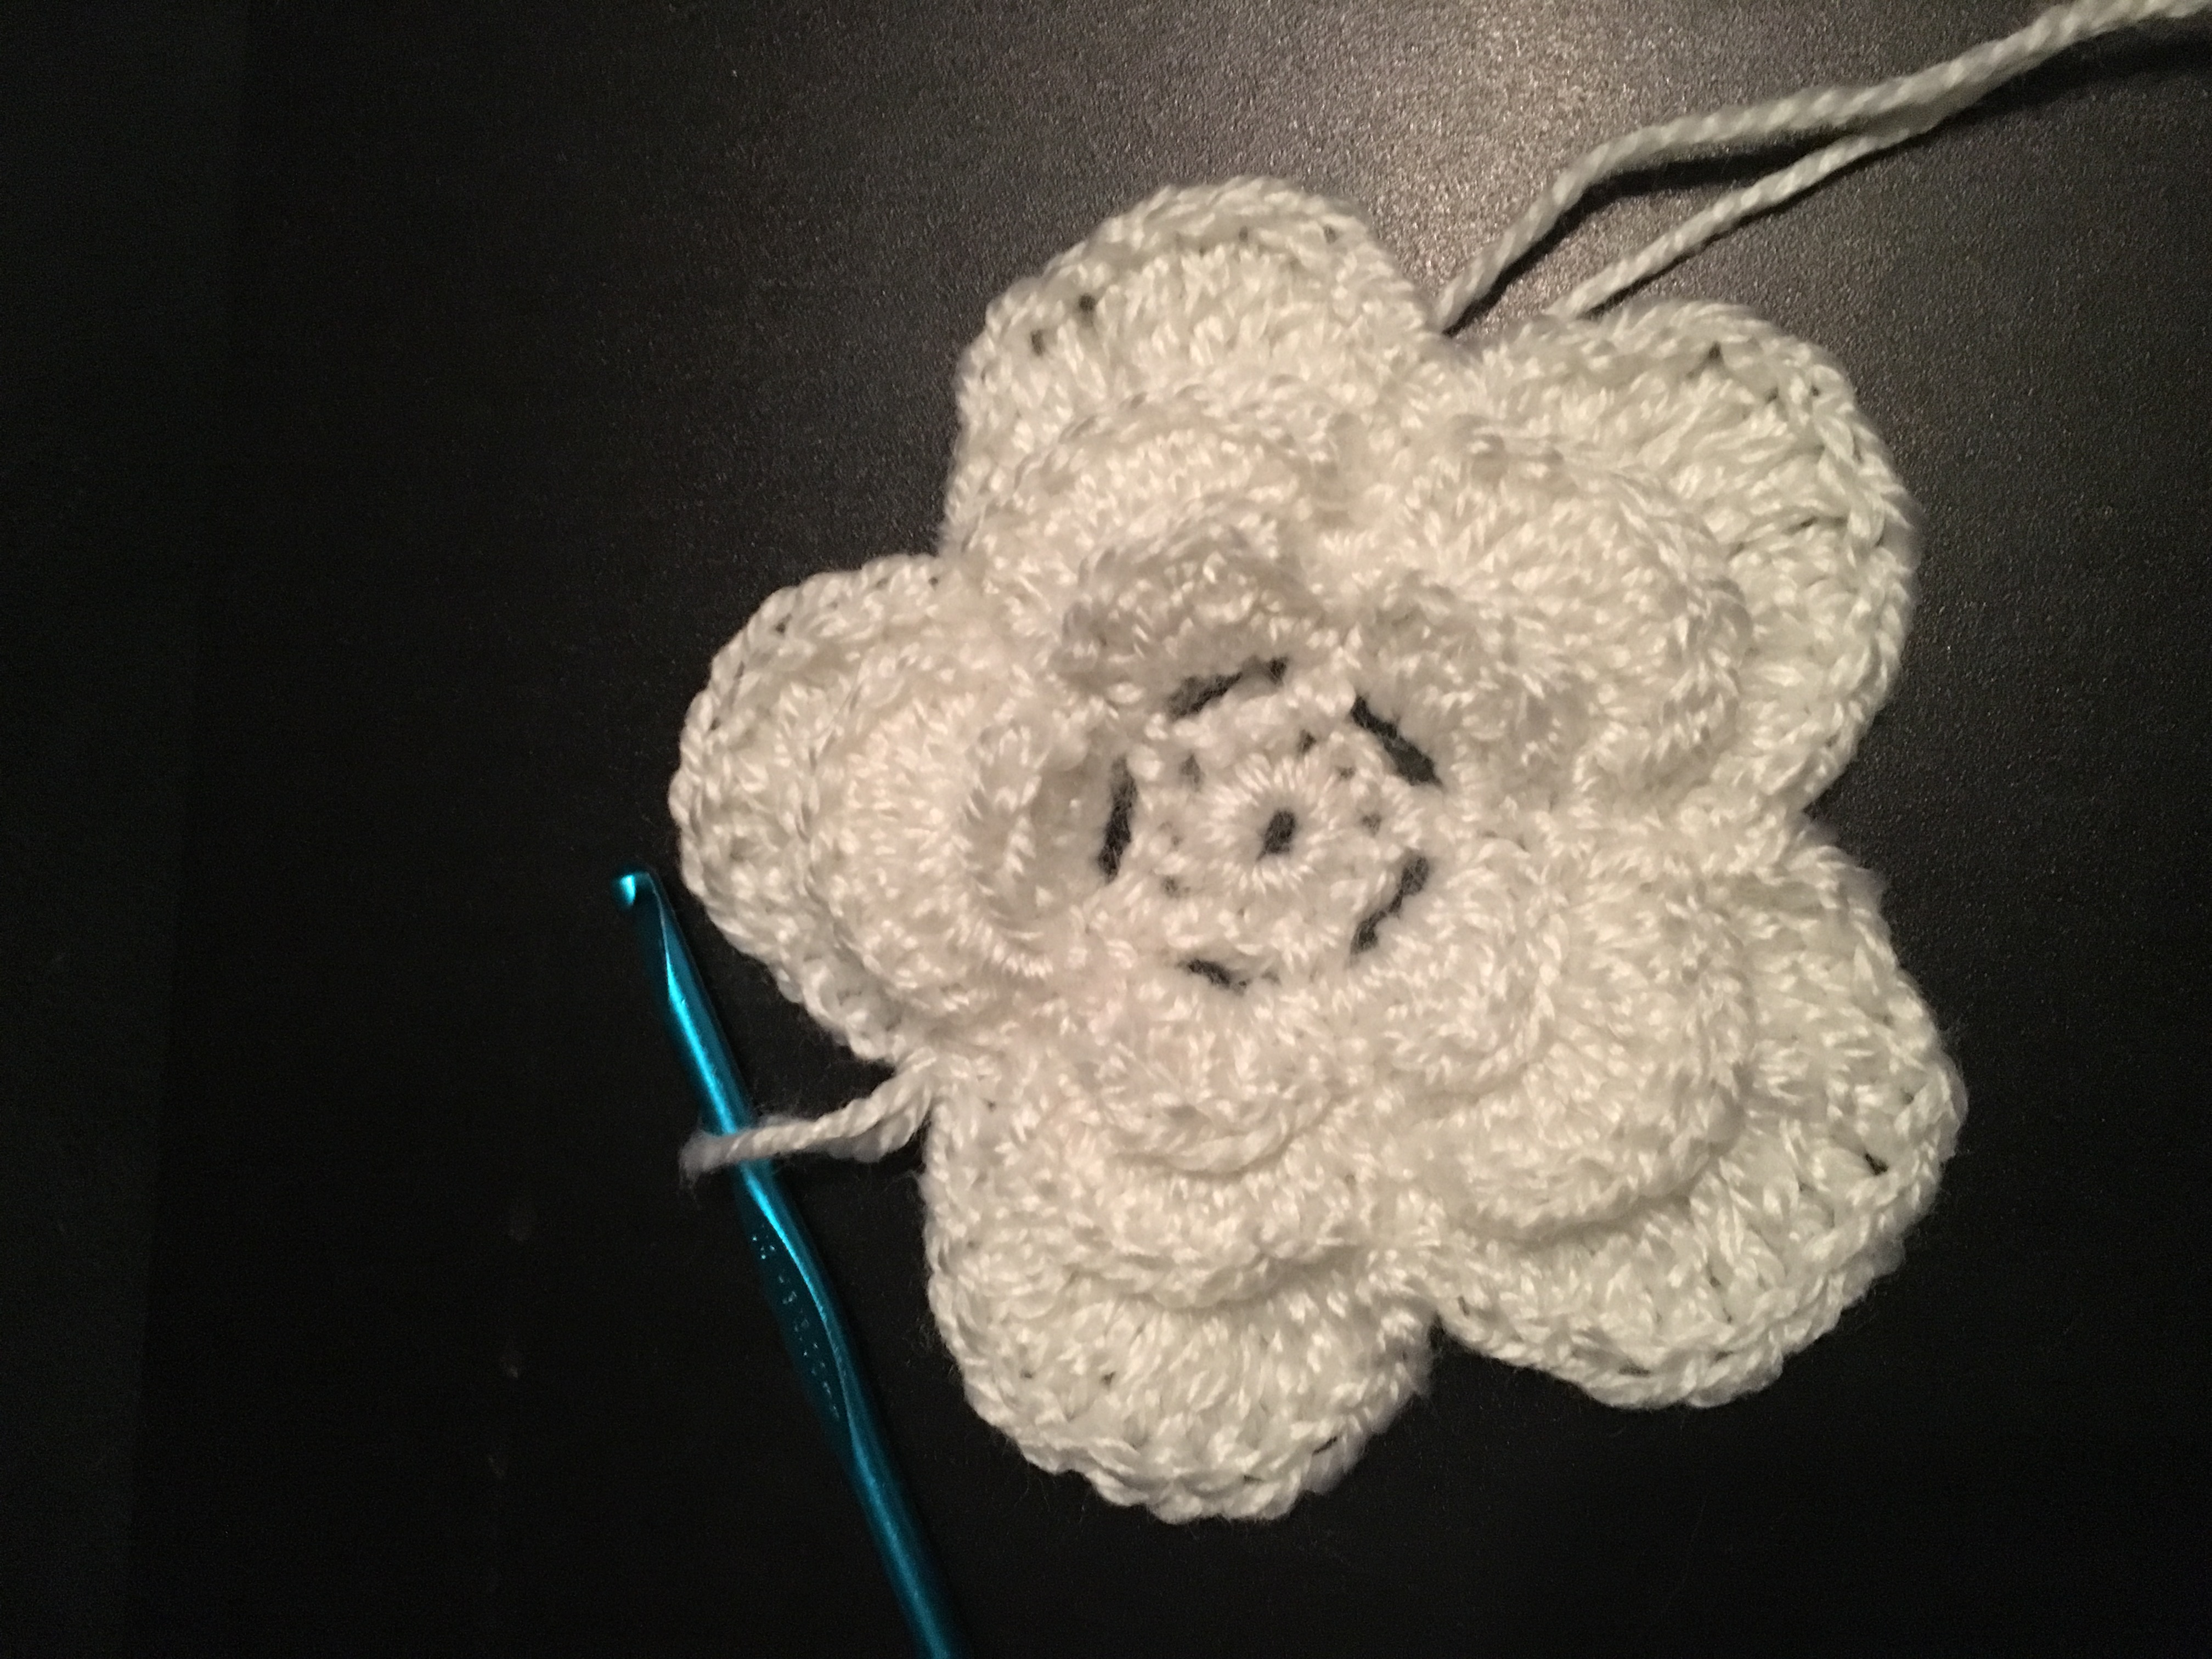
2nd layer of petals
R5: *ch 1, *sc in ch-5 sp, 9 dc, sc in the same ch-5 sp.* Repeat from * to * until you have 5 petals. sl st in 1st sc to join.
R6: *ch 6, going behind your petal, sl st in 1st sc of next petal* Repeat from * to * until you have 5 ch-6 sp. sl st in 1st sc to join.
3rd layer of petals
R7: ch 1 *sc in ch-6 sp, 9 trc, sc in same ch-6 sp.* Repeat from * to * until you have 5 petals. sl st in 1st sc to join. Do NOT fasten off.
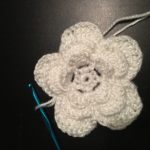
Fasten off and weave in ends.
That’s it! You have made your own Peony Flower!
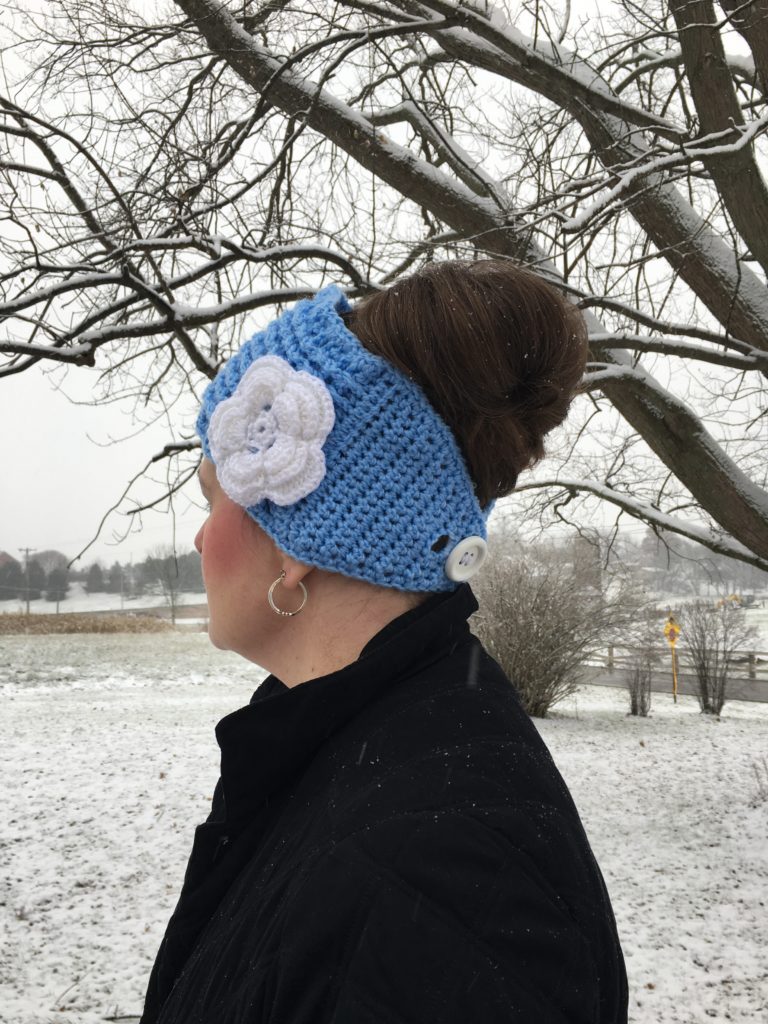
Why not make more of these in a wide variety of colors to add an embellishment to headbands, hats, purses, and so many other things!
I used the Peony Flower on my Ribbon Ear Warmer. You can find it as a FREE Crochet Pattern here on my website, or it can be found at my Ravelry Store.
Or even make them smaller by using lighter weights of yarn.
I would 💖 to see what you create with your Peony Flowers!
You can tag me at @joscraftyhook on IG and in my FB Group Jo’s Crafty Hook Designs
Shop my Stores
Find more of my designs to make a Wall Hanging, a Flower Bunting, there are so many uses for flower appliques. Use the buttons below to find your perfect flower.


![]()

Find me, Jo of Jo’s Crafty Hook at the places listed below.
Email: joeybaird@aol.com
Linktree
Facebook Group Jo’s Crafty Hookers
Facebook Group Jo’s Crafty Hook Designs
Facebook Page Jo’s Crafty Hook
Facebook Page: Crochet Designer Community
![]()
2 thoughts on “Peony Flower Free Crochet Pattern”