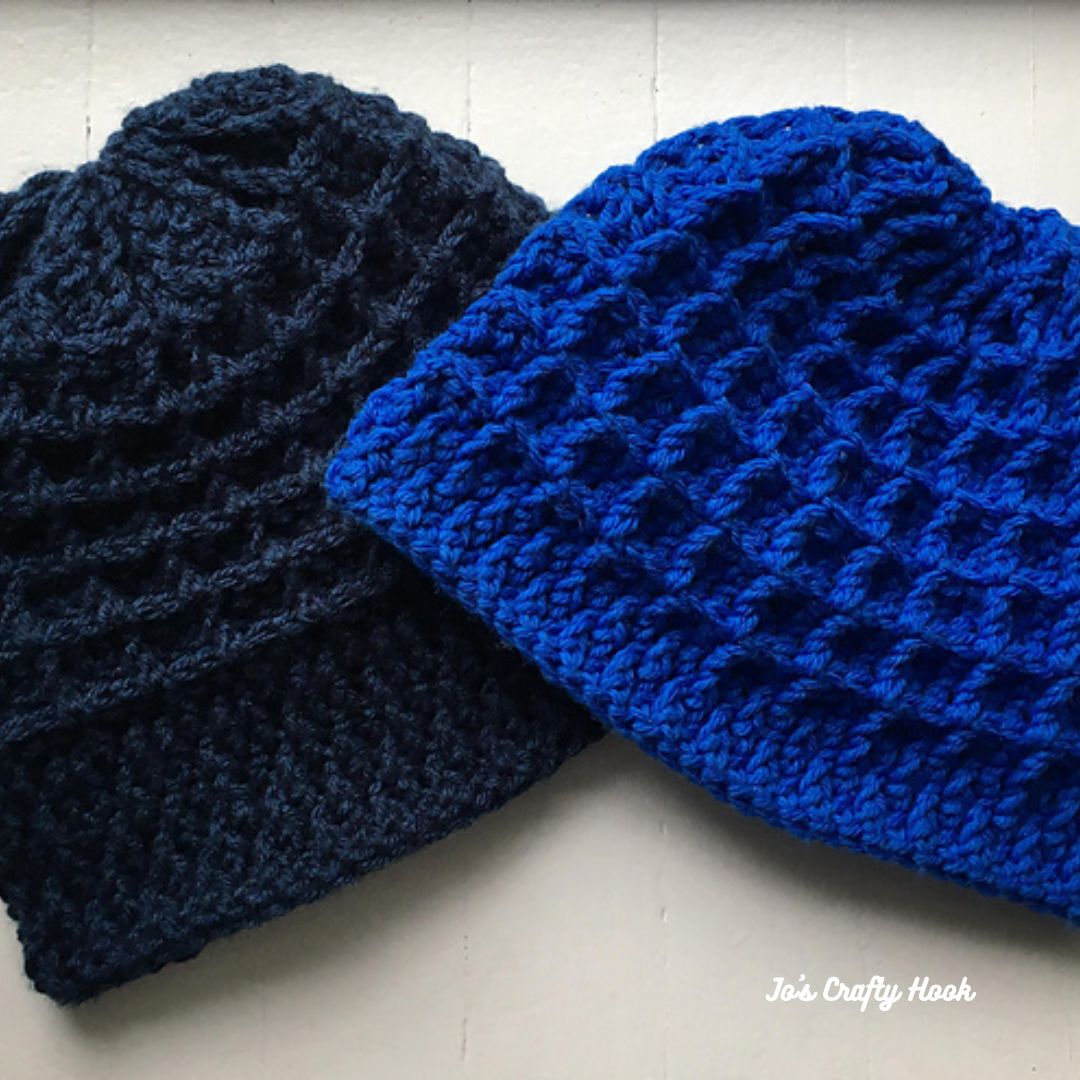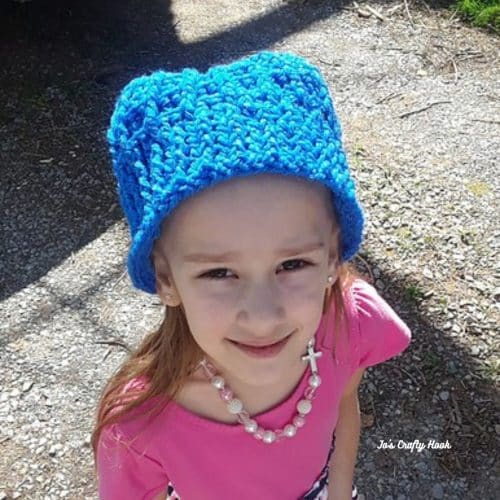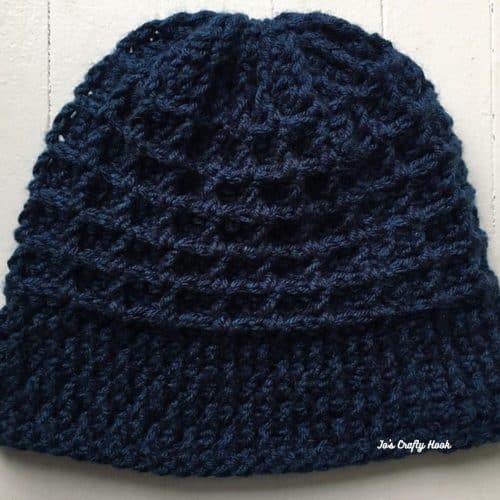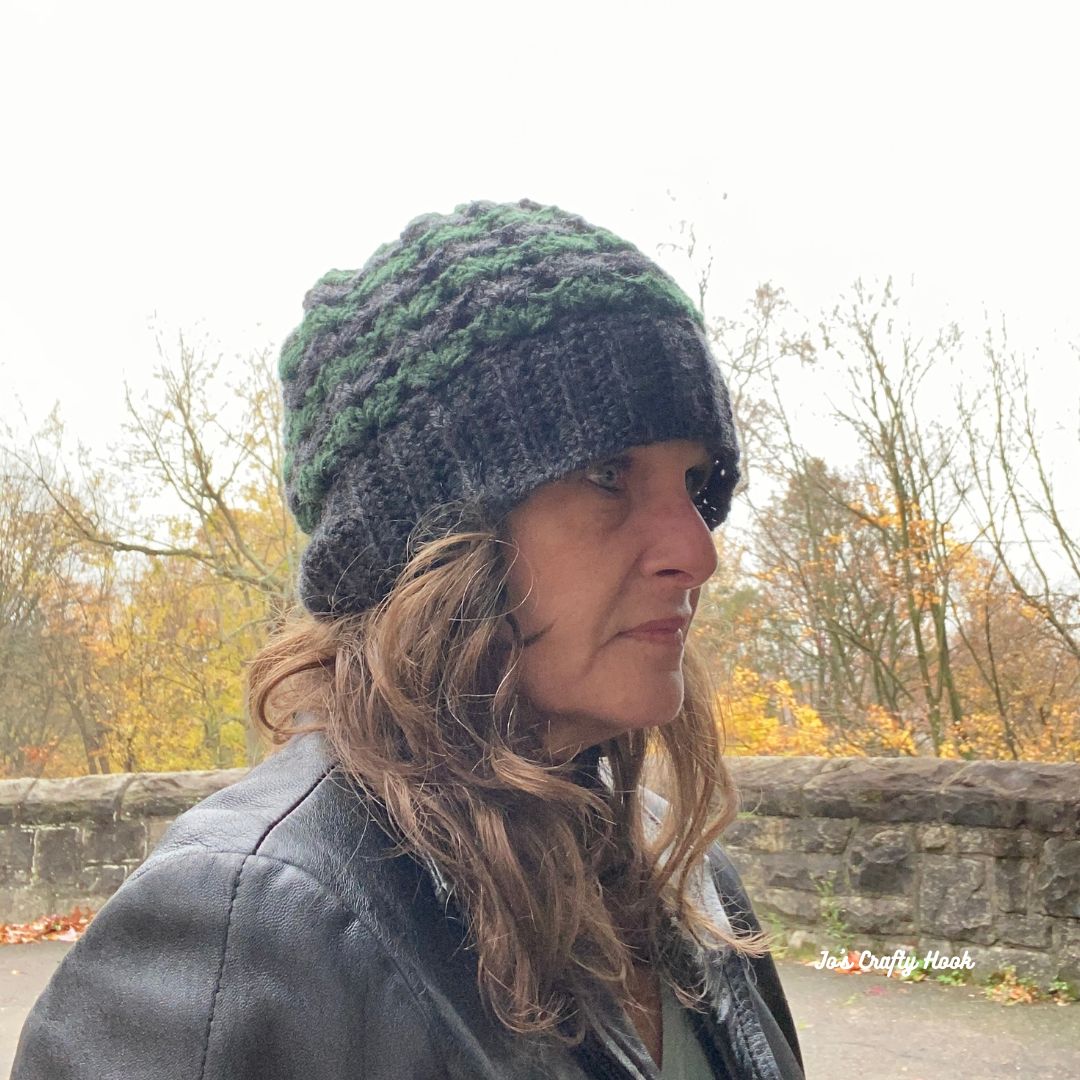
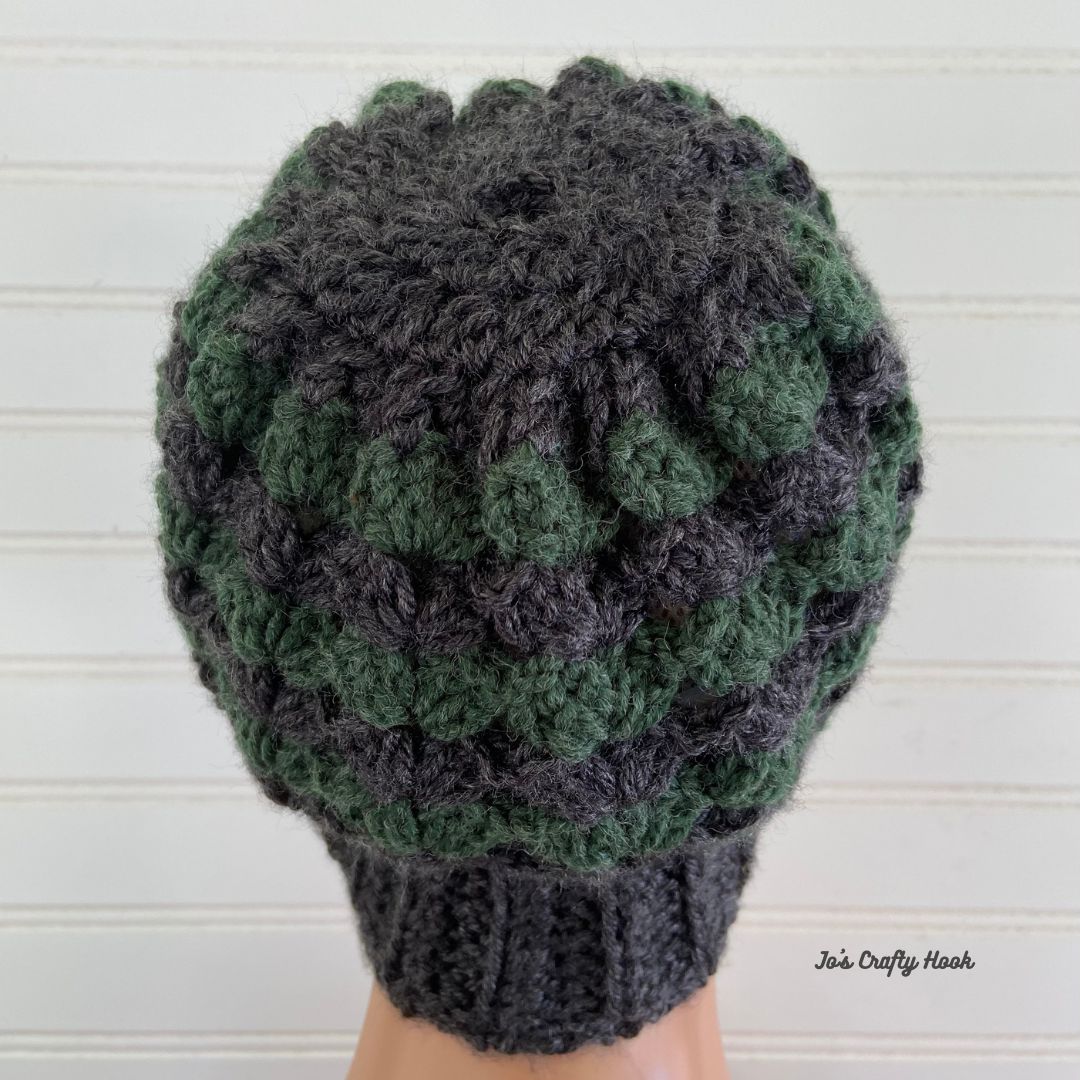
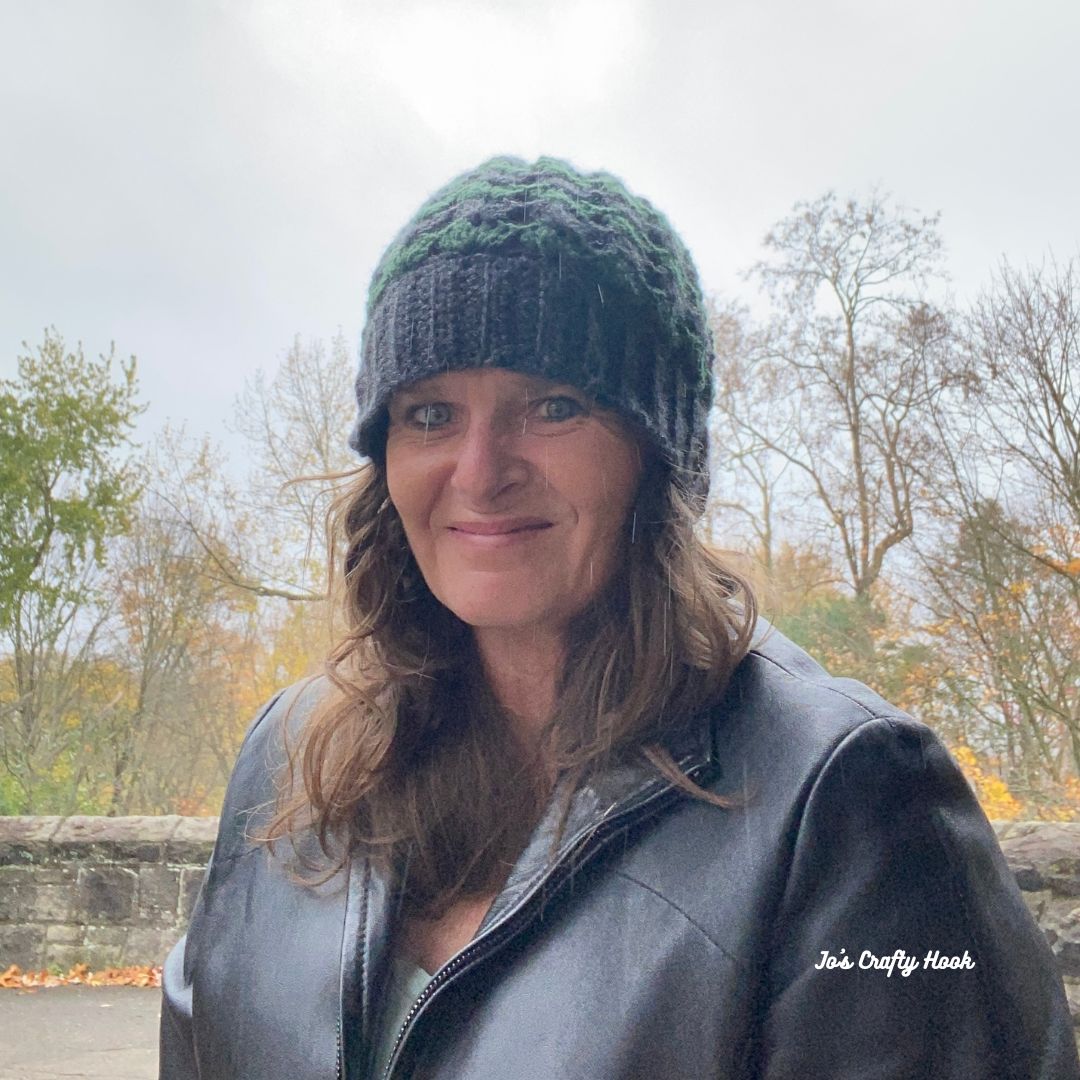
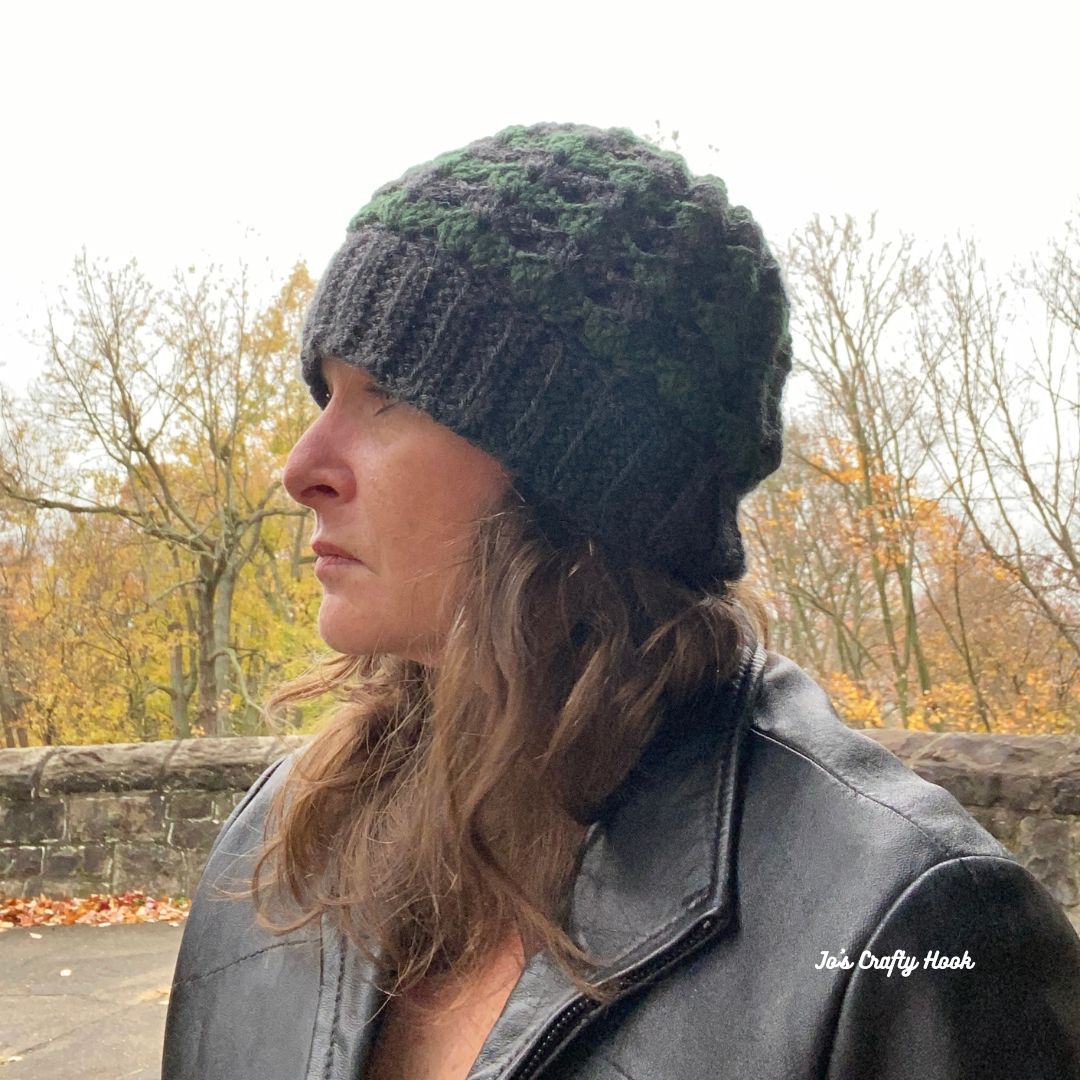
Rolling Shells Beanie Crochet Pattern
The Rolling Shells Beanie Crochet Pattern is a Unisex design that would be a perfect make for the guys and gals in your life. You can customize the crochet pattern to create a perfect fit for anyone.
This post contains affiliate links
Be sure to sign up for my Newsletter and receive a FREE crochet pattern straight to your inbox. You will also receive messages about New Crochet Pattern Releases; FREE Crochet Patterns; Collaborations and more!
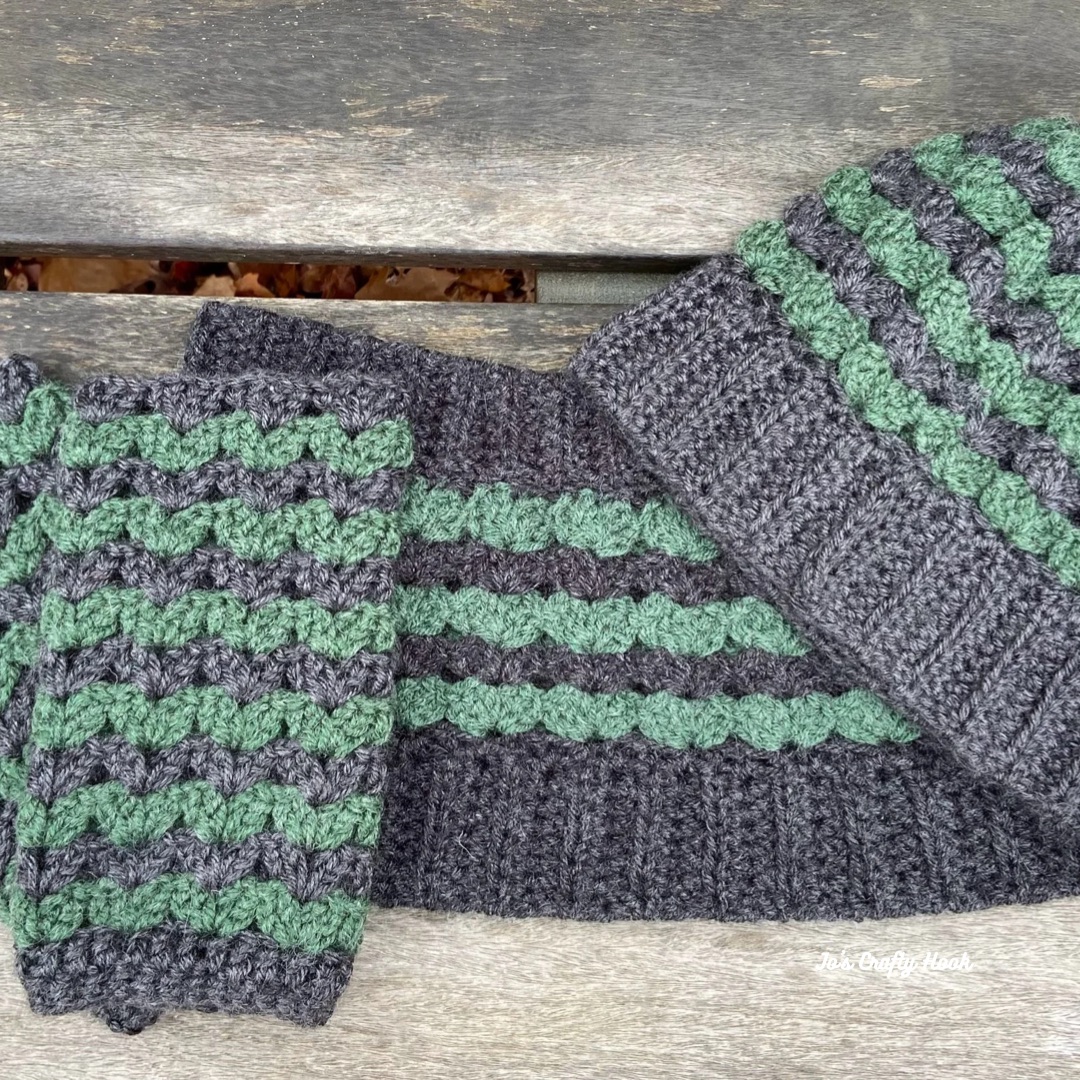
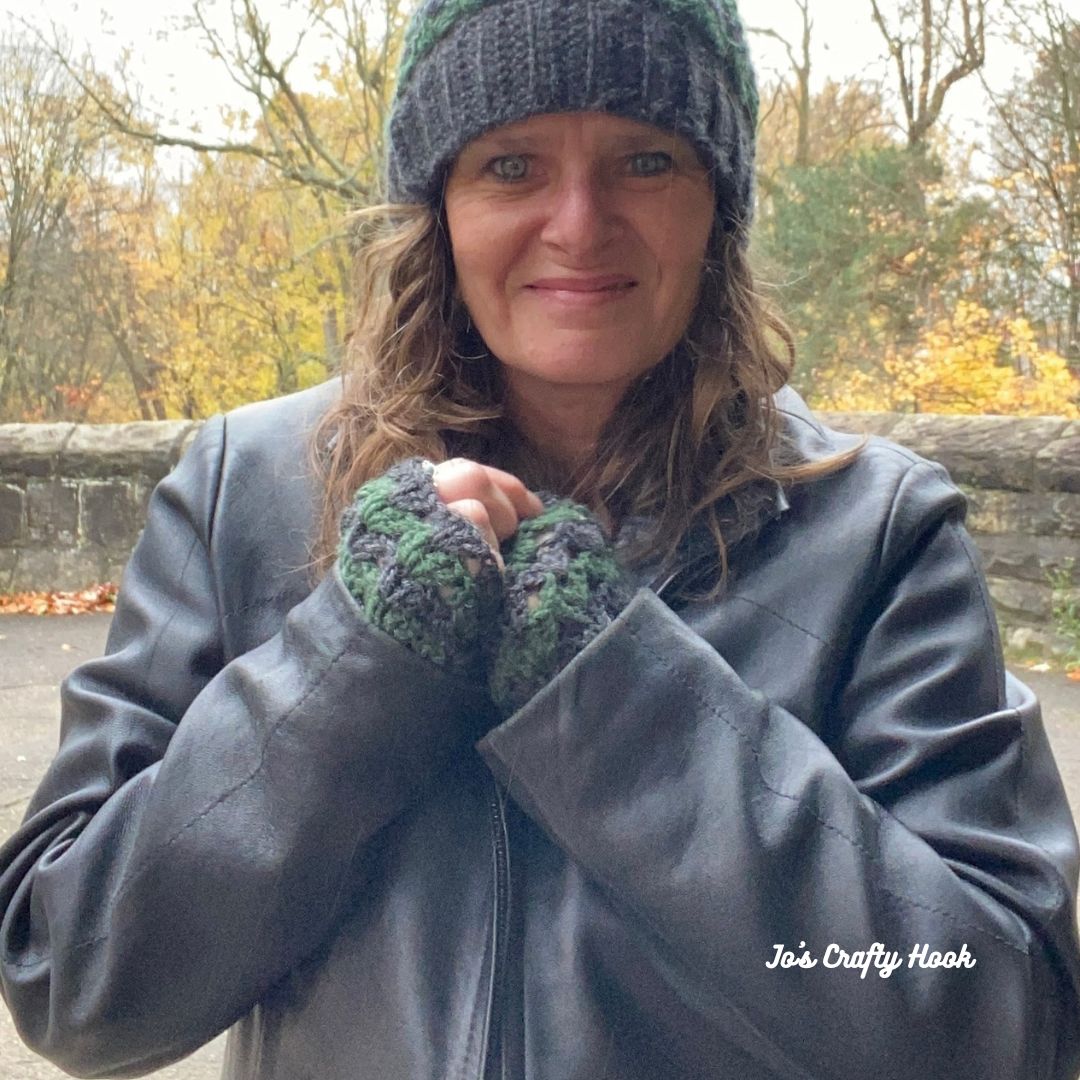
I love this design so much that I designed a whole set and created the Rolling Shells Bundle! The set contains crochet patterns for the Rolling Shells Beanie, Infinity Scarf and Wrist Warmers that you can purchase for $5 at my Ravelry Store.
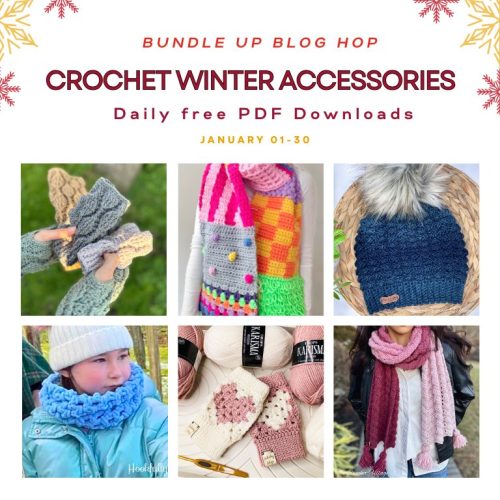
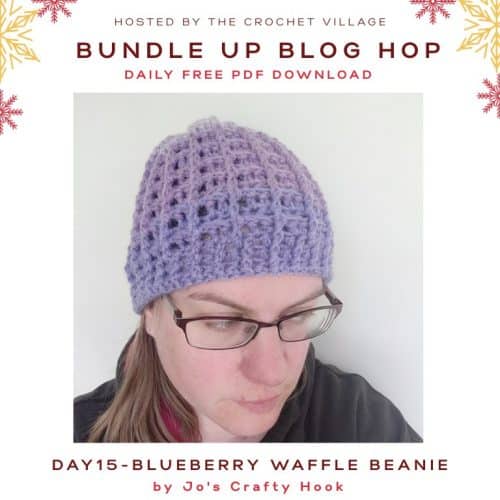
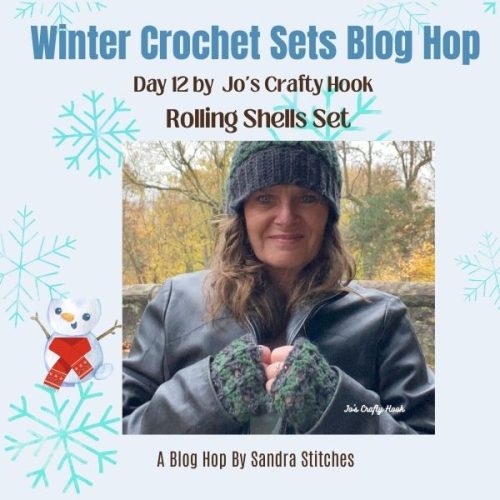
Winter Crochet Set Blog Hop – January 5-22, 2025
Sandra Stitches is hosting the Winter Crochet Set Blog Hop where you will find Winter Sets daily and you can get for a FREE copy for 24 hours, starting at 7a EST.

You can get a FREE premium copy of my Rolling Shells Bundle crochet pattern set on my featured day, January 12-13, 2025.
Get the Coupon Code
Starting at 7a EST on January 12th until 7a EST January 13th visit the Winter Crochet Set Blog Hop to get the Coupon Code needed to get a FREE premium copy of my Rolling Shells Bundle.

Visit my Ravelry Store
Once you have the Coupon Code, click on the button below to add my Rolling Shells Bundle to your Cart and use the code at Checkout.

Thank you for your support! I pray you stay warm this Winter and have a very Happy 2025!
Below you will find a FREE version of the Rolling Shells Beanie Crochet Pattern.
Rolling Shells Beanie FREE Crochet Pattern
Information Needed
I used 2 colors of Caron One Pound 100% Acrylic Yarn. (16 oz/453.6 g) (812 yds/742 m)
Advanced Beginner
US Terminology
Materials:
US H or 5mm Crochet Hook
MC = 60-80 yds #4 ply Worsted/Aran Weight Yarn
CC = 50-70 yds of #4 ply Worsted/Aran Weight Yarn
Abbreviations/Stitches Used:
ch = chain
st = stitch(es)
sl st = slip stitch
rep = repeat
blo = back loop only
hdc = half double crochet
dc = double crochet
dc2tog = double crochet 2 together
alt ch 2 = alternate chain 2
YO = Yarn Over
MC = Main Color
CC = Contrasting Color
Notes:
ch 2 counts as a hdc
ch 3 counts as a dc
alt ch 2 counts as a st
the hat brim is worked flat
the hat body is worked the round
If you do not meet Gauge try going up or down a hook size
If you are using 2 colors, it is best to use the same thicknesses for each color
Below there are 2 sizes to choose from, Child Size and Adult
Special Stitches:
Beg Shell = (ch 3, 2 dc, ch 1, 3 dc) all in same sp
Shell = (3 dc, ch 1, 3 dc) all in same sp
Double Crochet 2 Together – dc2tog
- YO, insert hook into specified st
- YO, pull up a loop
- YO, pull through 2 loops on hook (2 loops on hook)
- YO, insert hook into next st, YO, pull up a loop (4 loops on hook)
- YO, pull through 2 loops on hook. (3 loops on hook)
- YO, pull through all 3 loops
Special Note:
The pattern calls for using the Carrying Yarn Method. This allows you to carry your MC and CC up the rows without fastening off.
Video Tutorial:
Closing Brim
Double Crochet 2 Together
Carrying Colors
Gauge:
US H or 5mm Crochet Hook
Brim: 8 st x 8 rows = 4”
Shells: 4 rows = 4”
Brim Gauge Swatch:
US H or 5mm Crochet Hook
16 st x 8 rows = 4”
R1: ch 18 hdc into the 3rd ch from hook, hdc across. turn (16 hdc)
R2-R8: alt ch 2 or ch 2, hdc in blo of next 14 st, hdc in last st. turn (16 hdc)
Size Chart
| Size | Brim Height | Width | Circumference | Height |
| Child | 1.5” | 10” | 20” | 10.5” |
| Adult | 2.5” | 12” | 24” | 12.5” |
Ad-Free Version
If you would like to purchase a copy of an Ad-Free premium version of the Rolling Shells Wrist Warmers, you will find them at my Ravelry Store for a small fee.
![]()
Rolling Shells Beanie Crochet Pattern
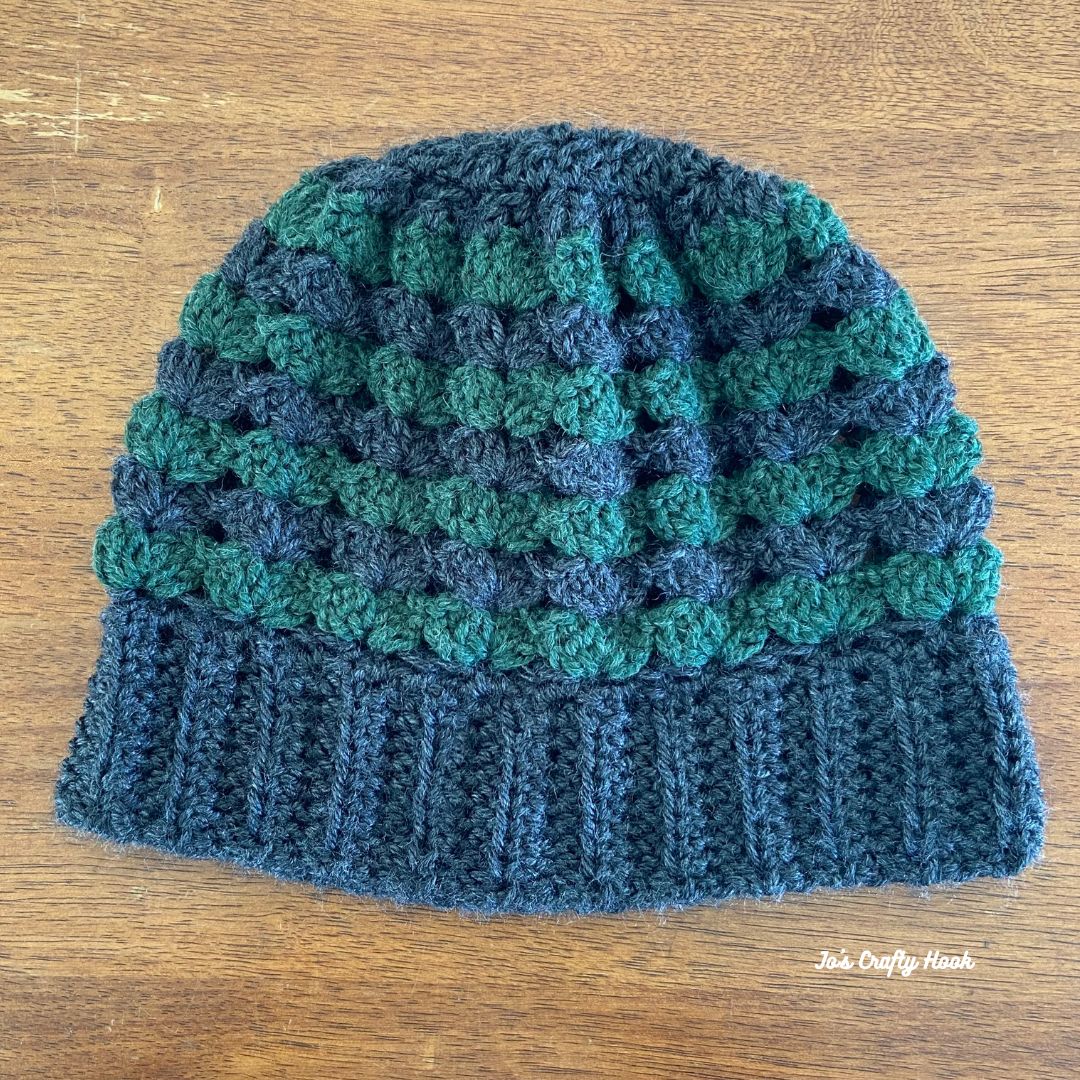
BRIM
Note: you can customize your Brim by repeating R2 until you meet your head’s circumference.
Using MC
R1: ch 8 (14) hdc into the 3rd ch from hook, hdc across. turn (6, 12 hdc)
R2: alt ch 2 or ch 2, hdc in blo of next 4 (10, 10) st, hdc in last st. turn (6, 12 hdc)
R3-39 (48): rep R2
Closing Brim
Step 1:
hold both ends together without twisting, sl st blo in each st across, going through both last row work and starting row.
Step 2:
turn slightly to start working across the side of the Brim
Step 3:
alt ch 2 or ch 2, hdc in each st around. sl st in 1st st to join. (39, 48 hdc)
Do not fasten off. This is where you will start the Carrying Colors Method.
Body
Note: you can customize the height of your hat be adding or subtracting rows
R1: using your CC, attach yarn with a sl st in same sp as join, Beg Shell in same st, sk 2 sts, *Shell in next st, sk 2 sts. rep from * around. sl st in top of ch 3, sl st in next 2 dc, insert hook into ch-1 sp, Carry Up your MC (13, 16 Shells) (78, 96 dc)
R2: Beg Shell in same ch-1 sp, *Shell in each ch-1 sp around. sl st in top of ch 3, sl st in next 2 dc, insert hook into ch-1 sp, Carry Up your CC (13, 16 Shells) (78, 96 dc)
R3: Beg Shell in same ch-1 sp, *Shell in each ch-1 sp around. sl st in top of ch 3, sl st in next 2 dc, insert hook into ch-1 sp, Carry Up your MC (13, 16 Shells) (78, 96 dc)
R4: Beg Shell in same ch-1 sp, *Shell in each ch-1 sp around. sl st in top of ch 3, sl st in next 2 dc, insert hook into ch-1 sp, Carry Up your CC (13, 16 Shells) (78, 96 dc)
R5: Beg Shell in same ch-1 sp, *Shell in each ch-1 sp around. sl st in top of ch 3, sl st in next 2 dc, insert hook into ch-1 sp, Carry Up your MC (13, 16 Shells) (78, 96 dc)
R6: Beg Shell in same ch-1 sp, *Shell in each ch-1 sp around. sl st in top of ch 3, sl st in next 2 dc, insert hook into ch-1 sp, Carry Up your CC (13, 16 Shells) (78, 96 dc)
R7: Beg Shell in same ch-1 sp, *Shell in each ch-1 sp around. sl st in top of ch 3, sl st in next 2 dc, insert hook into ch-1 sp, Carry Up your MC (13, 16 Shells) (78, 96 dc)
R8: Beg Shell in same ch-1 sp, *Shell in each ch-1 sp around. sl st in top of ch 3, sl st in next 2 dc, insert hook into ch-1 sp, Carry Up your CC (13, 16 Shells) (78, 96 dc)
Child Size STOP here. Do NOT fasten off. Move to Crown
R9: Beg Shell in same ch-1 sp, *Shell in each ch-1 sp around. sl st in top of ch 3, sl st in next 2 dc, insert hook into ch-1 sp, Carry Up your MC (16 Shells & 96 dc)
R10: Beg Shell in same ch-1 sp, *Shell in each ch-1 sp around. sl st in top of ch 3, sl st in next 2 dc, insert hook into ch-1 sp, Carry Up your CC (16 Shells & 96 dc)
Adult Size STOP here. Do NOT fasten off. Move to Crown
Crown
Note: ch 1 does NOT counts as a st
R1: sl st in 1st dc, ch 3, sk 1 st, dc2tog, *sk 1 st, dc2tog. rep from * around until last 2 st. sk last 2 st, sl st in top of ch-3 to join. (26, 32 dc)
R2: ch 2, dc in next st (this counts as dc2tog), dc2tog in each st around. sl st in 1st st to join. (13, 16 dc)
Child Size
R3: ch 3, dc2tog in each st around. sl st in 1st st to join. (7 dc)
Fasten off leaving a long tail of yarn. Weave the long tail of yarn through each st, draw tight to close the top of the crown.
Adult
R3: ch 3, dc2tog in each st around until last st. sk last st. sl st in 1st st to join. (8 dc)
Fasten off leaving a long tail of yarn. Weave the long tail of yarn through each st, draw tight to close the top of the crown.
@Jo’s Crafty Hook 2024
That’s it! You have created your own version of the Hat Pattern!

I would love to see what you created!
If you love this crochet pattern as much as I do, there is a Rolling Shells Bundle for $5 with the Wrist Warmers, Beanie, and Infinity Scarf all in 1 place.
 You can tag me at @joscraftyhook and in my FB Group Jo’s Crafty Hook Designs
You can find more of my crochet patterns at my Ravelry Store, LoveCrafts, and my Etsy Shop
You can also find many types of crochet patterns that are Free on my website.
Be sure to sign up for my Newsletter and get a FREE premium crochet pattern from me! You will then start receiving messages about New Crochet Pattern Releases; FREE Crochet Patterns; Collaborations and more!
Find me, Jo of Jo’s Crafty Hook at the places listed below.
Email: jo@joscraftyhook.com
Facebook Group Jo’s Crafty Hookers
Facebook Group Jo’s Crafty Hook Designs
Facebook Page Jo’s Crafty Hook
Facebook Page: Crochet Designer Community
![]()