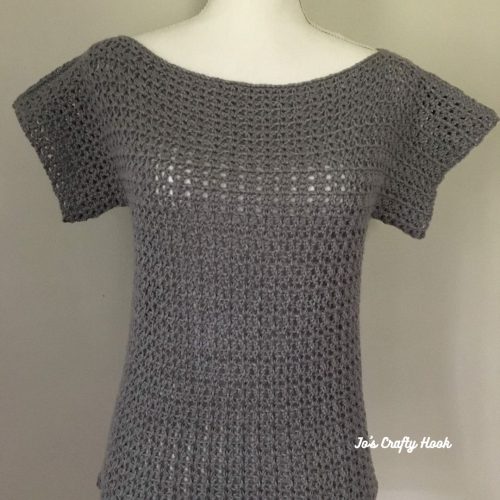
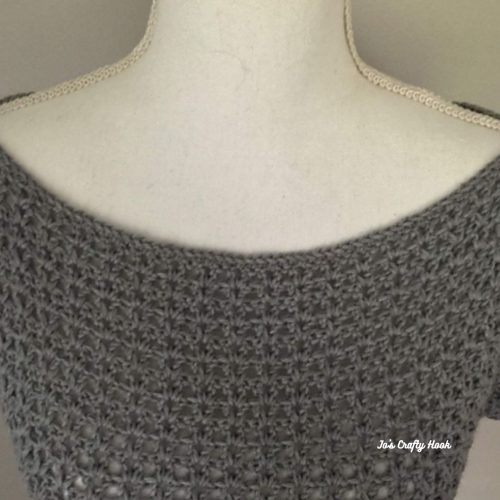
The inspiration behind the Vee Tee Crochet Pattern was creating an easy one row repeat that makes the Vee Tee work up quickly. I also wanted to create a tee that had less sewing, I am not a fan of sewing.
The one row repeat is a very easy group of stitches that create the Vee Stitch. All it is is (dc, ch 1, dc) all in one space. That’s it.
The Vee Tee Crochet Pattern calls for a lightweight cotton yarn that makes this a perfect top that you can add to your Summer Wardrobe.
This post contains affiliate links.
Don’t miss out on each day’s featured crochet pattern by signing up for my Daily Email Alerts.
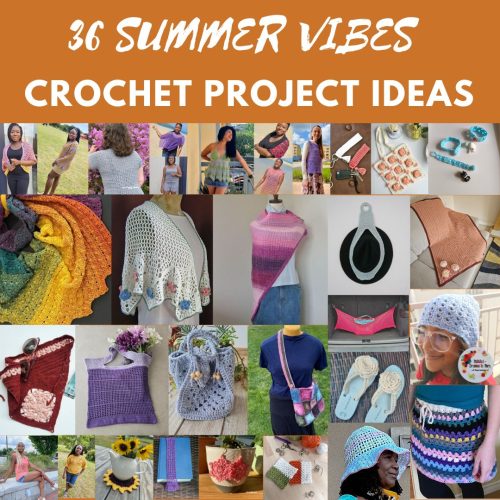
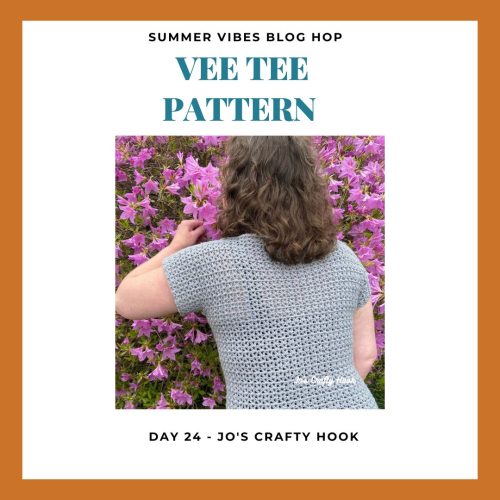
The Vee Tee Crochet Pattern is being featured in Fosbas Designs Summer Vibes Blog Hop going on the whole month of July 2o24.
You will find Free & Discounted premium Crochet Patterns from 19 amazing crochet designers, that have have been hand picked for the best summer crochet projects.
Why not take advantage of the Summer Vibes 2024 Bundle and get all 36 premium crochet patterns for $12.99. This is a 90% savings when you purchase all 36 crochet patterns at one time.
$12.99 Summer Vibes 2024 Bundle
July 24-25, 2024 My Vee Tee Sale
July 24-25, 2024, get a premium copy of my Vee Tee Crochet Pattern for $2.50, which 50% off for 24 hours on my day during the Summer Vibes Blog Hop.
Visit the Summer Vibes Blog Hop to get my Coupon Code needed to get the 50% off discount.
Once you have my Coupon Code, click on the Button below to visit my Ravelry Store and use it at Checkout.
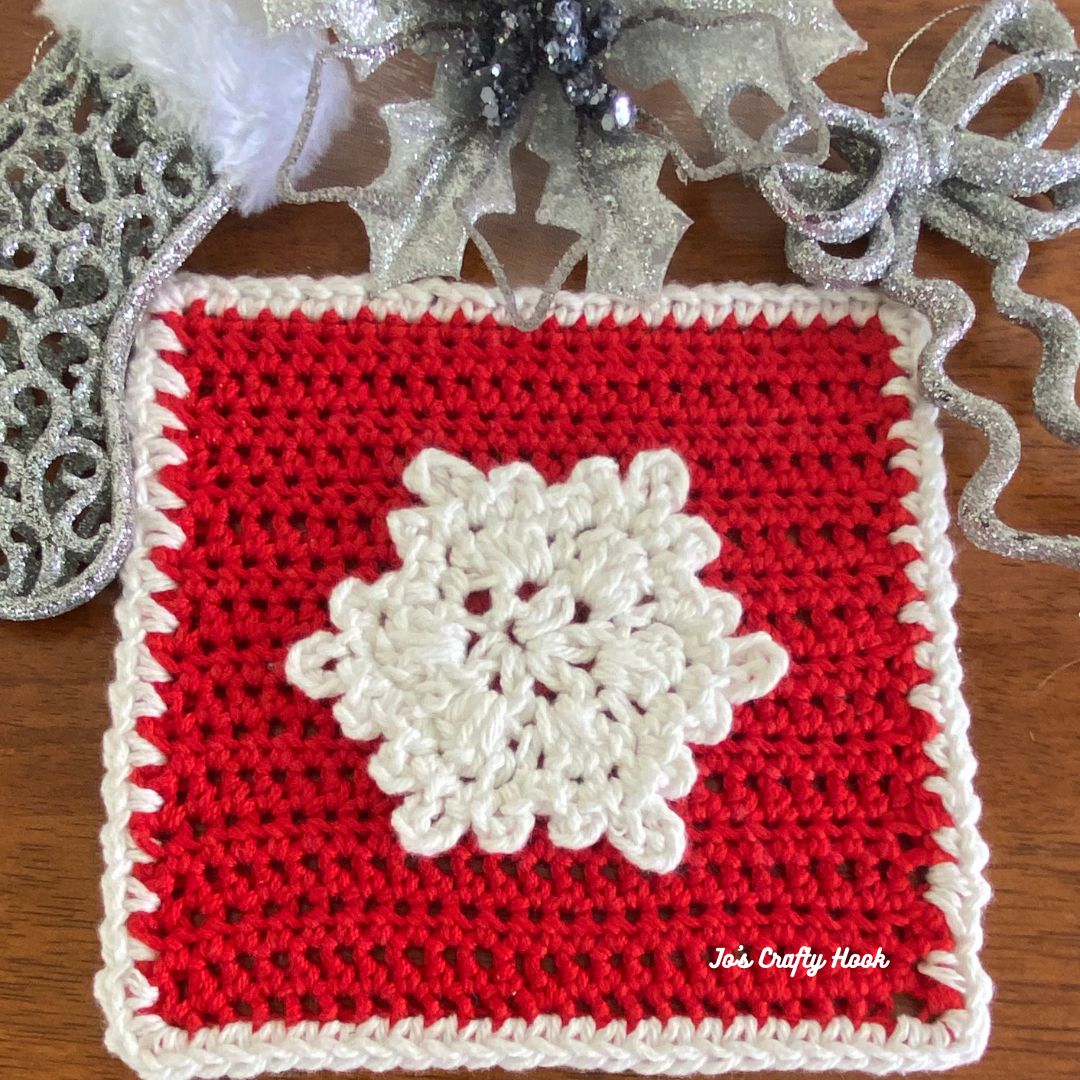
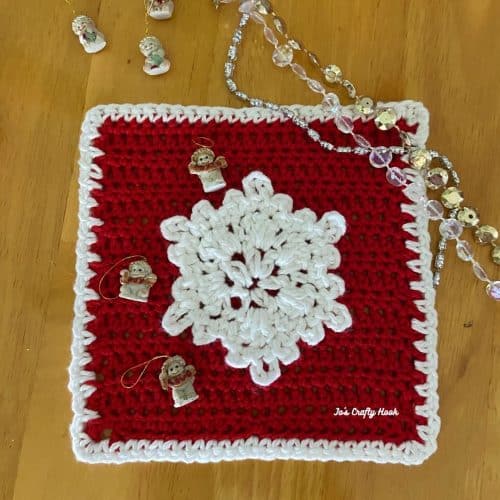
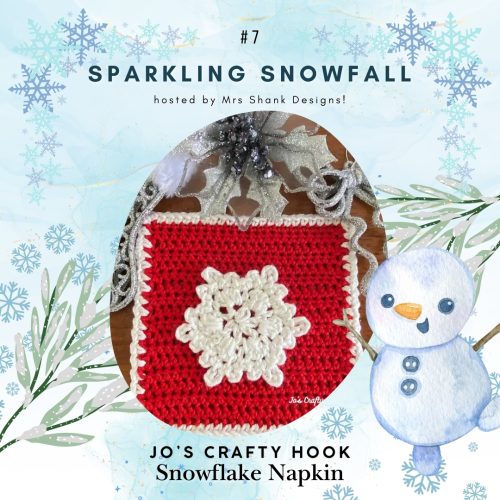
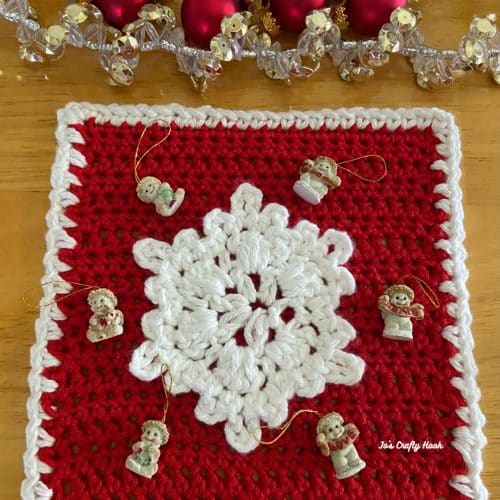
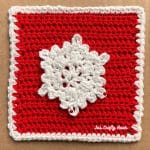
Who doesn’t like to decorate their home for the holidays?! My Snowflake Napkin would be a great addition to your Home Decor. Make the napkin and snowflake together or separate and make your Christmas even brighter!
You can even make just the Snowflake and decorate gift boxes or make as ornaments for your Christmas Tree.
Below you will find a FREE version of my Snowflake Napkin Crochet Pattern that you can made any time of year, not just for Christmas or the Holidays.
Season.
Snowflake Napkin
This post contains affiliate links
Be sure to sign up to my Newsletter and receive information about more free crochet patterns, new crochet pattern releases, and more.
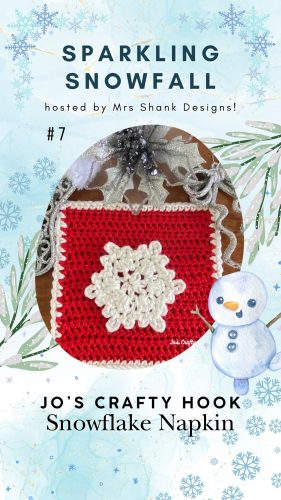
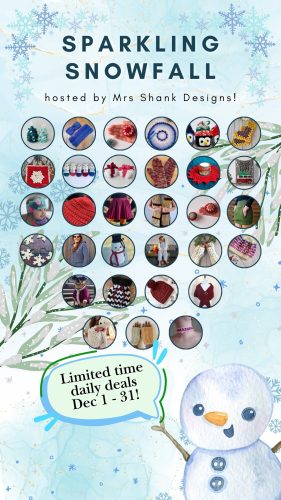
My Snowflake Napkin Crochet Pattern is being featured in Mrs. Shank Designs Sparkling Snowfall Blog Hop and you can get a premium copy for 50% off on December 7-8, 2024!
During the Sparkling Snowfall Blog Hop 2024 you will find FREE and Discounted crochet patterns that are perfect makes for this time of year.
My Featured Day
On December 7-8, 2024 visit the Sparkling Snowfall Blog Hop 2024 by clicking on the image below to get the Coupon Code needed to get my Snowflake Napkin Crochet Pattern for 50% off.
Coupon Code
Once you have the Coupon Code, click on the image below where you will be directed to my Ravelry Store. Use the needed Coupon Code at Checkout to get a premium PDF of my Snowflake Napkin Crochet Pattern for $1.75 (50% off)
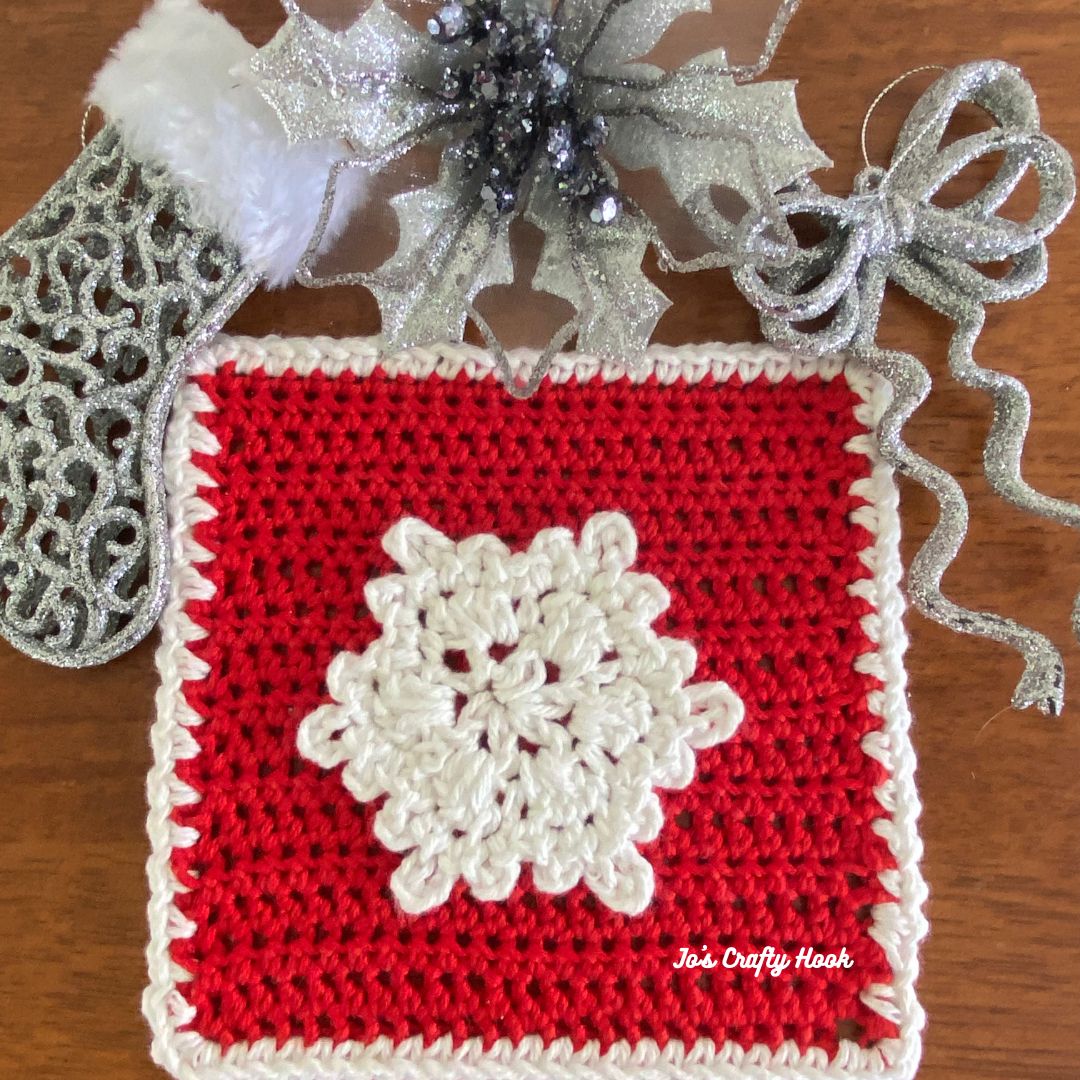
Information about the Snowflake Napkin
Inside this Snowflake Napkin Crochet Pattern you will find 2 separate crochet patterns, 1 for a Napkin and another for a Snowflake. You will also find help tips and tricks.
The Snowflake Napkin doesn’t only have to made during the Holidays. You can add a little something extra to match any room in your home by making these 2 crochet patterns together or separately.
Information Needed to Crochet the Snowflake Napkin
I used Lily Sugar n Cream 100% Cotton Yarn (113g / 4oz) (184m / 200yd) for the Snowflake I used Lion Brand 24/7 Cotton Yarn (3.5 oz/186 yds) for the Napkin
Materials: MC – 30-40 yds of #4 ply Worsted Weight Cotton Yarn CC – 10 yds of #4 ply Worsted Weight Cotton Yarn US G or 4 mm Crochet Hook Tapestry Needle Scissors
Finished Size: Napkin: 6.5” x 6.5” Snowflake: 4” x 4”
Abbreviations/Stitches Used: st = stitch ch = chain hdc = half double crochet alt ch 2 = alternate chain 2 sl st = slip stitch rep = repeat MC = Main Color CC = Contrasting Color
Notes: The napkin is worked flat. The snowflake is worked in the round. alt ch 2 counts as a hdc. If you do not meet gauge, try going up or down a hook size.
Gauge: US G or 4mm Crochet Hook 16 hdc x 12 rows = 4”
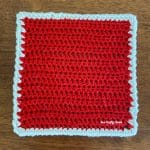
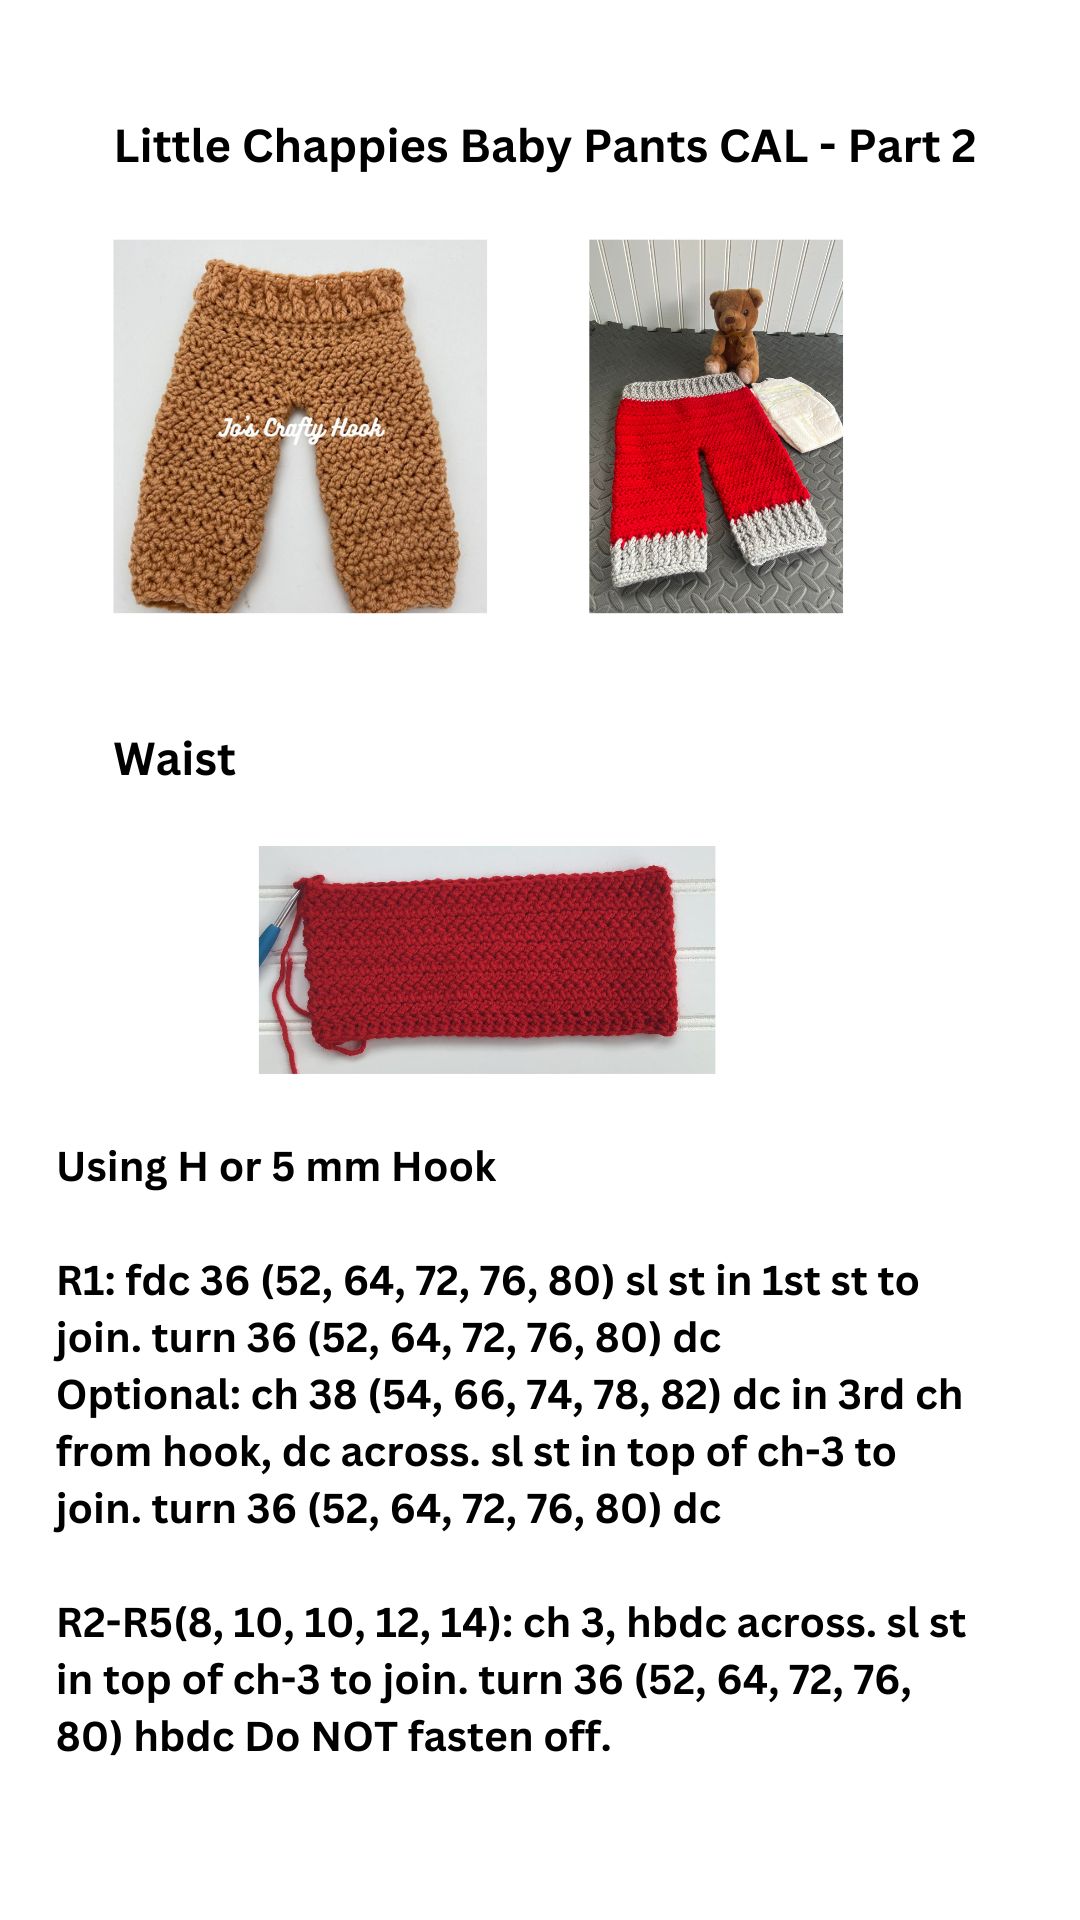
R1: fsc 24. turn (24 sc) Optional: ch 25, sc in 2nd ch from hook, sc across. turn (24 sc)
R2-R17: alt ch 2 or ch 2, hdc across. turn (24 hdc)
R18: ch 1, sc in same st, sc across. (24 sc)
Fasten off and weave in ends.
Border
Change to CC Note: be sure to have the same number of stitches across the top, bottom and side of the napkin to create a nice straight, flat Napkin.
Across the Top: attach yarn with a sl st in 1st st of R18. (sc, ch 1, sc) all in 1st st. sc in each st across until last st. (sc, ch 1, sc) all in last st.
Down the Side: turn slightly to go down the side, ch 1 *sc in next st, ch 1. rep from * until the last st. (sc, ch 1, sc) all in last st
Across the Bottom: sc in each st across the bottom until last st. (sc, ch 1, sc) all in last st
Up the Side: turn slightly to go up the side, *ch 1, sc in next st. rep from * until the 1st st. ch 1, sl st in 1st st to join.
Fasten off and weave in ends.
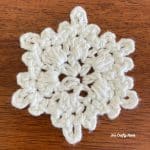
Snowflake Crochet Pattern
Note: the snowflake is worked in the round
R1: make magic circle, dc, ch 1 for a total of 6 times in magic circle. pull yarn tight to close circle. sl st in 1st st to join. (6 dc, 6 ch-1 sp)
R2: ch 1, sc in same st, 3 dc in next ch-1 sp, *sc in next st, 3 dc in next ch-1 sp. rep from * around until 1st st. sl st in 1st st to join.
R3: ch 1, sc in same st, sl st in next st, ch 3, sl st in same st, sl st in next st, ch 5, sl st in same st, sl st in next st, ch 3, sl st in same st, *sc in next st, sl st in next st, ch 3, sl st in same st, sl st in next st, ch 5, sl st in same st, sl st in next st, ch 3, sl st in same st. rep from * around until 1st st, sl st in 1st st to join.
Fasten off and weave in ends.
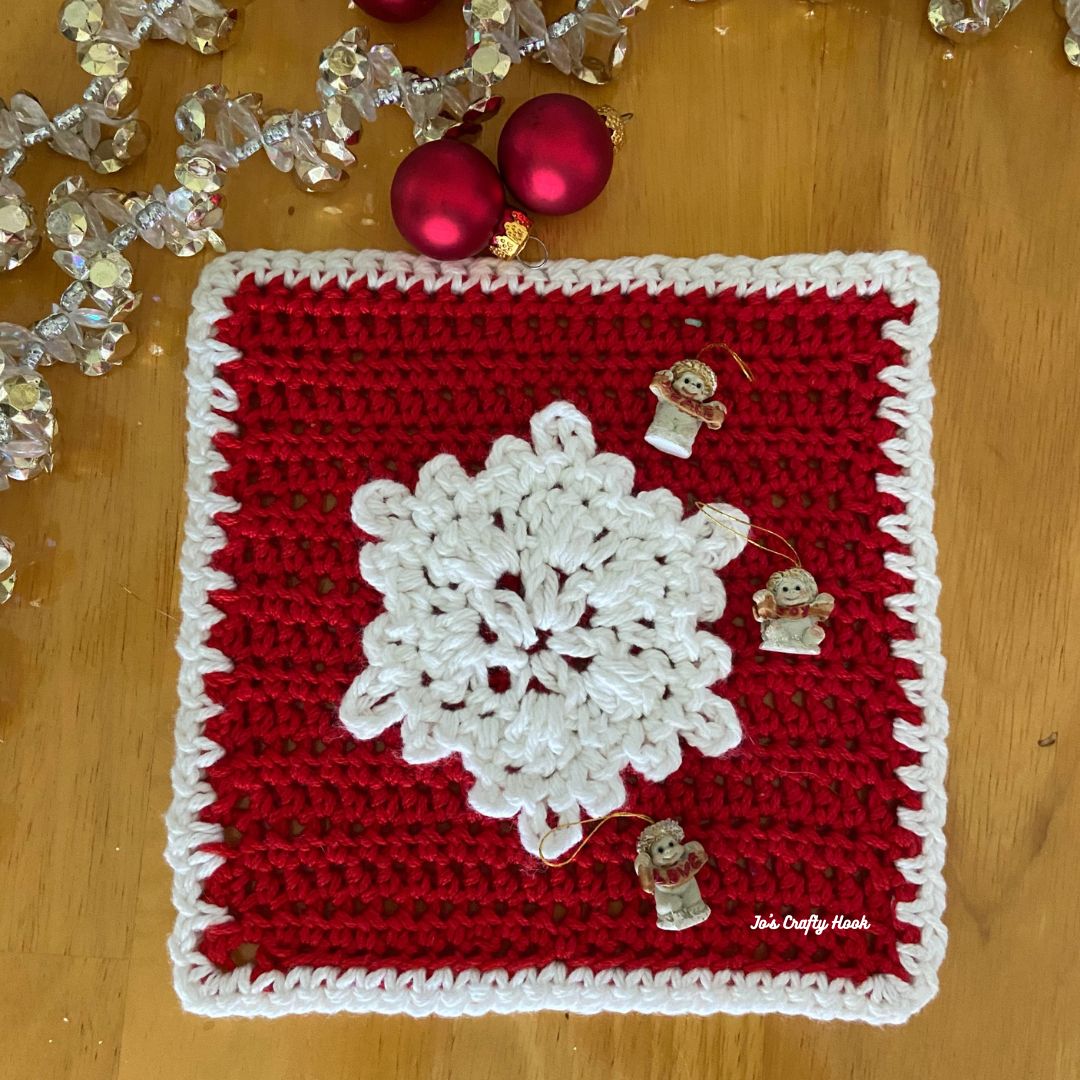
Snowflake Placement
Snowflake Placement
Step 1: Count over 12 stitches from the edge. (This will be the center of your Napkin)
Step 2: From the beginning row of your Napkin, count up 9 rows. (This will be the center of your Napkin)
Step 3: Line up the middle of your Snowflake in the center of your Napkin.
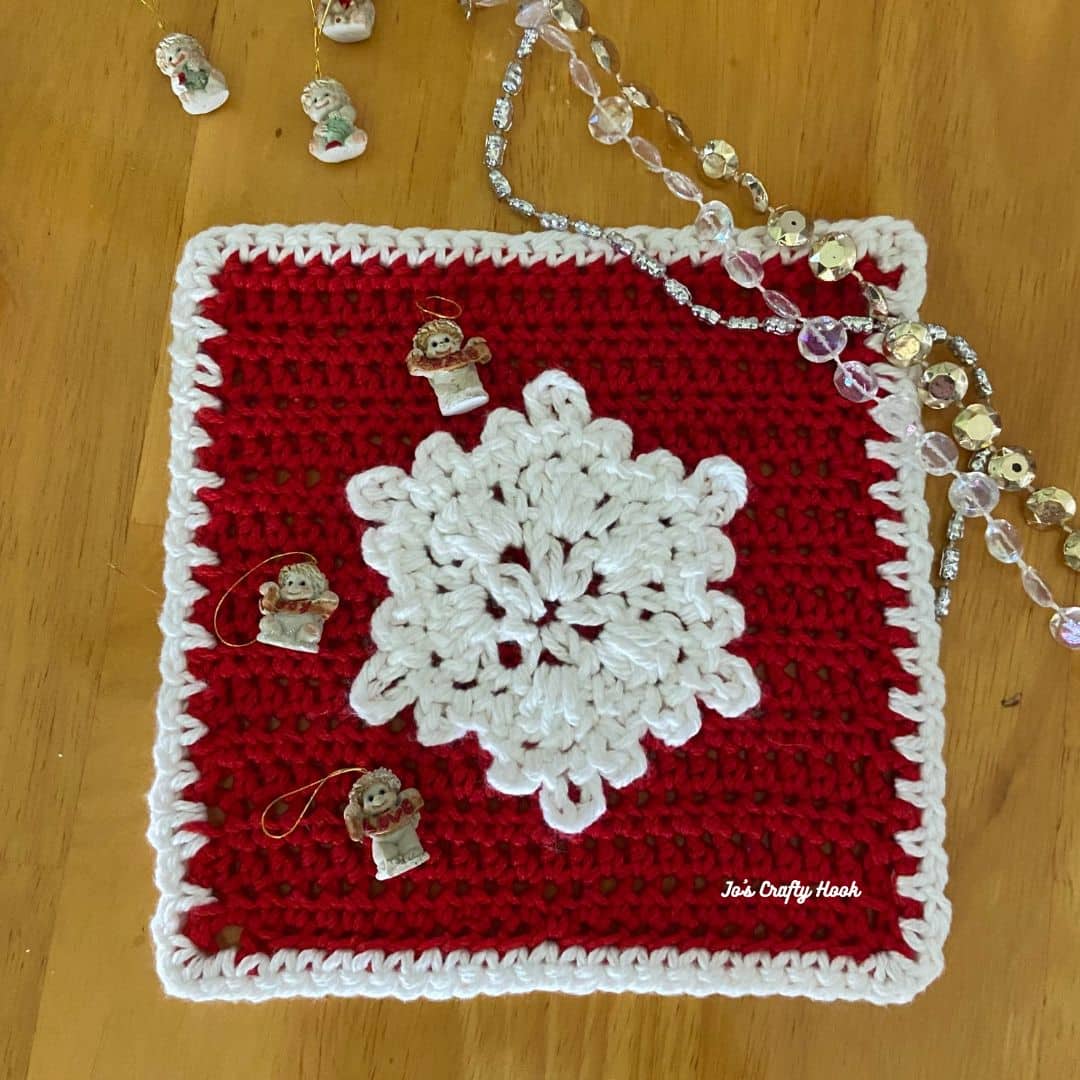
Attaching your Snowflake to Napkin
There are some suggestions below on how you can attach your Snowflake to your Napkin.
I hot glued mine evenly around using the tips of the Snowflake. This allows your Snowflake to lay flat when you want to use the Napkin.
You can hot glue it to the center of the Napkin
You can sew it to the center of the Napkin
You can take it down by sewing the tips of the Snowflake to the Napkin
You can use the suggestions above or use your own method to keep your Snowflake from coming off of your Napkin.
That’s it! You have made your own Snowflake Napkin! I would love to see your version! You can tag me at @joscraftyhook and in my FB Group Jo’s Crafty Hook Designs
You can also find FREE Christmas & Holiday crochet patterns on my website.
You can find more of my premium crochet patterns at my stores listed below and find great savings.
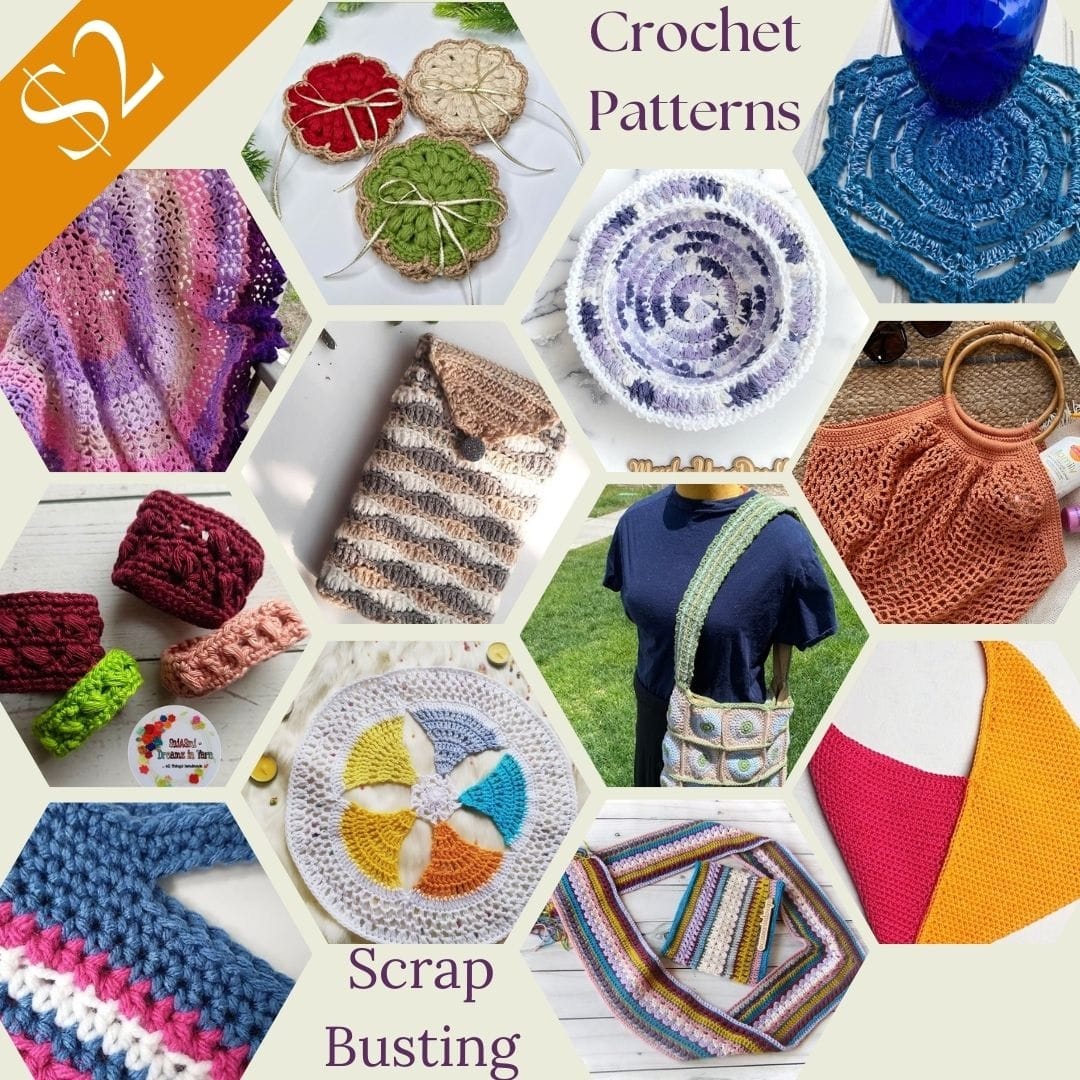
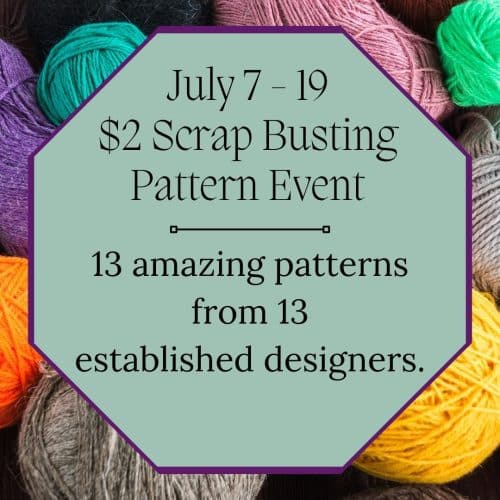
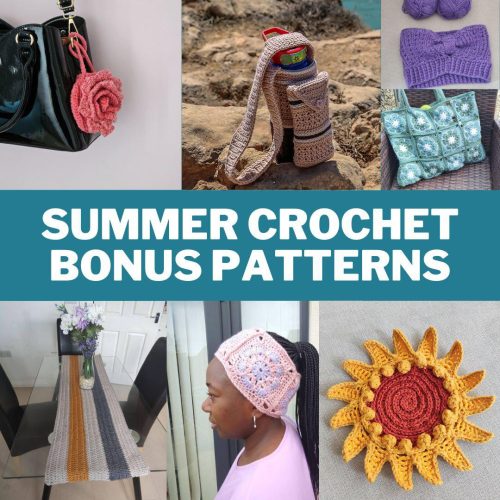
Shop the $2 Scrap Busting Pattern Event from July 7-19, 2024 and find some great crochet patterns for $2!!
Canoe Mtn Design has gathered another great group of crochet designers together to bring you 13 Scrap Busting crochet patterns you can get for $2 each! You can use the Coupon Code: SCRAPS24 for each crochet pattern at Checkout.
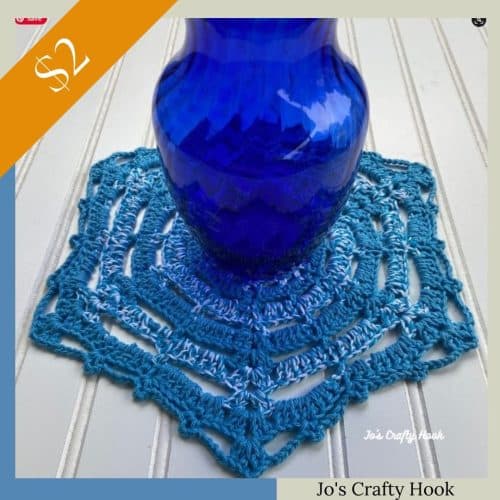
My Doily Placemat crochet pattern is a great way to use up your cotton yarn. You can even use your scrap Worsted Weight Yarn and make a great centerpiece for your tables. Coupon Code: SCRAPS24
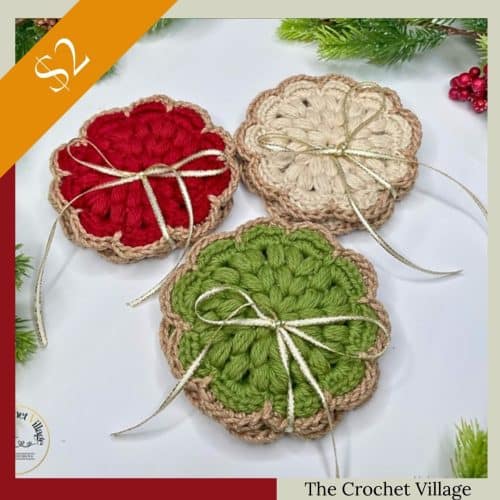
Angela’s coaster crochet pattern is festive and practical, perfect for home décor or as Christmas gifts. It’s easy to follow, quick to make, and features a beautiful golden edge. Plus, you can customize the colors and use leftover yarn to create unique designs. Coupon Code: SCRAPS24
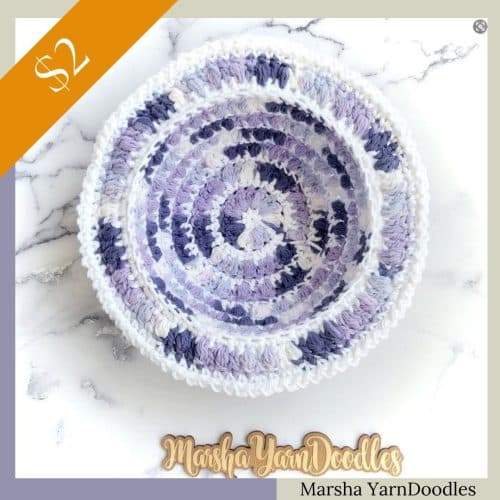
IMAGINE a world where you can hold a steaming hot (or freezing cold) bowl comfortably. The “Imagination Bowl Cozy” makes that dream a reality. The easy-to-follow pattern yields quick and stunning results, and they make great housewarming gifts, too. Coupon Code: SCRAPS24
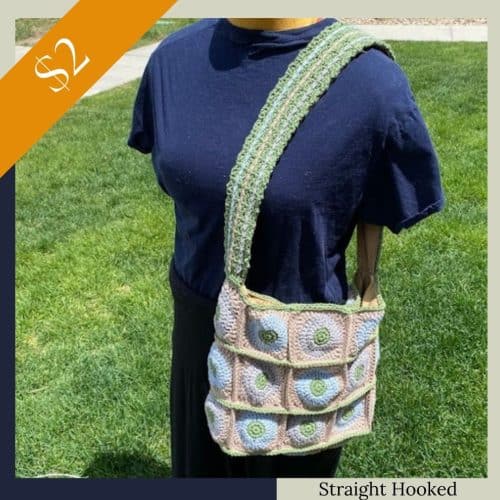
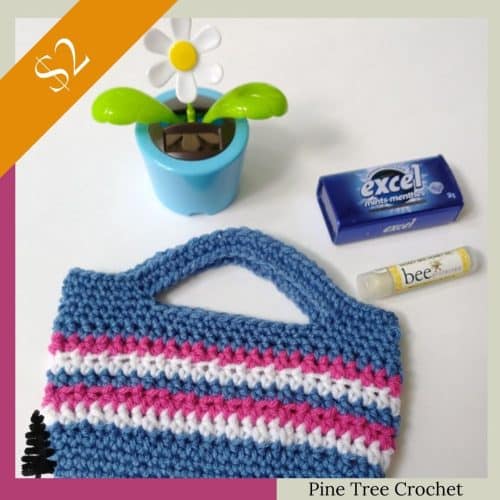
This bag crochet pattern uses simple stitch work, single crochet and chains. The pattern is for an easy skill level, advanced beginners. Coupon Code: SCRAPS24
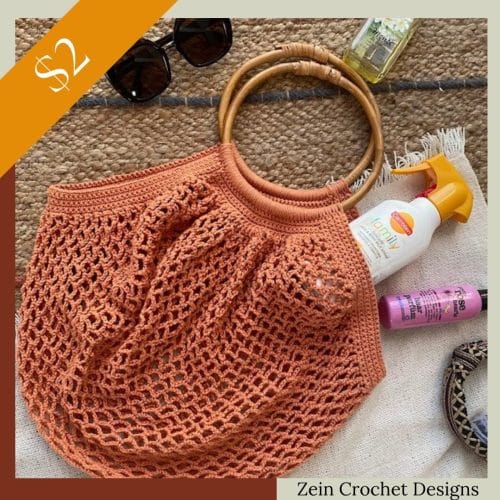
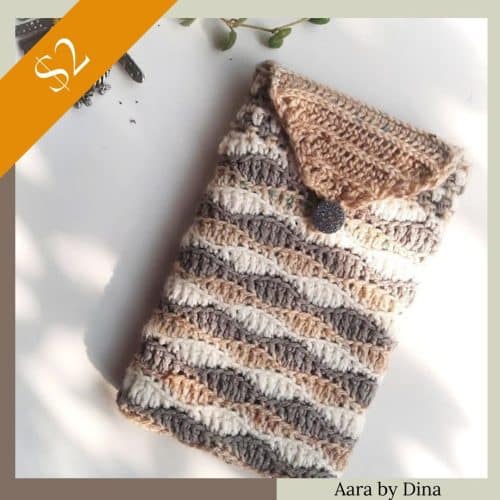
The Versatile Pouch is designed for electronic devices or as a book pouch. It could also be used as a hold-all when travelling or even converted into a sling bag. This is a made-to-measure pattern and can be made with scrap yarn of any weight. Coupon Code: SCRAPS24
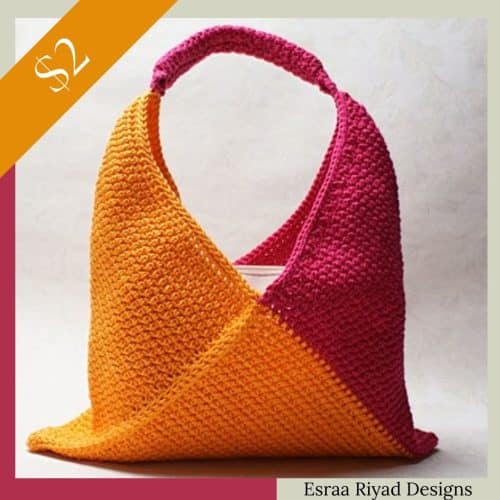
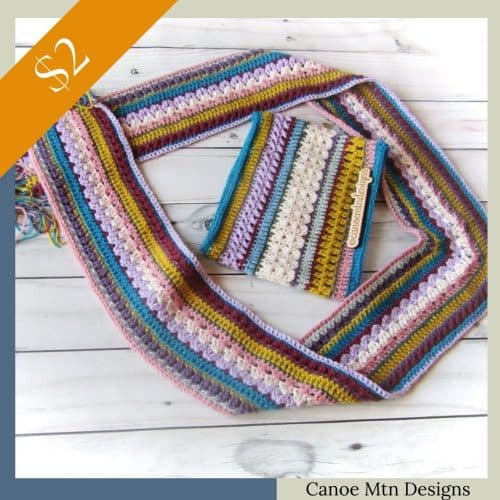
These patterns are a great way to use up scrap yarn. Change colors every row/round or whenever you like. Use as many or few colors as you want. The patterns use many different stitches. A great unisex pattern that is great to give as a fun gift or to donate. Coupon Code: SCRAPS24
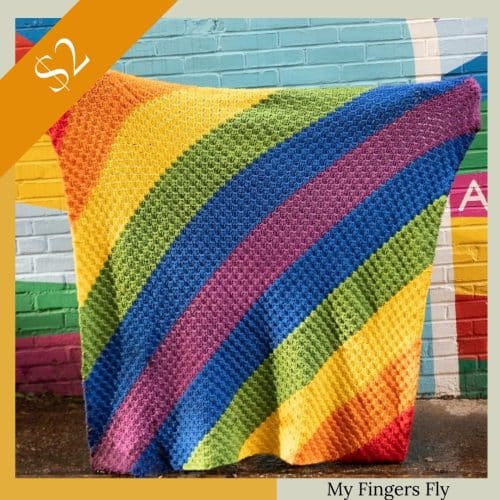
Grab your scrap basket, pull out all those colorful yarns, and crochet a gorgeous C2C throw for your little one’s colorful bedroom. If you have worked a corner-to-corner pattern before, you know what a quick and easy stitch it is. The versatility of C2C crochet also makes it a popular project. If you have never attempted it, here’s your chance to try. You’ll love it! Coupon Code: SCRAPS24
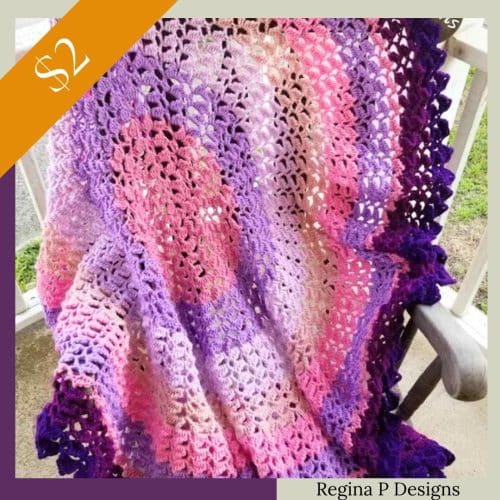
Introducing the gorgeous Jehosheba Throw, a stunning lacy blanket that will add a touch of elegance to any room. This pattern is perfect for scrap busters and allows you to mix and match colors for a unique, personalized look. This design is easily adapted to multiple sizes beyond the included directions for a 35” baby blanket & a 60” throw. Crochet your very own Jehosheba Throw with ease and create a beautiful, timeless piece that will be treasured for years to come. Coupon Code: SCRAPS24
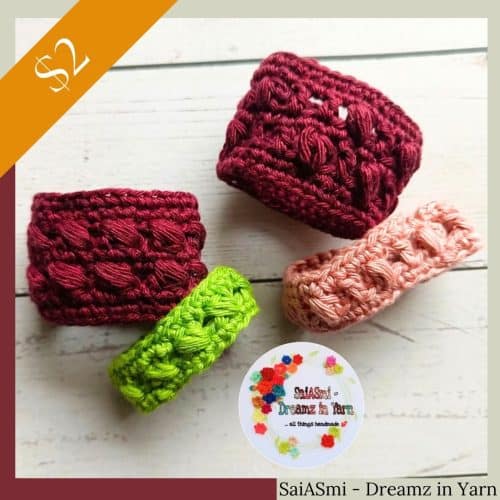
The Scrap-a-napkin Rings e-book contains scrap busting projects to make Napkin rings. The book includes 2 patterns – each in two variations. A fun way to use up those scrap yarns to spruce up the dining set up! Coupon Code: SCRAPS24
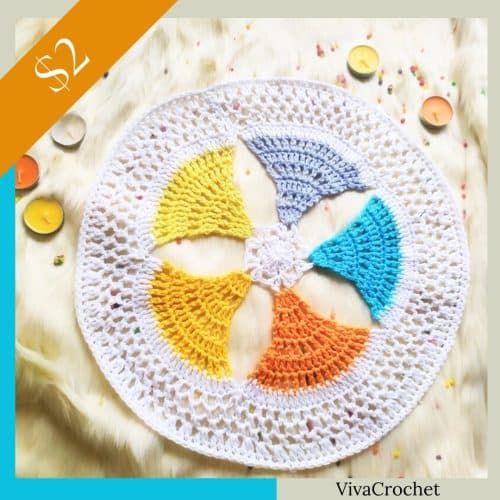
The Spring Dance Mandala is an experiment of cutting and joining new colors in sections halfway through the pattern. Made with thinner thread, it will result in smaller motifs that can then be joined to make runner. Coupon Code: SCRAPS24
Spring Dance Mandala Crochet Pattern
You can find more of my Ad-Free Premium Crochet Patterns at any of my stores listed below.
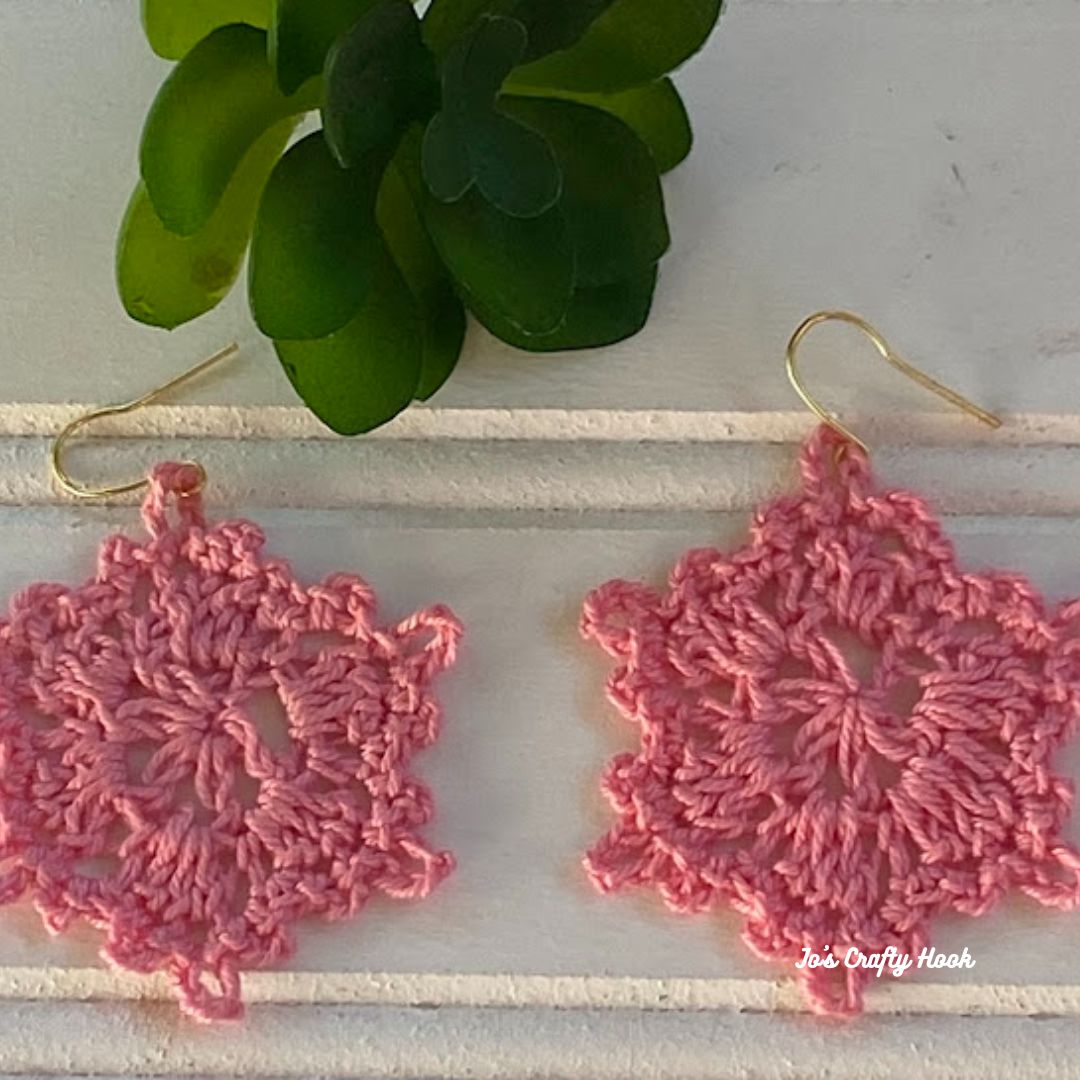
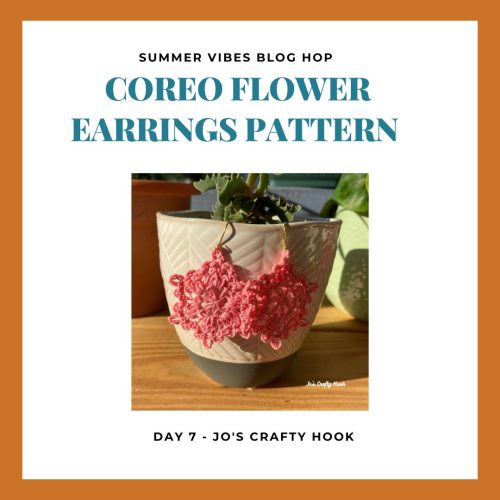
The Coreo Flower Earring Crochet Pattern uses a cotton thread yarn and makes a nice lightweight earring. The earring crochet pattern works up quickly and can be made in so many beautiful Summer colors.
I just love flowers! I have been looking for different types of flowers to plant in my garden this year and I came across the Coreopsis Flower. The flower petals are so bright and colorful and they became the inspiration behind my design.
Susan of Fosbas Designs invited me to be a part of her Summer Vibes 2024 Blog Hop, so I just had to design something vibrant for it!
The Summer Vibes Blog Hop has 36 Summer Vibes Crochet Project Ideas. During this blog hop you can get 1 or 2 FREE and Discounted crochet patterns daily.
Visit the Roundup Post
My Day
On July 7-8, 2024 you can get 50% off of my Coreo Flower Earrings Crochet Pattern from my Ravelry Store as part of the Summer Vibes 2024 Blog Hop.
Use the button below to visit the Summer Vibes 2024 Blog Hop on my day to get the Coupon Code needed to get 50% off of my Coreo Flower Earrings Crochet Pattern.
Once you have the Coupon Code, click on the Button below to visit my Ravelry Store. Add my Coreo Flower Earrings Crochet Pattern to your Cart and use the Coupon Code at Checkout.
Susan has a BONUS Bundle with 7 of her amazing Summer Accessory Crochet Patterns for $8 you can get when you purchase the Summer Vibes 2024 Pattern Bundle for $12.99
For more of my Premium Crochet Patterns visit any of my Stores below.
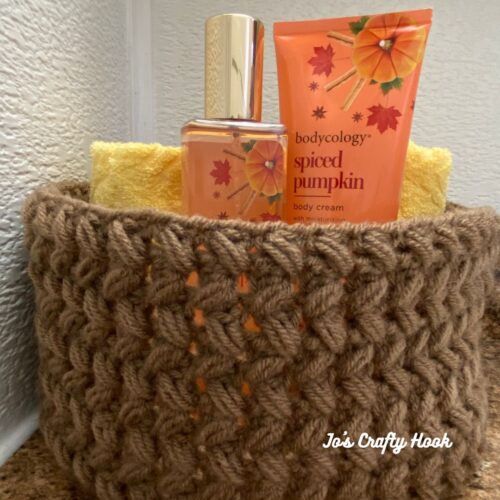
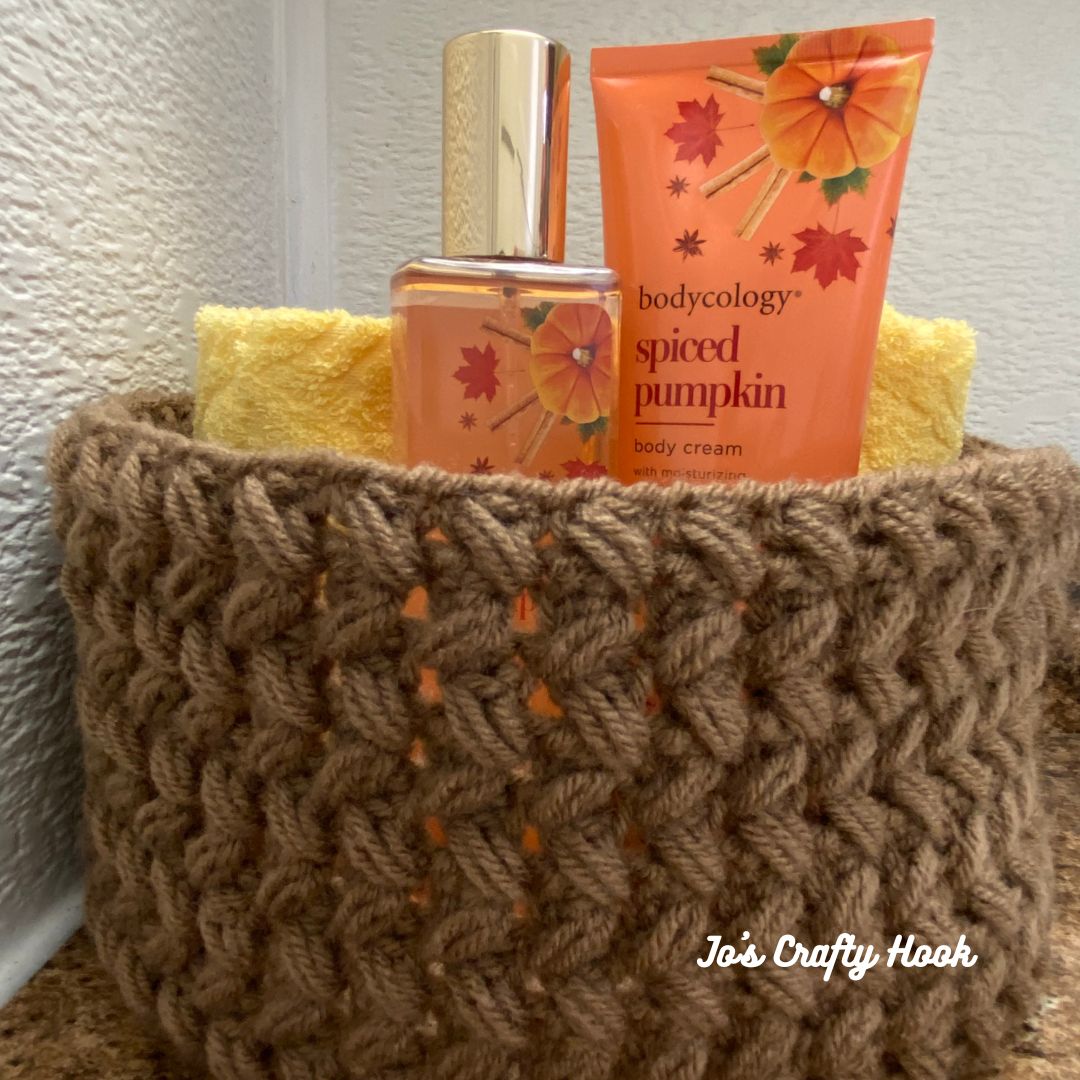
Share pics of any of your WIPs today inside the Crochet-a-Long with Us Facebook Group to WIN a FREE copy of Braided Basket Crochet Pattern. The Braided Basket has 2 sizes that would be great to keep all of your baby’s supplies handy.
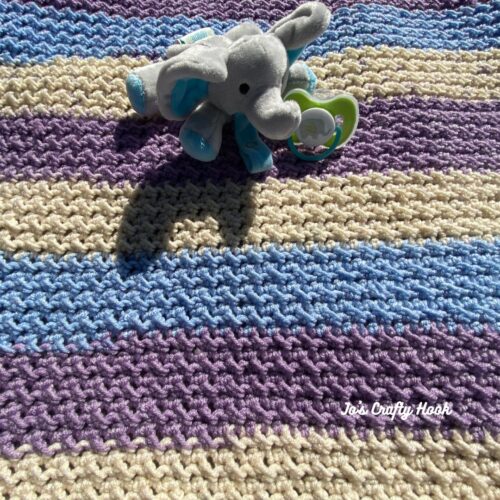
For the Final Prize, you can WIN a FREE copy of my Sweet Dreams Baby Blanket Crochet Pattern!
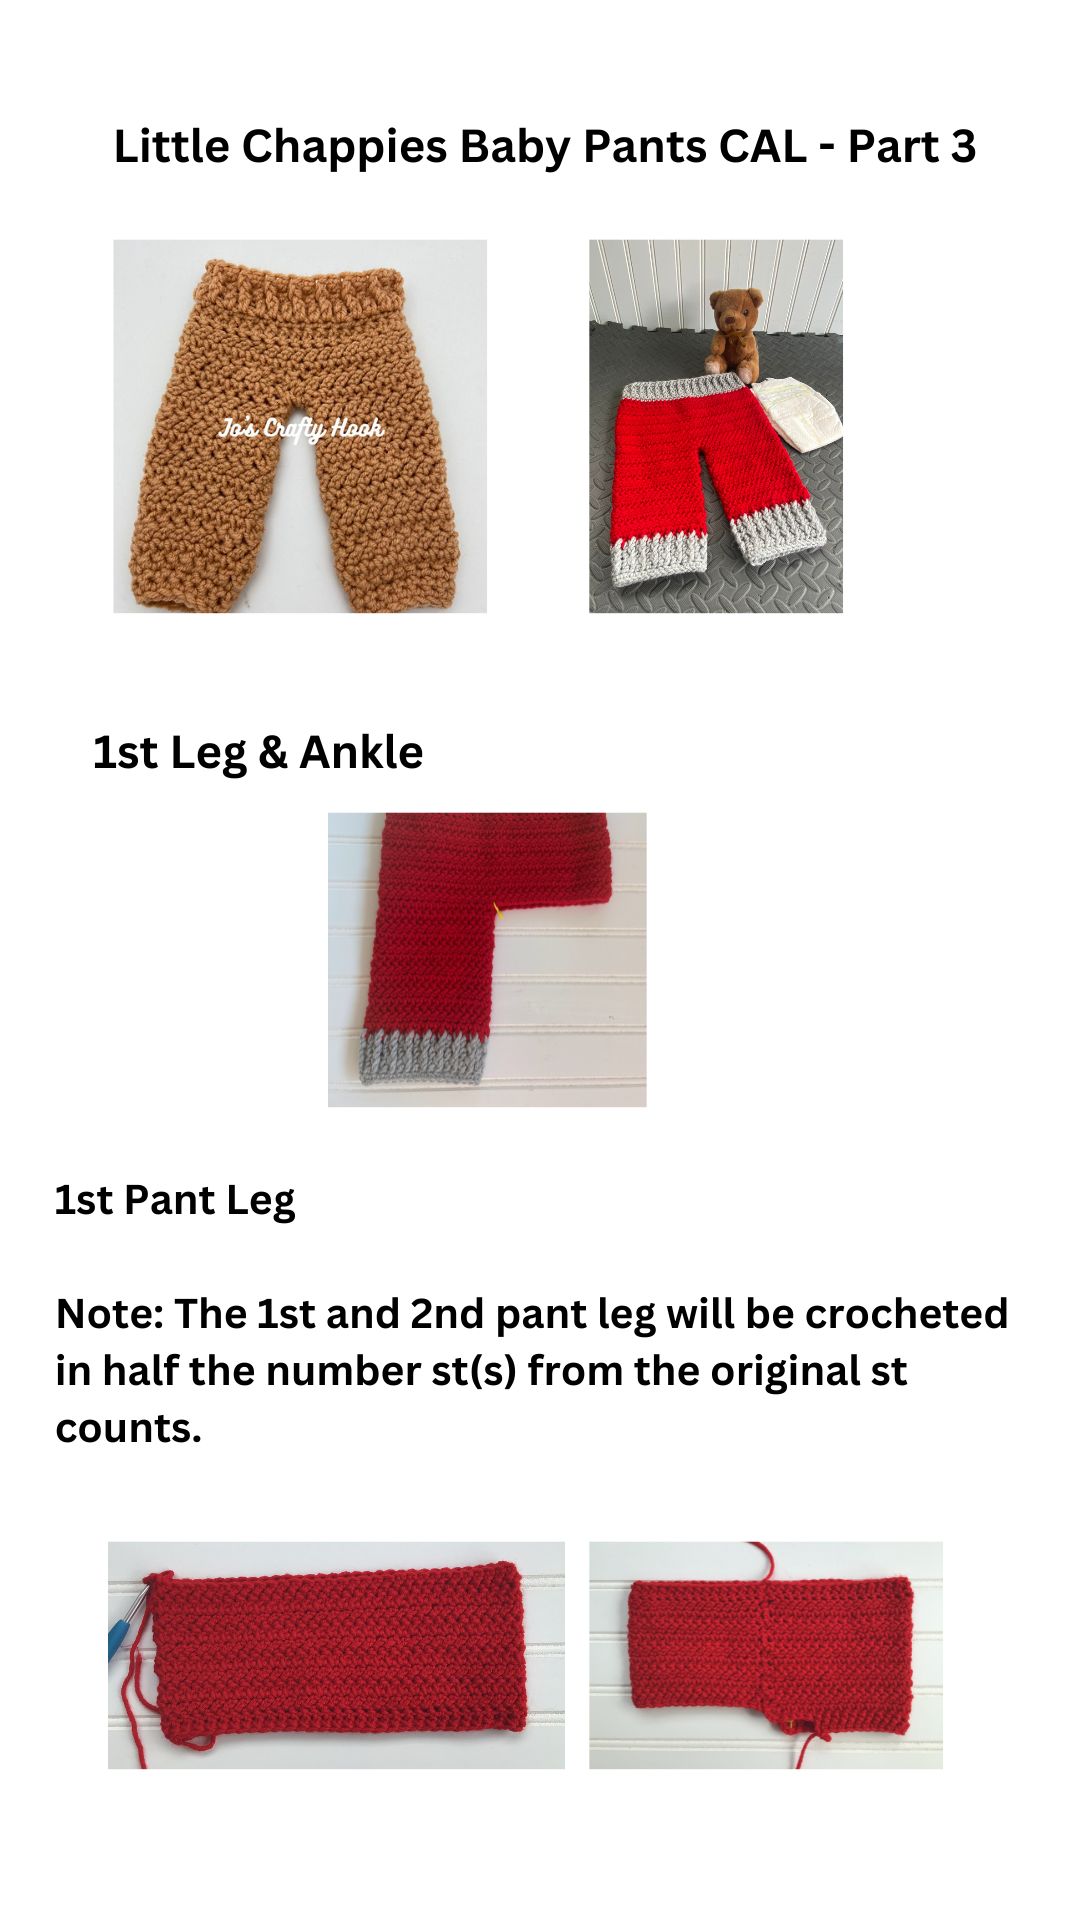
To WIN the Final Prize, share your completed PICs of your version of the Little Chappies Baby Pants with me inside the FB Group Crochet-A-Long with Us. The final days to enter to win are July 5th & July 6th.
Show my LoveCrafts affiliate links and find some great yarn to make your Little Chappies Baby Pants in colors for Boys or Girls!
Shop LoveCrafts
If you missed Parts 1-4, you can find them HERE on my website.
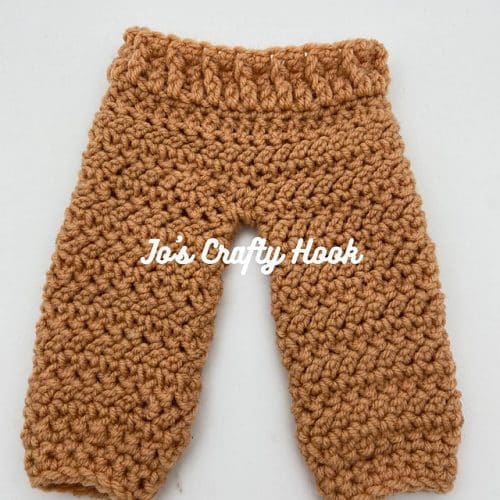
Congratulations! You have completed your version of the Little Chappies Baby Pants!
Again to WIN the Final Prize, share your completed PICs of your version of the Little Chappies Baby Pants with me inside the FB Group Crochet-A-Long with Us. The final days to enter to win are July 5th & July 6th.
You can find FREE baby crochet patterns here on my website.
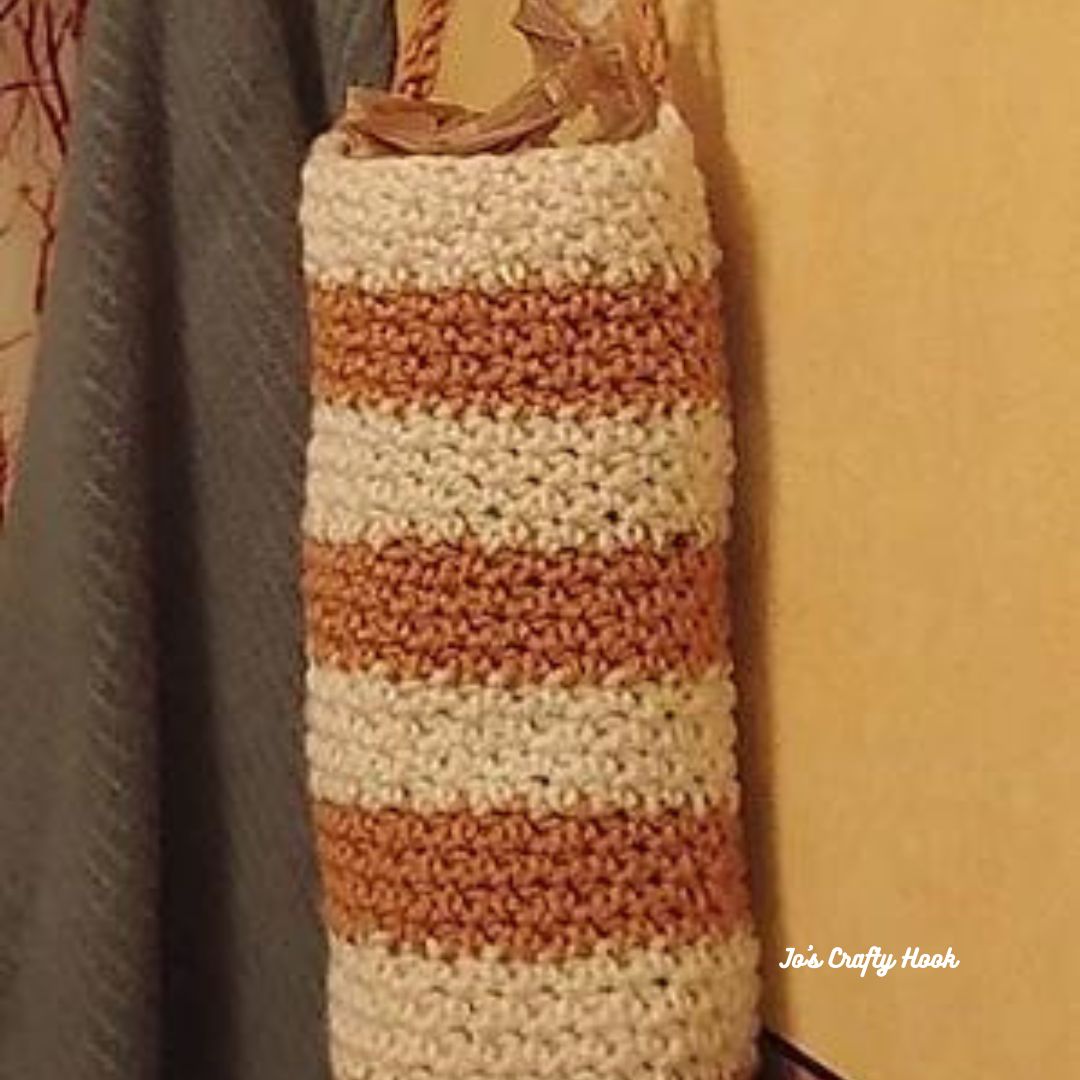
Share pics of any of your WIPs today inside the Crochet-a-Long with Us Facebook Group to WIN a FREE copy of the Stuff It Storage Bag Crochet Pattern. This would be perfect for placing it close to your baby’s changing table or bathroom for easier clean up.
Be sure to join in the fun at Crochet-a-Long with Us and share your WIPs to WIN daily prizes!
Show my LoveCrafts affiliate links and find some great yarn to make your Little Chappies Baby Pants in colors for Boys or Girls!
Shop LoveCrafts
If you missed Parts 1-3, you can find them HERE on my website.
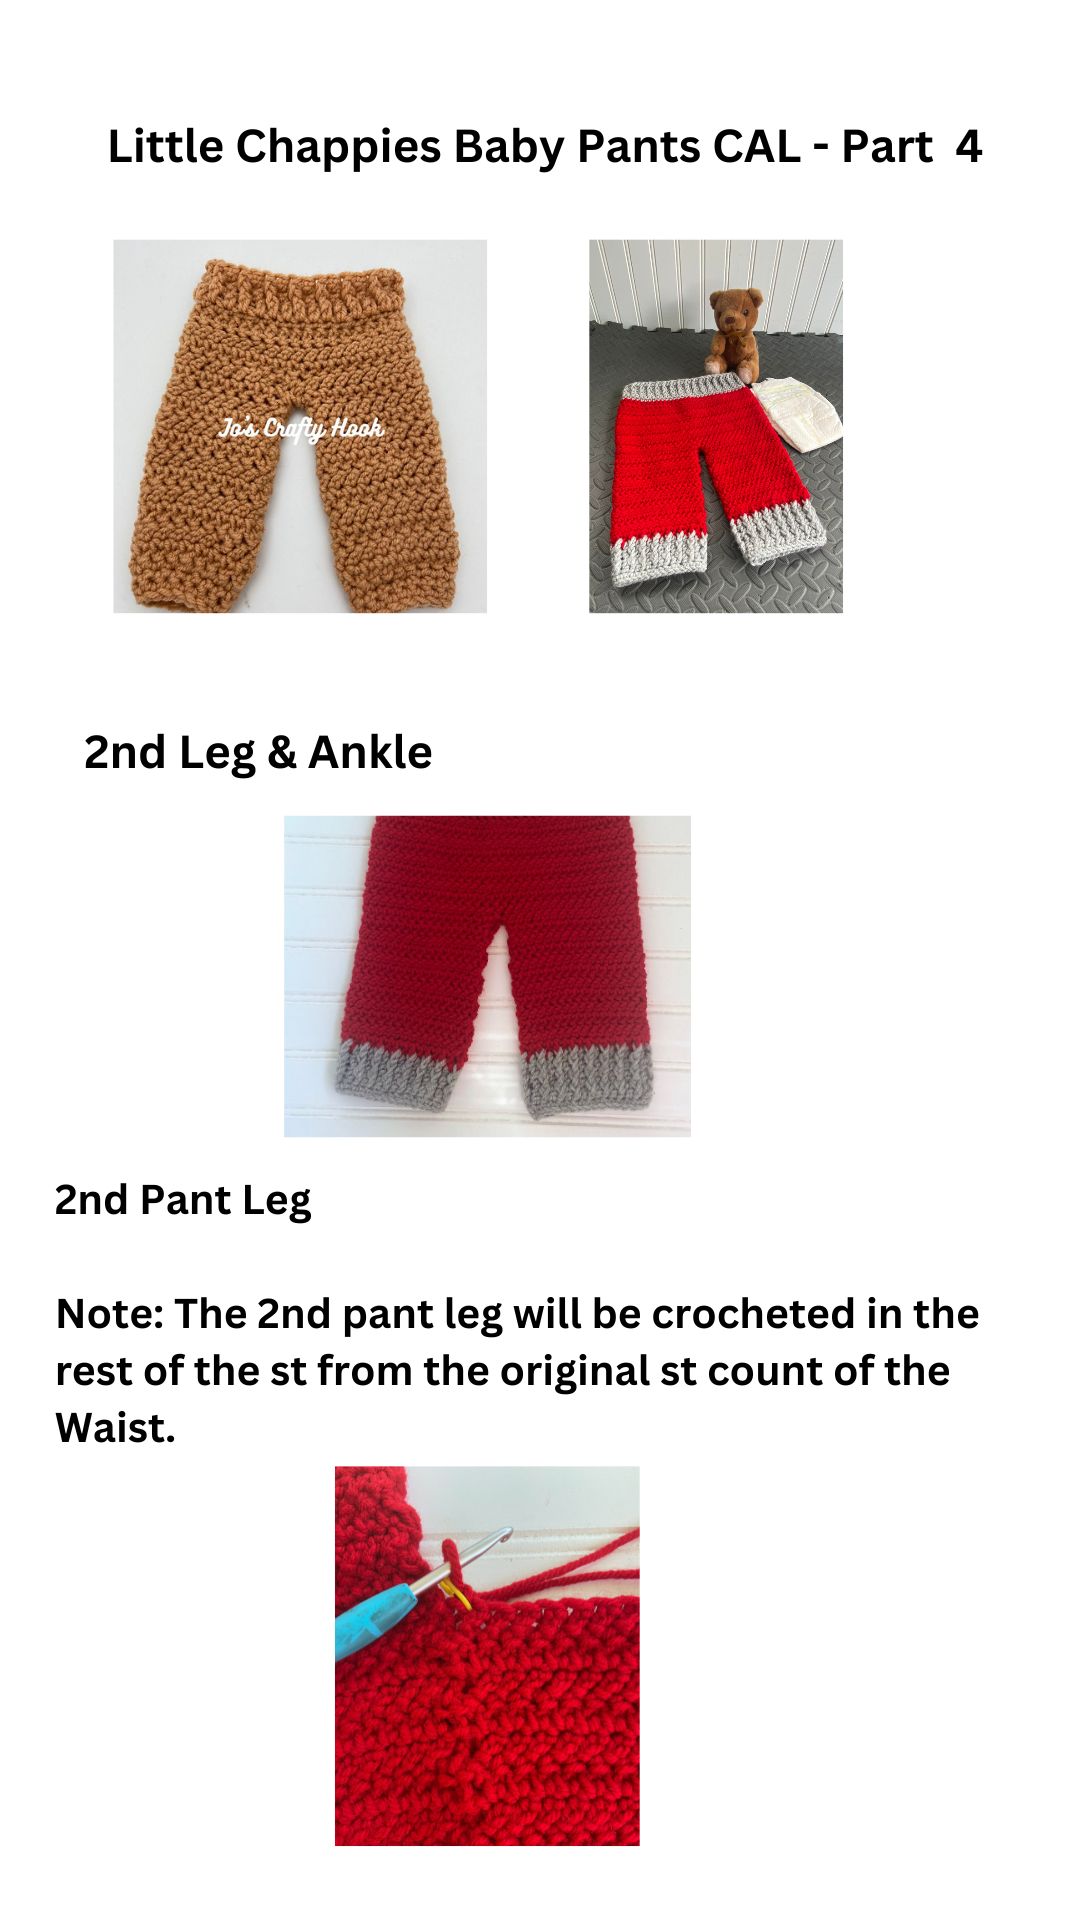
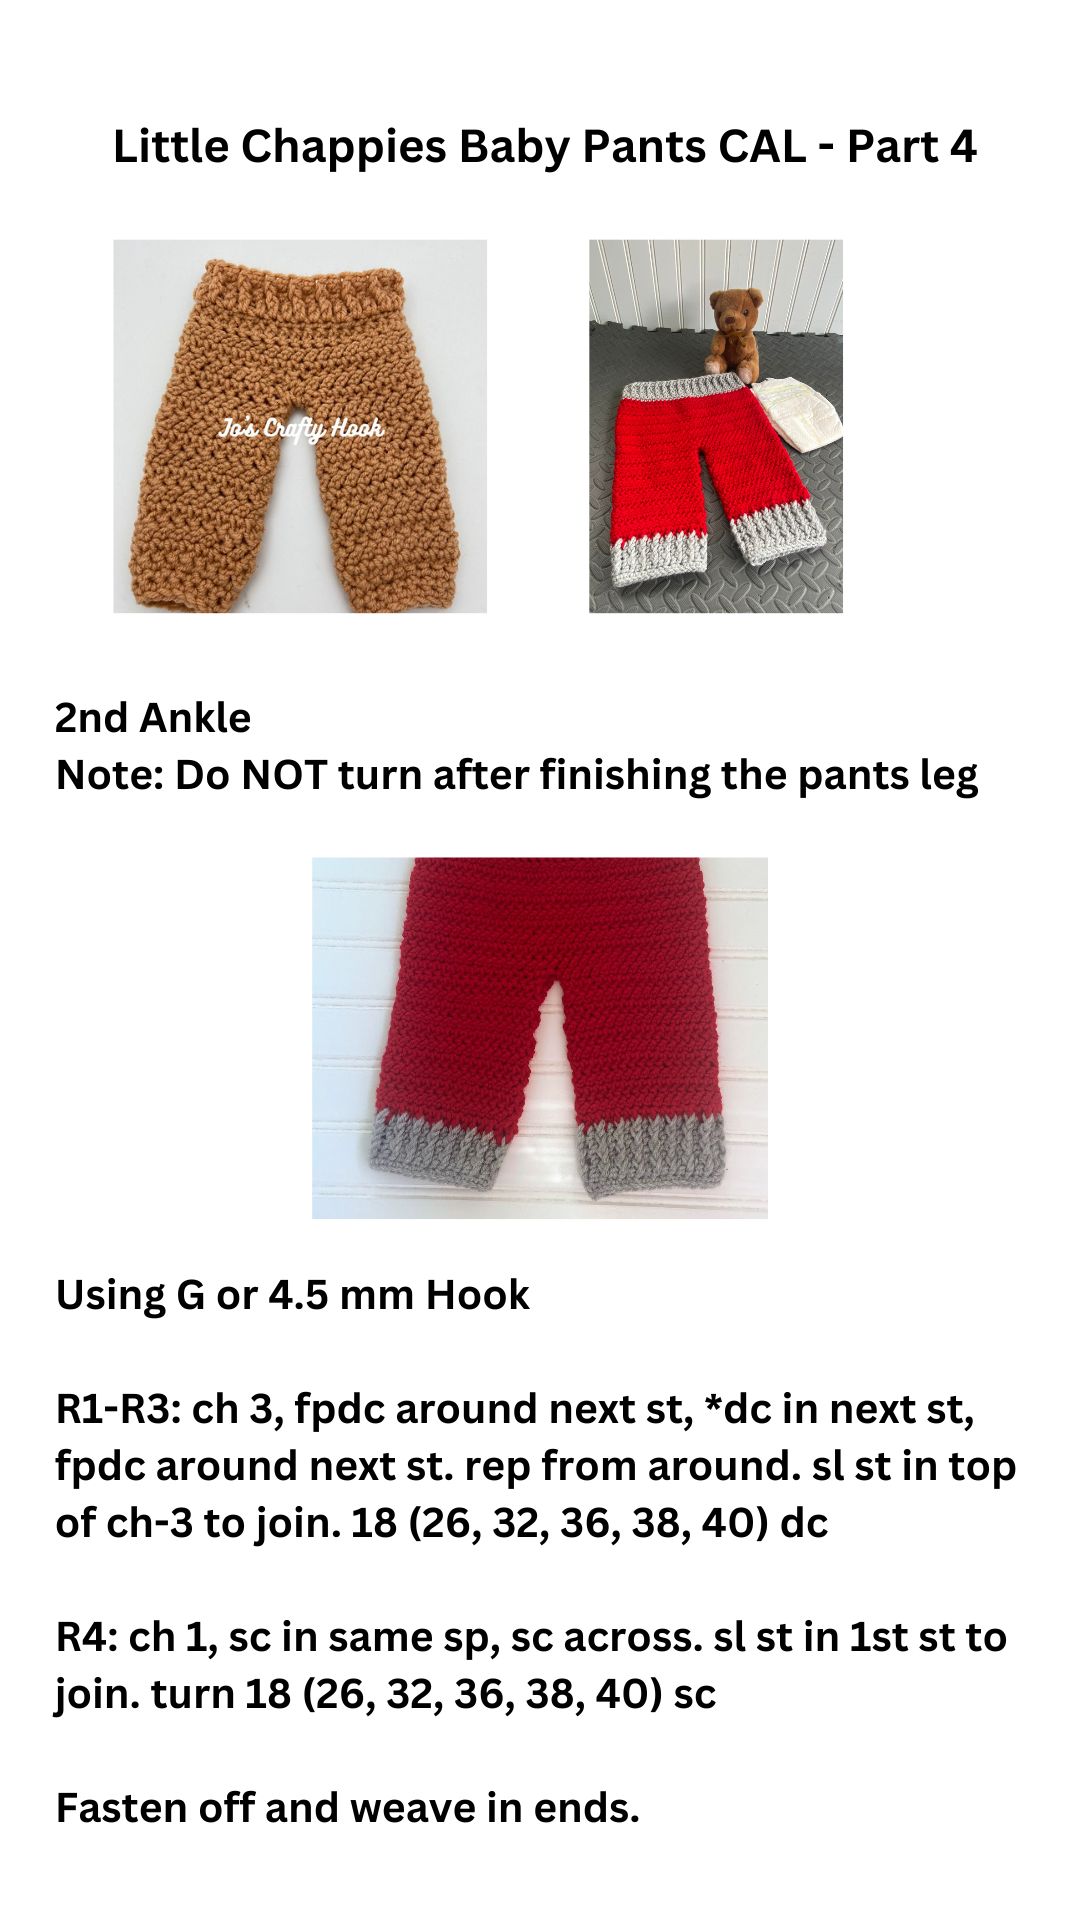
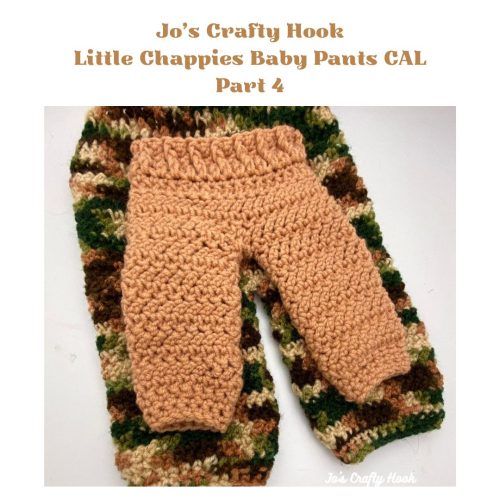
Congratulations! You finished Part 4 of the Little Chappies Baby Pants!
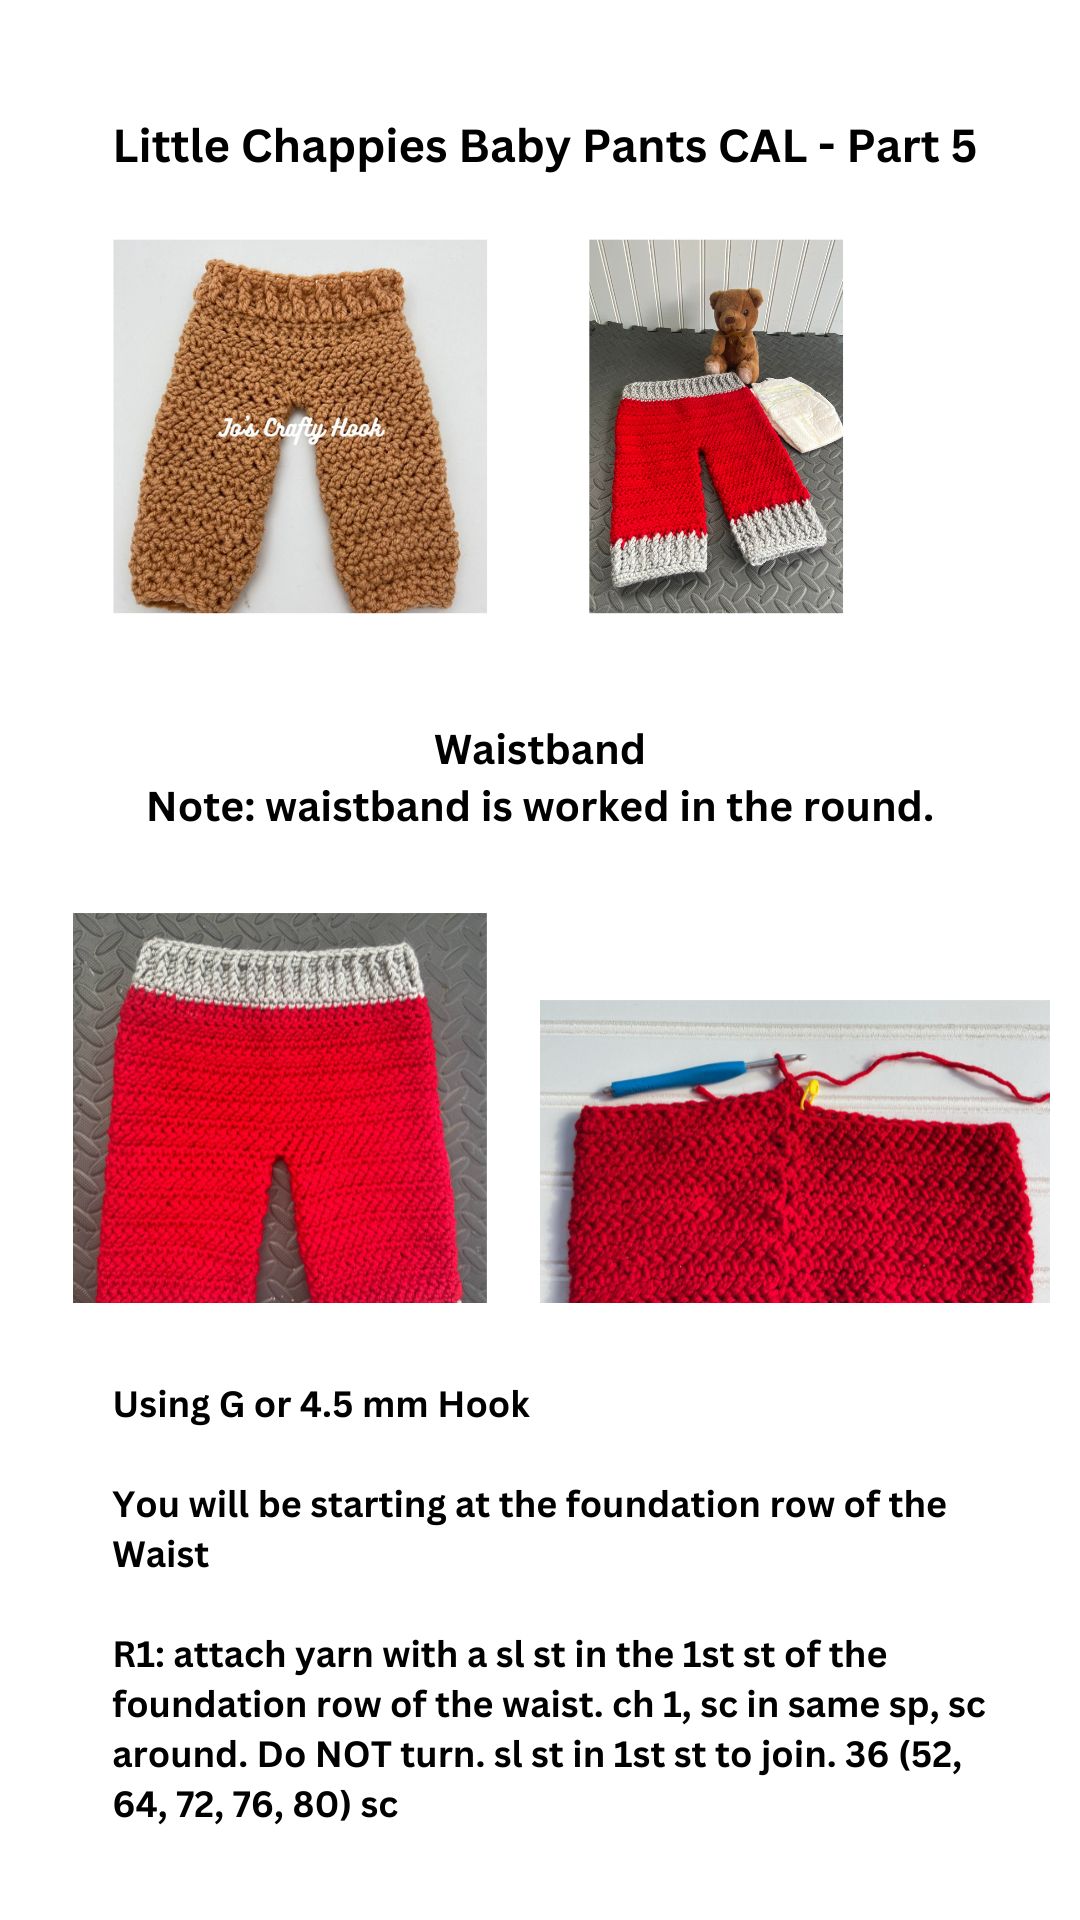
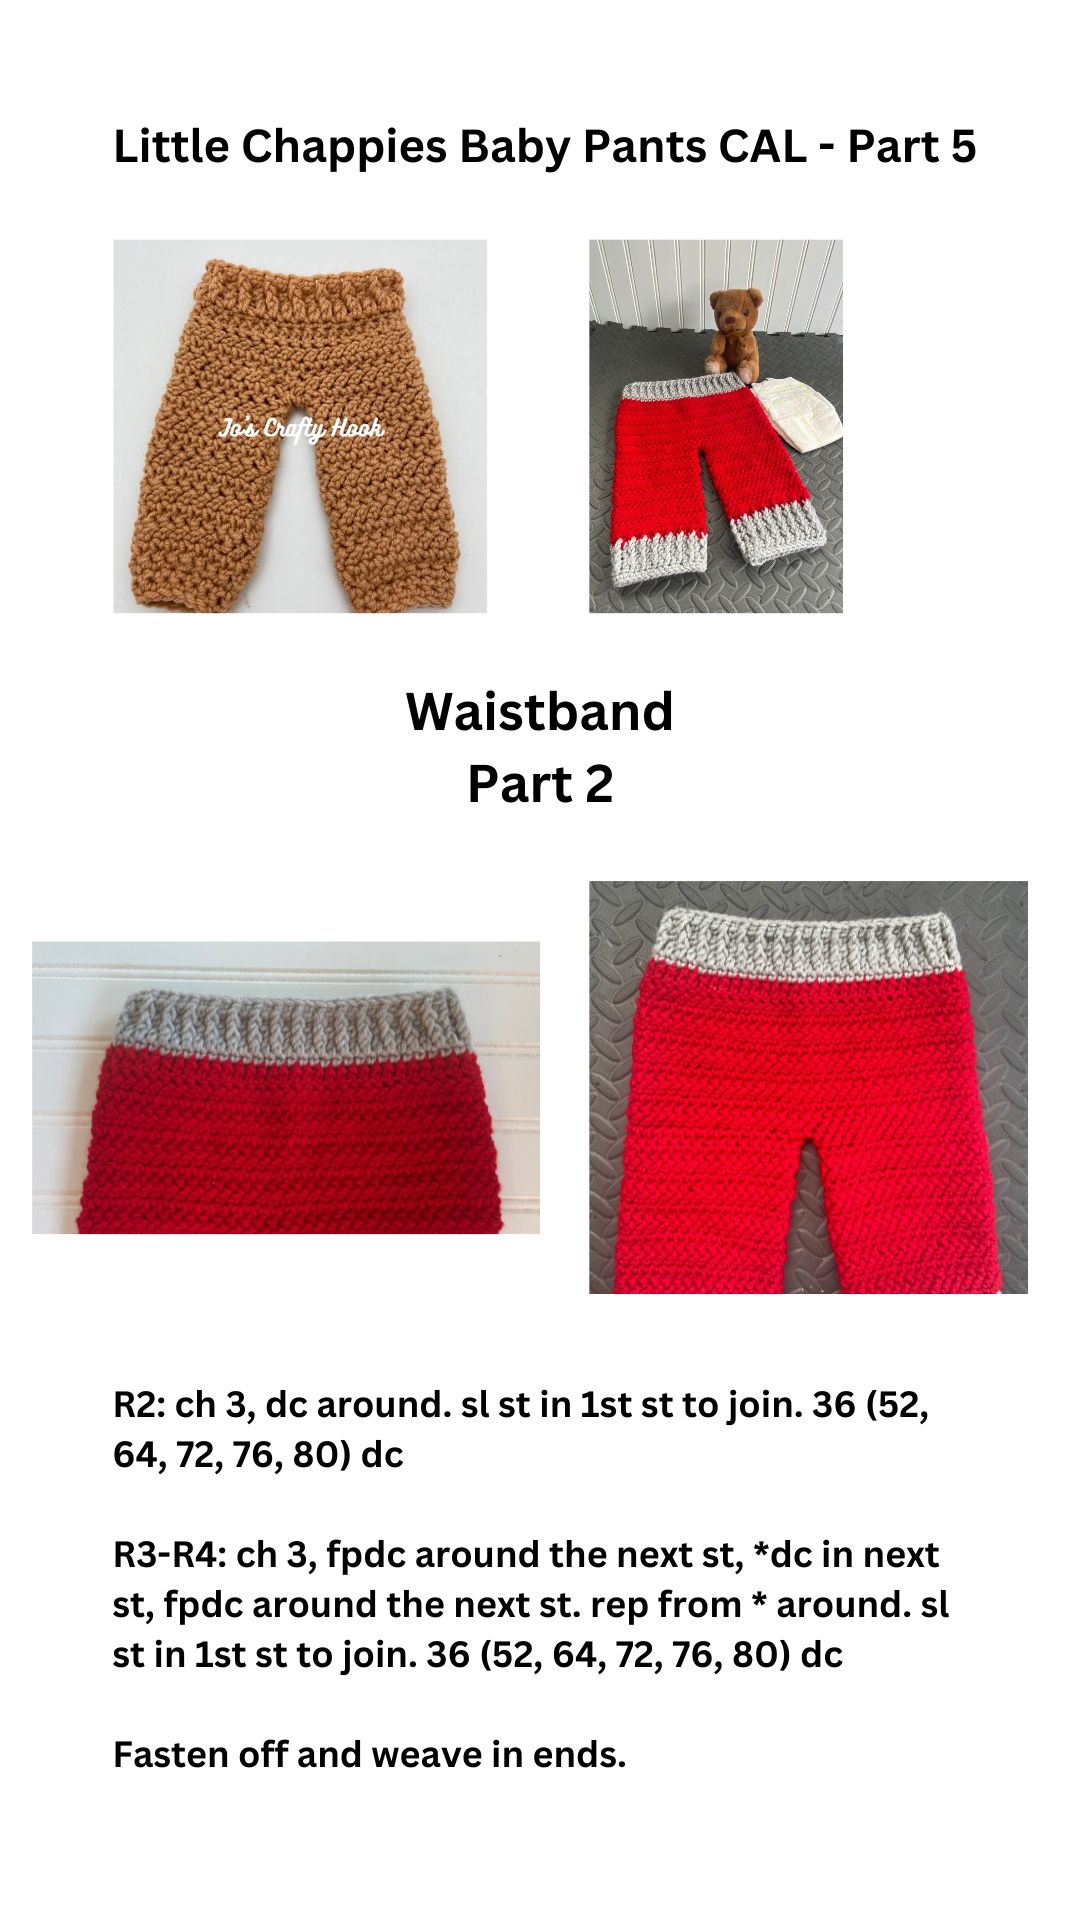
Be sure to come back tomorrow for Part 5 where you will add the Waistband and complete your version of the Little Chappies Baby Pants!
You can find FREE baby crochet patterns here on my website.
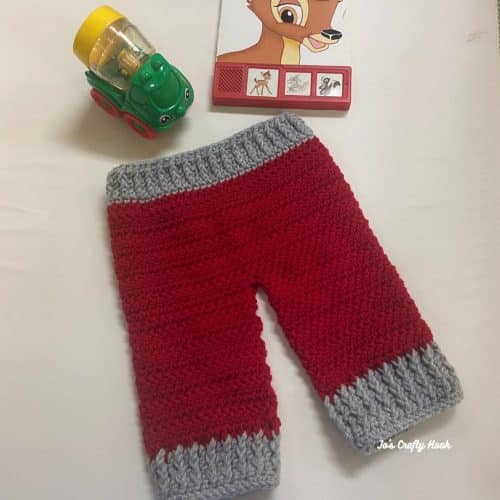
Welcome to the Little Chappies Baby Pants CAL Part 2! Today we will start crocheting the Waist of the Baby Pants.
This post contains affiliate links.
How to WIN today’s Prize
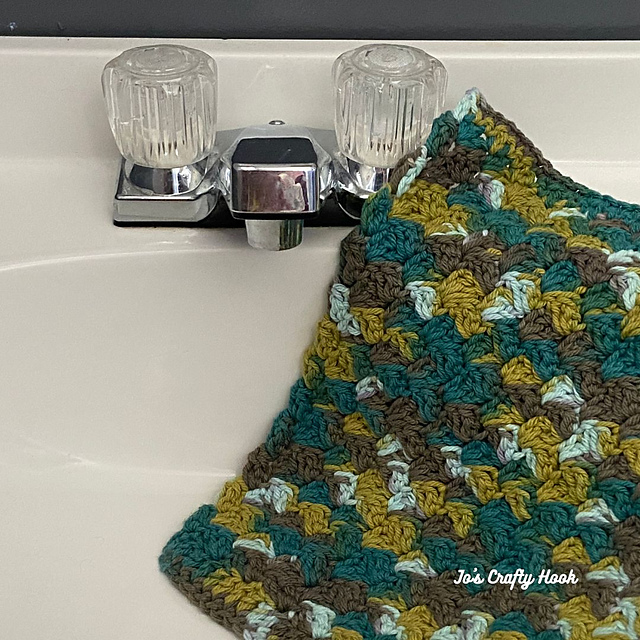
Share pics of the Materials you are using or pics of your Gauge Swatches inside the Crochet-a-Long with Us Facebook Group to WIN a FREE copy of the Wash Up Cloths Crochet Pattern that are perfect for keeping your babies clean.
Wash Up Cloths Crochet Pattern
If you are just joining in, be sure to join in the FUN inside the Crochet-a-Long with Us Facebook Group to share your WIPs to WIN more Prizes, and daily updates.
Shop my LoveCrafts affiliate link to find the perfect yarn to crochet your Little Chappies Baby Pants in a wide variety of colors for Boys and Girls.
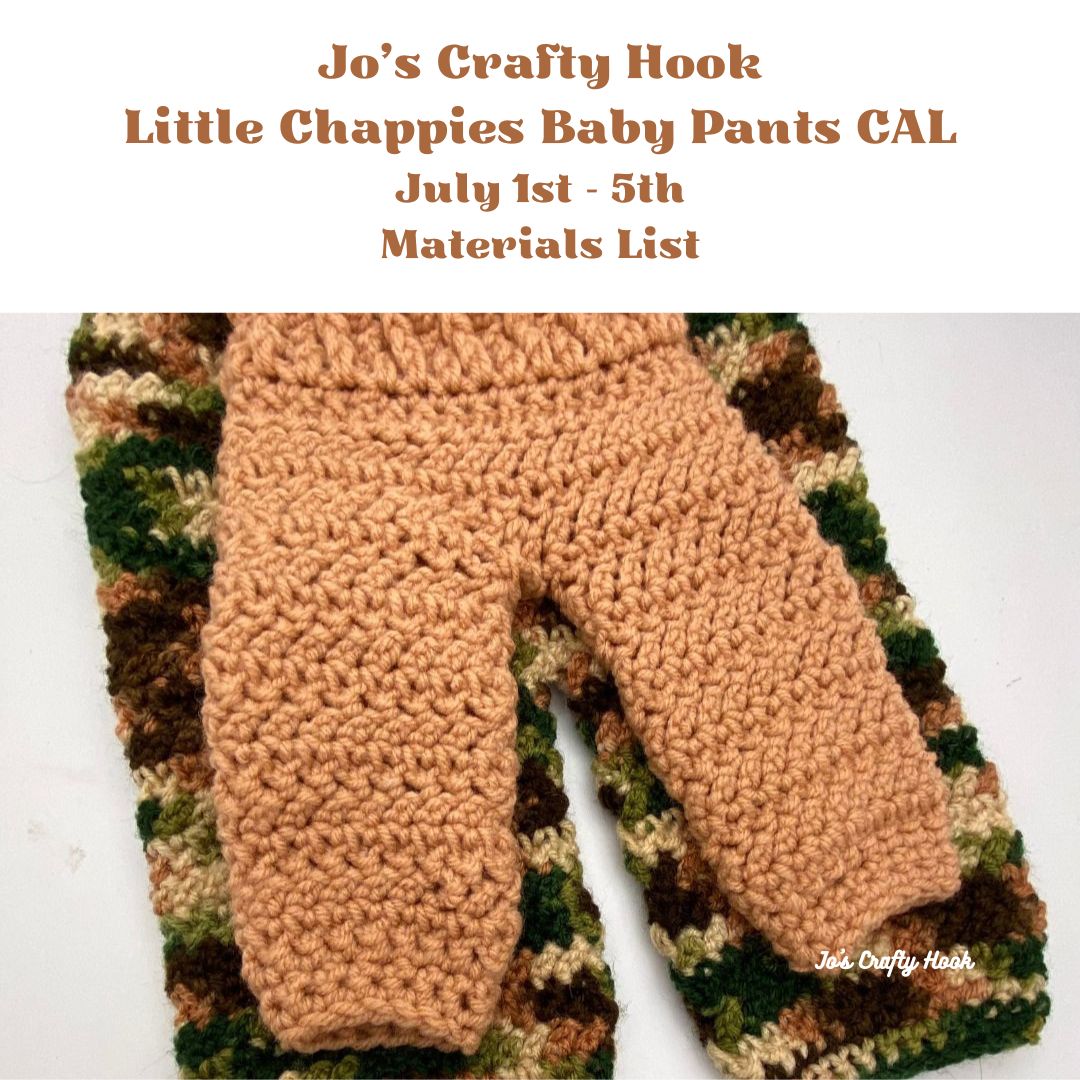
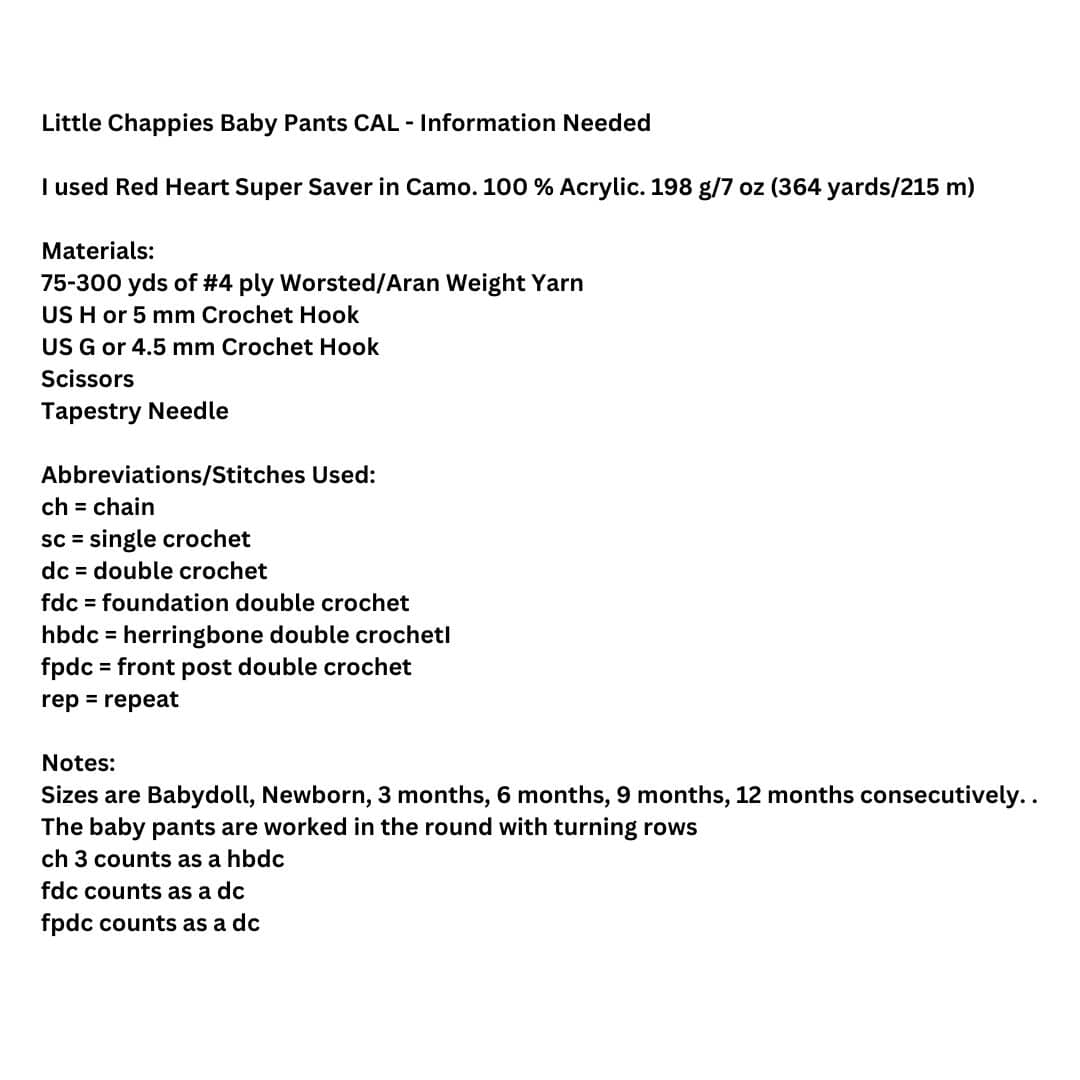
You can find the Materials List in Part 1 of the Little Chappies Baby Pants CAL HERE on my website.
Get a copy of the Ad-Free Version
If you would like to purchase an Ad-Free premium copy of the Little Chappies Baby Pants Crochet Pattern and work at your own pace, you can purchase at a discounted price of $1.50!
Welcome to Part 1 of my Little Chappies Baby Pants CAL where you can start crocheting your own crocheted version of the Little Chappies Baby Pants!
This post contains affiliate links.
Shop my LoveCrafts affiliate link to find some great yarn to make your Little Chappies Baby Pants in a wide variety of colors for Boys and Girls.
Today you can start gathering your materials, practice the Foundation Double Crochet and the Herringbone Double Crochet Stitch by watching some Video Tutorials to help you master these stitches.
You can also work on your Gauge Swatches using the Gauge information below.
Tomorrow we will start crocheting the Waist part of the Little Chappies Baby Pants, so be sure to visit my website for all the details!
Please feel free to email if you have any questions at jo@joscraftyhook.com
If you would like to receive more information about the events happening at Jo’s Crafty Hook and receive a FREE crochet pattern, why not Subscribe to my Newsletter.
You can find some of my free crochet patterns at my website.
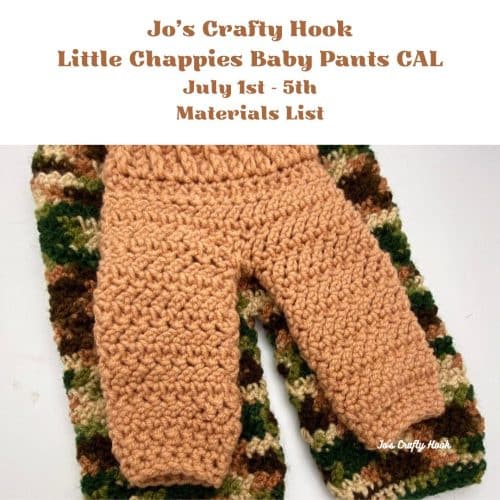
Welcome to my Little Chappies Baby Pants CAL! For the next 5 days I will be sharing 5 parts you can use to crochet your own version of the baby pants.
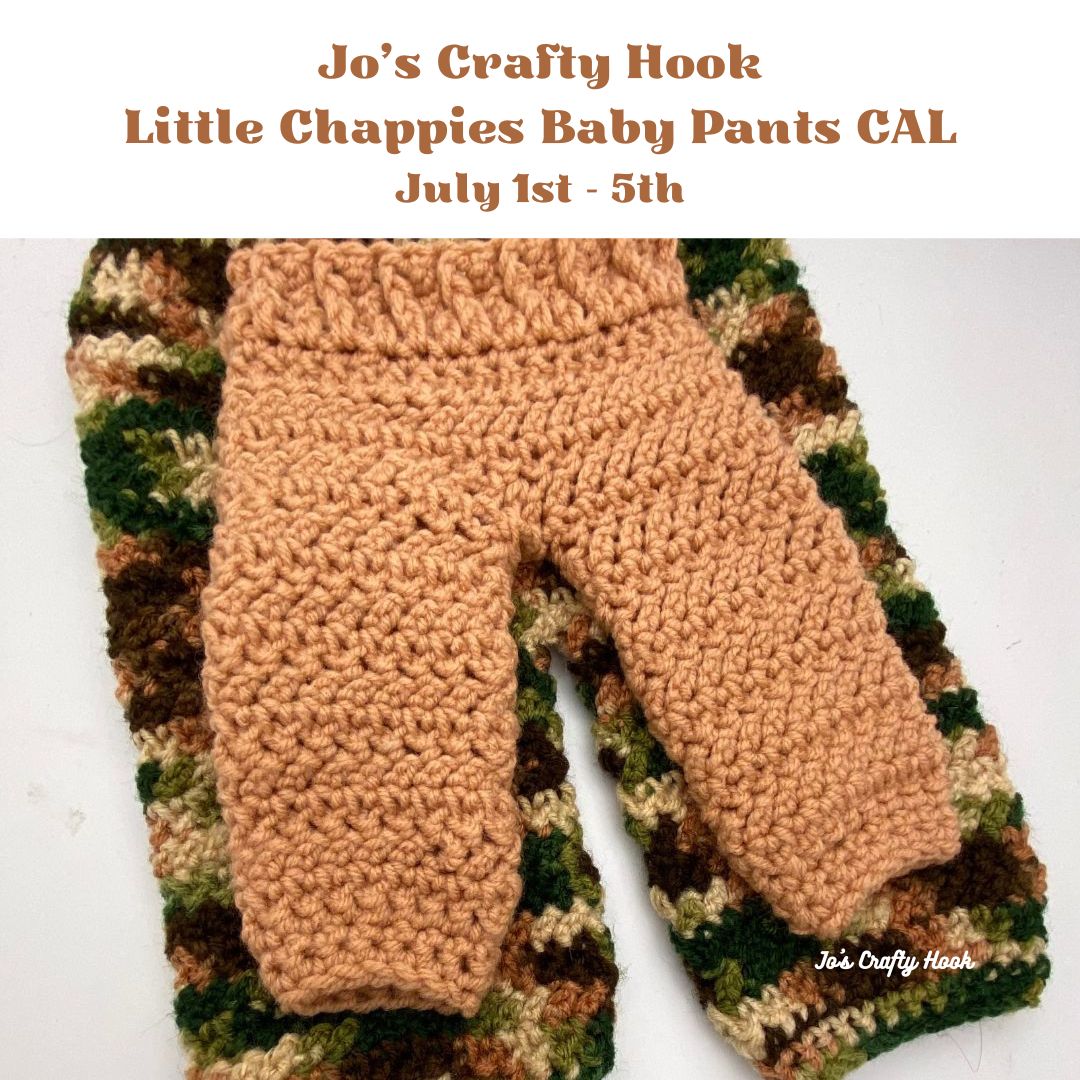
The Little Chappies Baby Pants CAL will run from July 1-5, 2024 and it will be FREE here on my website.
Join in the FUN inside the Crochet-a-Long with Us Facebook Group to share your WIPs, WIN Prizes, and daily updates.
The Little Chappies Baby Pants Crochet Pattern is a great Unisex crochet pattern that can be made in 6 different sizes. You will find sizes for Baby Dolls up to 12 months.
So be sure to join me here each day, from July 1-5 2024, where I will be adding each day’s part and sharing the Prizes you can WIN for participating in my CAL inside the FB Group Crochet-A-Long with Us
Day 1’s Prize – Wash Up Cloths Crochet Pattern
Day 2’s Prize – Stuff It Storage Bag Crochet Pattern
Little Nugget Beanie FREE Crochet Pattern
Final Prize – Sweet Dreams Baby Blanket Crochet Pattern
Day 2’s Prize – Stuff It Storage Bag Crochet Pattern
Little Nugget Beanie FREE Crochet Pattern
Braided Basket Crochet Pattern
For the Final Prize, you can WIN a FREE copy of my Sweet Dreams Baby Blanket Crochet Pattern!
To WIN the Final Prize, share your completed PICs of your version of the Little Chappies Baby Pants with me inside the FB Group Crochet-A-Long with Us. The final days to enter to win are July 5th & July 6th.
Final Prize – Sweet Dreams Baby Blanket Crochet Pattern
Thank you for participating in my Little Chappies Baby Pants CAL! I hope you enjoyed crocheting your own version!