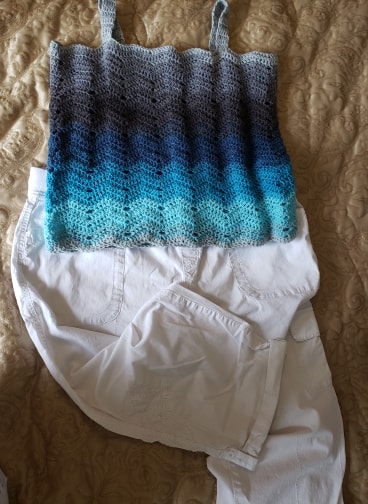
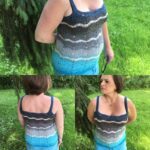
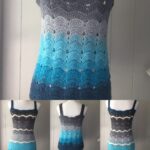
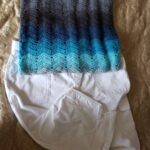
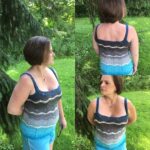
Oh boy are you in for a Treat! The Ombre Waves is a FREE Crochet Pattern just for you! Me and my testers absolutely LOVE this design and I am sharing it with you FREE! There are 6 sizes to choose from, from Small to 3X! I hope you LOVE it as much as we do! Thank you Lindsay Silvestrini, Laura Poulsen, Tara Smith, April Pendleton, and Sammi Leighton for testing the Ombre Waves Tank Top!
This post contains affiliate links. You can make a purchase using these links that I provide where I may receive compensation (at no added cost to you.) Purchases you make will help keep my website, Etsy Shop, and my Ravelry Store going and provide quality designs just for you! You can also use the PayPal donate button above to donate to my site!


If you would like the Ad Free PDF Pattern, you can visit my Etsy Shop here or my Ravelry Store here.
I designed the Ombre Waves Tank Top around this time last year, but I only offered it in 1 size. One of my crochet pattern testers said she would LOVE to do the tank top, but I didn’t offer a Small. I heard the same thing about sizes from others, so I decided to add 5 more sizes to the pattern. So now YOU can take advantage of these changes as well!
When you are finished with YOUR version of the Ombre Waves Tank Top I would LOVE, LOVE, LOVE to see it! You can stop by my Facebook Group Jo’s Crafty Hook Designs here!
If you have ANY questions or concerns while you are crocheting your own Handmade Crocheted Creations, you can email me at jo@joscraftyhook.com or find me at my Facebook Group Jo’s Crafty Hook Designs here.
If you would like the Ad Free PDF Pattern, you can visit my Etsy Shop here or my Ravelry Store here.
Jo’s Crafty Hook Designs
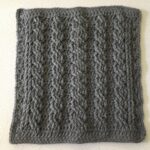
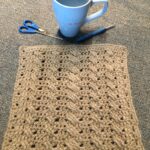
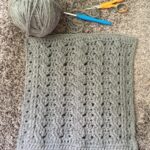
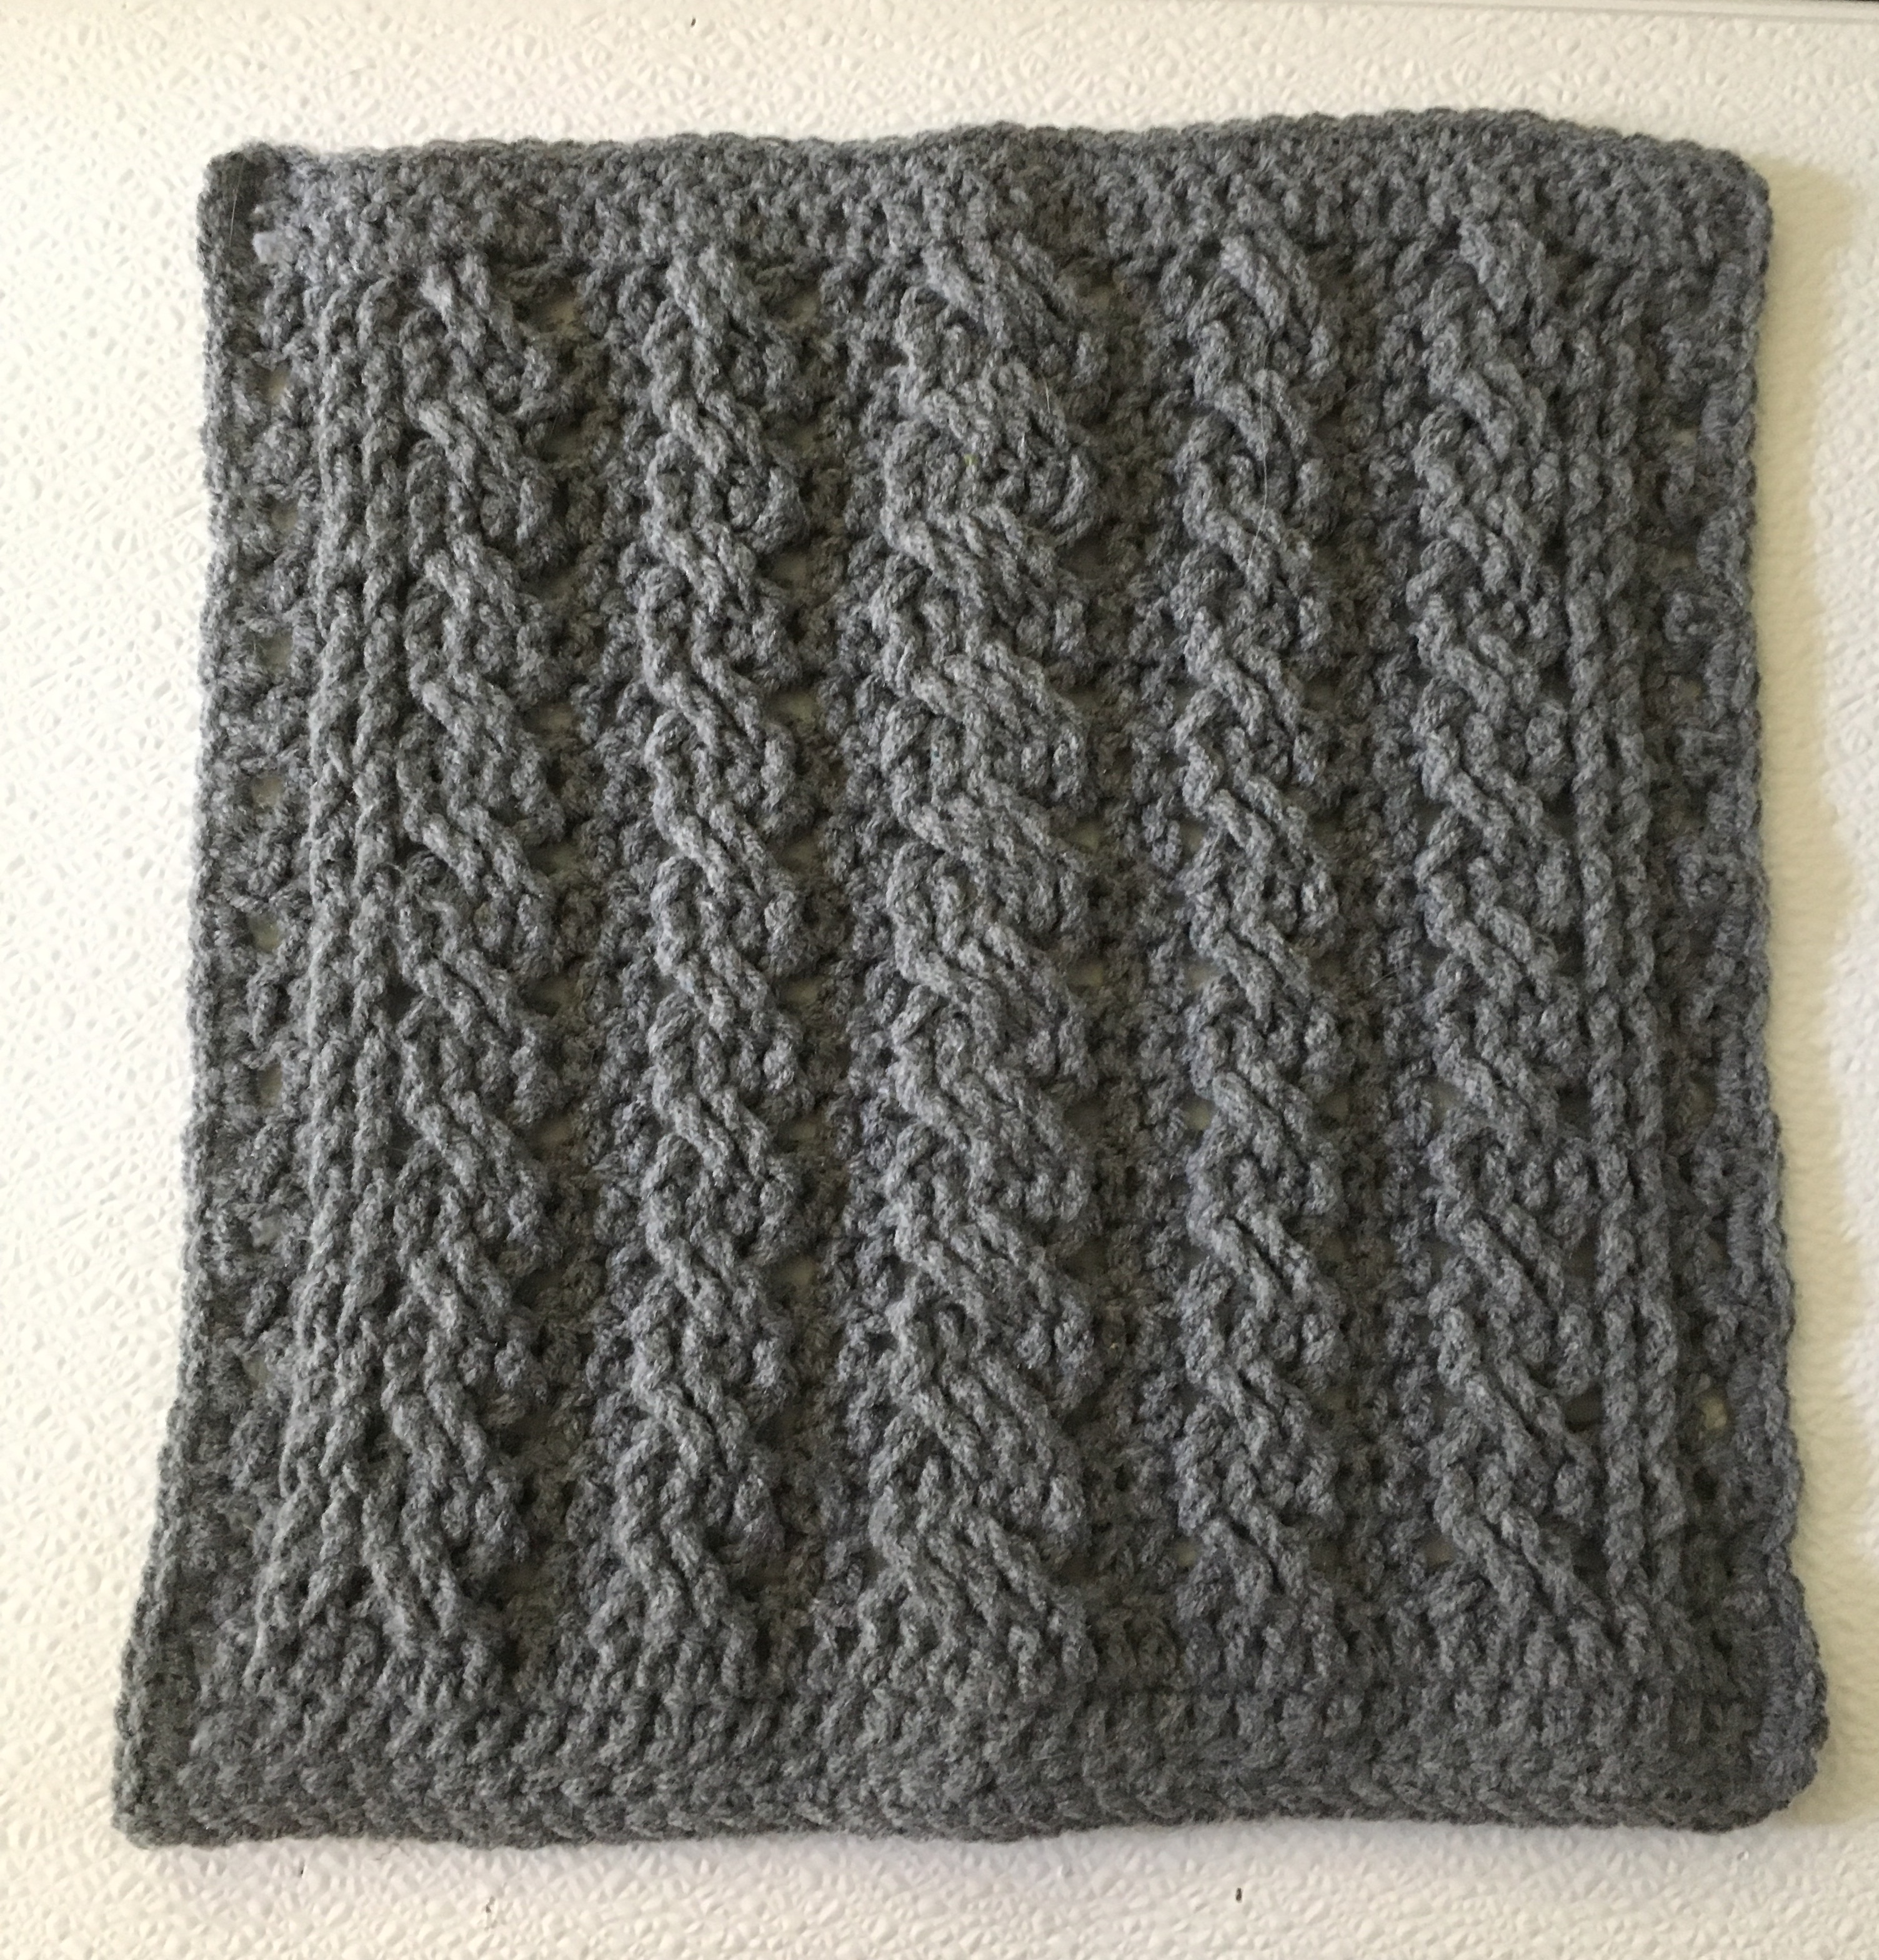
Ombre Waves Tank Top
Chart has the measurements needed for the corresponding sizes.
| Size | FSC | Width | Height | Rows | Straps |
| Small | 101 | 30 | 12 | 30 | 6 |
| Medium | 109 | 32 | 14 | 32 | 6 |
| Large | 117 | 34 | 16 | 34 | 8 |
| XL | 125 | 36 | 18 | 36 | 8 |
| 2X | 133 | 38 | 20 | 38 | 10 |
| 3X | 141 | 40 | 22 | 40 | 10 |
Materials:
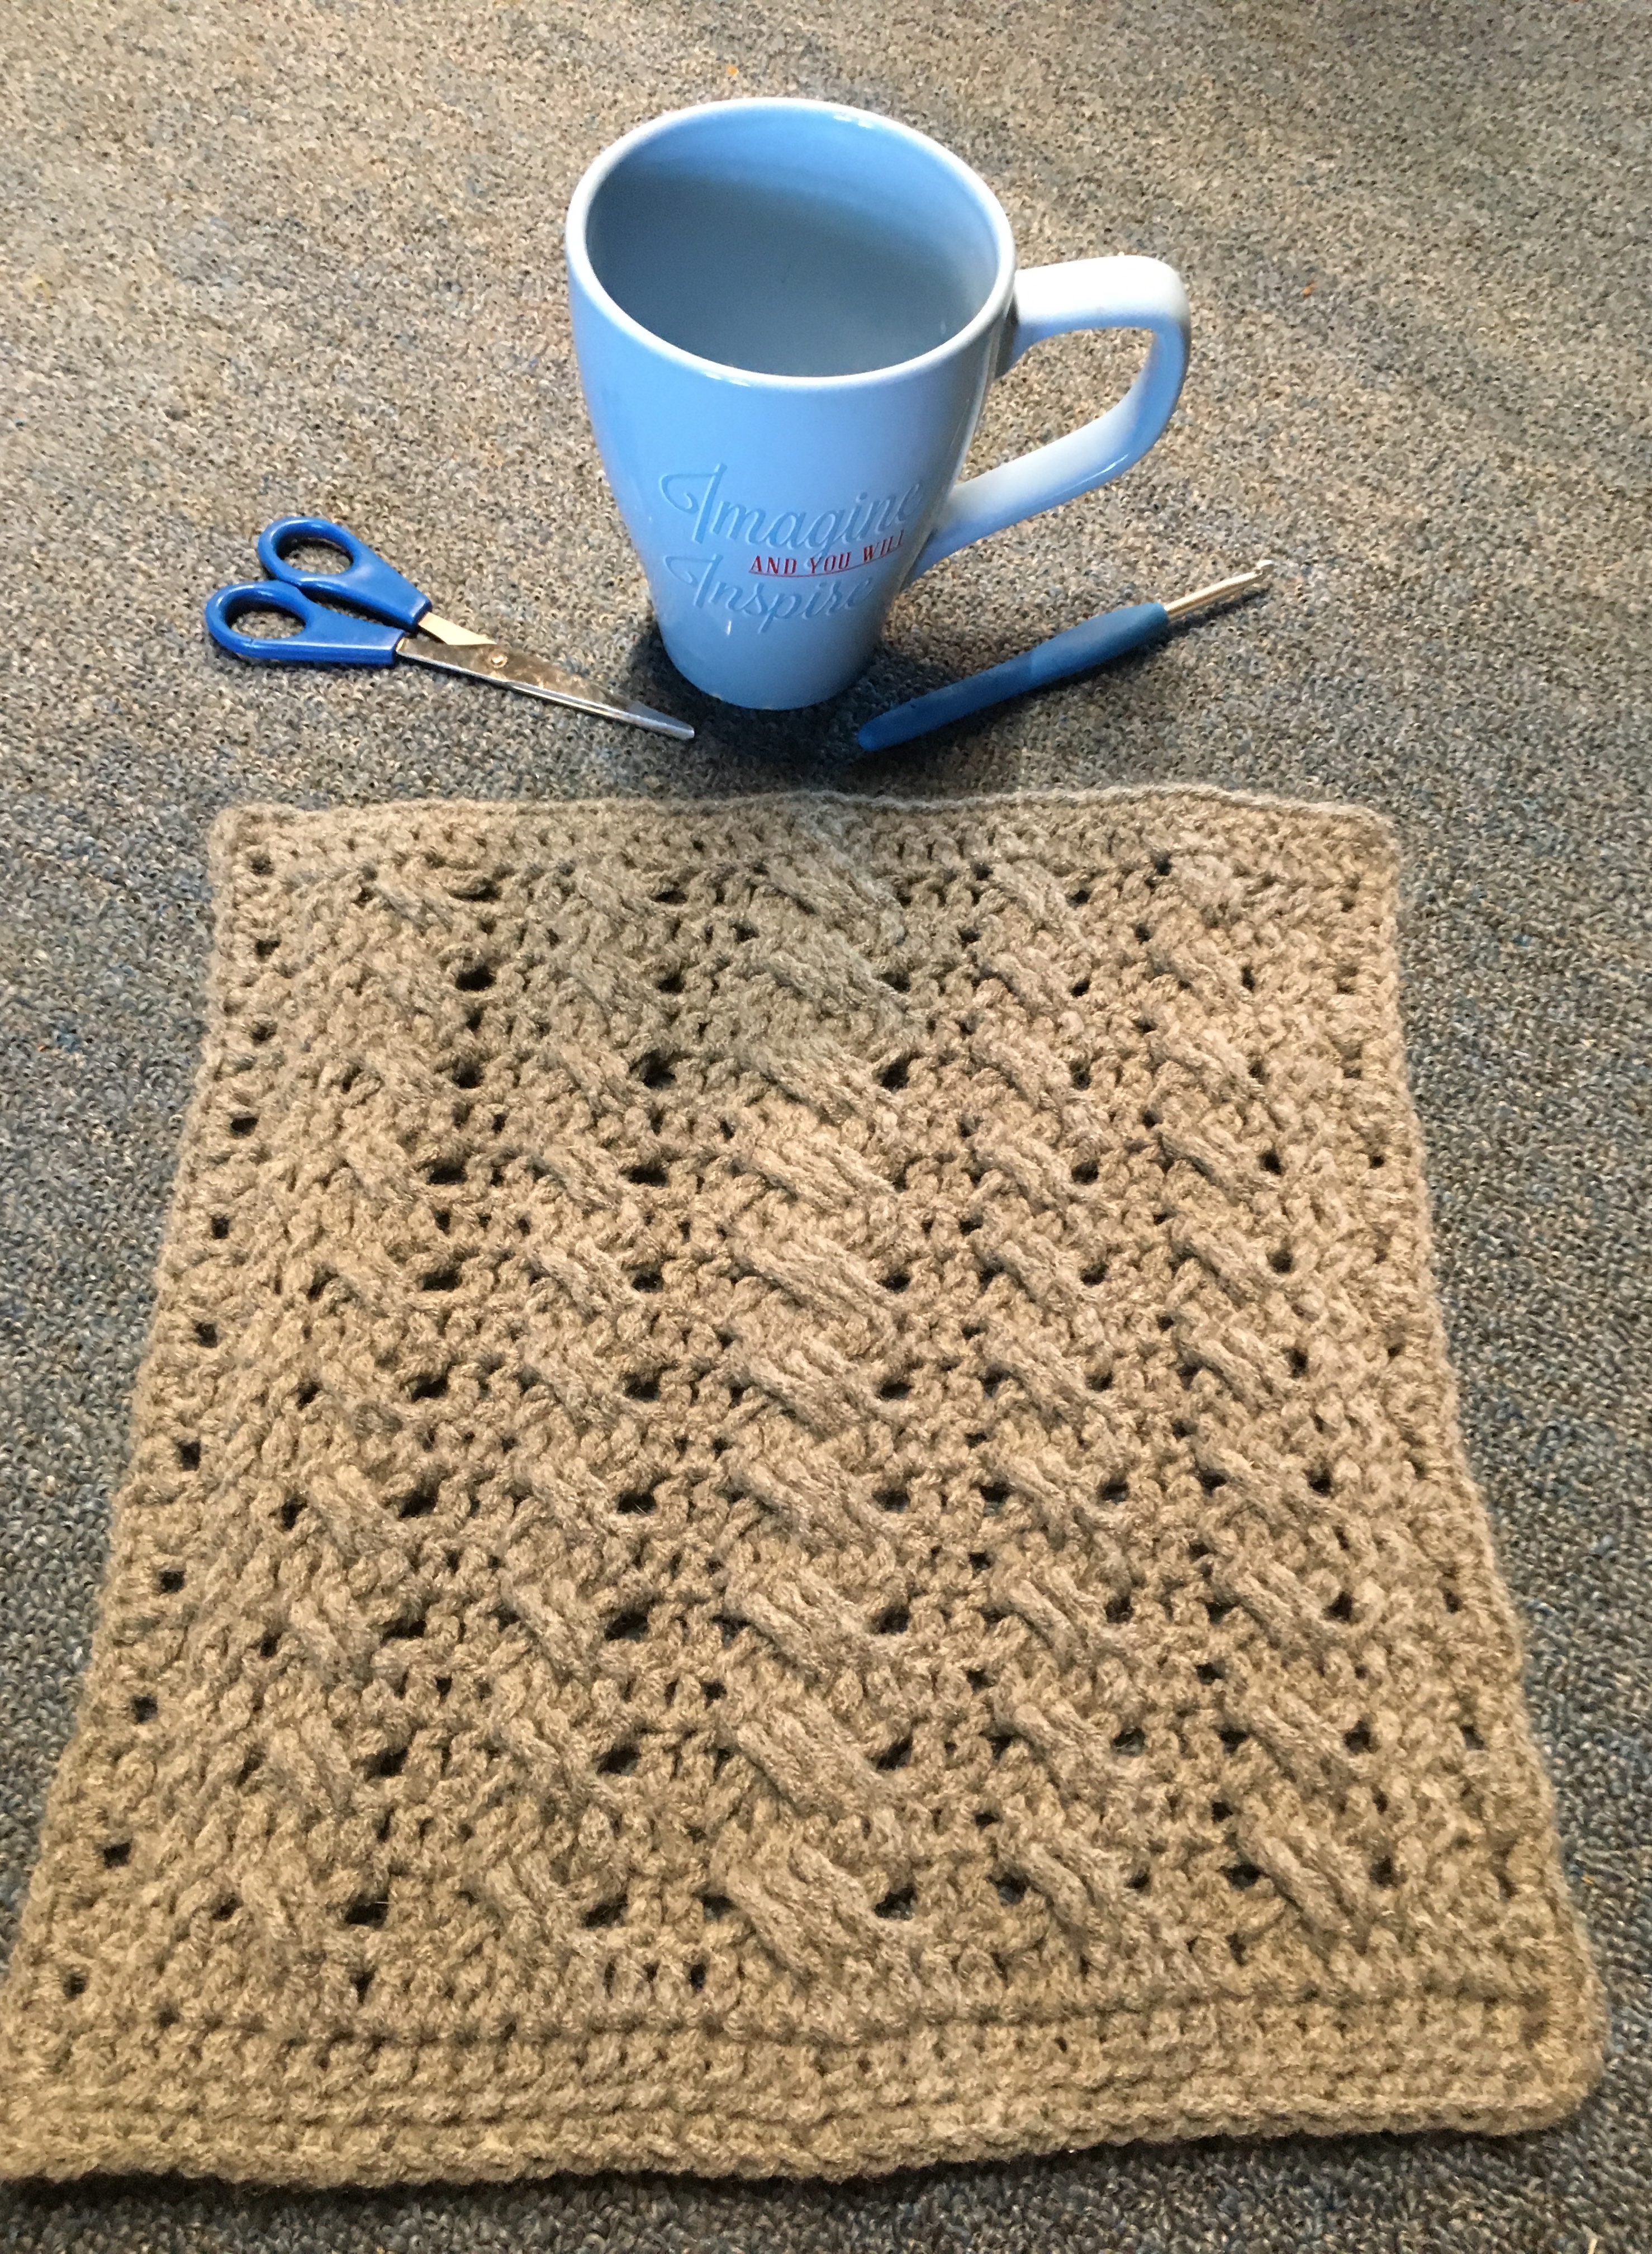
US Hook G/4.5 mm
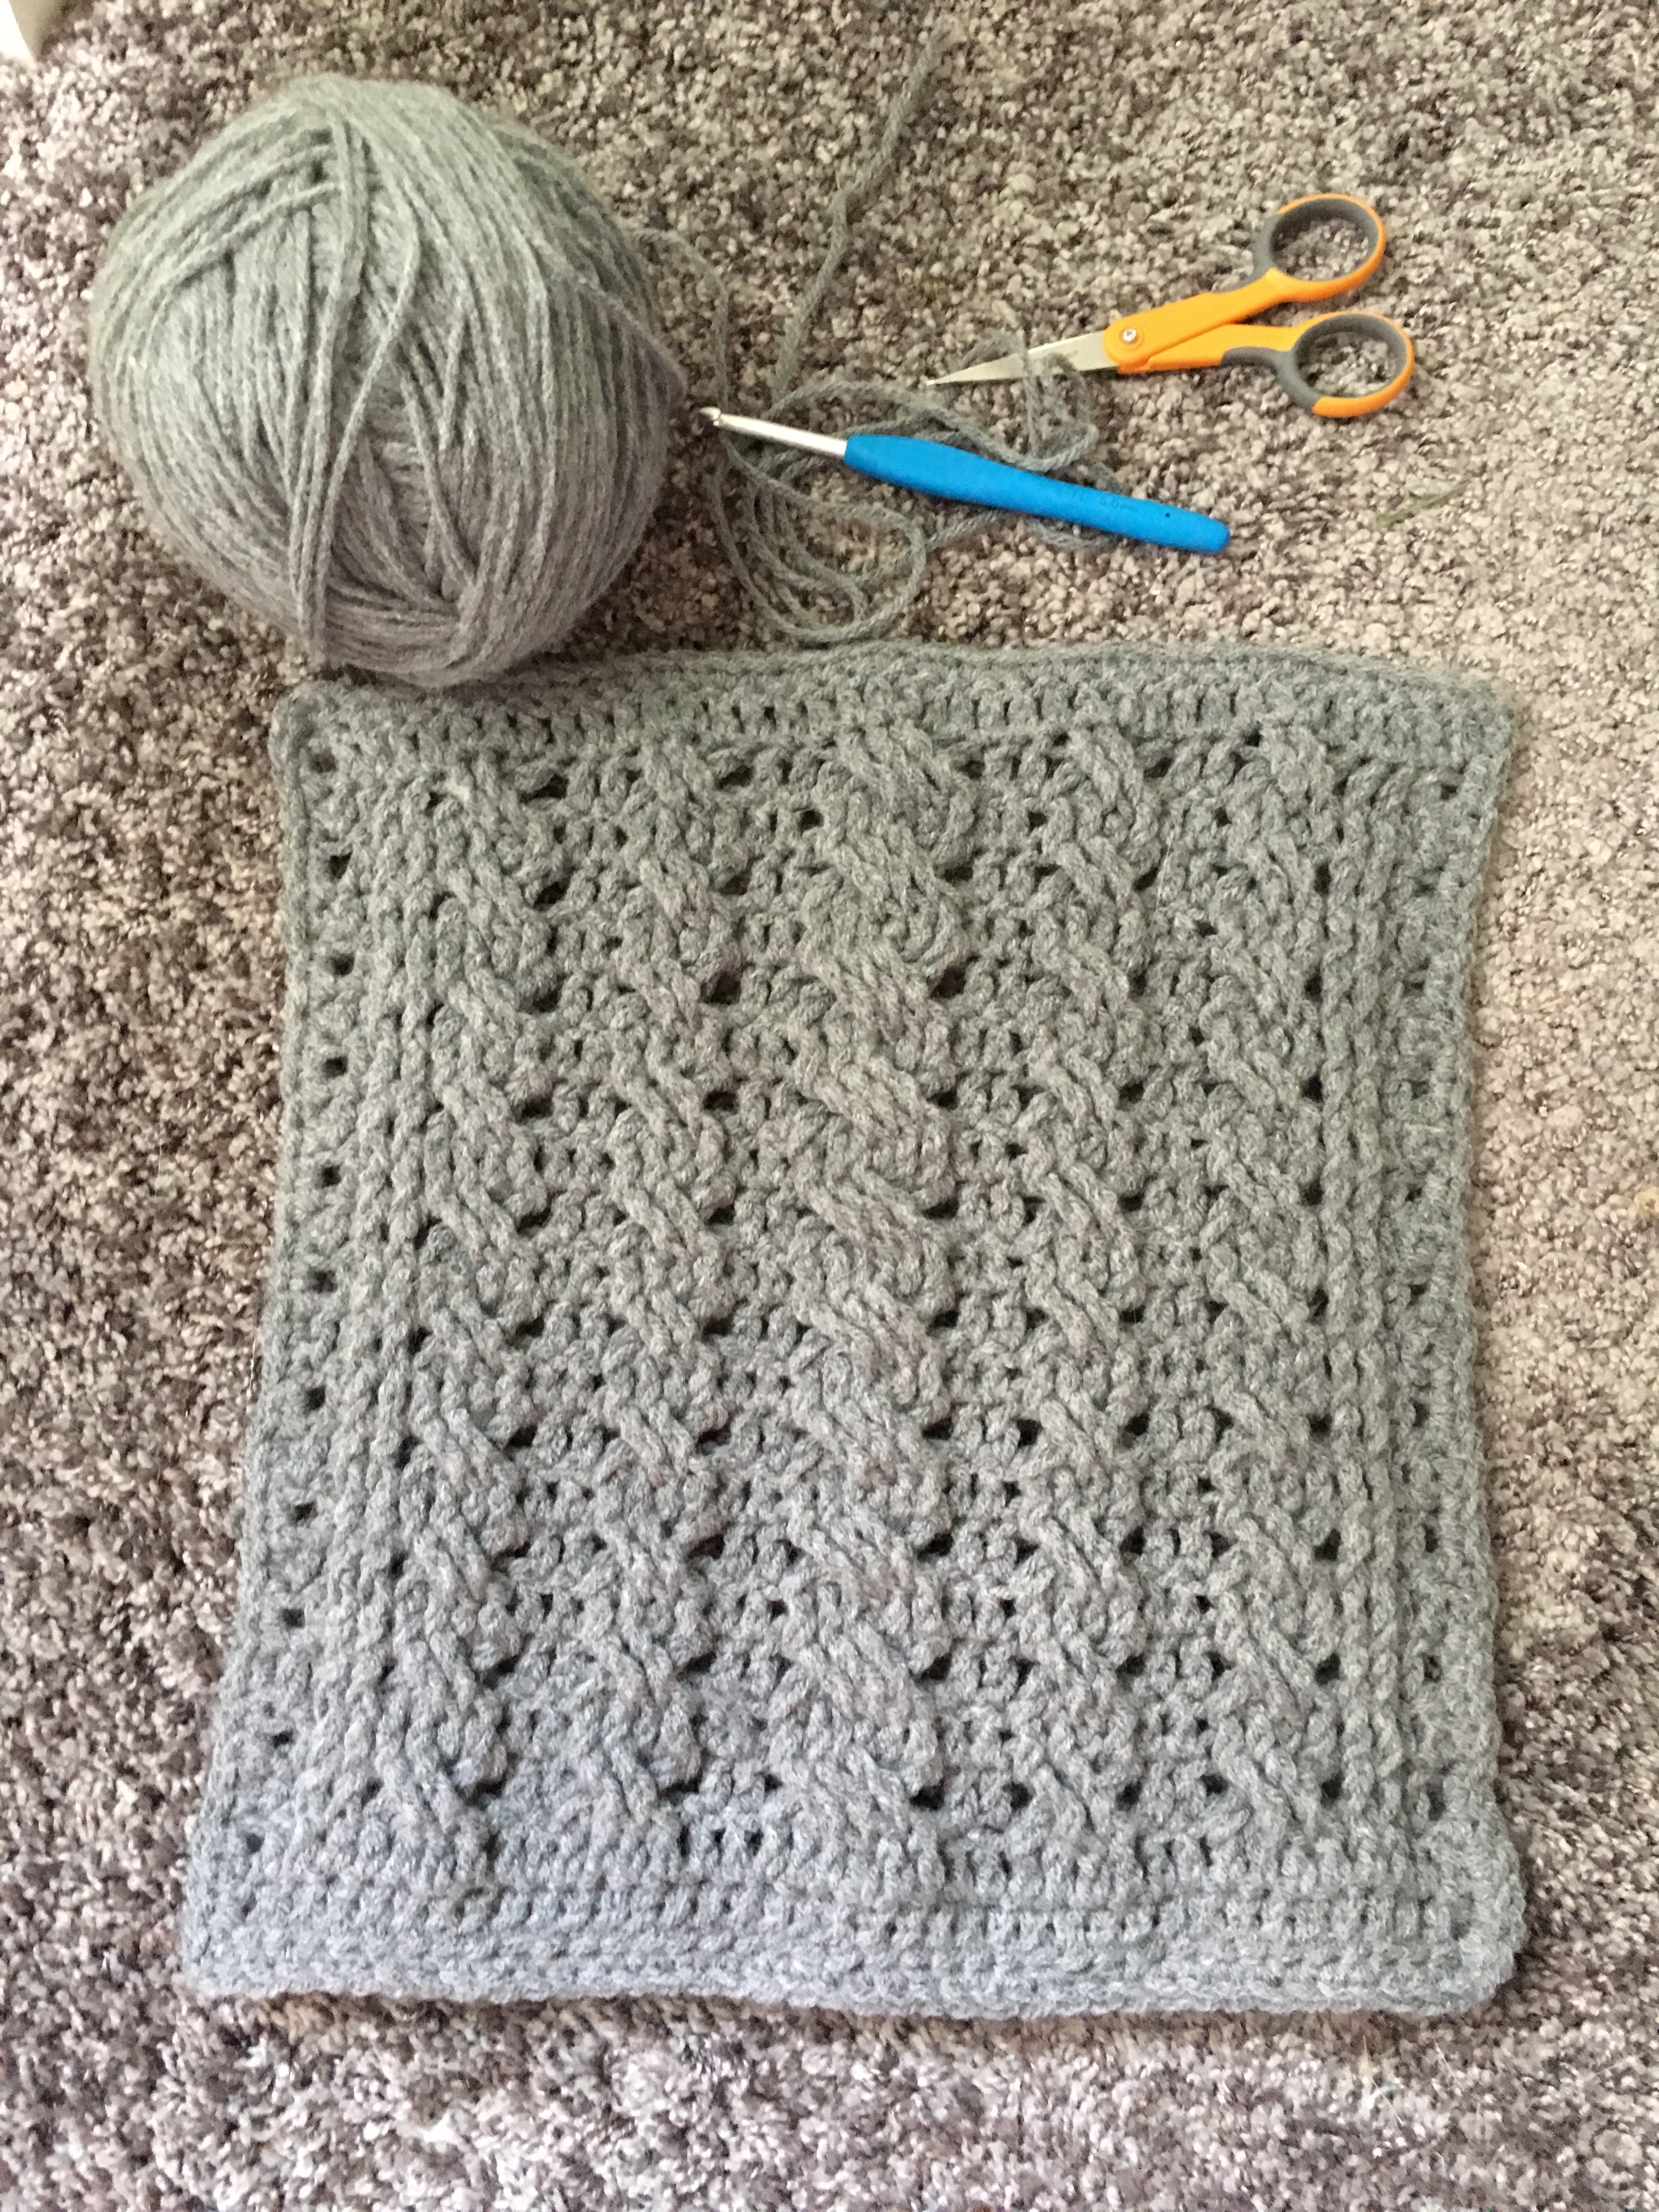
450-1200 yards of #3 Lightweight Yarn
Scissors
Tapestry Needle
4 Stitch Markers
Gauge:
Hook US G/4.5 mm
4 DC x 2 rows = 1 inch
Gauge Swatch:
R1: Ch 8, dc in 4th ch from hook and in each st across. Turn
R2-R4: ch 3 and dc in each st across.
Abbreviations:
ch = chain
sl st = slip stitch
fsc = foundation single crochet
dc = double crochet
RS = Right Side
Sally Beauty-$15 OFF $60 or more!
Pattern Notes:
- FSC Video Tutorial from my YouTube Channel
- 3 DC will always be put in the 2nd DC of the 3 DC group from previous row.
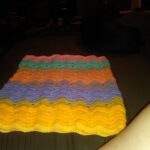
- The Ombre Waves Tank Top will start from the bottom of the tank top and it will work its way up to the top. Straps will be attached separately.
- The Tank Top will be worked in the Round.Sizes are for Small, Medium, Large, XLarge, 2XLarge, and 3XLarge.
Bottom of the Tank Top:
R1: fsc 101 (109, 117, 125, 133 and 141) and ss into 1st fsc to join. Turn
(RS) R2: Ch 1 and dc in 2nd ch from hook, dc in the next 3 st, *3 dc in next st, sc in next 8 st.** repeat from * to ** until the last 5 st, then 3 dc in next st, dc in the last 4 st. Join and turn
R3: Ch 1 and skip 1 st, *dc in the next 4 st, 3 dc in next st, dc in the next 4 st, sk 2 st.** repeat from * to ** join and turn
(RS) R4: Ch 2, skip next 2 st, dc in the next 3 st, *3 dc in next st, dc in the next 3 st, skip 4 st, dc in next 3 st** repeat from * to ** skip last 2 st. join and turn
R5: ch 1, dc in the next 4 st, *3 dc in next st, dc in the next 8 st** repeat from * to ** join and turn
R6-30 (33, 36, 39, 42, 45): Repeat Rows 3-5 until you have the needed Rows for your size. You can continue repeating R3-R5 if you desire a longer length.
Fasten off and Weave in ends.
If you would like the Ad Free PDF Pattern, you can visit my Etsy Shop here or my Ravelry Store here.

Straps:
Make 4 – 2 on each side
Placing of Stitch Markers: With (RS) facing you, fold the shirt in ½, making sure the Waves line up correctly and count over 2 Waves from the Left and 2 Waves from the Right. Find the 3 dc group in the center of the wave and count over 1 stitch and put your stitch marker in that place. This will be where you start the strap.
Notes:
You will follow Placing of Stitch Markers 4 times. 2 Straps on the Front of the Tank and 2 Straps on the Back of the Tank. If the Straps are not long enough for your size, feel free to add as many Rows as you need.
Once you have completed attaching the Straps, using your Tapestry Needle sew the straps together using the Back Stitch or the Invisible Stitch.
Use your Tapestry Needle to weave in loose ends and trim off.

Sizes Small and Medium
R1: Attach yarn with a slip stitch; ch 3 and dc in the next 4 st. ch 3 and turn. [5 dc]
R2-6: dc in the next 4 st. ch 3 and turn. At the end of Row 8 leave enough yarn to sew Straps together.
Sizes Large and XLarge
R1: Attach yarn with a slip stitch; ch 3 and dc in the next 4 st. ch 3 and turn. [5 dc]
R2-8: dc in the next 4 st. ch 3 and turn. At the end of Row 8 leave enough yarn to sew Straps together.
Sizes 2Xlarge and 3XLarge
R1: Attach yarn with a slip stitch; ch 3 and dc in the next 4 st. ch 3 and turn. [5 dc]
R2-10: dc in the next 4 st. ch 3 and turn. At the end of Row 8 leave enough yarn to sew Straps together.

From the Designer:
- Thank you for purchasing my Ombre Waves Tank Top Crochet Pattern! I would LOVE to see your finished crocheted Ombre Waves Tank Top! Send me a pic of your finished Ombre Waves Tank Top or you wearing your new Ombre Waves Tank Top!
- Check out my other GREAT crochet patterns at my Ravelry Store www.ravelry.com/designers/jos-crafty-hook Etsy Shop www.etsy.com/shop/JosCraftyHook or at my website www.joscraftyhook.com!
- While you are at my website be sure to subscribe to my Mailing List and Newsletter. This way you will be notified when I release another pattern or blog post!
- If you have any questions or concerns about this pattern or any other pattern please find me at Jo’s Crafty Hook Designs on Facebook or email me at jo@joscraftyhook.com
- You are free to sell or gift the Ombre Waves Tank Top, but Please forward anyone who would like to do this crochet pattern or any of my patterns to my Etsy shop, the Ravelry Store, or to my website. The web addresses for any place to connect with me are listed below.
- Every purchase of my patterns helps! It allows me to buy more yarn so I can create and design more Handmade Crocheted Creations for you to enjoy.
- I would LOVE to see your version of my Ombre Waves Tank Top! You can “Hook It” at my Ravelry Jo’s Crafty Hook Designs OR add a pic on my Facebook Page Jo’s Crafty Hook Designs OR at anyone of the places below that allows you to connect with me! Please use the hashtags: #ombrewaves or #jostwisted. Pictures, Comments, Feedback, etc. are ALWAYS welcome at my website www.joscraftyhook.com or my Facebook Page Jo’s Crafty Hook Designs.
Find me, Jo of Jo’s Crafty Hook Designs at any one of these places listed below!
Website: www.joscraftyhook.com
Etsy Shop: www.etsy.com/shop/JosCraftyHook
Ravelry: https://www.ravelry.com/designers/jos-crafty-hook
Facebook: www.facebook.com/JosCraftyHook
Facebook: www.facebook.com/JosCraftyHookDesigns
Instagram: www.instagram.com/joscraftyhook
Instagram: www.instagram.com/jo_bear38
Pinterest: www.pinterest.com/baird0095
Twitter: www.twitter.com/joscraftyhook
Twitter: www.twitter.com/jo_baird
YouTube: www.youtube.com/channel/UCk-6IB36bg4gkvaawn3xfdg