
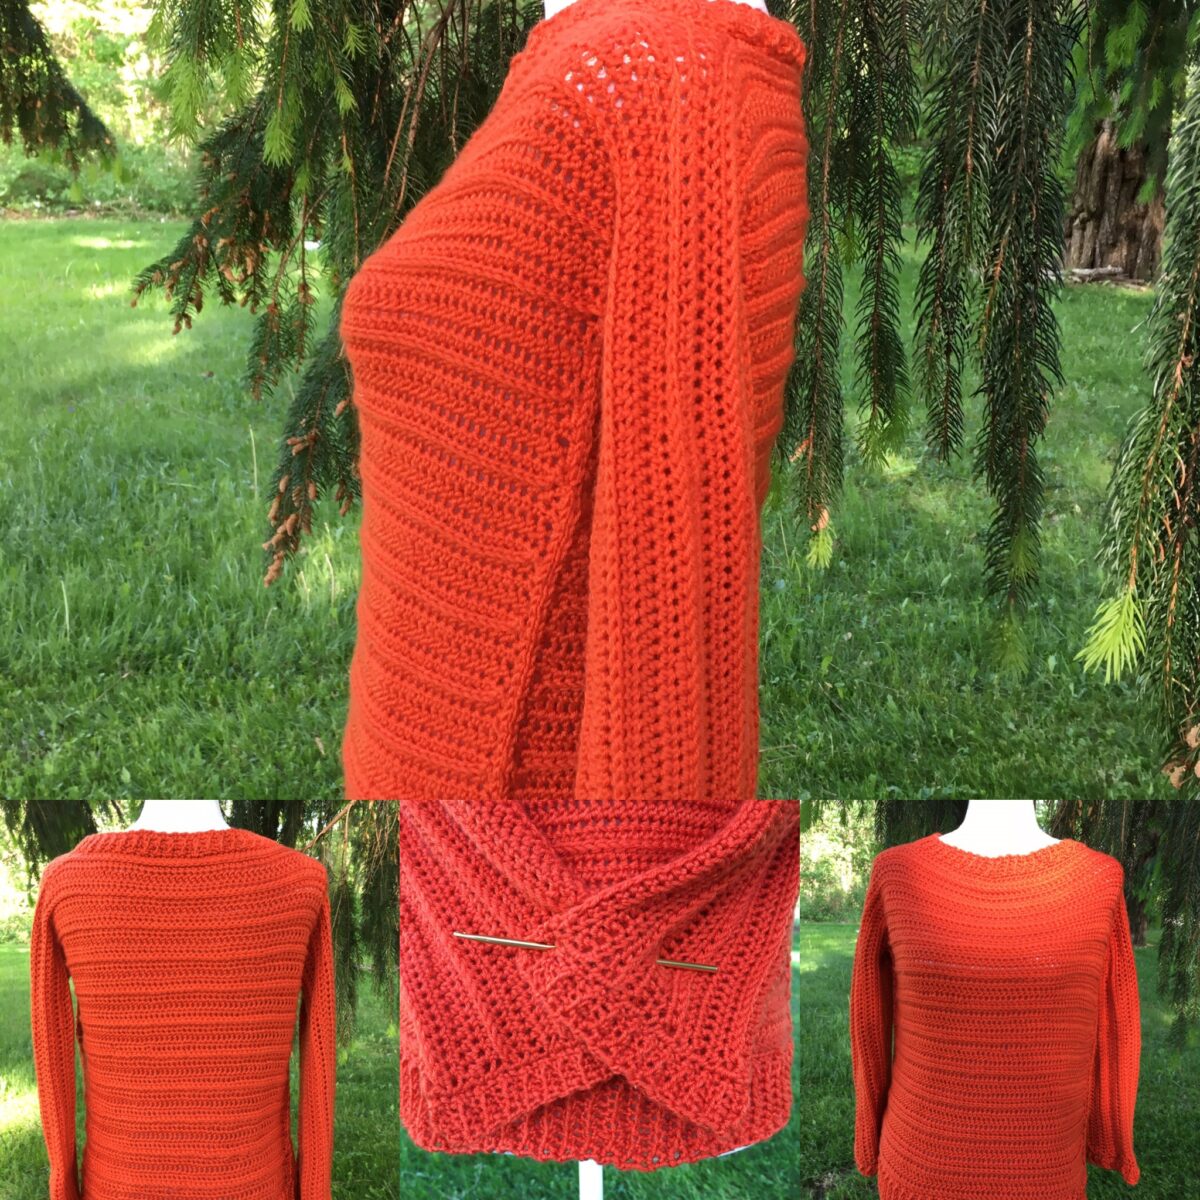
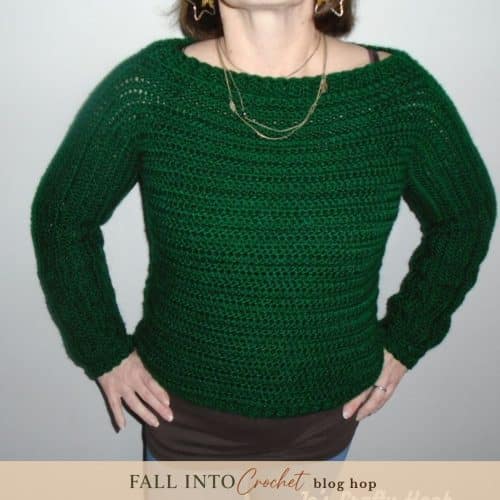
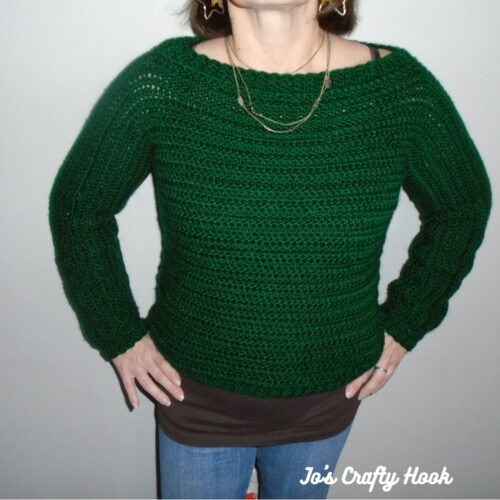
With the colder months just around the corner, my Amy Pullover Free Crochet Pattern would be a GREAT project to do while you are cooped up in the house.
Sign up for my Newsletter and get all of my latest news, collaborations, new crochet pattern releases and more sent straight to your inbox!
This post contains affiliate links.
My sister, Amy was in town while I was designing the Pullover. She isn’t into crochet, but she liked the look of the pullover. My sister has supported my crochet business since day one.
My sister wears the latest fashion and I can see her in this roomy, warm, and comfy Pullover. That is another reason I named the pullover after my sister. I hope you find it roomy, warm and as comfy as much as I do!
2026 Fall into Crochet Blog Hop
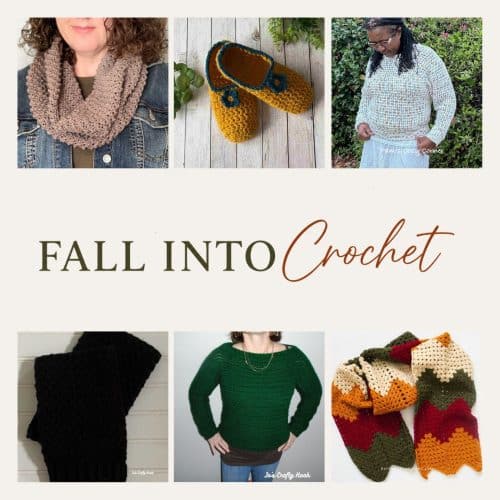
My Amy Pullover is being featured in Itchin’ for Some Stitchin’ 2026 Fall into Crochet Blog Hop. Each day you can get a FREE crochet pattern that is designed specifically for Fall. You will find Home Decor, Leg Warmers, Scarves, Sweaters, Wraps and more!
My Featured Day is September 25-26, 2026
You can get a FREE copy of my Amy Pullover Crochet Pattern as part of Itchin’ for Stitchin’ 2026 Fall into Crochet Blog Hop on September 25-26, 2026!
2026 Fall into Crochet Bundle – $15.99
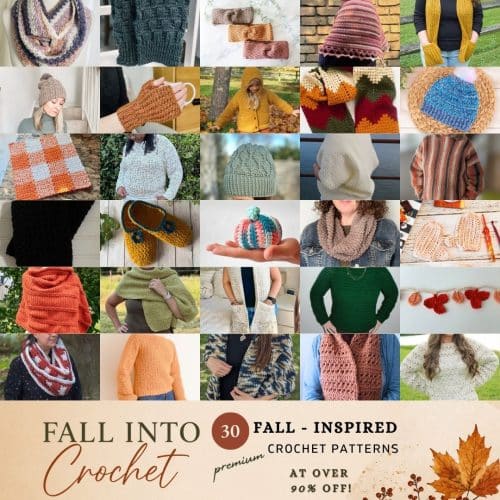
Also, you can skip the wait and all of the blog hopping and get all 30 premium crochet patterns + 2 BONUS patterns for $15.99 with the 2026 Fall into Crochet Bundle!
While you are waiting for my featured day, visit the 2026 Fall into Crochet Blog Hop to get the FREE crochet patterns designed specifically for Fall. You will find Home Decor, Leg Warmers, Scarves, Sweaters, Wraps and more!

Amy Pullover Free Crochet Pattern
Ad-Free Version
There is a lot of info in this pattern is a long one, so if you’d like a pdf version, please stop by my Etsy Shop or Ravelry Store.
Information Needed
Materials:
800-1300 yds of #4 Worsted Weight Yarn
US I or 5.5 mm Crochet Hook
US G or 4.5mm Crochet Hook
Scissors
Tapestry Needle
Stitch Markers
Tape Measure
Abbreviations:
CH = Chain
SS = Slip Stitch
SC = Single Crochet
DC = Double Crochet
FHDC = Foundation Half Double Crochet
Notes:
ch 1 does not count as a st
My Left Handed Video Tutorials:
FHDC instruction on my YouTube Channel
HDC in the 3rd Loop on YouTube HDC = Half Double Crochet
Added Sleeve Video Tutorial on YouTube
Creating Neckline Video Tutorial on YouTube
Special Notes
*Sizes range from S, M, L, XL, 2X, and 3X
*The Top is crocheted from the Bottom to Top and back down again.
*The top is crocheted as One Piece except for when attaching the other Sleeve.
*1st Sleeve will be added at the end of the Row.
*Other Sleeve adds a FHDC row
Gauge:
US I or 5.5 mm Crochet Hook
12 HDC x 12 Rows = 4″
These are Measurements BEFORE the Ribbing is Added
| Bust Size | 38 | 42 | 46 | 50 | 52 | 54 |
| Sizes | Small | Medium | Large | X-Large | 2X | 3X |
| Sleeves Height | 5” | 6.5” | 8” | 9.5” | 11” | 12.5” |
| Neck Opening | 11” | 12.5” | 14” | 15.5” | 17” | 18.5” |
| Body before Sleeves | 11.5” | 13” | 14.5” | 16” | 17.5” | 19” |
| Sleeves | 16” | 18” | 20” | 22” | 24” | 26” |
| Total Height Before Ribbing | 17.5” | 19” | 20.5” | 22” | 23.5” | 25” |
| Total Width Before Ribbing | 20” | 21.5” | 23” | 24.5” | 26” | 27.5” |
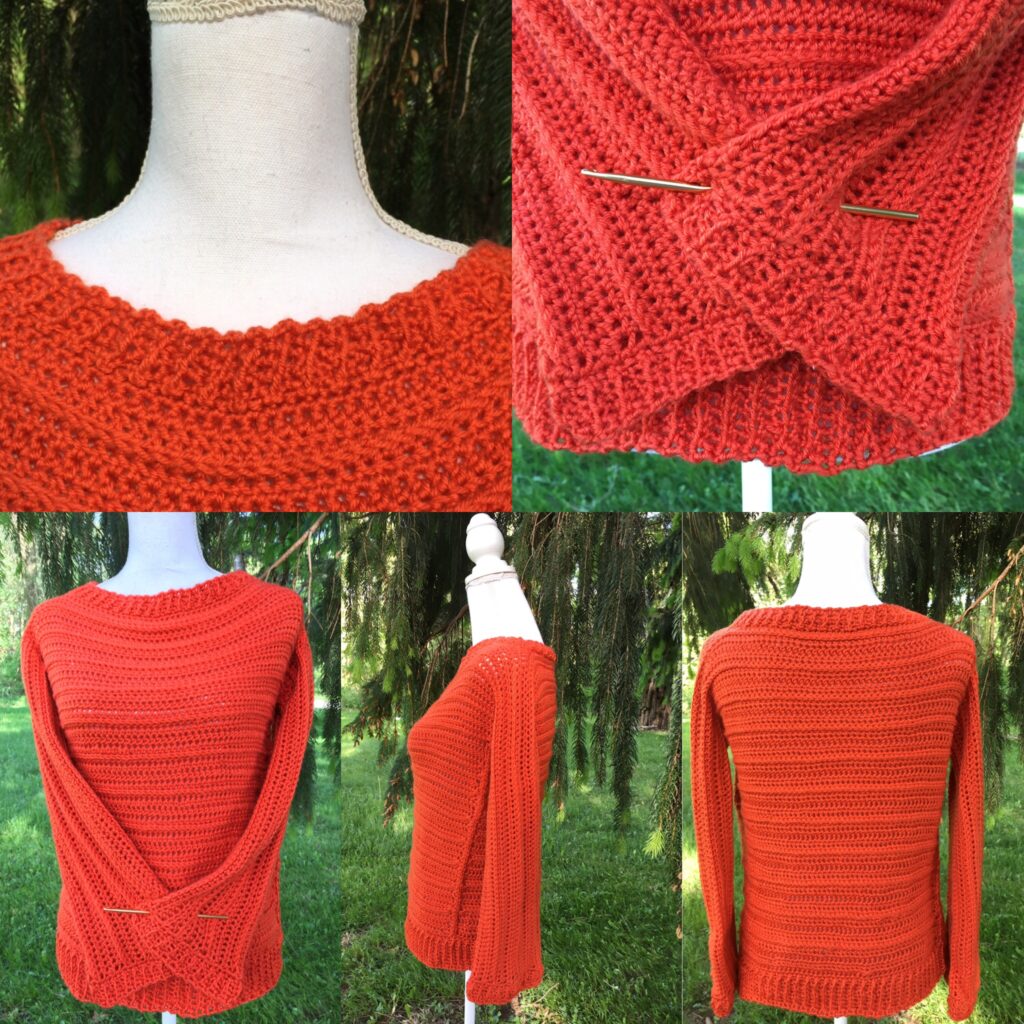
This Ribbed Crop Top is supposed to be Loose and Comfy. This is why the measurements are so different from a fitted top.
Amy Pullover Free Crochet Pattern
Using I Hook
FHDC 57, 63, 69, 75, 81, 87 Fasten off and lay aside (this is your 2nd Sleeve)
Starting at the Bottom of the Top
For Bottom of the Top FHDC 68, 74, 80, 86, 92, 98 OR Chain 70, 76, 82, 88, 94, 100 HDC in the 3rd chain from hook and each ch across. 68 (74, 80, 86, 92, 98) HDC
R1-R3: Turn. Ch 1, HDC in the next 68 (74, 80, 86, 92, 98) st.
HDC in the 3rd Loop (Bump) YouTube Video
R4: Turn. Ch 1, hdc in 1st st, hdc in the 3rd loop of ea hdc from previous row until last hdc, hdc in last hdc.
R5-R7: Turn. Ch 1, HDC in each st across.
Repeat R4-R7 until your Top measures 11.5” (13”, 14.5”, 16”, 17.5”, 19”) Be sure to end with R4. At the end of your measured Rows, do NOT turn.
Top measures 21”, 23”, 25”, 27”, 29”, 32” across before adding sleeves.
Adding the Sleeves and Neckline
Sleeves measure 16”, 18”, 20”, 22”, 24”, 26” before Ribbing.
R1: Ch 1, FHDC in the first st. FHDC 56 (62, 68, 74, 80, 86) more times.
R2: Turn. Ch 1, HDC in the next 57 (63, 69, 75, 81, 87) st. HDC in the next 68, (74, 80, 86, 92, 98) st. Attach the FHDC Row by HDC in 1st st, HDC in the remaining 56 (62, 68, 73, 79, 85) st.
R3: Turn. HDC in the next 182 (200, 218, 234, 252, 270) st.
R4: Turn. Ch 2, HDC in the 1st st, HDC in the 3rd loop of ea st until the last st, hdc in last st. 182 (200, 218, 234, 252, 270) st
R5-R7: Turn. Ch 1 and HDC in the next 182 (200, 218, 234, 252, 270) st.
R8: Turn. Ch 1, HDC in the 1st st, HDC in the 3rd loop of ea st until the last st, hdc in last st. 180 (200, 218, 234, 252, 270) st
Repeat R5-R8 until your Sleeves measure 5”, 6.5”, 8”, 9.5”, 11”, 12.5” tall.
Neck
Adding Neckline Video Tutorial
R1: Once the front part of your Sleeves measure 5”, 6.5”, 8”, 9.5”, 11”, 12.5” tall turn and place hdc in the next 68 (74, 80, 86, 92, 96) st, ch 44, 47, 50, 53, 56, 59 and skip the next 44 (47, 50, 53, 56, 59)st. Hdc in the next 68 (74, 80, 86, 92, 96) st.
R2-R3: Turn. Ch 1 and HDC in the each st across. 182 (200, 218, 234, 252, 270) st.
R4: Turn. Ch 1, HDC in the 1st st, HDC in the 3rd loop of ea st until the last st, hdc in last st. 180 (200, 218, 234, 252, 270) st
R5-R7: Turn. Ch 1 and HDC in the each st across. 182 (200, 218, 234, 252, 270) st
R8: Turn. Ch 1, HDC in the 1st st, HDC in the 3rd loop of ea st until the last st, hdc in last st. 180 (200, 218, 234, 252, 270) st
Repeat R5-R8 until the back part of your Sleeves measure 5”, 6.5”, 8”, 9.5”, 11”, 12.5” tall.
Turn. Place sleeves RS to RS and Slip Stitch the Sleeve you just finished. (57, 63, 69, 75, 81, 87). Do not turn. Place hdc in the next 68, 74, 80, 86, 92, 98 st. Leave the remaining Sleeve undone. Turn
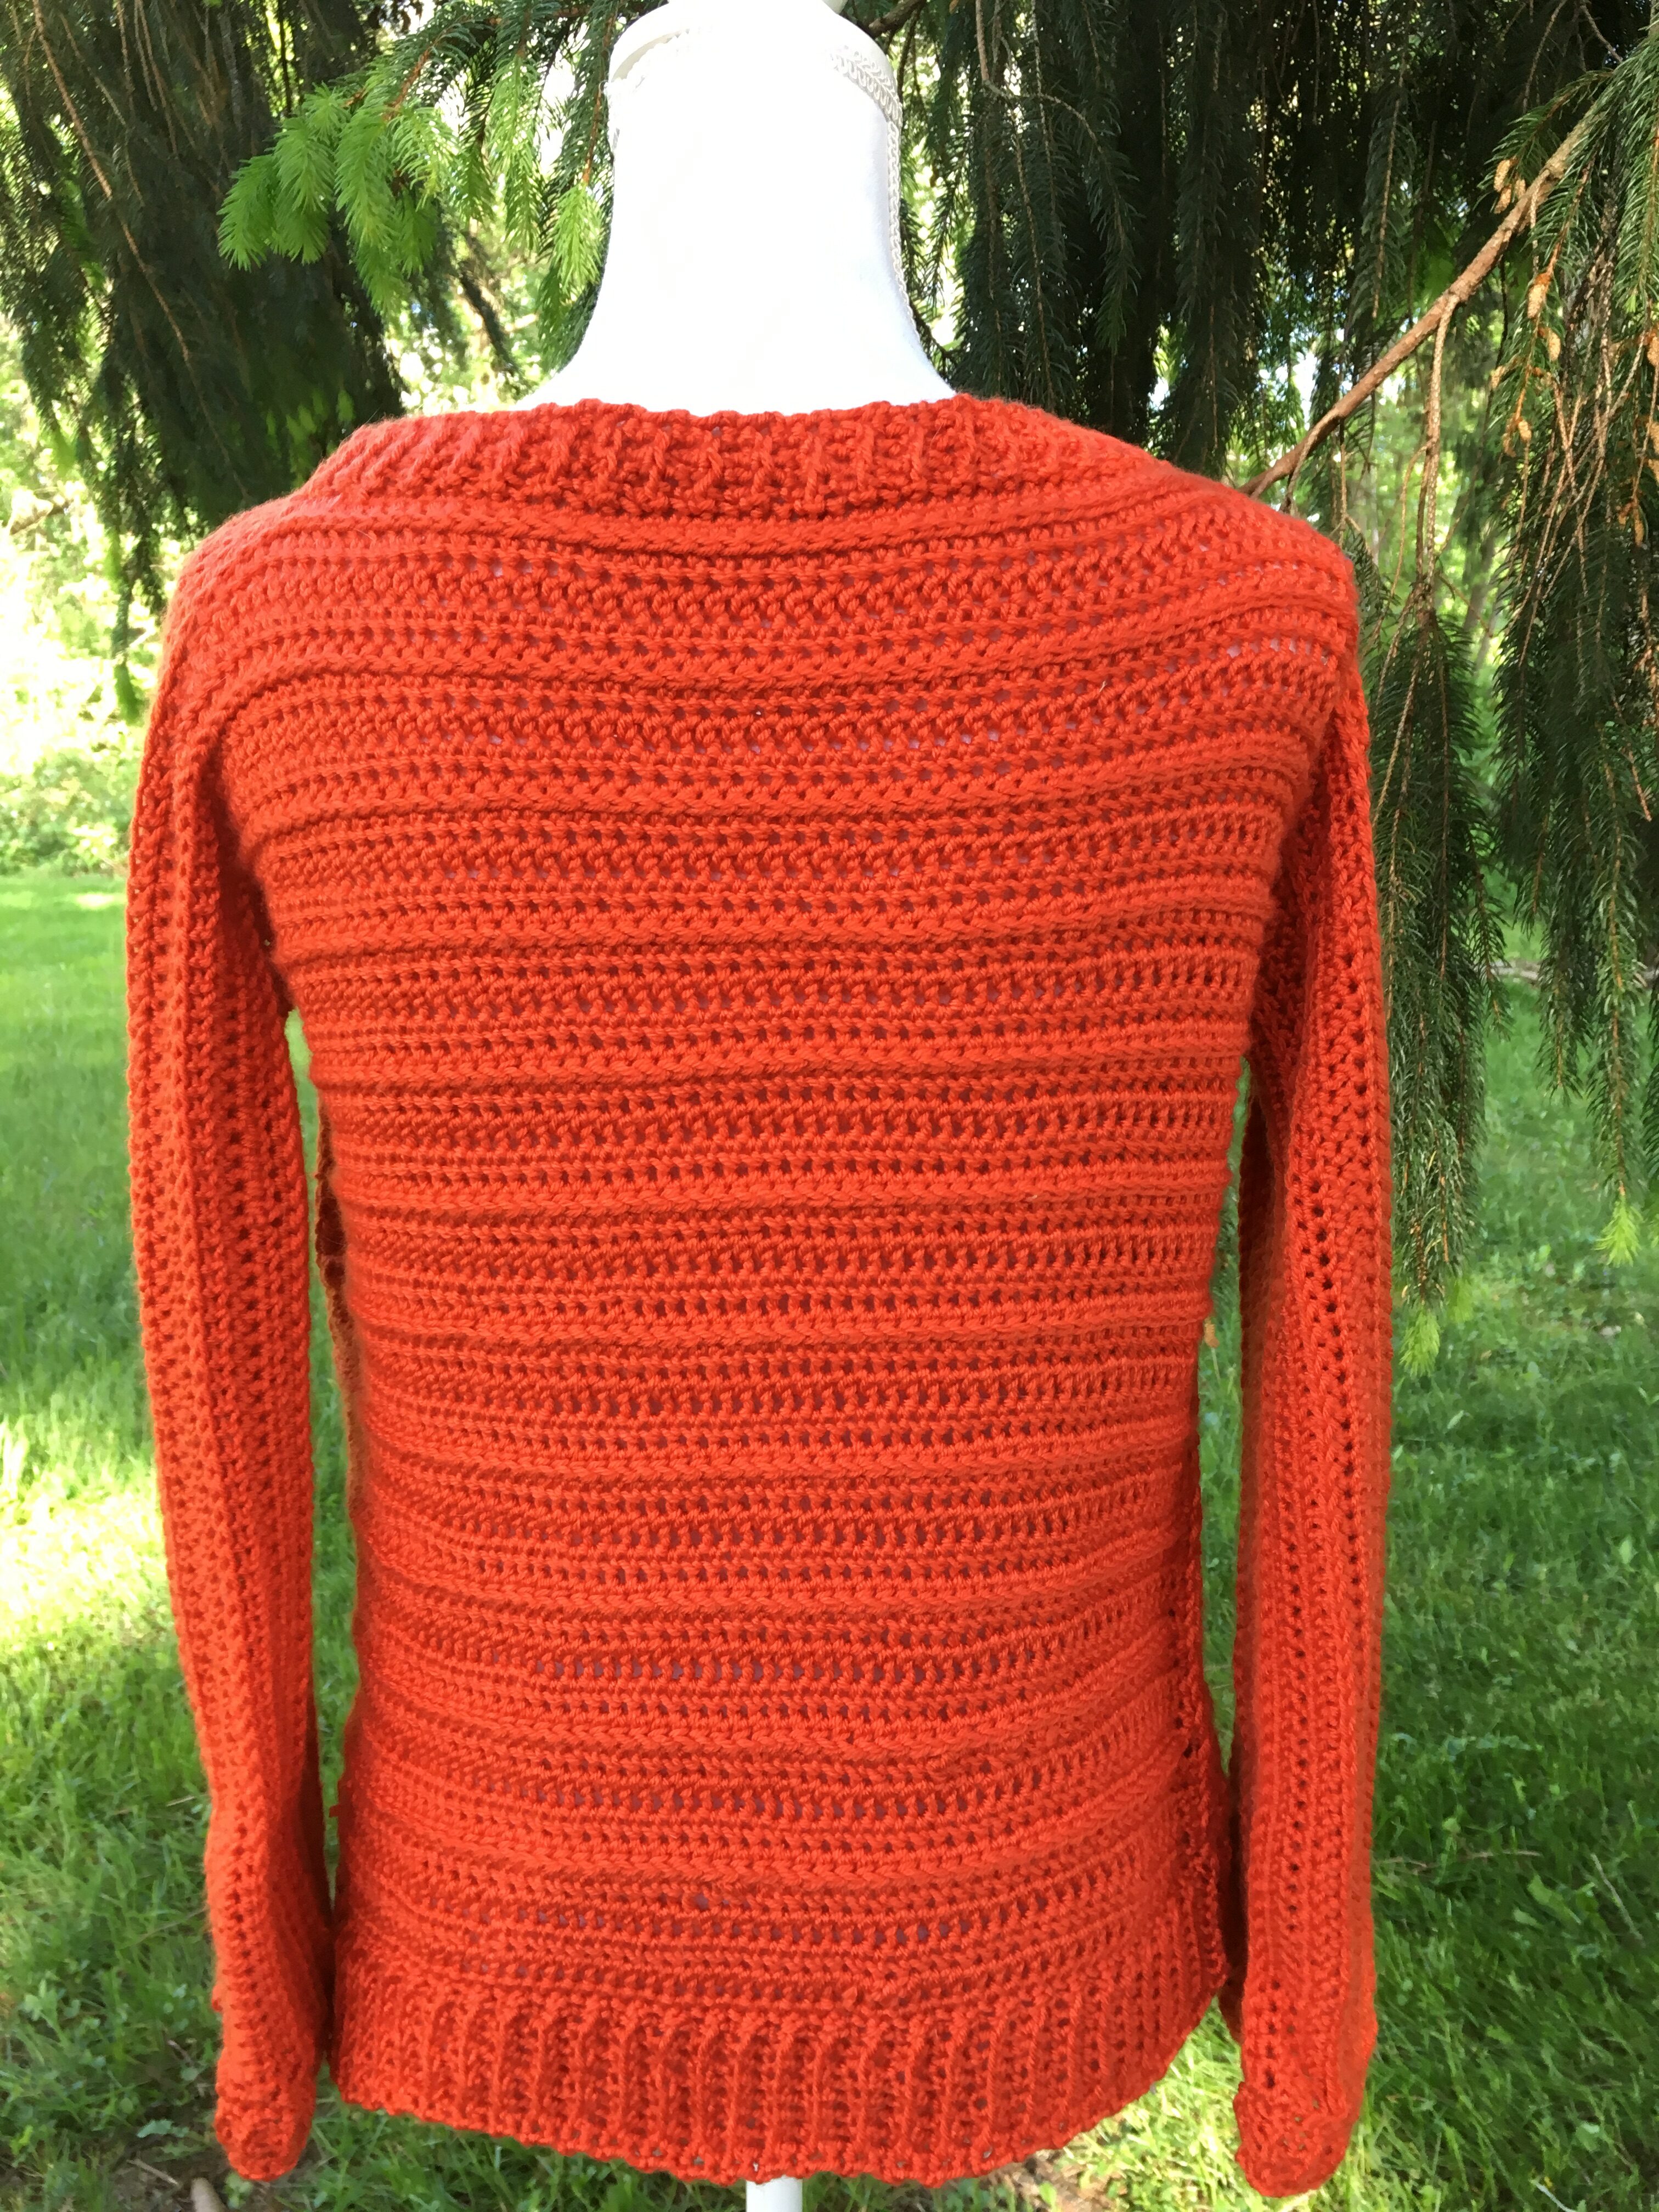
Back
R1-R3: Ch 1 and HDC in the next 68, (74, 80, 86, 92, 98) st.
R4: Ch 1 and hdc in first st, HDC in the 3rd Loop in the next 66, 72, 78, 84, 90, 96 and hdc in the last st.
Repeat R1-R4 until Back measures 17.5”, 19” 20.5” 22” 23.5” ending with R3.
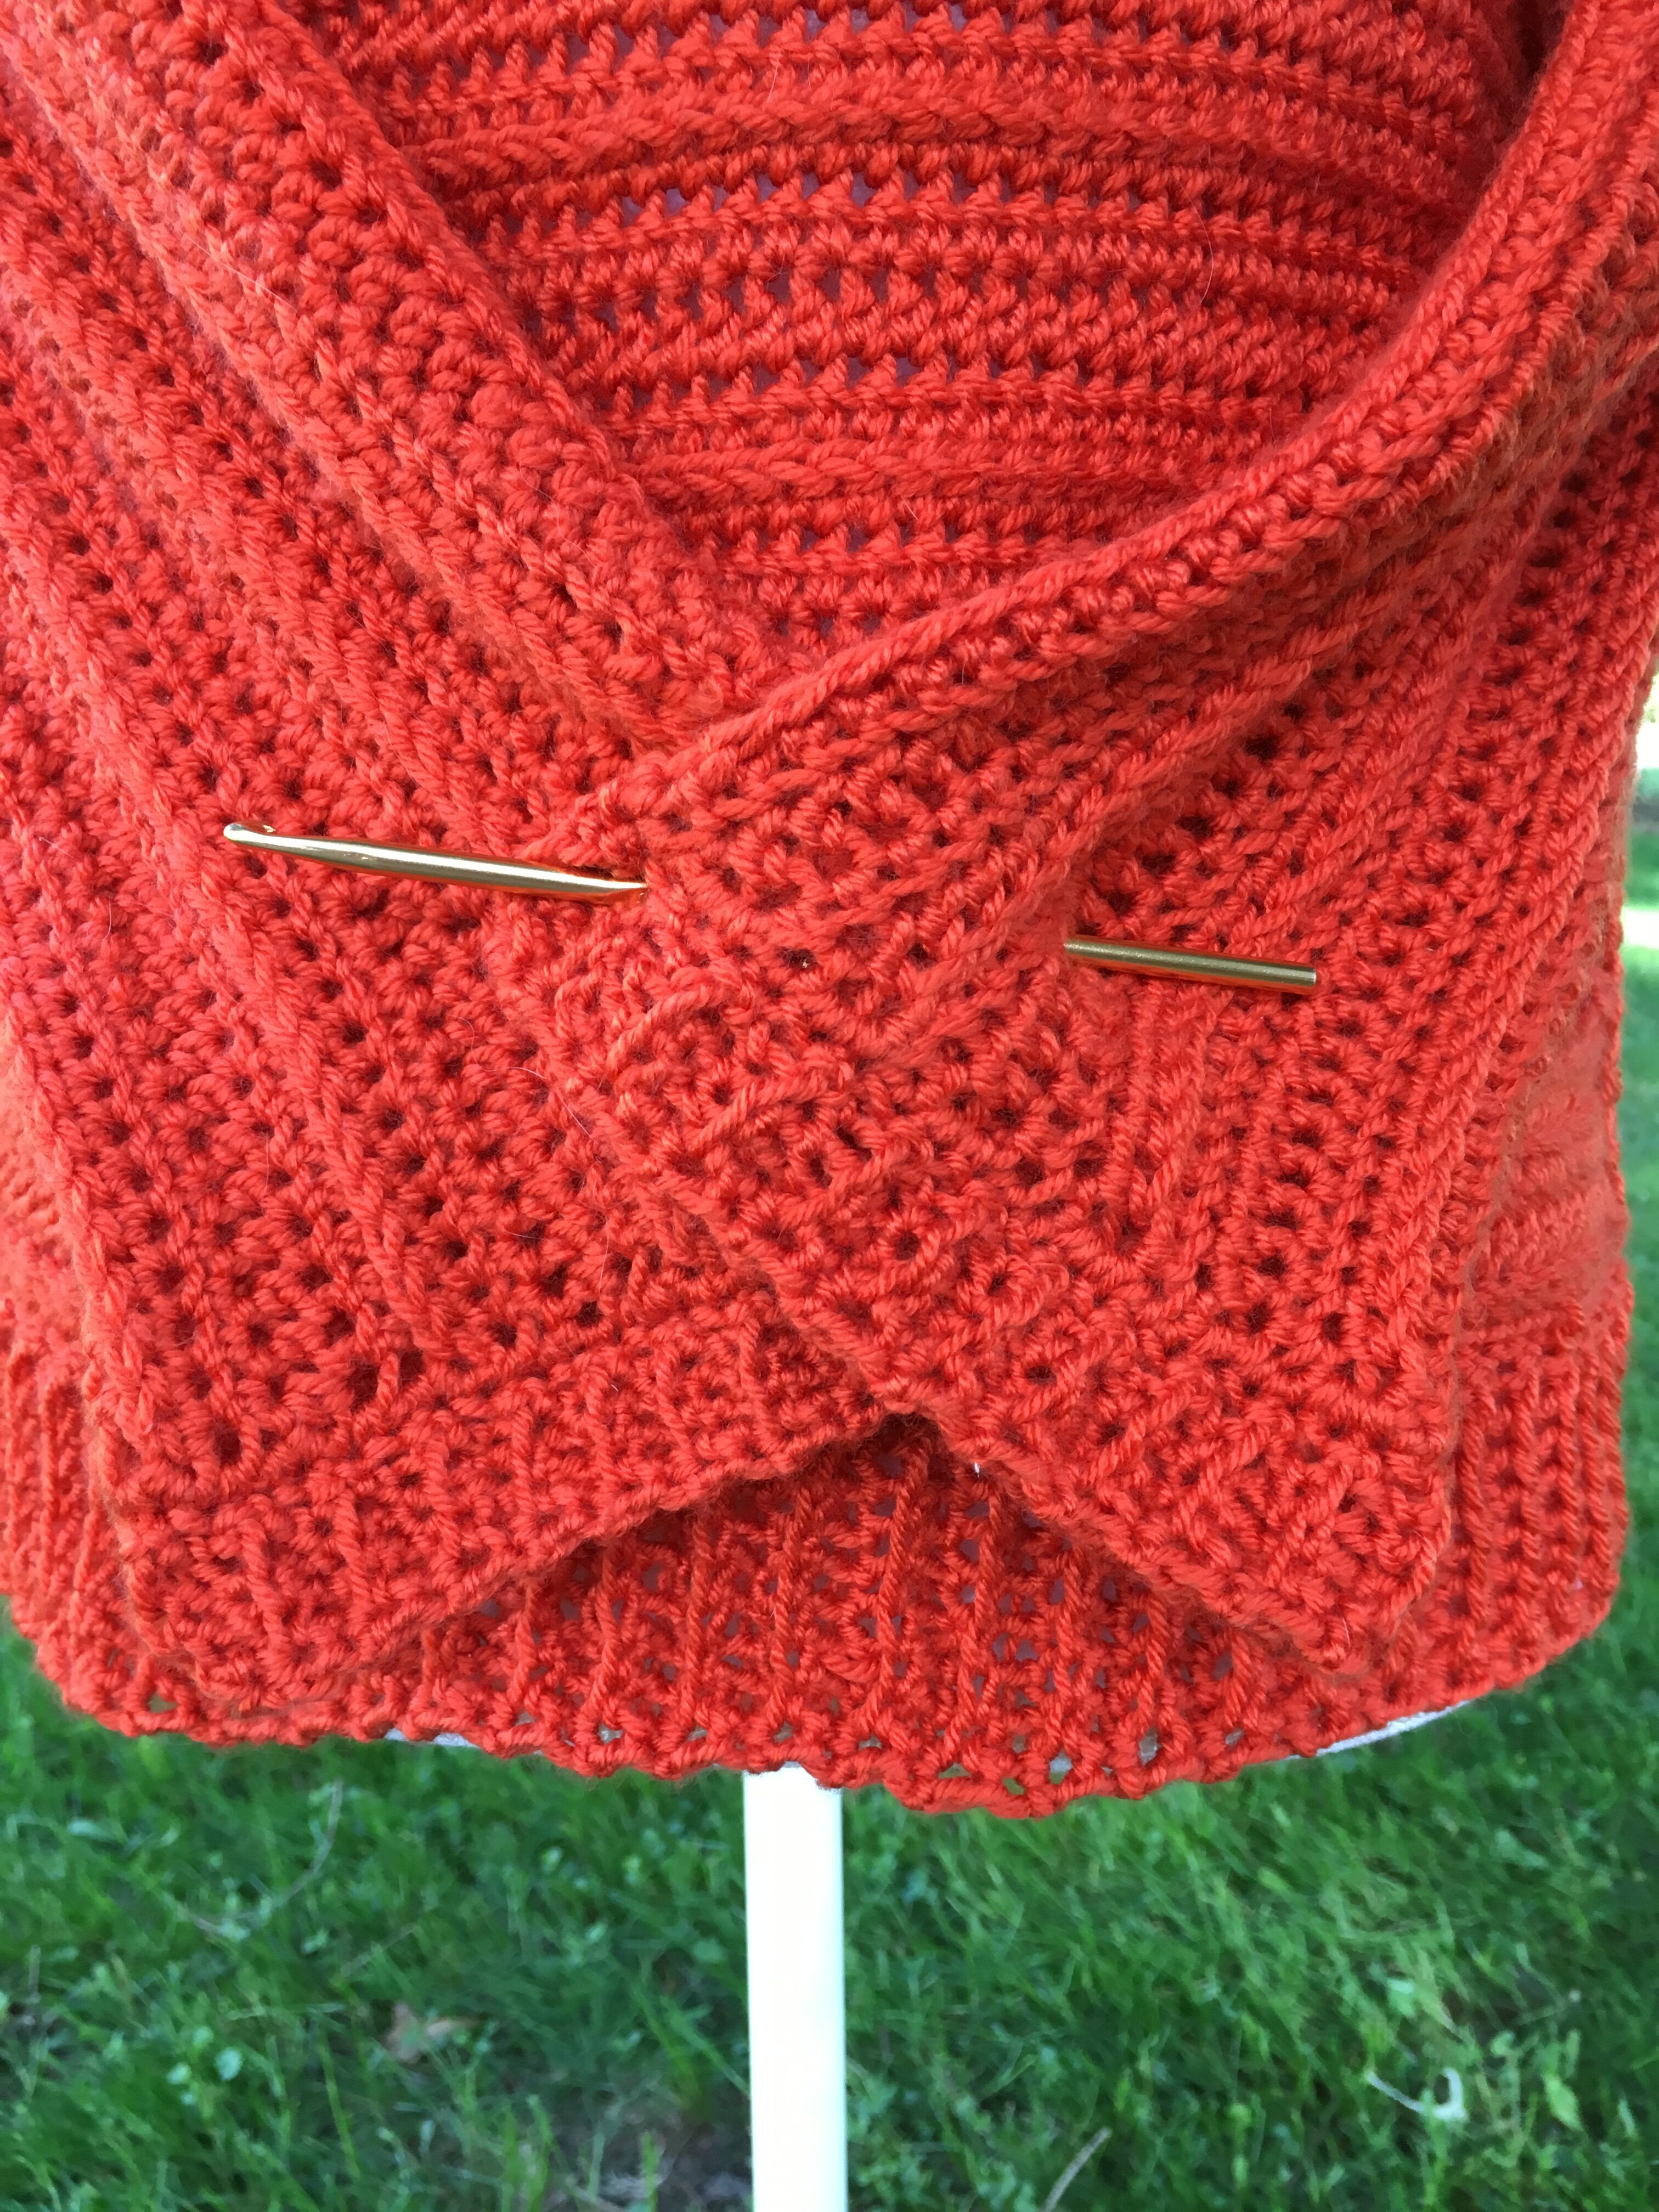
2nd Sleeve
Adding Sleeve Video Tutorial below
Use your Tapestry Needle and sew the Foundation Row of the Sleeve together.
Place sleeves RS to RS and Slip Stitch the Sleeve from the wrist to the armpit. (57, 63, 69, 75, 81, 87). Do NOT fasten off or turn.
Edging
Sewing Sides Video Tutorial below
Turn Sleeve right side out. Slip stitch into the 1st st of the Side. Place 1 sc in evenly in each side st until you come to the bottom of the Top. Place 1 sc in each st of the Foundation Row until you come to the other side of the Top. Place 1 sc evenly across the other side of the Top until you come to the Armpit. Place 1 sc evenly across the Side until you come to the Bottom of the Top. Place 1 sc in each st of the Foundation Row until you come to the other Side. Place 1 sc evenly across the Side of the Top until you come to the Armpit.
Turn Top inside out. Sew the Sides together until you come to the Bottom Corner. Fasten Off and sew the other Sides together until you come to the Bottom Corner. Fasten Off. Weave in ends and fasten off.
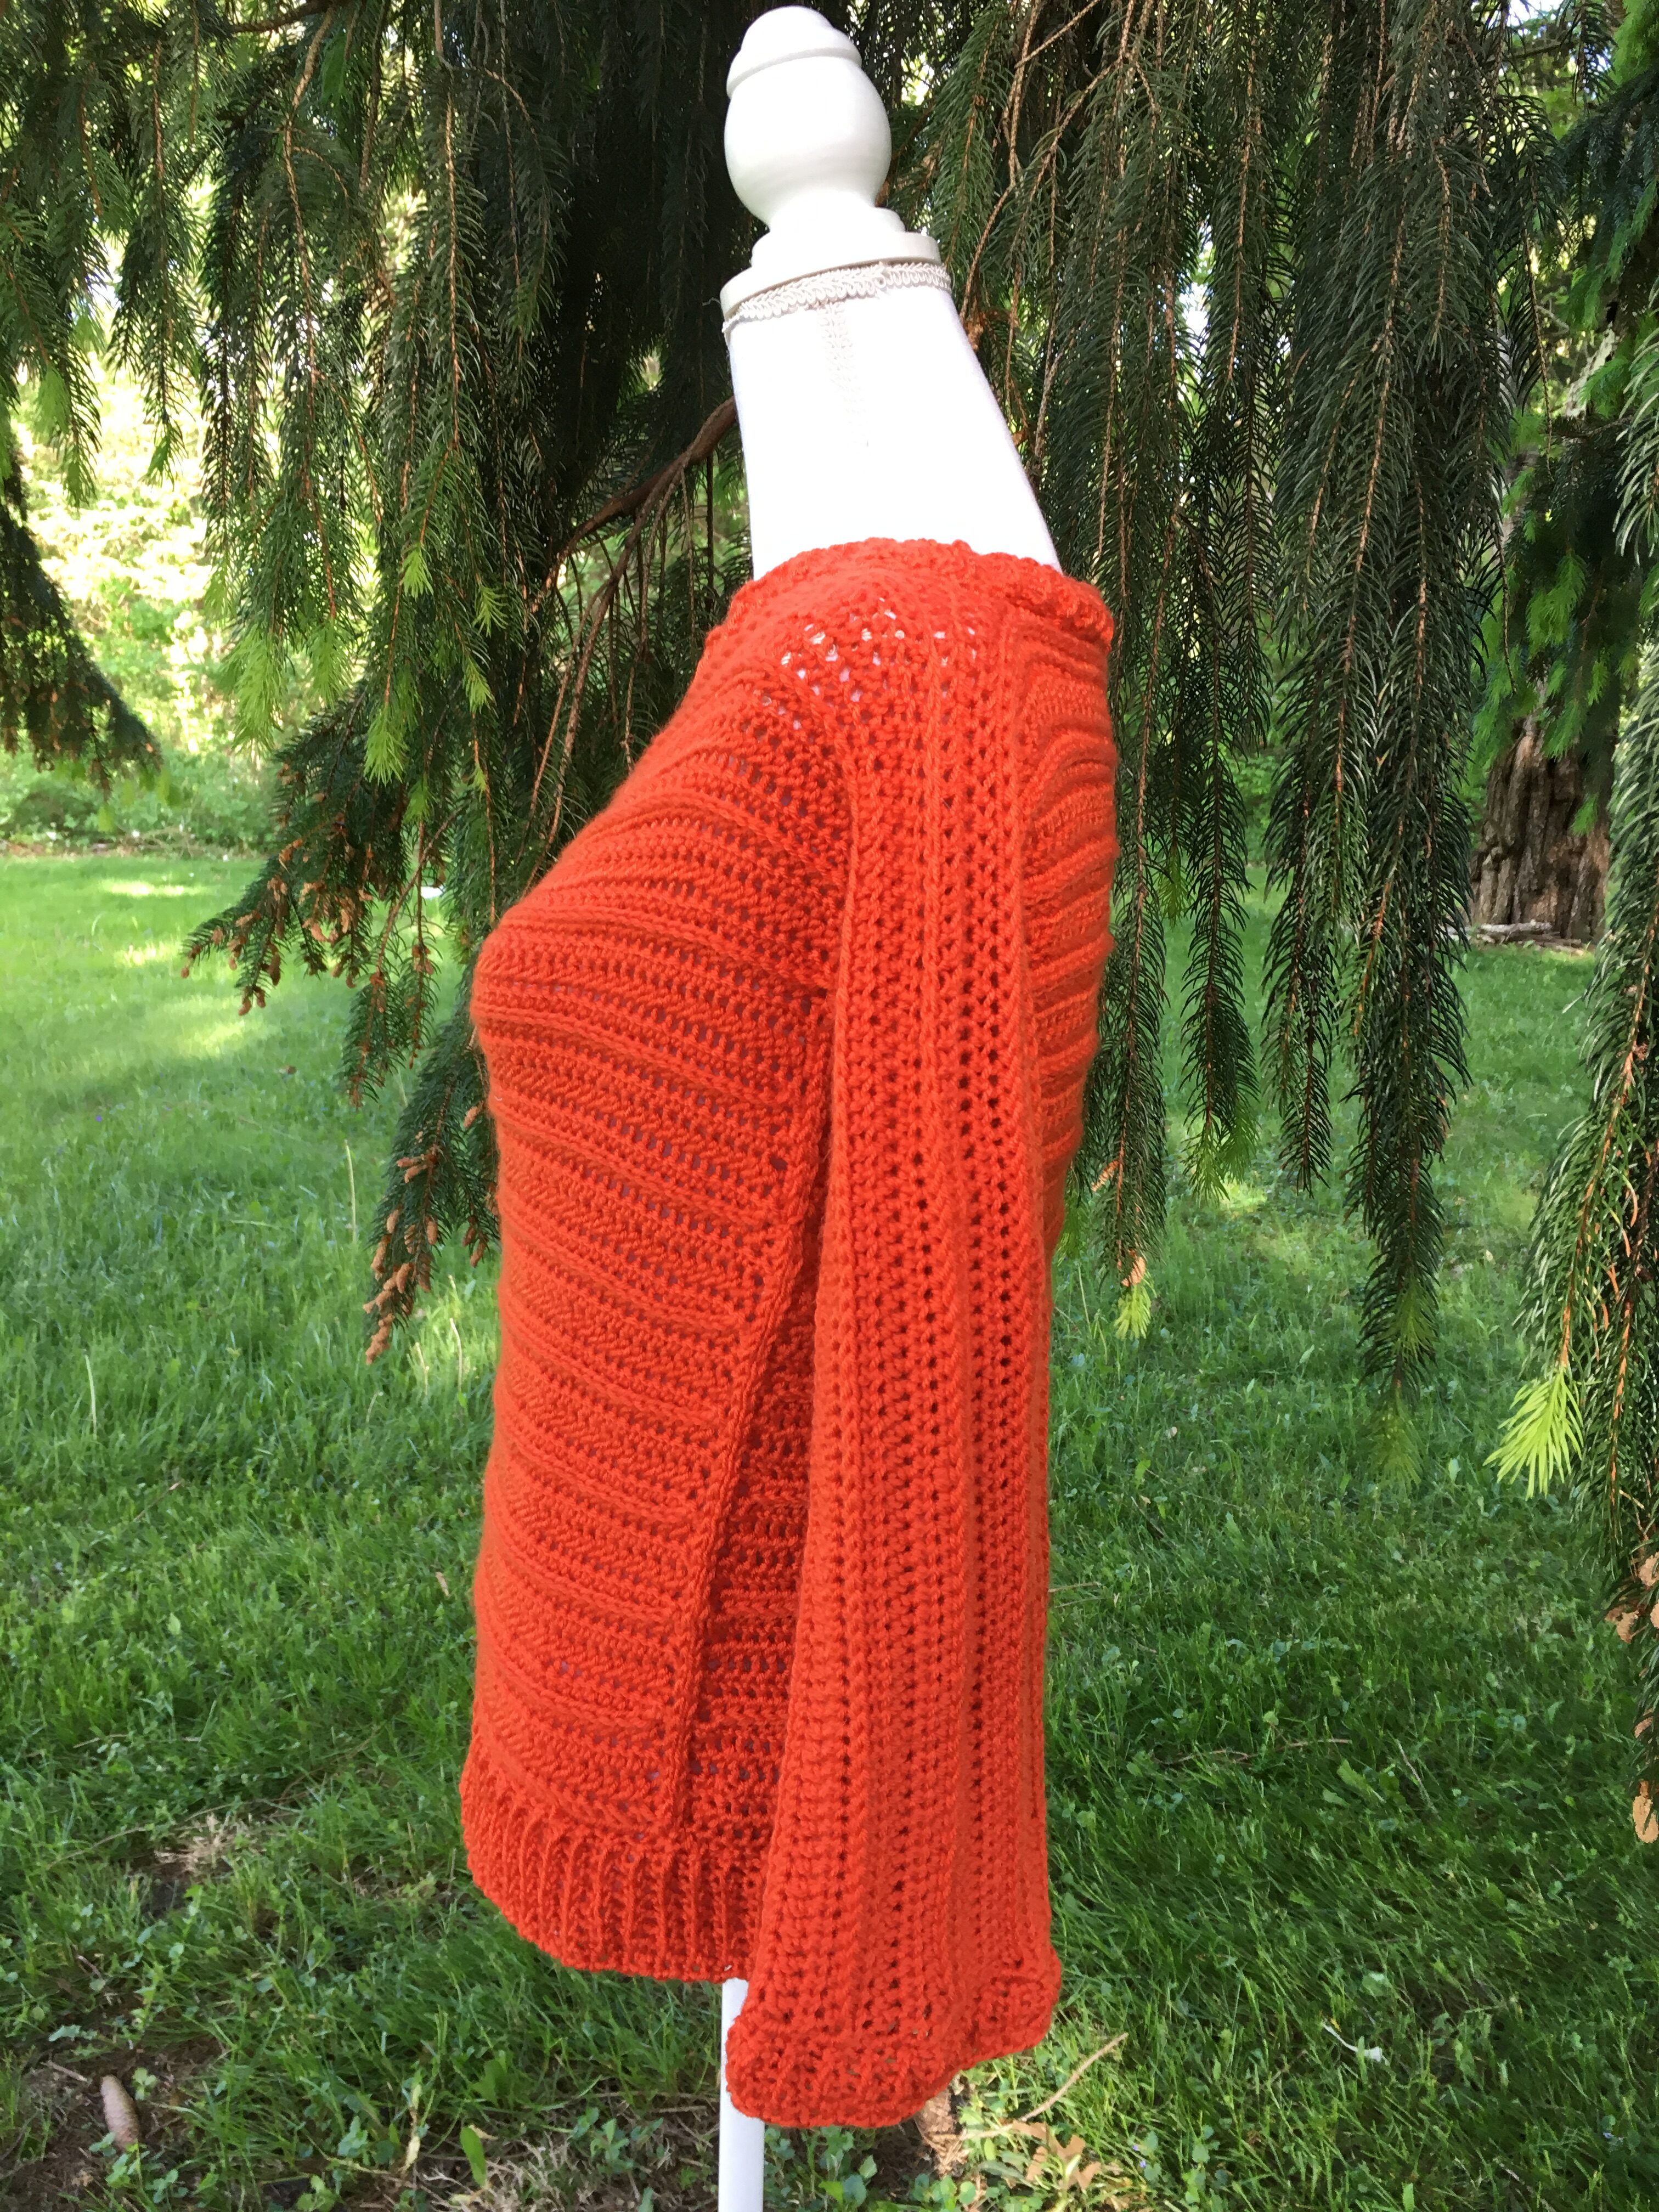
Trim
Adding and Finishing Wrist Trim/Cuff from my YouTube Channel
Wrists with G Hook
Step 1: With Sleeves right side out, SC evenly around the wrist. Join with a ss into the 1st sc.
Chain 5, turn and sc in 2nd chain from hook and in the next 3 st.
Step 2: SS into the next sc of sleeve twice. Ch 1, turn and sc in blo of the next 3 st, sc in both loops of the last st. Turn.
Step 3: Ch 1, sc in the 1st, sc in the blo of the next 3 st. ss into the next sc of sleeve twice. Ch 1, turn and sc in the blo of the next 3 st, sc in both loops of the last st. Turn
Repeat Steps 2 & 3 until you work your last sc of the Wrist. SS into the next 4 st of the beginning Trim. Fasten off and repeat these Steps on the other Wrist.
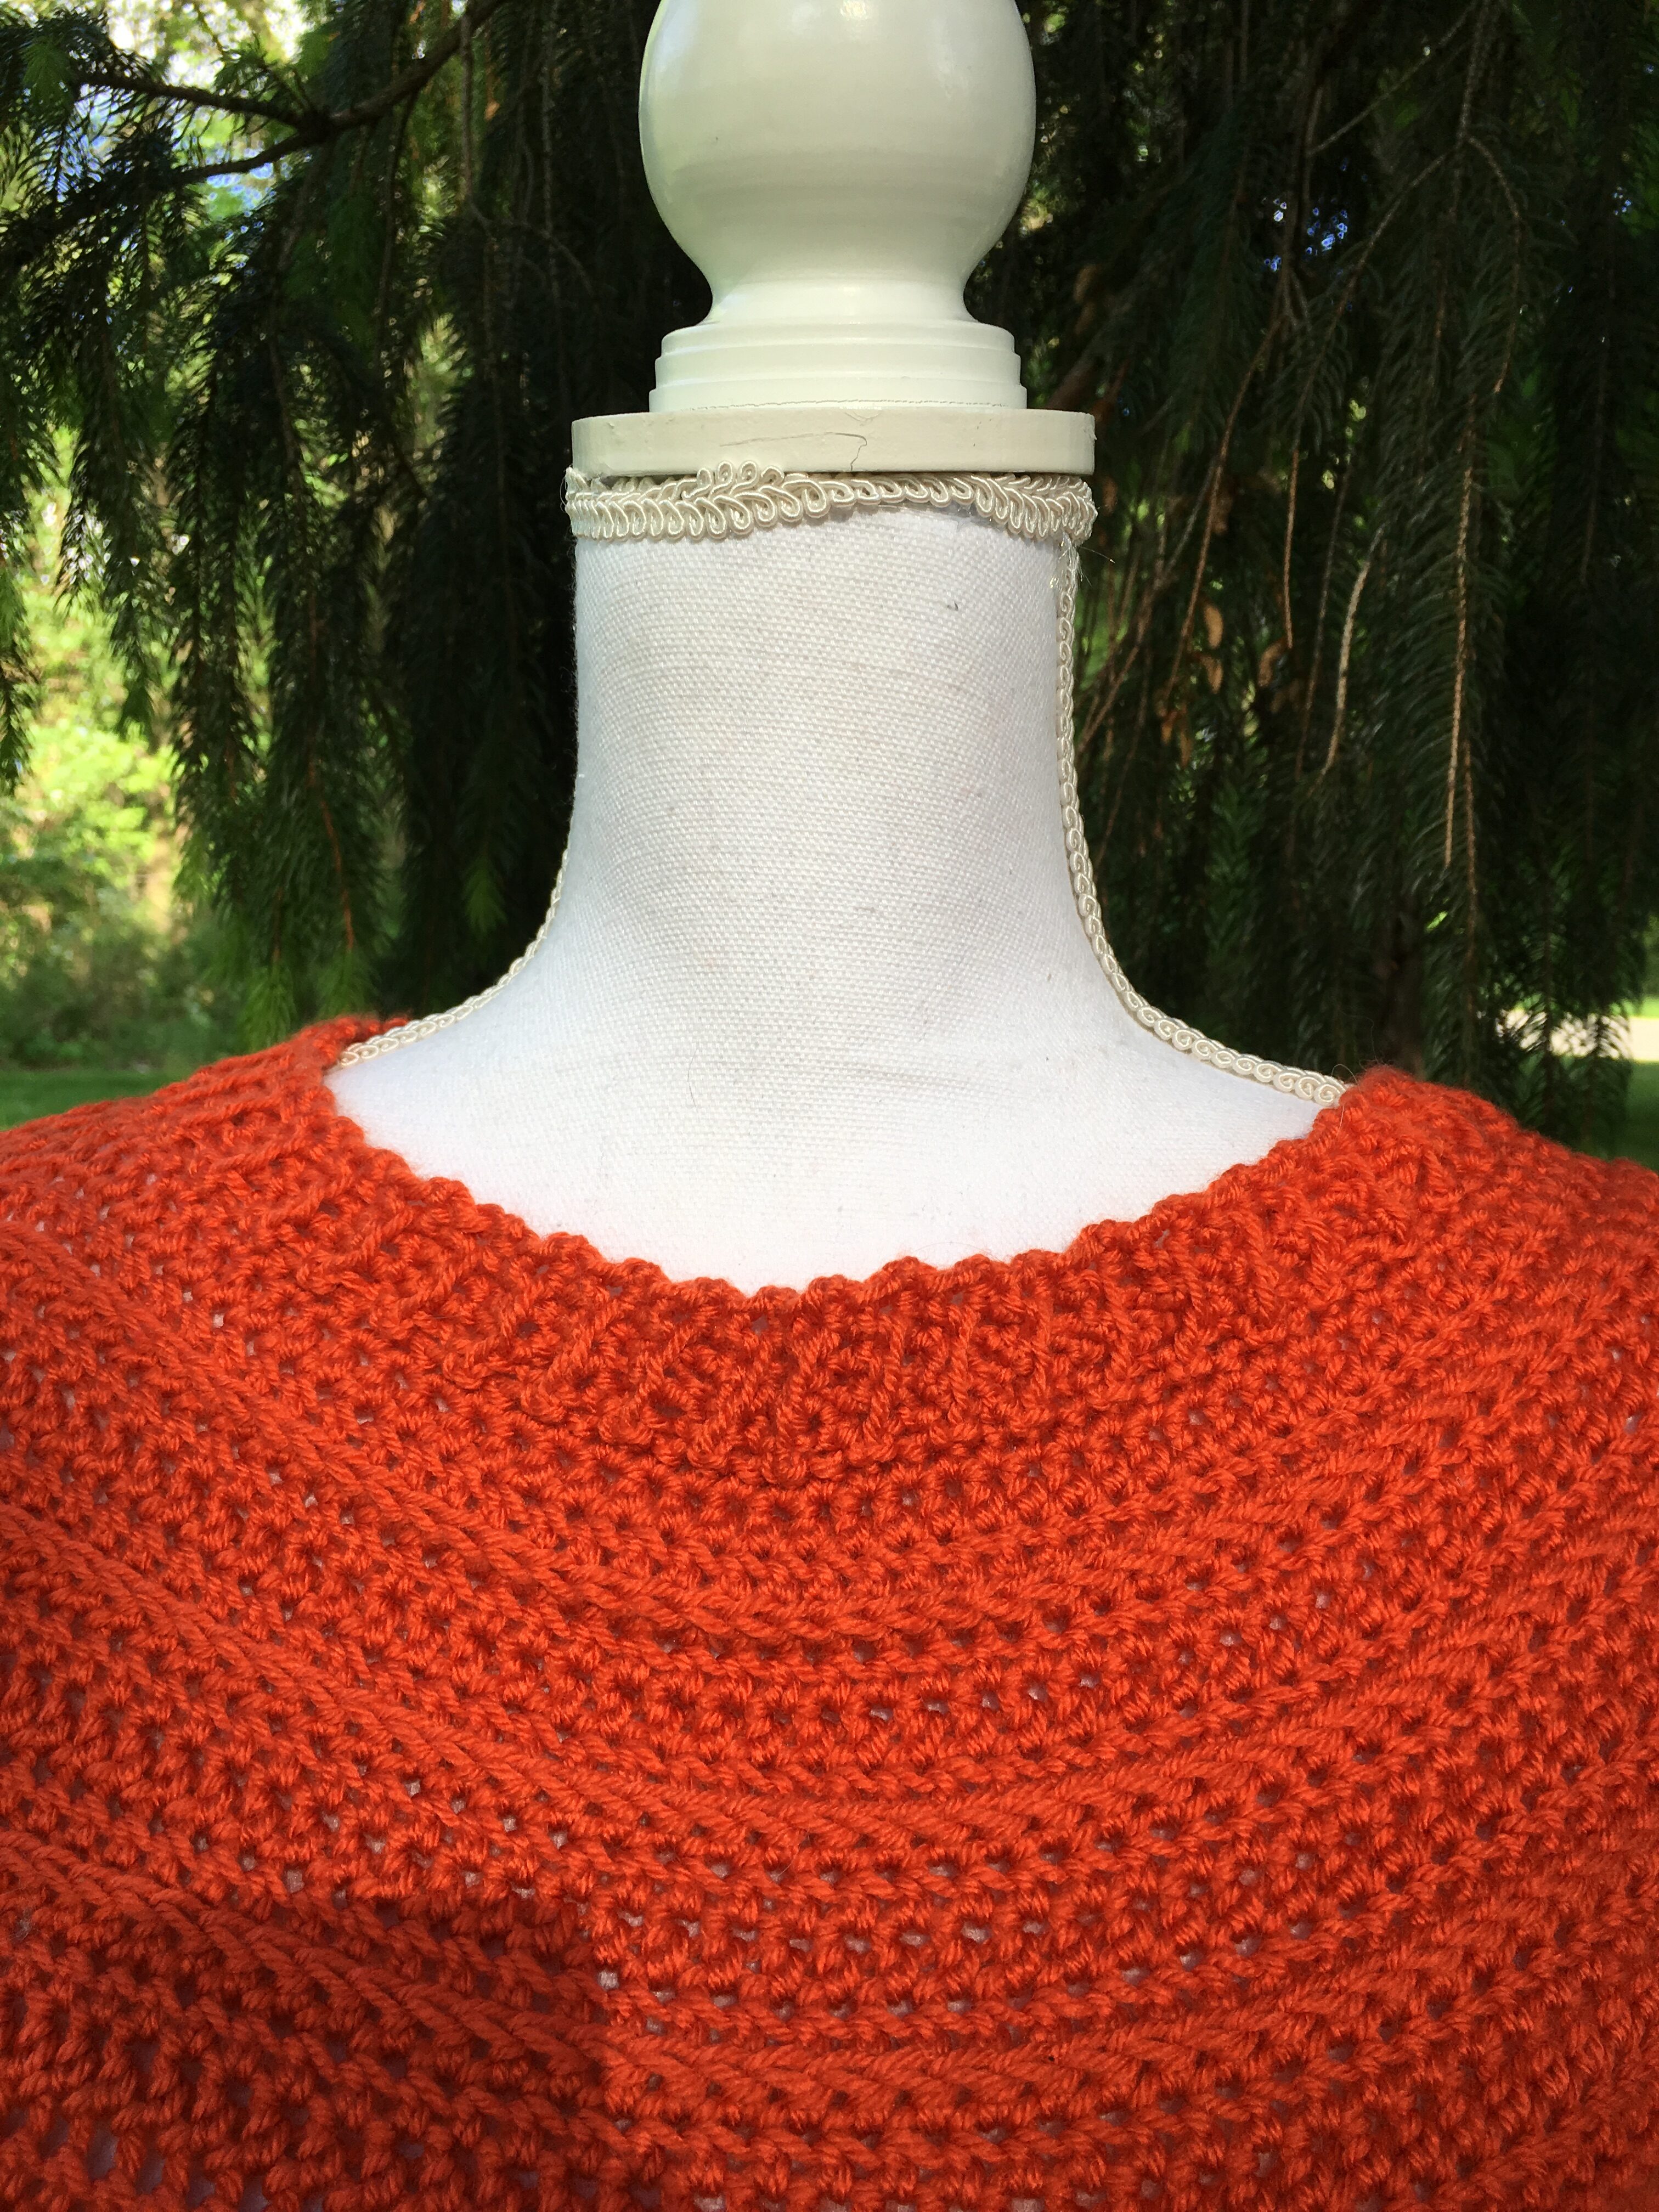
Neck with G Hook
Step 1: With Top right side out, SC evenly around the Neck. Join with a ss into the 1st sc.
Chain 5, turn and sc in 2nd chain from hook and in the next 3 st.
Step 2: SS into the next sc of Neck twice. Ch 1, turn and sc in blo of the next 3 st, sc in both loops of the last st. Turn.
Step 3: Ch 1, sc in the 1st, sc in the blo of the next 3 st. ss into the next sc of sleeve twice. Ch 1, turn and sc in the blo of the next 3 st, sc in both loops of the last st. Turn
Repeat Steps 2 & 3 until you work your last sc of the Neck. SS into the next 4 st of the beginning Trim. Fasten off and weave in ends.
Bottom with G Hook
Step 1: With Top right side out, attach yarn with a ss into the 1st sc of either Side seam. Chain 5, turn and sc in 2nd chain from hook and in the next 3 st.
Step 2: SS into the next sc of Bottom twice. Ch 1, turn and sc in blo of the next 3 st, sc in both loops of the last st. Turn.
Step 3: Ch 1, sc in the 1st, sc in the blo of the next 3 st. ss into the next sc of Bottom twice. Ch 1, turn and sc in the blo of the next 3 st, sc in both loops of the last st. Turn
Repeat Steps 2 & 3 until you work your last sc of the Bottom. SS into the next 4 st of the beginning Trim. Fasten off and weave in ends.
If you got this far, CONGRATULATIONS! You have finished the Amy Pullover! Again, I would really LOVE to see your version! You can find all the ways to connect with me below. Thank you for crocheting the Amy Pullover!
You can tag me at @joscraftyhook and in my FB Group Jo’s Crafty Hook Designs
You can also find FREE crochet patterns on my website.
Premium Crochet Pattern Stores


*********************************************
Find me, Jo of Jo’s Crafty Hook at the places listed below.
Email: joeybaird@aol.com
Facebook Group Jo’s Crafty Hookers
Facebook Group Jo’s Crafty Hook Designs
Facebook Page Jo’s Crafty Hook
Facebook Page: Crochet Designer Community