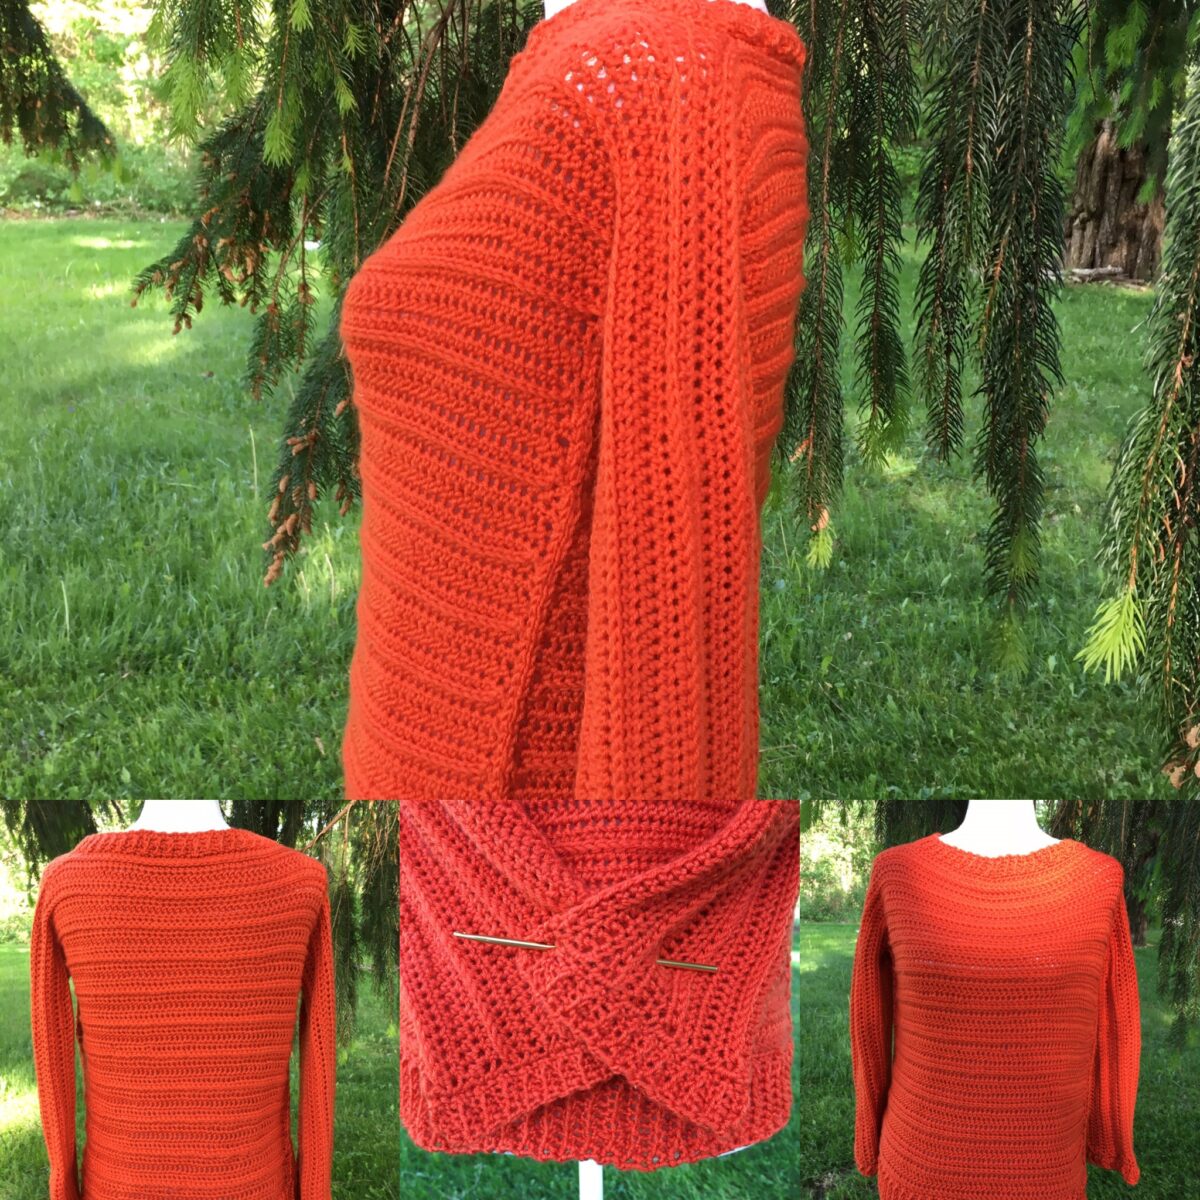
Sharon Leg Warmers Crochet Pattern

Sharon Leg Warmers Crochet Pattern

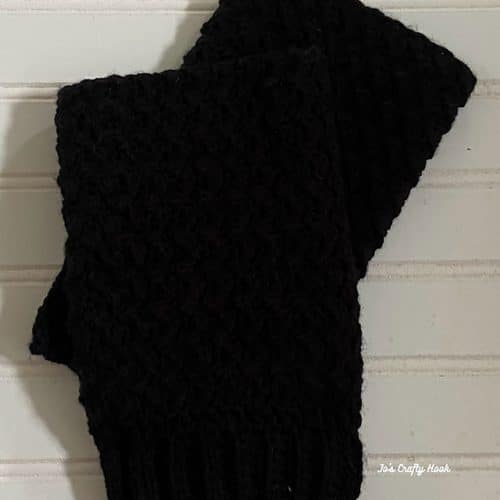
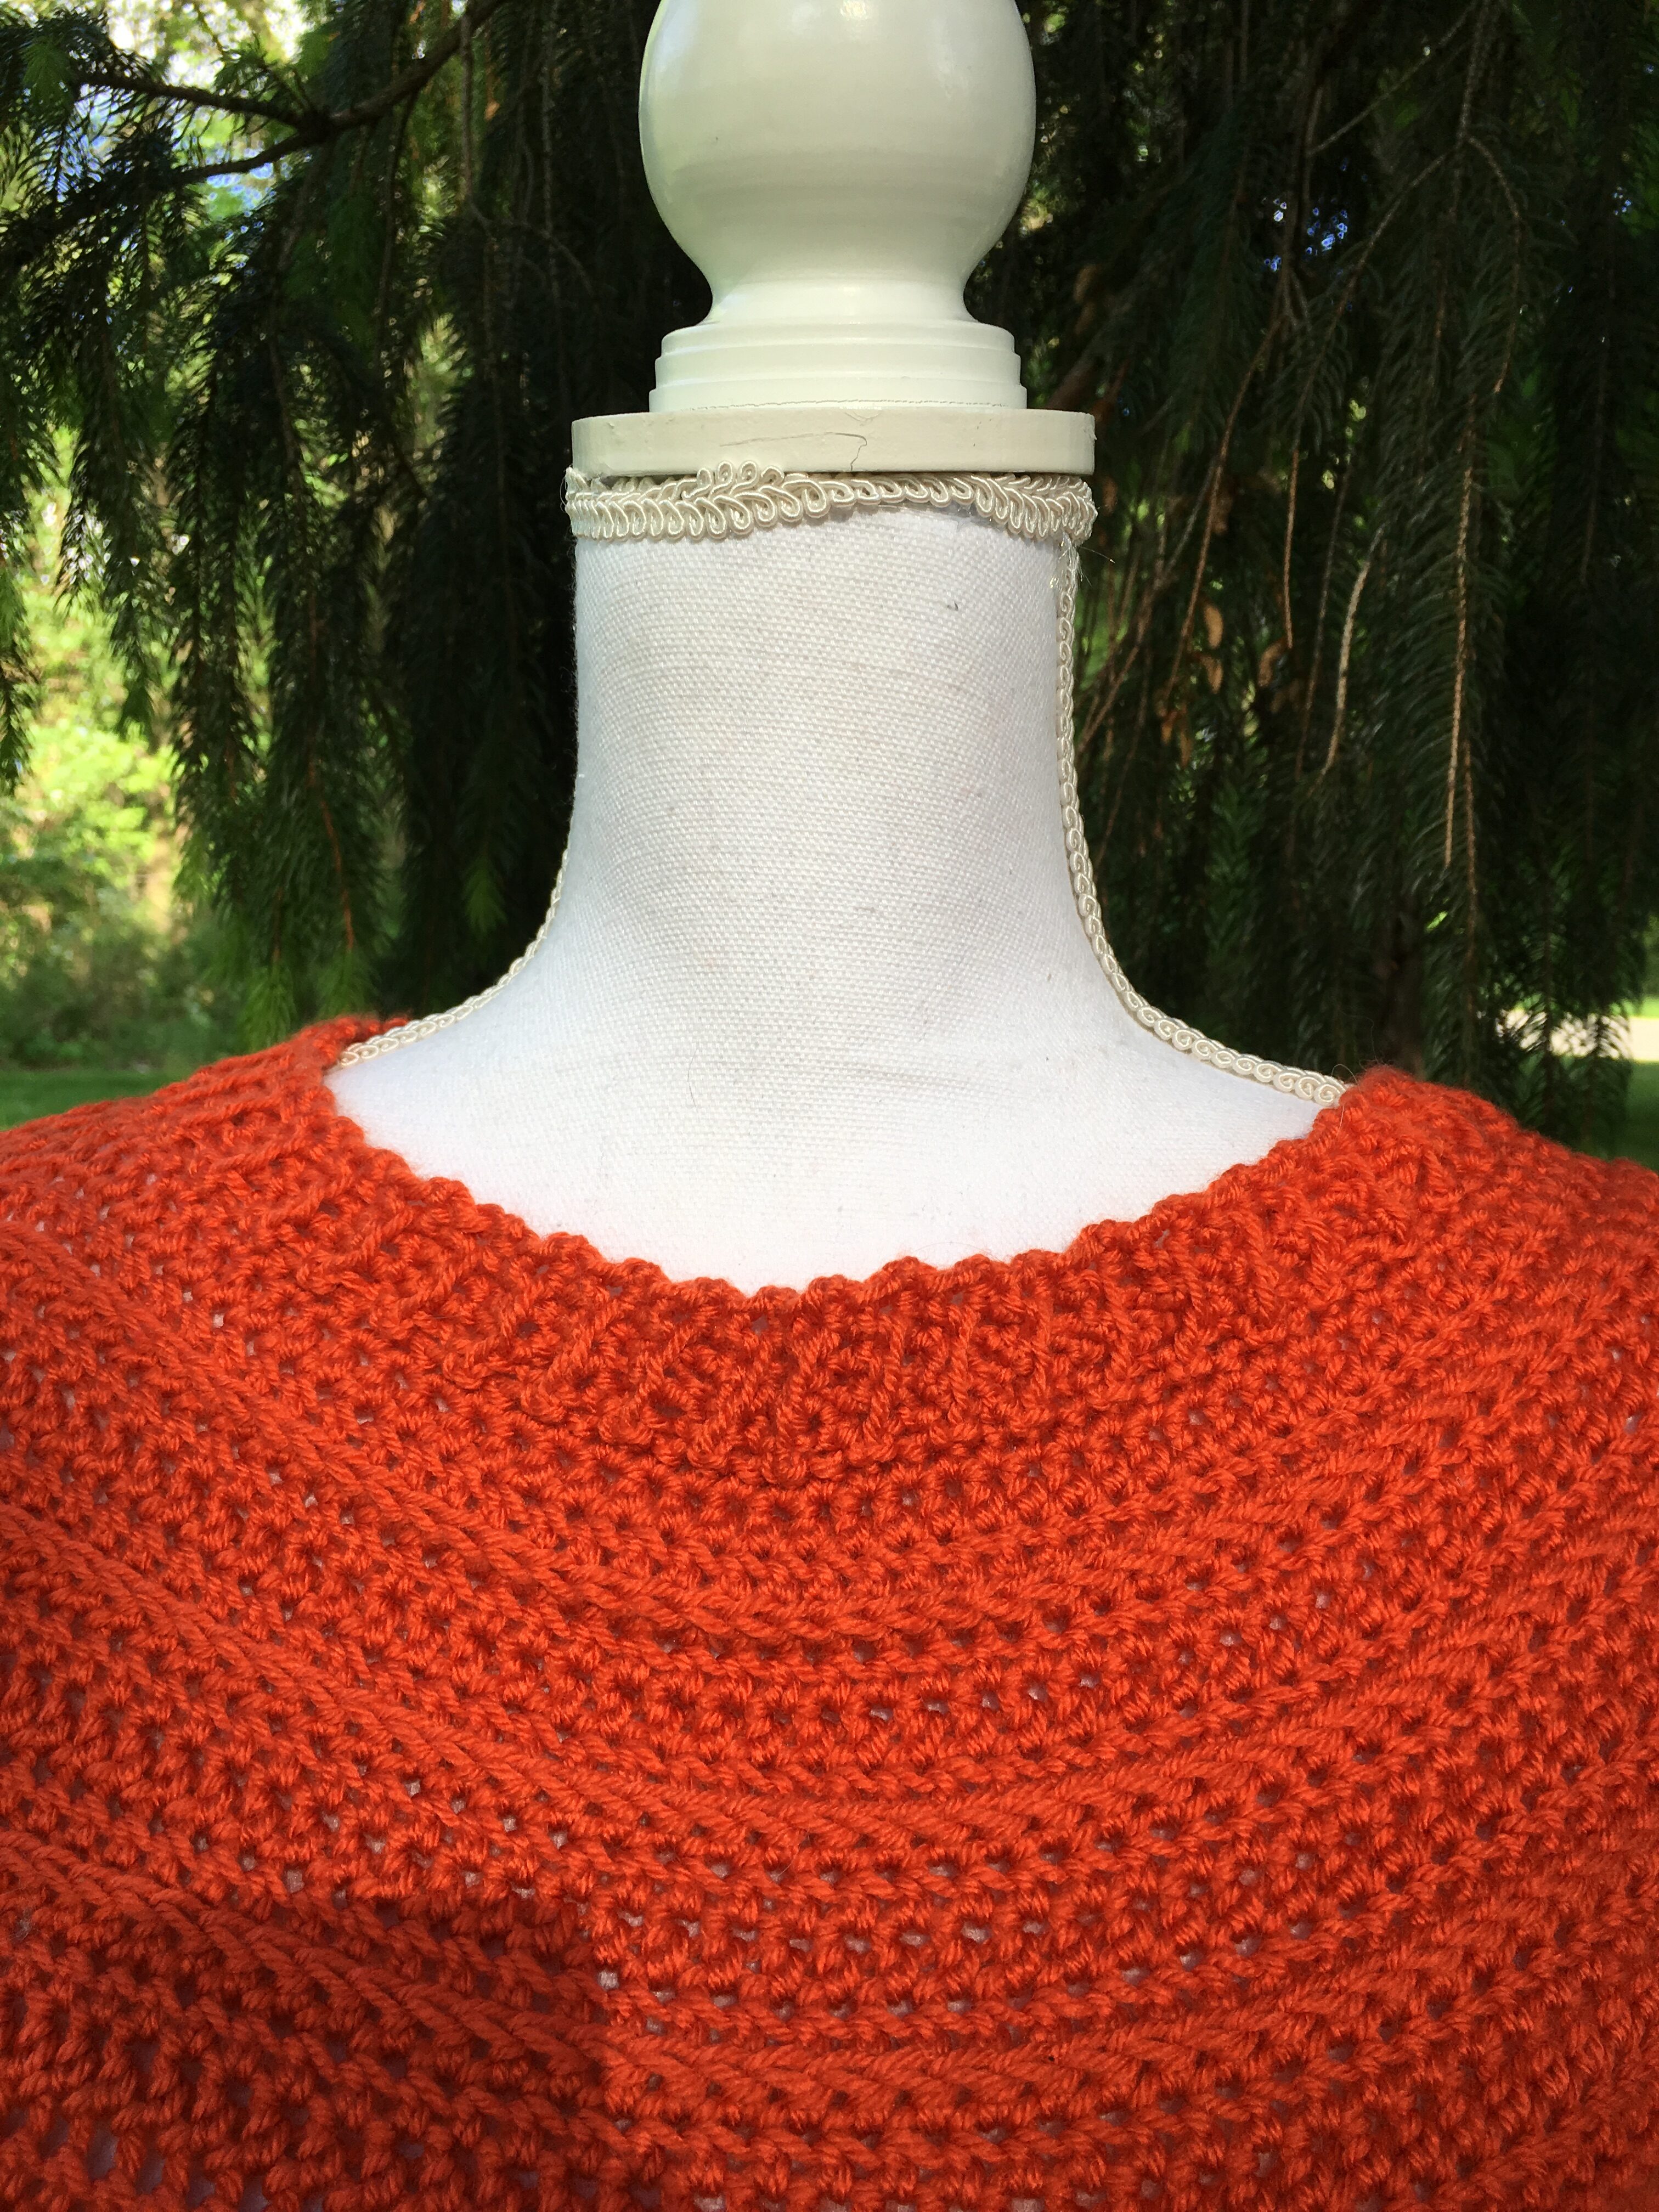
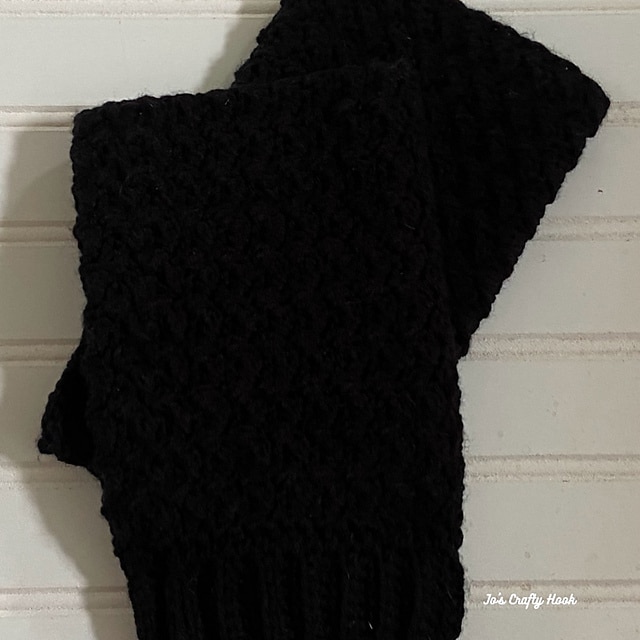
The Sharon Leg Warmers Crochet Pattern was designed for my mom, Sharon. My mom was the one who taught me how to crochet, so I wanted to make something special for her.  My mom is in her seventies now and she gets cold easier than she used to. 

So, if you get colder than you used to or want to keep your family and friends warm than this is the perfect pattern for you!  

Sign up for my Newsletter and get all of my latest news, collaborations, new crochet pattern releases and more sent straight to your inbox!

2026 Fall into Crochet Blog Hop
Fall is right around the corner.  The leaves will be changing colors, the cooler weather will start settling in, and it will be time to switch out our home decor.

To help you appreciate the upcoming season you can get daily free crochet patterns for accessories, home decor, sweaters and so much more from September 1-30th in the 2026 Fall into Crochet Blog Hop.
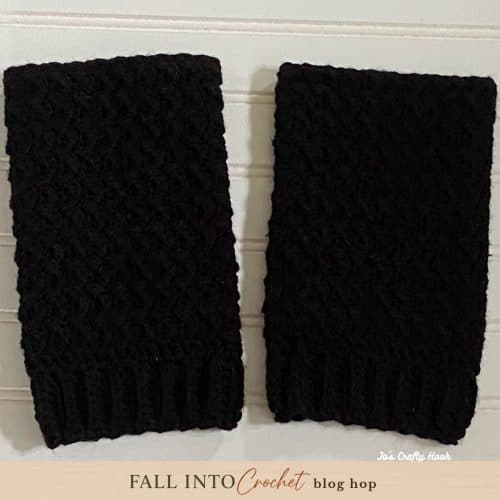
My Featured Day is September 5-6, 2026

You can get a FREE copy of my Sharon Leg Warmers Crochet Pattern as part of Itchin’ for Stitchin’ 2026 Fall into Crochet Blog Hop on September 5-6, 2026!

On my featured day, visit the 2026 Fall into Crochet Blog Hop to get the Coupon Code needed to get a FREE premium copy of my Sharon Leg Warmers Crochet Pattern.

Once you have the Coupon Code, click on the Button below to visit my Ravelry Store and use the code at Checkout.
2026 Fall into Crochet Bundle – $15.99
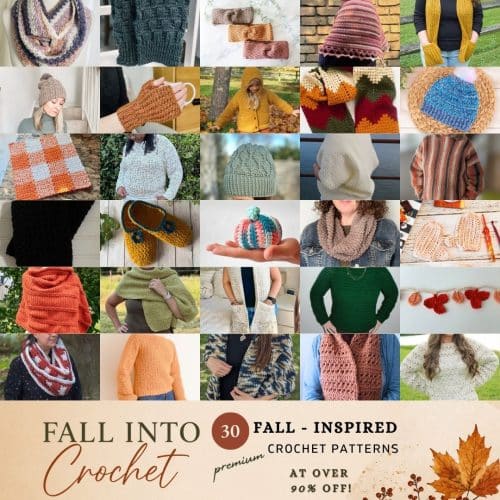
Also, you can skip the wait and all of the blog hopping and get all 30 premium crochet patterns + 2 BONUS patterns for $15.99 with the 2026 Fall into Crochet Bundle!
You can find more of my Premium crochet patterns, by visiting any of my stores, by clicking on any of the Buttons below.


Sharon Leg Warmers Free Crochet Pattern

The Sharon Leg Warmer Crochet Pattern below has 3 sizes to choose from.  You can make them for a child or a Small or Large Adult.  There are also instructions on how to Customize the Width and Height to help you crochet the perfect size.

Below you will find a FREE version of the Sharon Leg Warmers Crochet Pattern.

Information Needed

I used Red Heart Super Saver, 100% Acrylic Worsted Weight Yarn. 198 g/7 oz, 333 meters/364 yards 

Beginner
US Terminology

Materials:
US G or 4.5mm Crochet Hook
US H or 5mm Crochet Hook
200-350 yds #4 ply Medium Weight Yarn

Abbreviations/Stitches Used:
ch = chain
st = stitch(es)
sl st = slip stitch
rep = repeat
sc = single crochet
scblo = single crochet back loop only
dc = double crochet
Measuring Tape
Scissors
Tapestry Needle

Notes:
ch 1 does not count as a st
the bottom leg brim is worked flat
the body is worked the round with turning rows
If you do not meet Gauge try going up or down a hook size
There are 3 sizes to choose from Child, Small, and Large consecutively

Gauge:
US H or 5mm Crochet Hook

16 st x 12 rows = 4”

Gauge Swatch:
Using G or 4.5 mm Crochet Hook

R1: ch 16, (sc, dc) all in 2nd ch from hook, sk 1 ch, *(sc, dc) all in next ch, sk 1 ch. rep from * across. ch 1, turn (16 st)
R2: sk 1st dc, (sc, dc) all in next sc, *sk next dc, (sc, dc) all in next sc. rep from * across. ch 1, turn. (16 st)

R3-R12: (sc, dc) all in 1st sc, *sk next dc, (sc, dc) all in next sc. rep from * across. ch 1, turn. (16 st)

Customizing:

Width
For your best results, measure the top of your calf, right below the knee (this will be the width of your leg warmer)

If you would like a wider leg warmer, add 5 rows of the Cuff until you reach the width you want.

Height
You can add or subtract repeats of R2 of the body of the leg warmer pattern to create your perfect height as well.

Size Chart 

Size Width Height
Child 8” 10”
Small 10” 11”
Large 12” 12”
Cuff Crochet Pattern

Using G or 4.5mm Crochet Hook

R1: ch 9, sc into the 2nd ch from hook, sc in next 7 st. ch 1, turn (8 sc)
R2:  sc in 1st st, scblo of next 6 st, sc in last st. turn (8 sc)
R3-35(40, 45): rep R2

Customizing:
If you would like a wider cuff at the bottom, add multiples of 5 rows.

Join Cuff:  

Hold both ends together without twisting, sl st the last row and foundation row together.  Do not fasten off.

Switch to H or 5mm Crochet Hook
Note:  You will now be working in the Round with Turning Rows

R1:  ch 1, 2 sc in same sp, *sc in next 4 st, 2 sc in next st, rep from * around until last 4 st, sc in last 4 st. sl st in 1st sc to join.  (42, 48, 54 sc)

R2: ch 1, ( sc, dc) all in the same st, sk next st, *(sc, dc) all in the next sc, sk next st, rep from * around.  sl st in 1st sc to join.  ch 1, turn (42, 48, 54 st)

R3-R24(27, 30): (sc, dc) all in 1st sc, *sk next dc, (sc, dc) all in next sc. rep from * around. sl st in 1st sc to join. ch 1, turn. (42, 48, 54 st)

Fasten off and weave in ends.

Repeat Cuff and Leg Warmer Body Pattern for 2nd Leg Warmer.

©Jo’s Crafty Hook 2026

That’s it!  You have made your version of the Sharon Leg Warmers!  You can make this in so many beautiful colors to crochet for your family and friends.I would LOVE to see what you create!

You can tag me at @joscraftyhook and in my FB Group Jo’s Crafty Hook Designs

You can find more of my crochet patterns at my Ravelry Store, LoveCrafts, and my Etsy Shop

You can also find FREE crochet patterns on my website.

*********************************************

Find me, Jo of Jo’s Crafty Hook at the places listed below.

Email:  joeybaird@aol.com

Linktree

Website

Facebook Group Jo’s Crafty Hookers

Facebook Group Jo’s Crafty Hook Designs

Facebook Page Jo’s Crafty Hook

Facebook Page:  Crochet Designer Community

Ravelry

LoveCrafts

Etsy

Instagram

YouTube

Pinterest

Donations Accepted

Loading

Coreo Flower Earrings Free Crochet Pattern

Coreo Flower Earrings Free Crochet Pattern

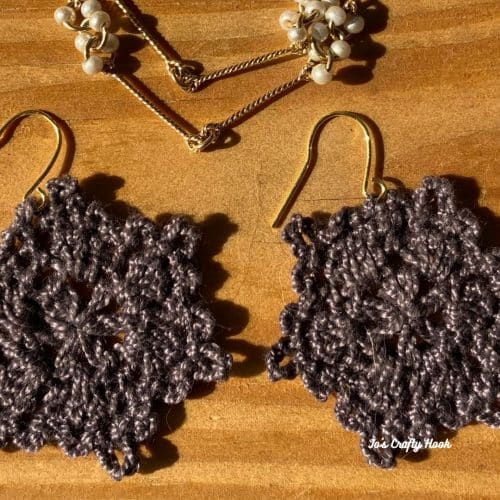
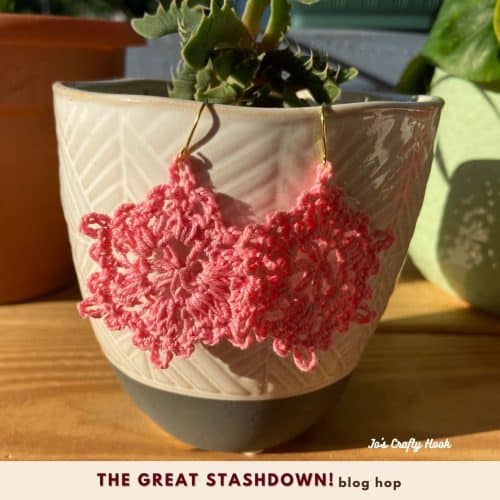
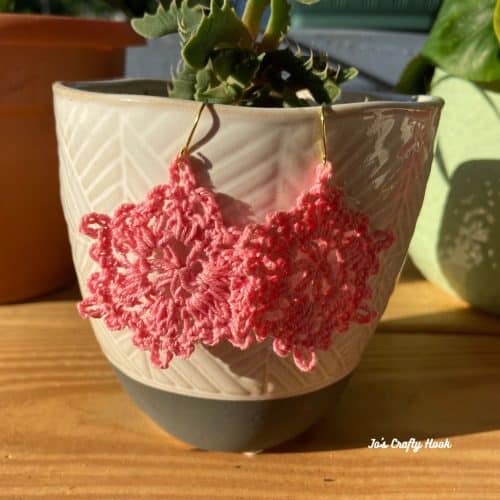
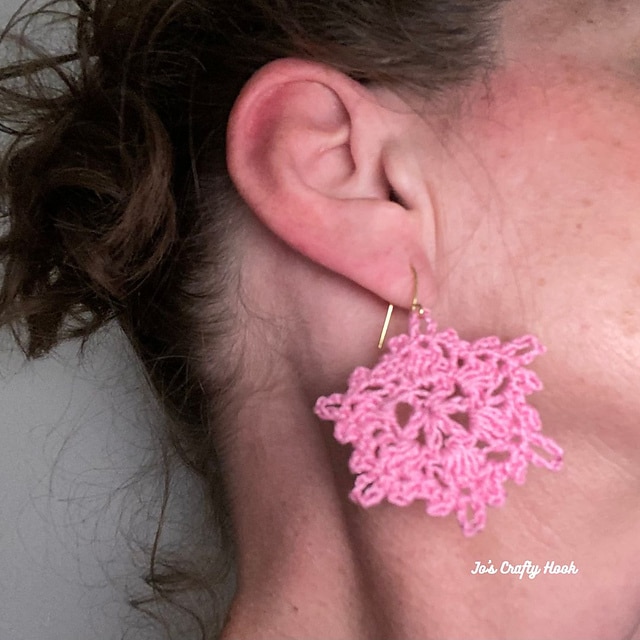
The inspiration behind the design of my Coreo Flower Earrings Crochet Pattern is because I absolutely love flowers.  I came across the Coreopsis Flower while looking for flowers I could plant in my garden this season.

As you know fresh flowers don’t last very long.  So I just had to design some flowers that I could keep around me all year long.

Information about the Coreo Flower Earrings Crochet Pattern

The earring crochet pattern works up quickly.  You can make them in a wide variety of colors and add a little something special to your wardrobe.

So, you can even embellish handbags, headbands, or even use a thicker yarn to embellish just about anything in your wardrobe.  They are a great way to use some of the scraps of yarn you have left over from other projects.

Below you will find a FREE copy of my Coreo Flower Earrings Crochet Free Pattern that you can come back to time and again.  This is a great way to use up stash yarn when you want to add accessories to your updated your wardrobe.

Coreo Flower Earrings Crochet Pattern
The Great Stashdown Blog Hop – Aug 1-30, 2025

My Coreo Flower Earrings Crochet Pattern is being featured in The Great Stashdown Blog Hop hosted by Itchin’ for Some Stitchin’ during the month of August.

The Great Stashdown Blog Hop features 30 days of FREE crochet patterns that are great for using up your stash yarn with quick and easy premium crochet patterns.

The Great Stashdown Bundle – $11.99

If you don’t have time to visit The Great Stashdown Blog Hop daily, you can purchase The Great Stashdown Bundle for $11.99!!

For 90% off you get 30 premium crochet patterns that are all in one place and you can go back to the stash busters again and again when you want to use up your scraps.

My Day – August 17-18, 2025

Starting at 12:01p on August 17th until 11:59p, you can get a FREE premium copy of my Coreo Flower Earrings Crochet Pattern.


Get the Coupon Code

To get a FREE copy of my Coreo Flower Earrings Crochet Pattern, visit The Great Stashdown Blog Hop to get the Coupon Code needed.

Get a FREE copy from my Ravelry Store

After you have the Coupon Code, visit my Ravelry Store to get your FREE copy of my Coreo Flower Earrings Crochet Pattern.  Be sure to add the Coupon Code at Checkout.

Get the Ad-Free copy of my Coreo Flower Earrings for a small fee from my Ravelry Store.


Materials Needed:

I used Aunt Lydia’s Crochet Size 10 Cotton (350yds/320m)
5-10 yds Aunt Lydia’s Crochet Size 10 Cotton
US 2 or 2.5 mm Steel Crochet Hook
(2) 17mm Sterling Silver Plated French Hook Ear Wires
Tapestry Needle
Scissors

Finished Size:  2” x 2”

Abbreviations/Stitches Used:
st = stitch
ch = chain
sc = single crochet
double crochet
sl st = slip stitch
rep = repeat

Notes:
The earrings are worked in the round.
ch 4 counts as a dc + ch 1

Special Notes:
It is always a great idea to Block any crochet item, this helps keep its shape.

You will find some helpful Blocking Tips inside the Ad-Free PDF of the Coreo Flower Earrings Crochet Pattern

Coreo Flower Earrings Crochet Pattern


R1:  make magic circle, ch 4 (dc, ch 1) for a total of 5 more times in magic circle.  pull yarn tight to close circle. sl st in top of ch 3 to join. (6 dc, 6 ch-1 sp)

R2:  ch 1, sc in same st, 3 dc in next ch-1 sp, *sc in next st, 3 dc in next ch-1 sp. rep from * around until 1st st.  sl st in 1st st to join.  (6 sc, 18 dc)

R3:  ch 1, sc in same st, sl st in next st, ch 3, sl st in same st, sl st in next st, ch 5, sl st in same st, sl st in next st, ch 3, sl st in same st, *sc in next st, sl st in next st, ch 3, sl st in same st, sl st in next st, ch 5, sl st in same st, sl st in next st, ch 3, sl st in same st. rep from * around until, last 3 dc.

Attaching Earring to French Hook Ear Wire

Step 1:
sl st in next dc, ch 3, sl st in same dc

Step 2:
cut a long tail of yarn, (about 10 inches) making sure you have enough to attach a french hook and finish off the Earring.

Step 3:
sl st in next dc, ch 2, slip french hook ear wire on ch 2 just made, ch 3, sl st in same dc

Step 4:
sl st in last dc, ch 3, sl st in same dc.  sl st in 1st sc to join.

Fasten off and weave in ends.

©Jo’s Crafty Hook 2025

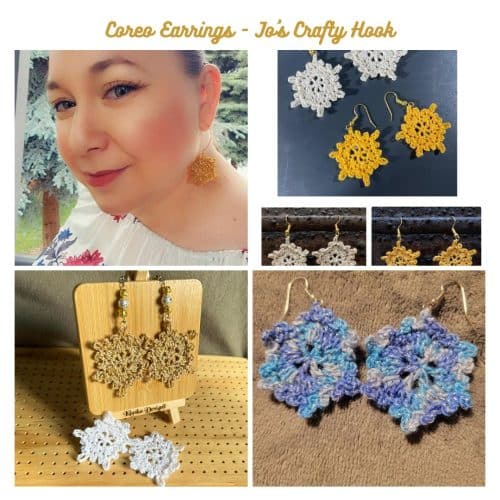
My testers, Amy Locati, Jenny Hinton, Klarisse Cifra-Torres, and Sally Hayes did such a fantastic job that I just have to share them with you!

I would LOVE to see yours too!  You can tag me at @joscraftyhook and in my FB Group Jo’s Crafty Hook

Testers’ versions of the Coreo Flower Earrings.
Find more of my Flower Crochet Patterns at any of my Stores


Find me, Jo of Jo’s Crafty Hook at the places listed below.

Email:  joeybaird@aol.com

Linktree

Website

Facebook Group Jo’s Crafty Hookers

Facebook Group Jo’s Crafty Hook Designs

Facebook Page Jo’s Crafty Hook

Facebook Page:  Crochet Designer Community

Ravelry

LoveCrafts

Etsy

Instagram

YouTube

Pinterest

Donations Accepted

Loading

Berry Cocoon Shrug Sweater Crochet Pattern

Berry Cocoon Shrug Sweater Crochet Pattern

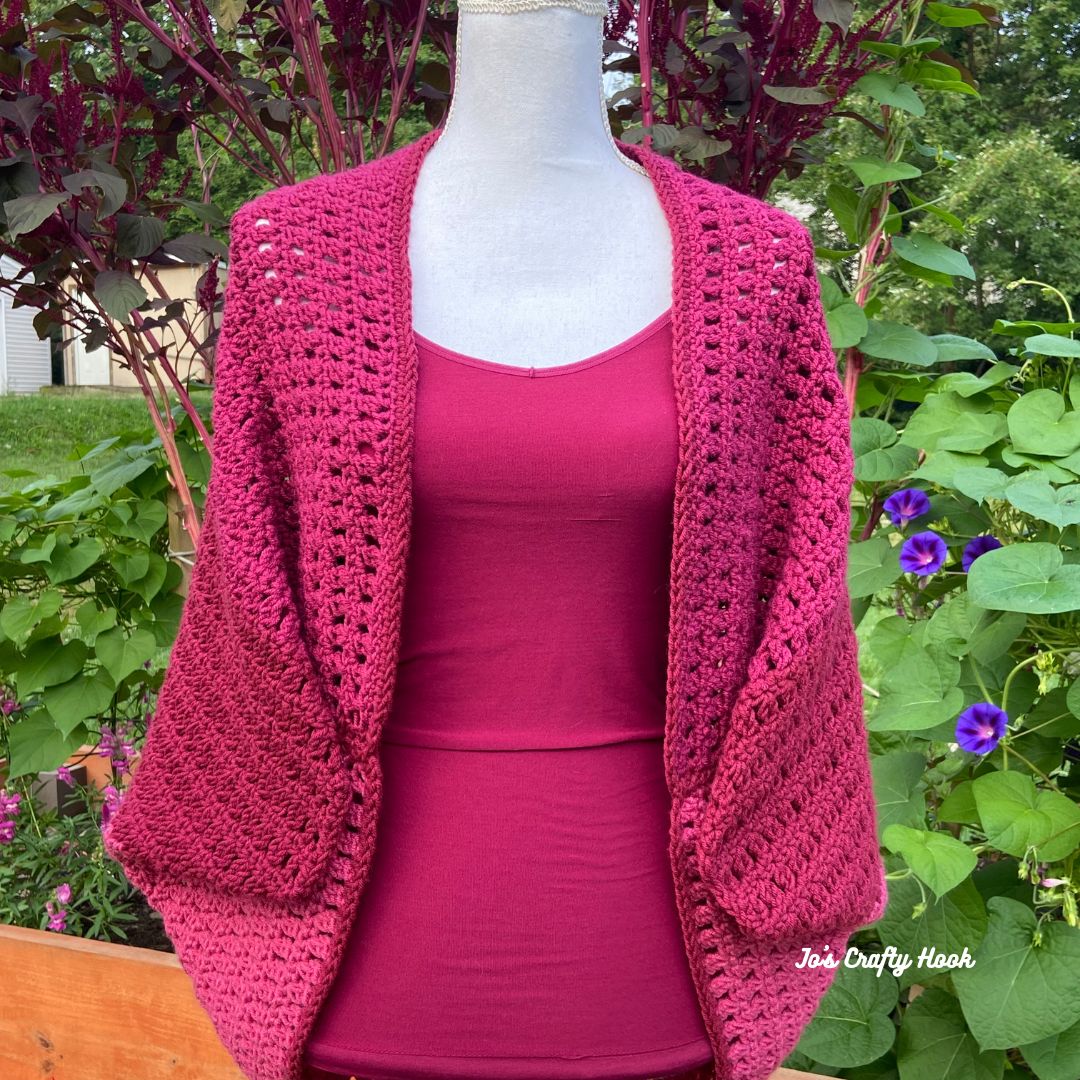
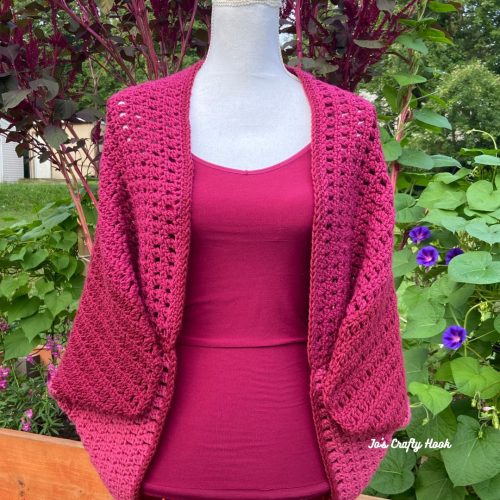
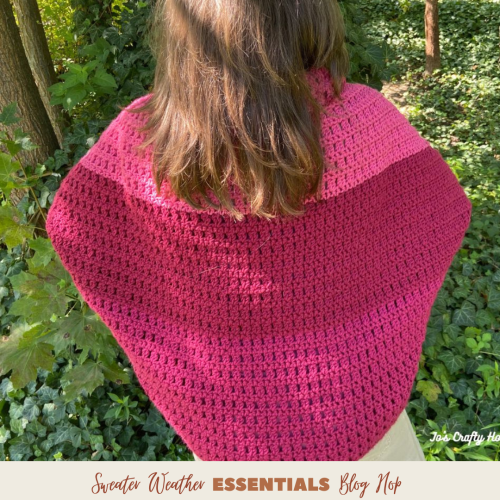
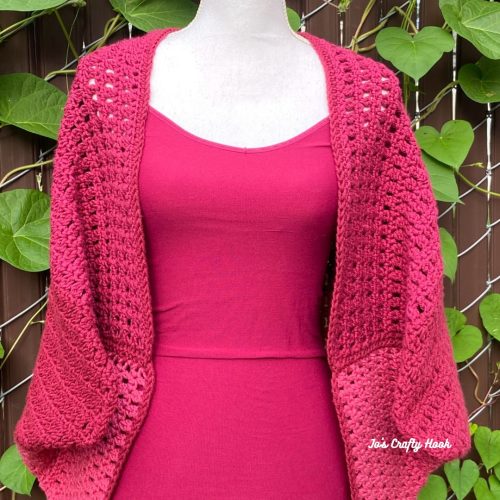
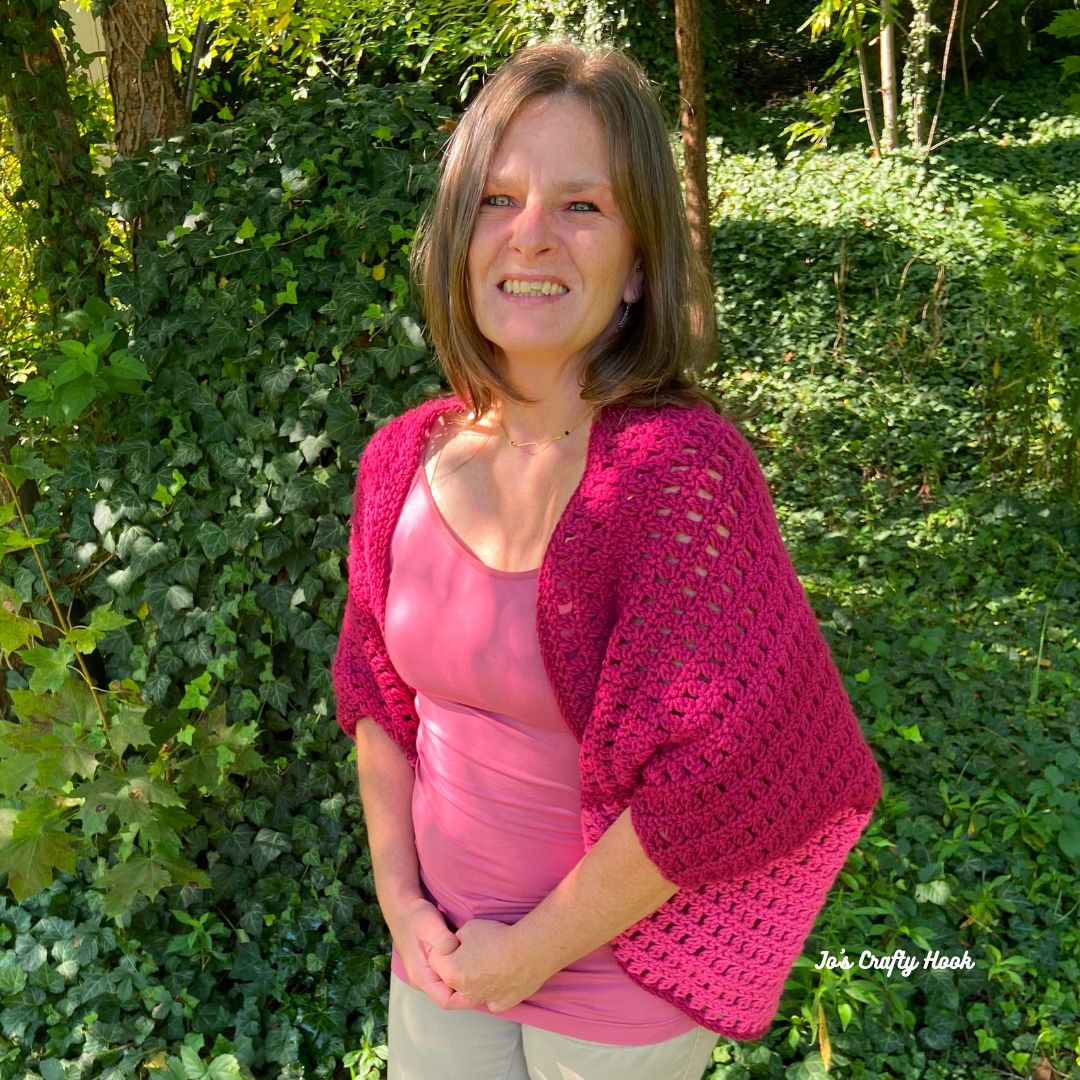
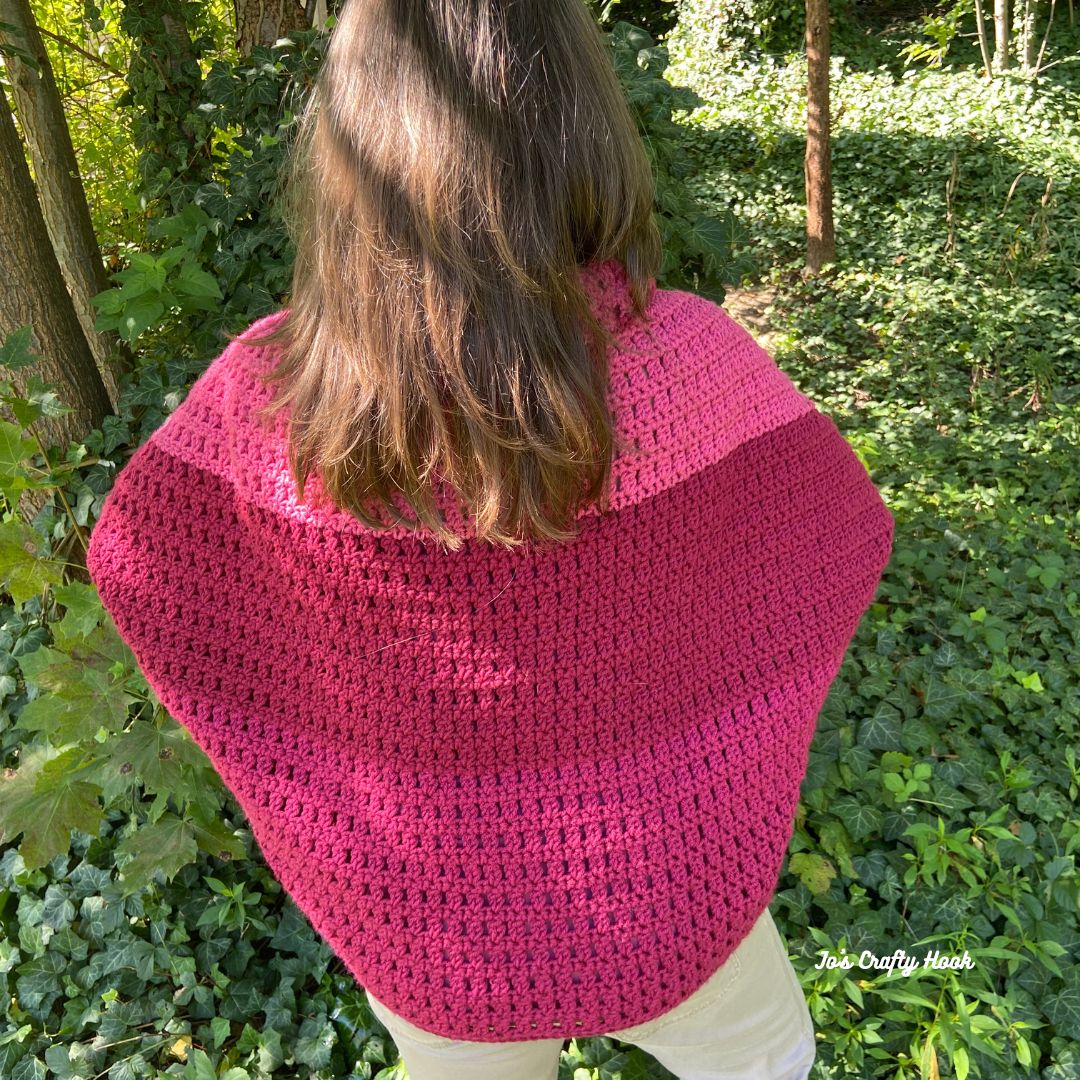
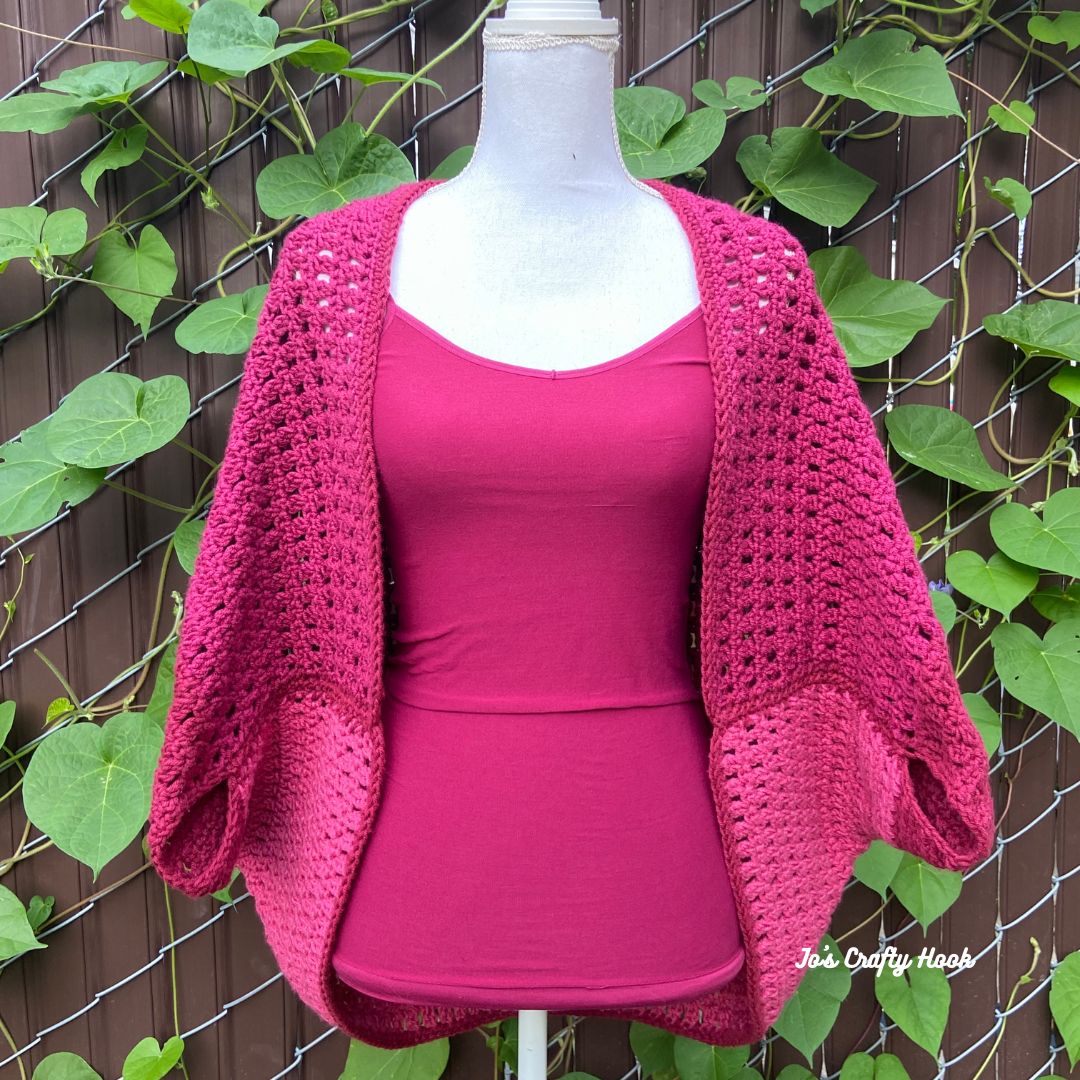
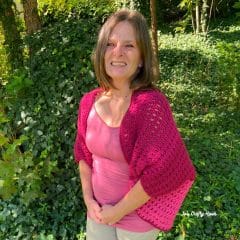
My Berry Cocoon Shrug Sweater Crochet Pattern was designed for cooler weather in mind.  It uses a worsted weight yarn that allows you to cocoon yourself in warmth.

Fall is my favorite time of year and I love to wear sweaters that help me celebrate all of the beautiful colors of the season.

Sweater Weather Essentials Blog Hop

My Berry Cocoon Shrug Sweater Crochet Pattern was designed specifically for the Sweater Weather Essentials Blog Hop hosted by Itchin’ for Some Stitchin’

The Sweater Weather Essentials Blog Hop runs from October 1-November 1, 2024 with 32 days of FREE premium crochet patterns that are all about embracing the cozy, stylish, and functional crochet pieces that define the fall season.

Sweater Weather Essentials Bundle

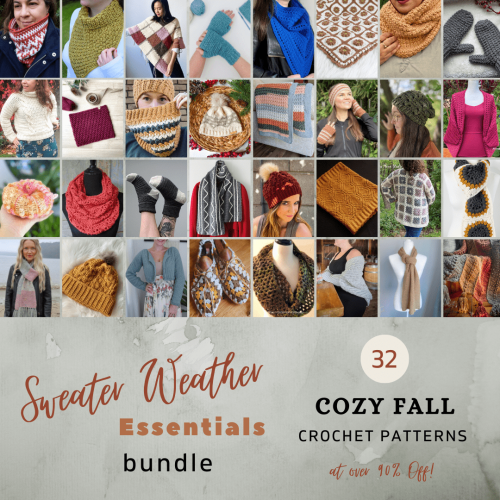
Want to get ALL of the cozy, stylish and functional crochet pieces now?  You can take advantage of the Sweater Weather Essentials Bundle that contains ALL 32 premium crochet patterns in 1 place for $15.99.

My Featured Day

October 11-12, 2024 you can get a FREE copy of my Berry Cocoon Shrug Sweater Crochet Pattern as part of the Sweater Weather Essentials Blog Hop.

October 11-12, 2024 – Get Coupon Code

To get your FREE copy, visit the Sweater Weather Essentials Blog Hop, starting at 12a EST on October 11th to get the Coupon Code needed to get a FREE copy of my Berry Cocoon Shrug Sweater Crochet Pattern.

Get the Coupon Code

Once you have the Coupon Code, click on the Button below where you will be directed to my Berry Cocoon Shrug Sweater Crochet Pattern at my Ravelry Store.  Be sure to add the Coupon Code at Checkout to get your FREE copy.

Download FREE copy

Below you will find more information about my Berry Cocoon Shrug Sweater Crochet Pattern.

Berry Cocoon Shrug Sweater Crochet Pattern

Info about the Berry Cocoon Shrug Sweater Crochet Pattern

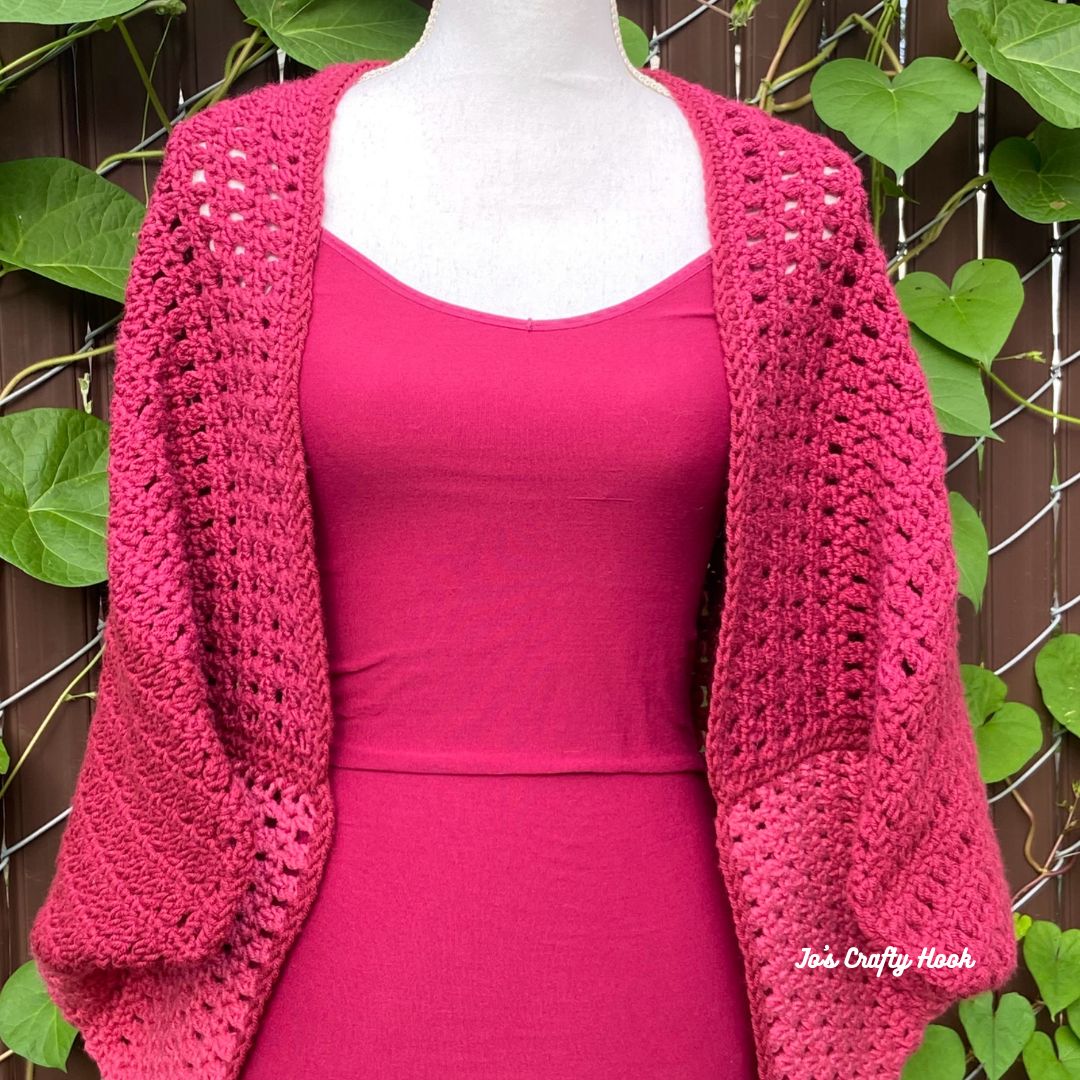
The Berry Cocoon Shrug Sweater Crochet Pattern is a design for a cardigan or sweater.  A shrug design covers less of the body than a vest would. 

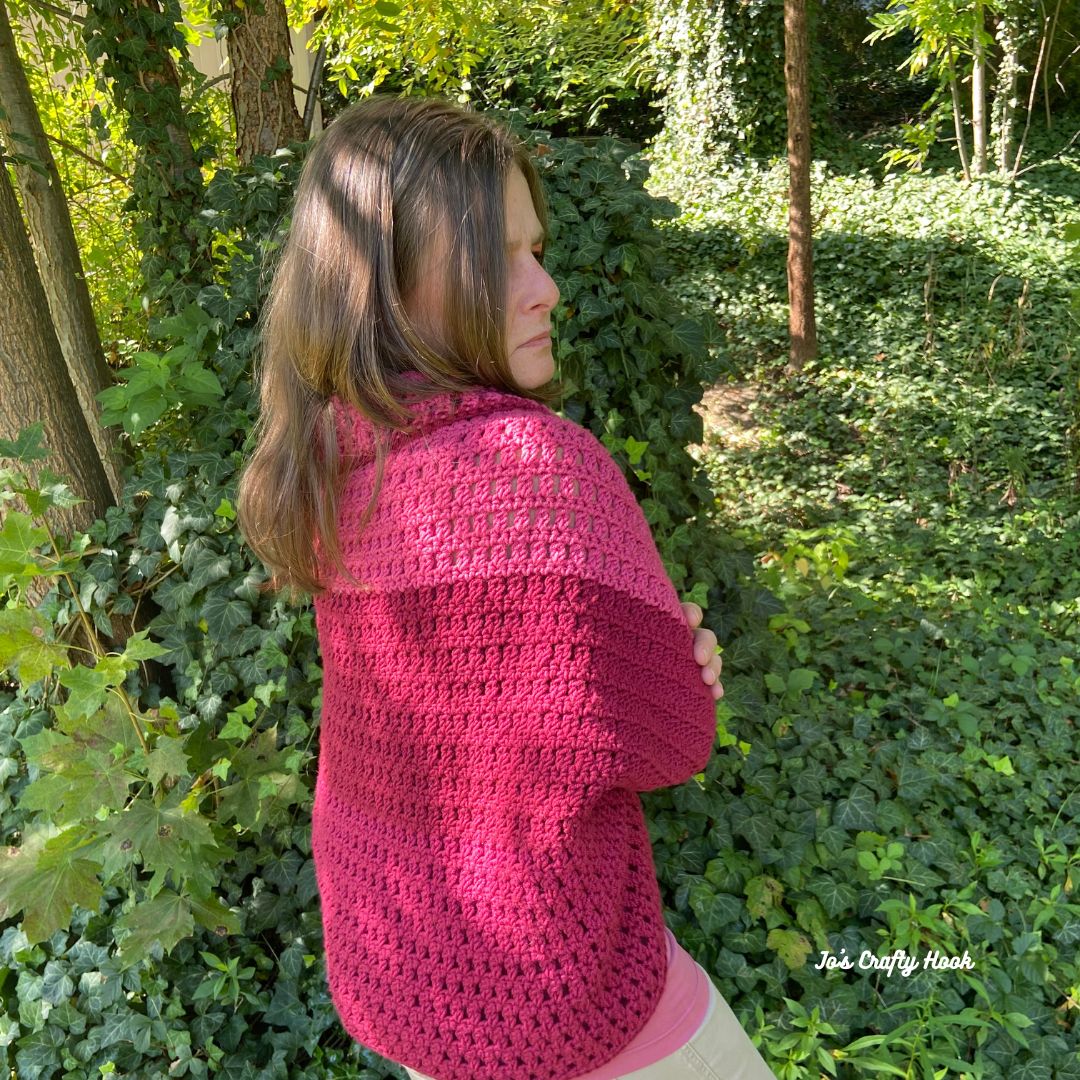
Once you complete the pattern, the shrug will then cocoon around you creating a nice fitted sweater. 

Inside the crochet pattern you will find 3 sizes to choose from:
XS-S
M-L
XL-XXL

Inside the crochet pattern you will also lots of Step-by-Step Picture Tutorials as some helpful Video Tutorials as well.

I used 2 colors of Caron One Pound 100% Acrylic Yarn.  (16 oz/453.6 g) (812 yds/742 m)

Materials:
MC – 350-700 yds of yards of #4 ply Worsted/Aran Weight Yarn
CC – 200-350 yds of yards of #4 ply Worsted/Aran Weight Yarn
US I or 5.5 mm Crochet Hook
Tapestry Needle
Scissors

Abbreviations/Stitches Used:
sc = single crochet
dc = double crochet
ch = chain
st = stitch
sk = skip
rep = repeat
CS = Cluster Stitch
MC – Main Color
CC – Contrasting Color
SM = Stitch Marker 

Gauge:
US I or 5.5 mm Crochet Hook
12 st x 8 rows of pattern = 4”

Size Chart

The Size Chart below is a great guide to help you figure out your perfect size and gives you an idea about how much yarn you will need.

Size Width Height MC Yardage CC Yardage
XS-S 42” 28” 350 150
M-L 44” 32” 400 200
XL-XXL 48” 34” 550 350
How to crochet the Berry Cocoon Shrug Sweater

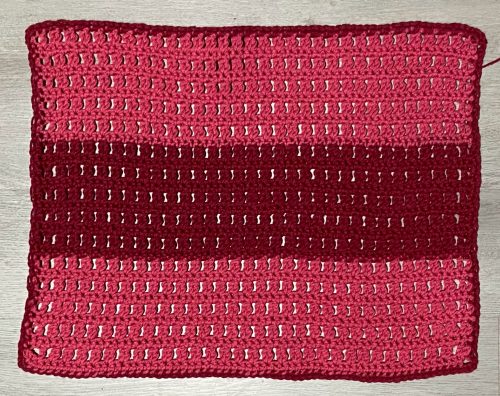
The Berry Cocoon Shrug Sweater is 1 Panel worked flat.

1 Panel
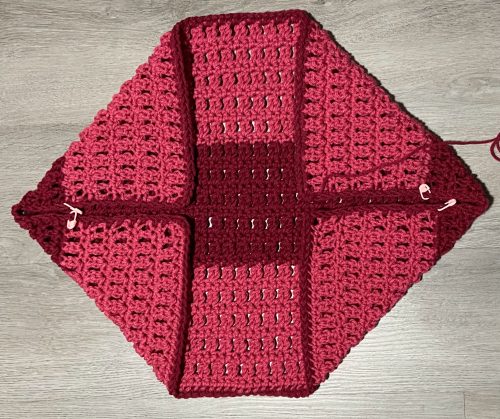
Creating the Cocoon Shape

The top and bottom corners are then folded in half on both sides.

The Armholes are created by measuring about 4″ from the outside folds.  This creates a nice opening for you to slide your arms in and out easily when you put on your sweater.

Once you have your Armhole opening marked, you then sew each side of the Berry Cocoon Shrug Sweater together.

Ends are folded in half
Ad-Free Version

You can purchase an Ad-Free Version of my Berry Cocoon Shrug Sweater with helpful Step-by-Step Picture Tutorials to guide you every step of the way from my Ravelry Store.

©Jo’s Crafty Hook 2024

Free Crochet Patterns

You can find crochet patterns for Accessories and more FREE on my website.

Premium Crochet Pattern Stores


Find me, Jo of Jo’s Crafty Hook at the places listed below.

Email:  jo@joscraftyhook.com

Linktree

Website

Facebook Group Jo’s Crafty Hookers

Facebook Group Jo’s Crafty Hook Designs

Facebook Page Jo’s Crafty Hook

Facebook Page:  Crochet Designer Community

Ravelry

LoveCrafts

Etsy

Instagram

YouTube

Pinterest

Donations Accepted

Loading

Stuff It Storage Bag

Stuff It Storage Bag Free Crochet Pattern

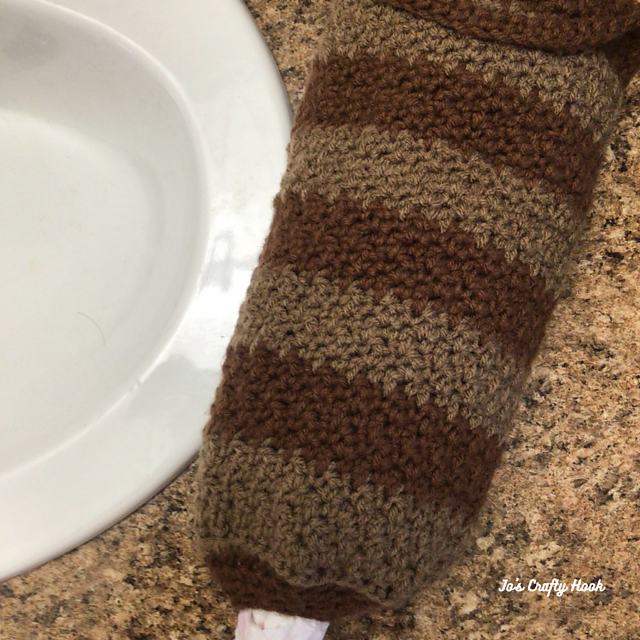
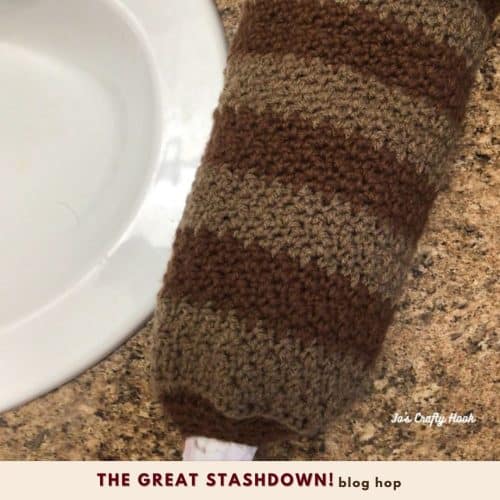
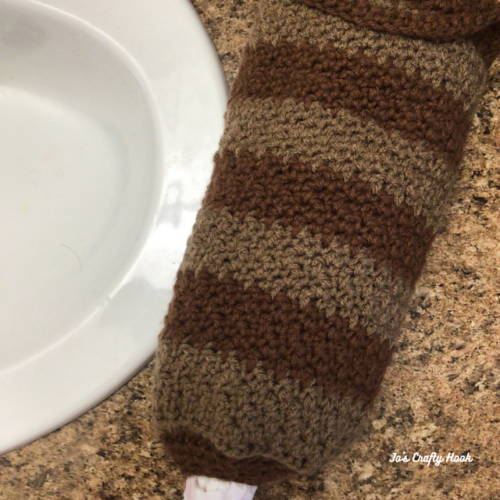
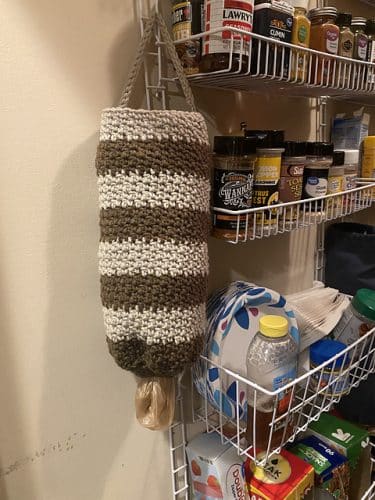
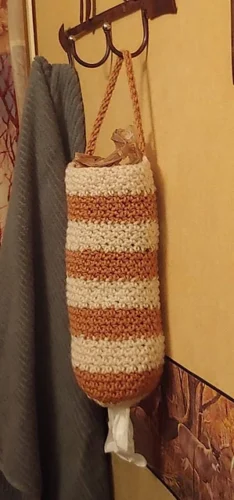
The Stuff It Storage Bag Free Crochet Pattern is a great way for you to stuff all of those grocery bags you have laying around and keep them all in one place. 

You can make the Stuff It Storage Bag using your scrap yarn by making it in a wide variety of colors.  The bag can also be used to store your scrap yarn; toys; socks; and more.

You will find the Stuff It Storage Bag Free Crochet Pattern below that you can keep coming back to again and again.  You can make them and add them to any room that you want to tidy up.  These make great gifts for teachers, kids, and are perfect gifts for the holidays.

Sign up for my Newsletter

You will receive news about my New Crochet Pattern Releases, Collaborations, and MORE! 

For signing up you will also get a FREE crochet pattern!  Visit my website to find out more about me and the FREE crochet pattern you will receive.

This post contains affiliate links.  If you make a purchase using these links I may receive compensation (at no added cost to you.)

The Great Stashdown Blog Hop – Aug 1-30, 2025

My Stuff It Storage Bag Crochet Pattern is being featured in The Great Stashdown Blog Hop hosted by Itchin’ for Some Stitchin’ during the month of August.

The Great Stashdown Blog Hop features 30 days of FREE crochet patterns that are great for using up your stash yarn with quick and easy premium crochet patterns.

The Great Stashdown Bundle – $11.99

If you don’t have time to visit The Great Stashdown Blog Hop daily, you can purchase The Great Stashdown Bundle for $11.99!!

For 90% off you get 30 premium crochet patterns that are all in one place and you can go back to the stash busters again and again when you want to use up your scraps.

My Day – August 27-28, 2025

Starting at 12:01p on August 27th until 11:59p on August 28th, you can get a FREE premium copy of my Stuff It Storage Bag Crochet Pattern.


Get the Coupon Code

To get a FREE copy of my Stuff It Storage Bag Crochet Pattern, visit The Great Stashdown Blog Hop to get the Coupon Code needed.

Get a FREE copy from my Ravelry Store

After you have the Coupon Code, visit my Ravelry Store to get your FREE copy of my Stuff It Storage Bag Crochet Pattern.  Be sure to add the Coupon Code at Checkout.

**************************************************

Stuff It Storage Bag Free Crochet Pattern
Stuff it Storage Bag Free Crochet Pattern

Information Needed:

I used Red Heart Super Saver in multiple colors.  Contents 100% Acrylic Weight: Medium (4) Skein Weight 7 oz / 198 g Yardage 364 yd / 333 m

Stitches/Abbreviations Used:

ch = chain
sc = single crochet

dc = double crochet
MC = Main Color
CC = Contrasting Color 

Materials:
US H Crochet Hook
(MC) 25 yds of Worsted/Aran Weight Yarn
(CC) 30 yds of Worsted/Aran Weight Yarn
Scissors
Tapestry Needle

Gauge:
US H Crochet Hook or 5mm
12 st x 8 rows = 4”

Size:
16’ long x 8” wide

************************************************

Get the Ad-Free copy of my Stuff It Storage Bag Crochet Pattern for a small fee from my Ravelry Store.

Stuff It Storage Bag Free Crochet Pattern

R1:  fsc 49 (49 sc) sl st in 1st st to join.

Optional: ch 50, sc in 2nd ch from hook and each rem st around. sl st in 1st st to join. turn (49 sc)

R2:  ch 1, *sc in next st, dc in next st.  rep from * until last st, sc in last st.  sl st in 1st st to join.  (49 st)

R3:  ch 1, *dc in next st, sc in next st.  rep from * until last st, dc in last st.  turn (49 st)

R4-R32:  Rep R2-R3 change to CC color every 4 rows.

************************************************

Strap:

ch 30.  sl st in the 24th st.  turn slightly and sc in the blo of each chain.  sl st in 1st st to join.

Fasten off and weave in ends.

************************************************

Bottom Hole:

Turn the bag upside down to work in the foundation row.

R1:  sc2tog around until last st, sc in last st. turn (25 sc)

R2:  sc in each st around. turn (25 sc)

R3:  sc2tog around until last st, sc in last st. turn (13 sc)

R4:  sc in each st around. (13 sc)

Note:  If you would like a smaller hole, try adding another decreasing row or just another row of single crochet.

Fasten off and weave in ends.

********************************************************

That’s it!  You have made the Storage Bag!  I would ❤️ to see your version!

You can tag me at @joscraftyhook and in my FB Group Jo’s Crafty Hook Designs

You can also find many types of crochet patterns that are Free on my website.


You will find some of my Premium crochet patterns , by visiting any of my stores, by clicking on any of the Buttons below.



Find me, Jo of Jo’s Crafty Hook at the places listed below.

Email:  joeybaird@aol.com

Website

Facebook Group Jo’s Crafty Hookers

Facebook Group Jo’s Crafty Hook Designs

Facebook Page Jo’s Crafty Hook

Facebook Page:  Crochet Designer Community

Ravelry

LoveCrafts

Etsy

Instagram

YouTube

Pinterest

Donations Accepted

Loading

Amy Pullover Free Crochet Pattern

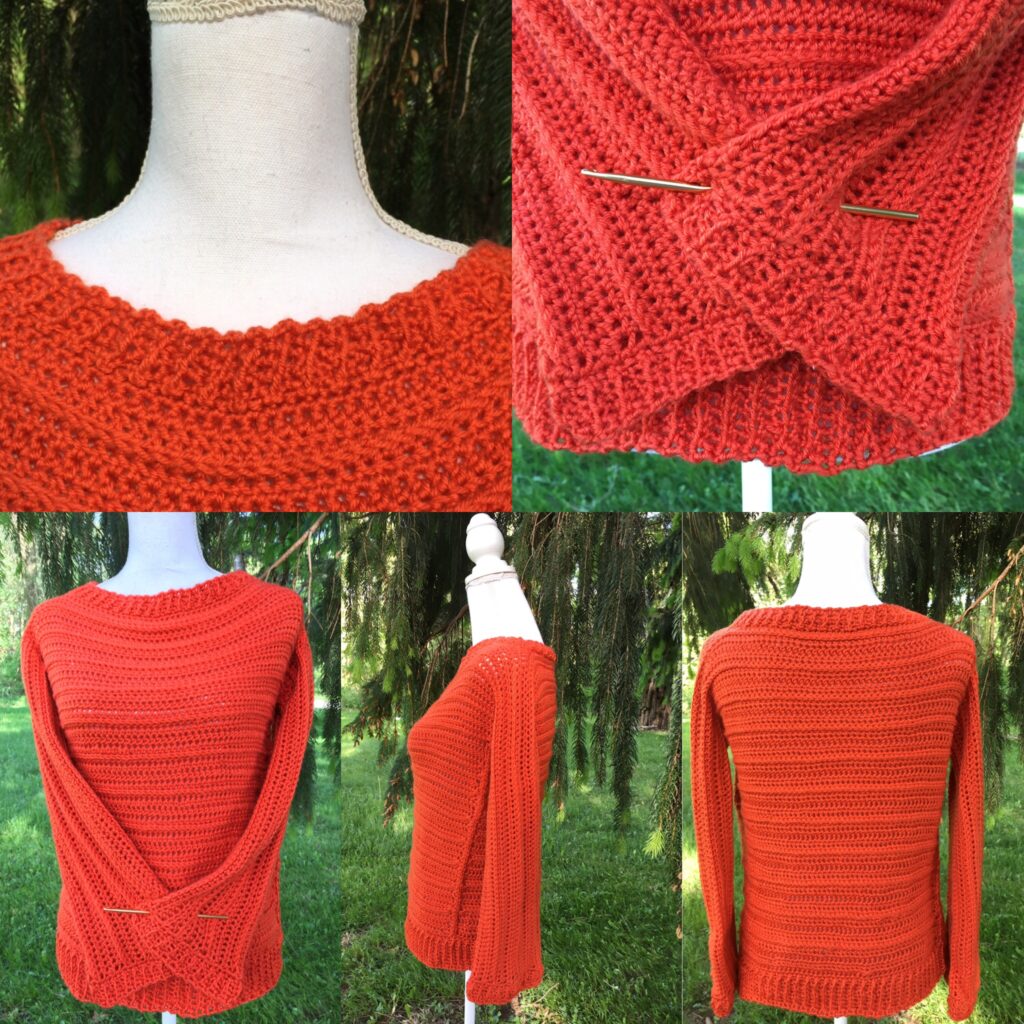
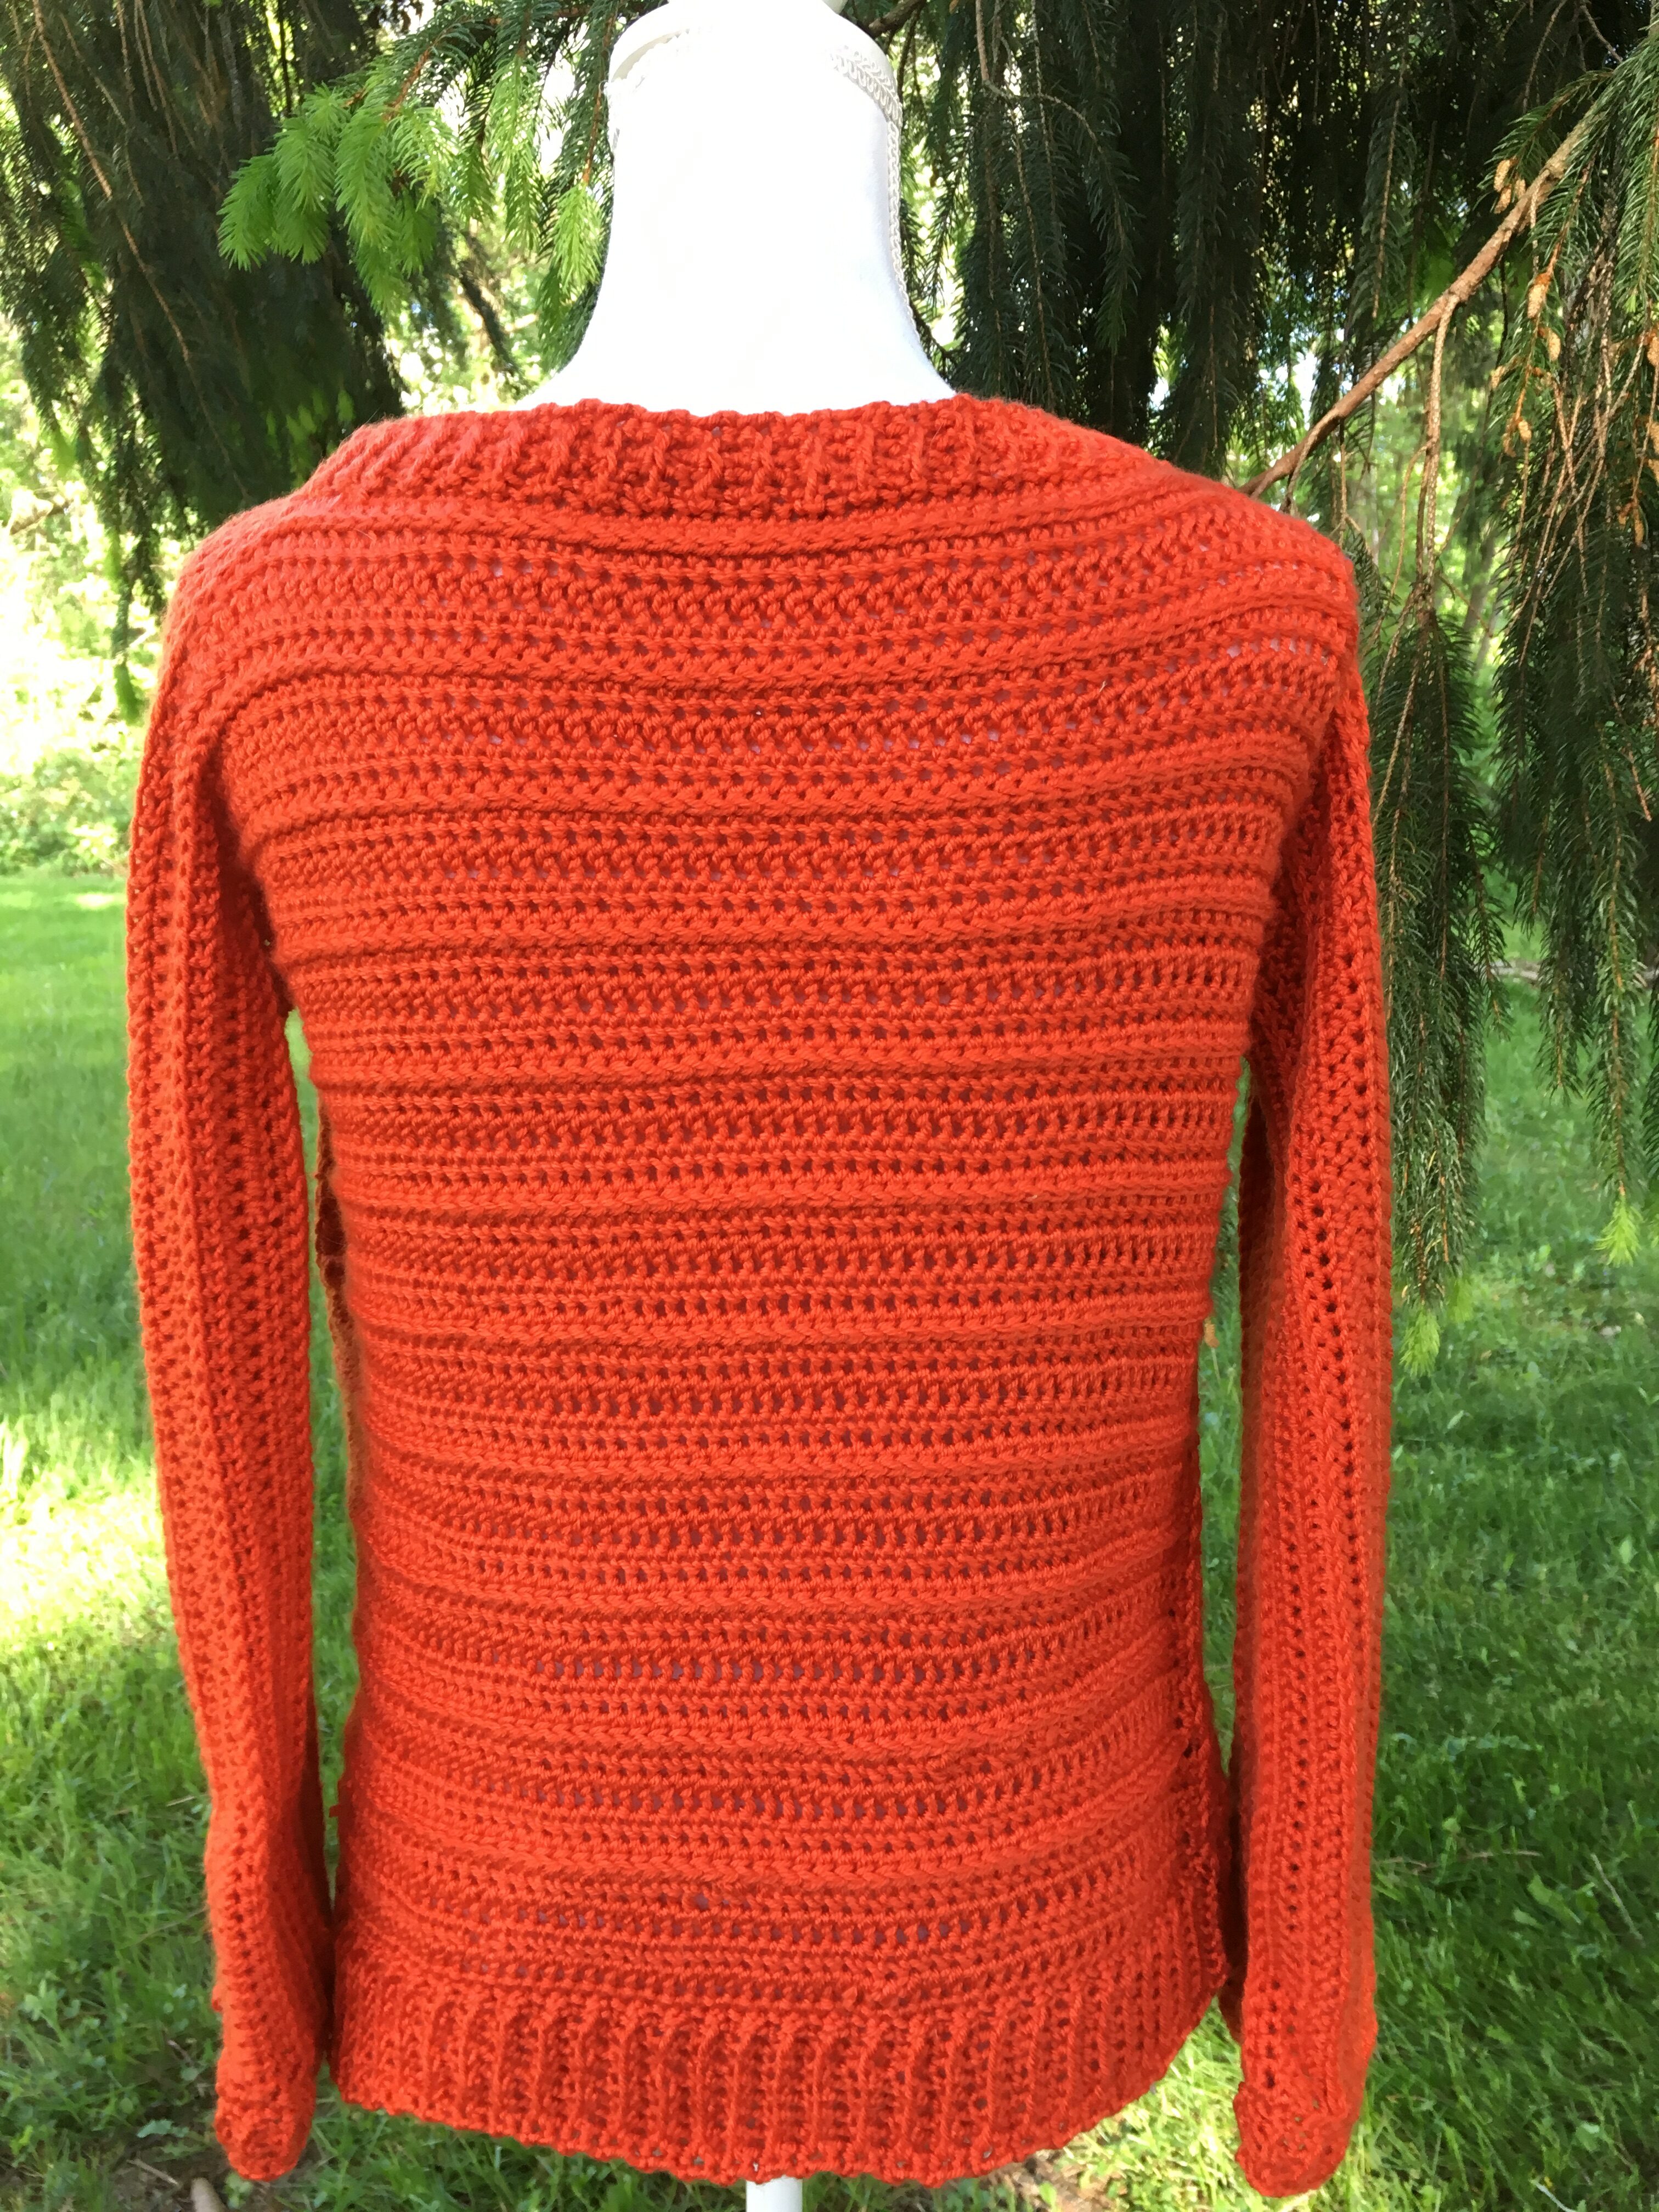
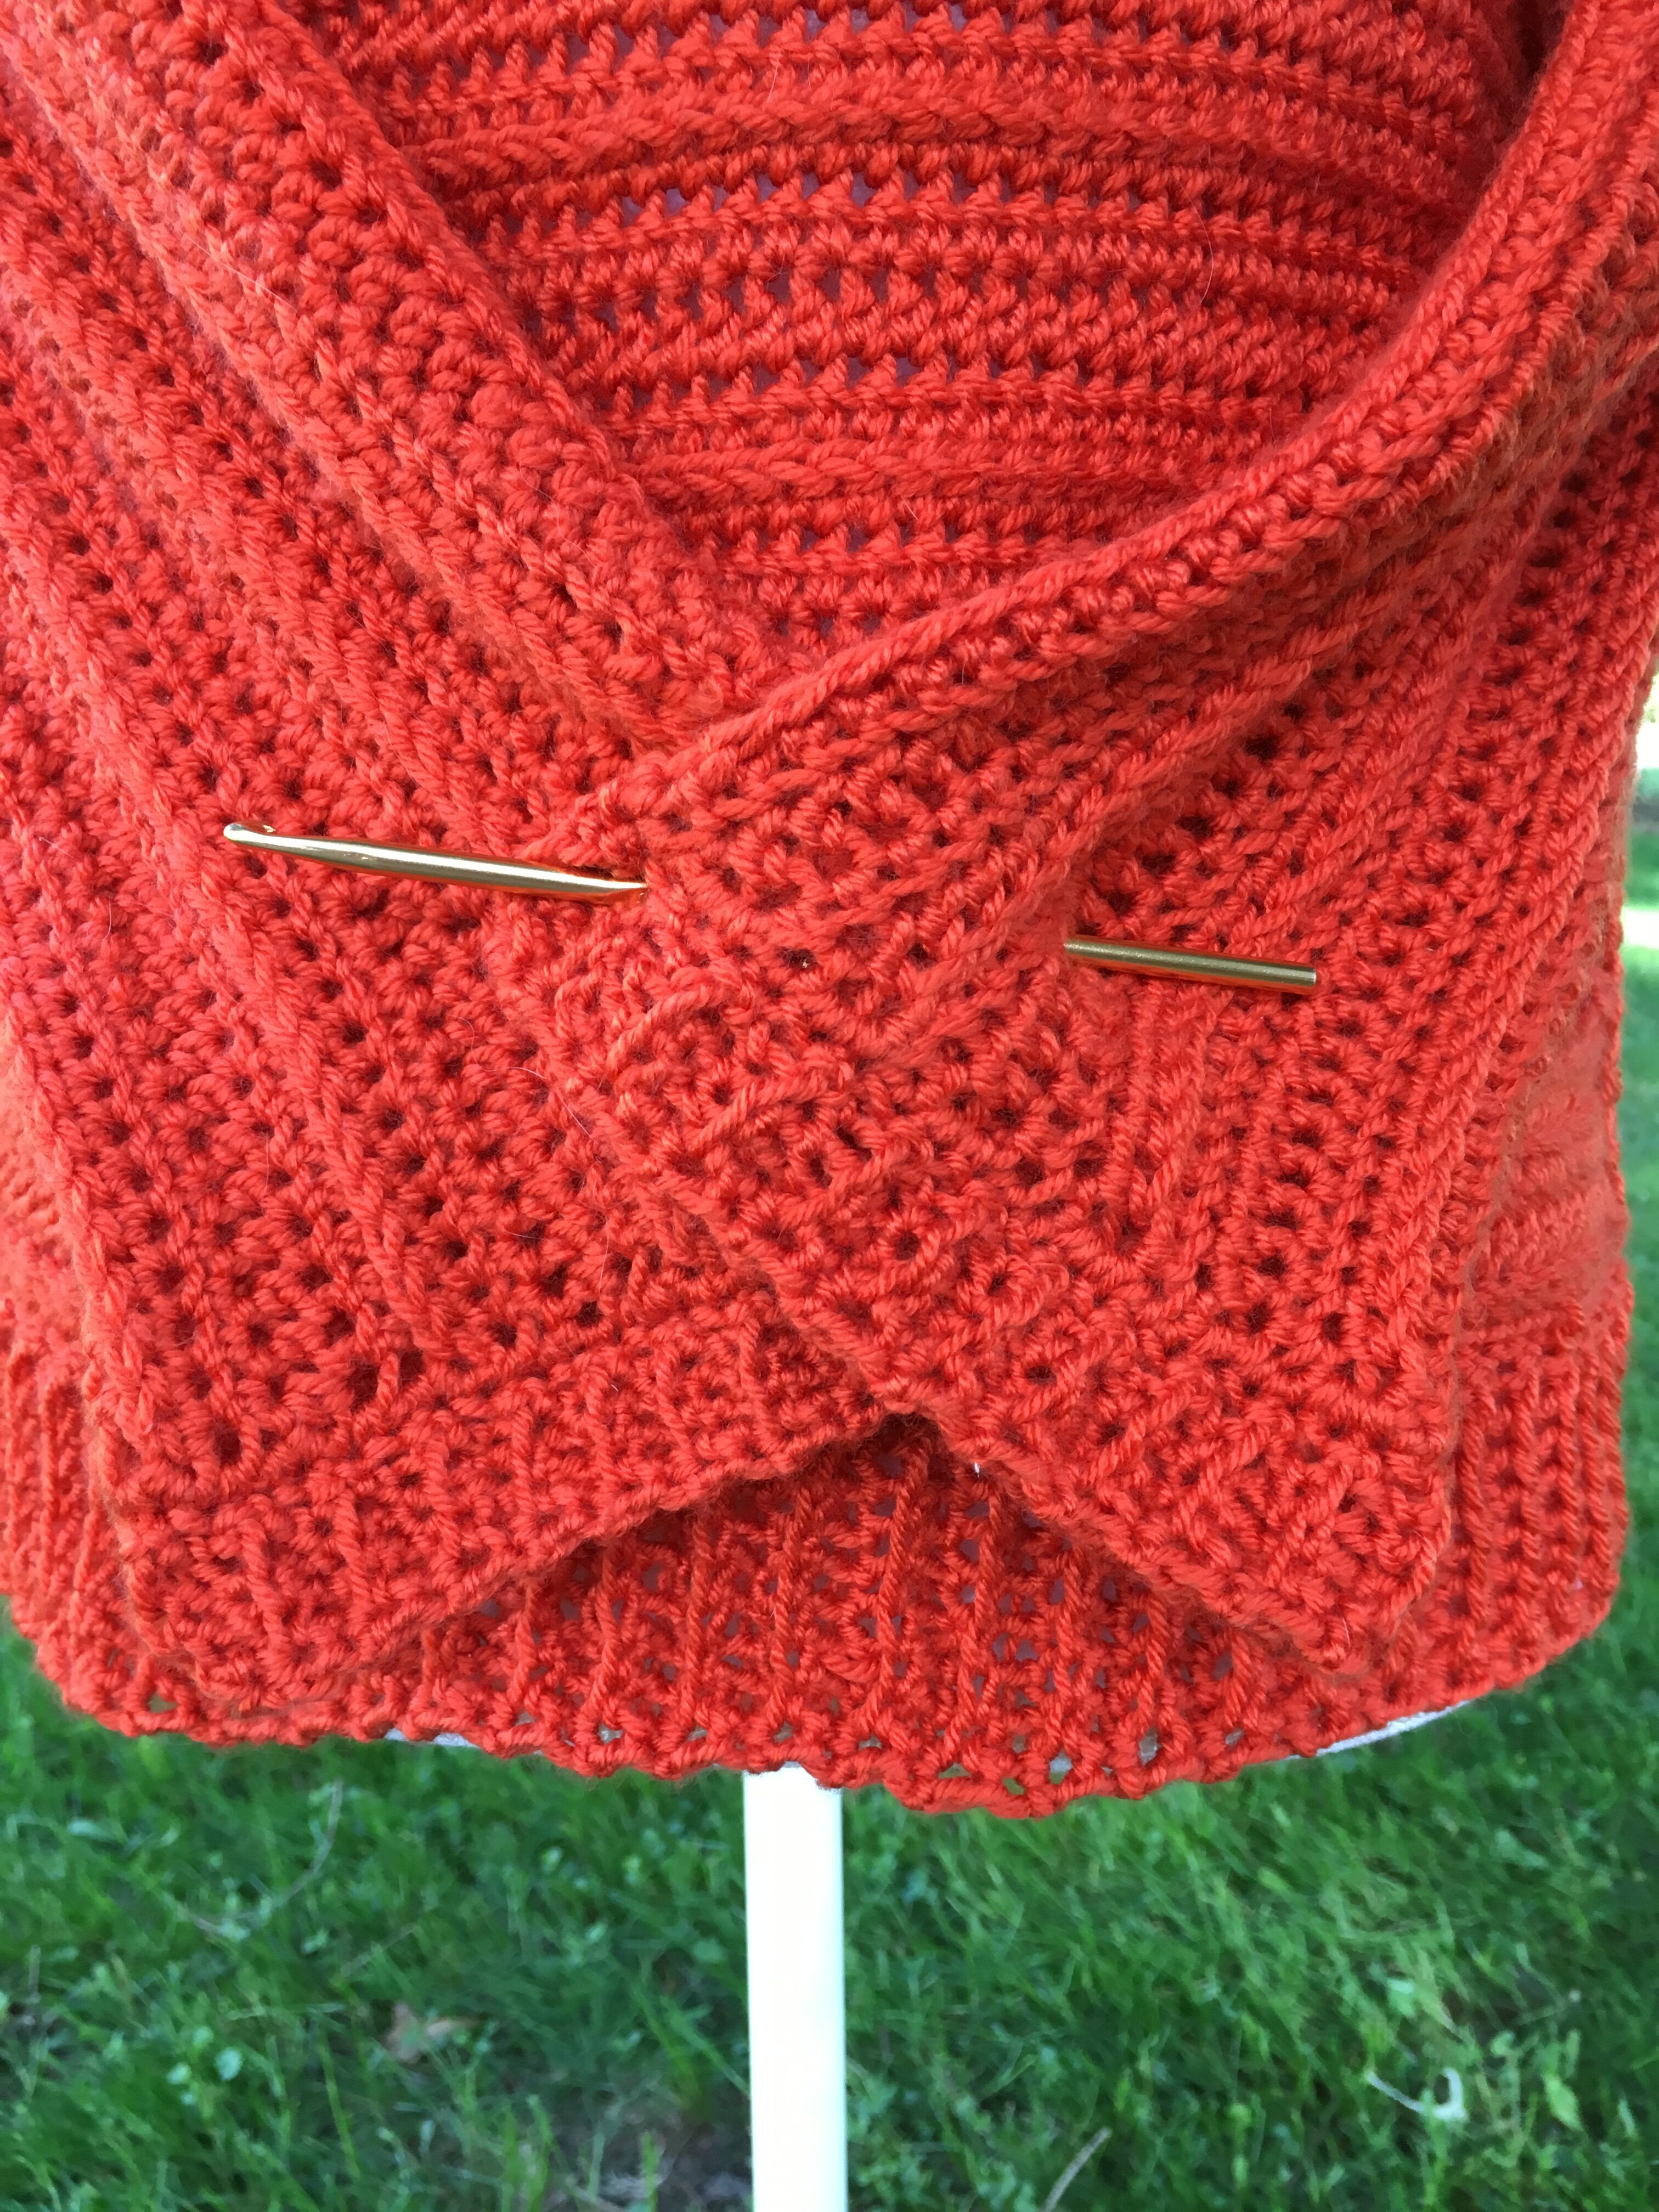
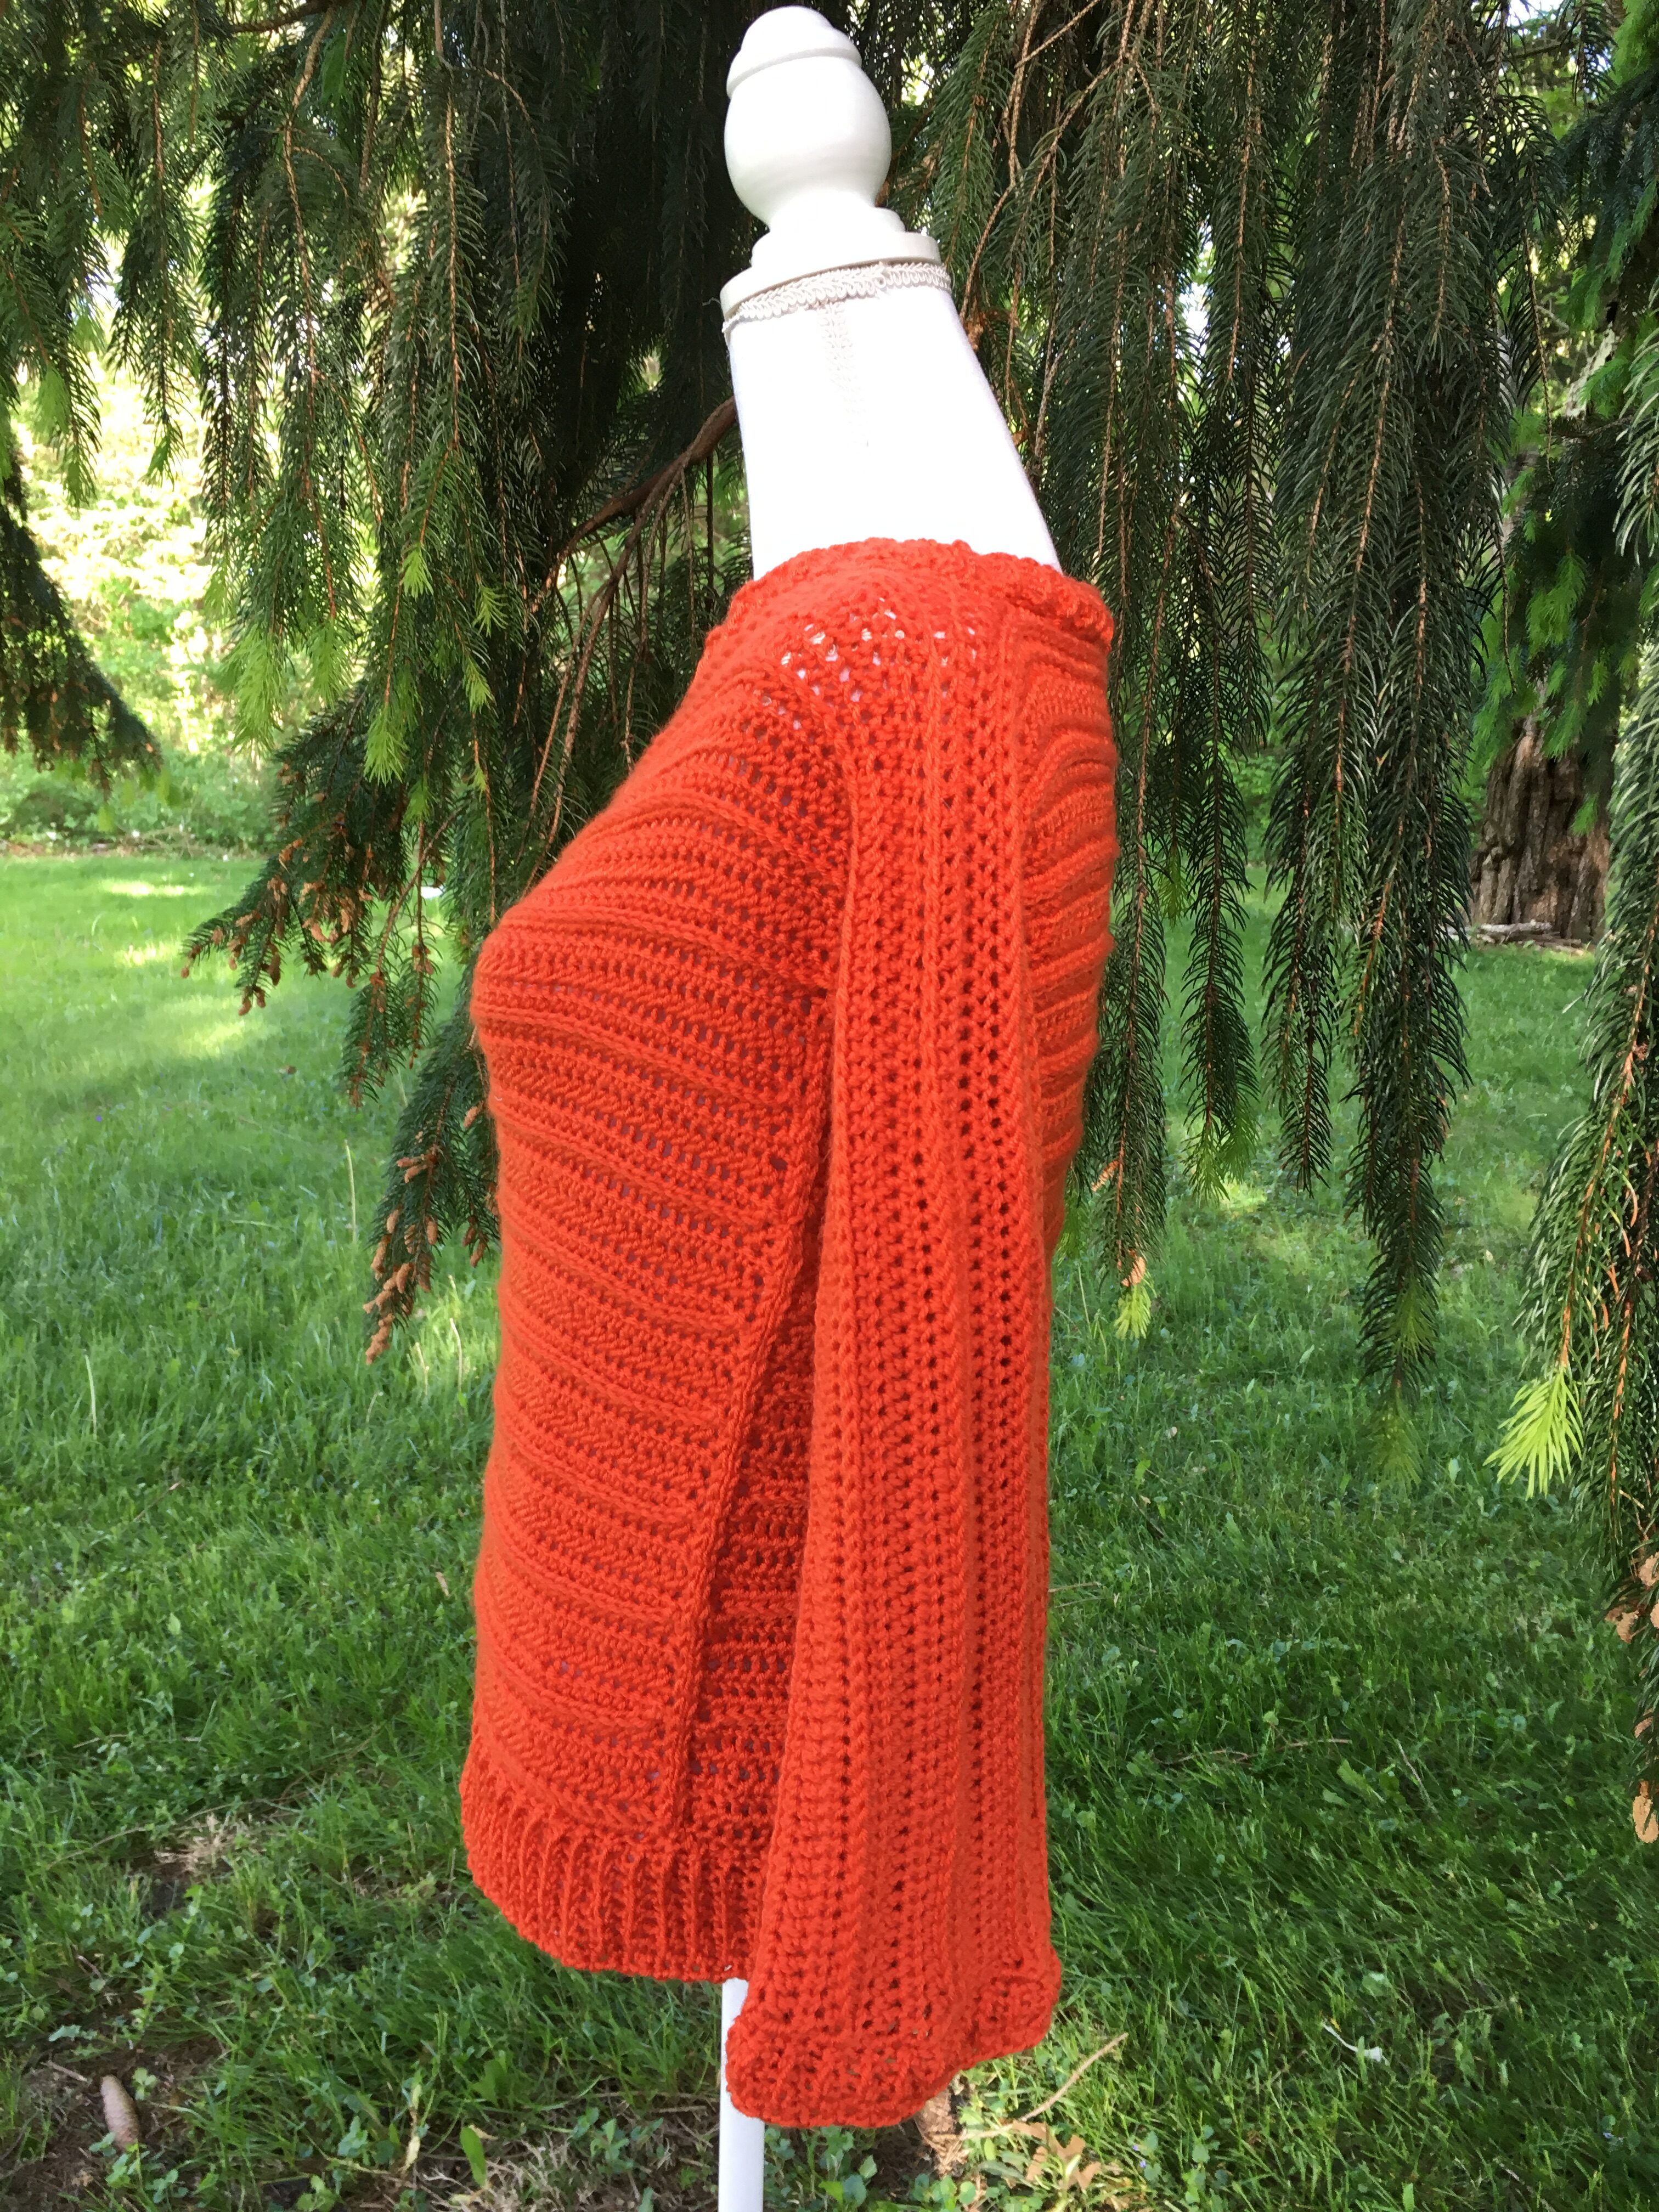
With the colder months just around the corner, my Amy Pullover Free Crochet Pattern would be a GREAT project to do while you are cooped up in the house.

Sign up for my Newsletter and get all of my latest news, collaborations, new crochet pattern releases and more sent straight to your inbox!

This post contains affiliate links. 

My sister, Amy was in town while I was designing the Pullover.  She isn’t into crochet, but she liked the look of the pullover.  My sister has supported my crochet business since day one.

My sister wears the latest fashion and I can see her in this roomy, warm, and comfy Pullover.  That is another reason I named the pullover after my sister.  I hope you find it roomy, warm and as comfy as much as I do!

Interweave

2026 Fall into Crochet Blog Hop 

My Amy Pullover is being featured in Itchin’ for Some Stitchin’ 2026 Fall into Crochet Blog Hop.  Each day you can get a FREE crochet pattern that is designed specifically for Fall.  You will find Home Decor, Leg Warmers, Scarves, Sweaters, Wraps and more! 

My Featured Day is September 25-26, 2026

You can get a FREE copy of my Amy Pullover Crochet Pattern as part of Itchin’ for Stitchin’ 2026 Fall into Crochet Blog Hop on September 25-26, 2026!

On my Featured Day, visit the 2026 Fall into Crochet Blog Hop button below to get the Coupon Code needed for a FREE premium copy of my Amy Pullover Crochet Pattern.

Visit my Ravelry Store

Once you have the Coupon Code, use the Button below to get your FREE copy of my Amy Pullover Crochet Pattern from my Ravelry Store.  Use the Coupon Code at Checkout.


2026 Fall into Crochet Bundle – $15.99

Also, you can skip the wait and all of the blog hopping and get all 30 premium crochet patterns + 2 BONUS patterns for $15.99 with the 2026 Fall into Crochet Bundle!

While you are waiting for my featured day, visit the 2026 Fall into Crochet Blog Hop to get the FREE crochet patterns designed specifically for Fall.  You will find Home Decor, Leg Warmers, Scarves, Sweaters, Wraps and more! 

Amy Pullover Free Crochet Pattern
Amy Pullover Crochet Pattern
Ad-Free Version

There is a lot of info in this pattern is a long one, so if you’d like a pdf version, please stop by my Etsy Shop or Ravelry Store.

Information Needed

Materials:
800-1300 yds of #4 Worsted Weight Yarn
US I or 5.5 mm Crochet Hook
US G or 4.5mm Crochet Hook
Scissors
Tapestry Needle
Stitch Markers
Tape Measure

Abbreviations: 
CH = Chain 
SS = Slip Stitch
SC = Single Crochet
DC = Double Crochet
FHDC = Foundation Half Double Crochet 

Notes:
ch 1 does not count as a st

My Left Handed Video Tutorials:
FHDC instruction on my YouTube Channel
HDC in the 3rd Loop on YouTube HDC = Half Double Crochet
Added Sleeve Video Tutorial on YouTube
Creating Neckline Video Tutorial on YouTube

Special Notes
*Sizes range from S, M, L, XL, 2X, and 3X
*The Top is crocheted from the Bottom to Top and back down again.
*The top is crocheted as One Piece except for when attaching the other      Sleeve.
*1st Sleeve will be added at the end of the Row.
*Other Sleeve adds a FHDC row

Gauge:
US I or 5.5 mm Crochet Hook
12 HDC x 12 Rows = 4″

Oxygen Plus

These are Measurements BEFORE the Ribbing is Added

Bust Size 38 42 46 50 52 54
Sizes Small Medium Large X-Large 2X 3X
Sleeves Height 5” 6.5” 8” 9.5” 11” 12.5”
Neck Opening 11” 12.5” 14” 15.5” 17” 18.5”
Body before Sleeves 11.5” 13” 14.5” 16” 17.5” 19”
Sleeves 16” 18” 20” 22” 24” 26”
Total Height Before Ribbing 17.5” 19” 20.5” 22” 23.5” 25”
Total Width Before Ribbing 20” 21.5” 23” 24.5” 26” 27.5”

Visitors Coverage

This Ribbed Crop Top is supposed to be Loose and Comfy.  This is why the measurements are so different from a fitted top.  

Amy Pullover Free Crochet Pattern
Amy Pullover

Using I Hook

FHDC 57, 63, 69, 75, 81, 87 Fasten off and lay aside (this is your 2nd Sleeve)

Starting at the Bottom of the Top

For Bottom of the Top FHDC 68, 74, 80, 86, 92, 98 OR Chain 70, 76, 82, 88, 94, 100 HDC in the 3rd chain from hook and each ch across.  68 (74, 80, 86, 92, 98) HDC

R1-R3:  Turn. Ch 1, HDC in the next 68 (74, 80, 86, 92, 98) st.

HDC in the 3rd Loop (Bump) YouTube Video

R4:  Turn.  Ch 1, hdc in 1st st, hdc in the 3rd loop of ea hdc from previous row until last hdc, hdc in last hdc.  

R5-R7:  Turn. Ch 1, HDC in each st across.

Repeat R4-R7 until your Top measures 11.5” (13”, 14.5”, 16”, 17.5”, 19”)  Be sure to end with R4. At the end of your measured Rows, do NOT turn.

Top measures 21”, 23”, 25”, 27”, 29”, 32” across before adding sleeves.

Adding the Sleeves and Neckline

Sleeves measure
16”, 18”, 20”, 22”, 24”, 26” before Ribbing.

Adding Sleeves Video Tutorial

R1:  Ch 1, FHDC in the first st.  FHDC 56 (62, 68, 74, 80, 86) more times.  

R2:  Turn.  Ch 1, HDC in the next 57 (63, 69, 75, 81, 87) st.  HDC in the next 68, (74, 80, 86, 92, 98) st. Attach the FHDC Row by HDC in 1st st, HDC in the remaining 56 (62, 68, 73, 79, 85) st.

R3:  Turn.  HDC in the next 182 (200, 218, 234, 252, 270) st.   

R4:  Turn.  Ch 2, HDC in the 1st st, HDC in the 3rd loop of ea st until the last st, hdc in last st. 182 (200, 218, 234, 252, 270) st

R5-R7:   Turn.  Ch 1 and HDC in the next 182 (200, 218, 234, 252, 270) st.

R8:   Turn.  Ch 1, HDC in the 1st st, HDC in the 3rd loop of ea st until the last st, hdc in last st. 180 (200, 218, 234, 252, 270) st

Repeat R5-R8 until your Sleeves measure 5”, 6.5”, 8”, 9.5”, 11”, 12.5” tall.

Neck

Adding Neckline Video Tutorial

R1:  Once the front part of your Sleeves measure 5”, 6.5”, 8”, 9.5”, 11”, 12.5” tall turn and place hdc in the next 68 (74, 80, 86, 92, 96) st, ch 44, 47, 50, 53, 56, 59 and skip the next 44 (47, 50, 53, 56, 59)st.  Hdc in the next 68 (74, 80, 86, 92, 96) st.

R2-R3:  Turn. Ch 1 and HDC in the each st across.  182 (200, 218, 234, 252, 270) st.

R4:  Turn.  Ch 1, HDC in the 1st st, HDC in the 3rd loop of ea st until the last st, hdc in last st. 180 (200, 218, 234, 252, 270) st

R5-R7:  Turn. Ch 1 and HDC in the each st across.  182 (200, 218, 234, 252, 270) st

R8:  Turn.  Ch 1, HDC in the 1st st, HDC in the 3rd loop of ea st until the last st, hdc in last st. 180 (200, 218, 234, 252, 270) st

Repeat R5-R8 until the back part of your Sleeves measure 5”, 6.5”, 8”, 9.5”, 11”, 12.5” tall.

Turn.  Place sleeves RS to RS and Slip Stitch the Sleeve you just finished.  (57, 63, 69, 75, 81, 87). Do not turn. Place hdc in the next 68, 74, 80, 86, 92, 98 st.  Leave the remaining Sleeve undone. Turn

Ribbed Crop Top Crochet Pattern
Back of Crop Top
Back


R1-R3:  Ch 1 and HDC in the next 68, (74, 80, 86, 92, 98) st.

R4:  Ch 1 and hdc in first st, HDC in the 3rd Loop in the next 66, 72, 78, 84, 90, 96 and hdc in the last st.

Repeat R1-R4 until Back measures 17.5”, 19” 20.5” 22” 23.5” ending with R3.  

Ribbed Crop Top Crochet Pattern
Wrist’s Cuffs
2nd Sleeve

Adding Sleeve Video Tutorial below

Use your Tapestry Needle and sew the Foundation Row of the Sleeve together.

Place sleeves RS to RS and Slip Stitch the Sleeve from the wrist to the armpit.  (57, 63, 69, 75, 81, 87). Do NOT fasten off or turn.

Edging

Sewing Sides Video Tutorial below

Turn Sleeve right side out.  Slip stitch into the 1st st of the Side.  Place 1 sc in evenly in each side st until you come to the bottom of the Top.  Place 1 sc in each st of the Foundation Row until you come to the other side of the Top.  Place 1 sc evenly across the other side of the Top until you come to the Armpit. Place 1 sc evenly across the Side until you come to the Bottom of the Top.  Place 1 sc in each st of the Foundation Row until you come to the other Side. Place 1 sc evenly across the Side of the Top until you come to the Armpit.

Turn Top inside out.  Sew the Sides together until you come to the Bottom Corner.  Fasten Off and sew the other Sides together until you come to the Bottom Corner.  Fasten Off. Weave in ends and fasten off.

Ribbed Crop Top Free Crochet Pattern
Side Edging
Trim


Adding and Finishing Wrist Trim/Cuff from my YouTube Channel

Wrists with G Hook

Step 1:  With Sleeves right side out, SC evenly around the wrist.  Join with a ss into the 1st sc.

Chain 5, turn and sc in 2nd chain from hook and in the next 3 st.  

Step 2:  SS into the next sc of sleeve twice.  Ch 1, turn and sc in blo of the next 3 st, sc in both loops of the last st.  Turn.

Step 3:  Ch 1, sc in the 1st, sc in the blo of the next 3 st.  ss into the next sc of sleeve twice. Ch 1, turn and sc in the blo of the next 3 st, sc in both loops of the last st.  Turn

Repeat Steps 2 & 3 until you work your last sc of the Wrist.  SS into the next 4 st of the beginning Trim. Fasten off and repeat these Steps on the other Wrist.

Ribbed Crop Top Free Crochet Pattern
Neck of Crop Top
Neck with G Hook

Step 1:  With Top right side out, SC evenly around the Neck.  Join with a ss into the 1st sc.

Chain 5, turn and sc in 2nd chain from hook and in the next 3 st.  

Step 2:  SS into the next sc of Neck twice.  Ch 1, turn and sc in blo of the next 3 st, sc in both loops of the last st.  Turn.

Step 3:  Ch 1, sc in the 1st, sc in the blo of the next 3 st.  ss into the next sc of sleeve twice. Ch 1, turn and sc in the blo of the next 3 st, sc in both loops of the last st.  Turn

Repeat Steps 2 & 3 until you work your last sc of the Neck.  SS into the next 4 st of the beginning Trim. Fasten off and weave in ends.

Ribbed Crop Top Crochet Pattern
Bottom Ribbing
Bottom with G Hook

Step 1:  With Top right side out, attach yarn with a ss into the 1st sc of either Side seam.  Chain 5, turn and sc in 2nd chain from hook and in the next 3 st.

Step 2:  SS into the next sc of Bottom twice.  Ch 1, turn and sc in blo of the next 3 st, sc in both loops of the last st.  Turn.

Step 3:  Ch 1, sc in the 1st, sc in the blo of the next 3 st.  ss into the next sc of Bottom twice. Ch 1, turn and sc in the blo of the next 3 st, sc in both loops of the last st.  Turn

Repeat Steps 2 & 3 until you work your last sc of the Bottom.  SS into the next 4 st of the beginning Trim. Fasten off and weave in ends.

If you got this far, CONGRATULATIONS!  You have finished the Amy Pullover!  Again, I would really LOVE to see your version!  You can find all the ways to connect with me below.  Thank you for crocheting the Amy Pullover!

You can tag me at @joscraftyhook and in my FB Group Jo’s Crafty Hook Designs

You can also find FREE crochet patterns on my website.

Premium Crochet Pattern Stores


*********************************************

Find me, Jo of Jo’s Crafty Hook at the places listed below.

Email:  joeybaird@aol.com

Linktree

Website

Facebook Group Jo’s Crafty Hookers

Facebook Group Jo’s Crafty Hook Designs

Facebook Page Jo’s Crafty Hook

Facebook Page:  Crochet Designer Community
Ravelry
LoveCrafts

Etsy

Instagram

YouTube

Pinterest

Donations Accepted