Creative Ways Crochet Hobbyists Can Reduce Stress and Build Calm Habits
Virginia Cooper of Learn a Living has brought you another great article with helpful tips that feature Creative Ways Crochet Hobbyists Can Reduce Stress and Build Calm Habits.

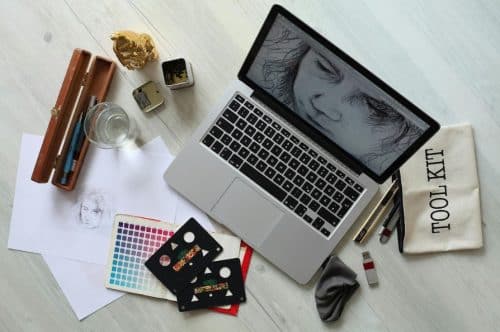
Busy adults who crochet after work, between caregiving, or during unpredictable seasons of life often want stress management for adults that doesn’t feel like another task. The tension is real: crochet can be soothing, yet common stress challenges, tight schedules, mental clutter, sore attention spans, and the pressure to “be productive” with every stitch, can drain the calm right out of the hobby. Creative stress relief works best when it meets makers where they are, especially for crochet hobbyists who are still building confidence. This section sets up beginner creative activities that make calm feel more reachable.
This page contains affiliate links
Be sure to sign up for my Newsletter and receive a FREE premium copy of my Rolling Shells Infinity Scarf Crochet Pattern. You will also receive messages about New Crochet Pattern Releases; FREE Crochet Patterns; Collaborations and more!


Visit the Landing Page below. Once you subscribe you will receive a Thank You email with the link to the crochet pattern sent right to your inbox!
subscribepage.io/joscraftyhook-rollingshellsinfinityscarfcrochetpattern
Understanding Why Crafting Calms Your Mind

When life feels noisy, creativity helps because it gives your brain a safe place to land. Many makers notice that crafting is a powerful tool because it supports mindfulness and helps lower stress, not just distract you. It also gives feelings a shape, so frustration, worry, or sadness can move through your hands instead of getting stuck in your head.
This matters for crochet hobbyists because calm habits come from small, repeatable moments, not perfect projects. When your stitches help you regulate emotion, you can make clearer pattern choices, recover faster from mistakes, and show up more consistently when you are
building items to sell.
Picture starting a simple dishcloth after a long day. After a few rows, you may enter a state of flow where your attention steadies and time feels quieter. The yarn becomes a gentle metronome that guides your breathing and mood.
Try 7 Beginner Creative Outlets (Including Relaxing Crochet)
When stress is high, your brain often craves something simple, sensory, and absorbing enough to pull you into “flow.” Use this pick-and-choose menu to find a low-pressure creative hobby for stress you can start today, no big setup, no perfection required.
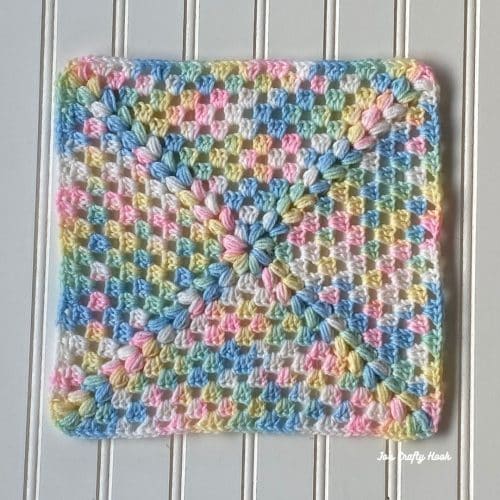
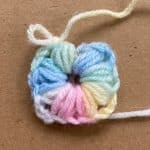
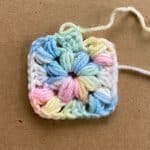
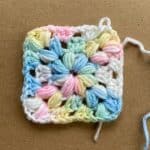
1. Crochet a “calm square” (basic stitches only): Make one small square using single crochet or half-double crochet, about 10–15 minutes of steady stitching. Crochet can be soothing because repetitive movements give your hands something predictable to do while your attention rests on the yarn and hook. Aim for “even enough,” not perfect edges; the point is rhythm. Save your squares in a bag for a future blanket, pillow, or
market tote.
2. Try a simple beginner crocheting pattern with instant payoff: Pick a tiny project you can finish quickly: a chunky headband, mug cozy, simple scrunchie, or a basic dishcloth. Choose one stitch pattern and repeat it until the item is done, repetition helps you settle in, and finishing builds a small sense of control when life feels messy. If decision fatigue is part of your stress, commit to one yarn and one hook size for a week.
3. Do a 5-minute “scribble and shade” art therapy activity: On scrap paper, draw one continuous scribble, then fill each little section with a different shade, pattern, or color. This works like a creative reset: it’s structured enough to focus your mind, but open- ended enough to let emotions move through without needing words. Keep it playful, dots, stripes, tiny hearts, anything.
4. Make a mini collage for your mood (no art skills needed): Tear images/words from junk mail, magazines, or printed pages and glue them into a “today I need…” collage: calm, energy, comfort, bravery. The tearing and arranging gives your hands a job while your brain organizes feelings in a gentle way. Bonus: make two versions, “how I feel” and “how I want to feel.”
5. Build a “worry-to-yarn” swatch: label, then stitch: Write one short worry at the top of a paper, then crochet a small swatch while you breathe slowly and keep your shoulders down. Each time your mind returns to the worry, name it and return to counting stitches, this is a practical way to practice attention without spiraling. When you’re done, jot one helpful next step under the swatch, even if it’s tiny.
6. Try an easy DIY craft that keeps your hands busy: Make something functional in 10–20 minutes: decorate a plain jar as a notions cup, fold paper into simple gift tags, or tie a no-sew braided bracelet with scrap yarn. Fast, practical projects reduce pressure because they’re hard to “ruin” and easy to redo. Keep a small “calm craft kit” in a pouch so you don’t have to hunt supplies.
7. Experiment with “one-row-a-day” texture practice: Choose two beginner stitches (like half-double crochet and double crochet) and alternate rows to create a textured rectangle. This is slightly more advanced than a single-stitch square, but still simple, and it invites flow because your brain toggles between two predictable patterns. Over time, that rectangle becomes a scarf, bag panel, or table runner.
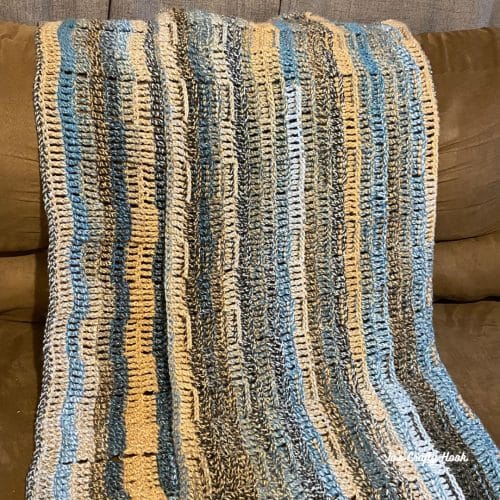
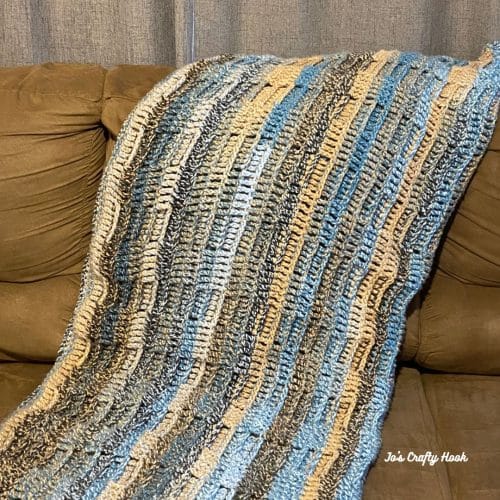
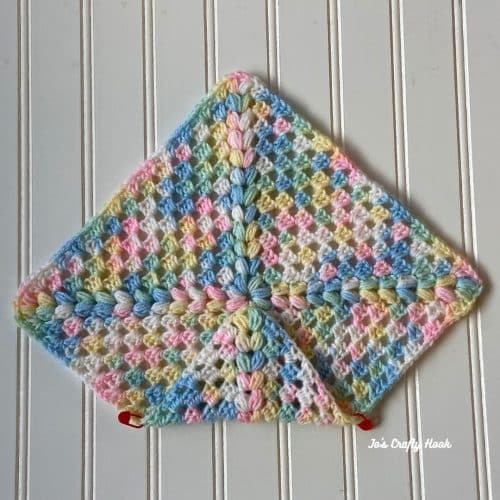
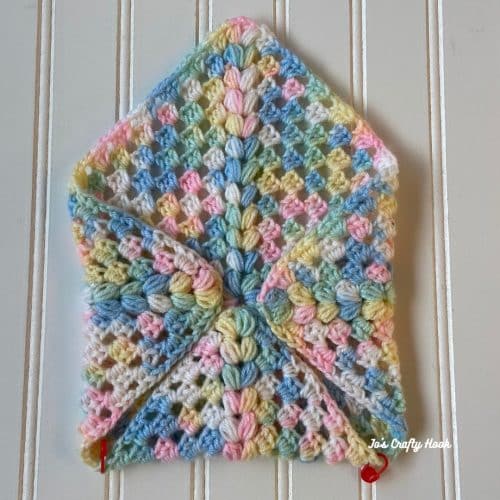
Calm-First Crochet Habits That Stick
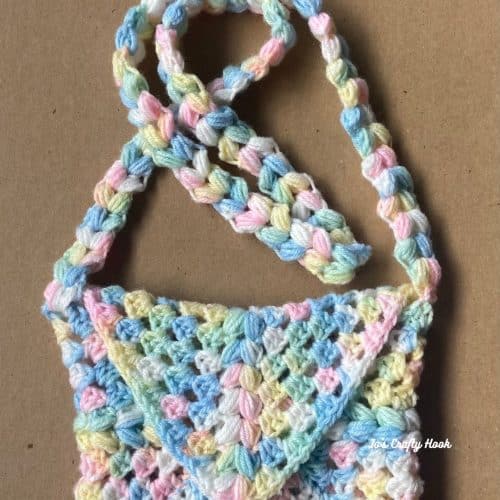
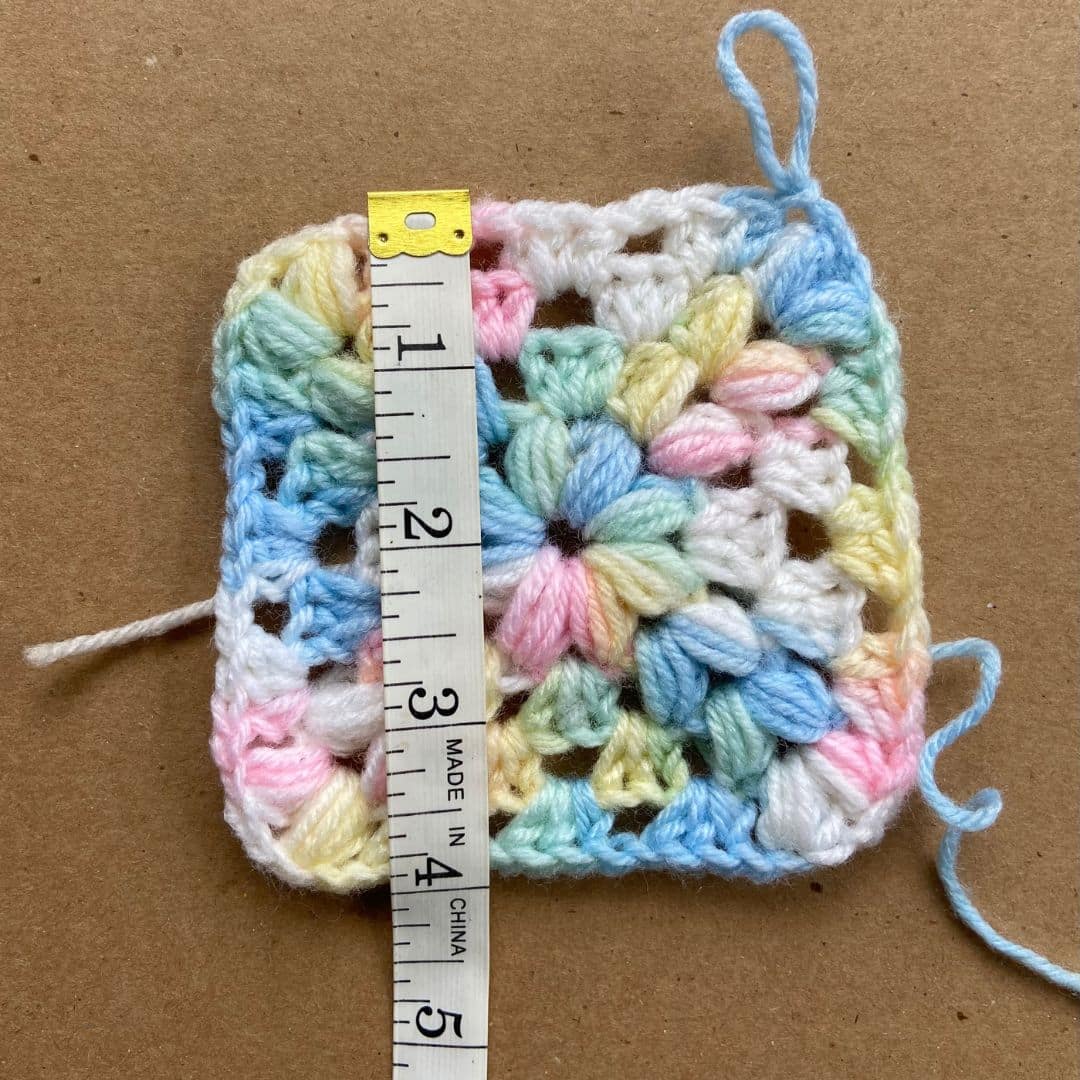
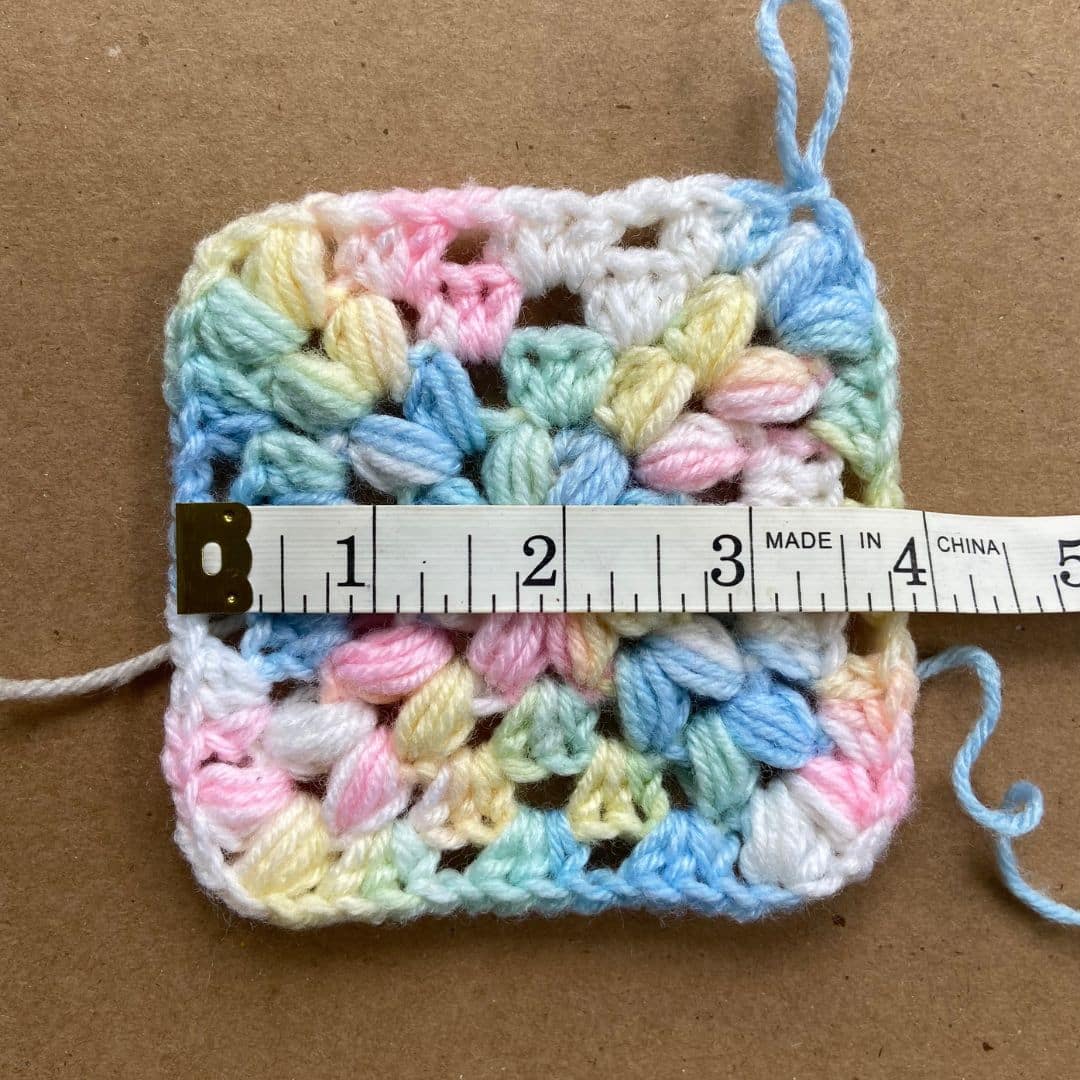
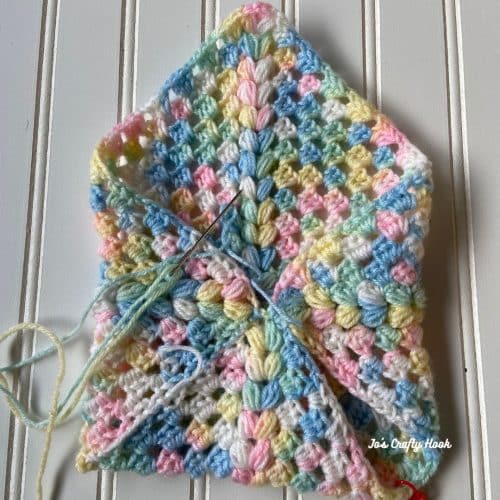
![]()
Habits matter because stress relief works best when it is consistent, not occasional. These beginner-friendly practices help you build steady crafting momentum, keep projects simple, and make space for selling prep without burning out.
Cue-and-Stitch Reset
● What it is: Start stitching right after one daily cue like coffee or school drop-off.
● How often: Daily
● Why it helps: The same cue reduces decision fatigue and lowers your start-up resistance.
Ten-Minute Timer Session
● What it is: Set a timer and crochet any easy repeat for exactly ten minutes.
● How often: Daily or 3x weekly
● Why it helps: A clear end time makes rest feel safe and doable.
Mindful Counting Rows
● What it is: Count stitches with slow breathing and track row numbers in a tiny notebook.
● How often: Per session
● Why it helps: Increase in awareness supports calmer attention when your mind wants to race.
Weekly “Finish or Frog” Review
● What it is: Once a week, decide to finish, pause, or unravel one project guilt-free.
● How often: Weekly
● Why it helps: It protects your time and keeps your craft space emotionally light.
Market-Prep Micro Batch
● What it is: Batch one small sellable item type in one colorway and label it immediately.
● How often: Weekly
● Why it helps: Small batches build confidence and reduce last-minute selling stress.
Calm Crafting Q&A: Common Sticking Points

Q: What are some beginner-friendly creative pursuits, like crocheting, that can help reduce stress?
A: Start with low-pressure crafts that repeat simple motions: crocheting a dishcloth, a granny square, or a chunky scarf, plus coloring, simple embroidery, or air-dry clay. Pick patterns labeled “easy” with basic stitches and minimal shaping so your brain can settle. If supplies overwhelm you, choose one hook size and one smooth yarn to practice on.
Q: How can I maintain motivation and avoid feeling stuck when pursuing creative outlets for stress relief?
A: Make “progress” tiny: one round, one row, or five minutes counts. Keep a parking spot for stalled projects by adding a stitch marker and writing one note about what to do next. When doubt spikes, switch to a quick win item you can finish in one sitting.
Q: In what ways does engaging in crafts like crocheting contribute to simplifying a busy or overwhelming life?
A: Crocheting can replace doom-scrolling with a tactile routine you can do during short breaks.
Limiting yourself to one active project and one sellable repeat item reduces clutter and decision fatigue. A small “kit bag” with hook, yarn, and notes makes starting easier anywhere.
Q: How can seasonal crafting projects influence stress management throughout the year?
A: Seasons give you built-in themes, which reduces planning stress and sparks momentum. In busy months, choose fast makes like coasters or gift tags; in quieter seasons, try larger blankets or market collections. Rotating colors with the calendar also keeps your practice feeling fresh without buying lots of new tools.
Q: What if I want to develop a structured approach to balance creative hobbies with workplace challenges and stress?
A: Create a simple loop: a 10-minute stitch break after work, a weekly plan for one pattern step, and a brief reflection on what triggers tension. Work stress is common, and stress at the top can be a sign to adjust boundaries, not just your hobby time. If you want a longer-term path, this is a good option.
Build Calm Through One Small Crochet Habit This Week
When stress stacks up, it’s easy to feel pulled between getting things done and taking care of your mind. A gentle creative approach, treating crochet as a steady, low-pressure practice, keeps stress management success within reach, even when time, confidence, or workplace tension are part of the mix.
Over time, motivating creative engagement brings the benefits of
creative stress relief: a slower breath, a clearer head, and more positive mental health outcomes you can actually notice. Small stitches, steady breath, calmer days. Choose one project this week and spend ten minutes with it, then simply notice what shifts. Those ongoing creative practices matter because they build resilience you can return to on hard days.
I hope you enjoyed another great article from Virginia Cooper of Learn a Living. You will find FREE crochet patterns on my website that would be perfect to help you reduce stress and build calm habits.
*******************************************************
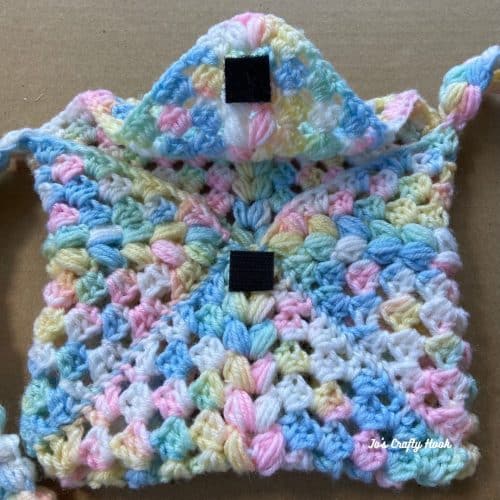
Premium Crochet Pattern Stores

![]()
![]()
********************************************************
Find me, Jo of Jo’s Crafty Hook at the places listed below.
Email: joeybaird@aol.com
Facebook Group Jo’s Crafty Hookers
Facebook Group Jo’s Crafty Hook Designs
Facebook Page Jo’s Crafty Hook
Facebook Page: Crochet Designer Community
![]()