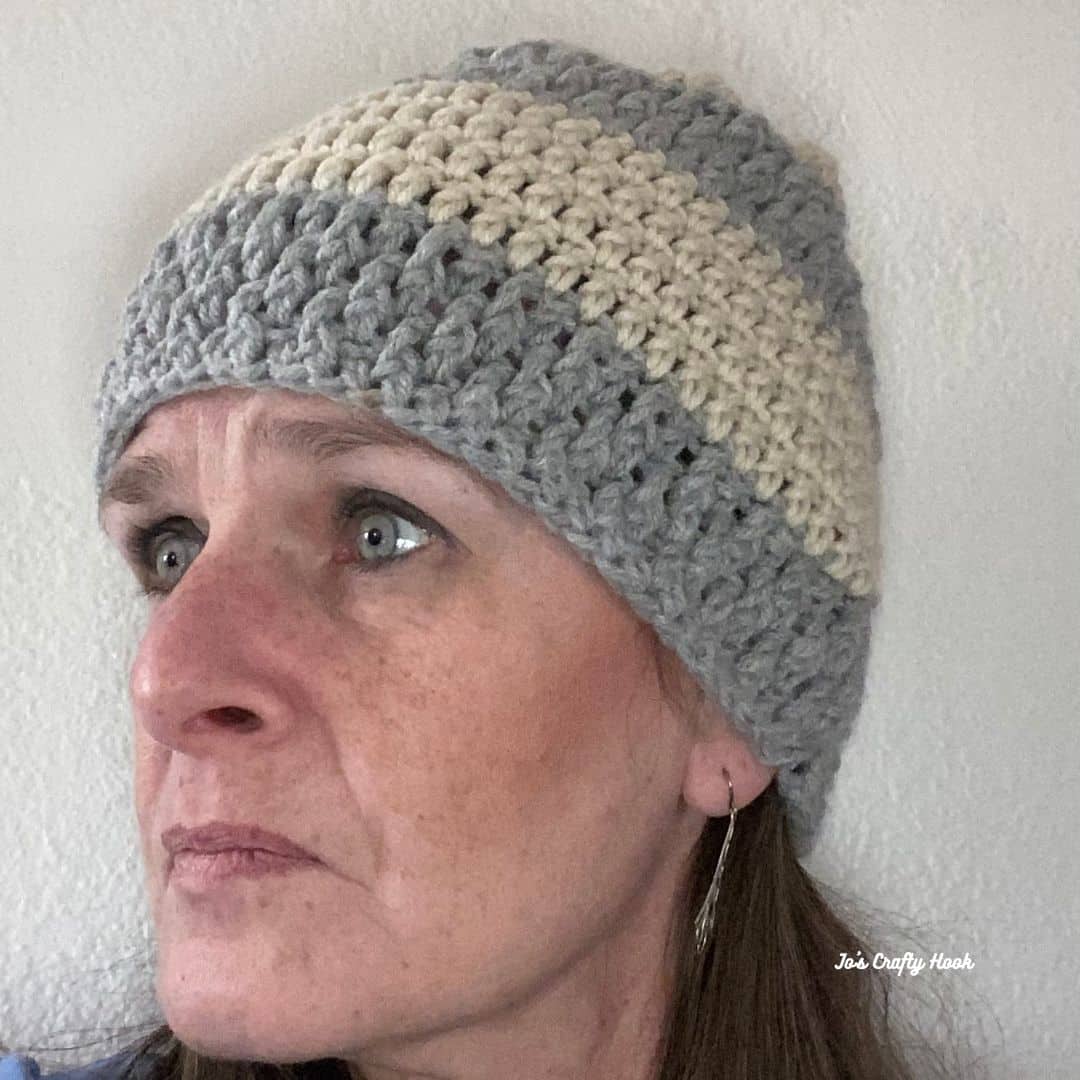
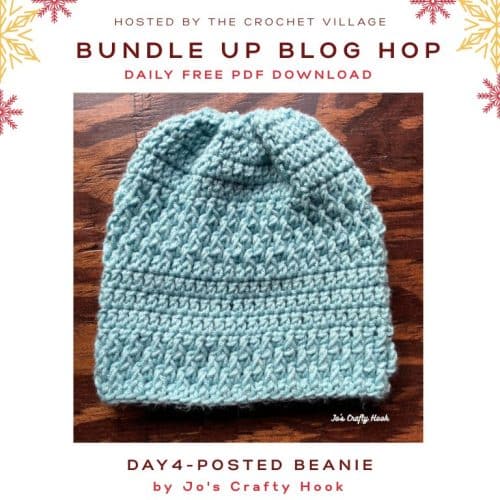
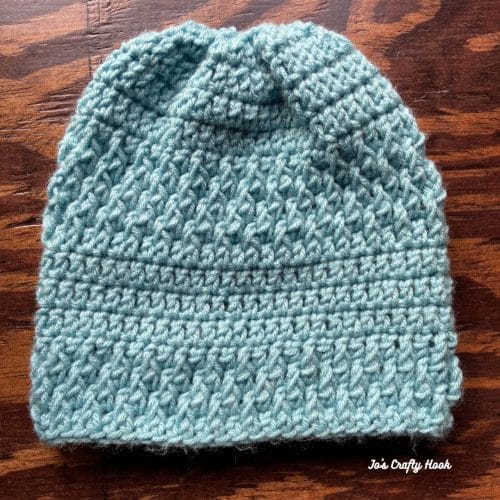
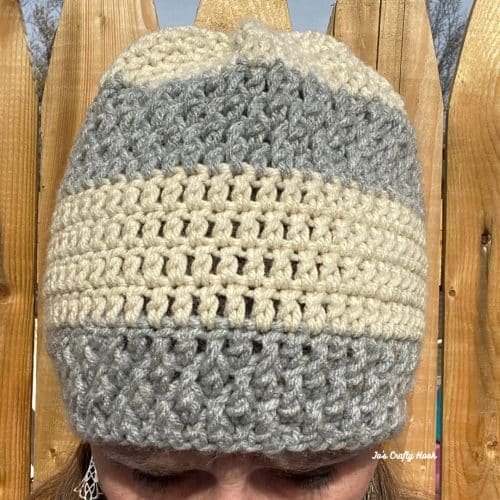
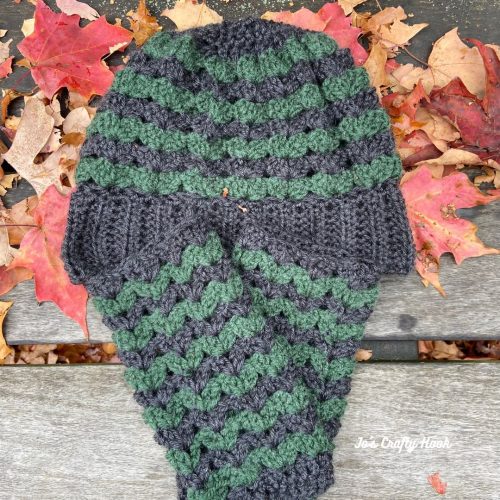
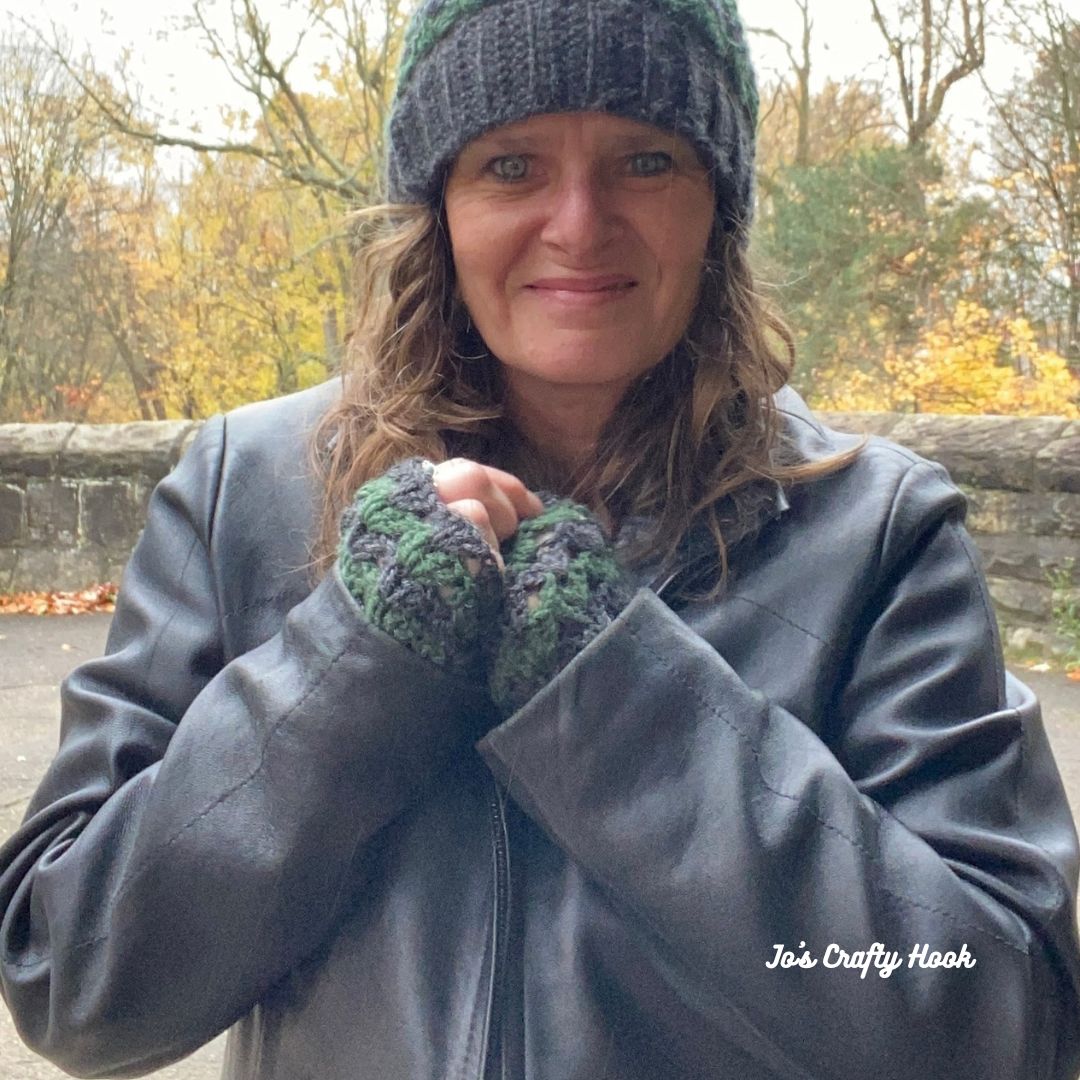
Posted Beanie Crochet Pattern
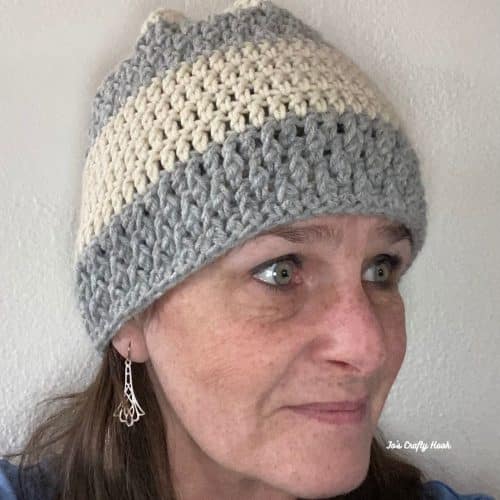
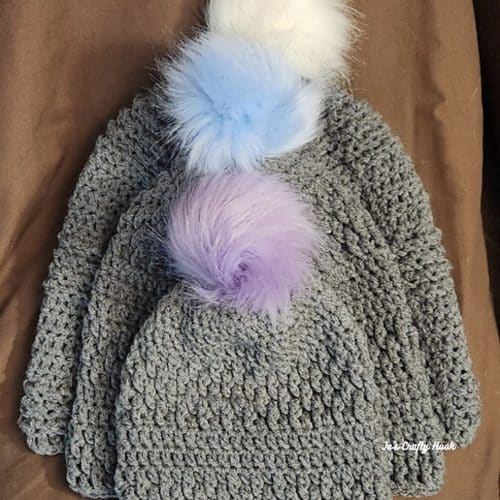
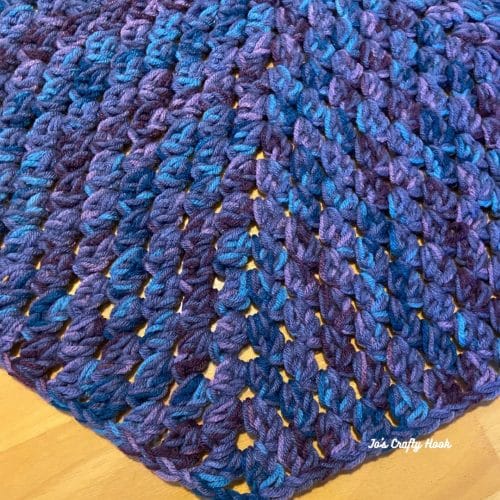
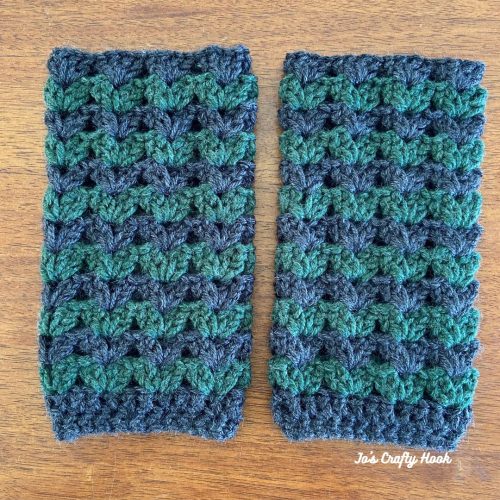
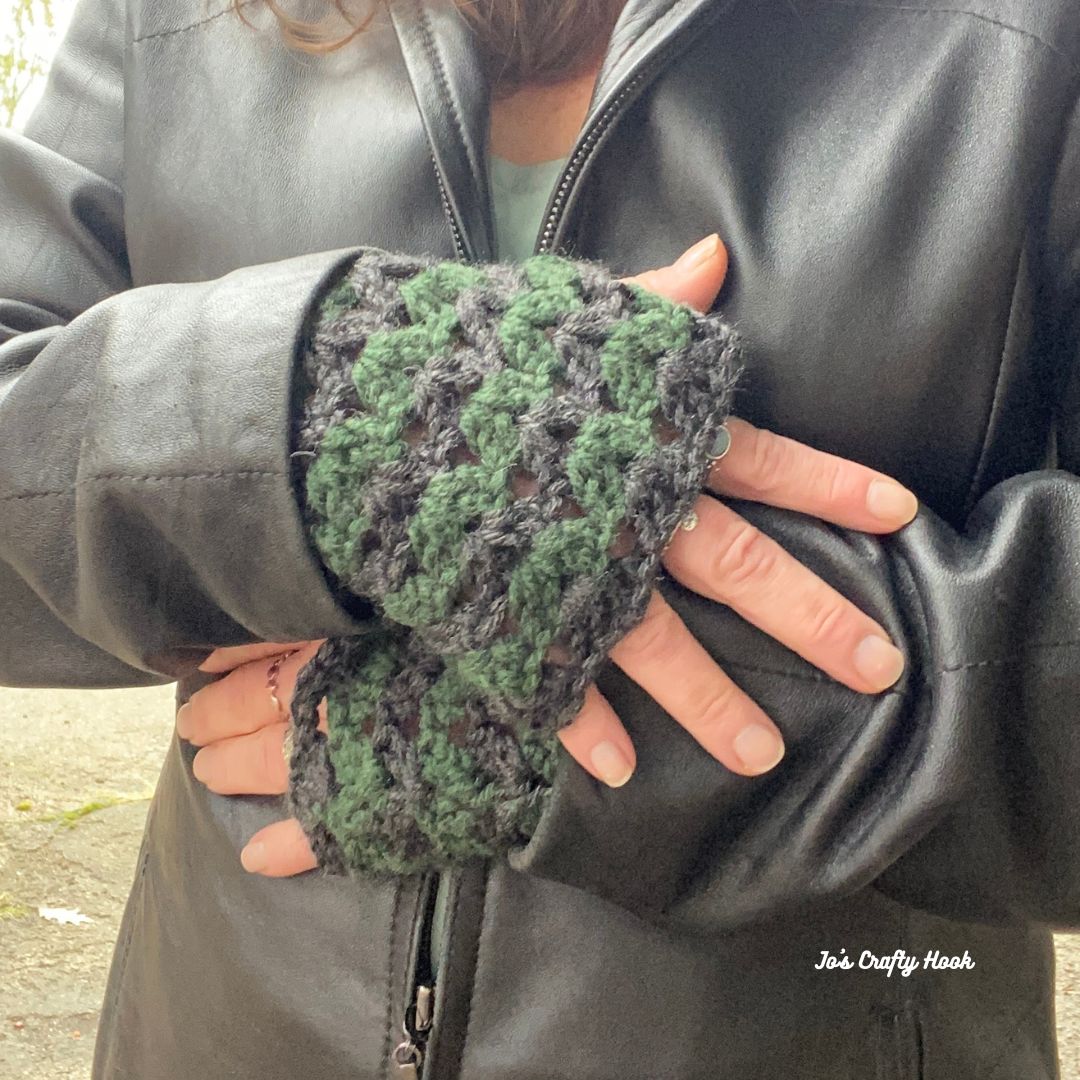
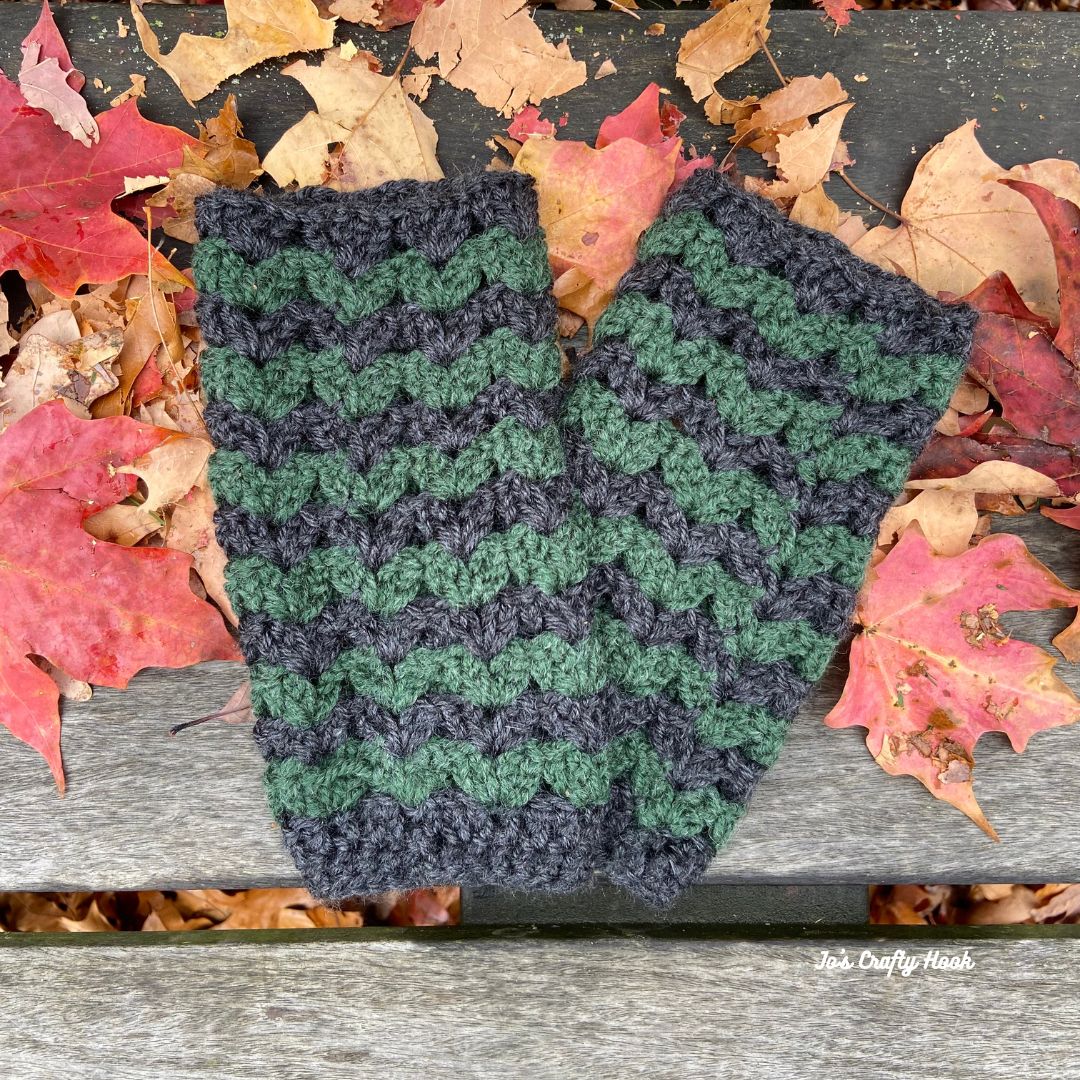
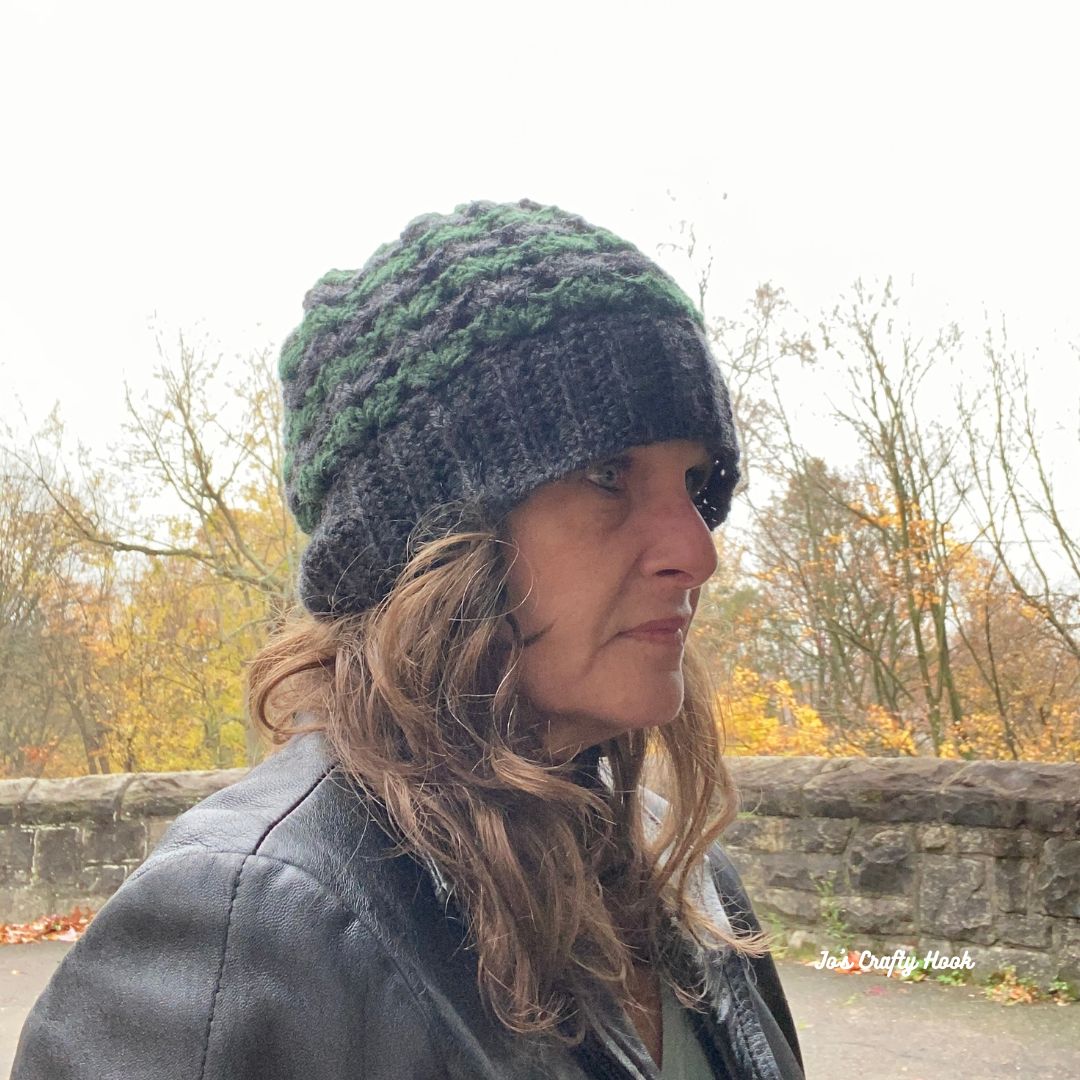
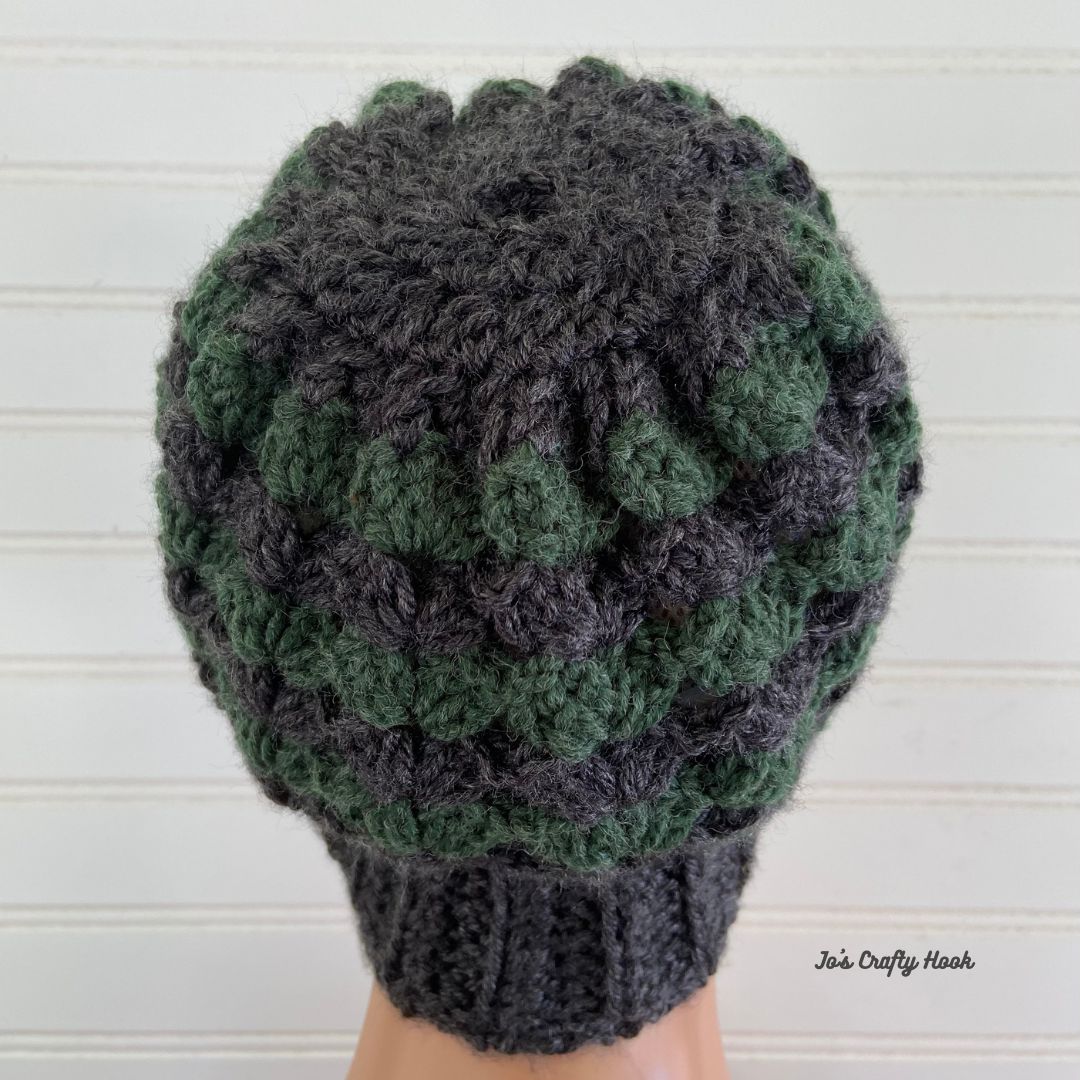
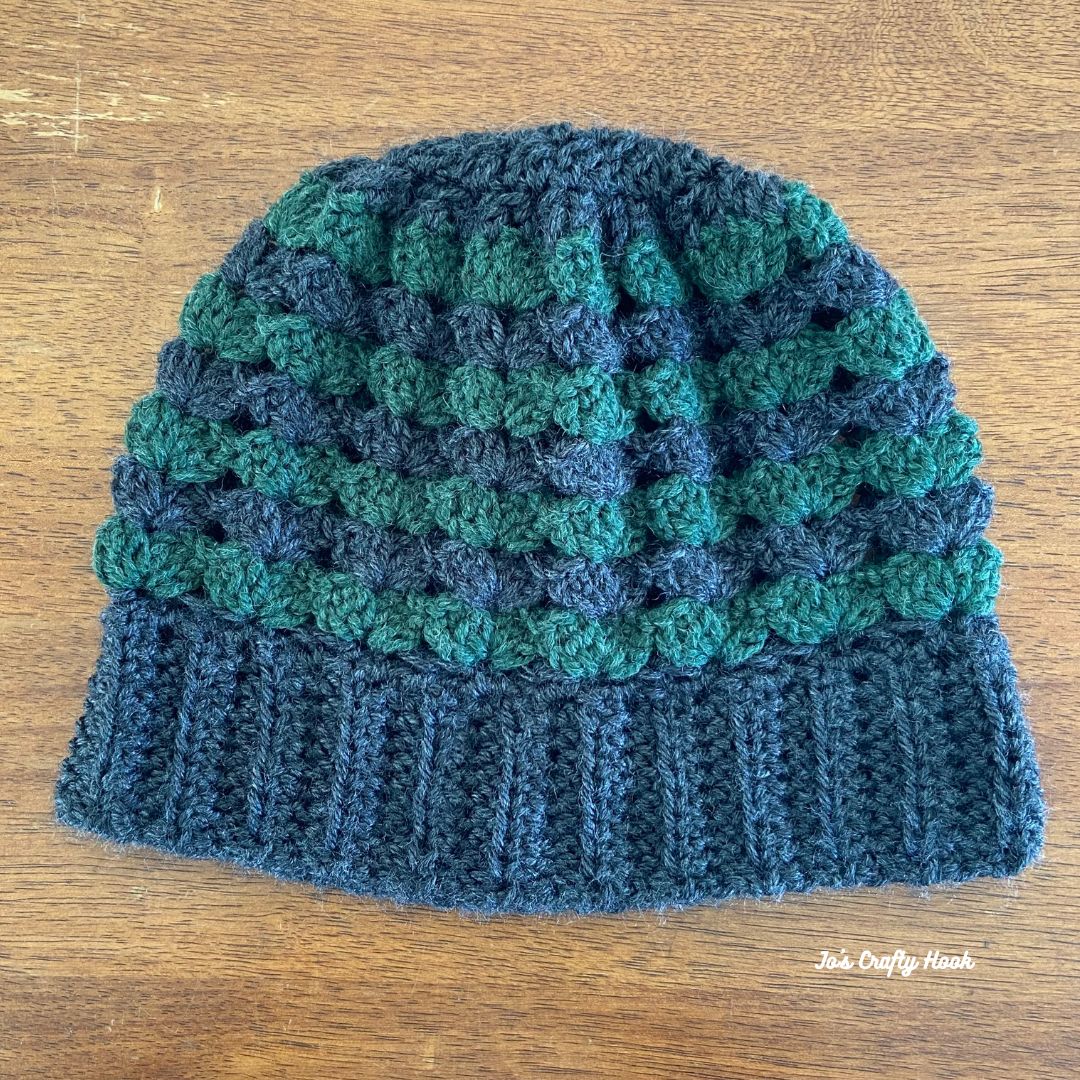
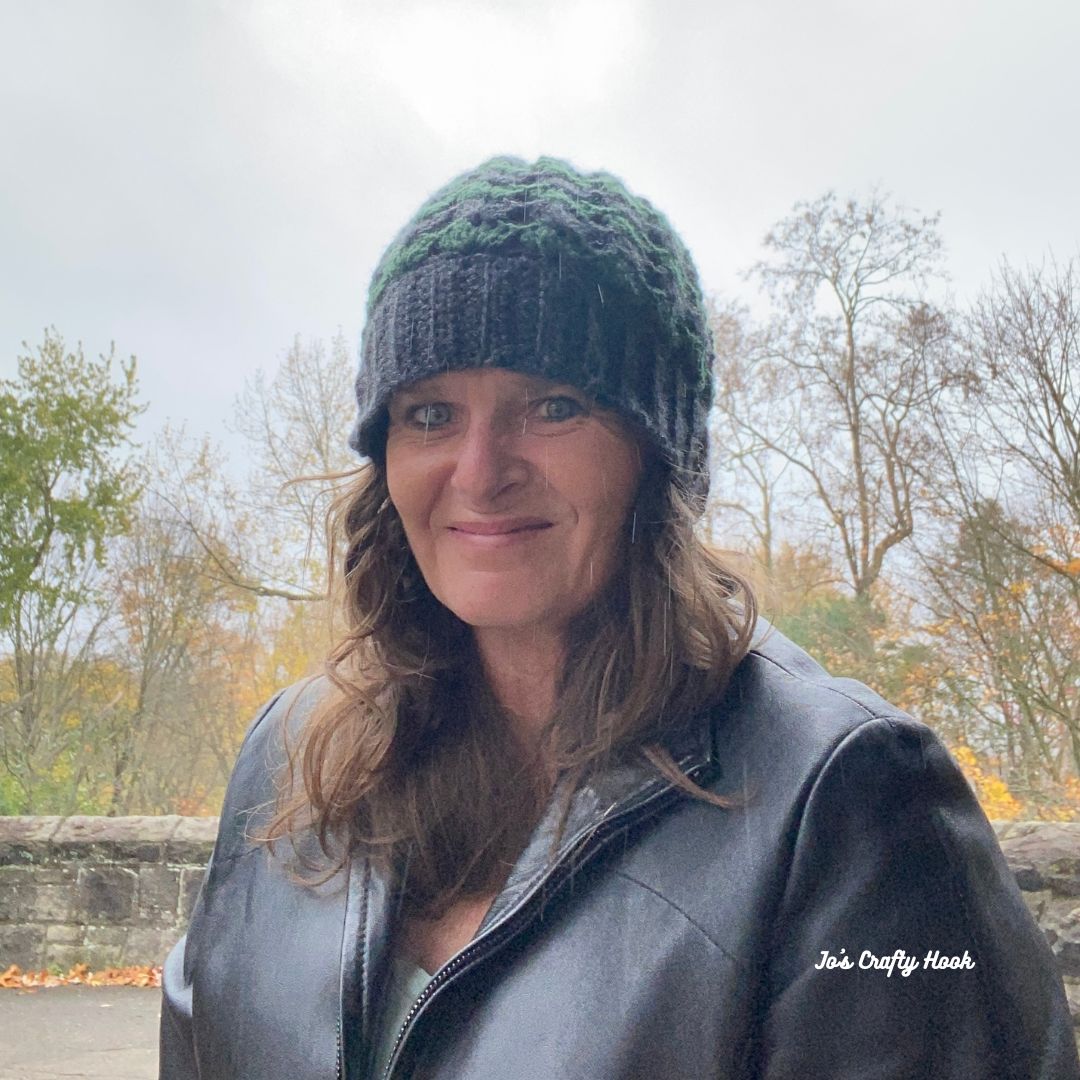
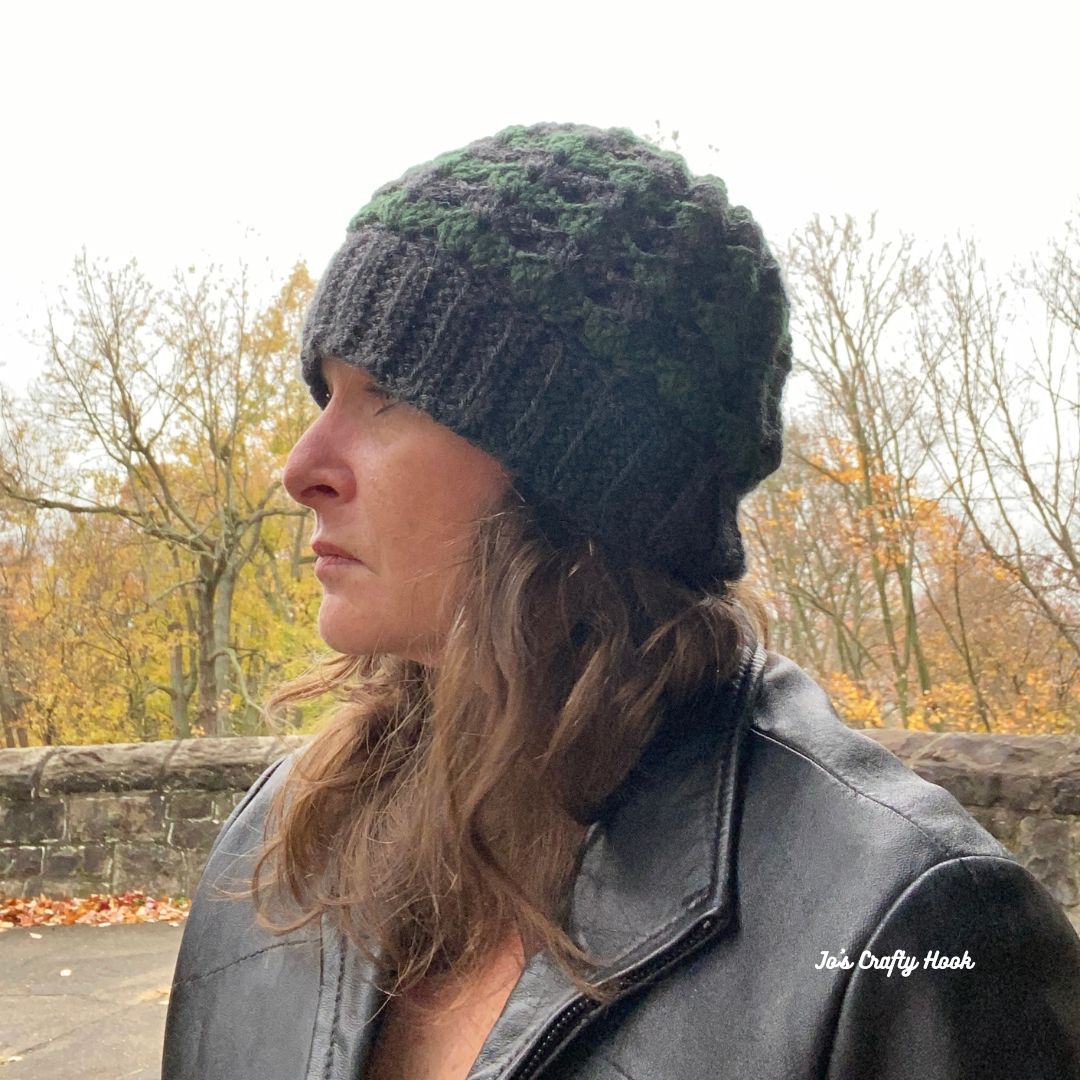
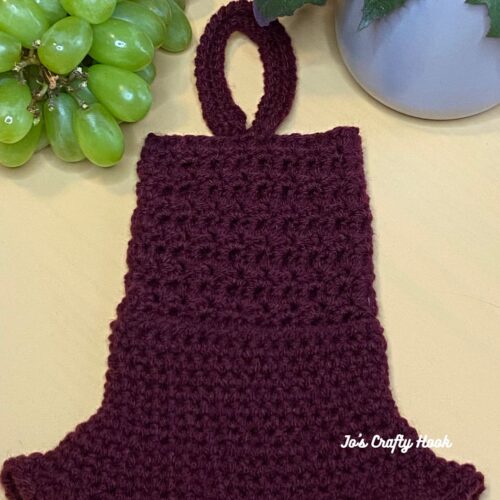
The Posted Beanie Crochet Pattern uses the front post double crochet stitch. The use of the front post double crochet stitch creates a nice textured look.
There are 3 sizes to choose from, from 5-10 yrs, Teen/Small Adult and Adult Large.
The Posted Beanie Crochet Pattern was designed for my 3rd Annual “Keep Our Kids Covered” Charity Drive and would make a great hat that you can donate to keep the kids/adults warm during the colder weather.
This page contains affiliate links
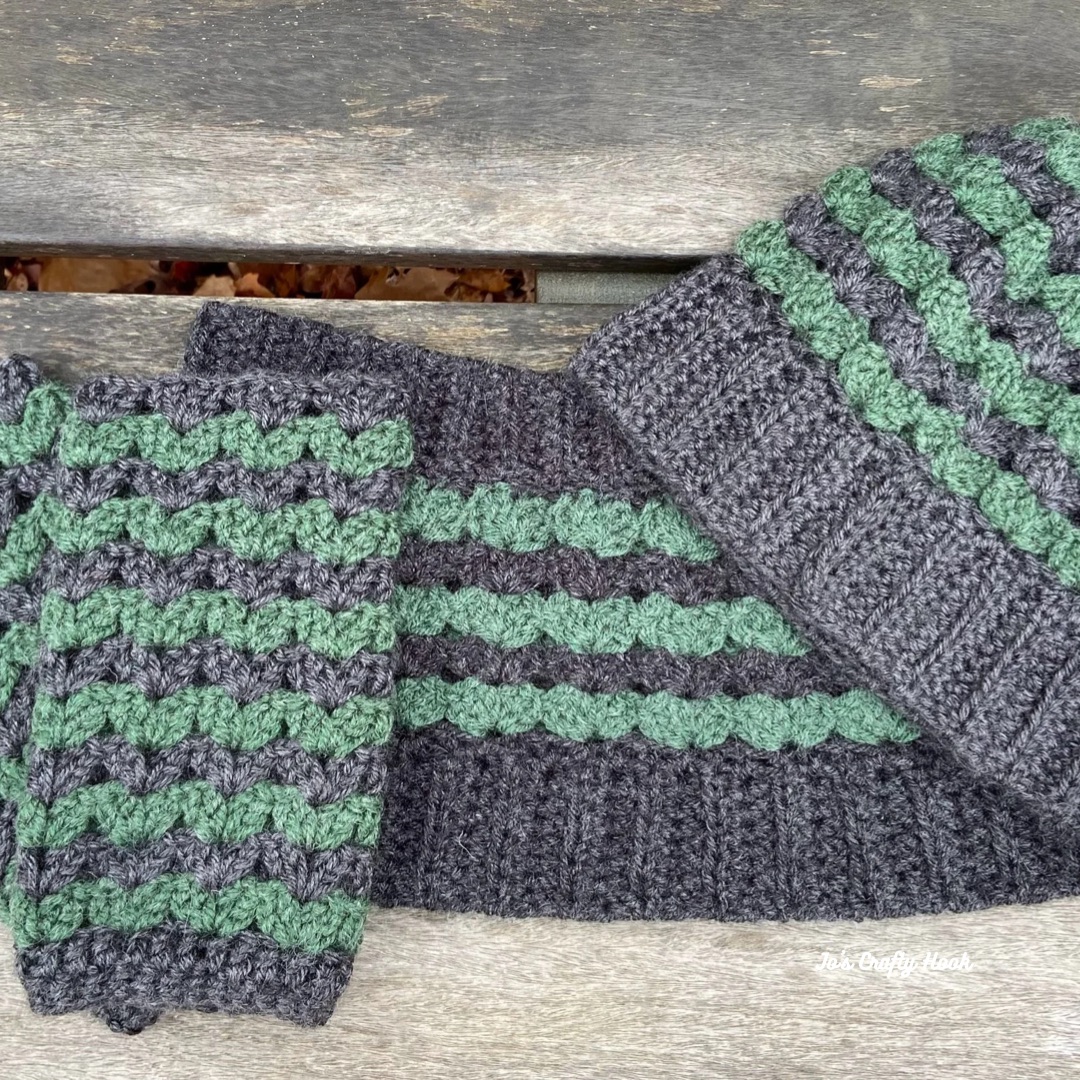
Be sure to sign up for my Newsletter and receive a FREE premium copy of my Rolling Shells Infinity Scarf Crochet Pattern. You will also receive messages about New Crochet Pattern Releases; FREE Crochet Patterns; Collaborations and more!


Visit the Landing Page below. Once you subscribe you will receive a Thank You email with the link to the crochet pattern sent right to your inbox!
subscribepage.io/joscraftyhook-rollingshellsinfinityscarfcrochetpattern
Be sure to tell your yarn loving friends to sign up for my Newsletter Incentive and they’ll get the premium copy of my Rolling Shells Infinity Scarf Crochet Pattern for FREE!!
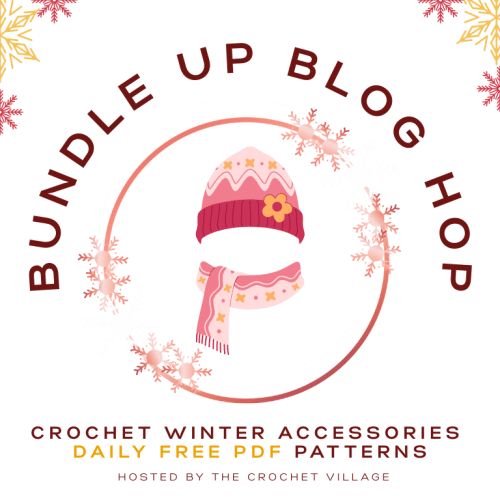
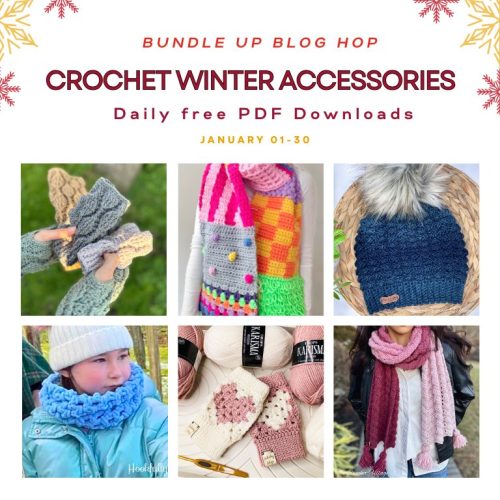
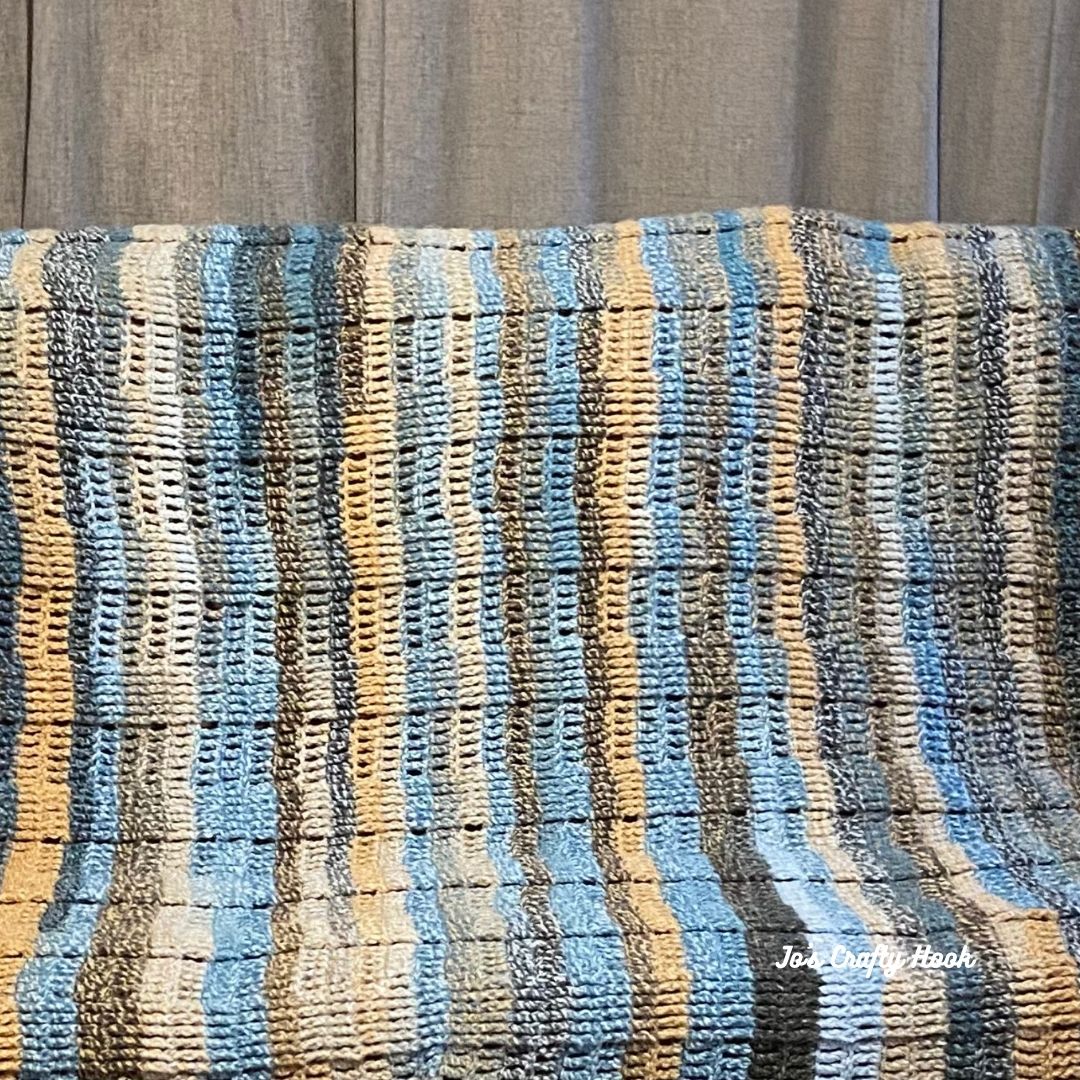
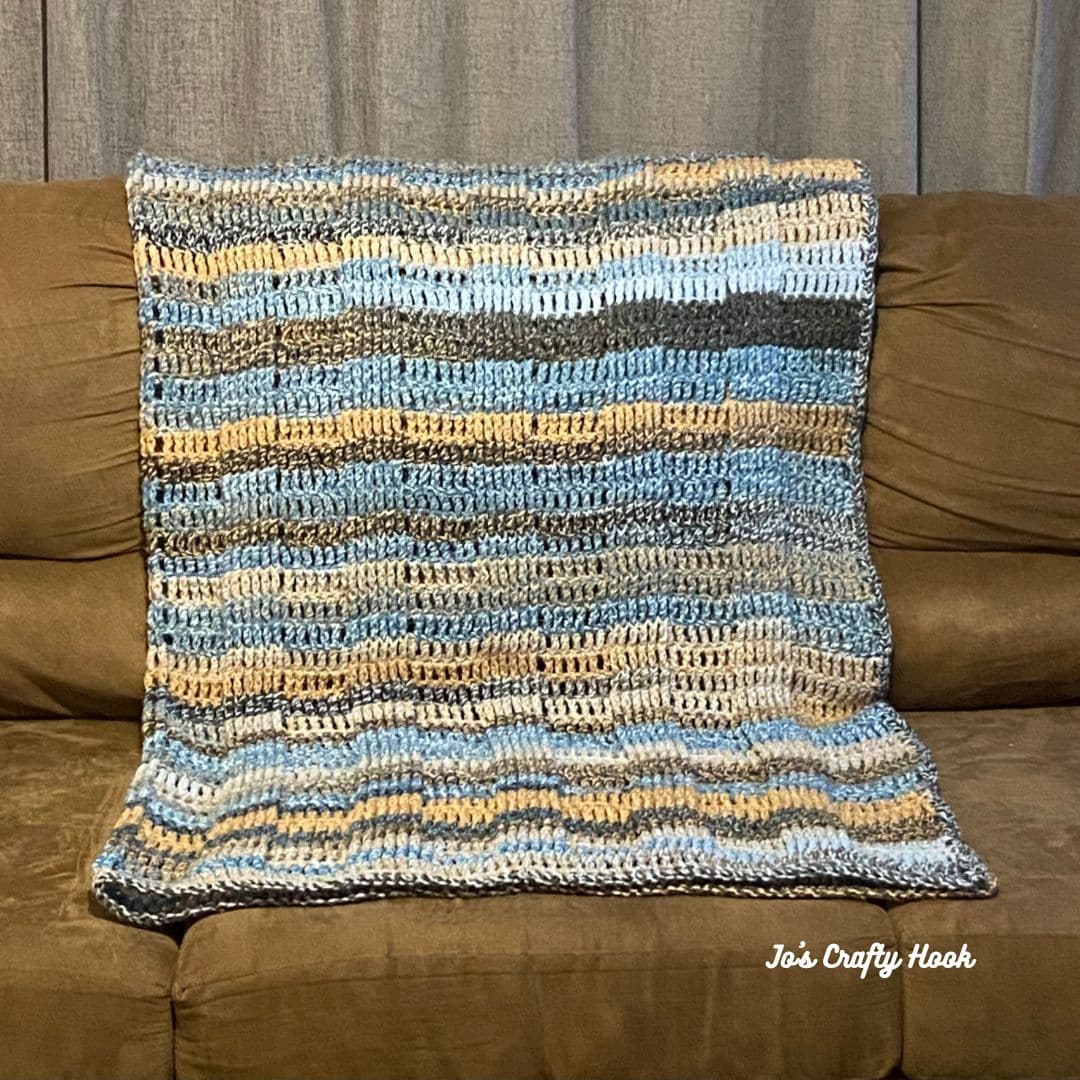
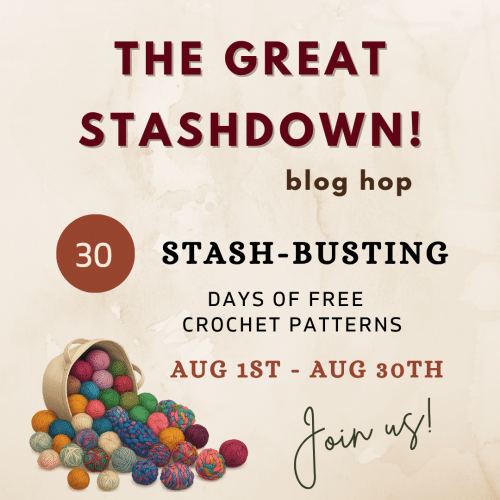
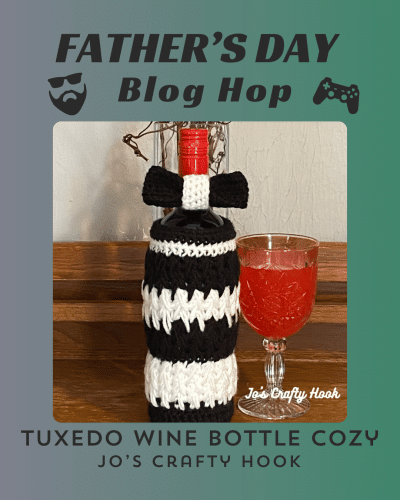
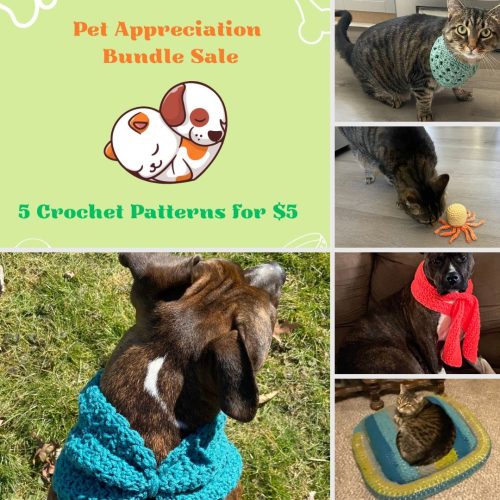
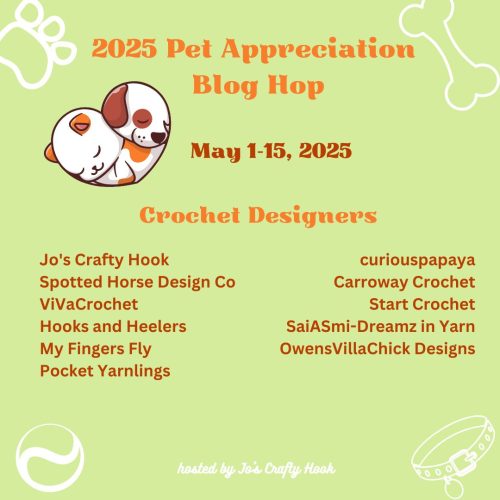
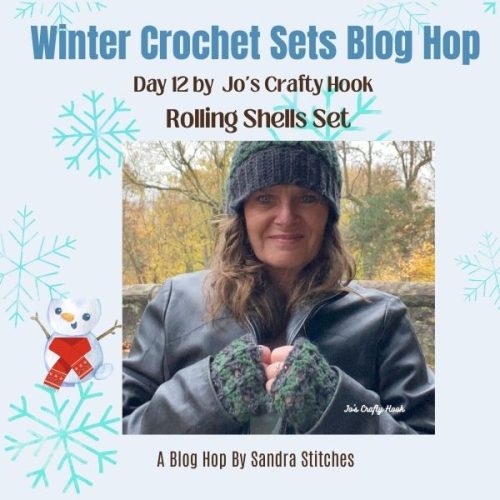
Bundle Up Blog Hop 2026
My newest crochet design, the Posted Beanie Crochet Pattern is being featured in this great blog hop!
From now until December 30, 2026 you can take advantage of daily FREE crochet patterns during the Bundle Up Blog Hop 2026 hosted by The Crochet Village.
My Featured Day is January 4-5, 2026
For 24 hours you can get a FREE copy of my newest crochet design, the Posted Beanie Crochet Pattern as part of the Bundle Up Blog Hop 2026!
Get Coupon Code
On my Featured Day visit the Bundle Up Blog Hop 2026 to get the Coupon Code needed to get a FREE premium copy of my Posted Beanie Crochet Pattern.

Visit My Ravelry Store
Once you have the Coupon Code, click on the Button below to visit my Ravelry Store and use it at Checkout to get your FREE copy!

Visit the Bundle Up Blog Hop 2026
Be sure to check back daily for another FREE premium crochet pattern during the Bundle Up Blog Hop 2026 until December 30, 2026!

Below you will find a FREE copy of my Posted Beanie Crochet Pattern.
Ad-Free Premium Copy
If you would like to purchase a copy of the Posted Beanie Crochet Pattern, you can find it at my Ravelry Store for a small fee.

Information Needed
Skill Level:
Beginner Friendly
US Terminology
Materials:
US I or 5.5 mm Crochet Hook
200-450 yds of 4 ply Medium Weight Yarn
Tape Measurer
Scissors
Tapestry Needle
Abbreviations/Stitches Used:
ch = chain
sl st = slip stitch
rep = repeat
rem = remaining
dc = double crochet
alt ch 2 = alternate chain 2 or alternate starting chain
fdc = foundation double crochet
fpdc = front post double crochet
dc2tog = double crochet 2 together
Notes:
alt ch 2 counts as a dc
fpdc counts as a dc
dc2tog counts as 1 dc
the beanie is worked in the round
there are 3 sizes to choose from, 5-10 yrs, Teen/Adult Small, Adult Large consecutively
My Left Handed Video Tutorials
Alternate Chain 2
Foundation Double Crochet
Front Post Double Crochet
Double Crochet 2 Together
Customizing:
If you would like to use more than one color of yarn, change colors every 4 rows and be sure it is the same thickness so it doesn’t bunch or create gaps.
You can also add or subtract the number of rounds to create your perfect height.
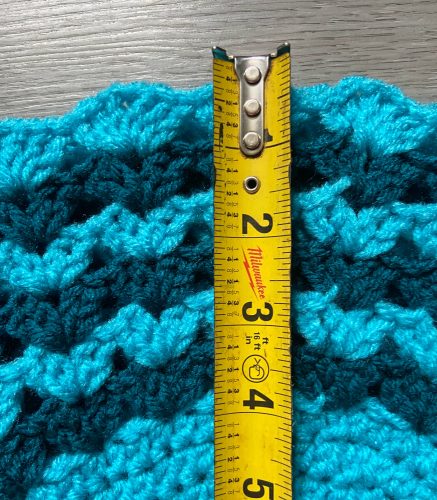
Gauge:
US I or 5.5 mm Crochet Hook
12 dc x 8 rows = 4”
*If you do not meet gauge, try going up or down a hook size until you do.
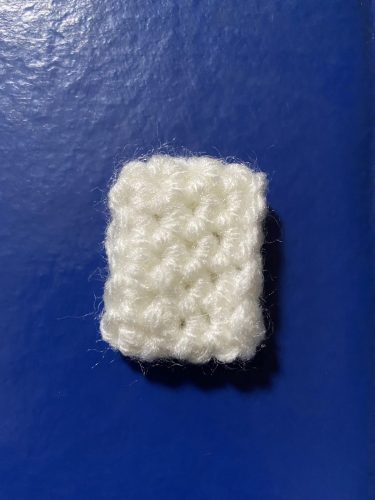
Gauge Swatch:
R1: ch 14, dc in 4th ch from hook, dc across. turn (12 dc)
R2-R8: ch 3, dc across. (12 dc)
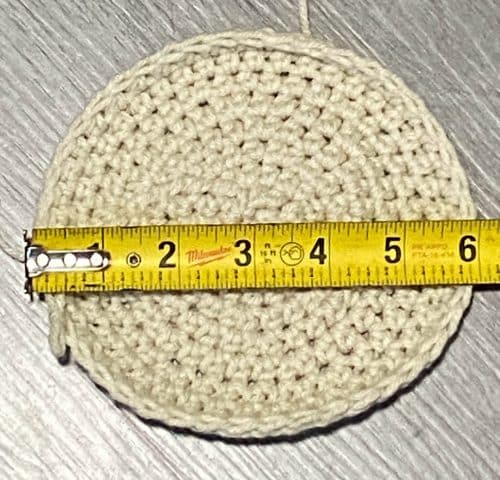
Size Chart
| Size | Width | Height |
| 5-10 yrs | 9” | 8” |
| Teen/Adult Small | 11” | 10” |
| Adult Large | 13” | 12” |
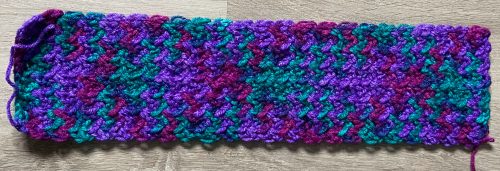
Posted Beanie Free Crochet Pattern
5-10 yrs
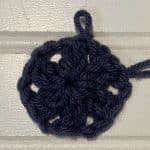
R1: leaving a long tail of yarn, fdc 55. To make the beanie round, weave in the long tail of yarn, weave it into the foundation chain to make the beanie round. (55 dc)
Optional: ch 49, sl st in 1st ch, ch 3 in same ch, dc in each rem ch around. (55 dc)
Note: If you are using the ch-3 at the beginning of each round, be sure to sl st in top of ch-3 to join before starting the next round.
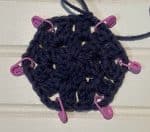
R2: alt ch 2 or ch 3, *fpdc around the next st, dc in next st, rep from * around. (55 dc)
R3: alt ch 2 or ch 3, *dc in next st, fpdc around next st, rep from * around. (55 dc)
R4: alt ch 2 or ch 3, *fpdc around the next st, dc in next st, rep from * around. (55 dc)
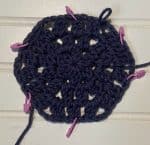
R5-R8: alt ch 2 or ch 3, dc in each rem st around. (55 dc)
R9: alt ch 2 or ch 3, *fpdc around the next st, dc in next st, rep from * around. (55 dc)
R10: alt ch 2 or ch 3, *dc in next st, fpdc around next st, rep from * around. (55 dc)
R11-R12: Rep R9-R10
R13-R14: alt ch 2 or ch 3, dc in each rem st around. (55 dc)
R15: alt ch 2 or ch 3, *dc2tog, dc in next 4 st, rep from * around. (46 dc)
R16: alt ch 2 or ch 3, *dc2tog, dc in next 3 st, rep from * around. (37 dc)
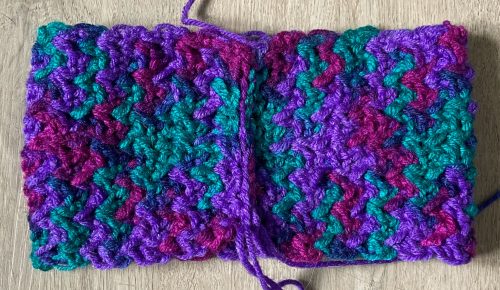
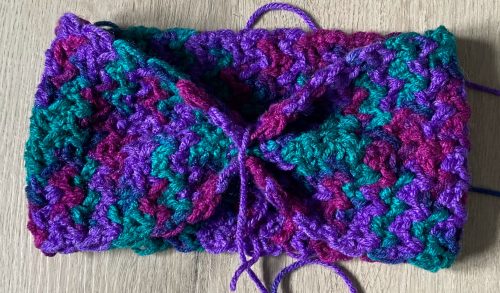
Closing the Crown
Step 1:
Fasten off, leaving a long tail of yarn.
Step 2:
Using your long tail of yarn, weave it through each st around.
Step 3:
Pull the long tail of yarn tight to close the Crown.
Teen/Adult Small
R1: fdc 67. To make the beanie round, weave in the ends of the foundation chain. (67 dc)
Optional: ch 61, sl st in 1st ch, ch 3 in same ch, dc in each rem ch around. (67 dc)
Note: If you are using the ch-3 at the beginning of each round, be sure to sl st in top of ch-3 to join before starting the next round.
R2: alt ch 2 or ch 3, *fpdc around the next st, dc in next st, rep from * around. (67 dc)
R3: alt ch 2 or ch 3, *dc in next st, fpdc around next st, rep from * around. (67 dc)
R4: alt ch 2 or ch 3, *fpdc around the next st, dc in next st, rep from * around. (67 dc)
R5-R8: alt ch 2 or ch 3, dc in each rem st around. (67 dc)
R9: alt ch 2 or ch 3, *fpdc around the next st, dc in next st, rep from * around. (67 dc)
R10: alt ch 2 or ch 3, *dc in next st, fpdc around next st, rep from * around. (67 dc)
R11-R12: Rep R9-R10
R13-R18: Rep R5-R10
R19: alt ch 2 or ch 3, *dc2tog, dc in next 4 st, rep from * around. (56 dc)
R20: alt ch 2 or ch 3, *dc2tog, dc in next 3 st, rep from * around. (45 dc)
Closing the Crown
Step 1:
Fasten off, leaving a long tail of yarn.
Step 2:
Using your long tail of yarn, weave it through each st around.
Step 3:
Pull the long tail of yarn tight to close the Crown.
Adult Large
R1: fdc 73. To make the beanie round, weave in the ends of the foundation chain. (79 dc)
Optional: ch 73, sl st in 1st ch, ch 3 in same ch, dc in each rem ch around. (79 dc)
Note: If you are using the ch-3 at the beginning of each round, be sure to sl st in top of ch-3 to join before starting the next round.
R2: alt ch 2 or ch 3, *fpdc around the next st, dc in next st, rep from * around. (79 dc)
R3: alt ch 2 or ch 3, *dc in next st, fpdc around next st, rep from * around. (79 dc)
R4: alt ch 2 or ch 3, *fpdc around the next st, dc in next st, rep from * around. (79 dc)
R5-R8: alt ch 2 or ch 3, dc in each rem st around. (79 dc)
R9: alt ch 2 or ch 3, *fpdc around the next st, dc in next st, rep from * around. (79 dc)
R10: alt ch 2 or ch 3, *dc in next st, fpdc around next st, rep from * around. (79 dc)
R11-R12: Rep R9-R10
R13-R20: Rep R5-R12
R21-R22: alt ch 2 or ch 3, dc in each rem st around. (79 dc)
R23: alt ch 2 or ch 3, *dc2tog, dc in next 4 st, rep from * around. (66 dc)
R24: alt ch 2 or ch 3, *dc2tog, dc in next 3 st, rep from * around. (57 dc)
R25: alt ch 2 or ch 3, *dc2tog, dc in next 2 st, rep from * around. (43 dc)
Closing the Crown
Step 1:
Fasten off, leaving a long tail of yarn.
Step 2:
Using your long tail of yarn, weave it through each st around.
Step 3:
Pull the long tail of yarn tight to close the Crown.
@Jo’s Crafty Hook 2025
That’s it! Have created your own version of the Posted Beanie! I would love to see what you created!
If you are donating this beanie to kids or anywhere else, I would love to hear your story and share it with my community!
You can tag me at @joscraftyhook and in my FB Group Jo’s Crafty Hook Designs
You can also find FREE crochet patterns for more hats and other great crochet patterns on my website.
*****************************************************
Ad- Free Premium Copy
If you would like to purchase a copy of the Posted Beanie Crochet Pattern, you can find it at my Ravelry Store for a small fee.
***********************************************
Premium Crochet Pattern Stores

![]()
![]()
********************************************************
Find me, Jo of Jo’s Crafty Hook at the places listed below.
Email: joeybaird@aol.com
Facebook Group Jo’s Crafty Hookers
Facebook Group Jo’s Crafty Hook Designs
Facebook Page Jo’s Crafty Hook
Facebook Page: Crochet Designer Community
![]()


 Gauge for Bodice