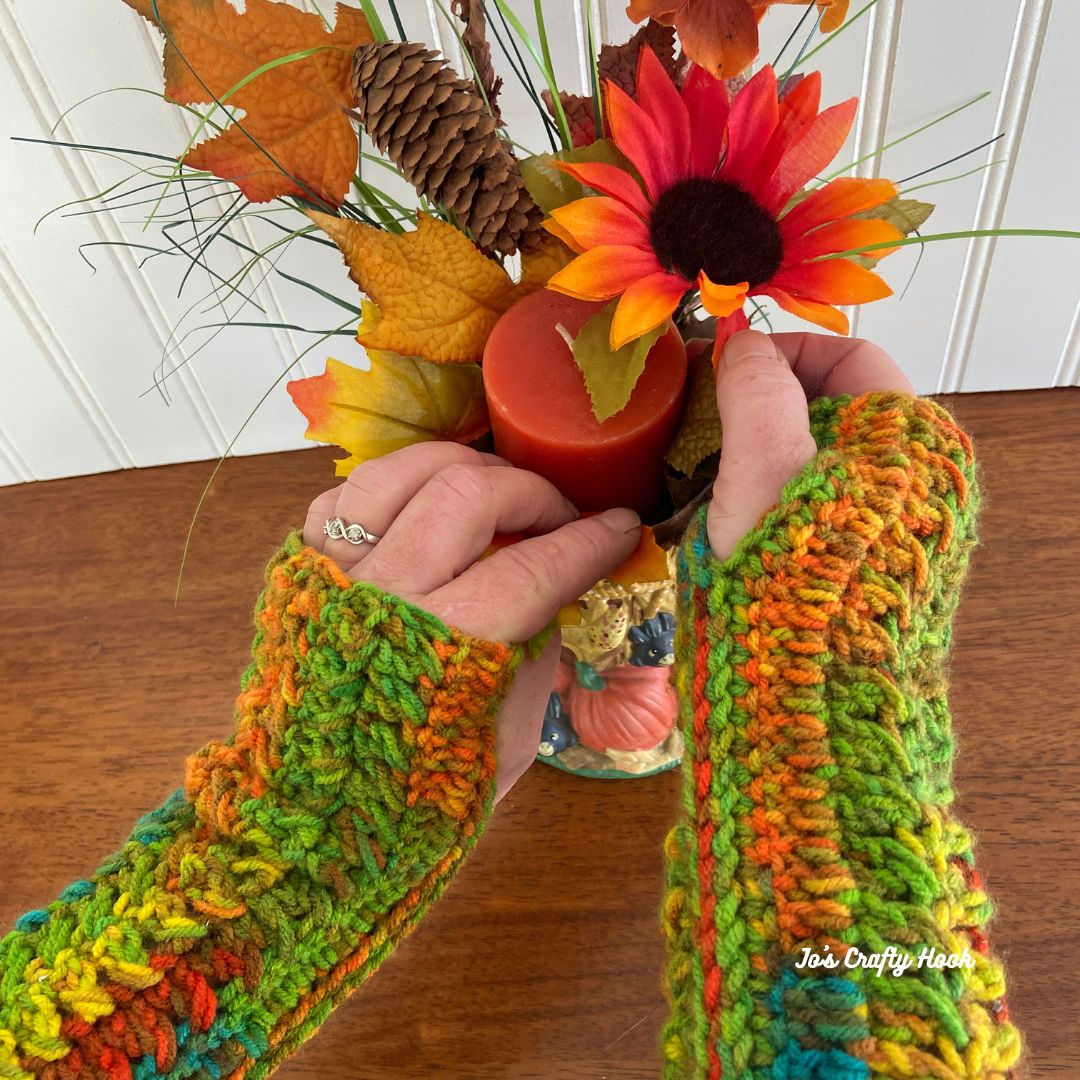
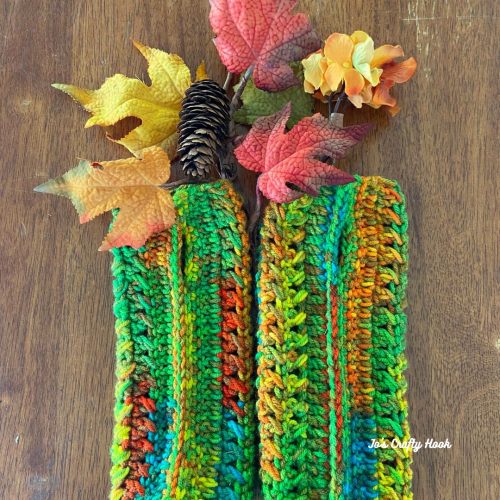
XBox Wrist Warmers Crochet Pattern
My XBox Wrist Warmers Crochet Pattern is a Unisex crochet pattern that can be made for boys and girls as well as men and women.
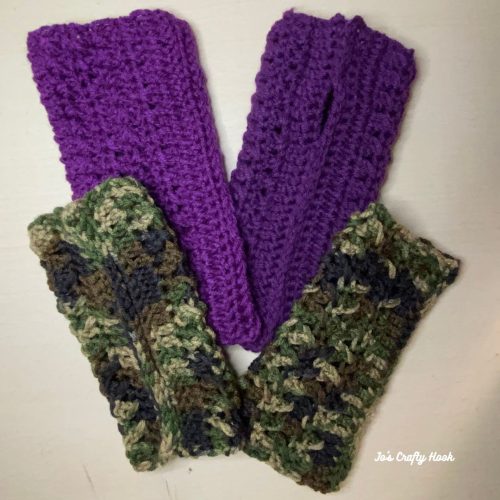
Inside the crochet pattern you will find 3 sizes to choose from to make the perfect fit for anyone.
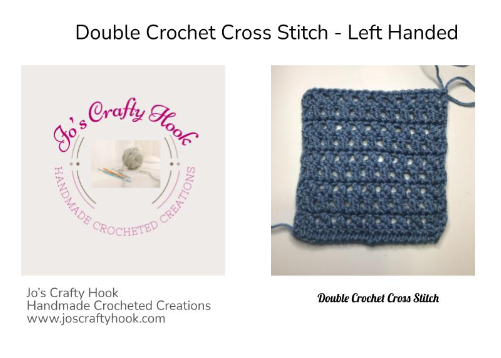
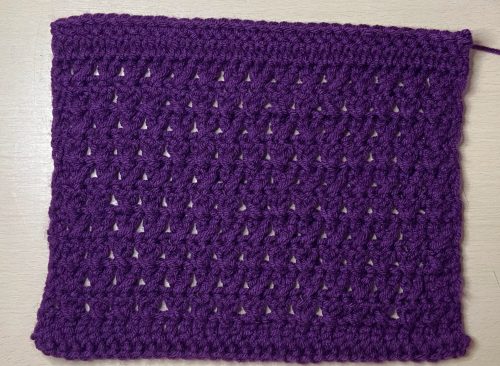
The crochet pattern uses the Double Crochet Cross Stitch. I love using this stitch because it creates a nice texture and has some stretch to it so what ever you make isn’t too tight.
Want to receive my latest new about FREE and new crochet pattern releases; my roundups; collaborations and more? Sign up for my Newsletter and get a FREE crochet pattern for doing so!
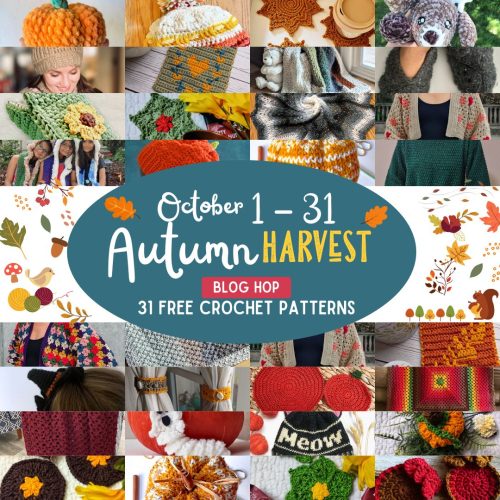
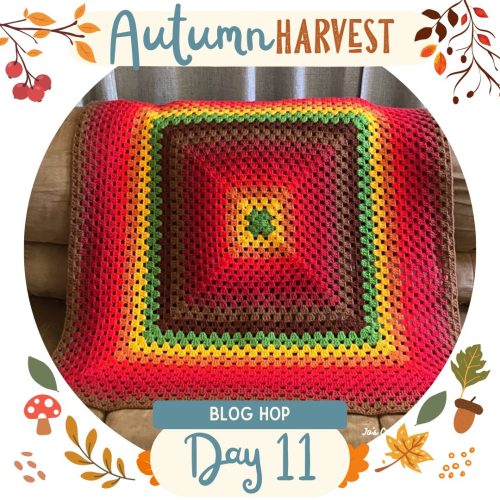
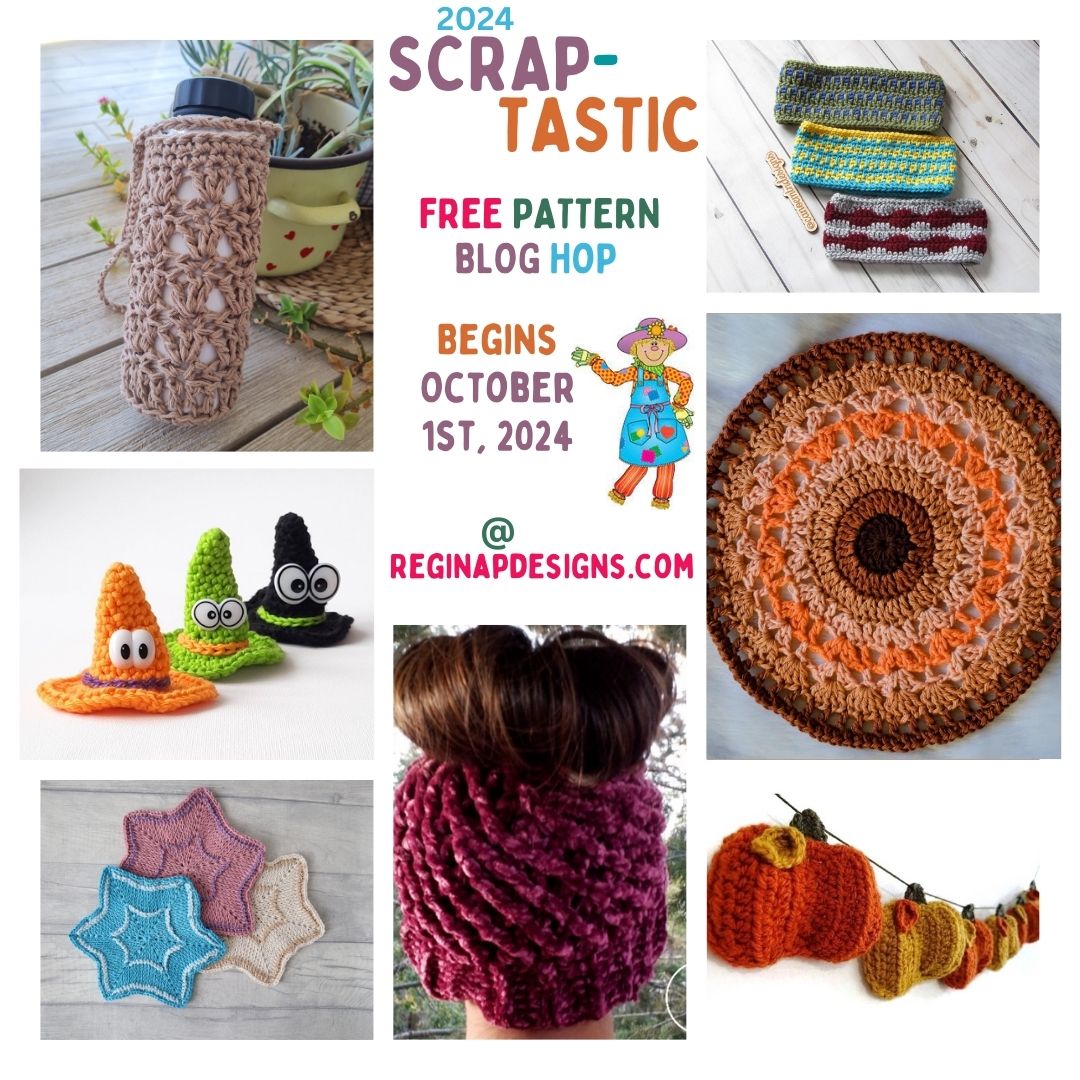
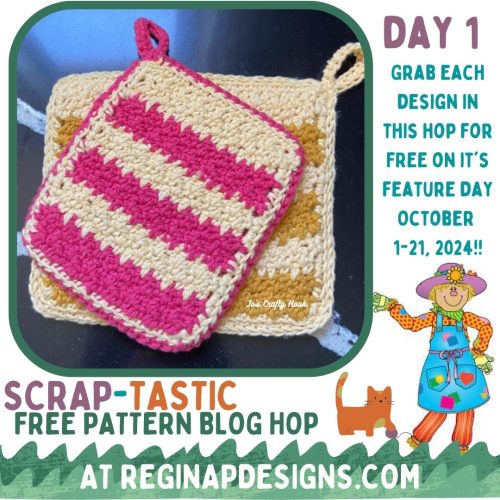
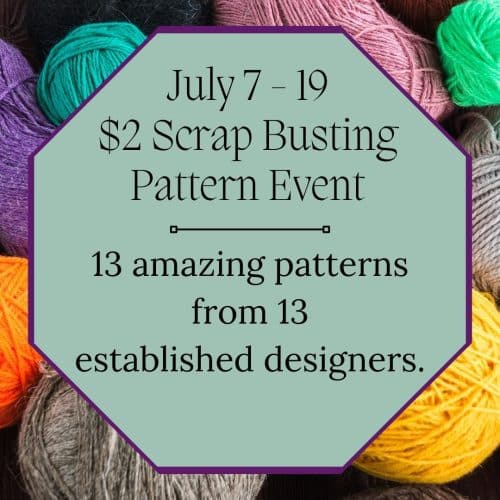
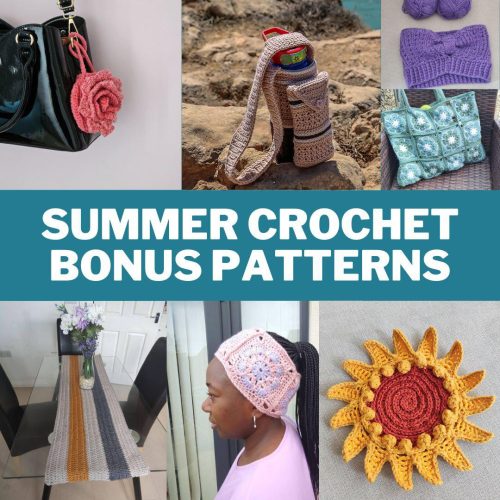
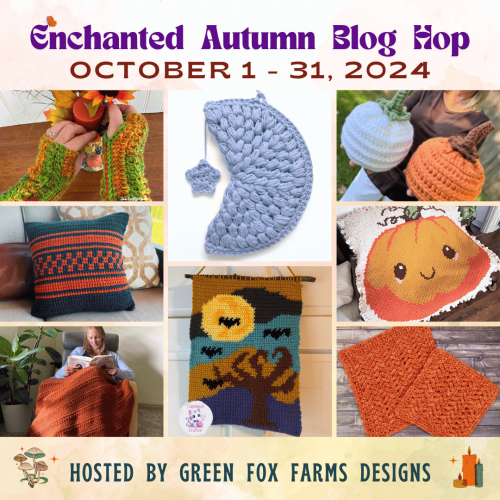
Enchanted Autumn Blog Hop hosted by Green Fox Farms
October 1-31, 2024
Green Fox Farms is hosting the Enchanted Autumn Blog Hop and has included my XBox Wrist Warmers Crochet Pattern that are a perfect make for Autumn! You can get a FREE premium copy on my featured day, October 23, 2024.
The Enchanted Autumn Blog Hop also features a number of daily Crochet Patterns that are perfect for Autumn from a group of great crochet designers! 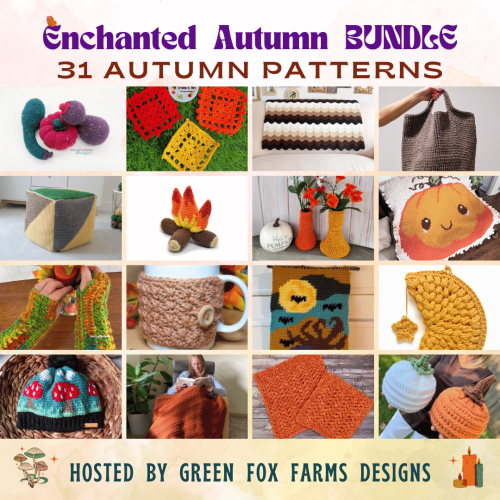
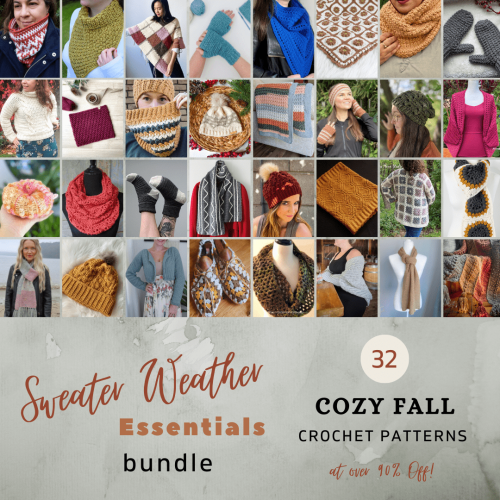
Enchanted Autumn Bundle Sale
If you have missed getting the daily crochet patterns, you can still get them! Green Fox Farms has also put together a Fab-u-Lous the Enchanted Autumn Bundle with ALL 31 Fab-u-Lous premium crochet patterns that you can get for $20!
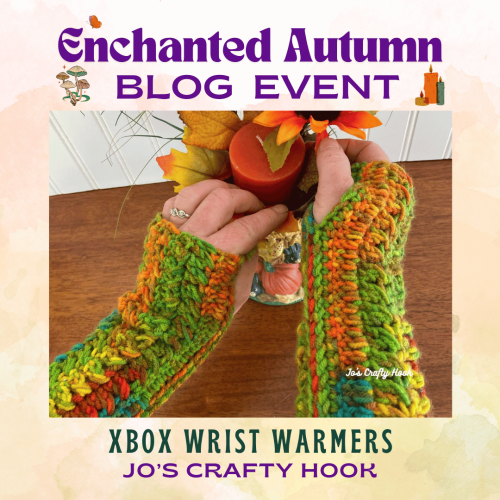
My Featured Day – Oct 23-24, 2024
Today, October 23rd, you can get a FREE premium copy of my XBox Wrist Warmers Crochet Pattern in the Enchanted Autumn Blog Hop!
Click on the Enchanted Autumn Event Page to get the Coupon Code needed to get a FREE premium copy of my XBox Wrist Warmers Crochet Pattern.
Once you have the Coupon Code, click on the Download Pattern button below where you will be directed to my Ravelry Store. Use the Coupon Code at Checkout.
Be sure to visit the Enchanted Autumn Blog Hop daily for the FREE Crochet Patterns or you can purchase a copy of the Enchanted Autumn Bundle for $20!
Below you can find a FREE version of my XBox Wrist Warmers FREE that is a Unisex design for Men & Women, Boys & Girls.
Ad-Free Premium Copy of my XBox Wrist Warmers
If you can’t wait to make these wrist warmers, you can find an Ad-Free Premium copy of my XBox Wrist Warmers Crochet Patterns at any of my stores listed below for $3!
![]()


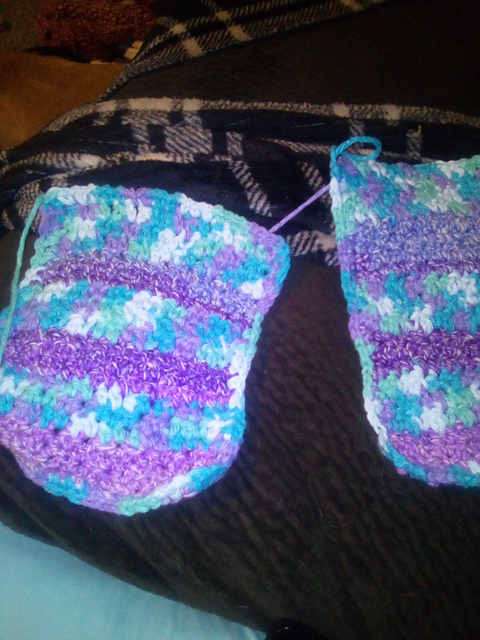
XBox Wrist Warmers FREE Crochet Pattern
You can find my Left Handed Video Tutorial for the X-Stitch on my YouTube Channel.
Below you will find a FREE crochet pattern on how to crochet the XBox Wrist Warmers in 3 sizes.
Information Needed
Materials:
100-175 yds of #4 ply Worsted/Aran Weight Yarn
US H or 5 mm Crochet Hook
Scissors
Tapestry Needle
US Terminology
Skill Level: Beginner
Abbreviations/Stitches Used:
ch = chain
sc = single crochet
dc = double crochet
fsc – foundation single crochet
alt ch 2 = alternate chain 2 or alternate starting chain
sk = skip
rep = repeat
RS = Right Side
WS = Wrong Side
Notes:
ch 3 counts as first dc
alt ch 2 counts as first dc
There are 2 panels, 1 for each wrist
Each panel is worked sideways
Each panel is sl st together to create 1 wrist warmer
Sizes are for Child, Adult and Adult Large consecutively
It would be good to do the Gauge Swatch before you begin. Due to different thickness of worsted/aran weight yarn you may need to go up or down a hook size.
Gauge:
US H or 5 mm Crochet Hook
16 dc x 8 rows = 4”
Gauge Swatch:
R1: ch 18, dc in 4th ch from hook, dc across. (16 dc)
R2-R8: ch 3, turn, dc across. (16 dc)
If you have never used some of the stitches listed in the Abbreviations/Stitches Used section, I have great left handed video tutorials to help you master those stitches.
My Left Handed Video Tutorials
Alternate Chain 2 or Alternative Starting Chain
Finished Size Chart
| Size | Width | Length | Yarn Yardage |
| Child | 3” | 7” | 100 yds |
| Adult | 4” | 9” | 150 yds |
| Adult Large | 6” | 11” | 175 yds |
Customizing
You can make the Wrist Warmer larger or smaller by using the breakdown of the measurements below.
4 st x 2 rows = 1”
8 st x 4 rows = 2”
12 st x 6 rows 3”
16 st x 8 rows = 4”
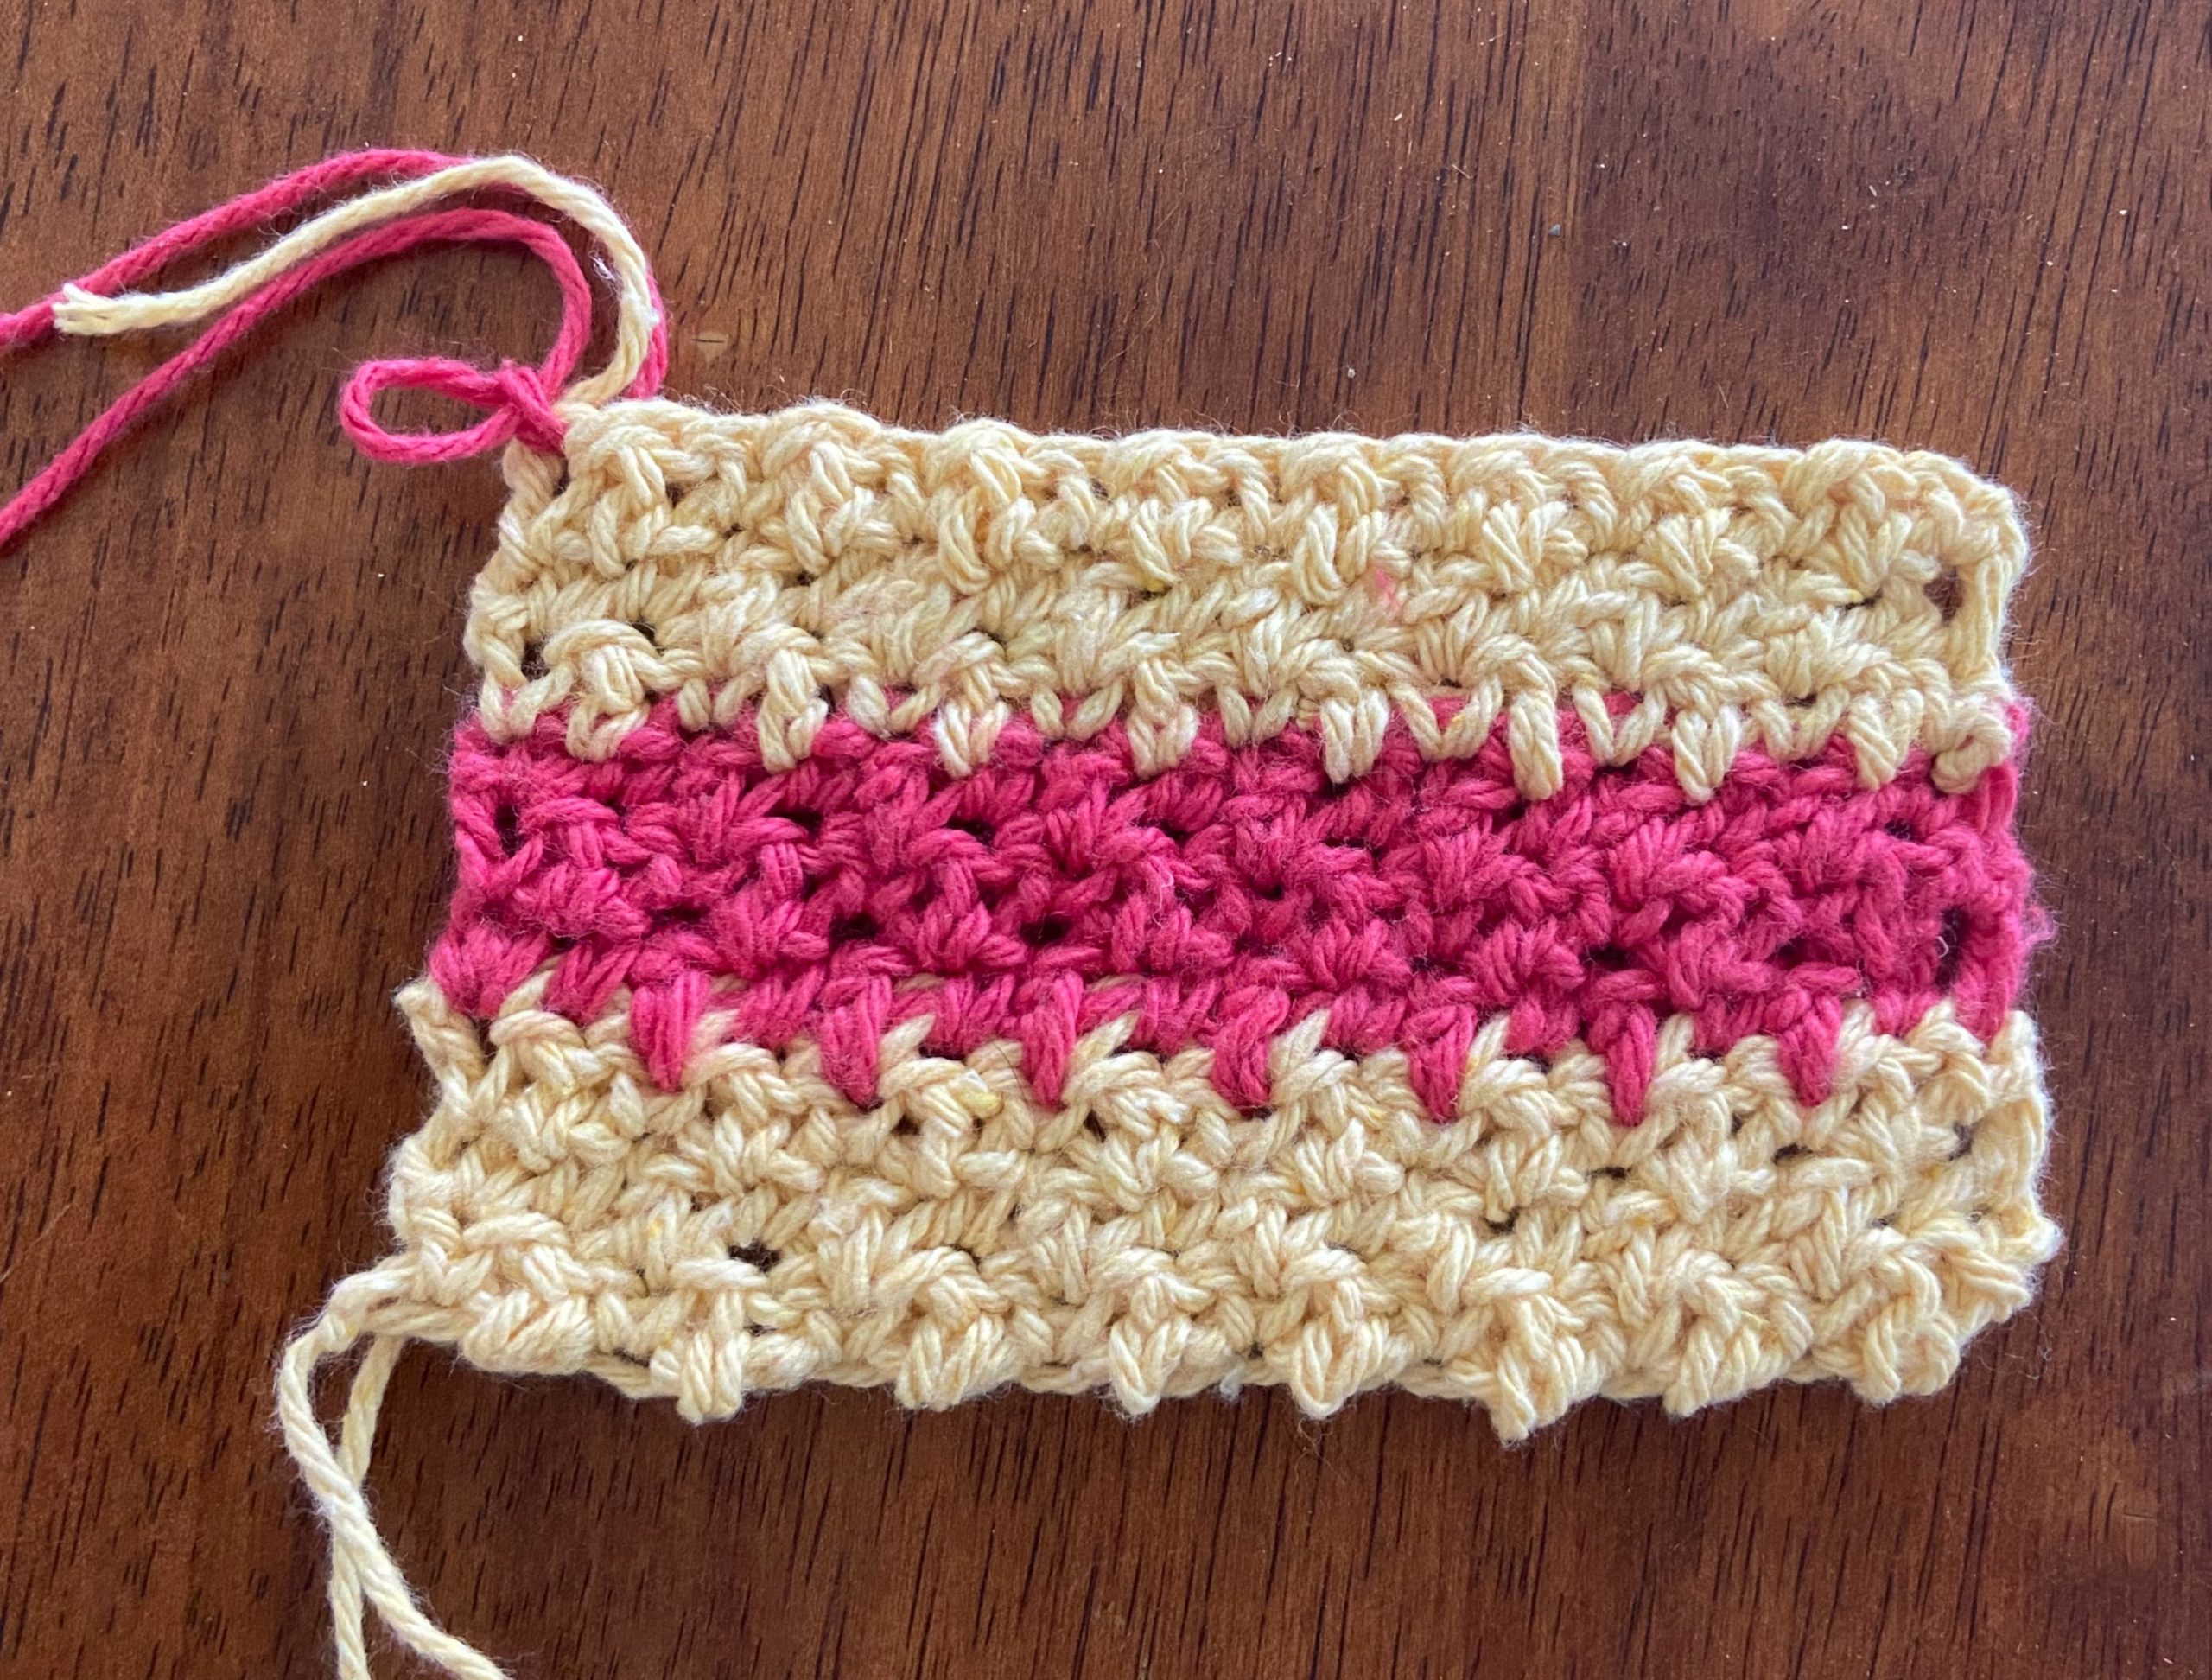
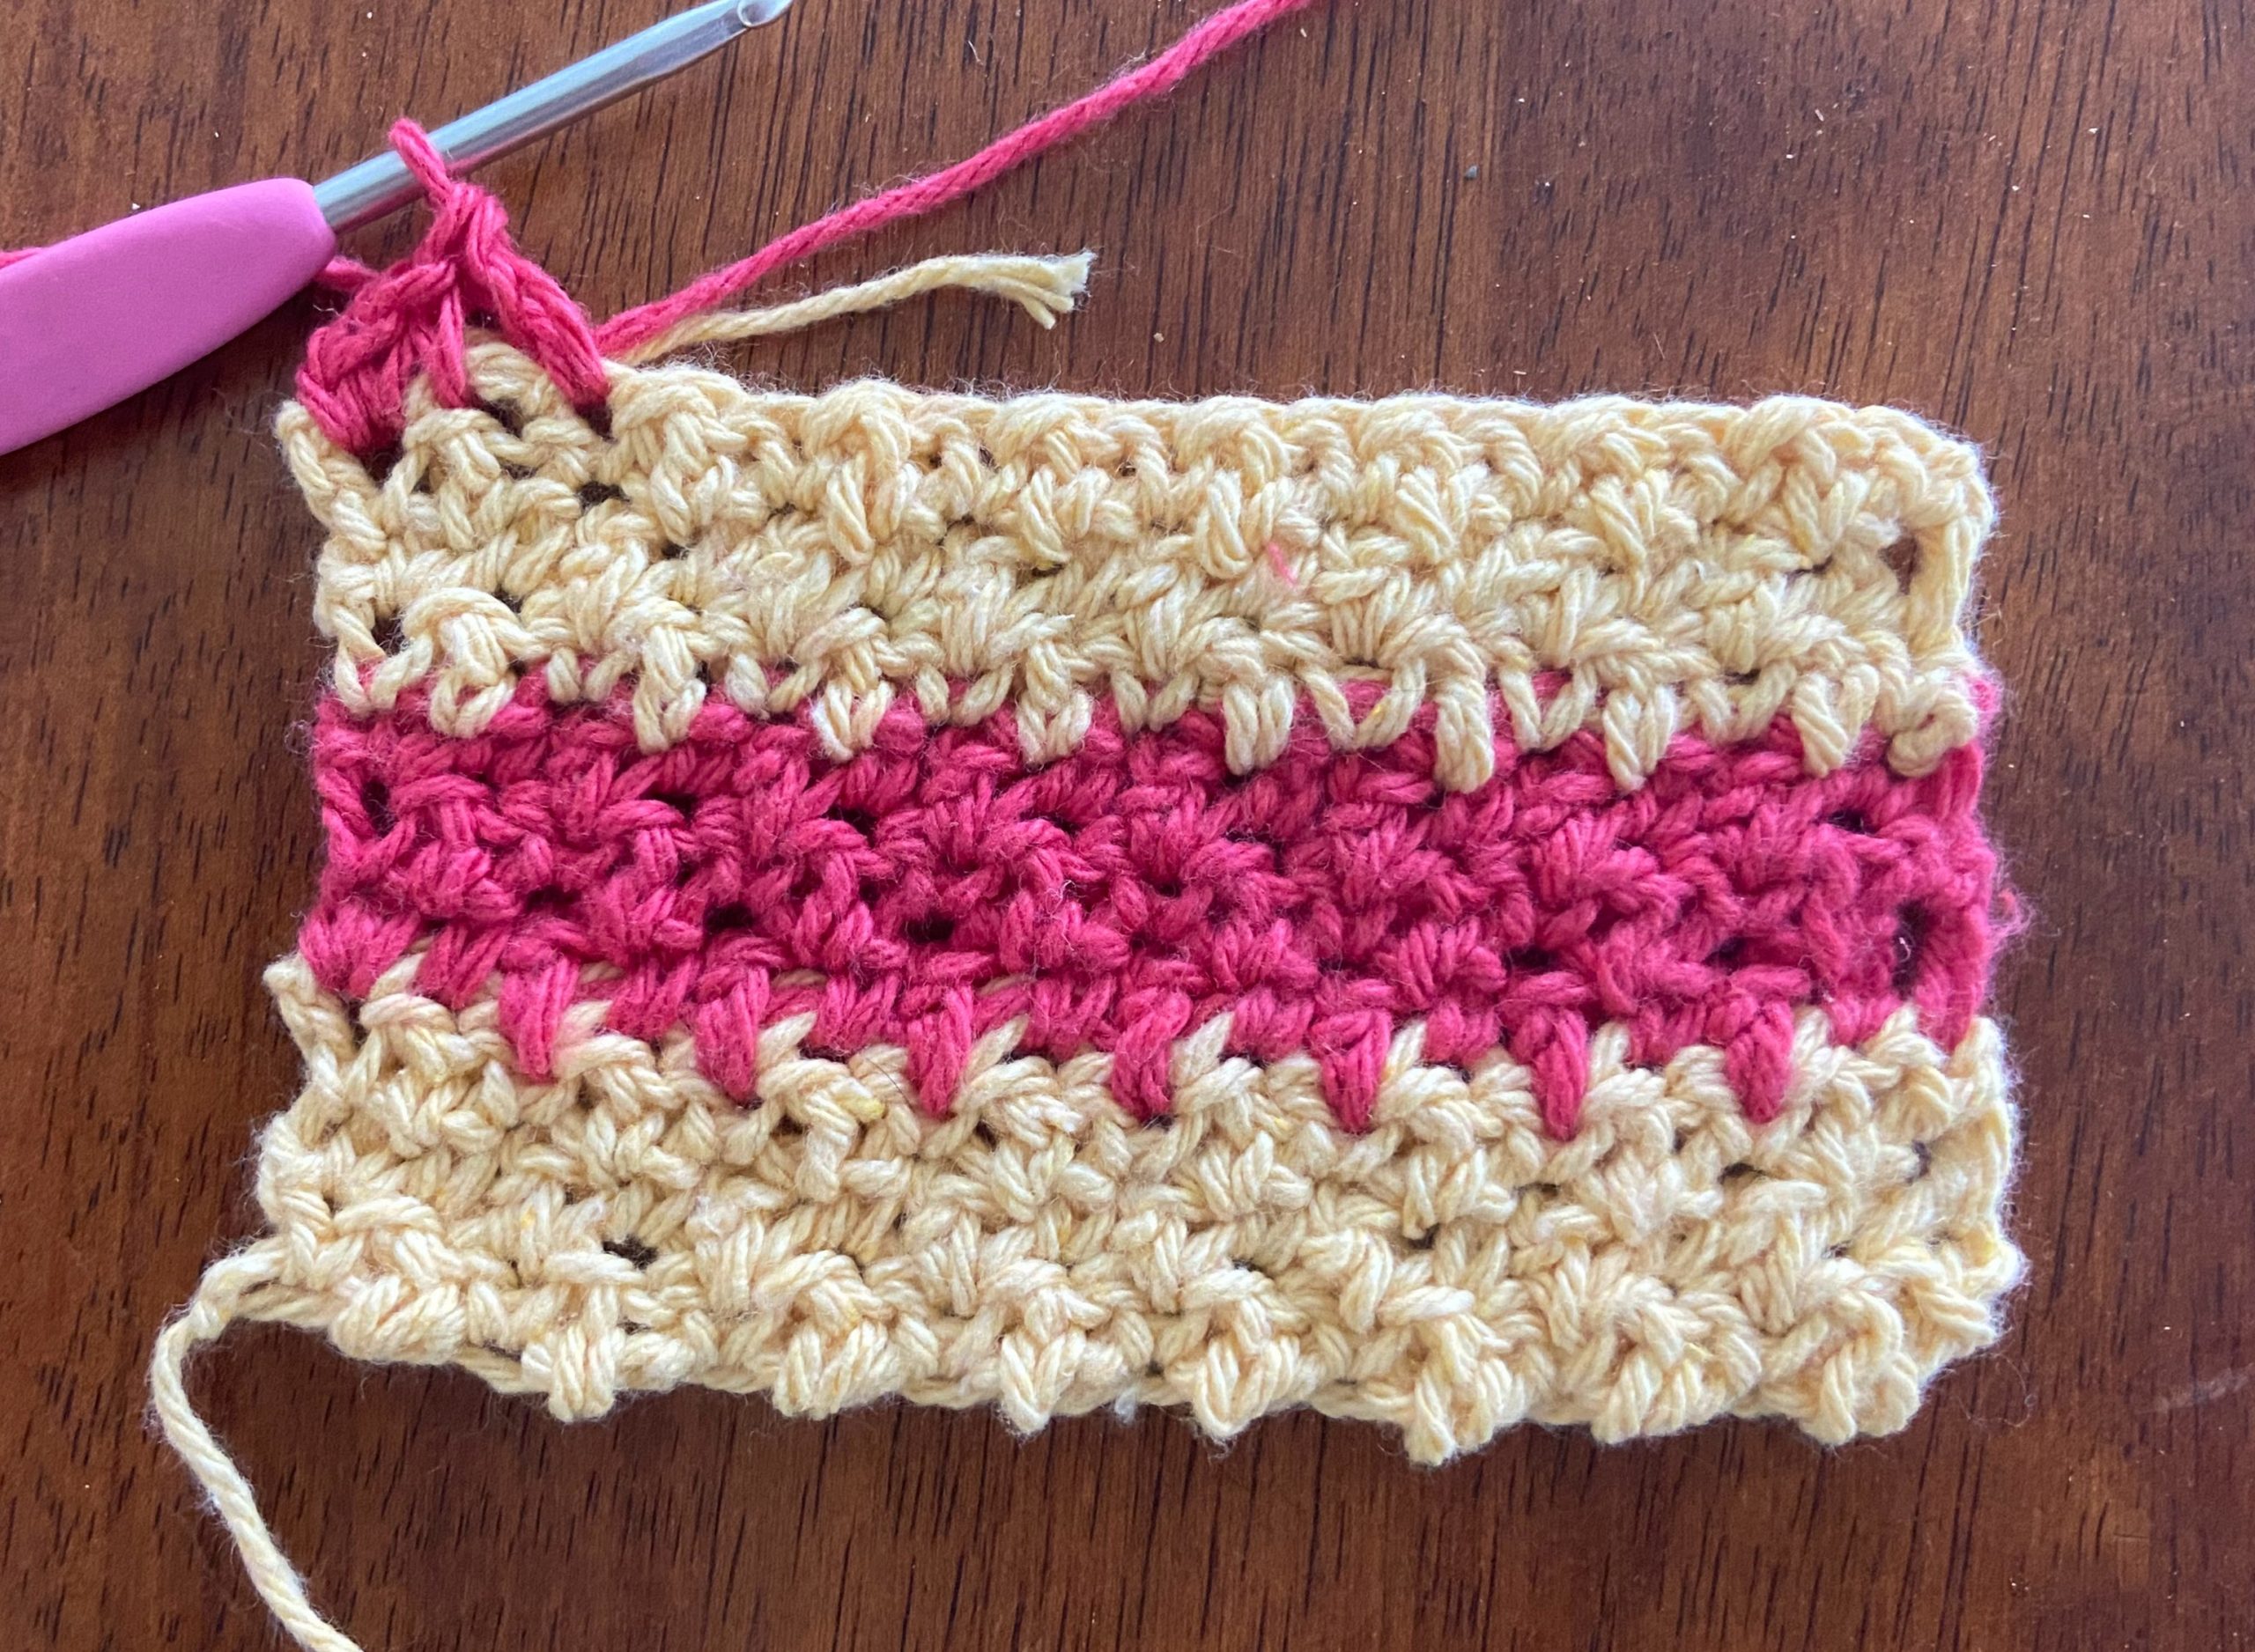
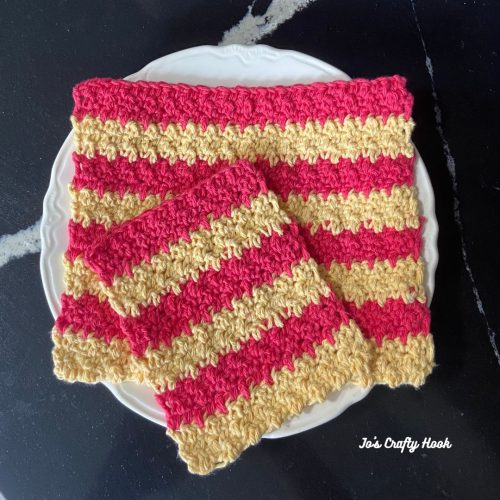
Example of Double Crochet Cross Stitch – Left Handed Version
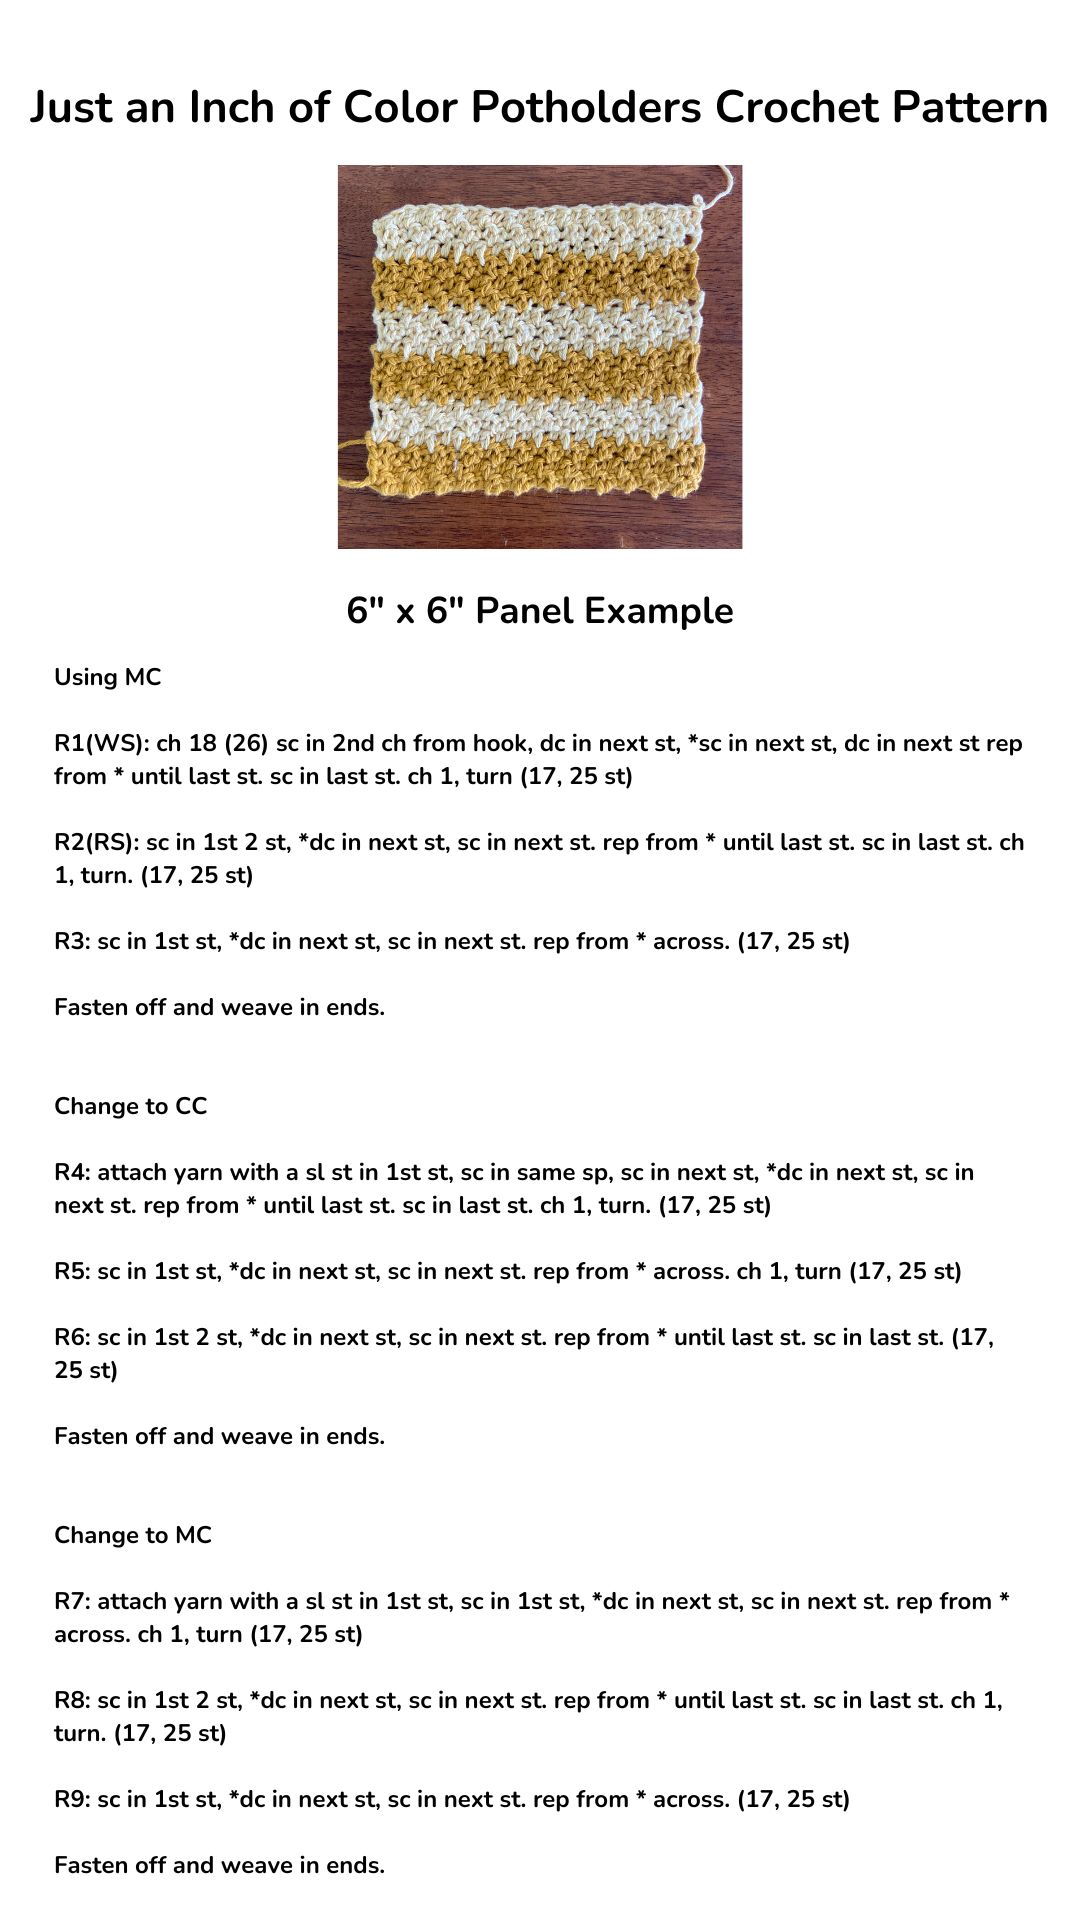
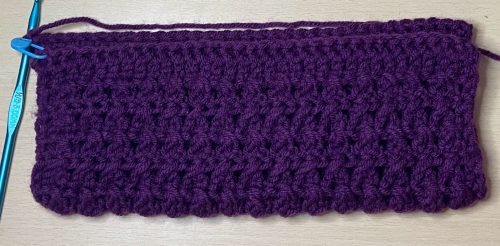
Panel Example

R1: fsc 24 (32, 40) turn (24, 32, 40 sc)
Alternative: ch 25 (33, 41) sc in 2nd ch from hook, dc across. turn (24, 32, 40 sc)
R2(RS): alt ch 2 or ch 3, dc across. turn (24, 32, 40 dc)
R3-R8(10, 14): alt ch 2 or ch 3 *sk 1 st, dc in next st, dc in sk st. rep from * until last st. dc in last st. turn (24, 32, 40 dc)
R9(11, 15): alt ch 2 or ch 3, dc across. turn (24, 32, 40 dc)
R10(12, 16): ch 1, sc in same sp, sc across. (24, 32, 40 sc)
Do not fasten off.
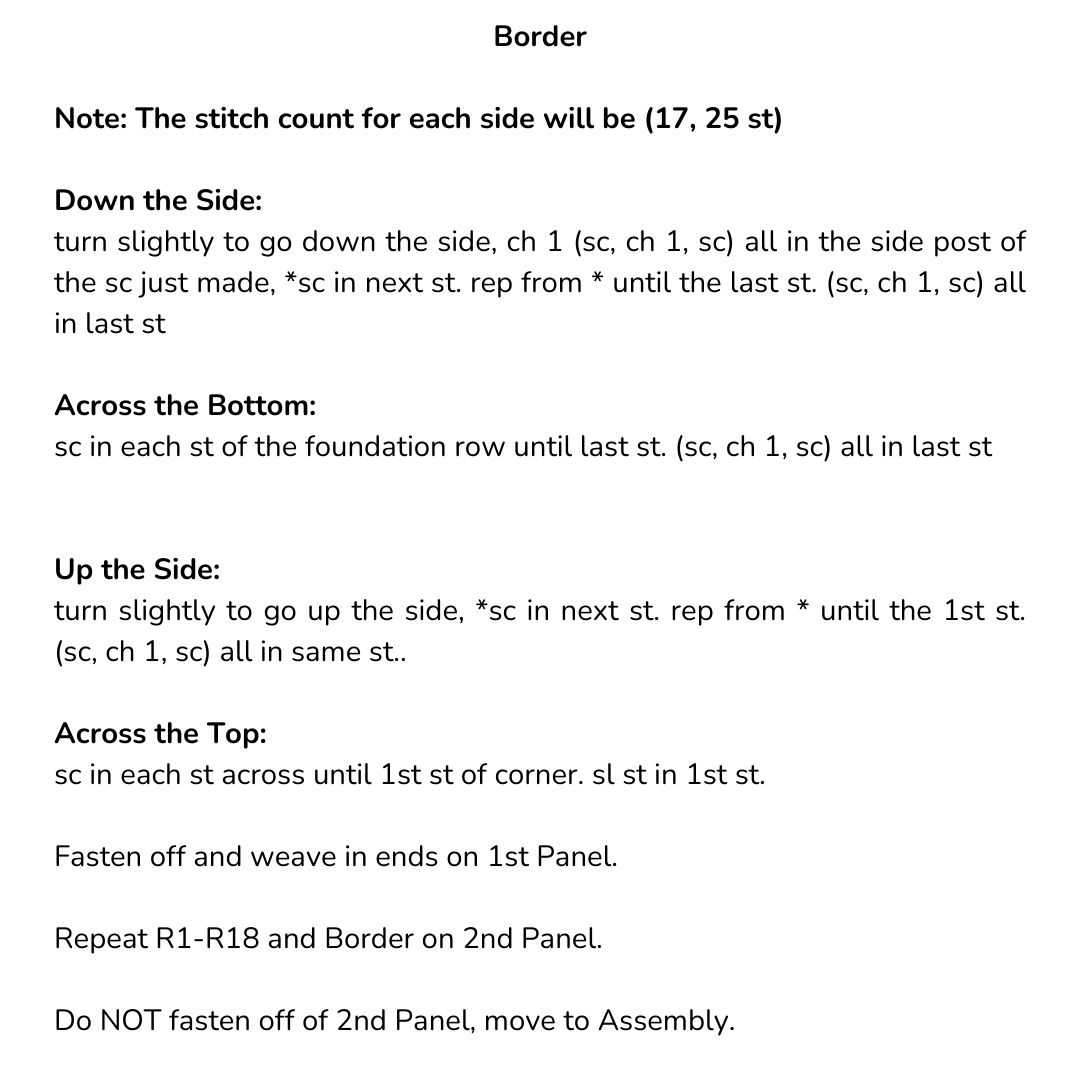
Creating Thumbhole
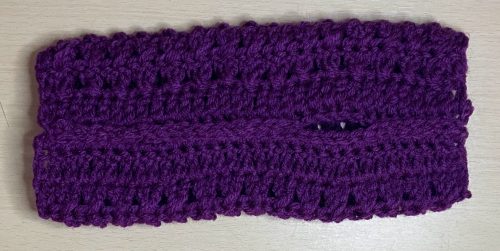
Step 1:
ch 1, turn. fold panel in half with WS of last row worked to WS of foundation row.
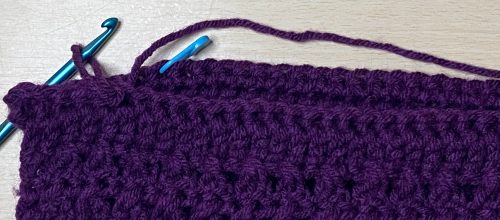
Step 2:
going through both rows, sc in 1st st of last row worked and foundation row, sl st next 3 (5, 7) st together.
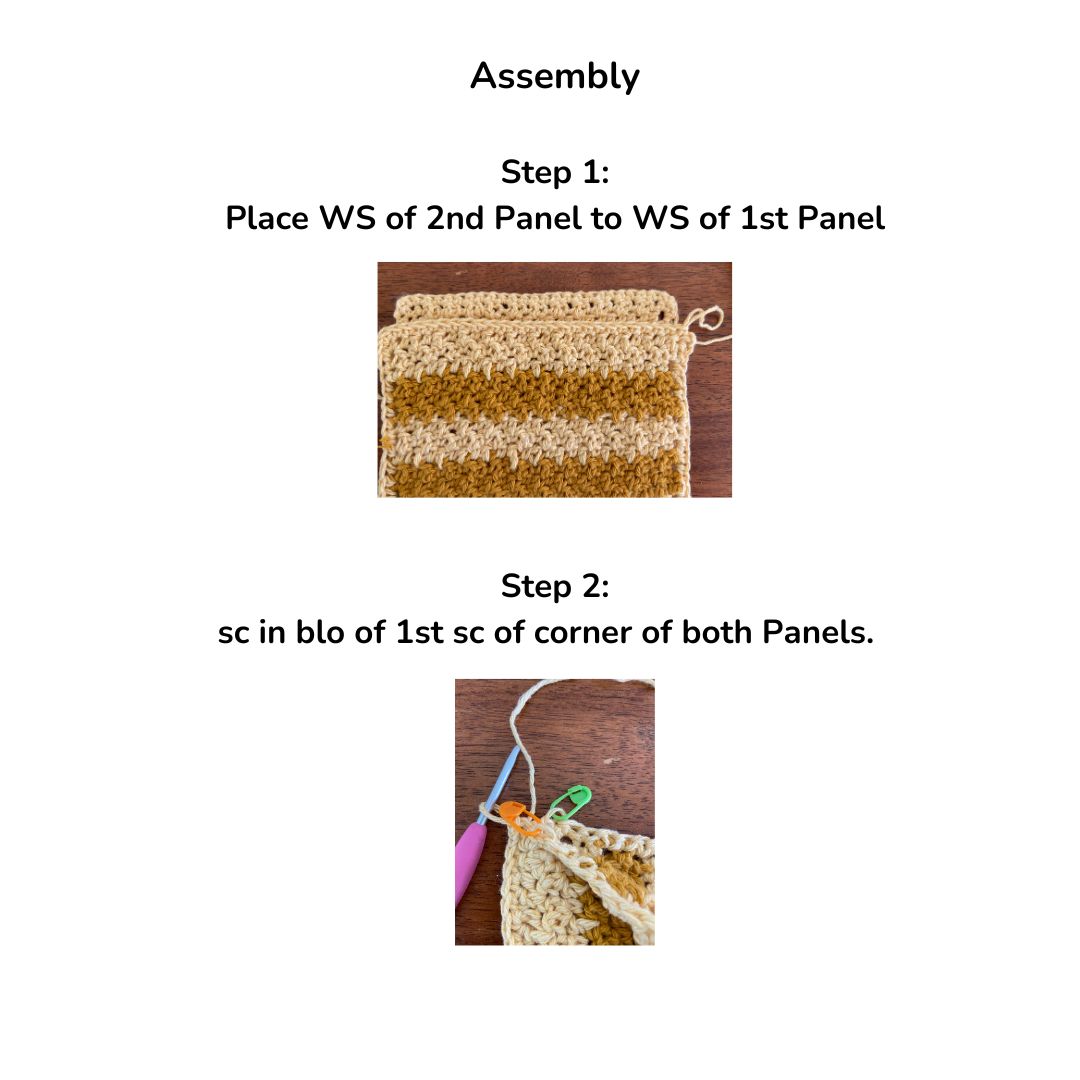
Step 3:
sl st in next 4 (6, 8) st of foundation row only, leaving the last row’s st unworked.
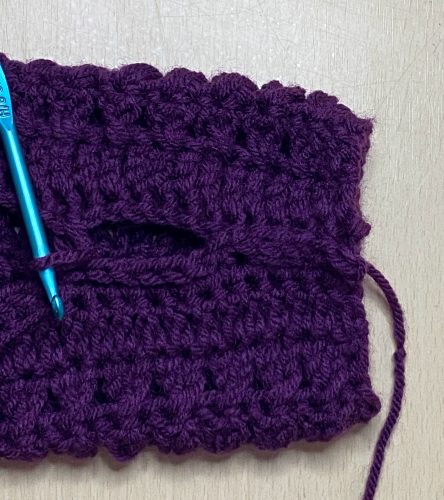
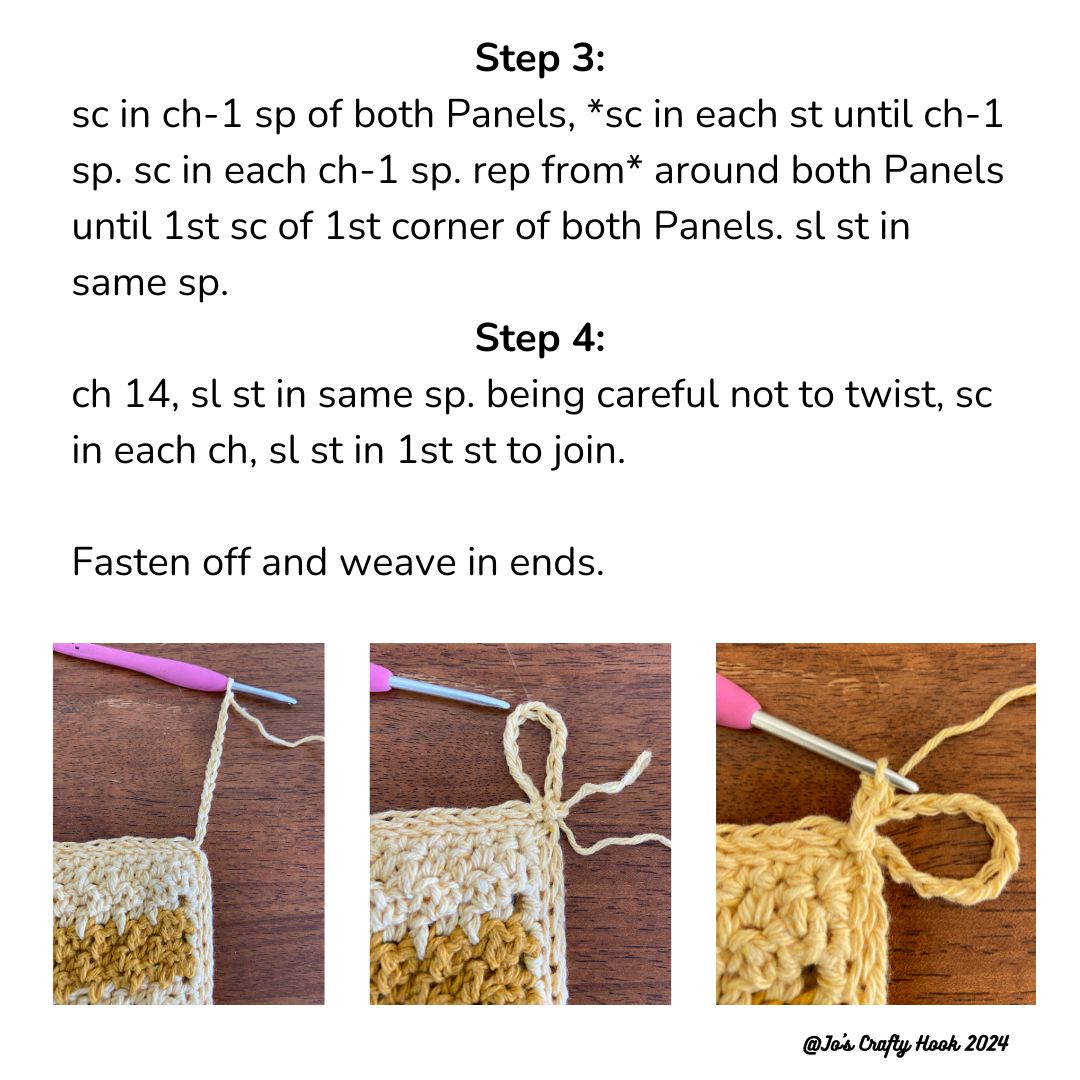
Step 4:
sl st the remaining st of last row worked and foundation row until last st. sc in last st.
Fasten off and weave in ends.
Repeat for the instruction about for the 2nd Wrist Warmer.
@Jo’s Crafty Hook 2024
That’s it! You have made your own version of the XBox Wrist Warmers!
I would love to see what you created! You can tag me at @joscraftyhook and in my FB Group Jo’s Crafty Hook Designs
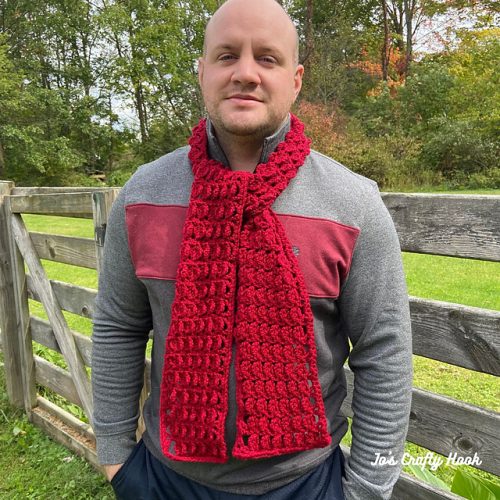
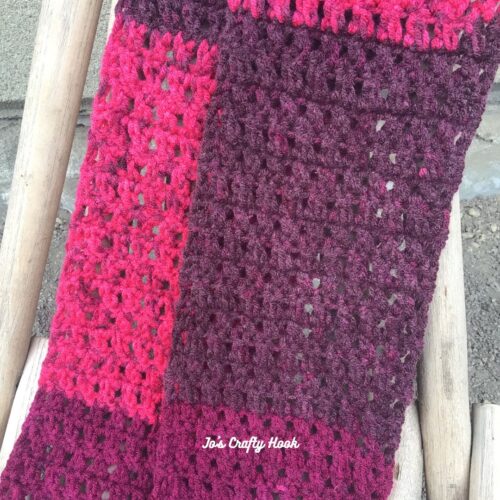
You can find the matching XBox Scarf Crochet Pattern that uses the same stitch and has 4 size to choose from. This is also a Unisex crochet pattern and has 4 sizes to choose from.
You can find the premium copy at my Ravelry Store or Etsy or LoveCrafts
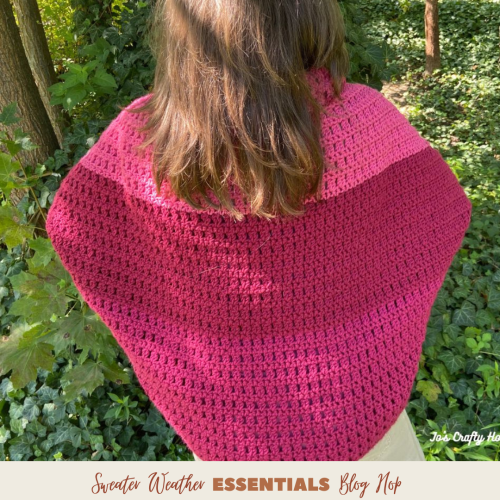
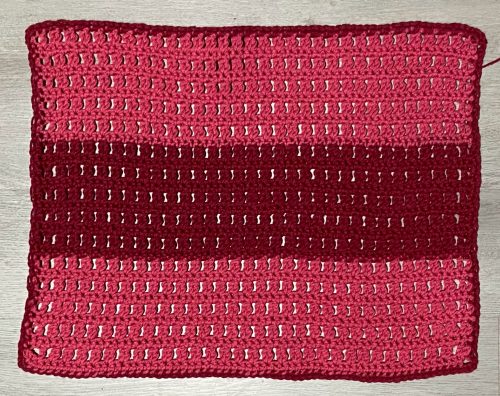
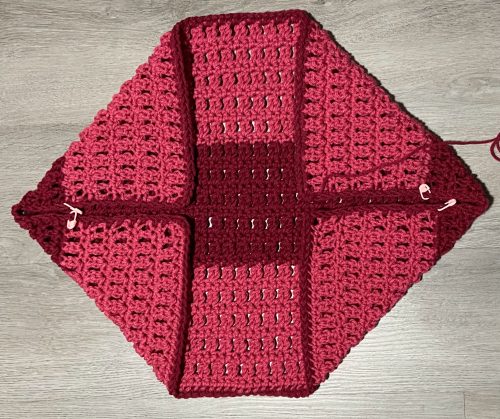
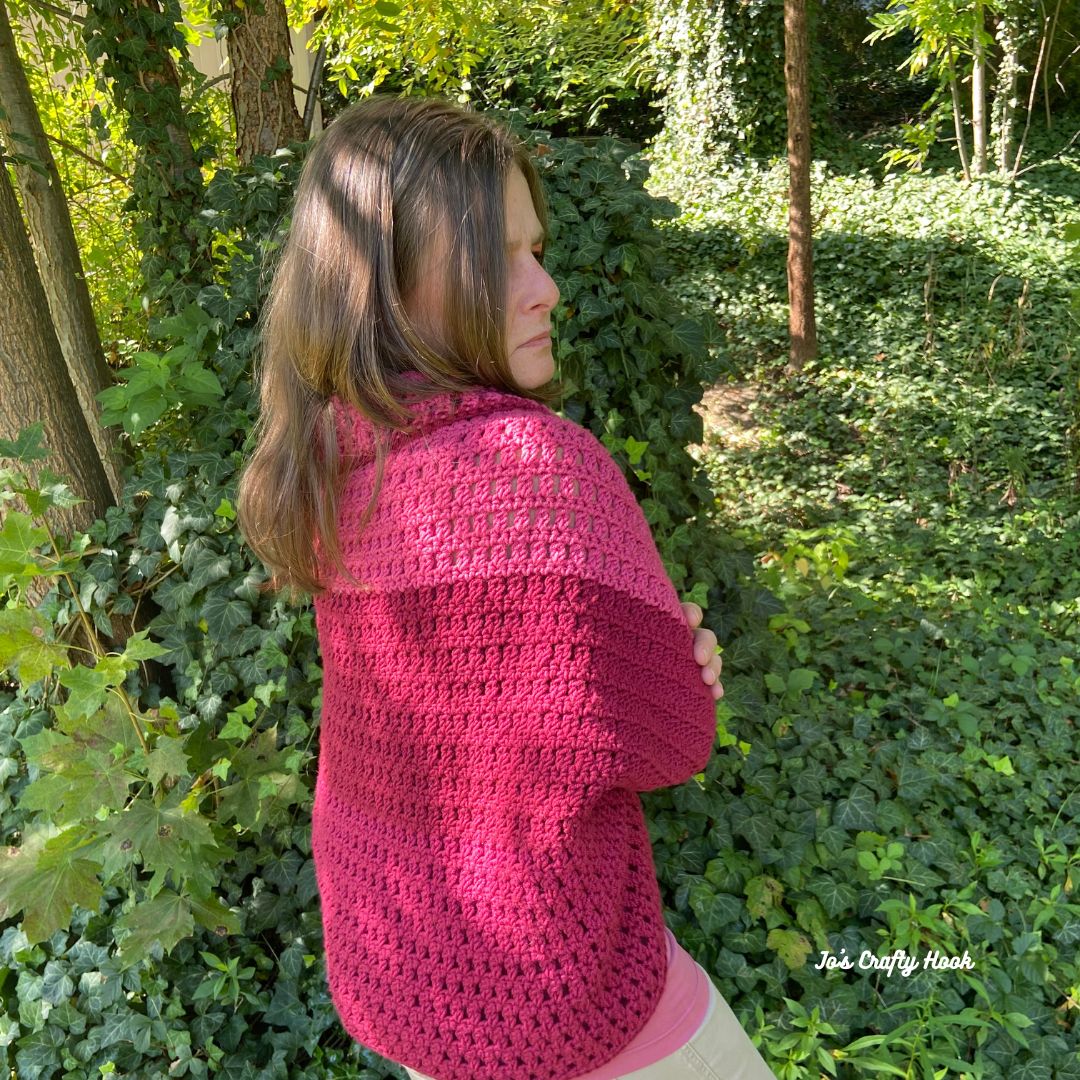
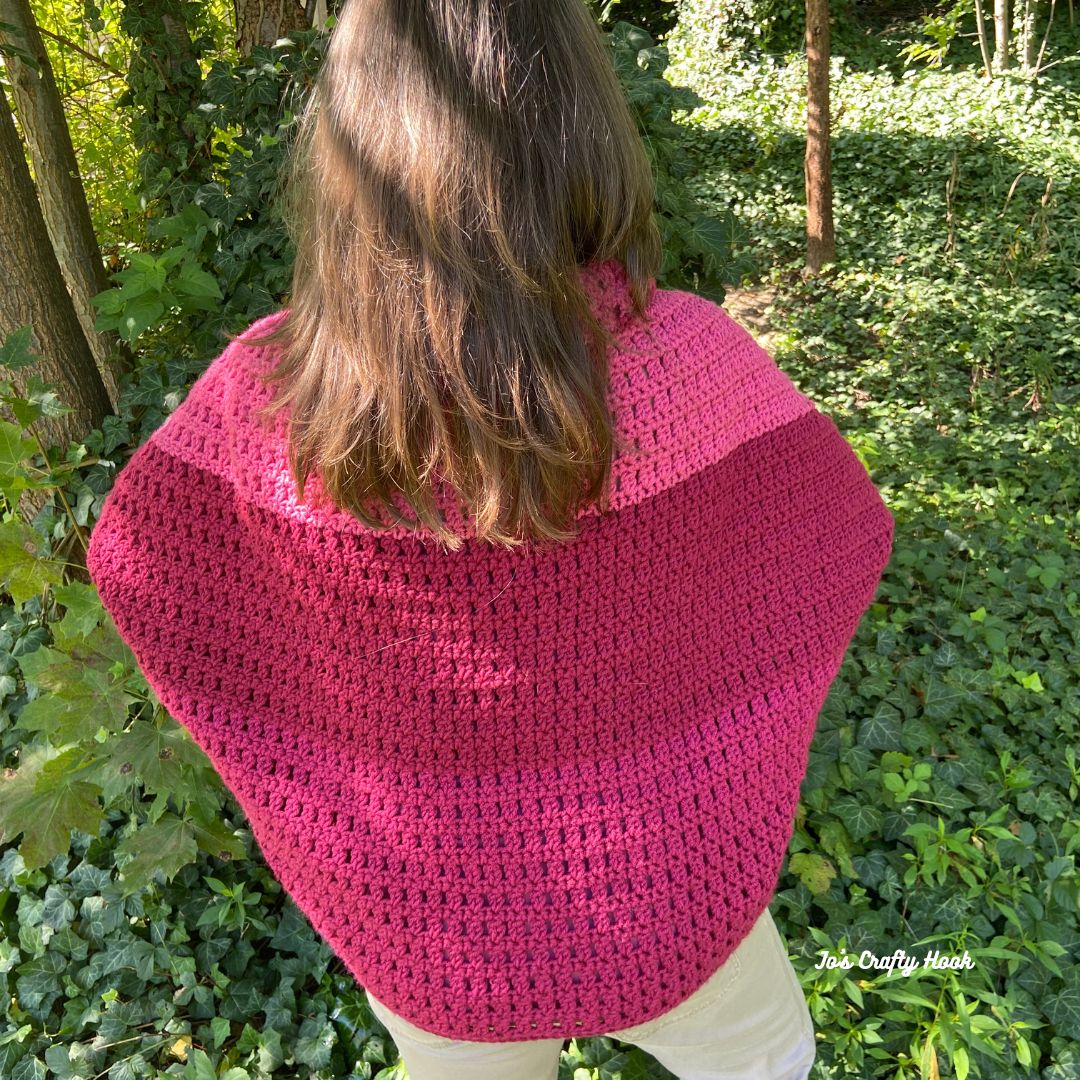
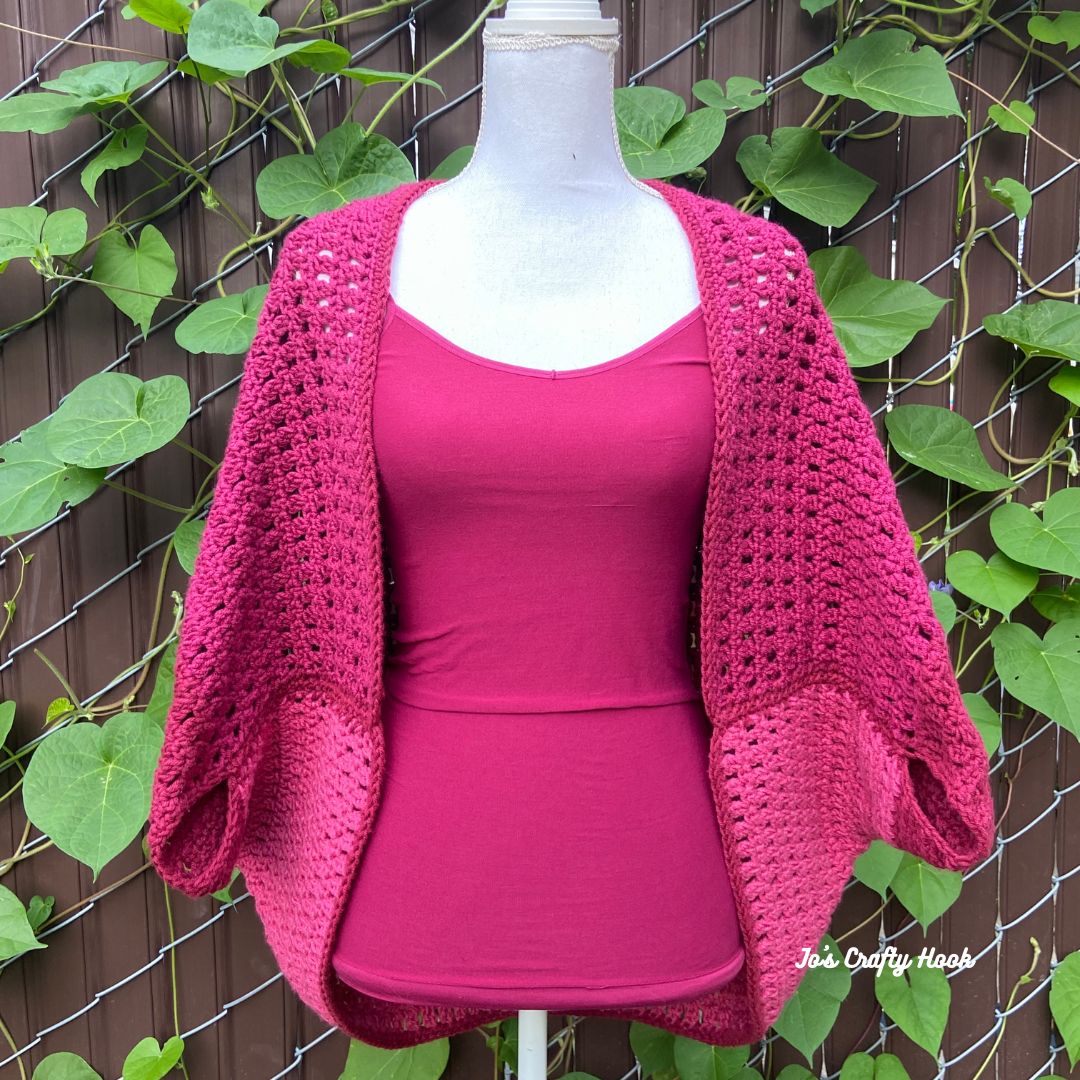
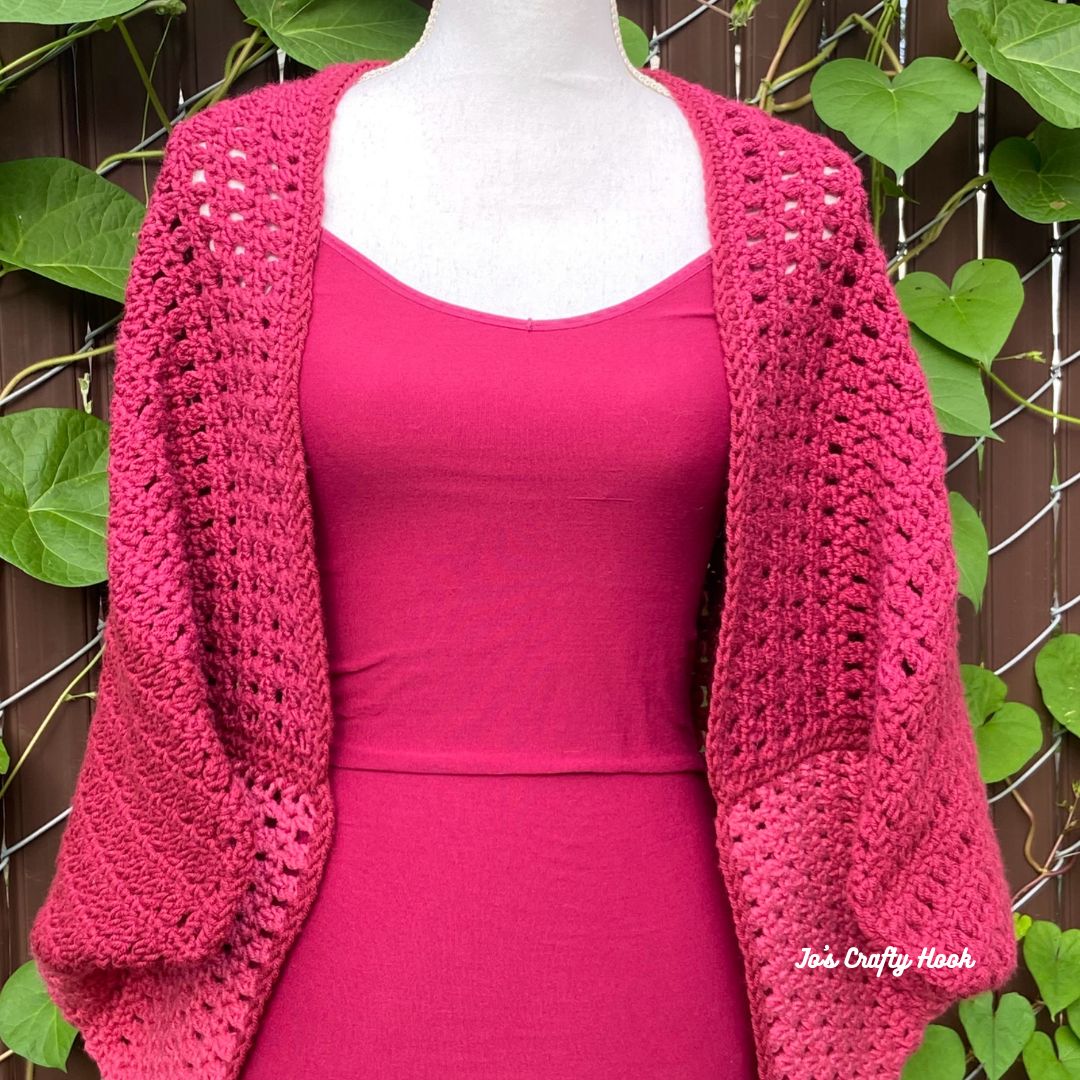
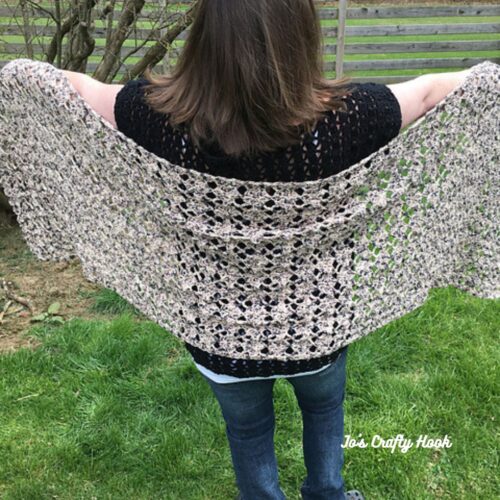
Berry Cocoon Shrug Sweater Crochet Pattern
I have just released another crochet pattern that would be a perfect addition to your Autumn wardrobe, the Berry Cocoon Shrug Sweater Crochet Pattern. There are 3 sizes to choose from so you crochet it and make it the perfect fit for yourself or someone else.
You can find the Ad-Free Version at my Ravelry Store for a small fee.

I also have a wide selection of FREE crochet pattern that you can find on my website.
You can find more of my premium crochet patterns at my Ravelry Store, LoveCrafts, and my Etsy Shop
********************************************************
Find me, Jo of Jo’s Crafty Hook at the places listed below.
Email: jo@joscraftyhook.com
Facebook Group Jo’s Crafty Hookers
Facebook Group Jo’s Crafty Hook Designs
Facebook Page Jo’s Crafty Hook
Facebook Page: Crochet Designer Community
![]()