C2C Sun Square

I am SO excited to finally able to share my very 1st C2C crochet pattern, the C2C Sun Square!  I got to tell ya, I was SO freaked out when Helen of Sunflower Cottage Crochet first asked me to design one for the C2C Community Garden CAL!!


The Community Garden C2C Blanket CAL hosted by Sunflower Cottage Crochet that started back in September.  You can find out more about the CAL at the Main Roundup Page.


Community Garden CAL

If you have missed any of the premium crochet patterns that have been a part of the Community Garden CAL, you can get the eBook for $12.99 that has ALL the information you’ll need to make 20 C2C blanket squares.


Community Garden eBook


Today, October 5th is my day to share the FREE premium crochet pattern of my C2C Sun Square.  To get today’s Coupon Code needed to download the free PDF copy of the C2C Sun Square click on the Button below to visit the main blog hop page.


Bring the Coupon Code needed to get your free PDF copy of my Sunshine C2C premium crochet pattern.  Click the Button below to be directed to my Ravelry Store.  Enter the Coupon Code at Checkout.  Then you will receive your free PDF.


**********************************************************

Enjoy the Sun C2C Square Free Crochet Pattern  Below.


Colour Colour you are using No of Sts
Blue (B) 400
Yellow (Y) 225


Written Instructions:


Row 1 [RS]: (B) x 1 (1 square)

Row 2 [WS]: (B) x 2 (2 squares)

Row 3 [RS]: (B) x 3 (3 squares)

Row 4 [WS]: (B) x 4 (4 squares)

Row 5 [RS]: (B) x 2, (Y) x 1, (B) x 2 (5 squares)

Row 6 [WS]: (B) x 2, (Y) x 2, (B) x 2 (6 squares)

Row 7 [RS]: (B) x 3, (Y) x 1, (B) x 3 (7 squares)

Row 8 [WS]: (B) x 3, (Y) x 2, (B) x 3 (8 squares)

Row 9 [RS]: (B) x 4, (Y) x 1, (B) x 4 (9 squares)

Row 10 [WS]: (B) x 4, (Y) x 2, (B) x 4 (10 squares)

Row 11 [RS]: (B) x 5, (Y) x 1, (B) x 5 (11 squares)

Row 12 [WS]: (B) x 5, (Y) x 2, (B) x 5 (12 squares)

Row 13 [RS]: (Y) x 1, (B) x 12 (13 squares)

Row 14 [WS]: (B) x 12, (Y) x 2 (14 squares)

Row 15 [RS]: (B) x 1, (Y) x 2, (B) x 12 (15 squares)

Row 16 [WS]: (B) x 6, (Y) x 5, (B) x 1, (Y) x 2, (B) x 2 (16 squares)

Row 17 [RS]: (B) x 3, (Y) x 1, (B) x 1, (Y) x 7, (B) x 5 (17 squares)

Row 18 [WS]: (B) x 5, (Y) x 8, (B) x 5 (18 squares)

Row 19 [RS]: (B) x 5, (Y) x 9, (B) x 5 (19 squares)

Row 20 [WS]: (B) x 6, (Y) x 9, (B) x 5 (20 squares)

Row 21 [RS]: (B) x 6, (Y) x 9, (B) x 6 (21 squares)

Row 22 [WS]: (B) x 6, (Y) x 10, (B) x 6 (22 squares)

Row 23 [RS]: (B) x 7, (Y) x 9, (B) x 7 (23 squares)

Row 24 [WS]: (B) x 2, (Y) x 4, (B) x 1, (Y) x 10, (B) x 7 (24 squares)

Row 25 [RS]: (B) x 3, (Y) x 4, (B) x 1, (Y) x 9, (B) x 2, (Y) x 4, (B) x 2 (25 squares)

Corner at both sides 

Row 26 [WS]: (B) x 2, (Y) x 4, (B) x 1, (Y) x 10, (B) x 1, (Y) x 4, (B) x 2 (24 squares)

Row 27 [RS]: (B) x 2, (Y) x 4, (B) x 1, (Y) x 9, (B) x 7 (23 squares)

Row 28 [WS]: (B) x 6, (Y) x 10, (B) x 6 (22 squares)

Row 29 [RS]: (B) x 6, (Y) x 9, (B) x 6 (21 squares)

Row 30 [WS]: (B) x 5, (Y) x 9, (B) x 6 (20 squares)

Row 31 [RS]: (B) x 5, (Y) x 9, (B) x 5 (19 squares)

Row 32 [WS]: (B) x 5, (Y) x 8, (B) x 5 (18 squares)

Row 33 [RS]: (B) x 5, (Y) x 7, (B) x 5 (17 squares)

Row 34 [WS]: (B) x 3, (Y) x 1, (B) x 1, (Y) x 5, (B) x 6 (16 squares)

Row 35 [RS]: (B) x 11, (Y) x 2, (B) x 2 (15 squares)

Row 36 [WS]: (B) x 1, (Y) x 2, (B) x 11 (14 squares)

Row 37 [RS]: (B) x 11, (Y) x 2 (13 squares)

Row 38 [WS]: (Y) x 1, (B) x 4, (Y) x 2, (B) x 5 (12 squares)

Row 39 [RS]: (B) x 5, (Y) x 1, (B) x 5 (11 squares)

Row 40 [WS]: (B) x 4, (Y) x 2, (B) x 4 (10 squares)

Row 41 [RS]: (B) x 4, (Y) x 1, (B) x 4 (9 squares)

Row 42 [WS]: (B) x 3, (Y) x 2, (B) x 3 (8 squares)

Row 43 [RS]: (B) x 3, (Y) x 1, (B) x 3 (7 squares)

Row 44 [WS]: (B) x 2, (Y) x 2, (B) x 2 (6 squares)

Row 45 [RS]: (B) x 2, (Y) x 1, (B) x 2 (5 squares)

Row 46 [WS]: (B) x 4 (4 squares)

Row 47 [RS]: (B) x 3 (3 squares)

Row 48 [WS]: (B) x 2 (2 squares)

Row 49 [RS]: (B) x 1 (1 square)

**********************************************************

You will find some of my Premium crochet patterns , by visiting any of my stores, by clicking on any of the Buttons below.


If you would like me to crochet any of my designs for you or others, I do take Custom Orders.  Visit my Ravelry Store or LoveCrafts to see some ideas of what you would like to Custom Order.  You can email me with your order or any other questions at j.o@joscraftyhook.com.

Find me, Jo of Jo’s Crafty Hook at the places listed below.

Email:  j.o@joscraftyhook.com

Website

Facebook Group Jo’s Crafty Hookers

Facebook Group Jo’s Crafty Hook Designs

Facebook Page Jo’s Crafty Hook

Facebook Page:  Crochet Designer Community

Ravelry

LoveCrafts

Instagram

YouTube

Pinterest

Donations Accepted

Maze’s Cat Toy Free Crochet Pattern

Maze’s Cat Toy Free Crochet Pattern

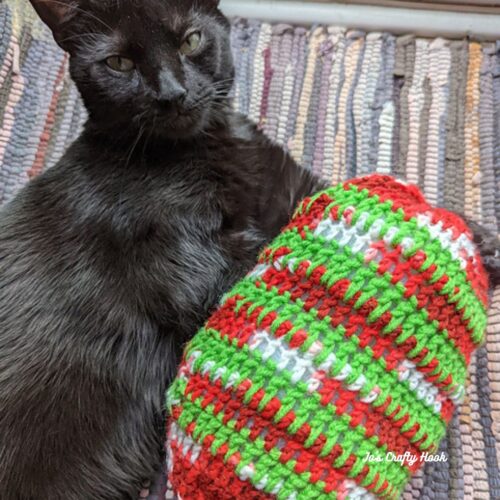
Does your cat like to curl up on your clothes, your current WIP or anything else they can find?  Well, I decided to design a crochet pattern for a cat toy that they can play with or even cuddle up with.  Below you will find the Maze’s Cat Toy Free Crochet Pattern. The cat toy crochet pattern can be customized for any size cat.  You can even make this for your puppy or dog.


This post contains affiliate links that help me raise money to allow me to share more information with you.  

Info Needed for Maze’s Cat Toy


I used Red Heart Super Saver for both colors.  Contents: 100% acrylic  Skein Weight: 7 oz. / 198 g. Yardage: 364 yd. / 333 m

Materials:
US H Crochet Hook or 5 mm Crochet Hook
MC – 120-130 yds #4 Worsted/Aran Weight Yarn
CC – 15-20 yds #4 Worsted/Aran Weight Yarn
Scissors
Tapestry Needle
.4-.6 oz Dacron/Pillow Stuffing

Finished Size:
6” x 12”
Customize to your size

Abbreviations/Stitches Used:
ch = chain
sl st = slip stitch
fdc = foundation double crochet
fpdc = front post double crochet
ldc = long double crochet
rep = repeat

Special Stitches:
Front Post Double Crochet – Double crochet around the front post of the dc from the previous row.
Long Double Crochet –  Yarn over, insert hook in the double crochet 2 rows down, yarn over, pull up a loop to the height of the previous stitch, [yarn over, draw through 2 loops on hook] 2 times.

Special Notes:

  1.  Ch 3 counts as a dc. 
  2. Stitch count is a multiple of 3.
  3. Gauge and Size are not 100% necessary for the cat toy, so size may be different than gauge.
  4. If you would like a bigger or smaller size use a multiple of 3.  You can also add or decrease the rows stated.

Video Tutorials:
You can find all of the Video Tutorials on my YouTube Channel

Front Post Double Crochet – Right Handed

Front Post Double Crochet – Left Handed

Long Double Crochet – Right Handed

Long Double Crochet – Left Handed

Running Stitch


Gauge
:
US G Crochet Hook or 4.5 mm Crochet Hook
16 st x 8 rows = 4”

**Due to different thicknesses in yarn, gauge does not need to be met**

Premium Copy Available

You can find a premium version of my Maze’s Cat Toy crochet pattern at my Ravelry or LoveCrafts or Etsy stores.  The premium pattern has Step-by-Step Pictures and all the Video Tutorials inside.


********************************************************

Maze’s Cat Toy Free Crochet Pattern:


Using MC

Leave a long tail of yarn to sew the top of the toy closed.

R1:  fdc 48 sl st in top of 1st st to join. Sew foundation row closed. 48 fdc
Optional:  ch 48 sl st in 1st st to join, being sure not to twist the chain.  ch 3 and dc around.  sl st in 1st st to join.  48 dc

R2-R4: ch 3, fpdc in the next st *dc in the next st, fpdc in the next st*  rep from * around.  sl st in 1st st to join.  48 st

Using your tapestry needle and the Running Stitch, weave your yarn through each stitch.  Pull yarn tight to close the bottom of the cat toy and fasten off.

Running Stitch

Pull tightly to close.

R5-R6:  ch 3, dc in each st around.  sl st in 1st st to join.  48 dc

Change to CC 

R7:  ch 3, ldc in next st and in each st around.  sl st in 1st st to join.  48 ldc

Change to MC

R8-R9:  ch 3, dc in each st around.  sl st in 1st st to join.  48 dc

Change to CC

R10:  ch 3, ldc in next st and in each st around.  sl st in 1st st to join.  48 dc 

R11-R21:  Rep R8-10

Change to MC

R22-R24:  ch 3, fpdc in the next st *dc in the next st, fpdc in the next st.   rep from * around.  sl st in 1st st to join.  48 st 

R25:  ch 3, dc in next st and in each st around.  sl st in 1st st to join.  48 dc 

Leave a long tail of yarn to sew the pillow closed.

Stuff the cat pillow with as much dacron/pillow as you’d like to have a firm toy.


Adding Dacron

Using your tapestry needle and the Running Stitch, weave your yarn through each stitch.  Pull yarn tight to close the top of the cat toy and fasten off.


Running Stitch

Pull tight to close top of cat toy.

Weave in any loose ends and fasten off.

Premium Copy Available

You can find a premium version of my Maze’s Cat Toy crochet pattern at my Ravelry or LoveCrafts or Etsy stores.  The premium pattern has Step-by-Step Pictures and all the Video Tutorials inside.

********************************************************

You can find my Premium crochet patterns at any of the sites listed below.

Ravelry
LoveCrafts
Etsy


Find me, Jo of Jo’s Crafty Hook at the places listed below.

Email:  jo@joscraftyhook.com
Linktree

Website

Facebook Group Jo’s Crafty Hookers

Facebook Group Jo’s Crafty Hook Designs

Facebook Page Jo’s Crafty Hook

Facebook Page:  Crochet Designer Community

Ravelry

LoveCrafts

Etsy

Instagram

YouTube

Pinterest

Donations Accepted

Loading

Double Cross Mobius Cowl

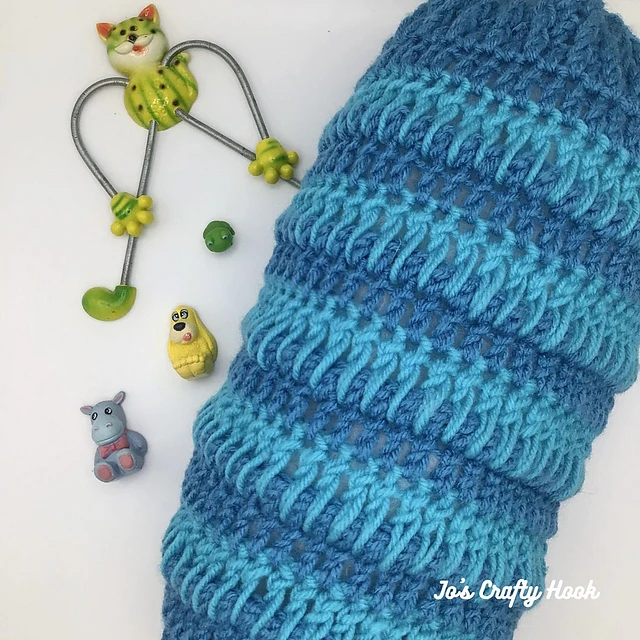
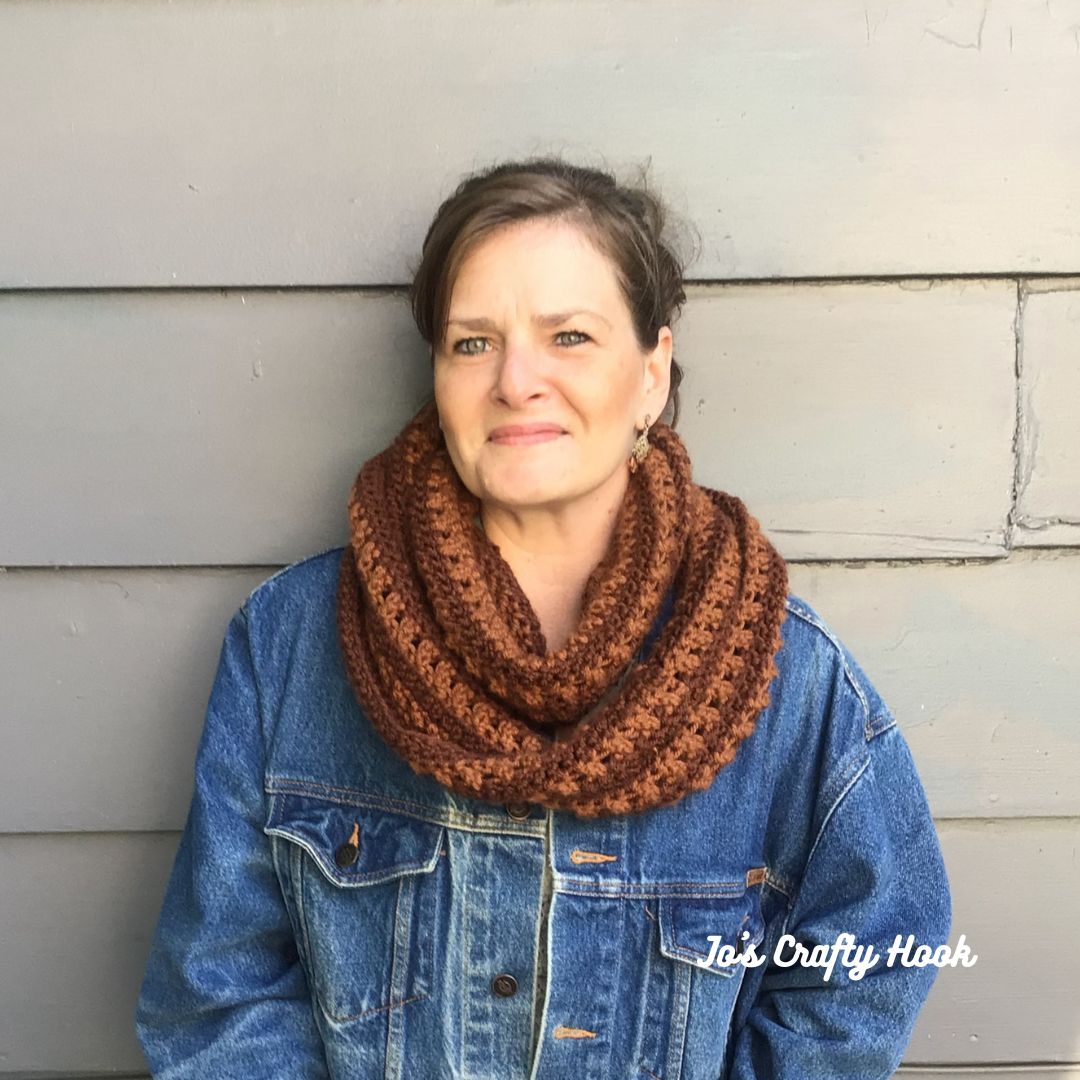
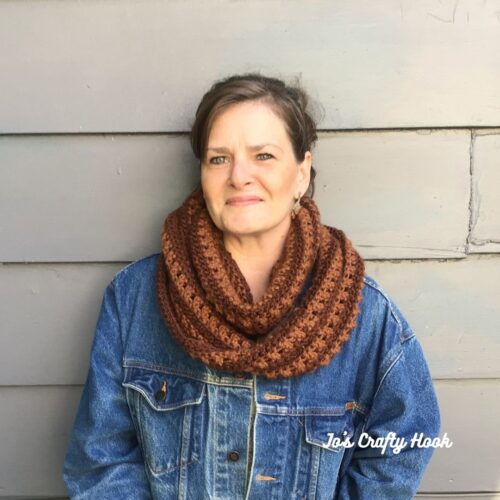
The Double Cross Mobius Cowl crochet is an oversized mobius cowl that is to be wrapped around your neck twice.  There are a couple of reasons I named this the Double Cross Mobius Cowl.

The wrapping around your neck twice is how I came up with the first part of it’s name.  The other part of the name I chose comes from the Double Crochet Cross Stitch, but with a different twist.

Because I used a thicker bulky yarn from knitpicks I wanted taller stitches in the cowl.  The extended double crochet and the extended double crochet cross stitch helped create those taller stitches.  


The extended double crochet and extended double crochet cross stitch is an idea that comes from using the Double Crochet Cross Stitch.  If you have never crocheted the Double Crochet Cross Stitch, I recommend trying this first.  To help you master all of these stitches, I have added 3 of my Left Handed Video Tutorials demonstrating how to crochet each stitch.


The Double Crochet Cross Stitch left handed video tutorial below demonstrates how to crochet this stitch.


The 2nd left handed video tutorial demonstrates how to crochet the Extended Double Crochet.


The 3rd left hand video tutorial I demonstrate how to crochet the stitch I created, the Extended Double Crochet Cross Stitch.


Check out more about the Double Cross Mobius Cowl crochet pattern, sponsored by #wecrochetofficial #wecrochet WeCrochet below.


Information about the Double Cross Mobius Cowl Crochet Pattern.

Material I Used:

MC – 270-400 yds of #7 Bulky Weight Yarn
CC – 230-370 yds of #7 Bulky Weight Yarn
US J Crochet Hook or 6 mm
Scissors
Tapestry Needle
Stitch Marker

For the double cross mobius cowl I used  KnitPicks Brava yarn

This yarn is a thicker bulky yarn, #7.  The yarn is 100% acrylic and the yardage per skein is 136 yds or 100 g

I will definitely be using this yarn again because it is so soft and glides through your fingers like butter!

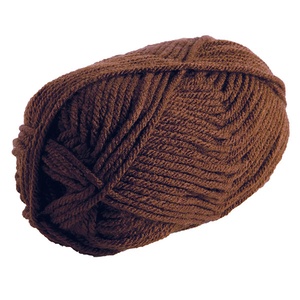
For my Main Color (MC) I used the color Sienna


For my Contrasting Color (CC) or second color I used Brindle


The Double Crochet Mobius Cowl Crochet Pattern has step-by-step picture tutorials and helpful left handed Video Tutorials for the 3 different stitches I used in making the cowl. 

The crochet pattern also has 3 different sizes to choose from; Small, Medium, and Large.  Inside the pattern you will also find out how to customize the cowl to fit your style, size, and colors.

If you are interested in trying to make one for yourself or someone you know, you can purchase a premium copy of my Double Cross Mobius Cowl at my Ravelry Store.


If you would like me to make the Double Crochet Mobius Cowl, I do take Custom Orders.  I can crochet you or someone you know, your  own Handmade Crocheted Creation is your style, size, and color(s)  You can email me at j.o@joscraftyhook.com


Find me, Jo of Jo’s Crafty Hook at the places listed below.

Email:  j.o@joscraftyhook.com

Website

Facebook Group Jo’s Crafty Hookers

Facebook Group Jo’s Crafty Hook Designs

Facebook Page Jo’s Crafty Hook

Facebook Page:  Crochet Designer Community

Ravelry

LoveCrafts

Instagram

YouTube

Pinterest

Donations Accepted


Hobbycraft


The Summer of Love Tank Top Crochet Pattern

The Summer of Love Tank Top Free Crochet Pattern

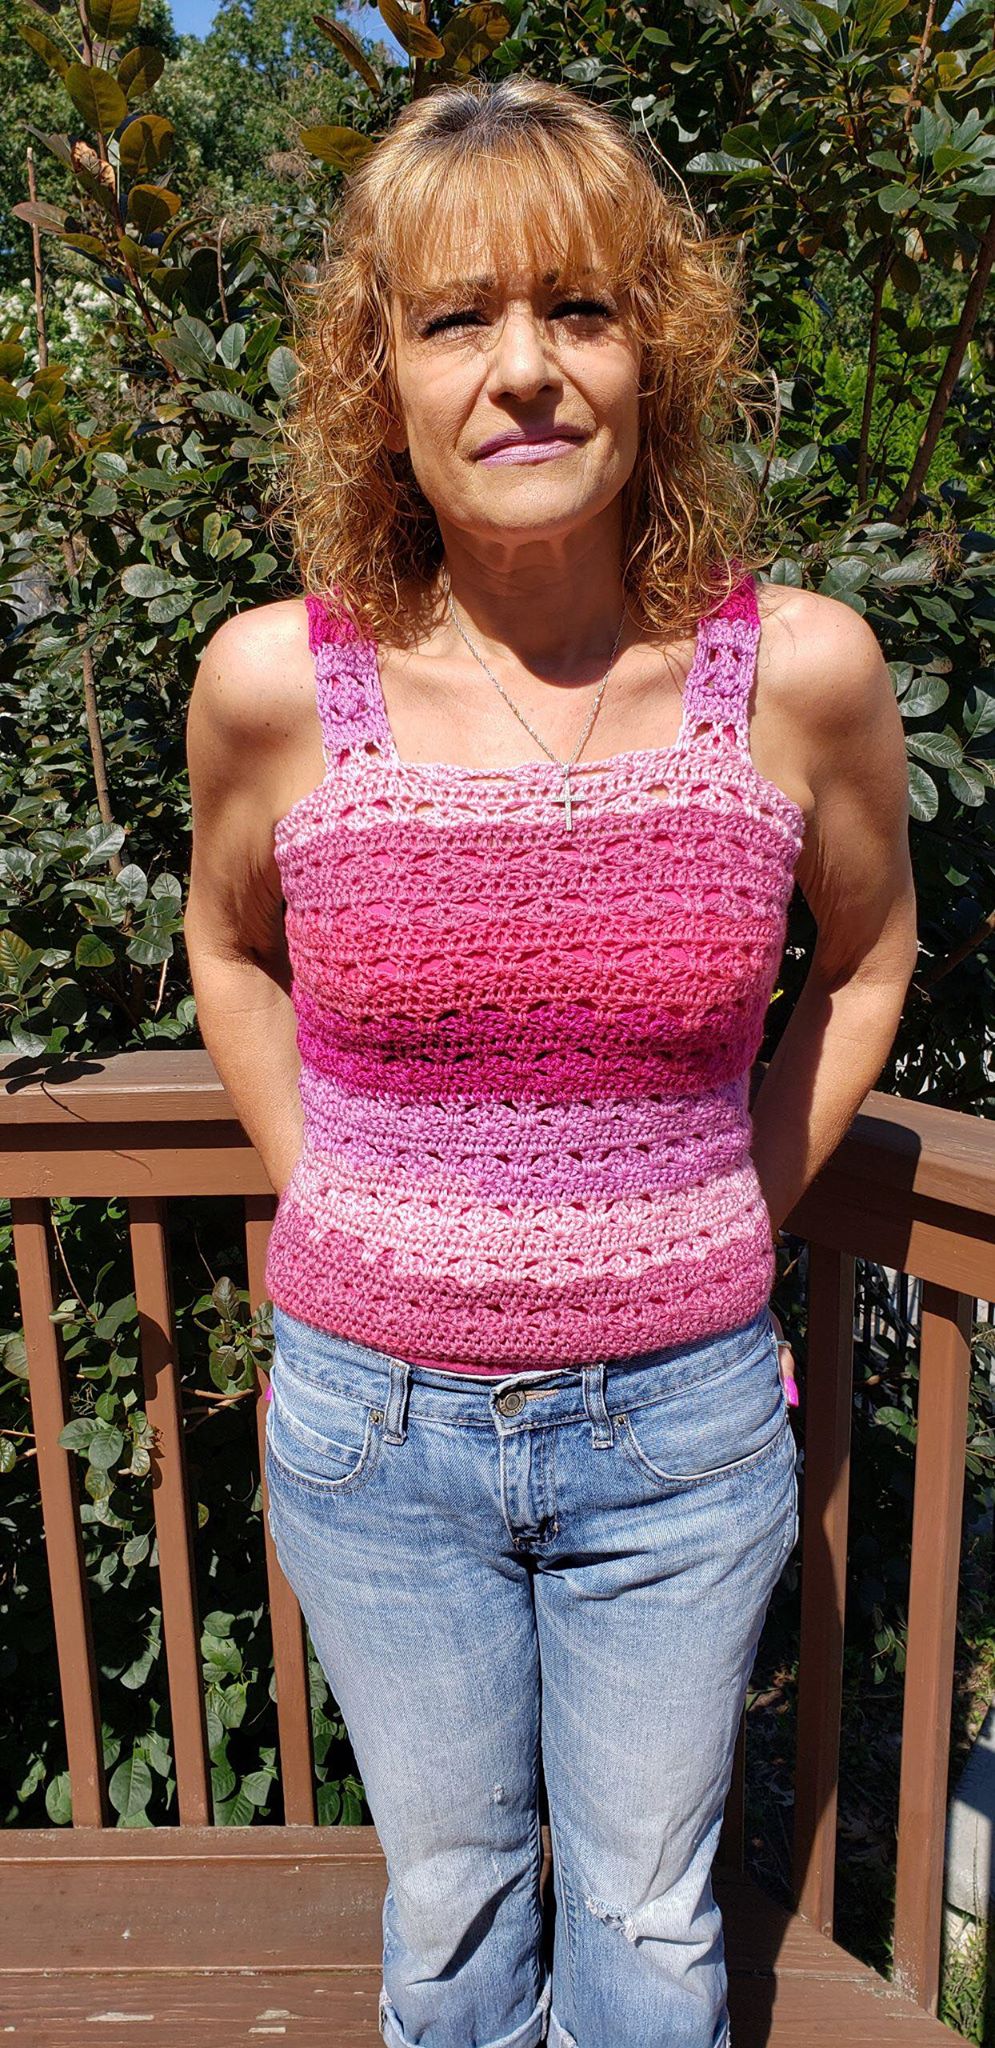
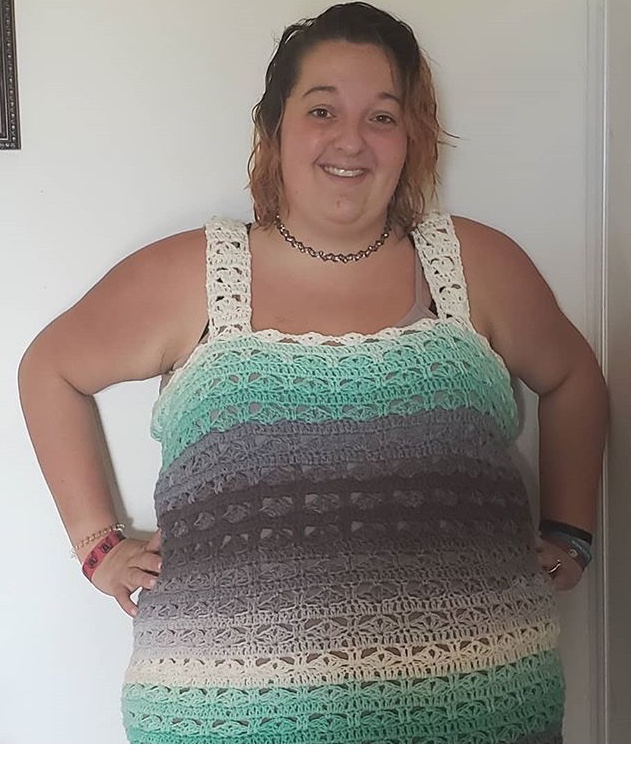
The Summer of Love Tank Top Crochet Pattern is another design I created in recognition of Cancer Awareness Month and the women in my family who were diagnosed with one form of Cancer or another.  I am glad to say they all are cancer FREE right now.  I am so proud of them and their survival, so I decided to design another crochet pattern called the Summer of Love Tank Top!


This post contains affiliate links.  You can make a purchase using these links that I provide where I may receive compensation (at no added cost to you.)  

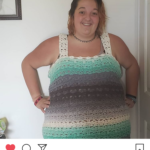
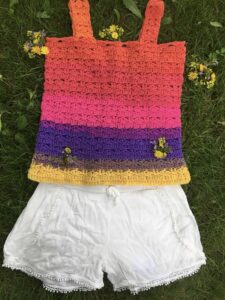
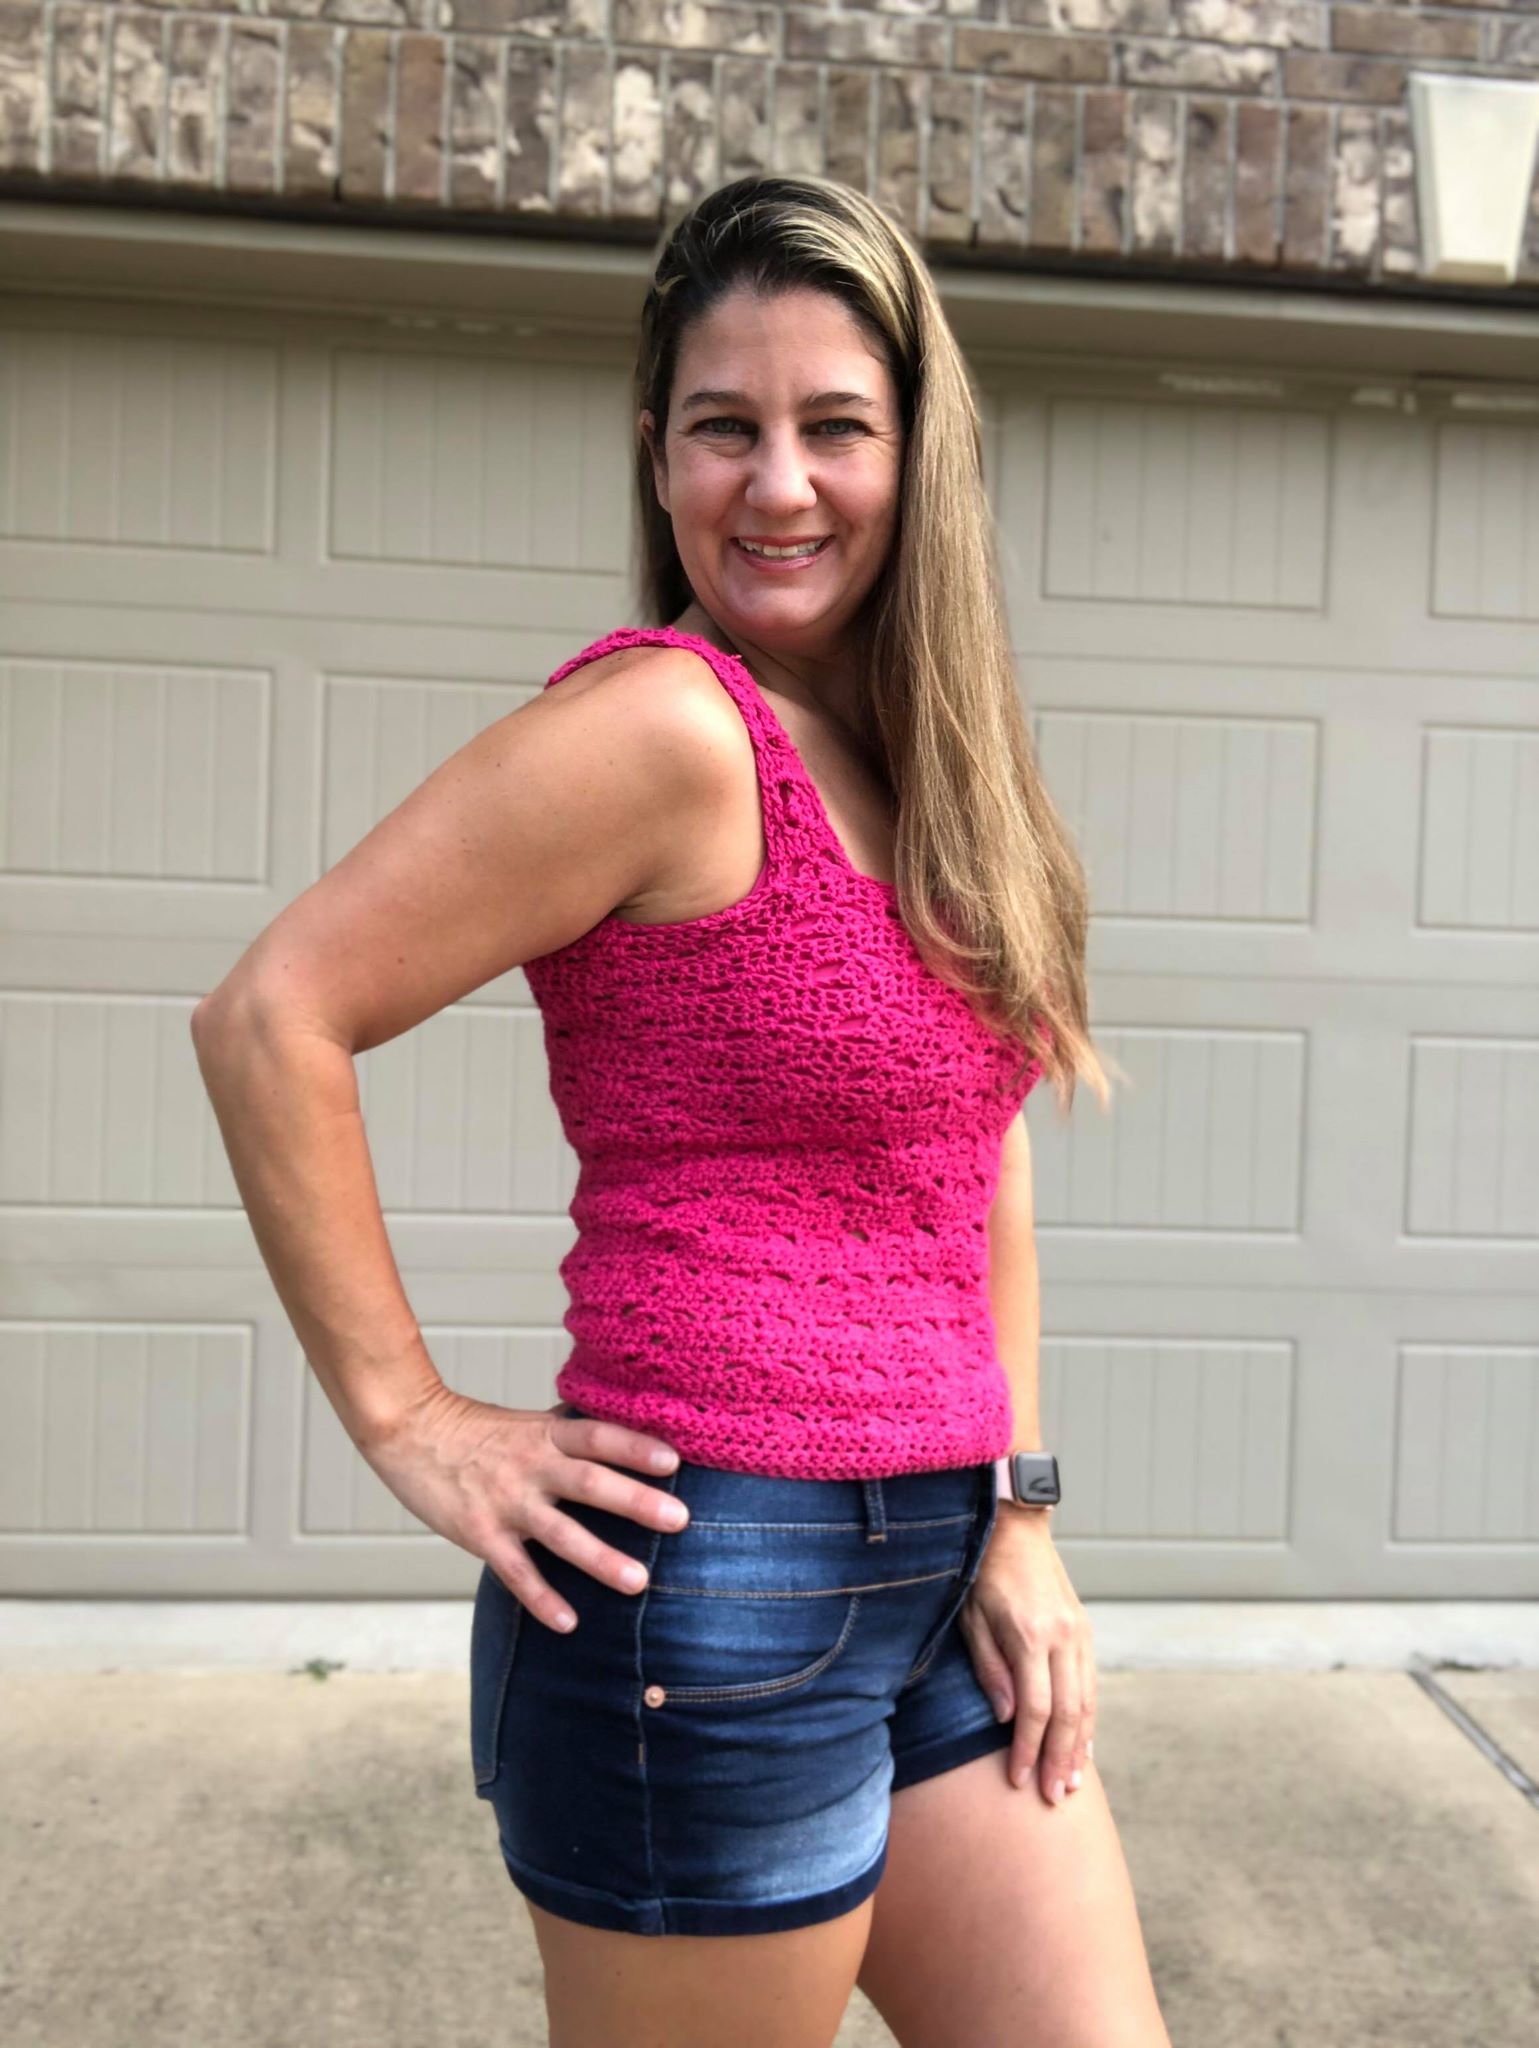
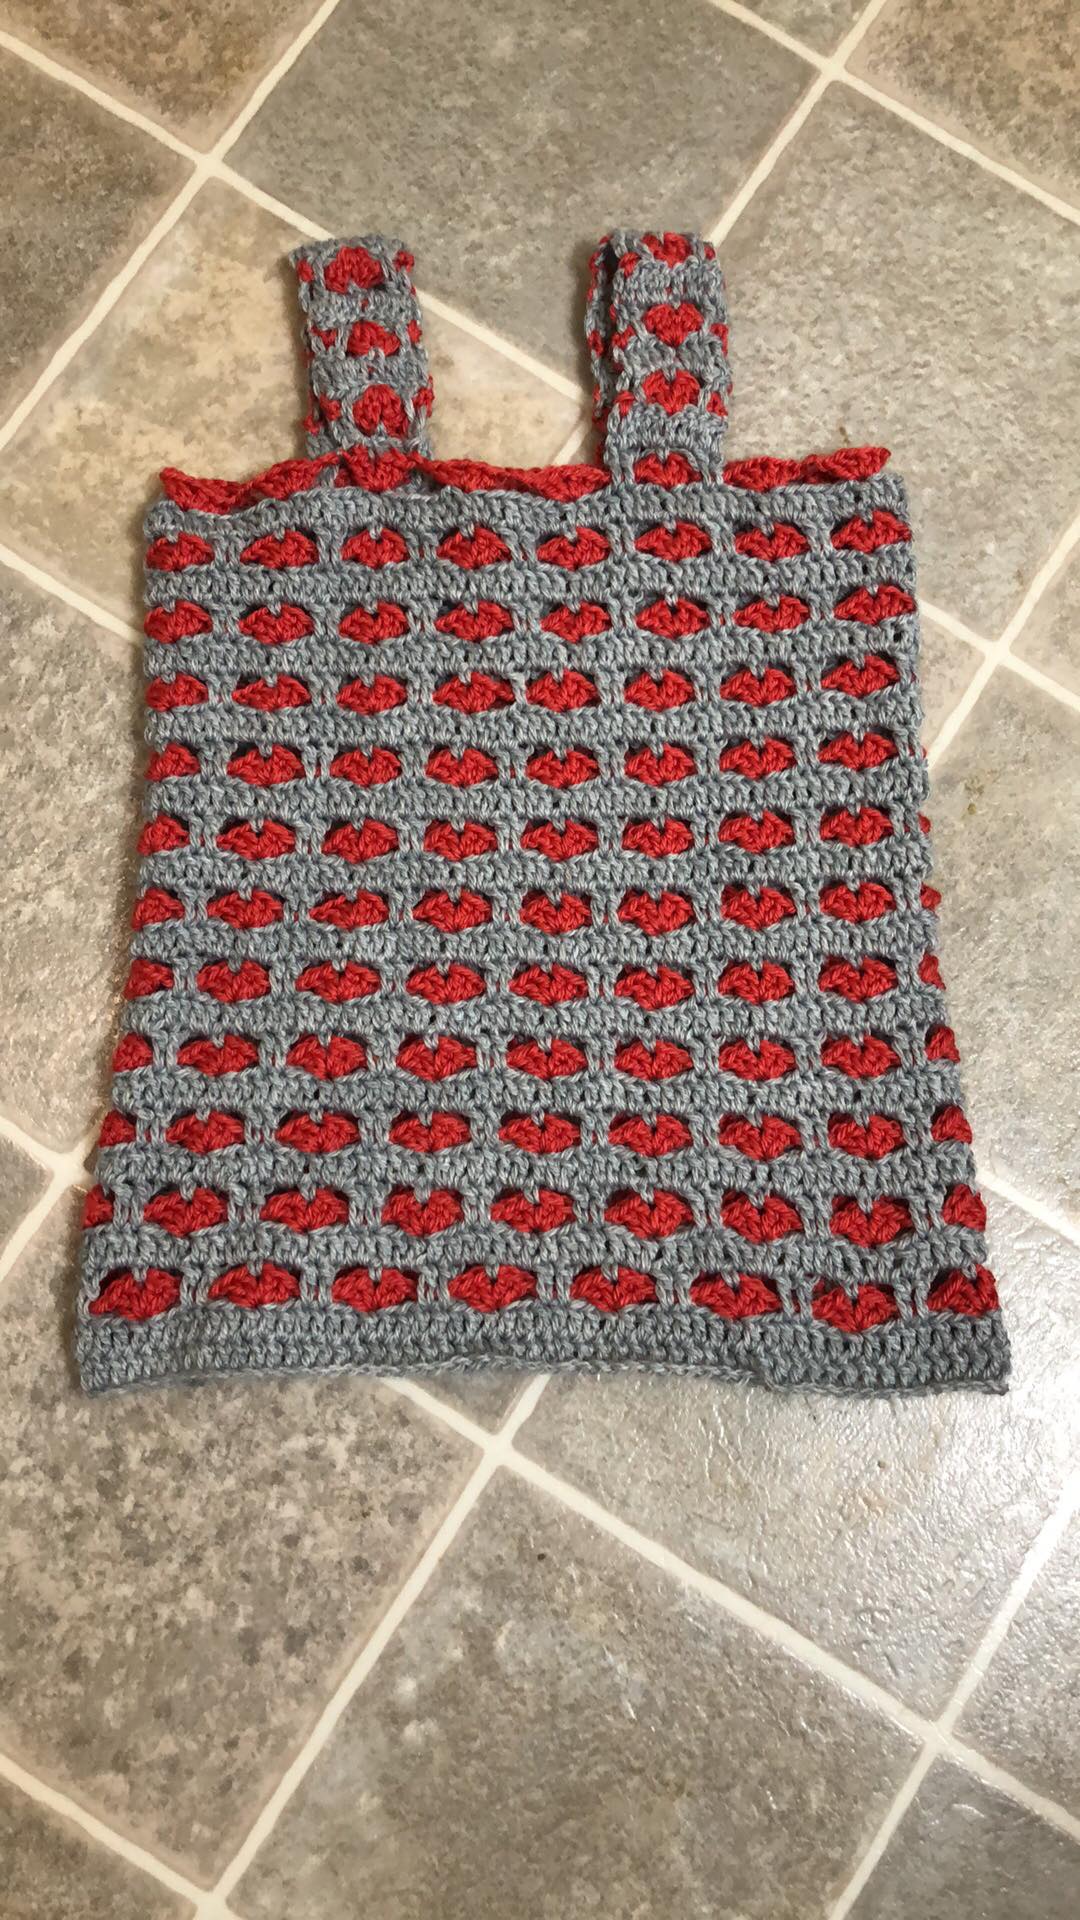
I would LOVE to thank 5 of my crochet pattern testers for all of their hard work and dedication to this design.  They are Lindsay Silvestrini, Candace Broussard Doucet, Kelly Vecchione, Laura Poulsen, and Tara Smith.  Below their versions of the Summer of Love Tank Top are being modeled.


You can find the Ad-Free pdf copy of the Summer of Love Tank Top at these stores listed below for a small fee.

Ravelry

LoveCrafts 

Etsy Shop  

Summer of Love Tank Top
Information Needed

Materials:
US Hook I or 5.5 mm

500-1200 yards of  #3 Light Weight Yarn
Scissors
Tapestry Needle
Stitch Markers

Abbreviations/Stitches Used:
DC = Double Crochet

SC = Single Crochet
Ch Sp = Chain Space
St = Stitch
SS = Slip Stitch
SC = Single Crochet
SS = Slip Stitch
FDC = Foundation Double Crochet (YouTube video here.)
LDC = Long Double Crochet (YouTube has GREAT instructional videos!)
Beg Shell = ch 3, DC, ch 1, 2 DC all in the same stitch
Shell = 2 DC, ch 1, 2 DC all in same stitch

Gauge:
US Hook I/5.5 mm

8 DC x 5 Rows = 2”

4” x 4” Gauge Swatch:

16 FDC or ch 18, dc in the 4th ch from hook and remaining 14 st.  Turn
R2-R8:  Ch 3 and dc in each st across.  Turn (16 dc)

Notes:

  • You can find a  Video Tutorial for the Straps at my YouTube Channel here.
  • Ch 2 does not count as a DC
  • Ch 3 does count as a DC
  • Shells made create the Heart

Special Notes
*Sizes range from S, M, L, XL, 2X, and 3X

*FDC 112 (126, 140, 154, 168, 184)
*The Top is crocheted from the Bottom to Top.
*The top is crocheted as One Piece except for when attaching the Sleeves.

Candace Broussard Doucet
Bust Size 34 38 40 42 44 46
Sizes Small Medium Large X-Large 2X 3X
Tank Top Width 15” 17” 19” 21” 23” 25”
Tank Top Height w/o Straps 14” 16” 18” 20” 22” 24”
Tank Top Straps Height   6”   6” 8” 8” 10” 10”
Tank Top Height 20” 22” 26” 28” 32” 34”
Tank Top
Lindsay Silvestrini’s Version


Starting at the Bottom of the Top

R1:  For Bottom of the Top FDC 112 (126, 140, 154, 168, 184) Join in 1st FDC  OR Chain 118, 132, 146, 160, 174, 190, join to form circle being careful to keep it straight.  Ch 3 and DC in each ch across. 112 (126, 140, 154, 168, 184) DC.

R2:  ch 3, dc in each st around. 112 (126, 140, 154, 168, 184) DC.  Join in top of Ch 3.

With a Tapestry Needle sew the FDC row closed.

R3 Video Tutorial 

R3: [Ch 3, dc, ch 1, 2 dc all in same stitch. (Beg Shell) made]  ch 3, skip 6 st, 2 dc, ch 1. 2 dc all in the same stitch. (Shell made).  *Ch 3, skip 6 st, Shell in next st.* Repeat from * to * around. ss in top of ch 3 of Beg Shell.

R4 Video Tutorial

R4:  ss in ch 1 sp of Beg Shell, ch 1, sc in same st., *ch 2, skip 2 dc from previous row, 1 ldc in next 2 st of previous Row, ch 2, sc in ch 1 space of next Shell.*  Repeat from * to * around. Join with ss into SC.

Repeat R2-R4  until your Top measures 14” (16” 18” 20” 22” 24”)  Be sure to end with R3. Do not turn.

Once your Top measures correctly move on to the Straps.


Straps

Step 1:  Fold Shirt in ½ using the Hearts/Shells as your Guide.  Place Stitch Markers using the Steps below.
Step 2:  Skip 2 Hearts from the Left and Right for Small and Medium
Step 3:  Skip 3 Hearts from the Left and Right for Large and XLarge
Step 4:  Skip 4 Hearts from the Left and Right for 2X and 3X

Laura Poulsens Version

Video Tutorial for the Straps

Attaching the Strap

R1:  Skip 2 st from previous row, ss in next st, ch 4, ldc, ch 2, sc in sc of Shell, ch 2, skip 2 st from previous row, ldc in last 2 st.  Turn

R2:  ch 3, dc in each st across. (9 dc)  Turn

R3:  ch 1, sc in same st, ch 3, skip 3 st, Shell in next st, ch 3, sc in last st.  Turn

R4:  ch 3, ldc in next st, ch 2, sc in heart, ch 2, ldc and dc in last 2 st.  Turn

Repeat R2-R4 3 more times for Small and Medium; 4 more times for Large and XLarge; and 5 more times for 2X and 3X.  If you need to, add more Rows needed to reach the correct Strap size for You.

Repeat Steps 1-4 3 more times using the same methods mentioned above being sure to place Stitch Markers in the correct positions.

Fasten off and weave in ends.


Find my Ad-Free Premium Crochet Patterns at my shops listed below.

You can even place Custom Orders for your own Handmade Crocheted Creations!

Ravelry Store
Etsy Shop
LoveCrafts

********************************************************

Find me, Jo of Jo’s Crafty Hook at the places listed below.

Email:  jo@joscraftyhook.com

Linktree

Website

Facebook Group Jo’s Crafty Hookers

Facebook Group Jo’s Crafty Hook Designs

Facebook Page Jo’s Crafty Hook

Facebook Page:  Crochet Designer Community

Ravelry

LoveCrafts

Etsy

Instagram

YouTube

Pinterest

Donations Accepted

Loading