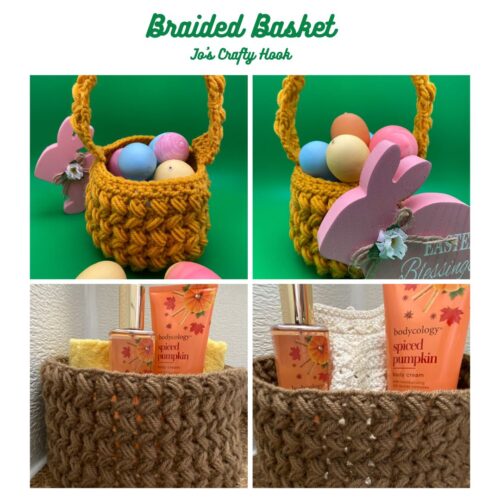
Braided Basket Crochet Pattern
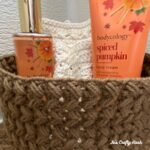
The Braided Basket Crochet Pattern is great make for Easter and the kiddies or to update your Home Decor for your tables or bathrooms.
I am always SO excited about this time of year! This season brings resurrection of Jesus and flowers and birds and oh so much more!
Sign Up to my Newsletter and never miss out on any of my upcoming events.
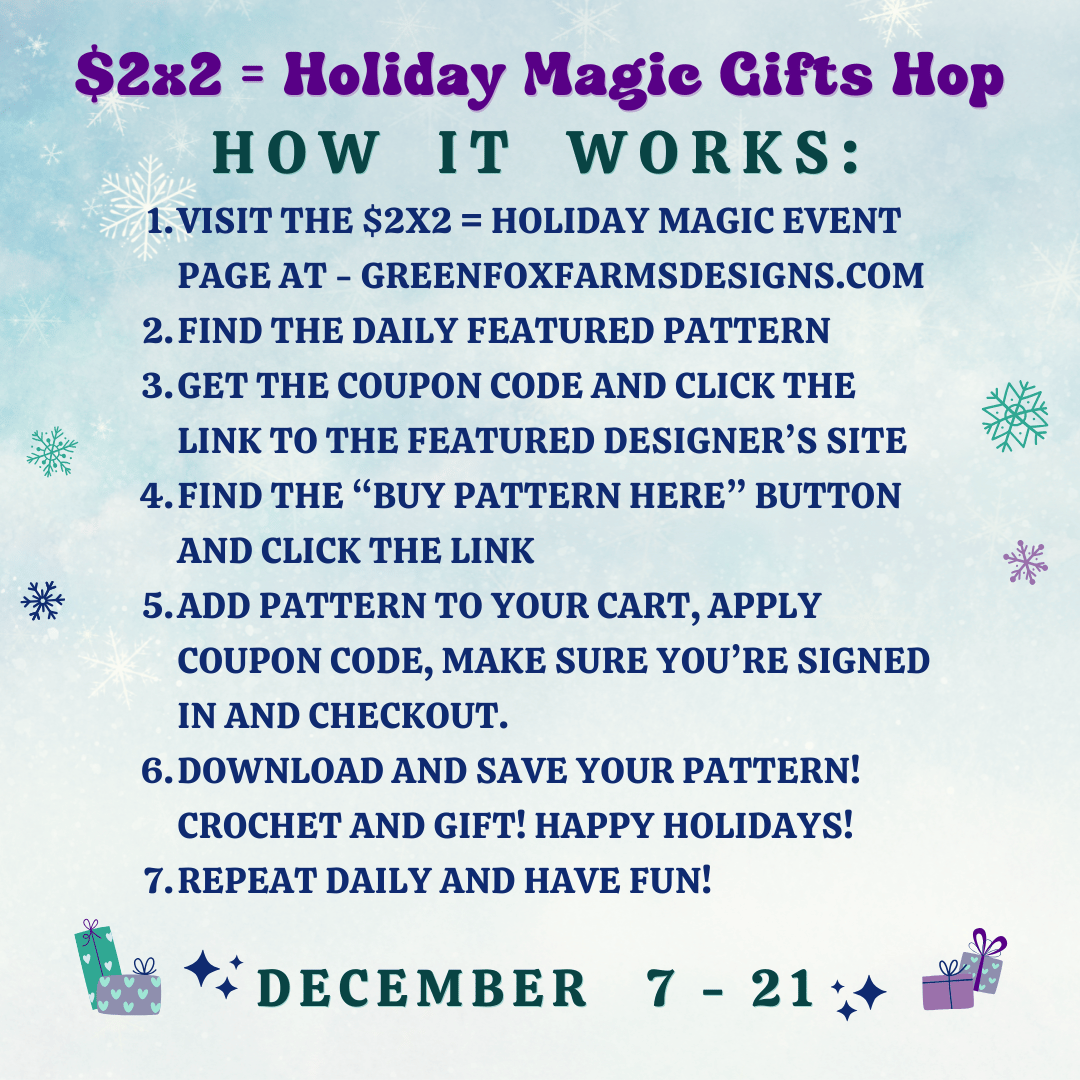
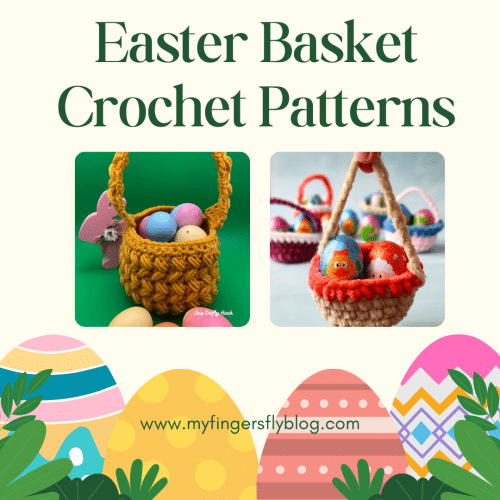
Easter Advent Crochet Pattern Event
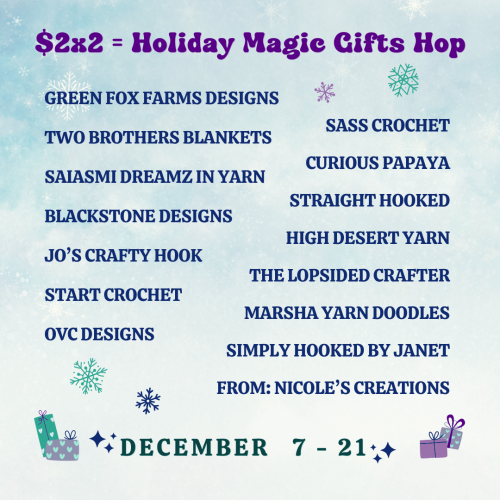
My Braided Basket Crochet Pattern is being featured during the Easter Advent Crochet Pattern Event hosted by My Fingers Fly.
You will also find free basket crochet patterns from Straight Hooked, Start Crochet, Concrete Gems, and My Fingers Fly.
Each day you will find FREE crochet patterns for Bunnies, Lambs, Eggs, Baskets and MORE.
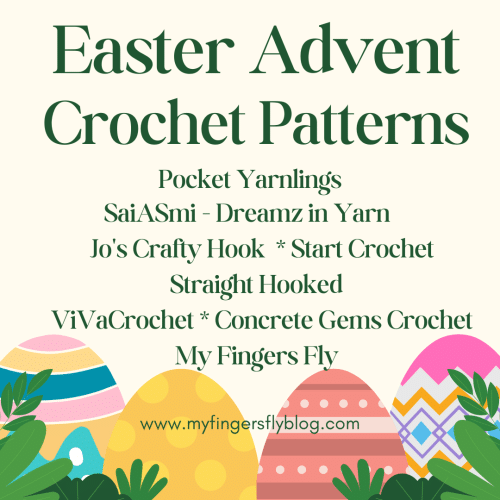
You will find all of the FREE Easter Advent Crochet Patterns at My Fingers Fly.
When my kids were little I loved filling in for the Easter Bunny by placing an Easter Basket at the end of my kids’ beds! I loved seeing the excitement on their faces when they woke up in the morning that would be the first thing they seen!
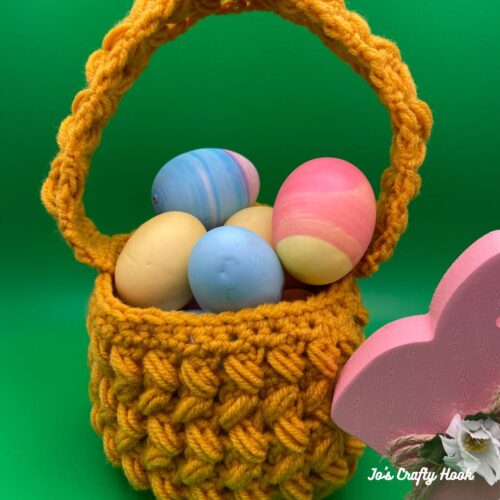
I wanted to design a basket that actually looked like a woven basket so that is how I came up with the Braided Basket Crochet Pattern.
The free crochet pattern below has all the information you will need to make your own Easter Basket or a customized Braided Basket.
You can also find a premium copy of my Braided Basket Crochet Pattern at my Ravelry and LoveCrafts Stores and my Etsy Shop. The premium copy of my Braided Basket Crochet Pattern contains step-by-step picture tutorials and video tutorials all in one PDF.
![]()
![]()

Braided Basket Free Crochet Pattern Below

I used Red Heart Super Saver in Gold. 100 % Acrylic. 198 g/7 oz (364 yards/215 m)
Materials:
100-125 yds of #4 ply Worsted/Aran Weight Yarn
US H Crochet Hook or 5 mm
Scissors
Tapestry Needle
Stitch Marker
Abbreviations/Stitches Used:
st = stitch
sl st = sl stitch
ch = chain
dc = double crochet
ps = puff stitch
rep = repeat
alt ch 2 = alternate chain 2
blo = back loop only
SM = Stitch Marker
RS = Right Side
Finished Size: 4″ x 4″
Handle: 12″ x 1/2″
Special Stitches:
Invisible Join: instead of slip stitching to the top of the first stitch of that row, you’ll instead place a stitch marker and keep on crocheting without joining.
Notes:
The bottom of the basket is worked in the round.
The basket itself is also worked in the round with turning rows.
The handle is worked in rows.
The stitch count is a multiple of 8.
ch 1 counts as a stitch as part of the Puff Stitch.
ch 2 counts as a dc.
alt ch 2 counts as a dc.
Gauge:
US H Crochet Hook or 5 mm
16 dc x 8 rows = 4”
My Left Handed Video Tutorials:
Puff Stitch Example

Puff Stitch: YO, insert hook into indicated st. YO, pull up loop. (YO, insert hook into the same st, YO, pull up loop) 2 times. YO, pull through 7 loops on the hook.
Braided Puff Stitch – Left Handed
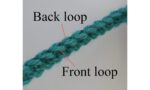
Example of Back Loop Only

You can get the Premium Braided Basket Crochet Pattern with step-by-step picture tutorials from my Ravelry Store, my Etsy Shop, and LoveCrafts.
Braided Basket Crochet Pattern:
Notes:
Use the Invisible Join at the beginning of each round. Place a SM in 1st stitch at the beginning of every round.
Every round will increase by 8 stitches.
Bottom of Basket
R1: MC, 8 sc in magic circle (8 sc)
R2: 2 sc in each sc around. (16 sc)
R3: 2 sc in 1st, sc in next st. *2 sc in next st, sc in next. rep from * around. (24 sc)
R4: 2 sc in 1st, sc in next 2 st. *2 sc in next st, sc in next 2 st. rep from * around. (32 sc)
R5: 2 sc in 1st, sc in next 3 st. *2 sc in next st, sc in 3 st next. rep from * around. (40 sc)
R6: 2 sc in 1st, sc in next 4 st. *2 sc in next st, sc in 4 next. rep from * around. (48 sc)
R7: sc in each st around. (48 sc)
R8: 2 dc in 1st st, dc in blo only around. (49 dc)
Basket
Note: ch 1 counts as a st for R2-R6
R1: alt ch 2 or ch 2, *sk next st, dc in next st, ps in sk st, ch 1. rep from * around until last st. dc in last st. sl st in 1st st to join. turn (24 dc & 24 ps)
R2-R6: alt ch 2 or ch 2, *sk next st (ch-1 sp), dc in next dc, ps in sk st, ch 1. rep from * around until last st. dc in last st. sl st in 1st st to join. turn (24 dc & 24 ps)
Do NOT turn after R6
R7: ch 1, sc in same st, *sc in ch-1 sp, sc in next dc. rep from * around. sl st in 1st st to join. turn (48 sc)
R8: ch 1, sc in same st, sc around. (48 sc)
Fasten off and weave in ends.
Handle of Basket
12” long x 1 ½” wide
**you can adjust the length to fit your desired size**
Note: ch 1 counts as a st for R5-R23
Leave a long enough tail of yarn to sew the handle to the basket.
R1: fsc 6 turn (6 sc)
Optional: ch 7, sc in 2nd ch from hook, sc across. turn (6 sc)
R2: ch 1, sc in same sp, sc across. turn (6 sc)
R3: alt ch 2 or ch 2, dc across. turn (6 dc)
R4: alt ch 2 or ch 2, *sk next st (ch-1 sp), dc in next st, ps in sk st, ch 1. rep once more. dc in last st. turn (2 dc & 2 ps)
R5-R22: alt ch 2 or ch 2, *sk next st (ch-1 sp), dc in next st, ps in sk st, ch 1. rep once more. dc in last st. turn (2 dc & 2 ps)
R23: alt ch 2 or ch 2, dc in ch-1 sp, dc in dc. rep once more. turn (6 dc)
R24-R25: ch 1, sc in same sp, sc across. turn (6 sc)
Leave a long enough tail of yarn to sew the handle to the basket.
Fasten off and weave in ends.
Handle Assembly:
Step 1:
Place a SM in same st as closing. Count over 6 st and place a SM in same st. Count over 19 st and place a SM in same st. Count over 6 st and place a SM in same st.
Step 2:
Place RS of 1 end of the handle to RS of the basket at the 1st set of SM. Using your long tail of yarn, whip stitch the handle to the basket.
Step 3:
Repeat Step 2 to sew the handle to the other side of the basket.
Fasten off and weave in ends.
That’s it! You have completed your own Braided Basket! I would LOVE to see your version!
Find me, Jo of Jo’s Crafty Hook at the places listed below.
Email: joeybaird@aol.com
Facebook Group Jo’s Crafty Hookers
Facebook Group Jo’s Crafty Hook Designs
Facebook Page Jo’s Crafty Hook
Facebook Page: Crochet Designer Community
![]()