Summer Convertible Wrap

Summer Convertible Wrap 

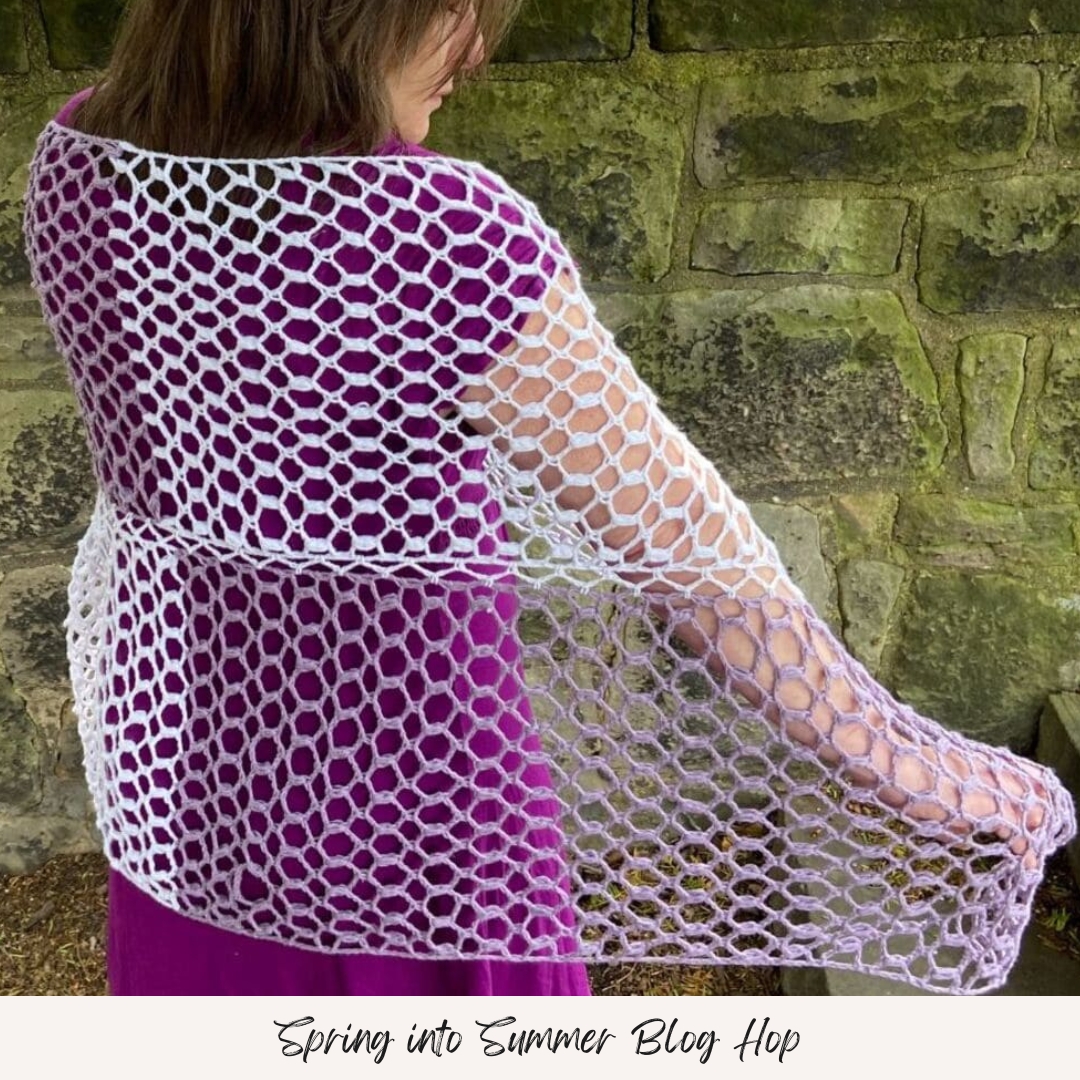
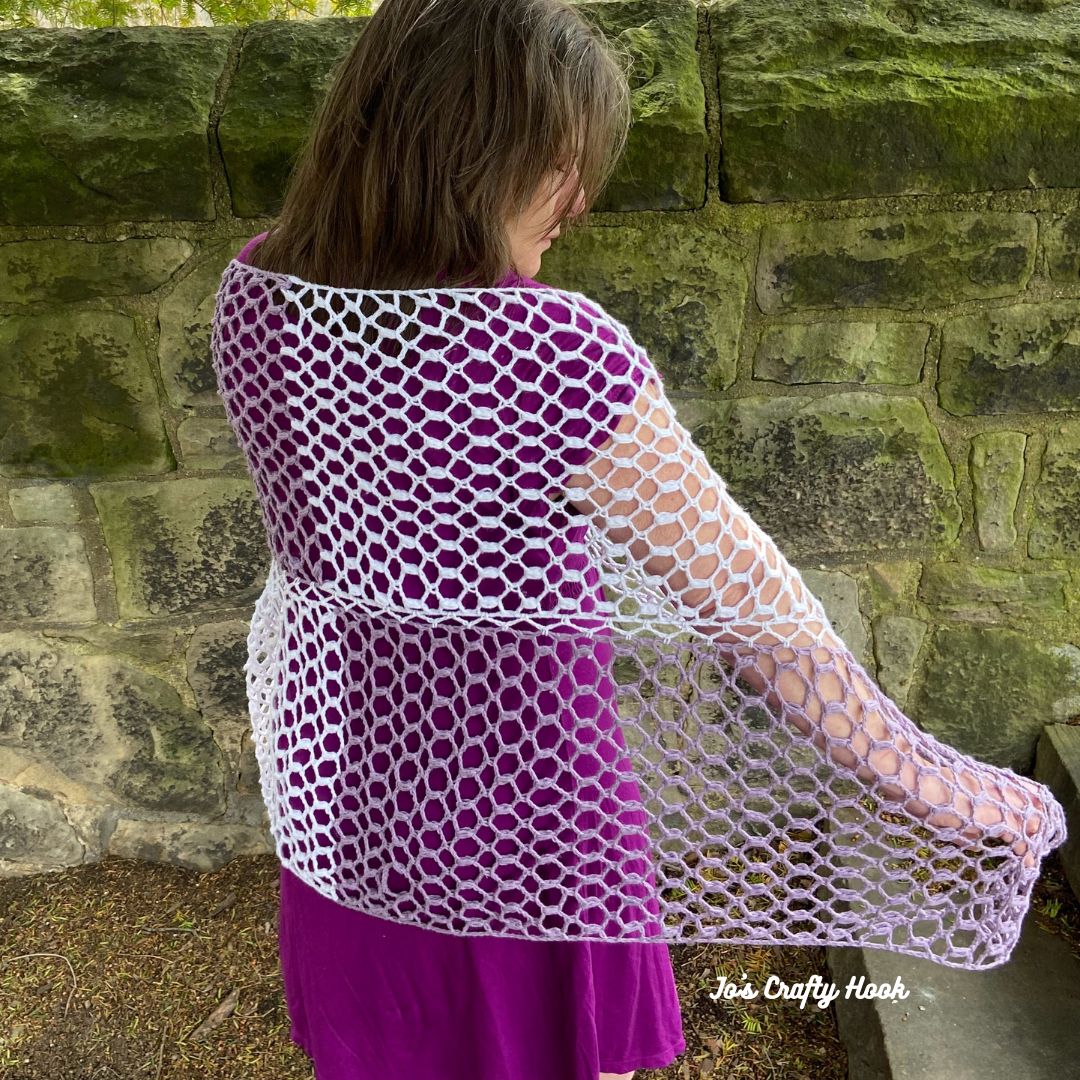
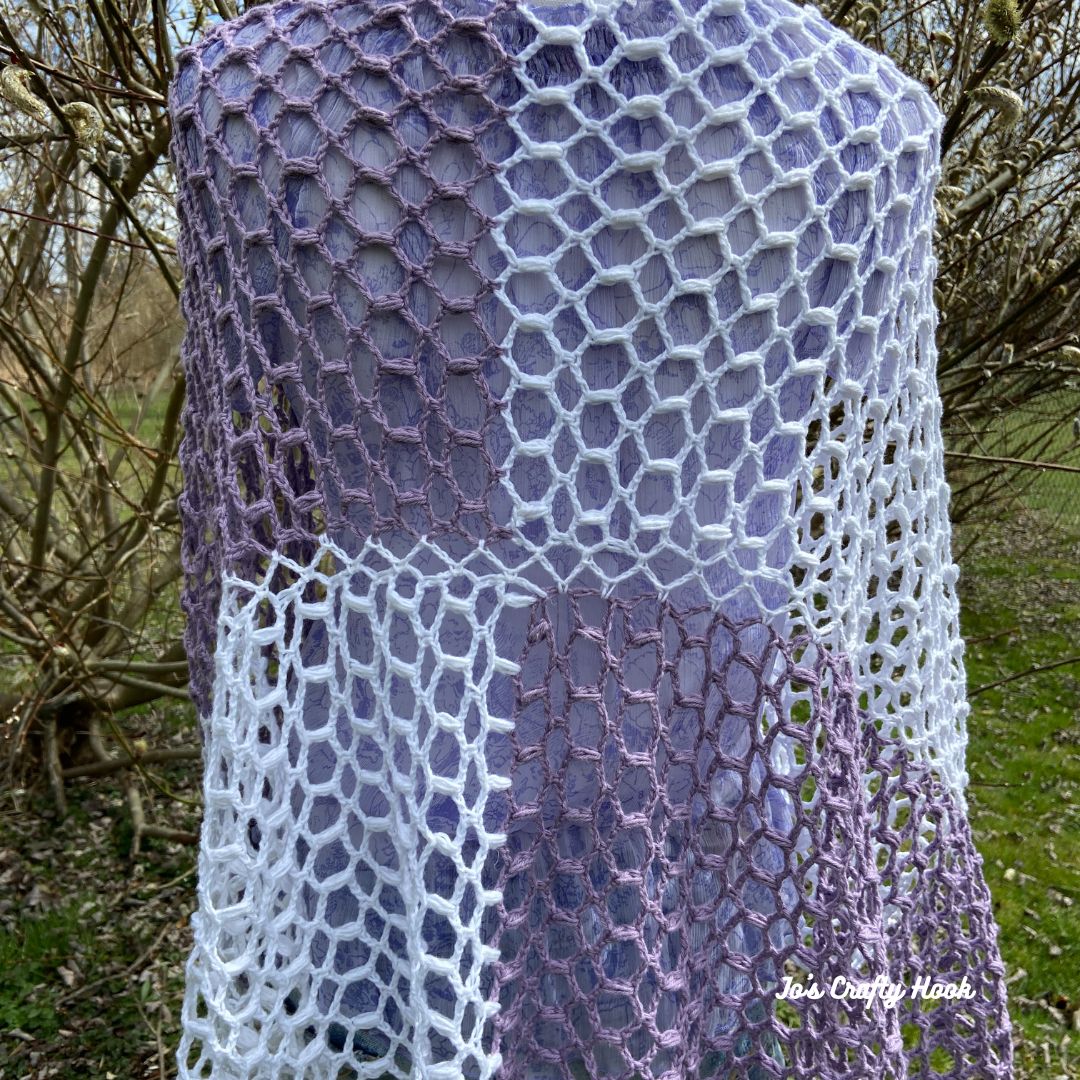
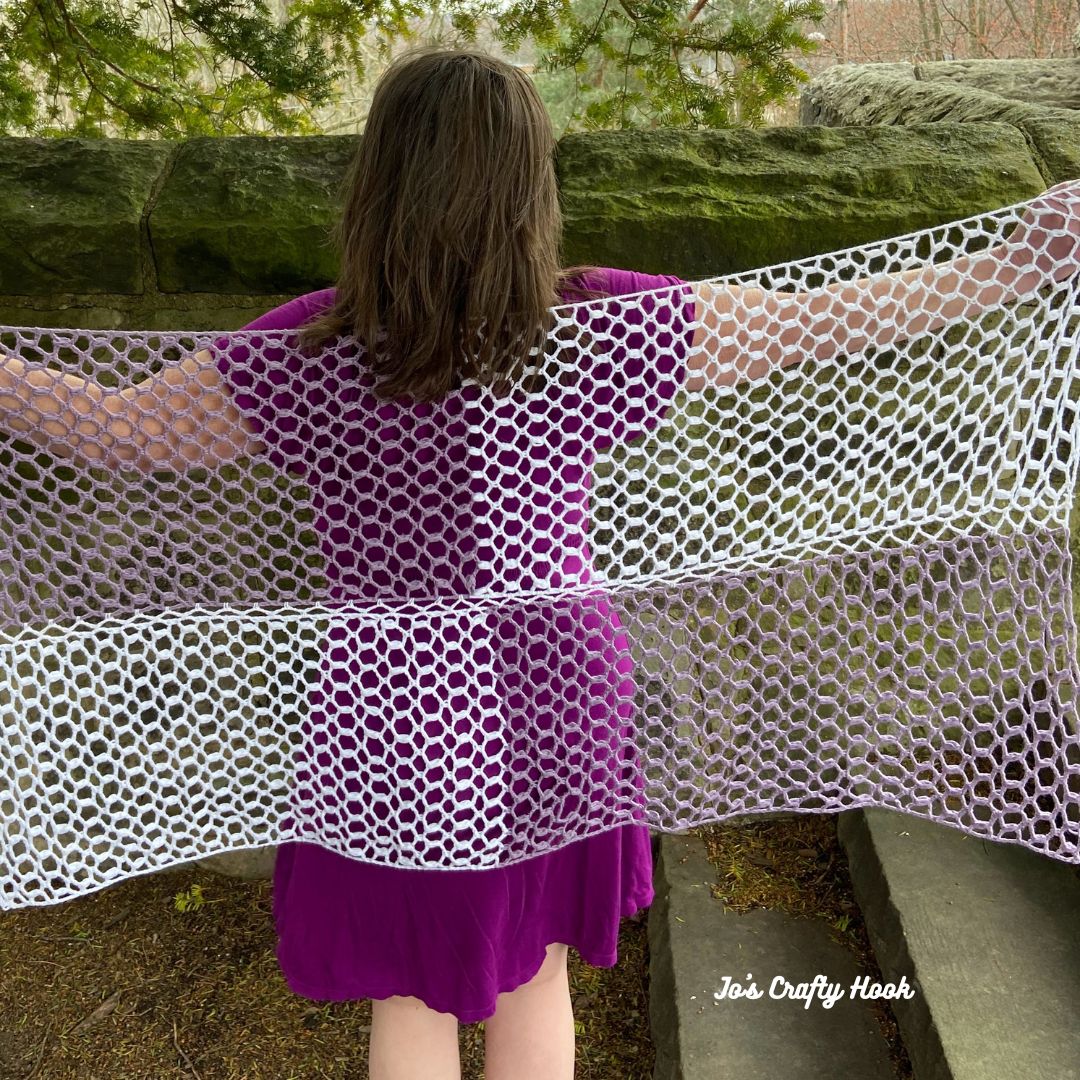
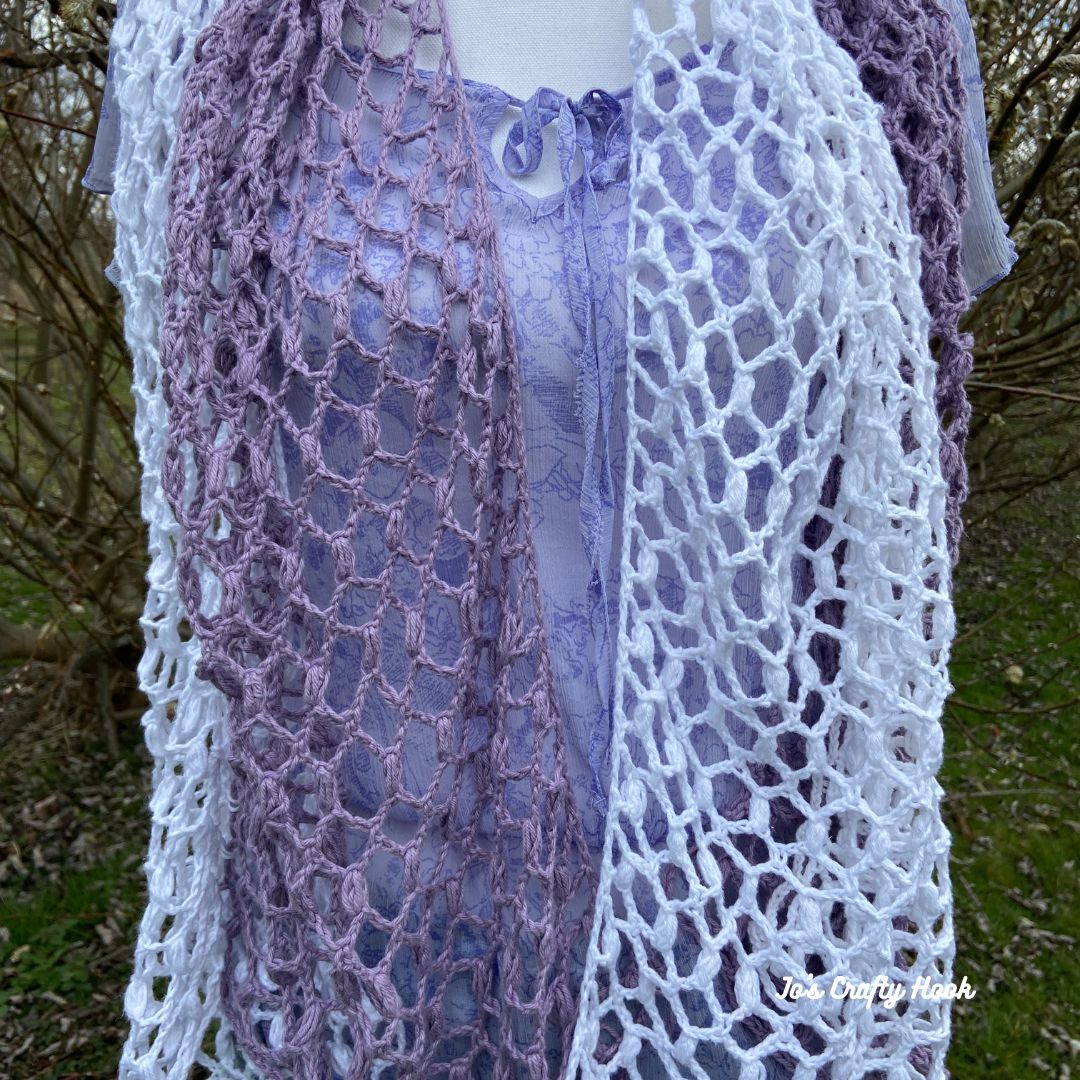
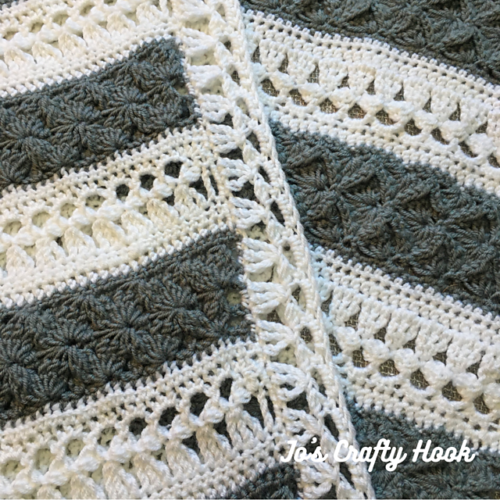
The Summer Convertible Wrap crochet pattern is a design that has many purposes.  The crochet stitches I used in this design create a nice and airy stitch.  You can use for those chilly Spring and Summer night; wear it to cover up a bathing suit; or just make it fit your purpose.

The Summer Convertible Wrap Crochet Pattern was designed specifically for the Spring into Summer Blog Hop & Bundle Sale.  This event is going on the whole month of May.

This blog hop is being hosted by Itchin’ for Some Stitchin’, Ned & Mimi, and HanJan Crochet.  WeCrochet is sponsoring this event by providing yarn used in these great NEVER seen before and hosting a Giveaway!

Scroll down for more information visit the Spring into Summer Blog Hop & Bundle sponsored by WeCrochet and hosted by Itchin’ for Some Stitchin’ Ned & Mimi and HanJan Crochet.

While you are there be sure to sign up for my Newsletter by clicking on the Subscribe Button in the top right hand corner.  You will receive news about my New Crochet Pattern Releases, Collaborations, and MORE!  For signing up you will also get a FREE crochet pattern!

This post contains affiliate links that appear at no cost to you.

Information about the Yarn used in the Summer Convertible Wrap

WeCrochet kindly provided me with the yarn that I used in my Summer Convertible Crochet Pattern.  The yarn I used was CotLin from KnitPicks.  I picked this yarn  because I wanted a nice lightweight yarn that was suitable for Spring and Summer.  The CotLin met my expectations perfectly.  The CotLin yarn from KnitPicks is also a yarn that can be washed over and over again and still hold the shape perfectly.

Fiber Content: 70% Tanguis Cotton, 30% Linen
Weight: DK
Yards: 123
Grams: 50
Care: Machine Washable/Tumble Dry Low

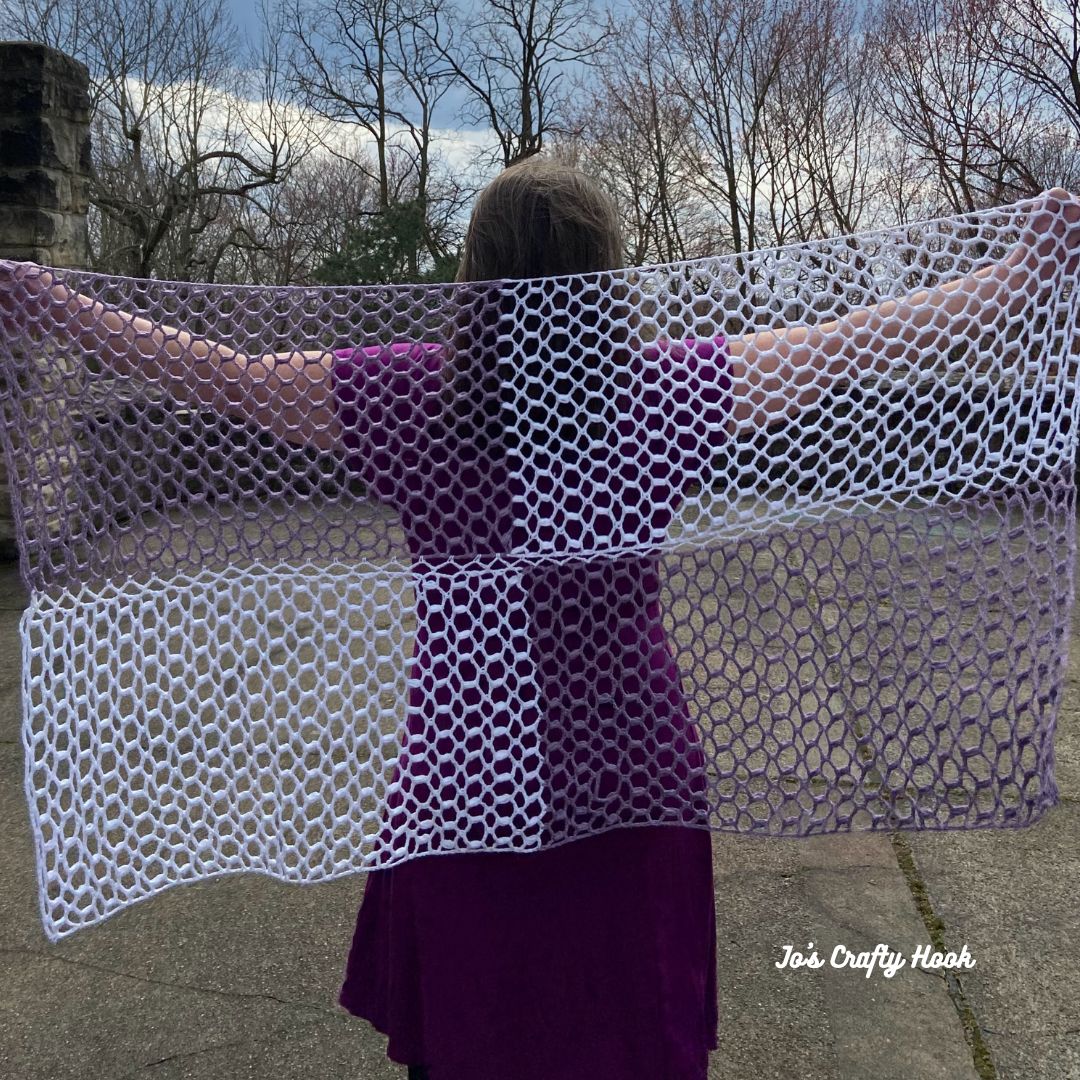
I wanted to use light colors in my wrap that would help to reflect the sun and to make you want to wear it in the warmer Spring and Summer days. 

I used the colors Snow White (29492)  & Whisper (25328) 

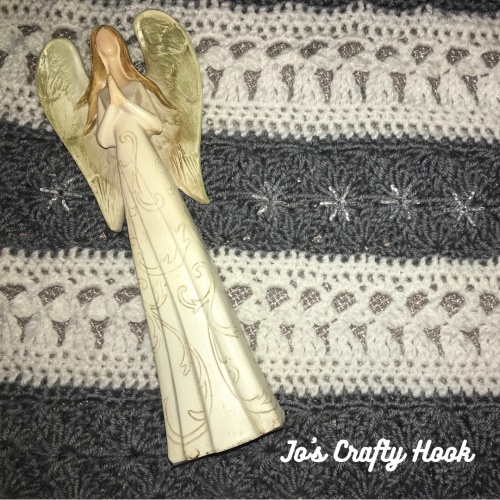
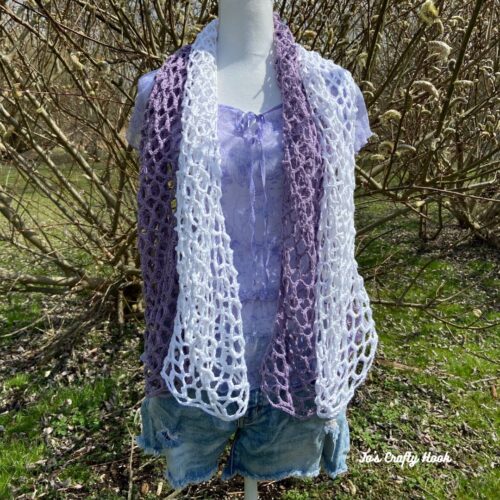
As you can see by the picture below the colors Snow White & Whisper do help to reflect the sun.  The picture below also shows the nice and airy stitch that will keep you cool in the warmer weather.


Get a FREE premium copy of the Summer Convertible Wrap Crochet Pattern in the Spring into Summer Blog Hop

On May 11, 2023, starting at 12a EST until May 12, 2023 11:59p EST you can get a FREE pdf of the Summer Convertible Wrap Crochet Pattern as part of the Spring into Summer Blog Hop.

Visit the Round-Up post in the Spring into Summer Blog Hop to get the Coupon Code needed to get your FREE copy of the Summer Convertible Wrap crochet pattern.


Once you have the Coupon Code, download the crochet pattern from my Ravelry Store by using the Button below.  Use the Coupon Code provided from the Round-Up post at Checkout.  Then you will get the Summer Convertible Wrap Crochet Pattern for FREE!


Blog Hop, Bundle, and WeCrochet Giveaway

More information about the Spring into Summer Blog Hop and the Bundle and the Giveaway from WeCrochet is provided below.

Spring into Summer Blog Hop & Bundle Sale

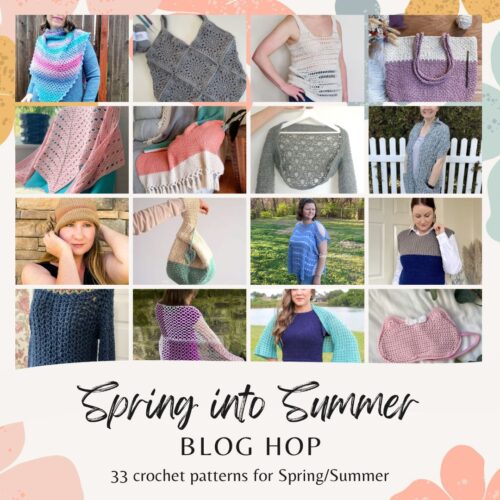
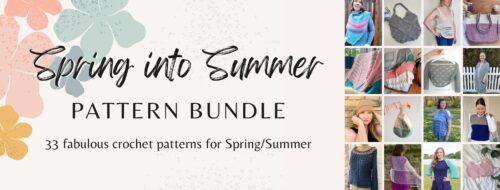
The Spring into Summer Blog Hop features 33 crochet patterns that you can get for FREE!  Each day they are offering a FREE PDF copy of a featured designer’s crochet pattern ranging from garments, accessories and more! Most of the crochet designs are NEW crochet patterns!


Also, the Spring into Summer Blog Hop has a Bundle you can purchase for $15.99 where you can get ALL 33 premium crochet patterns ALL in one place!


Sponsored by WeCrochet

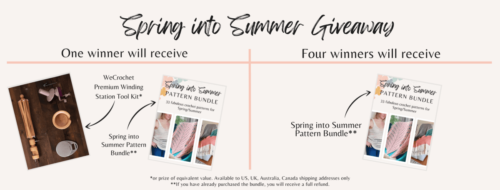
WeCrochet is kindly sponsoring the Spring into Summer Blog Hop and has kindly donated yarn for the crochet patterns for used in this blog hop.  WeCrochet is also sponsoring a Giveaway where you can enter to WIN prizes!

There are 5 prizes up for grabs – one grand prize and 4 runner up prizes.

  • Grand Prize: Premium Winding Station Tool Kit* + Spring into Summer Pattern Bundle
  • 4 Runner-Up Prizes: Spring into Summer Pattern Bundle


While you are there be sure to sign up for my Newsletter by clicking on the Subscribe Button in the top right hand corner.  You will receive news about my New Crochet Pattern Releases, Collaborations, and MORE!  For signing up you will also get a FREE crochet pattern!

If you missed the chance to get a FREE crochet pattern of the Summer Convertible Wrap You can get an Ad-Free premium copy of the Summer Convertible Wrap Crochet Pattern from my Ravelry or LoveCrafts Store for a small fee.


Custom Orders Welcome

If you would like me to crochet you your own Summer Convertible Wrap or any of my designs for you or others, I do take Custom Orders.  Visit my Ravelry Store or LoveCrafts to see some ideas of what you would like to Custom Order.  You can email me with your order or any other questions at j.o@joscraftyhook.com.

**********************************************************

Find me, Jo of Jo’s Crafty Hook at the places listed below.

Email:  j.o@joscraftyhook.com

Website

Facebook Group Jo’s Crafty Hookers

Facebook Group Jo’s Crafty Hook Designs

Facebook Page Jo’s Crafty Hook

Facebook Page:  Crochet Designer Community

Ravelry

LoveCrafts

Etsy

Instagram

YouTube

Pinterest

Donations Accepted


Fall into Autumn Blog Hop 2022

September 1-30, 2022 starts the Fall into Autumn Blog Hop.  You can take advantage of daily FREE crochet patterns that are perfect for Autumn!  This blog hop is being sponsored by #wecrochetofficial #wecrochet #knitpicks  There is also a Fall into Autumn Bundle to treat yourself with!  More info below.


There will be 32 crochet designers participating and giving away a FREE copy of their newest Autumn designs!  The image below tells you how the Fall into Autumn Blog Hop works.


Itchin’ for Some Stitchin’ and Ned & Mimi will be hosting this blog hop.  To visit the Fall into Autumn Blog Hop and to find more information, click on the image below to be directed to the blog hop.  Each day you can also visit the roundup to get the daily free crochet pattern from another fabulous crochet designer’s newest Autumn design.


On Sept 23, 2022 I will be giving away FREE pdf copies of my newest Autumn design, the Double Cross Mobius Cowl.  Be sure to come back here on Sept 23, 2022 to grab a free copy of my Double Cross Mobius Cowl.


There will also be a Giveaway!  1 lucky WINNER will receive the 2022 Fall into Autumn Pattern Bundle and the Premium Winding Station Tool Kit from #wecrochet “WOW!!”


Like I said above, you can skip all the blog hopping and treat yourself to the Fall into Autumn Bundle.  


Here are some questions you may have before you decide to treat yourself to one…
What is the Fall into Autumn bundle?
A collection of all 33 patterns in the Fall Into Autumn Blog Hop.
How much does the bundle cost?
The bundle will be offered at $12.99 from August 31 – October 7, 2022, which is over 90% off what one would pay if the patterns were purchased individually. This comes out to about $0.38 per pattern.

How do I treat myself 👏👏 to one?


Click HERE to purchase your own Fall into Autumn Bundle.
*******************************************************


**Be sure to Subscribe to my Newsletter below.  You will receive a FREE crochet pattern for signing up!  You will also receive more information about these events, Jo’s Crafty Hook’s News and more**

[sg_popup id=”10940″ event=”click”][/sg_popup]


You will find some of my Premium crochet patterns , by visiting any of my stores, by clicking on the Buttons below.


********************************************************


If you would like me to crochet any of my designs for you or others, I do take Custom Orders.  You can email me with your order or any other questions at j.o@joscraftyhook.com.


********************************************************


Find me, Jo of Jo’s Crafty Hook at the places listed below.

Email:  j.o@joscraftyhook.com

Website

Facebook Group Jo’s Crafty Hookers

Facebook Group Jo’s Crafty Hook Designs

Facebook Page Jo’s Crafty Hook

Facebook Page:  Crochet Designer Community

Ravelry

LoveCrafts

Instagram

YouTube

Pinterest

Donations Accepted


Working Man’s Apron Free Crochet Pattern

Working Man’s Apron Free Crochet Pattern

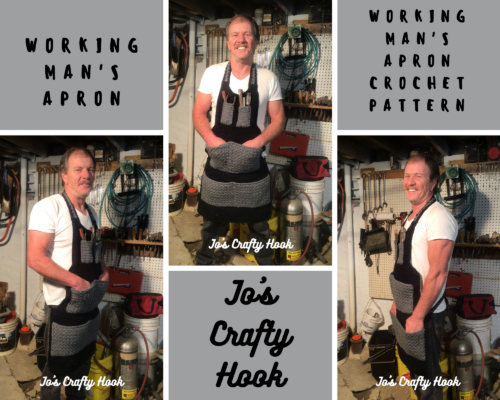
Thank you for stopping by Jo’s Crafty Hook.  In today’s post I am sharing with you one of my newest crochet designs, the Working Man’s Apron Free Crochet Pattern!

You don’t see a lot of crochet patterns for men.  My husband is always working in his garage and hunting around for his tools, so I thought this Working Man’s Apron would be the perfect thing Just for Him.
This post contains affiliate links.  If you make a purchase using these links I may receive compensation (at no added cost to you.)


While you are here be sure to sign up for my Newsletter where you will receive news about my New Crochet Pattern Releases, Collaborations, and MORE!  For signing up you will also get a FREE crochet pattern!

Information Needed to Crochet the Apron
 

I used WeCrochet/KnitPicks Brava #7 Bulky Weight.  136 yds/100 gram

Materials:
US Hook K/6.5 mm
340 yds of Cobblestone Heather
816 yds of Black
Scissors
Tapestry Needle
Stitch Markers

Gauge:
Hook US K/6.5 mm
12 st x 8 rows  = 4”

Finished Size:
44” tall
20” wide

The Working Man’s Apron can be very easily customized.  Inside the premium crochet pattern you will find step-by-step picture tutorials.  Also, inside the pattern you will find the inches broken down so you can choose how wide your apron is and how long it is.  Not only can you make this just for him, but it is a totally Unisex pattern.

You can get a PDF copy of the Ad-Free and the Premium crochet pattern that has step-by-step picture tutorials at my Ravelry Store or LoveCrafts Store or at my Etsy Shop.


Abbreviations/Stitches Used:
fsc = foundation single crochet
sc = single crochet
dc = double crochet
rep = repeat
ch = chain
sl st = slip stitch
MC = Main Color
CC = Contrasting Color
RS = Right Side
WS = Wrong Side

Special Stitches:
Foundation Single Crochet:  creates your foundation row at the same time as your first row of single crochet stitches.
Seed Stitch:  alternate sc and dc in the 1st row then you add a dc in the sc and a sc in the dc in the consecutive rows.

Notes:
alt ch 2 and counts as a dc.
ch 2 counts as a dc.
Corners consist of (sc, ch 1, sc) all in the same sp.
The pattern has a lot of pieces.  They are panels, pockets, and straps that will be sewn together.
The pieces may shrink due to the tightness of the stitch.  You may want to block it.
You can steam it or wash it and pin it down.

********************************************************

Customizing:

The apron can easily be customized to fit your working man.  Below I have supplied the gauges in 1” 2” 3” 4” and the rows needed for 1” 2” 3” 4”

1” = 3st x 2 rows
2” = 6 st x 4 rows
3” = 9 st x 6 rows
4” = 12 st x 8 rows

********************************************************

Working Man’s Apron Crochet Pattern:
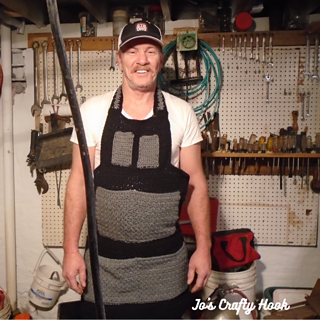
 

Chest 10” x 8”

Using MC

fsc 30 turn  (30 sc)
alternative:  ch 31, sc in the 2nd ch from hook and each remaining st across.  (30 sc)

R1: ch 1, sc in the same sp, *dc in the next st, sc in the next st*  rep from * until last st, dc in last st.  turn (30 st)

R2-R16:  Repeat R1 do  not turn after R16

Move to the Border below

********************************************************

Middle 14” x 12”

fsc 42 turn (42 sc)
alternative:  ch 43, sc in the 2nd ch from hook and each remaining chain.  turn (42 sc)

R1: ch 1, sc in the same sp, *dc in the next st, sc in the next st*  rep from * until last st, dc in last st.  (42 st)

R2-R24:  Repeat R1.  Do not turn after R24

Move to Border below

********************************************************

Bottom 18” x 16”

fsc 54 (54 sc) turn
alternative:  ch 55, sc in the 2nd ch from hook and each remaining chain.  (54 sc)

R1:  ch 1, sc in the same sp, *dc in the next st, sc in the next st*  rep from * until last st, dc in last st.  (54 st)

R2-R32:  Repeat R1.  Do not turn after R32

Move to Border below

********************************************************


Chest Pockets 2” x 4”
(make 2)

Note:  For a tighter pocket, use sc only in width and height. 

Using CC

fsc 6 turn ( sc)
alternative:  ch 7, sc in the 2nd ch from hook and each remaining chain.  turn (6 sc)

R1:  ch 1, sc in the same sp, *dc in the next st, sc in the next st*  rep from * until last st, dc in last st.  (6 st)

R2-R8:  Repeat R1.  Do not turn after R8

Move to Border below

********************************************************

Middle Pocket 14” x 10”

fsc 42 turn (42 sc)
alternative:  ch 43, sc in the 2nd ch from hook and each remaining chain.  turn (42 sc)

R1: ch 1, sc in the same sp, *dc in the next st, sc in the next st*  rep from * until last st, dc in last st.  (42 st)

R2-R20:  Repeat R1.  Do not turn after R20

Move to Border below

********************************************************

Bottom Pocket 18” x 16”

fsc 54 turn (54 sc)
alternative:  ch 55, sc in the 2nd ch from hook and each remaining chain.  turn (54 sc)

R1:  ch 1, sc in the same sp, *dc in the next st, sc in the next st*  rep from * until last st, dc in last st.  turn (54 st)

R2-R24:  Repeat R1.  Do not turn after R24

Move to Border below

********************************************************

You can get a PDF copy of the Ad-Free and the Premium crochet pattern that has step-by-step picture tutorials at my Ravelry Store or LoveCrafts Store or at my Etsy Shop.

Border (RS):

Side 1:
ch 1, turn your work to the side and sc evenly down the sides st.  

Corner:
(sc, ch 1, sc) all in the last st.  

Bottom:
turn and sc evenly in the fsc row until the last st.  

Corner:
(sc, ch 1, sc) all in the last st.  

Side 2:
turn and sc evenly up the side of the until the last st.  

Corner:
(sc, ch 1, sc) all in the last st.  

Top:
turn and sc across until the last st.  (sc, ch 1, sc) all in the last st.

Fasten off and weave in ends.

********************************************************

Apron Border

R1:

Step 1:
Starting in any corner of the apron, attach yarn with a sl st in the corner st.

Step 2:

sc in the same sp as the sl st.  sc in each st around the apron until you come to a corner st.  (sc, ch 1, sc) all in the same st. 

Step 3:
Continue step 2 all the way around the apron, being sure to place the (sc, ch 1, sc) all in the corner st.

Step 4:
Repeat Step 3 until you come to the last st.  sc, ch 1 in the last st and sl st in th 1st st to join.

R2:  ch 1, sc in the same sp.  *sc in each st until you come to the corners, (sc, ch 1, sc) all in the ch-1 sp of the corner.  Rep from *around the apron until the last st, sc, ch 1 in the last st.  sl st in 1st st to join.  

********************************************************

Pieces Assembly

Step 1:
Line up the middle of the top piece to the middle of the middle piece.  You want to have the same amount of st on the left side as you do the right side.

Step 2:
Starting where your 2 pieces lined up, sew the RS of the bottom st to the RS of the top st.

Fasten off and weave in ends.

Repeat these steps for sewing the top to the middle piece and the middle to the bottom piece.

********************************************************


Neck Strap 10” x 2”

Neck Strap

When making your slip knot be sure to leave a long tail of yarn for attaching to the top part of your apron.

fsc 30 turn (30 sc)
alternative:  ch 31, sc in the 2nd ch from hook and each remaining st across.  turn  (30 sc)

R1:  ch 1, sc in the same sp, *dc in the next st, sc in the next st*  rep from * until last st, dc in last st.  (30 st)

R2-R3:  Repeat R1.  

R4:  ch 1, sc in the same sp and each st across.  (30 sc)

Fasten off and weave in ends.

For best results for assembling, sc in the end st on both ends of neck straps. 

Leave a long tail on 1 end for attaching to the apron.

********************************************************

Attaching Neck Strap

Step 1:
Line up the bottom corner of your strap piece to the corner of your top piece.

Step 2:
Starting where your 2 pieces lined up, sew the RS of the bottom st to the RS of the top st.

Fasten off and weave in ends.

Repeat Steps 1 & 2 on the other side of your top piece.

********************************************************

Waist Ties 20” x 1”
(make 2)

Waist Straps

fsc 60 turn (60 sc)
alternative:  ch 61, sc in 2nd ch from hook and each remaining st across.  turn  (60 sc)

R1:  ch 1, sc in the same sp, *dc in the next st, sc in the next st*  rep from * until last st, dc in last st.  (60 st)

R2:  Repeat R1.  

R3:  ch 1, sc in the same sp and each st across.  (60 sc)

Fasten off and weave in ends.

For best results for assembling, sc in the end st on both ends of waist ties. 

Leave a long tail on 1 end for attaching to the apron.

************************************************

Attaching Waist Straps

Step 1:
Line up the bottom corner of your strap piece to the corner of your middle piece where the middle and bottom pieces connect.

Step 2:
Starting at the top of your end piece of the strap line up the st evenly.

Step 3:
Sew the RS of your end piece of your strap to RS of the middle piece.  Do NOT fasten off.

Step 4:
Sew the RS of the bottom of your strap to the RS of the top of your bottom piece, being sure to line up your st evenly.

Fasten off and weave in ends.

Repeat Steps 1-4 on the other side of your apron.

********************************************************

Pocket Assembly

Step 1:
Place your pockets where you would like to sew them on, being sure to place the WS of your pockets to the RS of your top piece.

Step 2:
Line up the top, sides, and bottom of your pockets to the corresponding rows of the top piece.

Step 3:
Sew from one of the top corners down to the bottom corner, across the bottom, and up to the next corner. You will leave the top of your pocket open.

Repeat Steps 1-3 for each piece and pockets

Fasten off and weave in ends.

Finished Working Man’s Apron
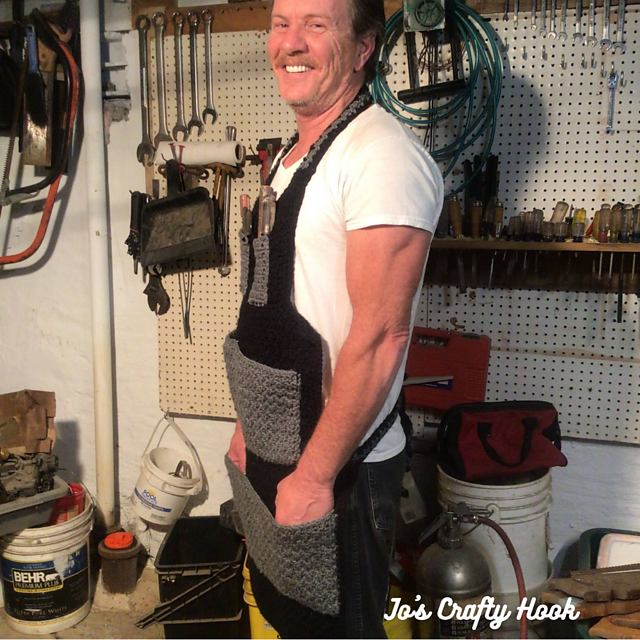
 

********************************************************

Again, thank you for stopping by Jo’s Crafty Hook.  I would LOVE to see your version of the Working Man’s Apron!!  You can tag me at any social media links below.

Also be sure to check out my Home Page, it features all the blog hops and events that are happening now or will be coming soon!

While you are there be sure to sign up for my Newsletter where you will receive news about my New Crochet Pattern Releases, Collaborations, and MORE!  For signing up you will also get a FREE crochet pattern!

********************************************************

Find me, Jo of Jo’s Crafty Hook at the places listed below.

Email:  j.o@joscraftyhook.com

Website

Facebook Group Jo’s Crafty Hookers

Facebook Group Jo’s Crafty Hook Designs

Facebook Page Jo’s Crafty Hook

Facebook Page:  Crochet Designer Community

Ravelry

LoveCrafts

Etsy

Instagram

YouTube

Pinterest

Donations Accepted
O Holy Night Wrap


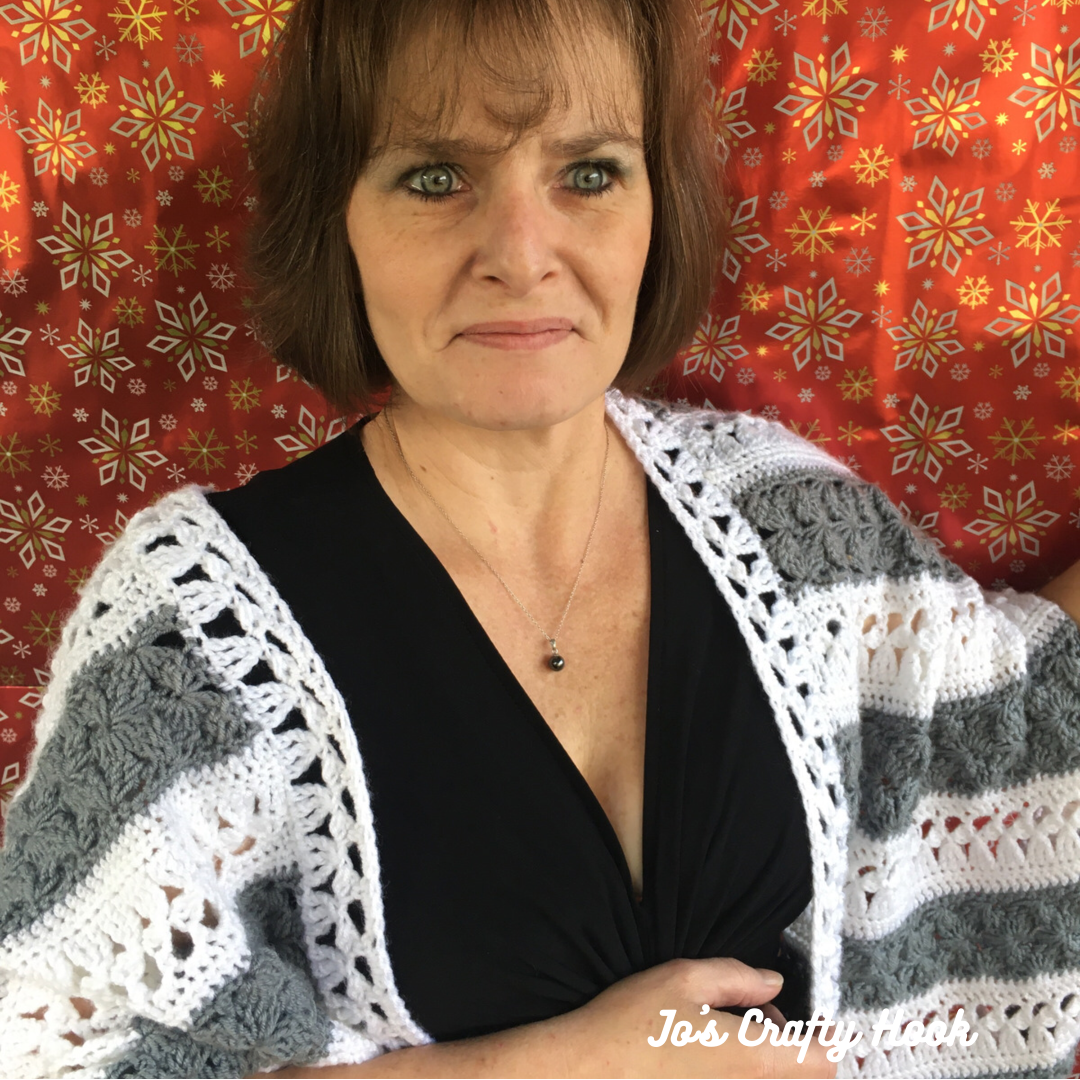
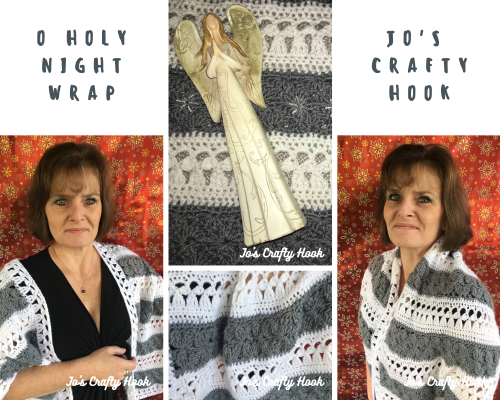
I have another new crochet pattern that I have been dying to share with you!  I have had to keep a lid on it since August and let me tell ya, my lid was ready to blow off!  So today I am introducing you to my O Holy Night Wrap crochet pattern!


This post contains affiliate links.  If you make a purchase using these links I may receive compensation (at no added cost to you.)

The crochet pattern release was held until today as part of the 12 Days of Christmas Blog Hop hosted by Fosbas Designs.  The yarn used in designing the O Holy Night Wrap was donated by WeCrochet.


The O Holy Night Wrap is being released at the perfect time because the holidays are right around the corner!  We who like to crochet like to get a head start for those gift giving months.  Plus, with it being the first of November there should still be PLENTY of time for you to crochet the O Holy Night Wrap for those important to your life!  Yes we still have Thanksgiving (US) to get through, but as you know life gets busy especially around this time of year.


As my gift to you I am giving you a FREE pdf copy of the O Holy Night Wrap for 24 hours!  In order to get the Coupon Code, you need to go to the Round Up for More Patterns button below to get today’s Coupon Code.  Then you can download the free pattern from the button below that says “Download On Ravelry”


Download the FREE pdf copy of the O Holy Night Wrap crochet pattern using the button below.


Thank you for stopping  by Jo’s Crafty Hook!  If you have not signed up for my Newsletter, today would be the perfect time!  I am offering a FREEBIE when you sign up!  Visit my Newsletter Incentive Page for more details!


**********************************************************

Find me, Jo of Jo’s Crafty Hook Designs, at the places listed below.

Website 

Ravelry

LoveCrafts 

Etsy Shop

Facebook Page Jos Crafty Hook

Facebook Page JosCraftyHookDesigns

Instagram    

Pinterest

Twitter

YouTube  

Donations Accepted

***********************************************