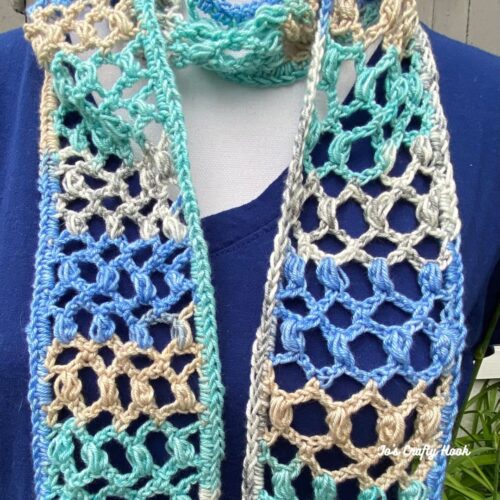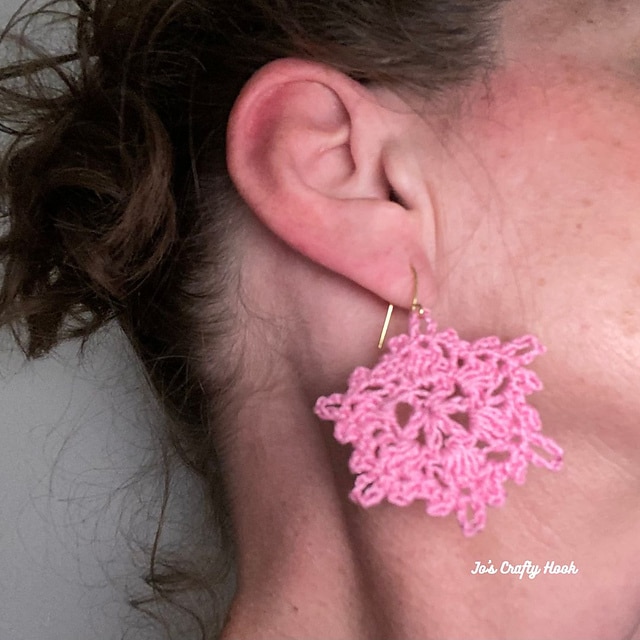
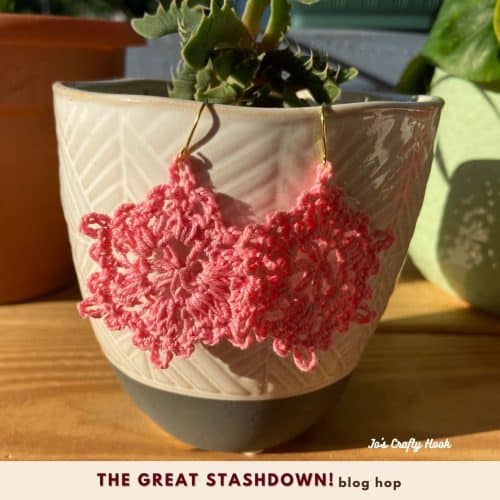
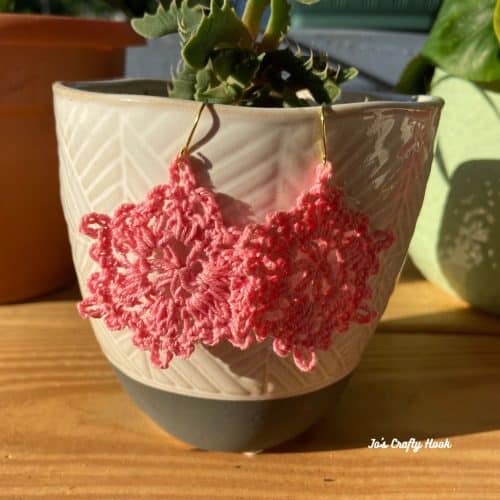
Coreo Flower Earrings Free Crochet Pattern
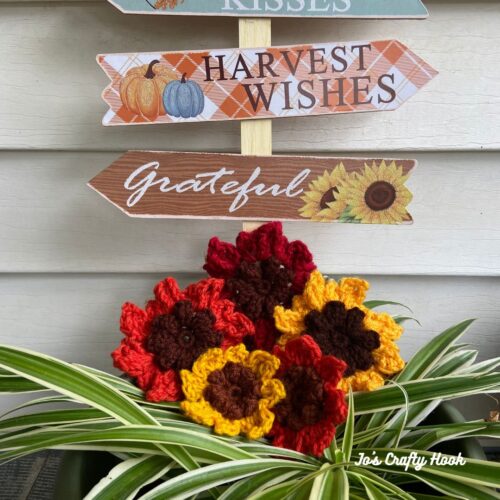
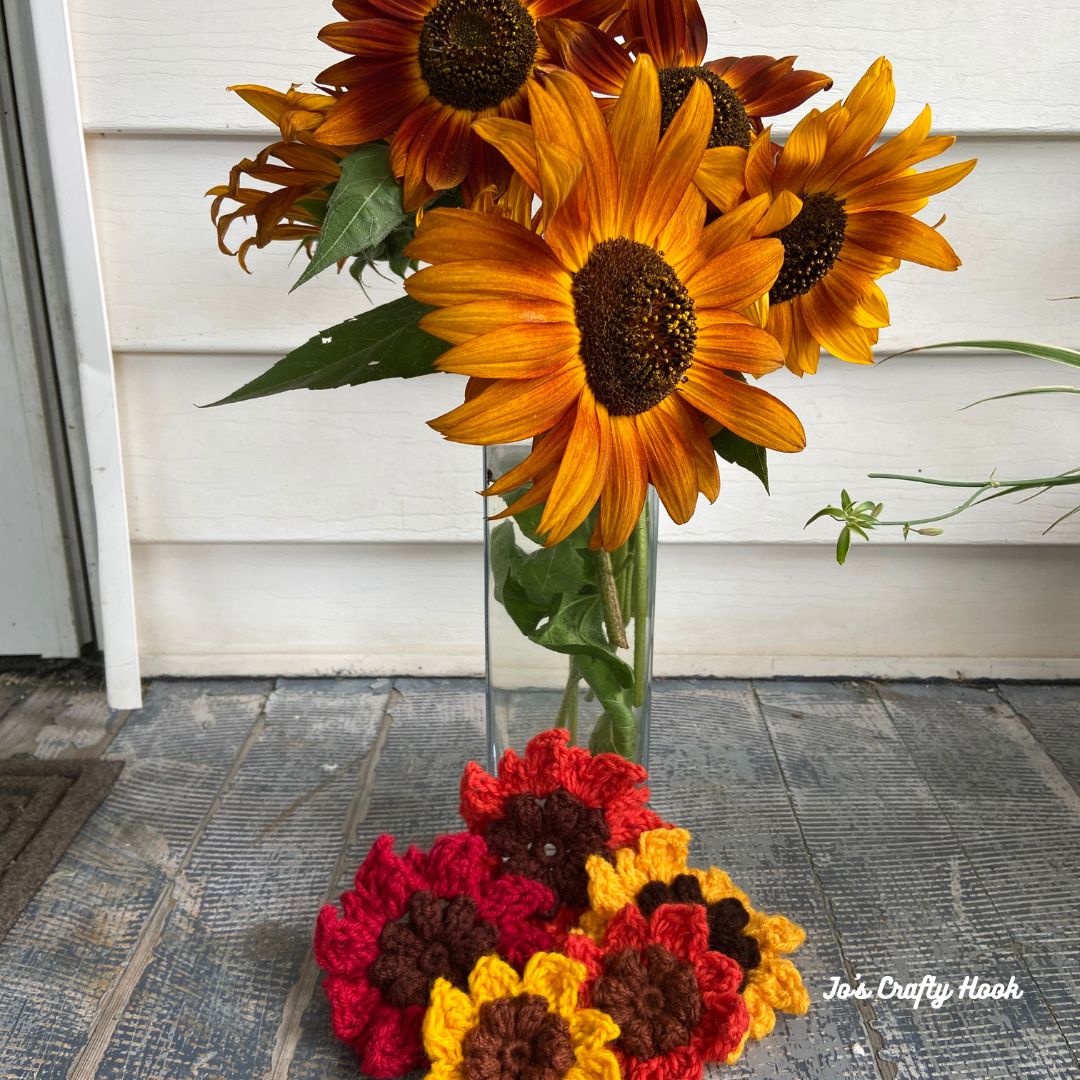
The inspiration behind the design of my Coreo Flower Earrings Crochet Pattern is because I absolutely love flowers. I came across the Coreopsis Flower while looking for flowers I could plant in my garden this season.
As you know fresh flowers don’t last very long. So I just had to design some flowers that I could keep around me all year long.
Information about the Coreo Flower Earrings Crochet Pattern
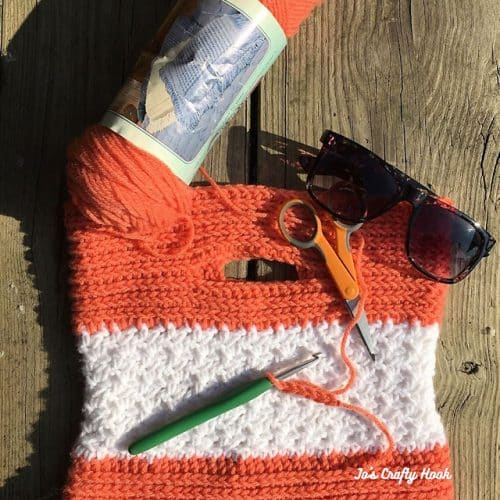
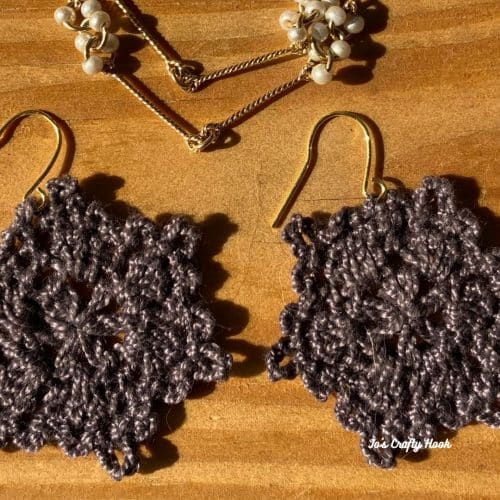
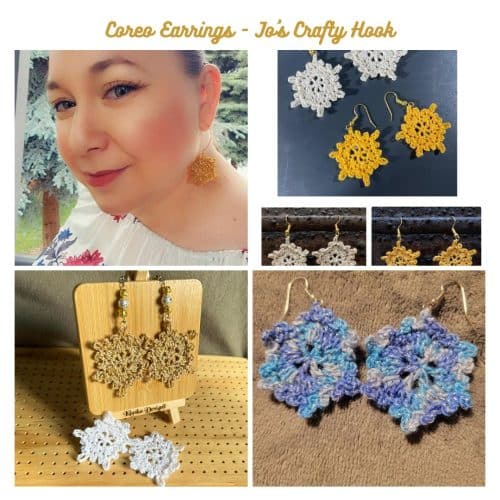
The earring crochet pattern works up quickly. You can make them in a wide variety of colors and add a little something special to your wardrobe.
So, you can even embellish handbags, headbands, or even use a thicker yarn to embellish just about anything in your wardrobe. They are a great way to use some of the scraps of yarn you have left over from other projects.
Below you will find a FREE copy of my Coreo Flower Earrings Crochet Free Pattern that you can come back to time and again. This is a great way to use up stash yarn when you want to add accessories to your updated your wardrobe.
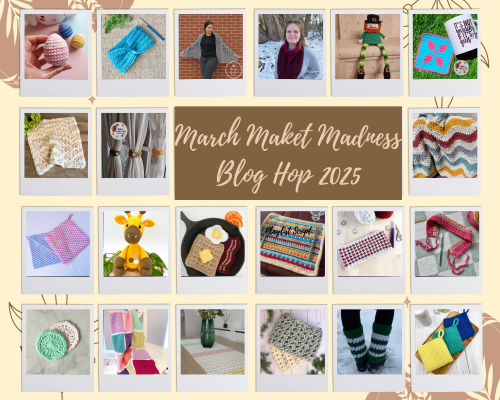
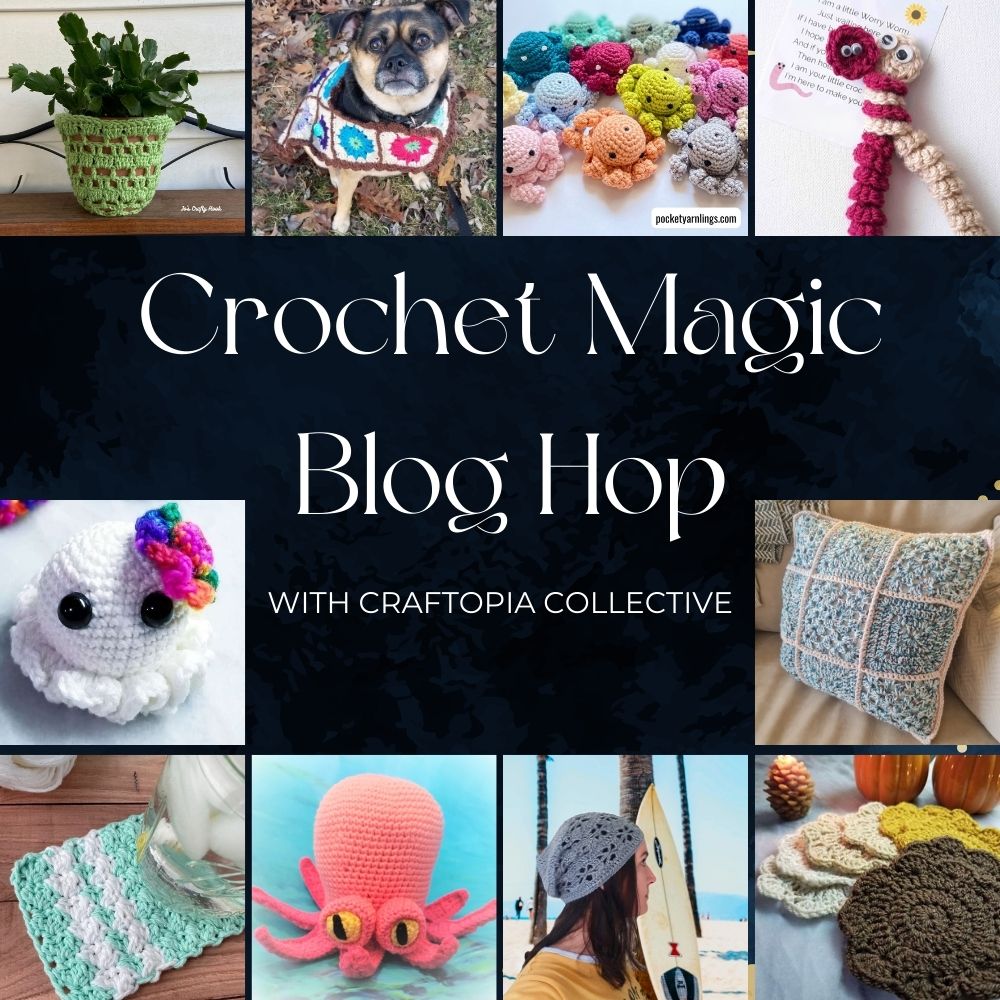
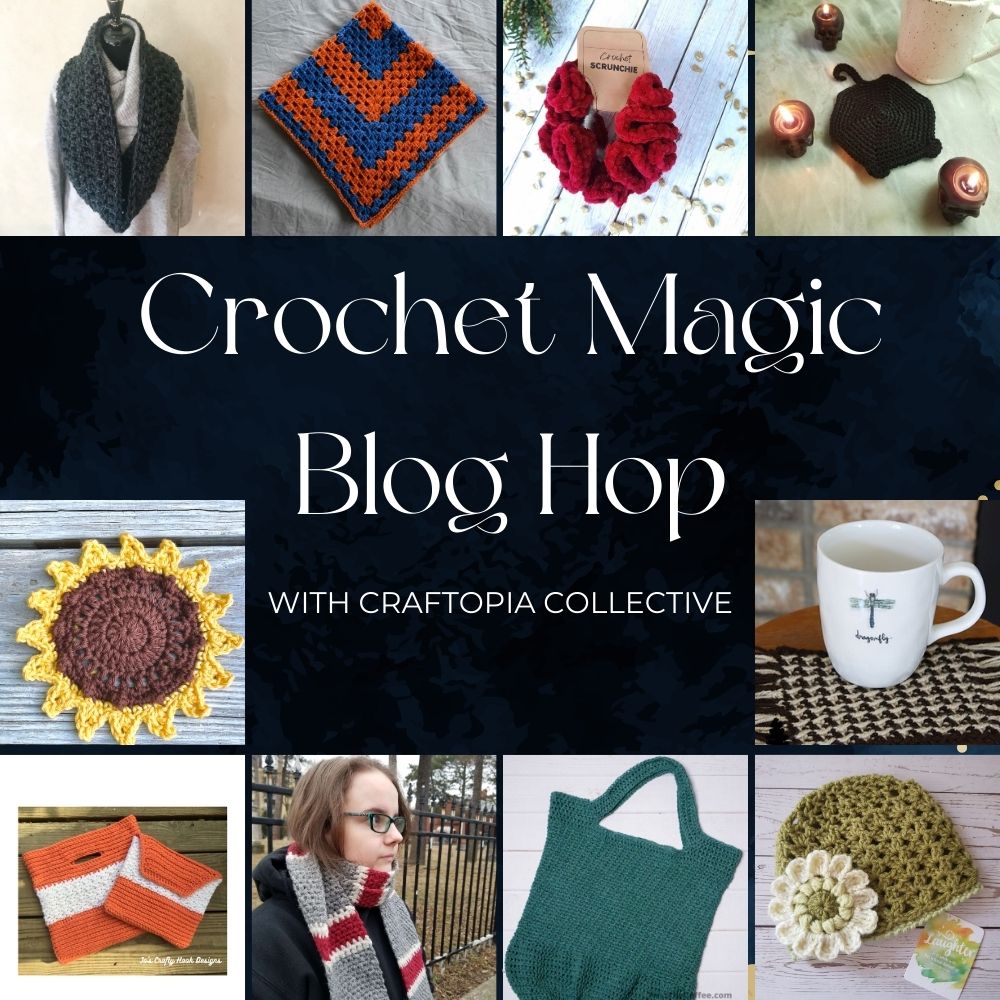
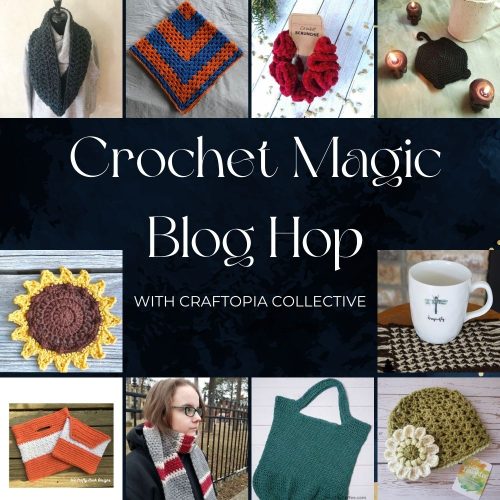
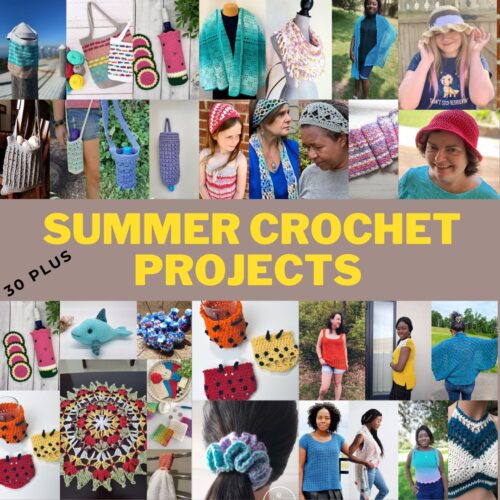
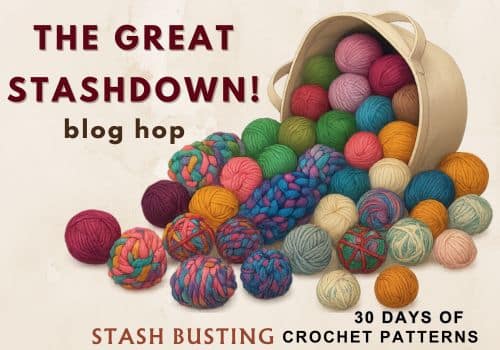
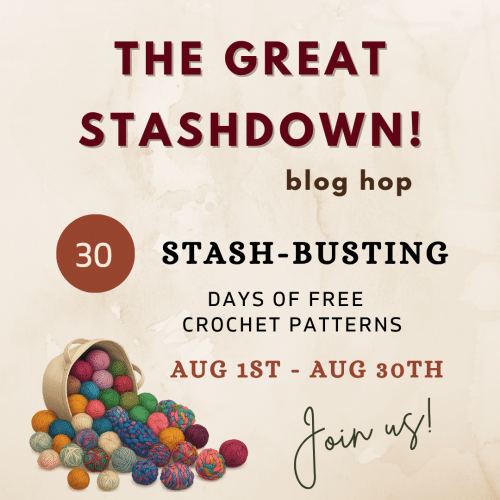
The Great Stashdown Blog Hop – Aug 1-30, 2025
My Coreo Flower Earrings Crochet Pattern is being featured in The Great Stashdown Blog Hop hosted by Itchin’ for Some Stitchin’ during the month of August.
The Great Stashdown Blog Hop features 30 days of FREE crochet patterns that are great for using up your stash yarn with quick and easy premium crochet patterns.
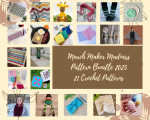
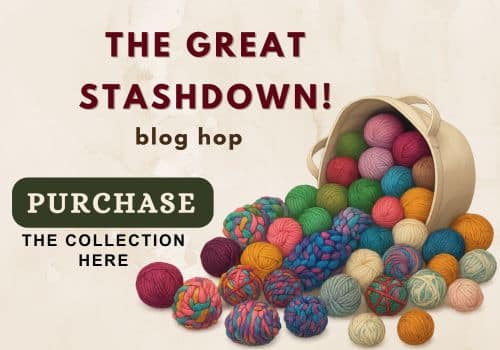
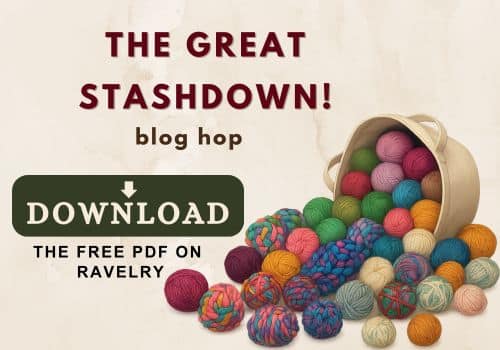
The Great Stashdown Bundle – $11.99
If you don’t have time to visit The Great Stashdown Blog Hop daily, you can purchase The Great Stashdown Bundle for $11.99!!
For 90% off you get 30 premium crochet patterns that are all in one place and you can go back to the stash busters again and again when you want to use up your scraps.
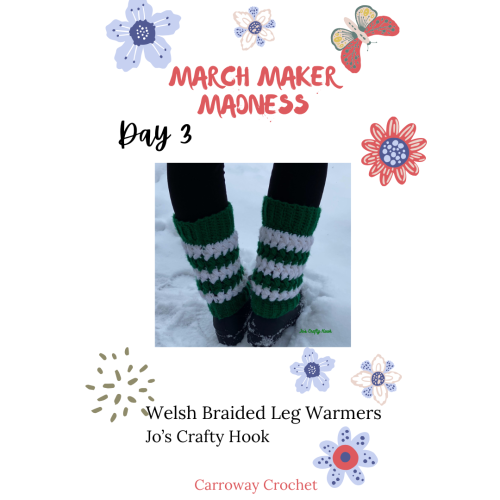
My Day – August 17-18, 2025
Starting at 12:01p on August 17th until 11:59p, you can get a FREE premium copy of my Coreo Flower Earrings Crochet Pattern.
Get the Coupon Code
To get a FREE copy of my Coreo Flower Earrings Crochet Pattern, visit The Great Stashdown Blog Hop to get the Coupon Code needed.
Get a FREE copy from my Ravelry Store
After you have the Coupon Code, visit my Ravelry Store to get your FREE copy of my Coreo Flower Earrings Crochet Pattern. Be sure to add the Coupon Code at Checkout.
Get the Ad-Free copy of my Coreo Flower Earrings for a small fee from my Ravelry Store.
Materials Needed:
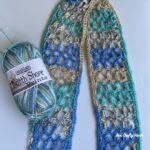
I used Aunt Lydia’s Crochet Size 10 Cotton (350yds/320m)
5-10 yds Aunt Lydia’s Crochet Size 10 Cotton
US 2 or 2.5 mm Steel Crochet Hook
(2) 17mm Sterling Silver Plated French Hook Ear Wires
Tapestry Needle
Scissors
Finished Size: 2” x 2”
Abbreviations/Stitches Used:
st = stitch
ch = chain
sc = single crochet
double crochet
sl st = slip stitch
rep = repeat
Notes:
The earrings are worked in the round.
ch 4 counts as a dc + ch 1
Special Notes:
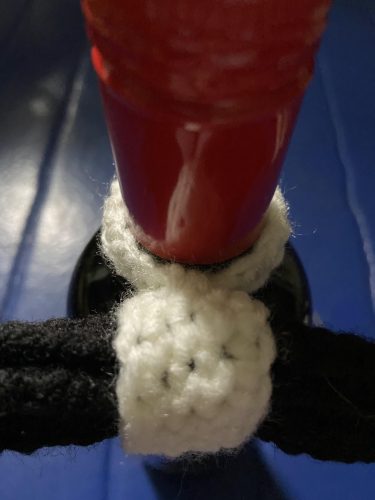
It is always a great idea to Block any crochet item, this helps keep its shape.
You will find some helpful Blocking Tips inside the Ad-Free PDF of the Coreo Flower Earrings Crochet Pattern
Coreo Flower Earrings Crochet Pattern
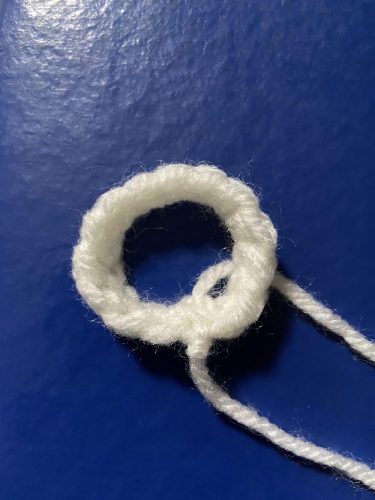
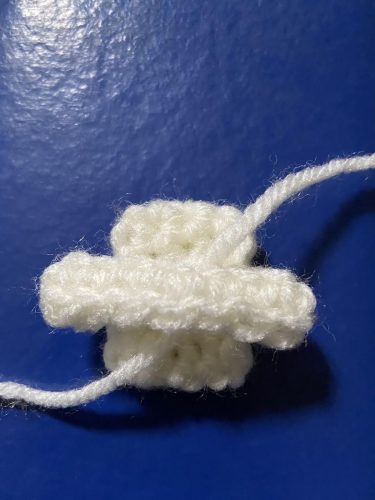
R1: make magic circle, ch 4 (dc, ch 1) for a total of 5 more times in magic circle. pull yarn tight to close circle. sl st in top of ch 3 to join. (6 dc, 6 ch-1 sp)
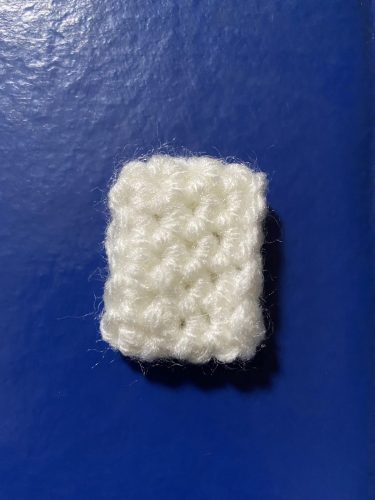
R2: ch 1, sc in same st, 3 dc in next ch-1 sp, *sc in next st, 3 dc in next ch-1 sp. rep from * around until 1st st. sl st in 1st st to join. (6 sc, 18 dc)
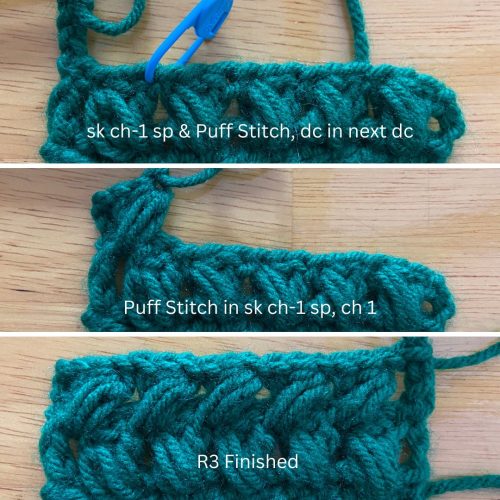
R3: ch 1, sc in same st, sl st in next st, ch 3, sl st in same st, sl st in next st, ch 5, sl st in same st, sl st in next st, ch 3, sl st in same st, *sc in next st, sl st in next st, ch 3, sl st in same st, sl st in next st, ch 5, sl st in same st, sl st in next st, ch 3, sl st in same st. rep from * around until, last 3 dc.
Attaching Earring to French Hook Ear Wire
Step 1:
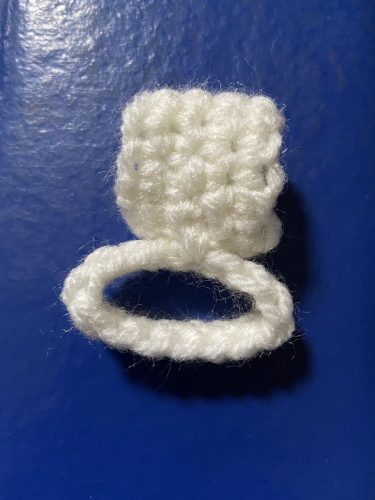
sl st in next dc, ch 3, sl st in same dc
Step 2:
cut a long tail of yarn, (about 10 inches) making sure you have enough to attach a french hook and finish off the Earring.
Step 3:
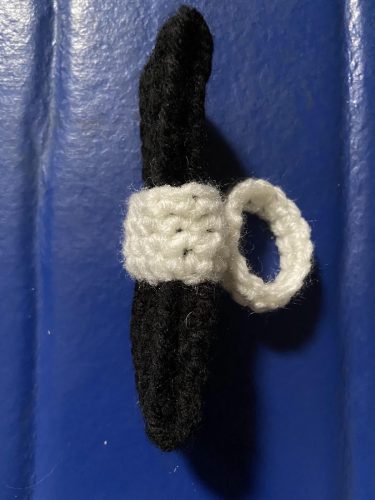
sl st in next dc, ch 2, slip french hook ear wire on ch 2 just made, ch 3, sl st in same dc
Step 4:
sl st in last dc, ch 3, sl st in same dc. sl st in 1st sc to join.
Fasten off and weave in ends.
©Jo’s Crafty Hook 2025
My testers, Amy Locati, Jenny Hinton, Klarisse Cifra-Torres, and Sally Hayes did such a fantastic job that I just have to share them with you!
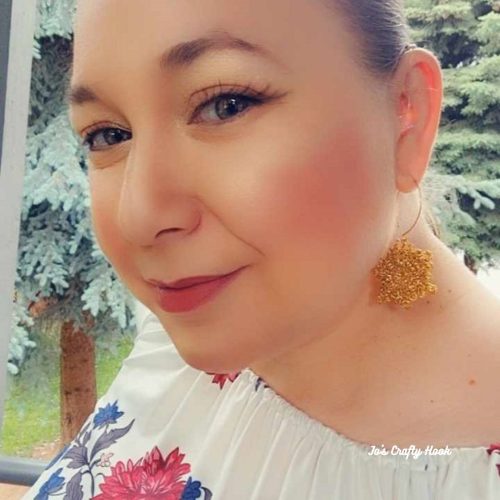
I would LOVE to see yours too! You can tag me at @joscraftyhook and in my FB Group Jo’s Crafty Hook
Find more of my Flower Crochet Patterns at any of my Stores

![]()
![]()
Find me, Jo of Jo’s Crafty Hook at the places listed below.
Email: joeybaird@aol.com
Facebook Group Jo’s Crafty Hookers
Facebook Group Jo’s Crafty Hook Designs
Facebook Page Jo’s Crafty Hook
Facebook Page: Crochet Designer Community
![]()