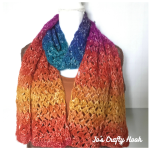
Spring is just around the corner and I have been working hard these last couple of months to bring you my newest design in my Spring collection, the Easter Duster Crochet Pattern to be used in the Spring into Spring Blog Hop I am hosting for the whole month of March.
This page contains affiliate links. You can make a purchase using these links that I provide where I may receive compensation (at no added cost to you.) Purchases you make will help keep my website, my Ravelry Store, my Etsy Shop, and LoveCrafts going and provide quality designs just for you!


I am SO excited because I have 26 fabulous crochet friends donating their newest Spring designs or their favorite Spring designs in the Spring into Spring Blog Hop!


I hope you are as excited as I am about my Easter Duster Crochet Pattern. You can visit the Main Page of the Spring into Spring Blog Hop to find each day’s featured designer and their Spring designs.

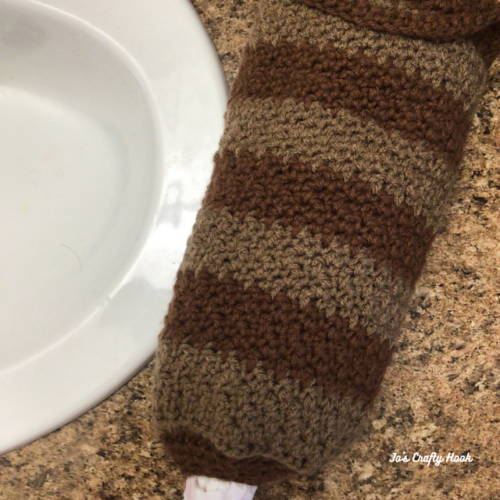
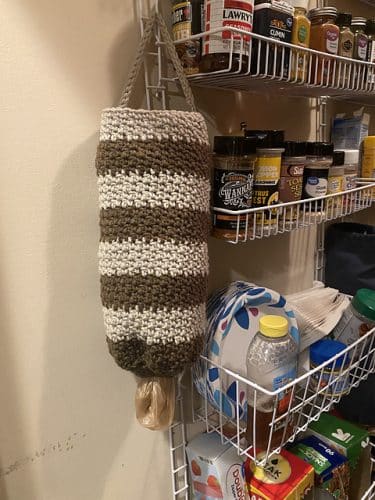
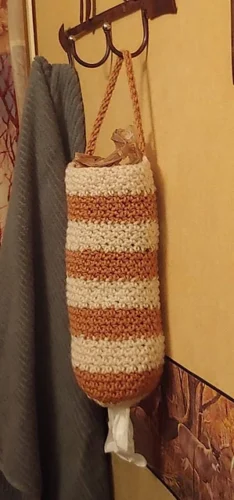
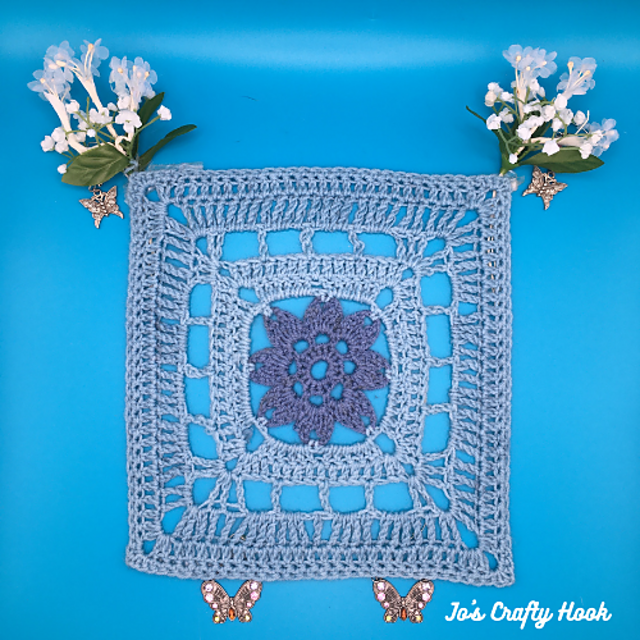
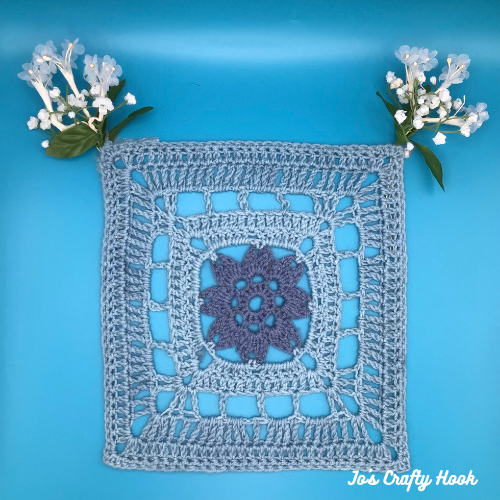
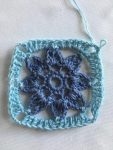
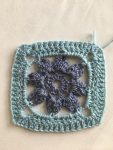
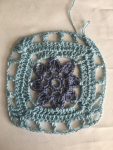
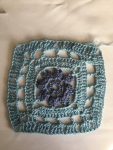
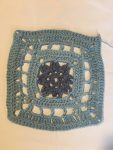
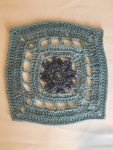
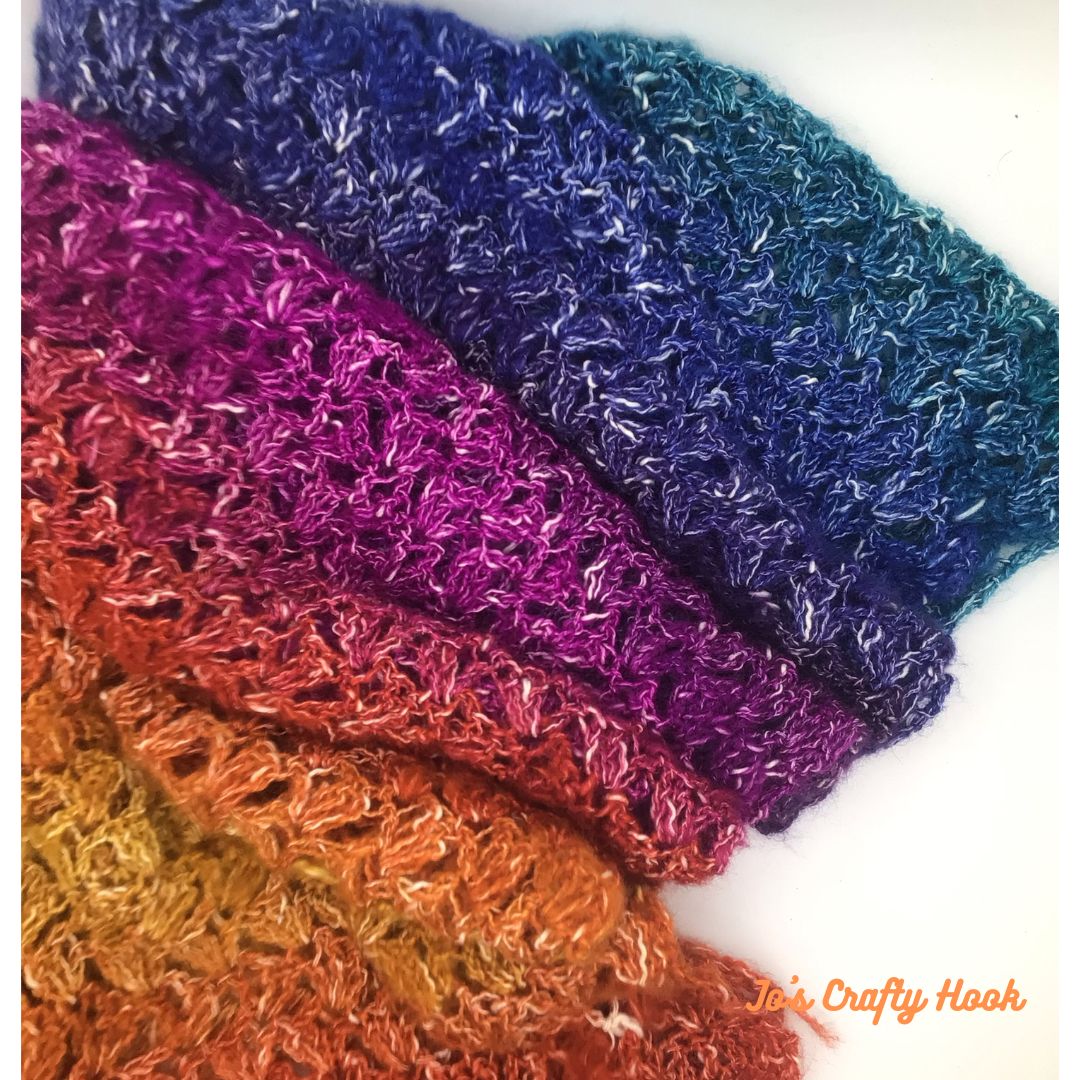
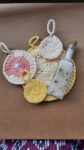
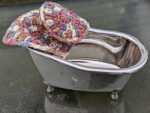
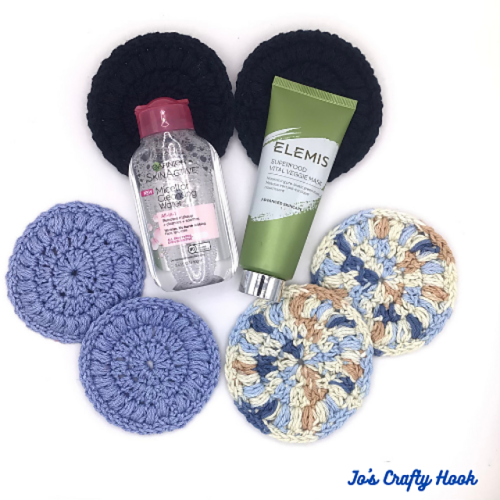
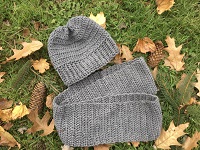
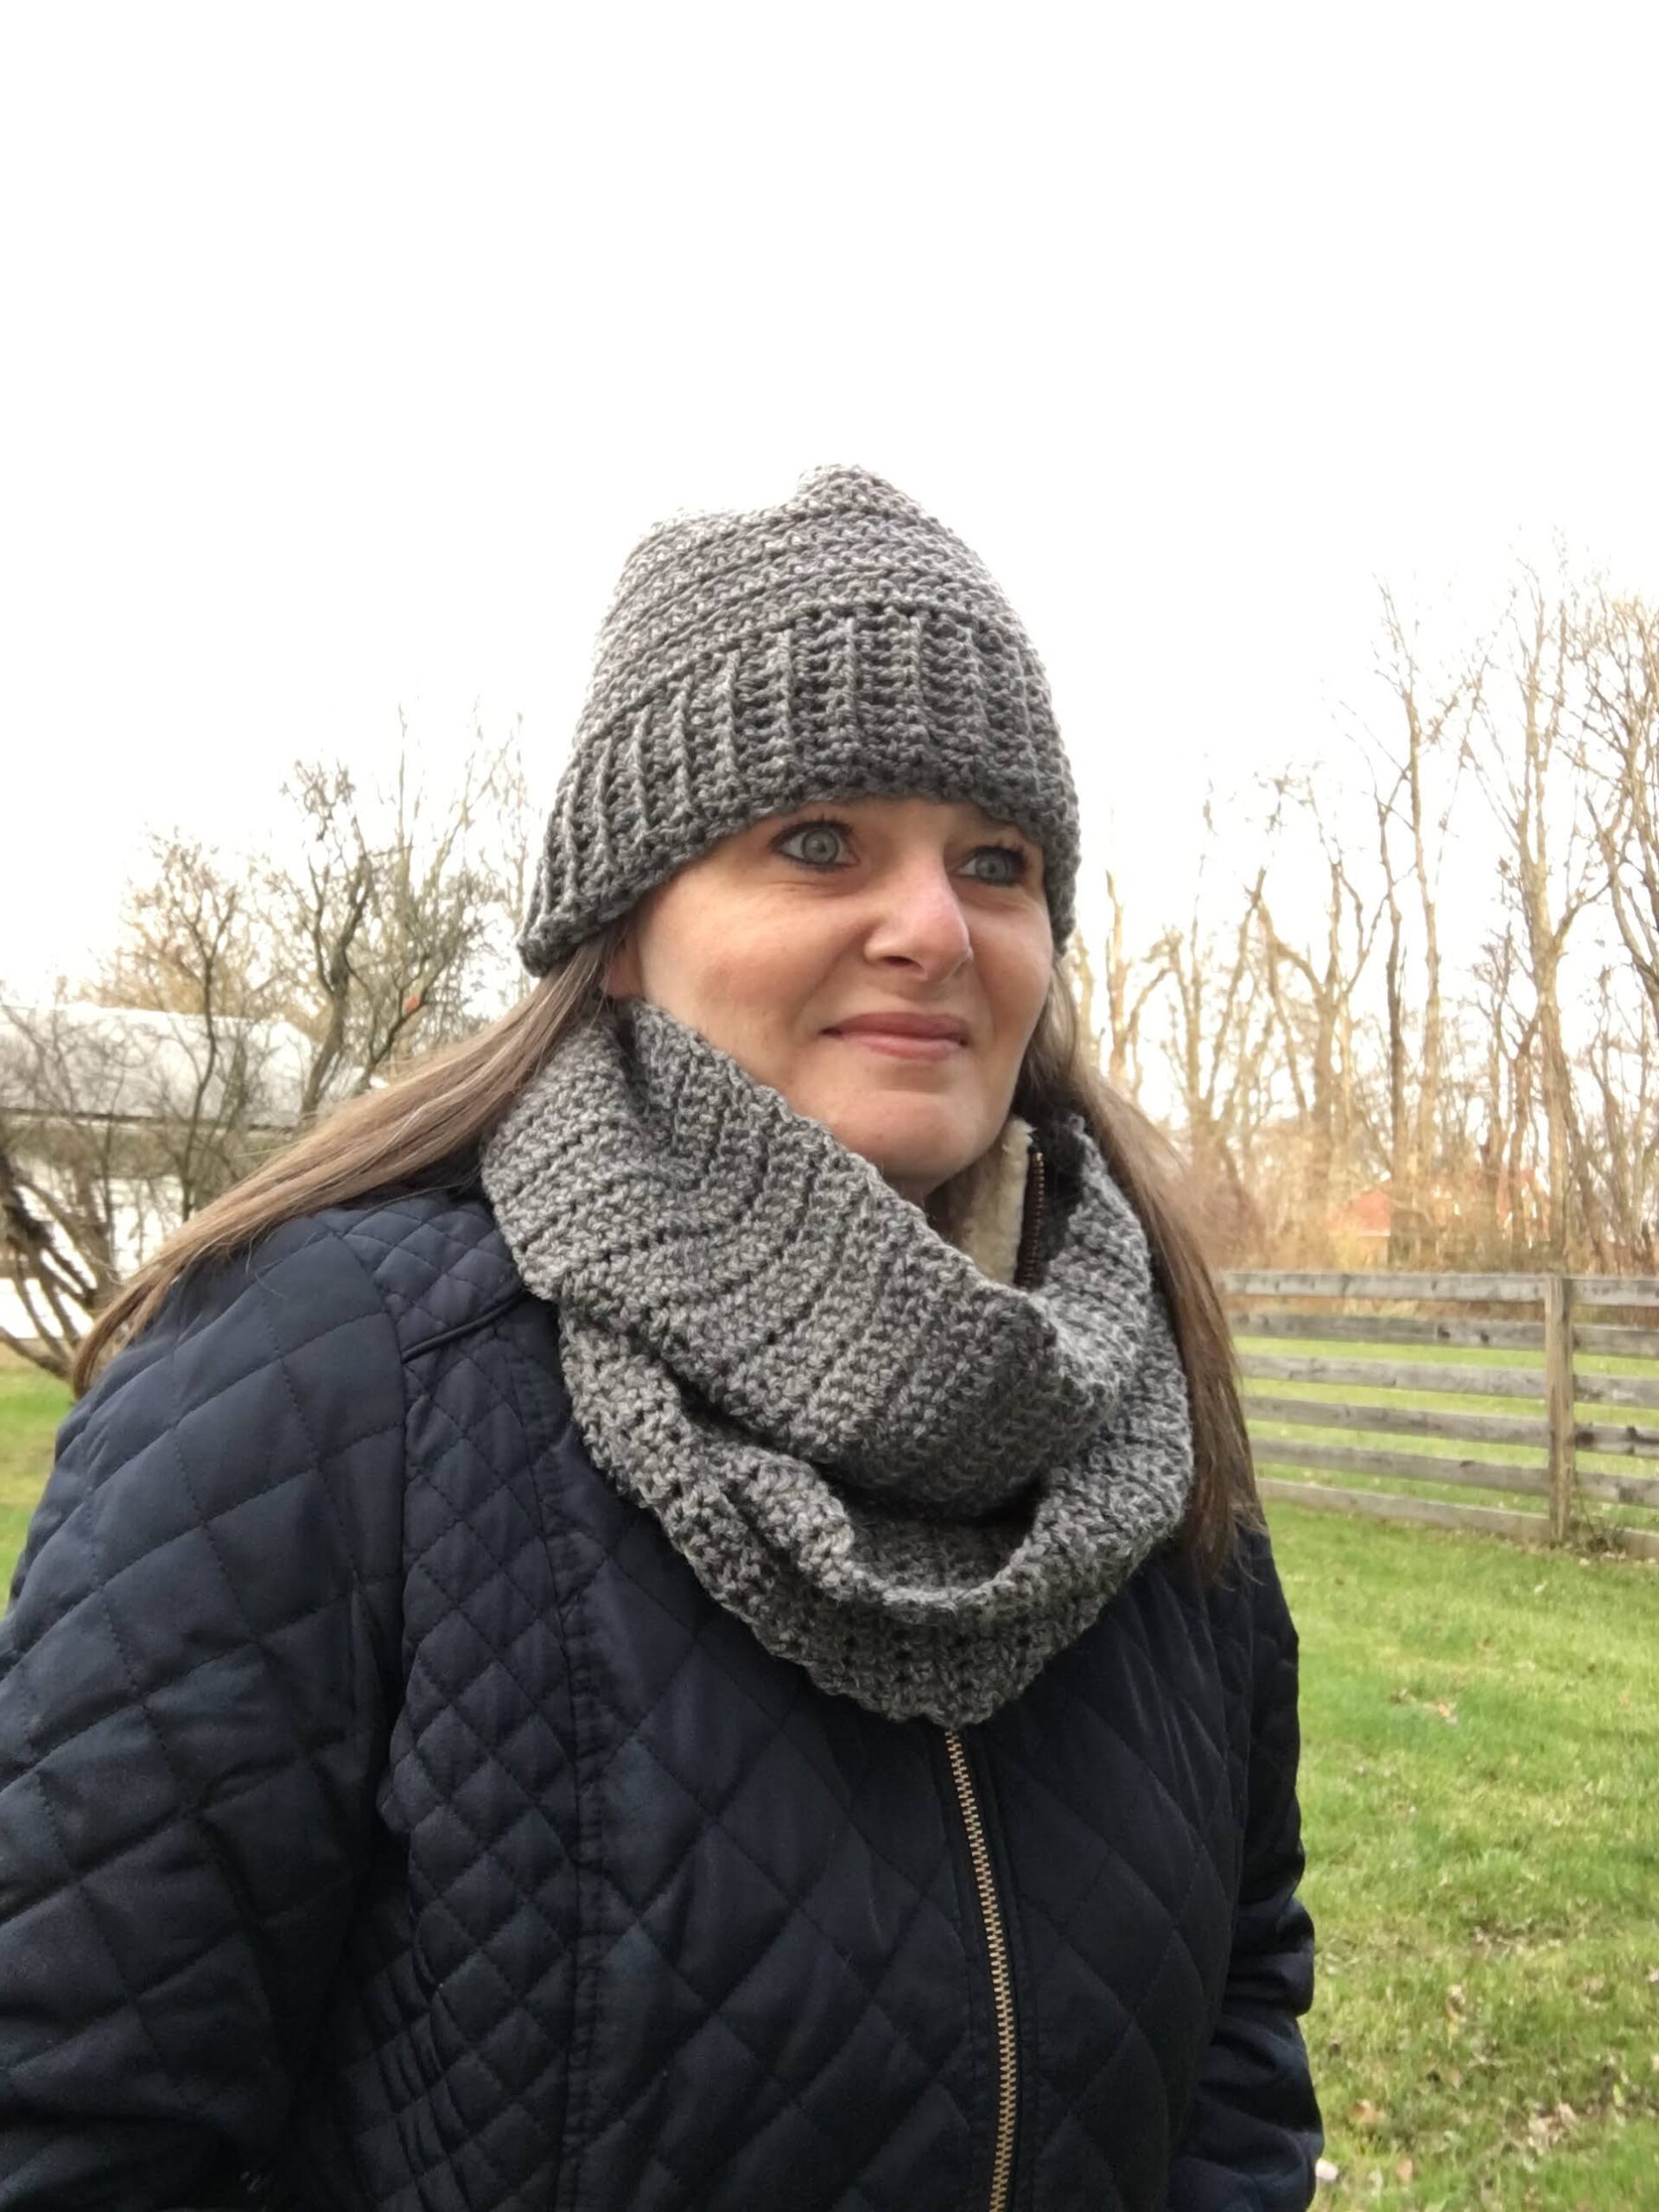
I thought I would share with you the versions of my testers’ Easter Duster. As you can see by the pictures the Easter Duster can be customized to fit your style, size, and colors. Check out what my testers had to say about the Easter Duster Crochet Pattern.
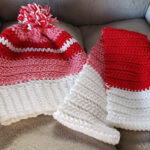
Carmen Evertsz
I love ittttttt![]()
![]()
![]()
![]()
![]()
![]()
![]()
![]()

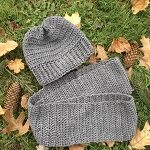
Brittney Fulper
I love this pattern. Definitely one of my favorites that I’ve tested.

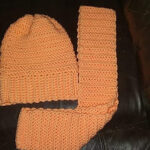
Rajeshwari Karthikeyan
I customized mine to create a shorter duster. Thank you for giving me an opportunity to test this pattern for you.

Below you will find what yarn I used, the stitches I used, the Video Tutorials for the Trellis Picot stitch, and more information about my Easter Duster Crochet Pattern.
************************************************

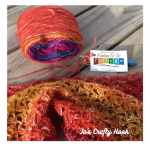
I used Paintbox Yarn Simply DK (100 g/3.5 oz) (276 m 302 yds)
Materials:
3 ply Light Weight or DK Weight Yarn
US E Crochet Hook or 3.50 mm
900-1500 yds MC
900-1500 yds CC
Scissors
Tapestry Needle
Stitch Markers
Stitch/Abbreviations:
st – stitch
sp = space
ch – chain stitch
dc = double crochet
sc – single crochet
pc = picot
sk – skip
sl st = slip stitch
RS = Right Side
SM = Stitch Marker
Special Stitches:
Picot – (1 sc, ch 3, 1 sc) all in the same stitch.
Notes:
Stitch Count is in multiples of 5 + 2.
Inside the pattern you will see that the duster can be customized.
The duster can be made in a multiple of colors or just one.
The swatch and duster will stretch and drape better as you go.
Video Tutorials:
Picot Trellis Stitch – Right Handed
Picot Trellis Stitch – Left Handed
Gauge:
US E Crochet Hook or 3.5 mm
20 st x 10 rows = 4”
Gauge Swatch:
R1: ch 22 sc in 2nd ch from hook. *ch 5, sk 4 st, sc in next ch. rep from * across. turn (4 ch-5 sp) (5 sc)
R2: ch 5, pc in 3rd ch of ch-5 sp. *ch 5, pc in 3rd ch of next ch-5 sp* rep from* across until last ch-5 sp. pc in 3rd ch of last ch-5 sp, ch 2, dc in last st. turn (4 picots)
R3: ch 1, sc in same st. *ch 5, sk the next pc, pc in 3rd ch of next ch-5 sp* rep from * until the ch-5 sp. ch 5, sk the next pc, pc in 3rd ch of last ch-5 sp. turn (4 picots)
R4-R10: Rep R2-R3
If you are interested in purchasing the premium crochet pattern you can find it in my Ravelry Store.
You can also find FREE Crochet Pattern on my website. You will find Accessories, Apparel, Fall & Winter Gear, and Stash Busters.
You can also find all of my premium crochet patterns at the stores listed below.
********************************************************
Find me, Jo of Jo’s Crafty Hook at any one of these places listed below!
Email Address: j.o@joscraftyhook.com
Website: www.joscraftyhook.com
Facebook Group: Jo’s Crafty Hook-ers
Facebook: www.facebook.com/JosCraftyHook
Facebook: www.facebook.com/JosCraftyHookDesigns
Instagram: www.instagram.com/joscraftyhook
Pinterest: www.pinterest.com/baird0095
YouTube: https://www.youtube.com/channel/UCk-6IB36bg4gkvaawn3xfdg