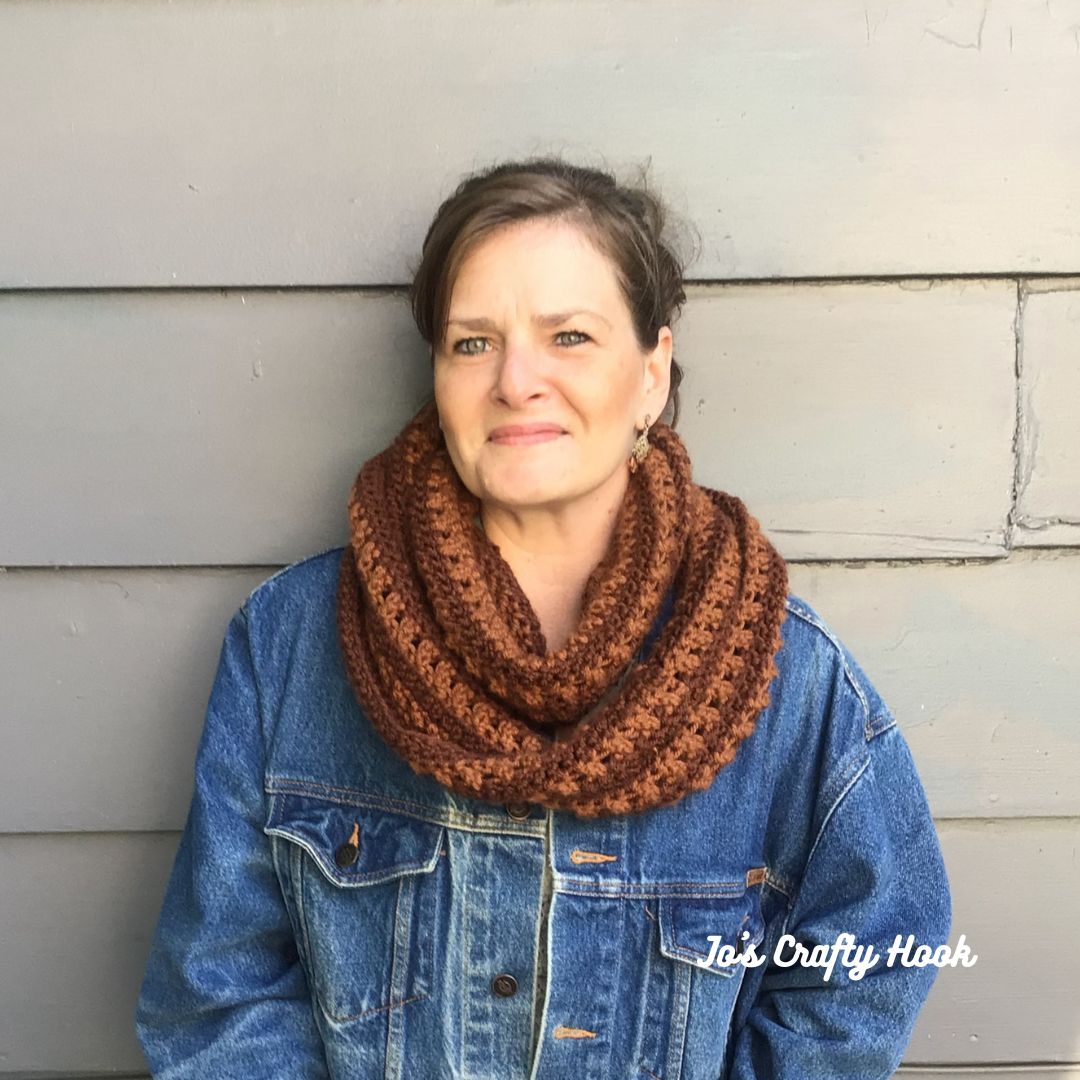
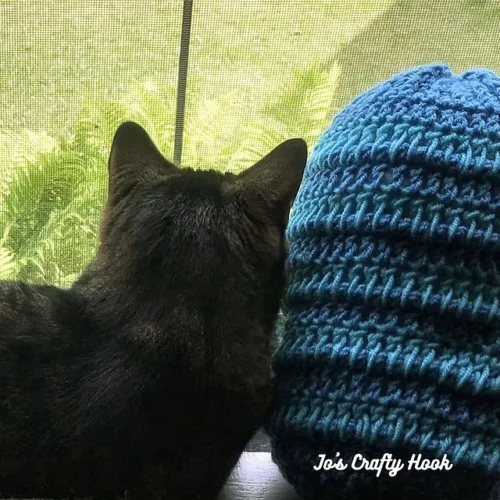
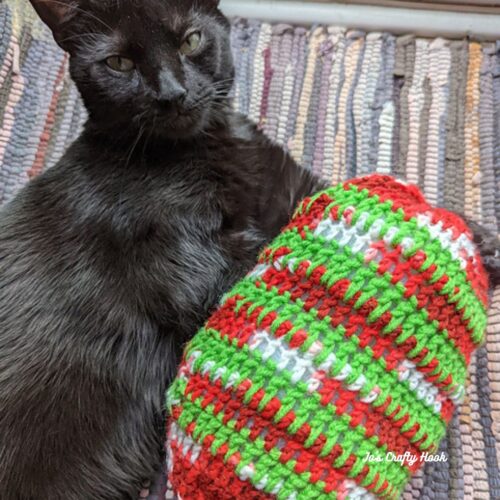
Maze’s Cat Toy Free Crochet Pattern
Does your cat like to curl up on your clothes, your current WIP or anything else they can find? Well, I decided to design a crochet pattern for a cat toy that they can play with or even cuddle up with. Below you will find the Maze’s Cat Toy Free Crochet Pattern. The cat toy crochet pattern can be customized for any size cat. You can even make this for your puppy or dog.
This post contains affiliate links that help me raise money to allow me to share more information with you.
Info Needed for Maze’s Cat Toy

I used Red Heart Super Saver for both colors. Contents: 100% acrylic Skein Weight: 7 oz. / 198 g. Yardage: 364 yd. / 333 m
Materials:
US H Crochet Hook or 5 mm Crochet Hook
MC – 120-130 yds #4 Worsted/Aran Weight Yarn
CC – 15-20 yds #4 Worsted/Aran Weight Yarn
Scissors
Tapestry Needle
.4-.6 oz Dacron/Pillow Stuffing
Finished Size:
6” x 12”
Customize to your size
Abbreviations/Stitches Used:
ch = chain
sl st = slip stitch
fdc = foundation double crochet
fpdc = front post double crochet
ldc = long double crochet
rep = repeat
Special Stitches:
Front Post Double Crochet – Double crochet around the front post of the dc from the previous row.
Long Double Crochet – Yarn over, insert hook in the double crochet 2 rows down, yarn over, pull up a loop to the height of the previous stitch, [yarn over, draw through 2 loops on hook] 2 times.
Special Notes:
- Ch 3 counts as a dc.
- Stitch count is a multiple of 3.
- Gauge and Size are not 100% necessary for the cat toy, so size may be different than gauge.
- If you would like a bigger or smaller size use a multiple of 3. You can also add or decrease the rows stated.
Video Tutorials:
You can find all of the Video Tutorials on my YouTube Channel
Front Post Double Crochet – Right Handed
Front Post Double Crochet – Left Handed
Long Double Crochet – Right Handed
Long Double Crochet – Left Handed
Gauge:
US G Crochet Hook or 4.5 mm Crochet Hook
16 st x 8 rows = 4”
**Due to different thicknesses in yarn, gauge does not need to be met**
Premium Copy Available
You can find a premium version of my Maze’s Cat Toy crochet pattern at my Ravelry or LoveCrafts or Etsy stores. The premium pattern has Step-by-Step Pictures and all the Video Tutorials inside.
********************************************************
Maze’s Cat Toy Free Crochet Pattern:
Using MC
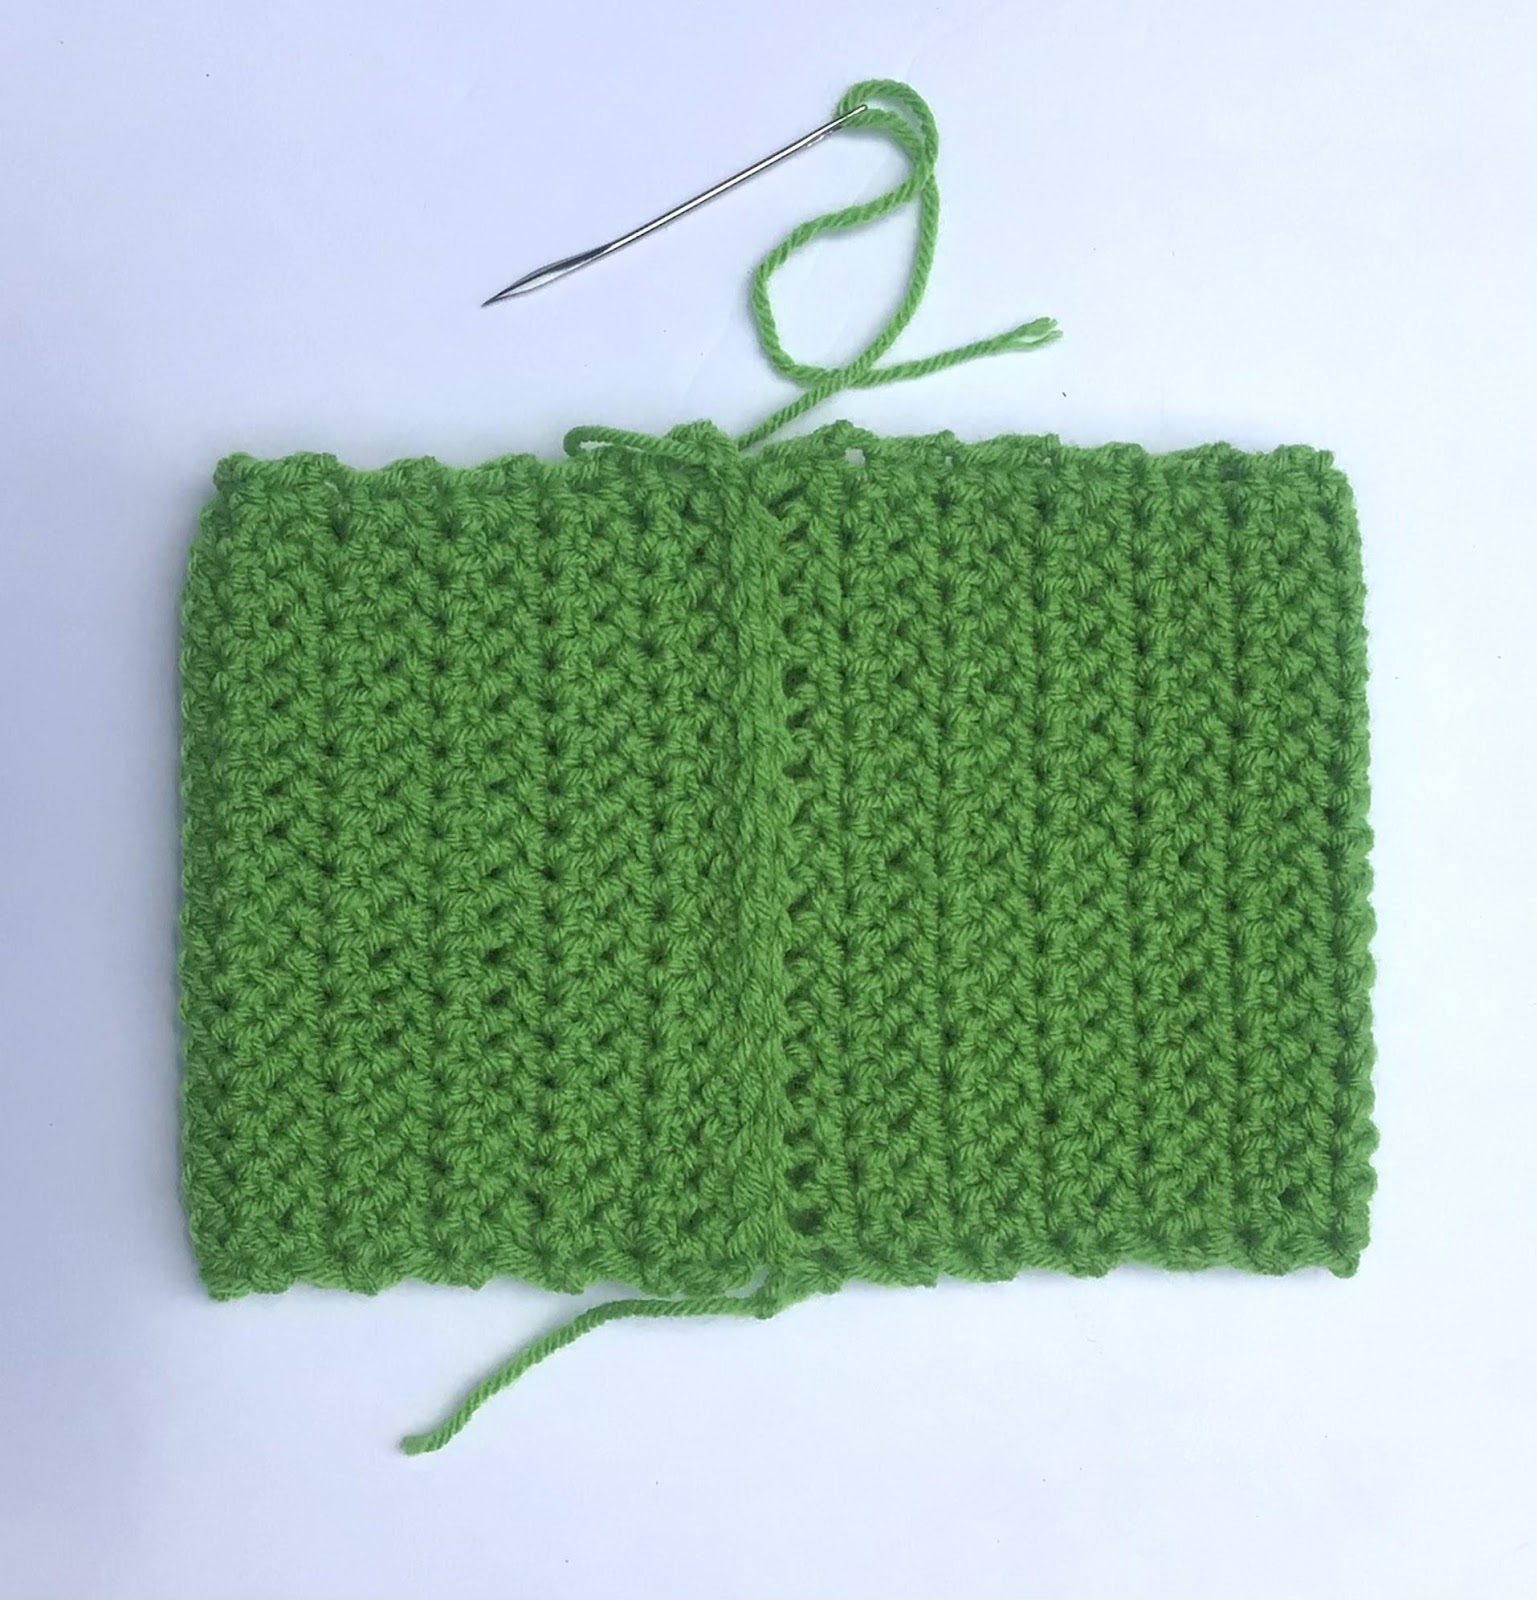
Leave a long tail of yarn to sew the top of the toy closed.
R1: fdc 48 sl st in top of 1st st to join. Sew foundation row closed. 48 fdc
Optional: ch 48 sl st in 1st st to join, being sure not to twist the chain. ch 3 and dc around. sl st in 1st st to join. 48 dc
R2-R4: ch 3, fpdc in the next st *dc in the next st, fpdc in the next st* rep from * around. sl st in 1st st to join. 48 st
Using your tapestry needle and the Running Stitch, weave your yarn through each stitch. Pull yarn tight to close the bottom of the cat toy and fasten off.
Running Stitch
Pull tightly to close.
R5-R6: ch 3, dc in each st around. sl st in 1st st to join. 48 dc
Change to CC
R7: ch 3, ldc in next st and in each st around. sl st in 1st st to join. 48 ldc
Change to MC
R8-R9: ch 3, dc in each st around. sl st in 1st st to join. 48 dc
Change to CC
R10: ch 3, ldc in next st and in each st around. sl st in 1st st to join. 48 dc
R11-R21: Rep R8-10
Change to MC
R22-R24: ch 3, fpdc in the next st *dc in the next st, fpdc in the next st. rep from * around. sl st in 1st st to join. 48 st
R25: ch 3, dc in next st and in each st around. sl st in 1st st to join. 48 dc
Leave a long tail of yarn to sew the pillow closed.
Stuff the cat pillow with as much dacron/pillow as you’d like to have a firm toy.
Adding Dacron
Using your tapestry needle and the Running Stitch, weave your yarn through each stitch. Pull yarn tight to close the top of the cat toy and fasten off.
Pull tight to close top of cat toy.
Weave in any loose ends and fasten off.
Premium Copy Available
You can find a premium version of my Maze’s Cat Toy crochet pattern at my Ravelry or LoveCrafts or Etsy stores. The premium pattern has Step-by-Step Pictures and all the Video Tutorials inside.
********************************************************
You can find my Premium crochet patterns at any of the sites listed below.
Find me, Jo of Jo’s Crafty Hook at the places listed below.
Email: jo@joscraftyhook.com
Linktree
Facebook Group Jo’s Crafty Hookers
Facebook Group Jo’s Crafty Hook Designs
Facebook Page Jo’s Crafty Hook
Facebook Page: Crochet Designer Community
![]()