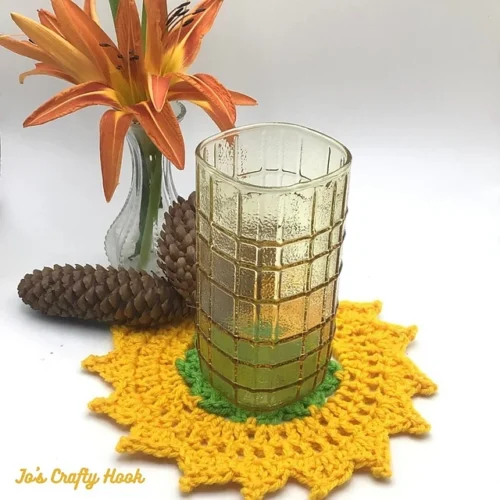
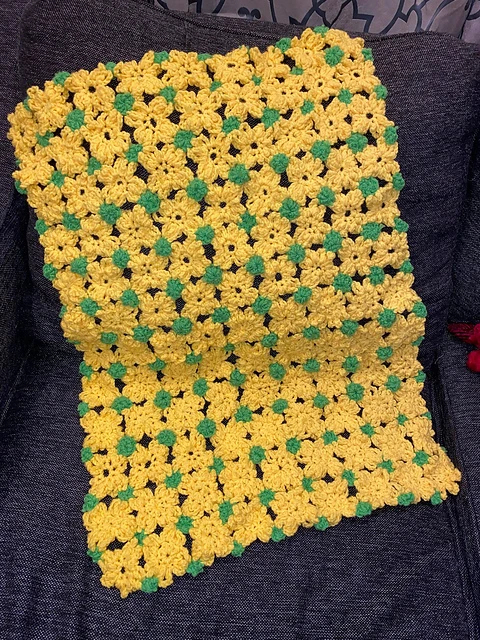
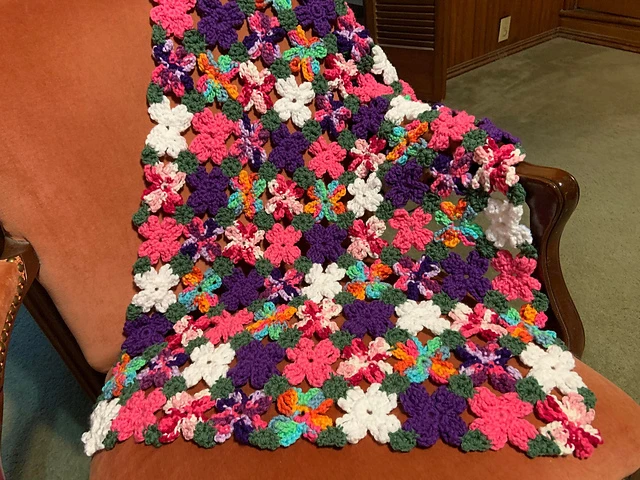
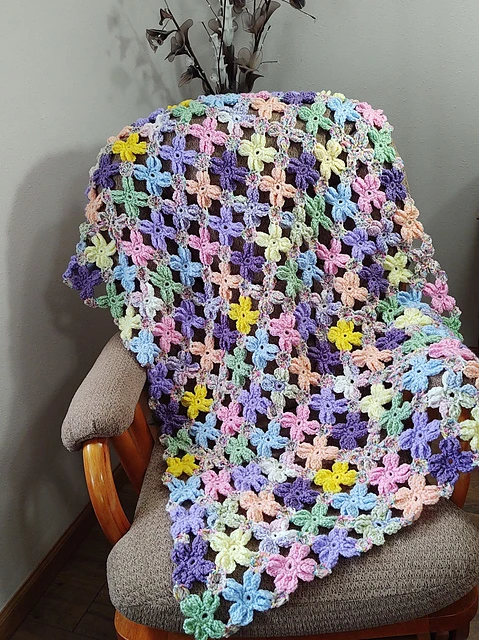
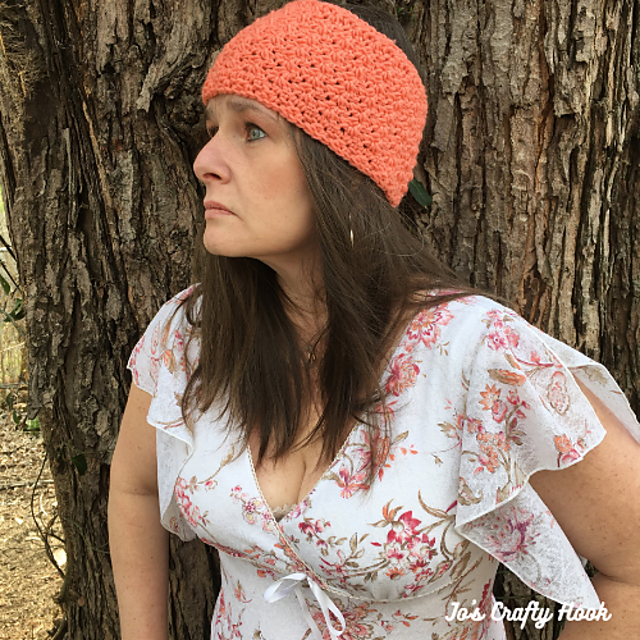
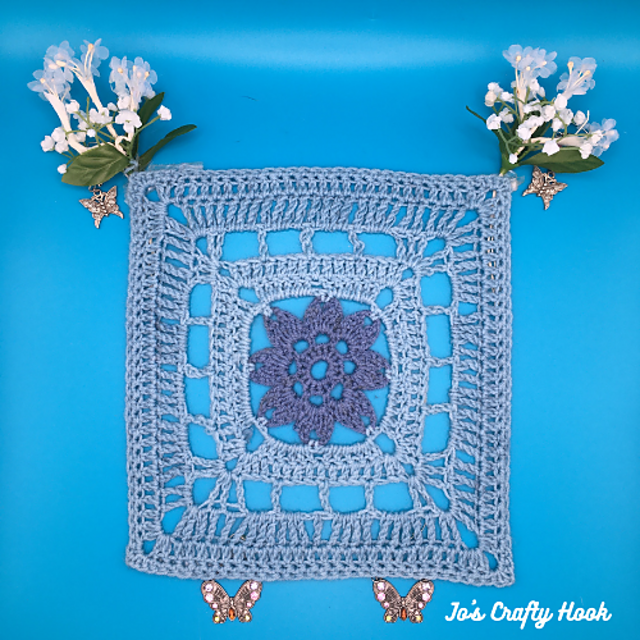
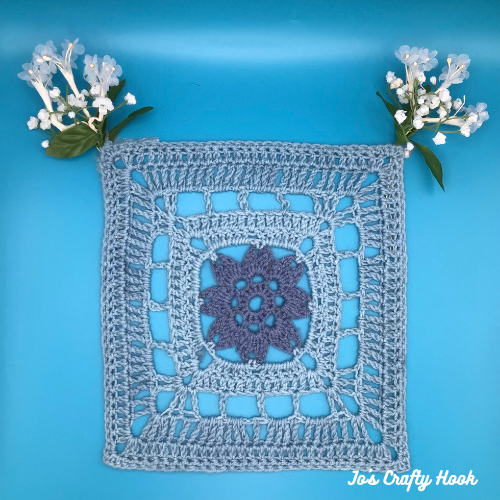
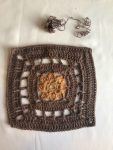
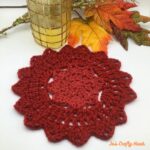
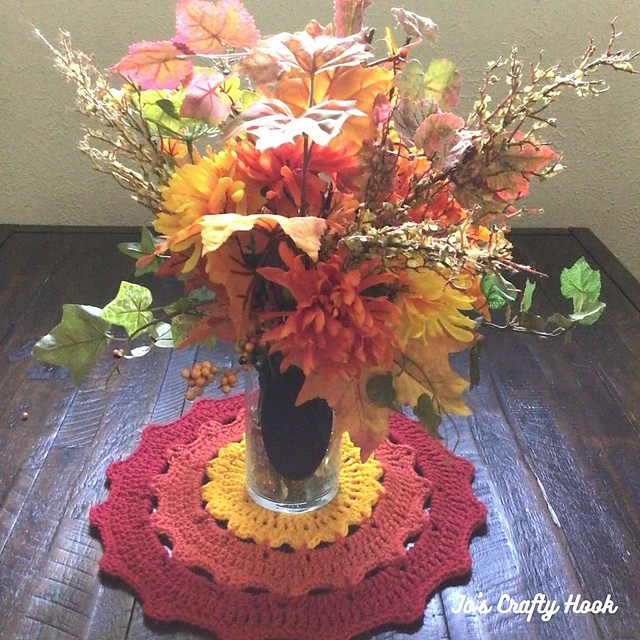
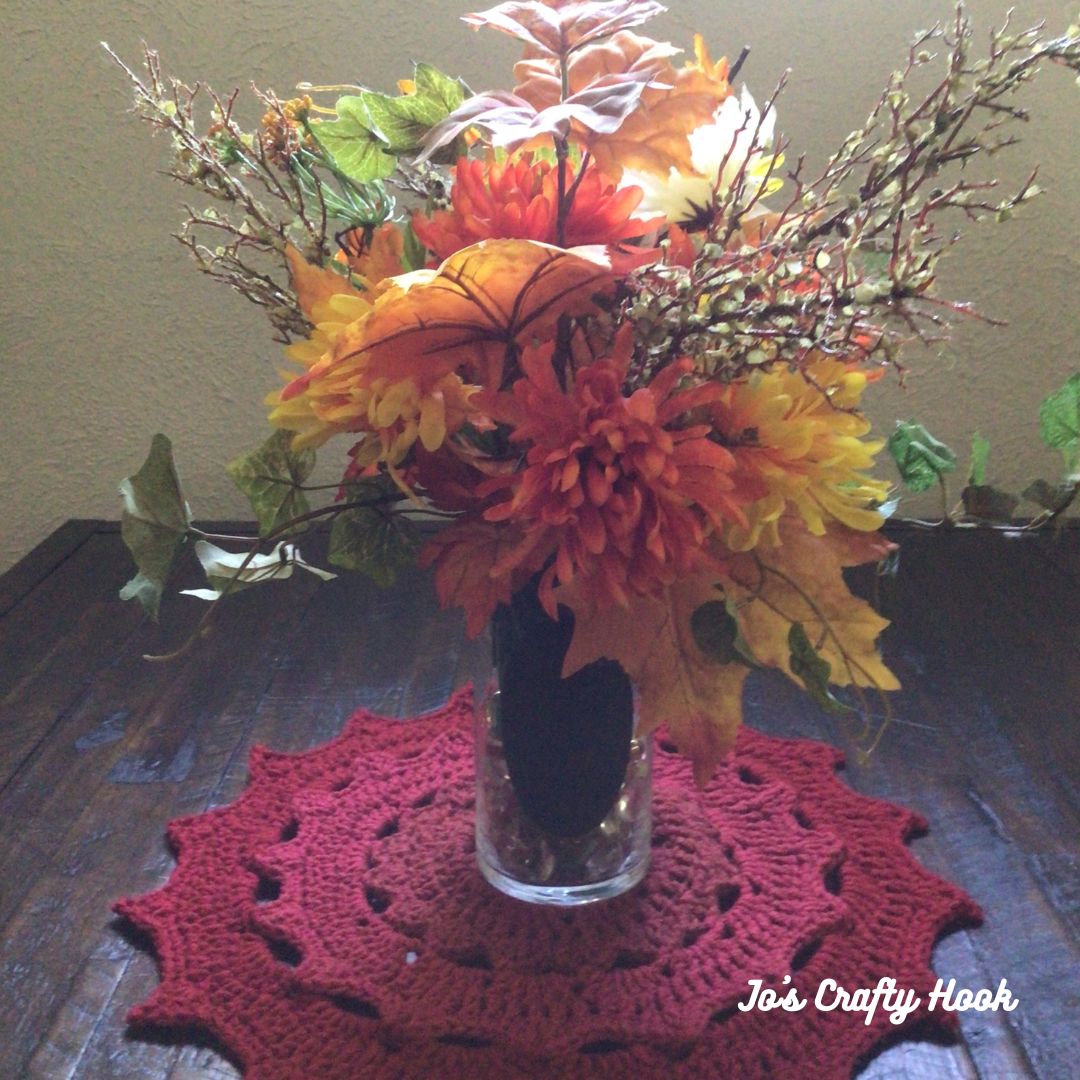
I love to decorate my home for the different seasons. Fall is my favorite time of year. I love seeing the different flowers in bloom and all tree leaves change colors! Inside this post you will find the Changing Seasons Centerpiece Free Crochet Pattern, with 2 versions to choose from.
You can decorate your end tables, coffee tables, and use them on your dining room table to add a festive touch! The centerpiece is a great scrap busting crochet pattern that can be used to decorate your home any time of year!
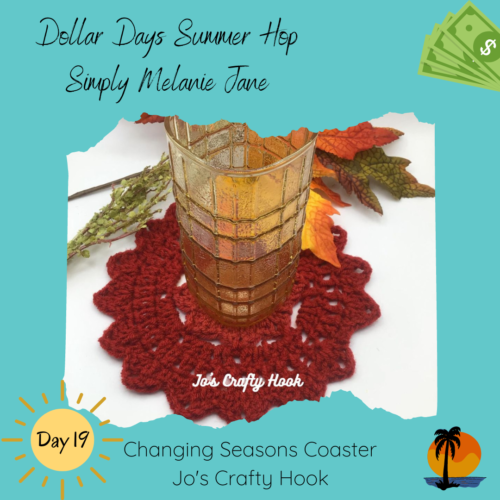
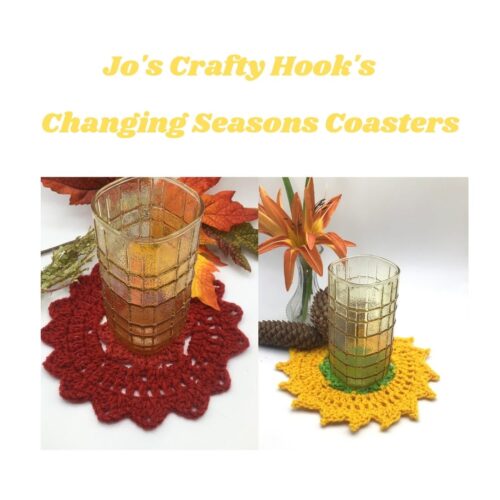
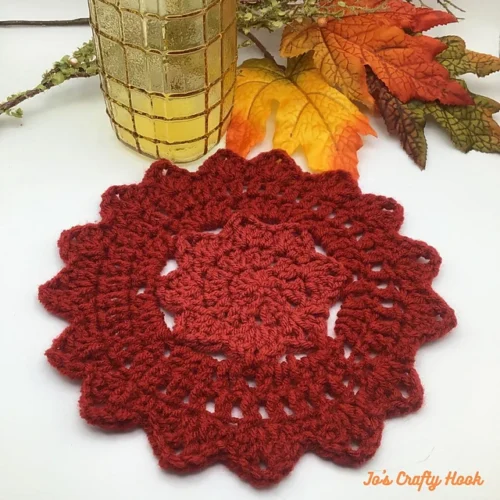
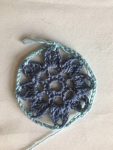
Also you can find the matching Changing Coasters Crochet Pattern FREE on my website.
This post contains affiliate links.
While you are there be sure to sign up for my Newsletter. You will receive news about my New Crochet Pattern Releases, Collaborations, and MORE! For signing up you will also get a FREE crochet pattern!
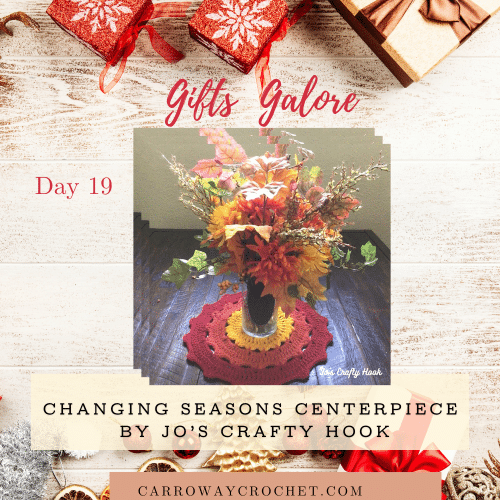
2025 Gifts Galore Blog Hop hosted by Carroway Crochet
My Changing Seasons Centerpiece Crochet Pattern is being featured in Carroway Crochet’s 2025 Gifts Galore Blog Hop
My Day is November 25th-November 26th and you can get a FREE premium copy of my Changing Seasons Centerpiece Crochet Pattern!
My Day
From November 25th-26th visit the 2025 Gifts Galore Blog Hop to get the Coupon Code needed to get a FREE premium copy of my Changing Seasons Centerpieces Crochet Pattern. Once you have the code, click on the button below and use the code at checkout.

In the mean time you will find 24 days of FREE premium crochet patterns in the 2025 Gifts Galore Blog Hop!

Ad-Free Premium Copy
If you can’t wait, you can purchase an Ad-Free premium copy from my Ravelry, LoveCrafts, or Etsy Shop
Below you will find a FREE crochet pattern below with 2 versions to choose from!
Information Needed
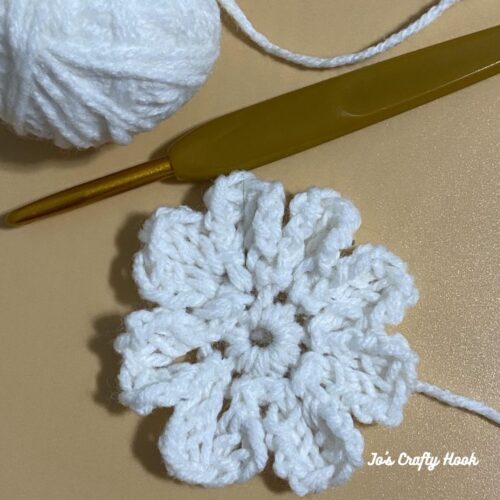
I used Lion Brand Basic Stitch #4 Medium Weight Yarn. (3.5oz, 100g) (185 yds, 170 m)
Materials:
US H Crochet Hook or 5 mm Crochet Hook
200-250 yards of #4 ply Worsted/Aran Weight Yarn
Scissors
Tapestry Needle
Abbreviations/Stitches Used:
ch = chain
st = st
sc = single crochet
sp = space
dc = double crochet
sl st = slip stitch
alt ch 2 = alternate chain 2
beg shell = beginning shell
inc = increase
rep = repeat
rem = remaining
Special Stitches:
alternate chain 2 = takes the place of the ch 3 for a cleaner edge.
beginning shell = (alt ch 2 or ch 2, dc in same st, ch 2, 2 dc) all in the same space.
shell = (2 dc, ch 2, 2 dc) all in the same space.
beginning picot shell = alt ch 2 or ch 2, dc in same st, ch 4, sl st in 1st ch of ch 4, 2 dc) all in the same space.
picot shell = 2 dc, ch 4, sl st in 1st ch of ch 4, 2 dc) all in the same space.
Notes:
- Table cover is worked in the round.
- There are 2 versions to choose from.
- alt ch 2 or ch 2 does count as a half double crochet.
- alt ch 2 takes the place of a chain 2 or chain 3.
- I changed colors after a certain amount of rounds, but you don’t have to.
- Be sure to use the same thickness of yarn.
Finished Size:
20” x 20” Version 1
22” x 22” Version 2
Gauge:
Hook US H Crochet Hook or 5 mm Crochet Hook
Gauge Swatch is worked in the round.
4 shells x 4 rows = 4”
Gauge Swatch:
Swatch is worked in the round.
R1-R3 of Base


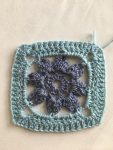
Changing Seasons Centerpiece Crochet Pattern -Version 1
Using MC
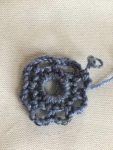
R1: ch 3 and 8 dc in 1st ch. sl st in 1st dc to join. (8 dc)
Optional: Make a Magic Circle adding 8 dc. sl st in 1st st to join. (8 dc)
R2 (inc): alt ch 2 (or ch 2), dc in same st and 2 dc in each st around. sl st in 1st st to join. (16 dc)
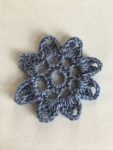
R3: beg shell, sc in next st, *shell in next st, sc in next st. rep from * around. sl to join in 1st st to join. (8 Shells)
Fasten off and weave in ends.
Change Color
R4: attach yarn with a sl st in ch-2 sp, ch 1 and sc in ch-2 sp *ch 5, sc in next ch-2 sp of shell. rep from * around. sl st into 1st st to join. (8 ch-5 sp)
R5: alt ch 2 (or ch 2) and 4 dc all in ch-5 sp *5 dc in each ch-5 sp around. sl st in 1st st to join. (40 dc)
R6: alt ch 2 (or ch 2) in 1st st, dc in each st around. sl st in 1st st to join. (40 dc)
R7: beg shell, sc in 1st st, shell *sc in next 2 st, shell, sc in next st, shell. rep from * around until last 2 st. sc in last 2 st. sl st in 1st st to join. (16 shells & 24 sc)
Fasten off and weave in ends.
Change color
R8: attach yarn with a sl st in ch-2 sp, ch 1 and sc in ch-2 sp *ch 5, sc in next ch-2 sp of shell. rep from * around. sl st into 1st st to join. (16 ch-5 sp)
R9 (inc): alt ch 2 (or ch 2) and 4 dc all in ch-5 sp *5 dc in each ch-5 sp around. sl st in 1st st to join. (80 dc)
R10: alt ch 2 (or ch 2) in 1st st, dc in each st around. sl st in 1st st to join. (80 dc)
R11: ch 1, sc in same st, next st. shell in next st *sc in next 4 st, shell. rep from * around until last 2 st. sc in last 2 st. sl st in 1st st to join. (16 Shells & 64 sc)
Change color
R12: attach yarn with a sl st in ch-2 sp, ch 1 and sc in ch-2 sp *ch 7, sc in next ch-2 sp of shell. rep from * around. sl st into 1st st to join. (16 ch-7 sp)
R13 (inc): alt ch 2 (or ch 2) and 6 dc all in ch-7 sp *7 dc in next ch-7 sp. rep from * around. sl st in 1st st to join. (112 dc)
R14: alt ch 2 (or ch 2) in 1st st, dc in each st around. sl st in 1st st to join. (112 dc)
R15: ch 1, sc in same st, sc in next 2 st, shell in next st *sc in next 6 st, shell. rep from * around until last 3 st. sc in last 3 st. sl st in 1st st to join. (16 Shells & 96 sc)
Fasten off and weave in ends.
Make a Matching Set
If you like this crochet pattern, you can find the matching Changing Seasons Centerpiece Free Crochet Patterns HERE on my website or for a small fee, you will find it at Ravelry, LoveCrafts, or Etsy.


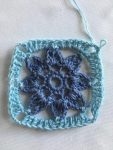
Changing Seasons Centerpiece Crochet Pattern – Version 2
Using MC
R1: ch 3 and 8 dc in 1st ch. sl st in 1st dc to join. (8 dc)
Optional: Make a Magic Circle adding 8 dc. sl st in 1st st to join. (8 dc)
R2 (inc): alt ch 2 (or ch 2), dc in same st and 2 dc in each st around. sl st in 1st st to join. (16 dc)
R3: beg shell, sc in next st, *shell in next st, sc in next st. rep from * around. sl to join in 1st st to join. (8 Shells)
Fasten off and weave in ends
Change Color
R4: attach yarn with a sl st in ch-2 sp, ch 1 and sc in ch-2 sp *ch 5, sc in next ch-2 sp of shell. rep from * around. sl st into 1st st to join. (8 ch-5 sp)
R5: alt ch 2 (or ch 2) and 4 dc all in ch-5 sp *5 dc in each ch-5 sp around. sl st in 1st st to join. (40 dc)
R6: alt ch 2 (or ch 2) in 1st st, dc in each st around. sl st in 1st st to join. (40 dc)
R7: beg shell, sc in 1st st, shell *sc in next 2 st, shell, sc in next st, shell. rep from * around until last 2 st. sc in last 2 st. sl st in 1st st to join. (16 shells & 24 sc)
Fasten off and weave in ends.
Change color
R8: attach yarn with a sl st in ch-2 sp, ch 1 and sc in ch-2 sp *ch 6, sc in next ch-2 sp of shell. rep from * around. sl st into 1st st to join. (16 ch-6 sp)
R9 (inc): alt ch 2 (or ch 2) and 4 dc all in ch-6 sp *5 dc in each ch-6 sp around. sl st in 1st st to join. (80 dc)
R10: alt ch 2 (or ch 2) in 1st st, dc in each st around. sl st in 1st st to join. (80 dc)
R11: ch 1, sc in same st, next st. shell in next st *sc in next 4 st, shell. rep from * around until last 2 st. sc in last 2 st. sl st in st to join. (16 Shells & 64 sc)
Fasten off and weave in ends.
Change color
R12: attach yarn with a sl st in ch-2 sp, ch 1 and sc in ch-2 sp *ch 7, sc in next ch-2 sp of shell. rep from * around. sl st into 1st st to join. (16 ch-7 sp)
R13 (inc): alt ch 2 (or ch 2) and 6 dc all in ch-7 sp. *7 dc in each ch-7 sp around. sl st in 1st st to join. (112 dc)
R14: alt ch 2 (or ch 2) in 1st st, dc in each st around. sl st in 1st st to join. (112 dc)
Edging
R15: ch 1 sc in same st, sc in next 2 st. picot shell *sc in next 6 st, picot shell. rep from * around until last 3 st. sc in last 3 st. sl st in top of beg shell to join. (16 Picot Shells & 96 sc)
Fasten off and weave in ends.
Make the Matching Coaster Set
If you like this crochet pattern, you can find the matching Changing Seasons Coasters Free Crochet Patterns HERE on my website or for a small fee, you will find it at Ravelry, LoveCrafts, or Etsy.
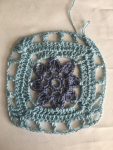
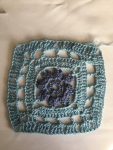
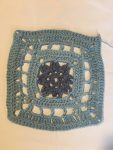
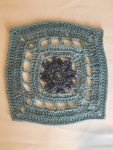
TESTIMONIAL from Catherine Henderson
Joey Lea Baird of Jo’s Crafty Hook has created another stunning pattern she called ” The Changing Seasons Centerpiece.
She has created this centerpiece using basic stitches with several different finishes.
I was so excited & grateful for being part of her test team!
I worked on my version for a weekend This amazing centerpiece works up so fast, and changes with every new row. The pattern works great for either a left or right handed crocheter. With comprehensive easy to understand instructions and photos for reference.
I had so much fun making it, that I found myself rushing through my housework so I could sit down to work on my creation. I used Value Ball Kringle Sparkle Yarn 8ply, in fall colors, with a 3.5mm hook. You can find this fantastic pattern!
********************************************************
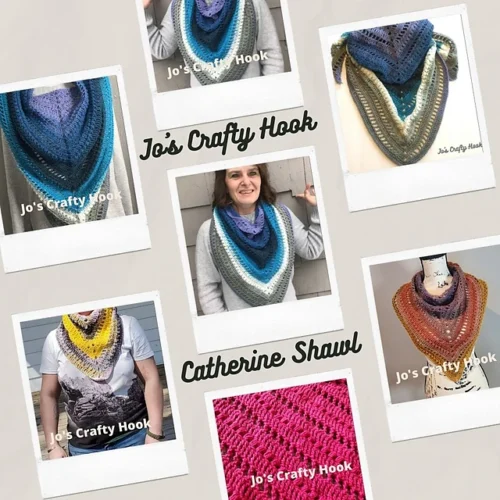
Find me, Jo of Jo’s Crafty Hook at the places listed below.
Email: joeybaird@aol.com
Facebook Group Jo’s Crafty Hookers
Facebook Group Jo’s Crafty Hook Designs
Facebook Page Jo’s Crafty Hook
Facebook Page: Crochet Designer Community
![]()