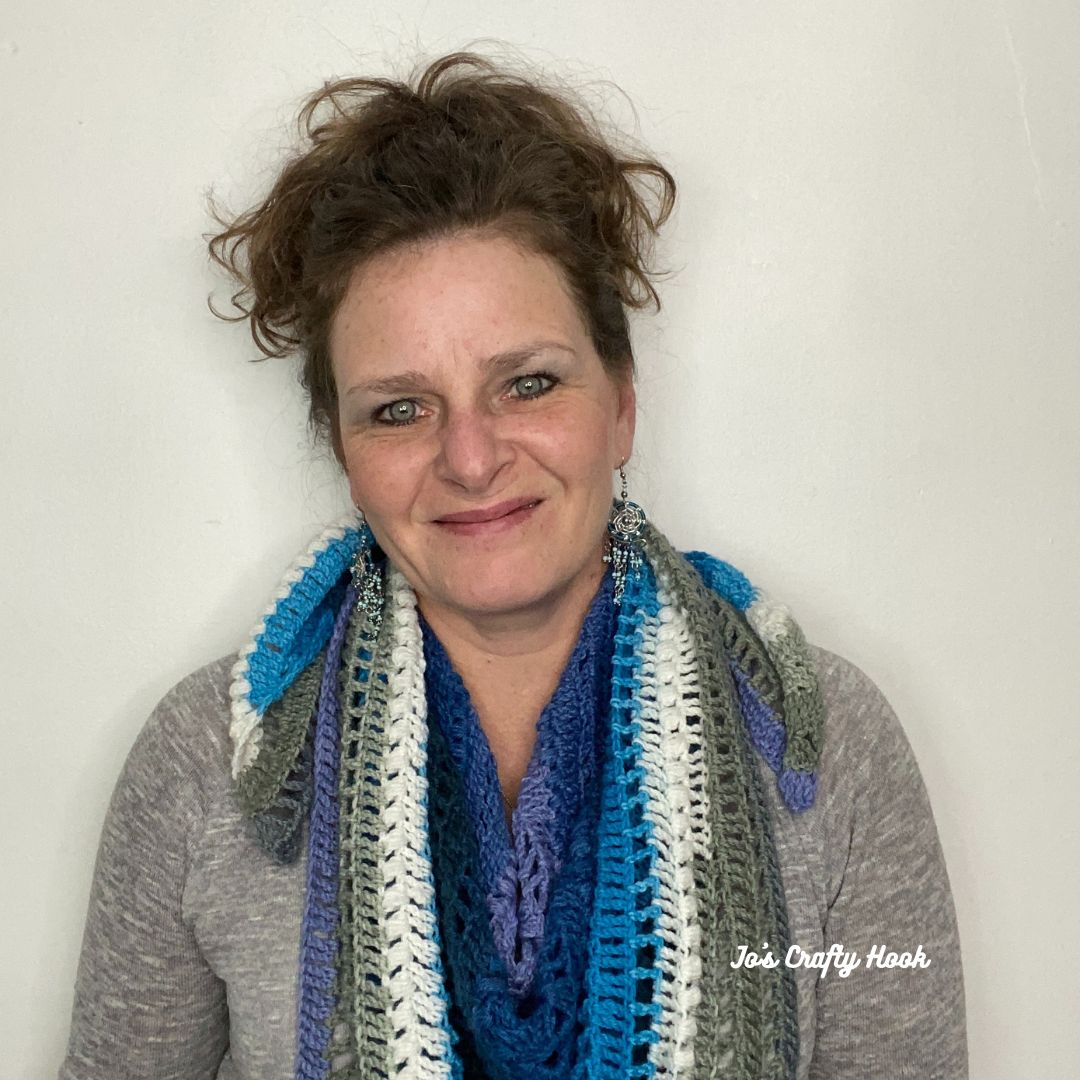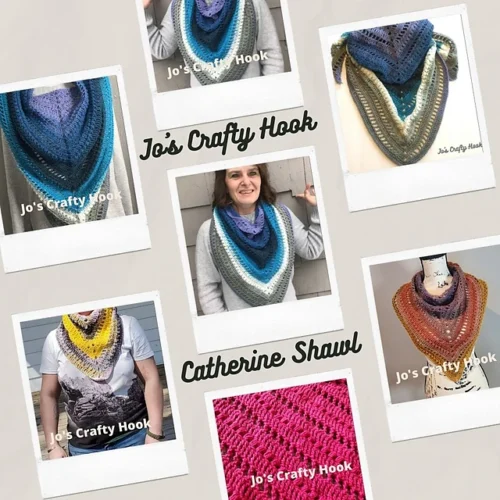
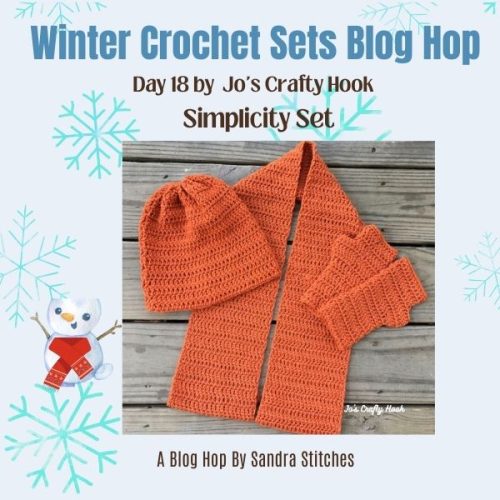
Simplicity Set FREE Crochet Pattern
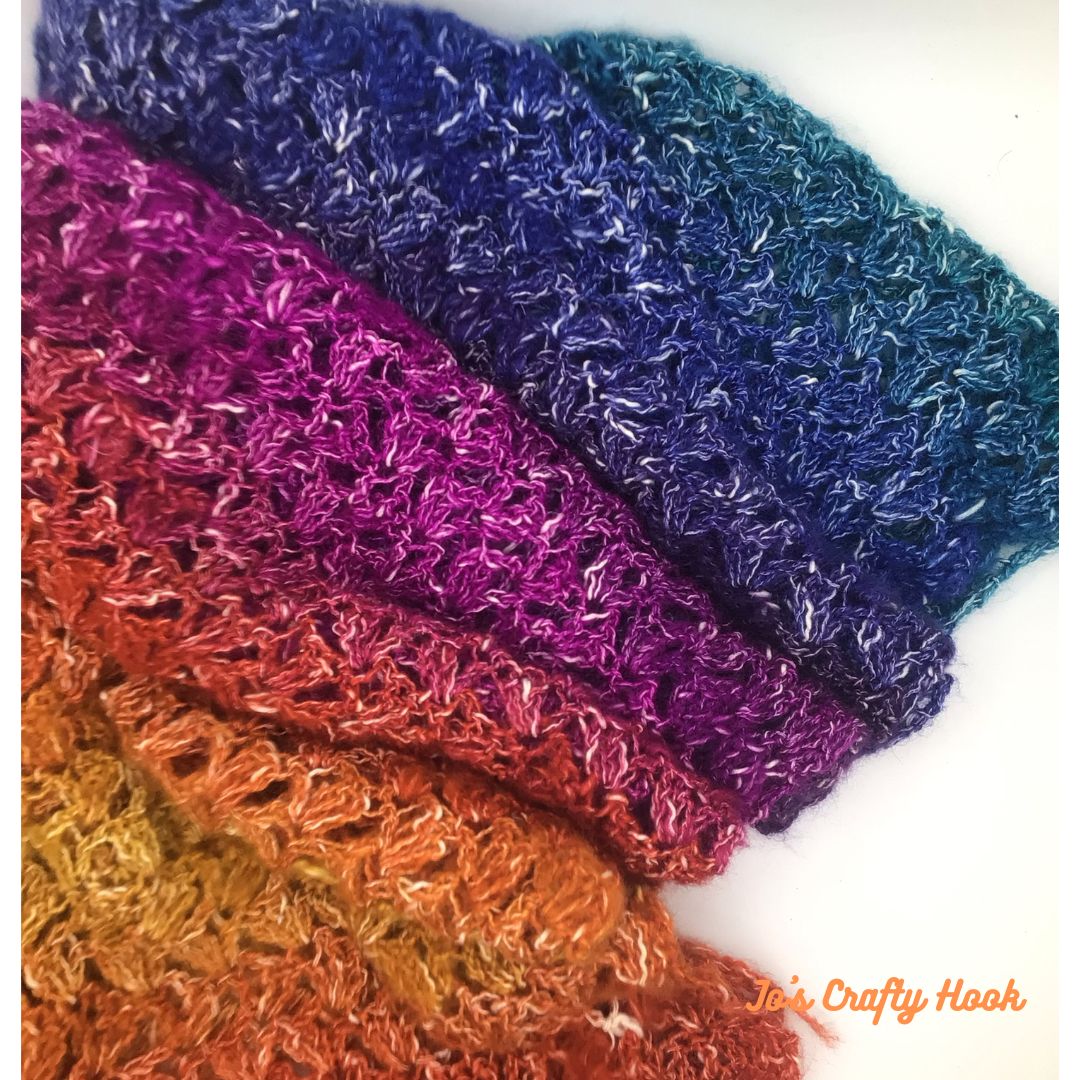
Winter is the perfect time of year to crochet Hats, Scarves and Gloves. When the cold weather hits, you want to wear something that keeps warm and toasty. This is why I am sharing with you one of my most popular crochet patterns, the Simplicity Set FREE Crochet Pattern.
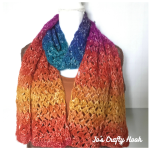
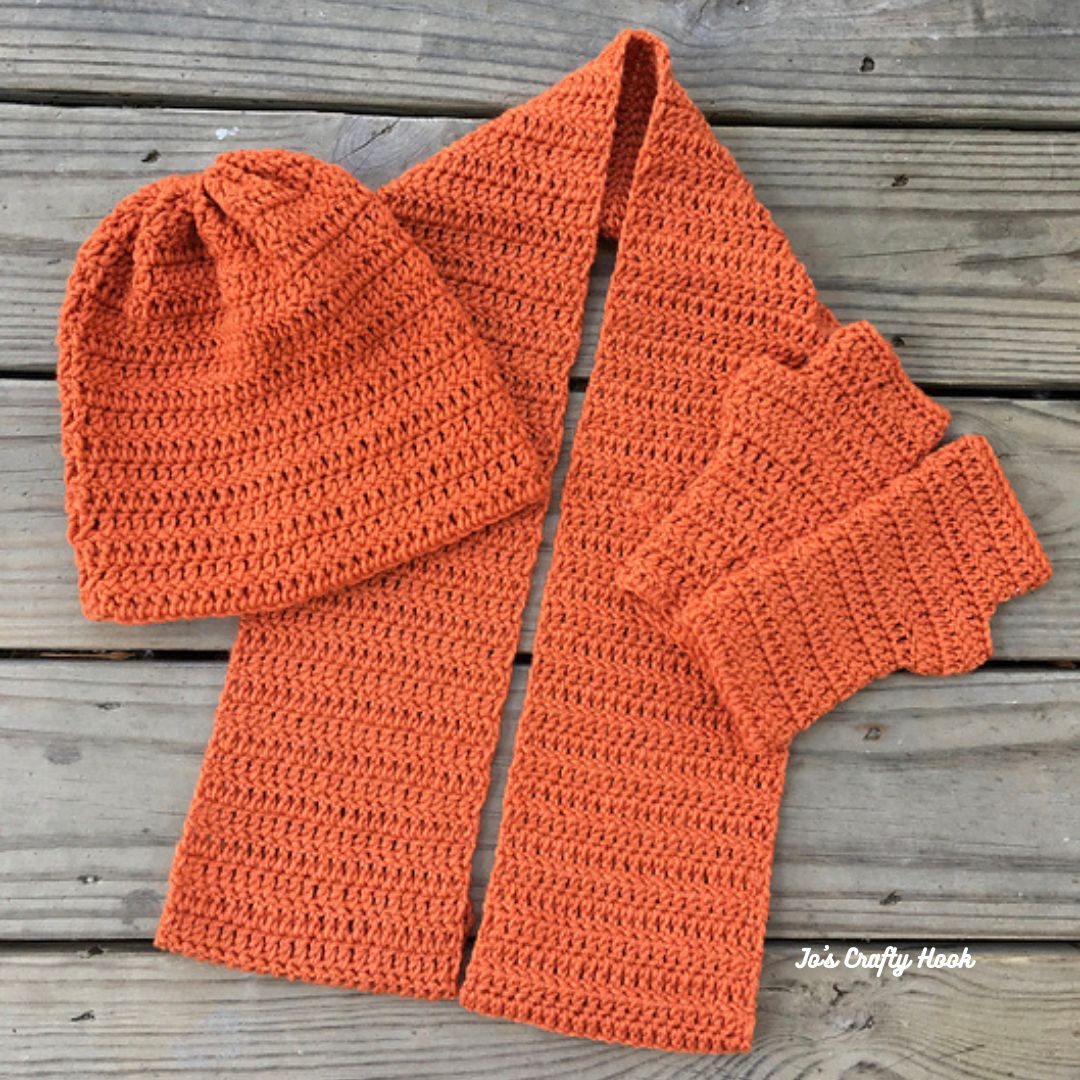
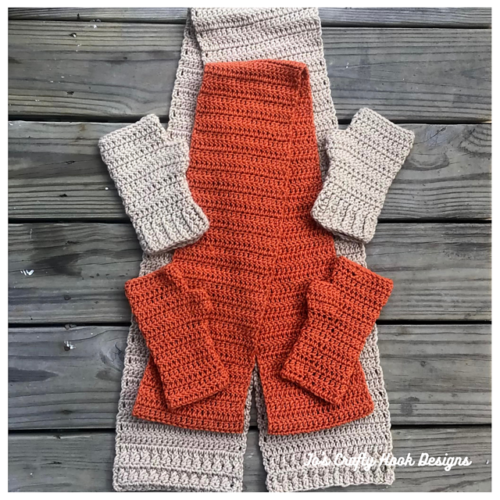
The Simplicity Set FREE Crochet Pattern is a great Unisex crochet pattern that can be made for both Men and Women.
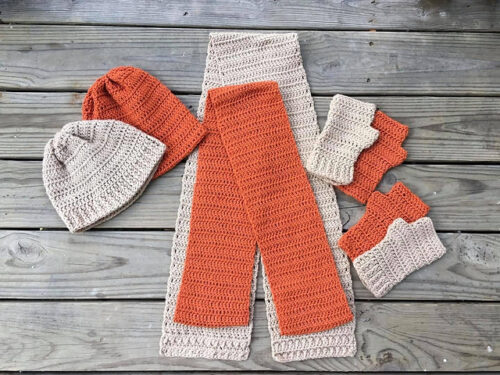
In the Simplicity Set you will find crochet patterns for a matching Hat, Scarf and Fingerless Gloves. Also inside the Simplicity Set Crochet Pattern you will find sizes for Teens, Small & Large Adults.
This post contains affiliate links
Subscribe
Be sure to sign up for my Newsletter where you will receive messages about New Crochet Pattern Releases; FREE Crochet Patterns; Collaborations and more! For signing up to my Newsletter you will receive a FREE premium crochet pattern!
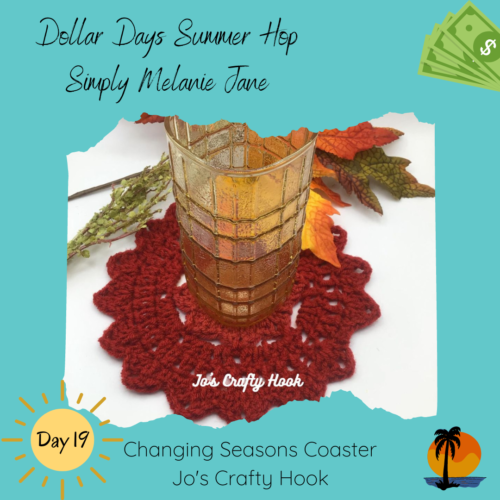
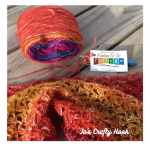
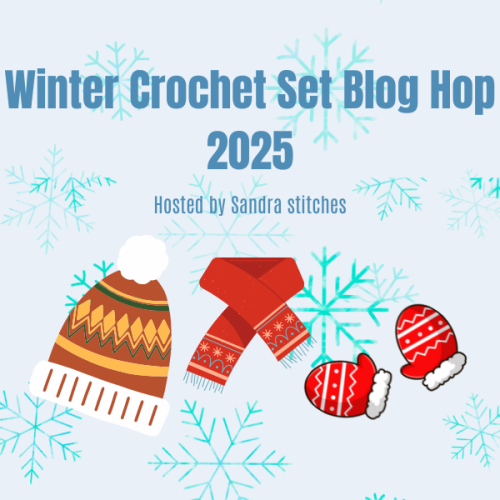
Winter Crochet Sets Blog Hop – January 5-22, 2024
Sandra of Sandra’s Stitches is hosting the Winter Crochet Sets Blog Hop and my Simplicity Set of crochet patterns is being featured in it and you can get a FREE copy on January 18-19, 2025!
During the Winter Crochet Sets Blog Hop starting at 7a EST each day you can get a FREE Winter Crochet Set from another fabulous crochet designer.
On January 18th you can get a FREE copy of my Simplicity Set which contains 3 crochet patterns for a Beanie, a Scarf, and Fingerless Gloves. The set has 3 sizes to choose from.
Visit the main page to the Winter Crochet Sets Blog Hop to get the Coupon Code needed to get a FREE copy on my featured day, January 18-19, 2025.

Once you have the Coupon Code, click on the button below to visit my Ravelry Store. and use it during Checkout.

**********************************************************
Information about the Simplicity Set Crochet Pattern
Materials:
US H or 5 mm Crochet Hook
250-500 yards of #4 Worsted/Aran Weight Yarn
Scissors
Abbreviations:
ch = chain
sl st = slip stitch
sc = single crochet
dc = double crochet
rem = remaining
rep = repeat
sp = space
Notes:
ch 3 does count as a dc
the stitch count is a multiple of 4
Pattern written for: Teen, Small adult, Large adult consecutively
Gauge:
US H or 5 mm Crochet Hook
14 dc x 8 rows = 4″
Ad-Free Premium Copy of Simplicity Set Crochet Pattern
You can purchase an Ad-Free version of the Simplicity Set with all 3 crochet patterns inside, the beanie, scarf, and fingerless gloves from my stores listed below.

![]()
**********************************************************
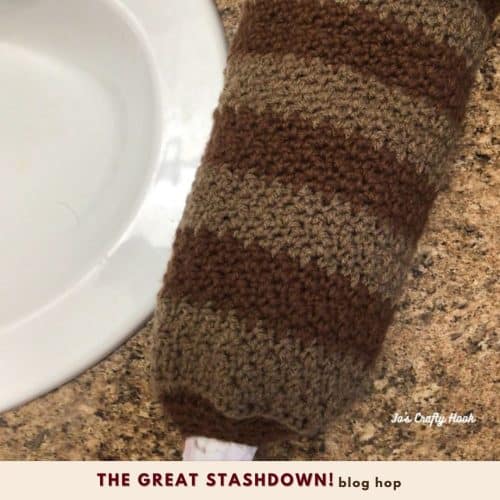
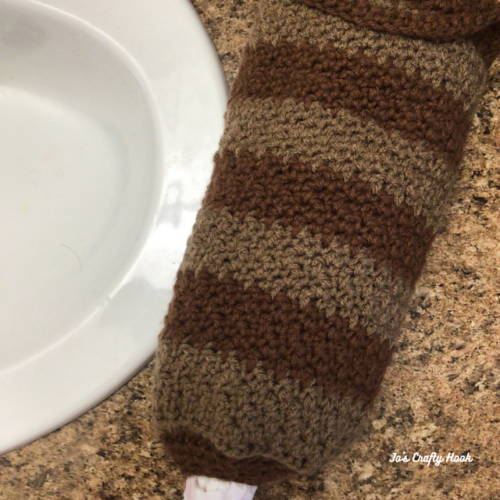
Simplicity Beanie FREE Crochet Pattern
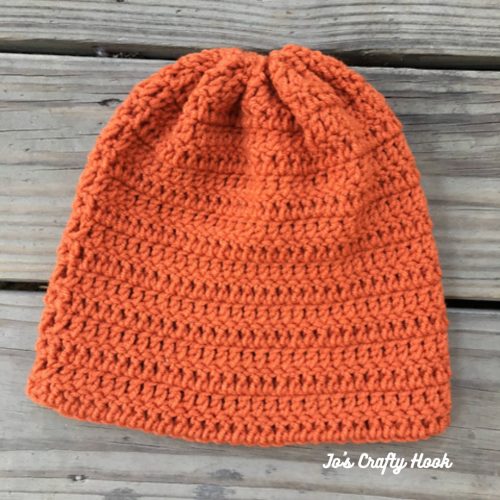
Simplicity Beanie FREE Crochet Pattern
R1: ch 56 (64, 72) oin in the 1st ch, creating a circle, being careful not to twist the chain. ch 3 and dc in each remaining st around. 56 (64, 72) dc
R2: ch 3 and dc in each rem st around. sl st in 1st st to join. turn 56 (64, 72) dc
R3-R4: ch 3 and dc in each remaining st around. sl st in 1st st to join. Turn 56 (64, 72) dc
R5: ch 3 and dc in each remaining st around. sl st in 1st st to join. Turn 56 (64, 72) dc
Rep R5 until the hat measures 6.5” ( 7.5”, 8”) Do NOT fasten off.
Once you have met the inches required for your size, leave a long tail of 4-6 inches and weave the top of the hat closed.
**********************************************************
Simplicity Scarf FREE Crochet Pattern
R1: ch 21 (25, 29) Turn
R2: ch 3 and dc in each remaining st across. turn 21 (25, 29) dc
rep R2 until the scarf measures 44” (56”, 68”) long or until your desired length.
Fasten off and weave in your ends.
**********************************************************
Simplicity Fingerless Gloves FREE Crochet Pattern
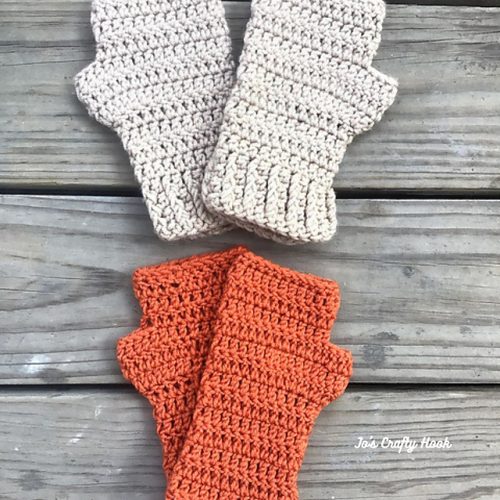
First Glove
R1: ch 20, 24 or 28, join in the 1st ch, creating a circle, being careful not to twist the chain. alt ch 2 or ch 3 and dc in each remaining st around. sl st in 1st st to join. turn 20 (24, 28)
R2-R8: ch 3 and dc in each rem st around. sl st in 1st st to join. turn 20 (24, 28) dc
**If you would like a longer glove body, add more dc rounds here**
Thumb Shaping
R9: ch 3, 2 dc in next 6 (8, 10) st and dc in each rem st around. sl st in 1st st to join. turn 26 (32, 38) st
R10-R11: ch 3 and dc in each remaining st around. sl st in 1st st to join. turn 26 (32, 38) st
Thumb Decrease
R12-R14: ch 3, dc in the next 15 (19, 23) st, skip the next 7 (8, 9) st, dc in the rem st around. sl st in 1st st to join. turn 20 (24, 28) st
**If you would like to cover more of your hand, add more dc rounds here**
R15: ch 1, sc in same sp and each rem st around. sl st in 1st st to join. 20 (24, 28) sc
Fasten off. Weave in ends.
**********************************************************
Second Glove
R1: ch 20 (24 or 28) sl st 1st ch to join, creating a circle, being careful not to twist the ch. ch 3 and dc in each rem st around. sl st in 1st st to join. turn 20 (24, 28) dc
R2-R8: ch 3, dc in each rem st around. sl st in 1st st to join. turn 20 (24, 28) dc
**If you would like a longer glove body, add more dc rounds here**
Thumb Shaping
R9: ch 3, dc in next 15 (17, 19) st, 2 dc in each rem st around. sl st in 1st st to join. turn 26 (32, 38) dc
R10-R11: ch 3, dc in each rem st around. sl st in 1st st to join. turn 26 (32, 38) dc
Thumb Decreases
R12: ch 3, skip the next 7 (8, 9) st, dc in each rem st around. sl st in 1st st to join. turn 20 (24, 28) dc
R13-R14: ch 3, dc in each rem st around. sl st in 1st st to join. turn 20 (24, 28)) dc
R15: ch 1, sc in same sp, sc in each rem st around. sl st in 1st to join. 20 (24, 28) sc
Fasten off. Weave in ends.
**********************************************************
That’s it! You have completed the Simplicity Set! I would LOVE to see your version of my crochet pattern! I LOVE to see all the different colors and sizes!
You can tag me at @joscraftyhook and in my FB Group Jo’s Crafty Hook Designs
You can find more of my crochet patterns at my Ravelry Store, LoveCrafts, and my Etsy Shop
You can also find many types of crochet patterns that are Free on my website.
Be sure to sign up for my Newsletter and get a FREE premium crochet pattern from me! You will then start receiving messages about New Crochet Pattern Releases; FREE Crochet Patterns; Collaborations and more!
Find me, Jo of Jo’s Crafty Hook at the places listed below.
Email: jo@joscraftyhook.com
Facebook Group Jo’s Crafty Hookers
Facebook Group Jo’s Crafty Hook Designs
Facebook Page Jo’s Crafty Hook
Facebook Page Jo’s Crafty Hook Designs
Facebook Page: Crochet Designer Community
![]()