During season changes, in certain areas of the world, you can see all of the beautiful pine trees change colors.
I live in NE Ohio and I love to watch as my son’s pine trees change to beautiful colors in each season.
With the Winter Pine Table Runner crochet pattern I want to show off some of the colors of the pine trees I see during the winter seasons.


More information about my Winter Pine Table Runner Crochet Pattern.

I used a filet design to create the pine trees. I added a white border to create a ‘snow like’ affect. I think the white border adds a little something extra to the design.
Inside the crochet pattern there are 5 sizes to choose from to fit any size table. There are 3 panels, showing the different colors of the pine trees. There is also a gauge inside to help you create the perfect size for your table.
Inside the premium crochet pattern you will find picture tutorials to help you see the pine tree repeats; how to add the edging of each panel; how to connect the panels; and how to add the border.
You can find the premium crochet pattern for a small fee at my Ravelry Store
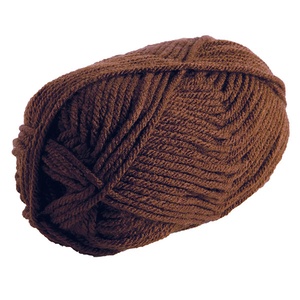
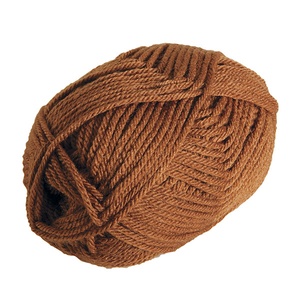
I used 3 colors of KnitPicks 100% Premium Acrylic Yarn. #4 Worsted Weight Yarn. (218 yds / 100 g)
I used Dublin, Avocado, and Green Tea Heather.
You can find these colors and more at KnitPicks.


My Winter Pine Table Runner is being featured in the Winter Wonders 2022 Blog Hop hosted by Itchin’ for Some Stitchin’, Ned & Mimi, and HanJan Crochet. Sponsored by WeCrochet.
On December 12-13, 2022 you can get a FREE premium copy of my Winter Pine Table Runner crochet pattern as part of the Winter Wonders 2022 Blog Hop.
In the mean time you can visit the Winter Wonders 2022 Blog Hop to take advantage of the other free daily fabulous crochet designers from a bunch of fabulous designers! Click on the image below to visit the main blog hop website.

On December 12-13, 2022, from 12a EST – 11:59p EST, be sure to visit the main roundup to get the Coupon Code needed. Bring it back here to my website to use at Checkout at my Ravelry Store.

As part of the Winter Wonders 2022 Blog Hop you can purchase a bundle with ALL 43 premium crochet patterns + a chance to win 5 prizes from WeCrochet for $15.99. How AWE-some is this! To check out what all is inside the Bundle + Giveaway click on the image below.


When purchasing the Winter Wonders 2022 Bundle, you are automatically entered in the WeCrochet Prize Giveaway
- Grand Prize: Premium Winding Station Tool Kit** + Winter Wonders Pattern Bundle
- 4 Runner-Up Prizes: Winter Wonders Pattern Bundle
Click on the image below to get your copy of the Winter Wonders 2022 Bundle and be entered for a change to win a prize from WeCrochet!


Stop by my Ravelry Store and get the premium crochet pattern with all of the helpful information inside. You can get the Winter Pine Table Runner there for a small fee.
Find me, Jo Baird of Jo’s Crafty Hook at any of the places listed below.
Email: j.o@joscraftyhook.com
Facebook Group Jo’s Crafty Hookers
Facebook Group Jo’s Crafty Hook Designs
Facebook Page Jo’s Crafty Hook
Facebook Page: Crochet Designer Community