It is that time of year again! It is time for the kids to go Back to School! Yes, some of you are groaning like I used to and others, like my sister are jumping for joy! I did not enjoy getting up early when my kids were in school, but it can be a Great time of year for you right now because I am having a Back to School sale or as I call it a BAG2SCHOOL50 Sale!
This post contains affiliate links. You can make a purchase using these links that I provide where I may receive compensation (at no added cost to you.) Purchases you make will help keep my website, Etsy Shop, and my Ravelry Store going and provide quality designs just for you! You can also use the PayPal donate button above to donate to my site!
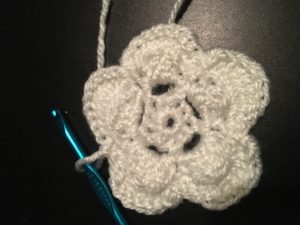
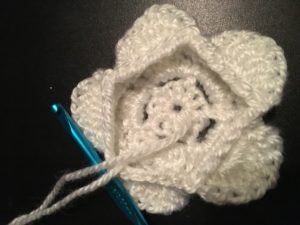
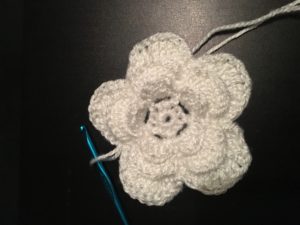
30% Off Bloom Room Luxe Floral Arrangements! Valid 8/15 – 8/28
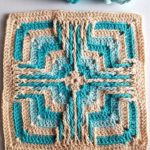
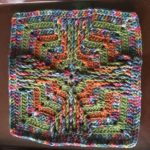
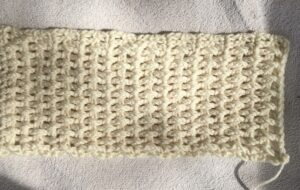
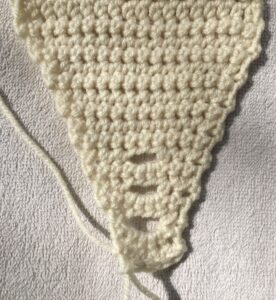
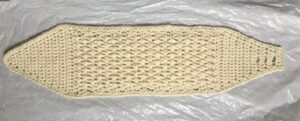
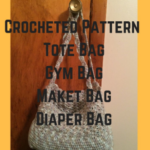
The BAG2SCHOOL50 is a sale I am having at my Etsy Shop JosCraftyHook! You can get 50% off ALL 5 of my Bag Crochet Patterns. The BAG2SCHOOL sale expires September 13, 2019, so be sure to stop by and take advantage of the 50% OFF! The best part about these Bag Crochet Patterns is you can crochet them in the color and style YOU choose OR you can have ME crochet them (more later) in the color(s) and style you choose! These bags can be used for as book bags, lunch bags, gym bags and if you don’t have kids in school you can use them for market bags or any type of bag you choose! Below are the 5 Bag Crochet Patterns that are on Sale for 50% off.
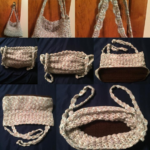
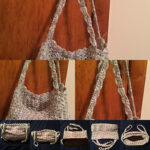
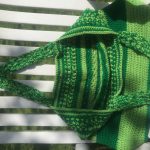
Jo’s Boat Tote would be perfect for books, clothes, or even groceries. The great thing about ALL of my bag designs is that they are to be made with Acrylic Yarn because it can be washed and dried over and over again and the yarn used is nice and sturdy! You can find the Jo’s Boat Tote crochet pattern here.
Did you know Red Heart has been added to Yarnspirations? Shop them below!
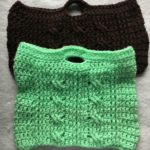
The Brown Bag It Tote Crochet Pattern would be perfect for a Lunch Bag, a Gym Bag, or an Overnight Bag. These crochet tote patterns for Bags would be perfect for what YOU want it to be. You can find the Brown Bag It Tote here from my Etsy Shop.
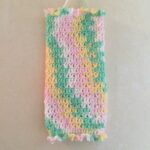
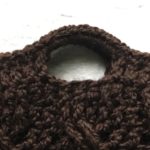
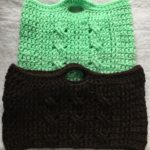
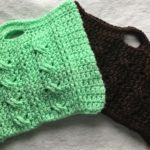
The Storage Bag Cozy crochet pattern can be used to store those pesky plastic bags you get from the grocery store. They can be placed just about anywhere around the house, like how I use them, by the litter box. They can be placed in your gym locker or your child’s locker. They great thing about the Storage Bag Cozy is it can be stuffed and stuffed because of the way the yarn stretches! You can find the Storage Bag Cozy Crochet Pattern right here from my Etsy Shop JosCraftyHook.

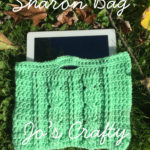
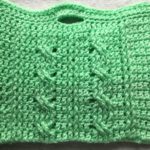
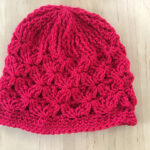
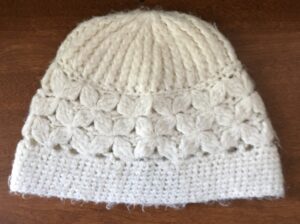
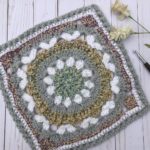
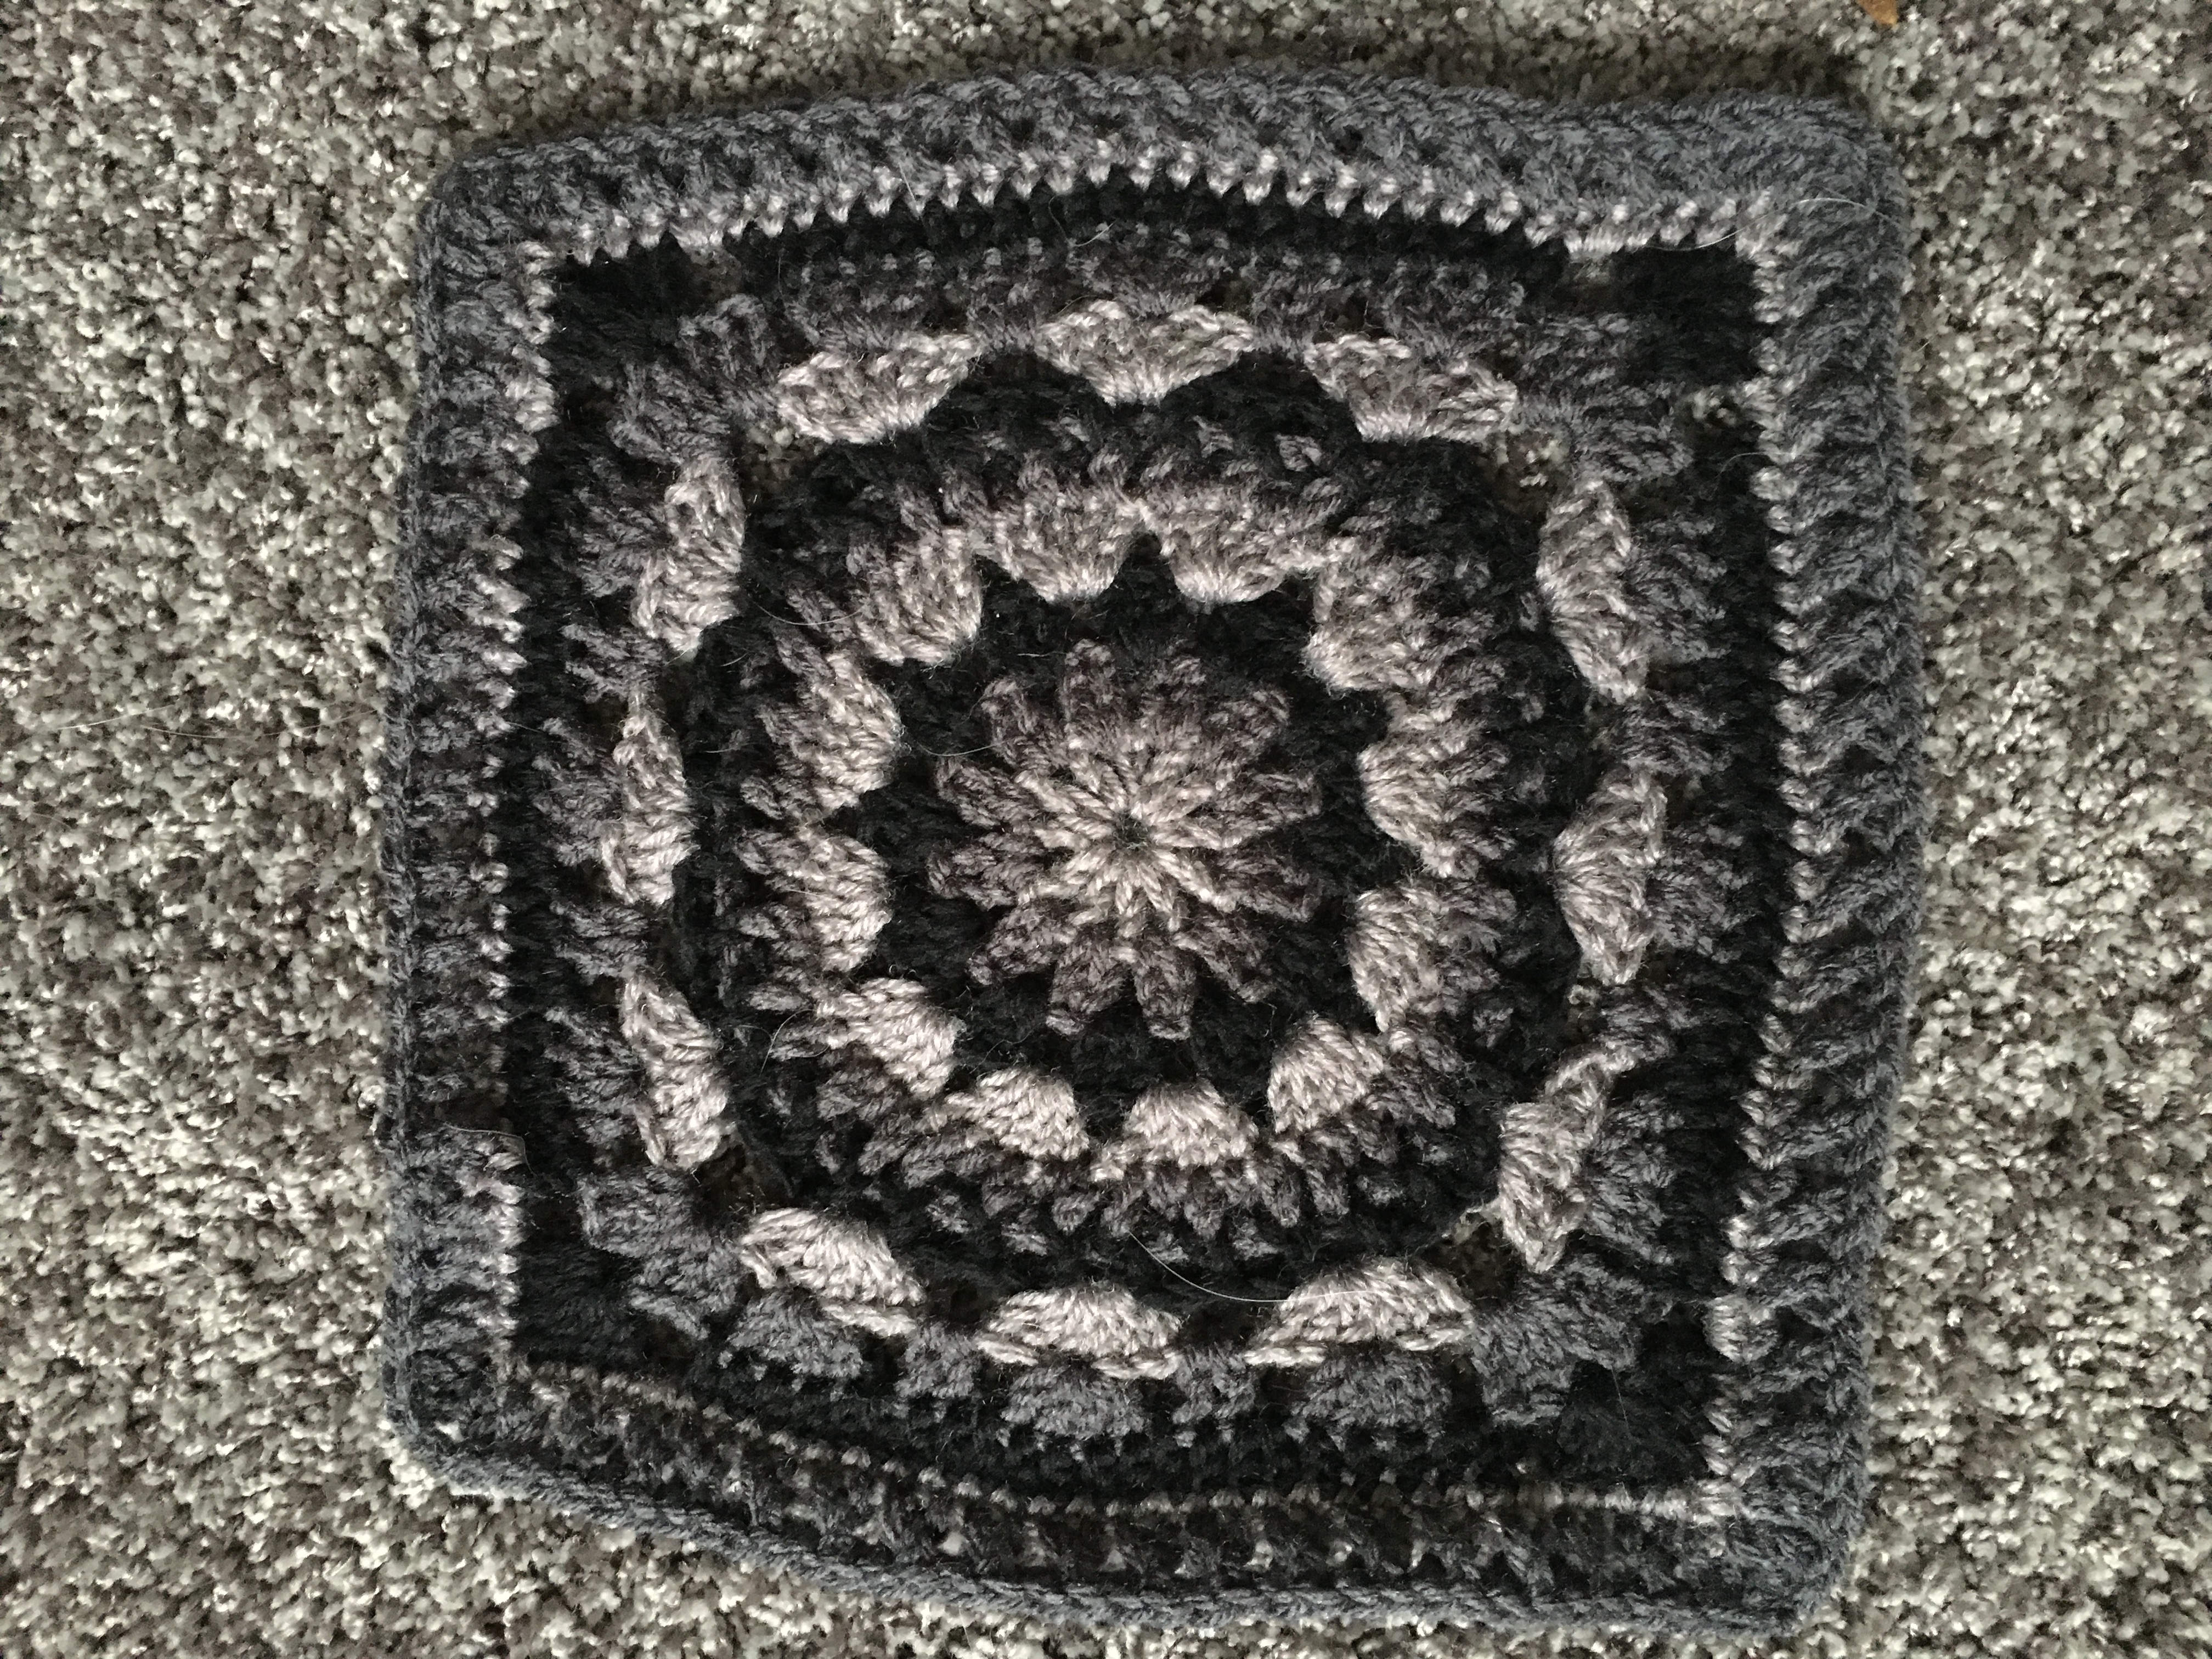
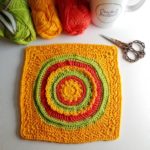
My Sharon Bag Crochet Pattern has been my most popular crochet pattern and it has a Small and Large version! You can actually find the crochet pattern for the Sharon Bag FREE here on my website! If you would like to purchase the Ad Free PDF version you can do so here. The Sharon Bag is a perfect carrying case for your iPad or Tablet or can be used as a Purse.

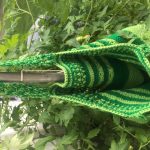
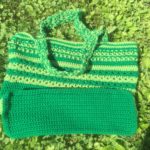
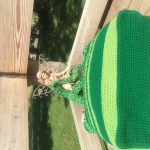
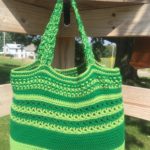
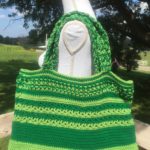
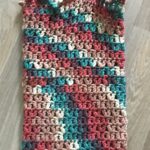
The Garden Tote Crochet Pattern would be a perfect School Bag, Gym Bag or Market Bag. Like ALL of these crocheted bags, they can be washed and tumble dried and they can be folded up and stored while not in use. The Garden Tote Crochet Pattern can be found at my Etsy Shop here.

I hope you take part in the BAG2SCHOOL50 50% off sale of ALL of the crochet patterns for my Bag Collection. My Bag Collection contains the Jo’s Boat Tote, the Brown Bag It Tote, the Storage Bag Cozy, the Sharon Bag and the Garden Tote.
If you are reading this and say to yourself “I don’t have time to crochet a bag right now, but I need one.” This is the BEST part of this post………I can crochet the bag or bags you want! You can have ME crochet any of these bags in YOUR style and color(s)! The cost of me crocheting you YOUR handmade crocheted creation starts at $10 pus shipping! If you are interested in placing a Custom Order please email me at jo@joscraftyhook.com. When placing your order please supply me with the Bag Name and the Color(s) you would like. I will get in touch with you as soon as I can. Thank you for stopping by to see what Jo’s Crafty Hook is up to!
- Thank you for stopping by Jo’s Crafty Hook! I hope you pick 1 or 5 of the crochet patterns that are 50% Off! You can get 50% off ALL 5 of my Bag Crochet Patterns. The BAG2SCHOOL sale expires September 13, 2019, so be sure to stop by and take advantage of the 50% OFF! Be sure to shop the BAG2SCHOOL50 before the month is up!
From the Designer:
- Thank you again for stopping by Jo’s Crafty Hook! Be sure to shop the BAG2SCHOOL50 at my Etsy Shop JosCraftyHook before the month is up!
- Check out ALL of my crochet patterns at my Ravelry Store www.ravelry.com/designers/jos-crafty-hook Etsy Shop www.etsy.com/shop/JosCraftyHook or at my website www.joscraftyhook.com!
- While you are at my website be sure to subscribe to my Mailing List and Newsletter. This way you will be notified when I release another pattern or blog post!
- If you have any questions or concerns about this pattern or any other pattern please find me at Jo’s Crafty Hook Designs on Facebook or email me at jo@joscraftyhook.com
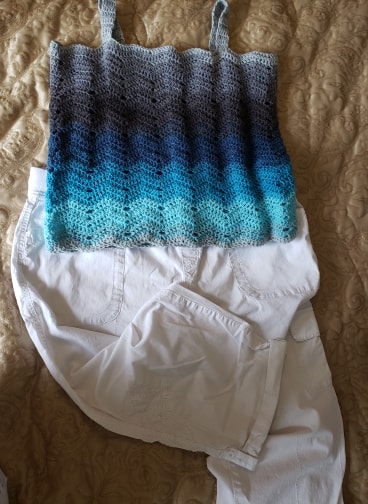
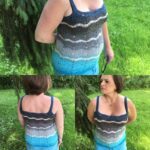
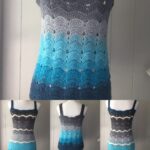
- You are free to sell or gift the Ombre Waves Tank Top, but Please forward anyone who would like to do this crochet pattern or any of my patterns to my Etsy shop, the Ravelry Store, or to my website. The web addresses for any place to connect with me are listed below.
- Every purchase of my patterns helps! It allows me to buy more yarn so I can create and design more Handmade Crocheted Creations for you to enjoy.
- I would LOVE to see your version of my Ombre Waves Tank Top! You can “Hook It” at my Ravelry Jo’s Crafty Hook Designs OR add a pic on my Facebook Page Jo’s Crafty Hook Designs OR at anyone of the places below that allows you to connect with me! Please use the hashtags: #ombrewaves or#jostwisted. Pictures, Comments, Feedback, etc. are ALWAYS welcome at my website www.joscraftyhook.com or my Facebook Page Jo’s Crafty Hook Designs.
Find me, Jo of Jo’s Crafty Hook Designs at any one of these places listed below!
Website: www.joscraftyhook.com
Etsy Shop: www.etsy.com/shop/JosCraftyHook
Ravelry: https://www.ravelry.com/designers/jos-crafty-hook
Facebook: www.facebook.com/JosCraftyHook
Facebook: www.facebook.com/JosCraftyHookDesigns
Instagram: www.instagram.com/joscraftyhook
Instagram: www.instagram.com/jo_bear38
Pinterest: www.pinterest.com/baird0095
Twitter: www.twitter.com/joscraftyhook
Twitter: www.twitter.com/jo_baird