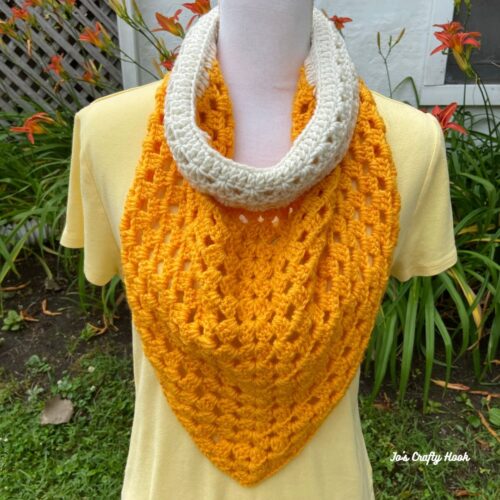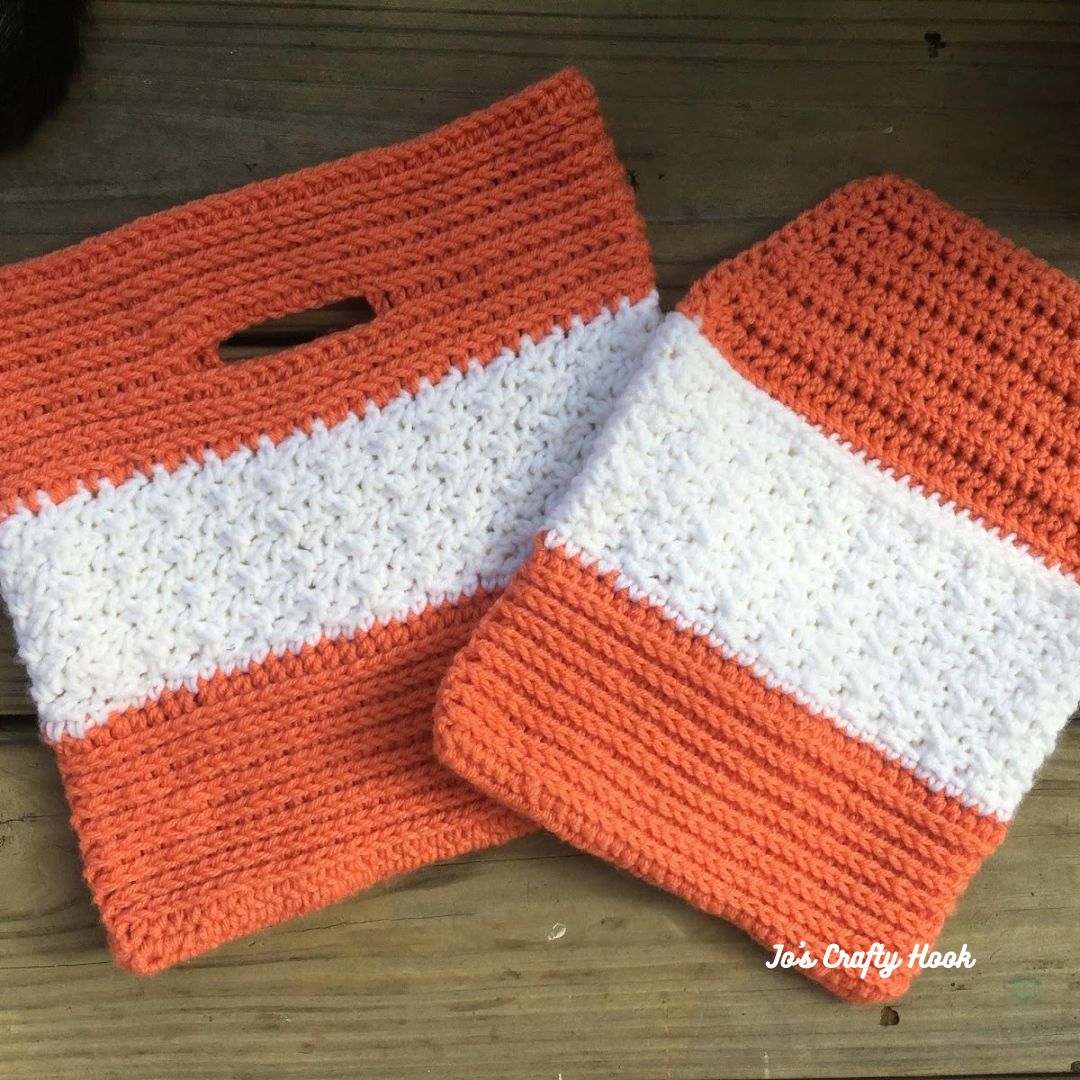
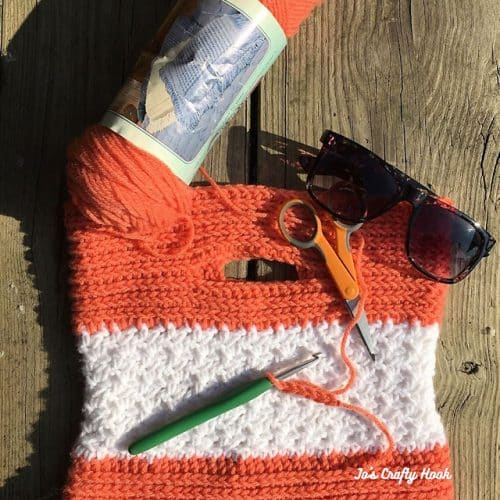
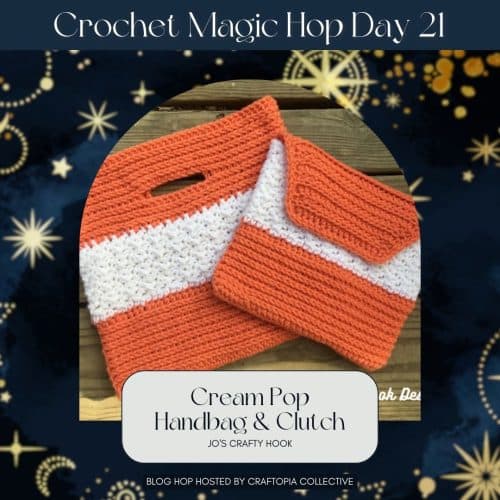
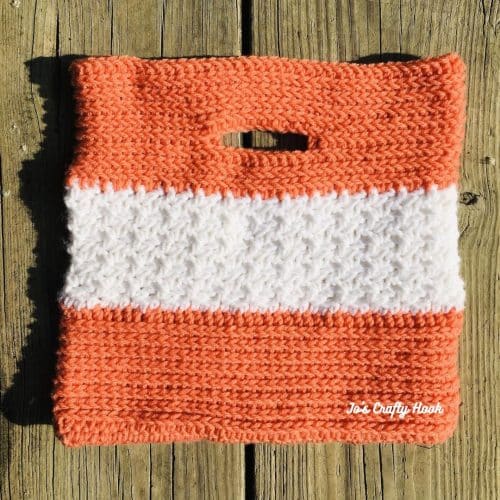
Cream Pop Handbag Crochet Pattern
The Cream Pop Handbag Crochet Pattern is a design of mine that makes me think time spent as a kid eating ice cream pushups; hot summer days by the pool; picnics on the beach.
The Cream Pop Handbag Crochet Pattern is the perfect accessory to carry all of your essentials when go to the beach, are working on a crochet project, for a trip the gym and so much more!
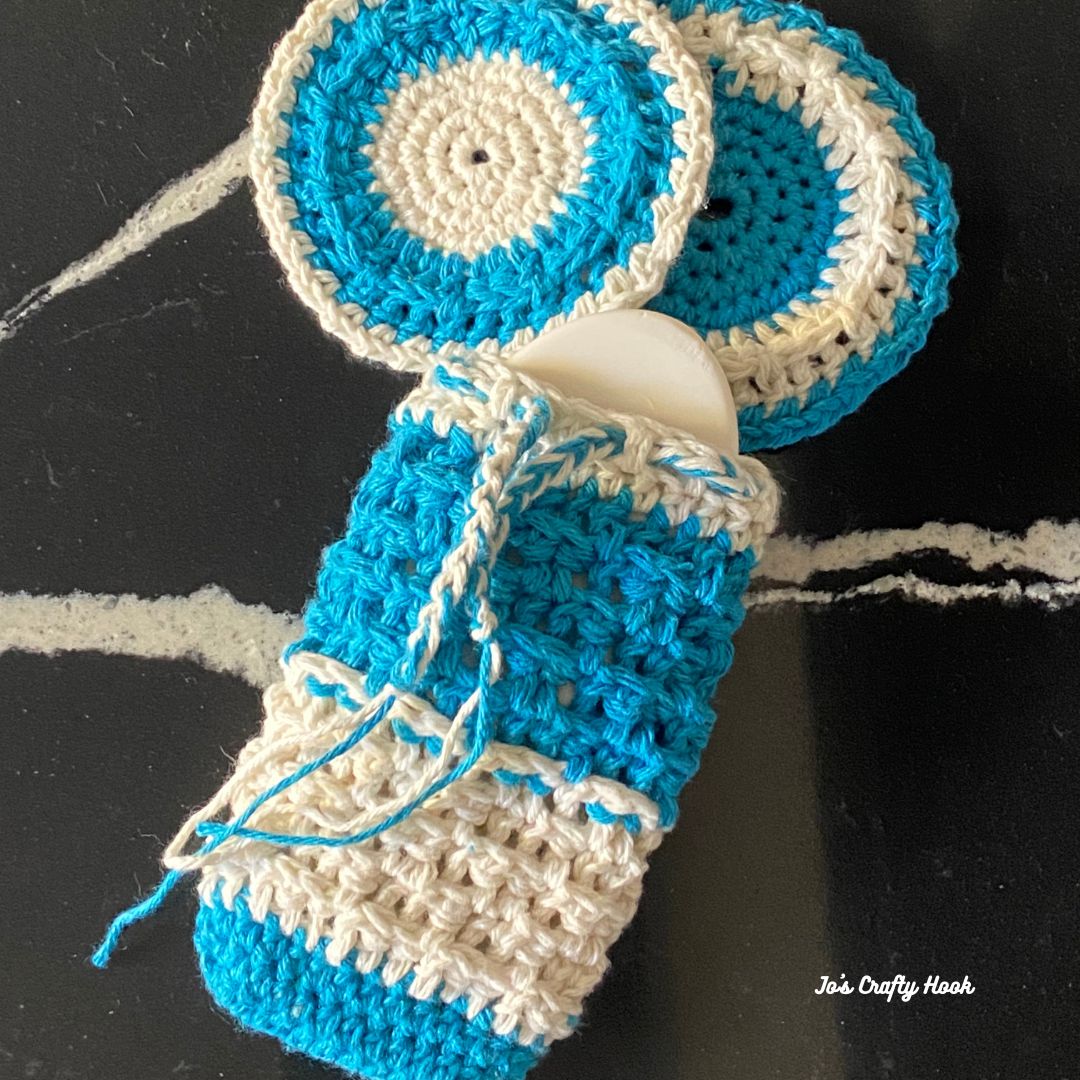
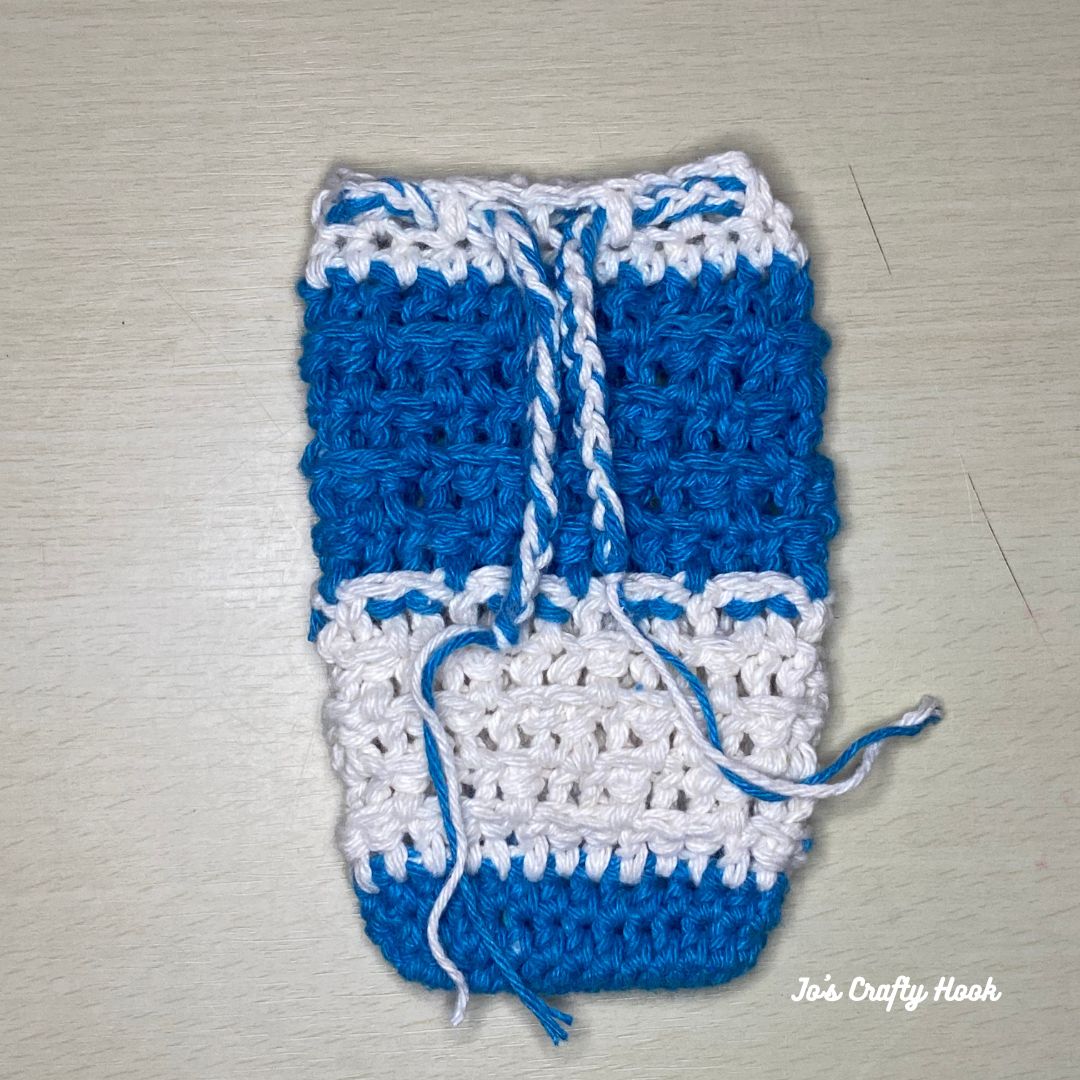
There is even a little clutch you can make to keep your most important beach items in, like your sunglasses, lip balm, phone and many other smaller essentials.

The post contains affiliate links that appear at no cost to you.
Shop LoveCrafts and find some beautiful yarn to create your own Cream Pop Handbag in your favorite colors.

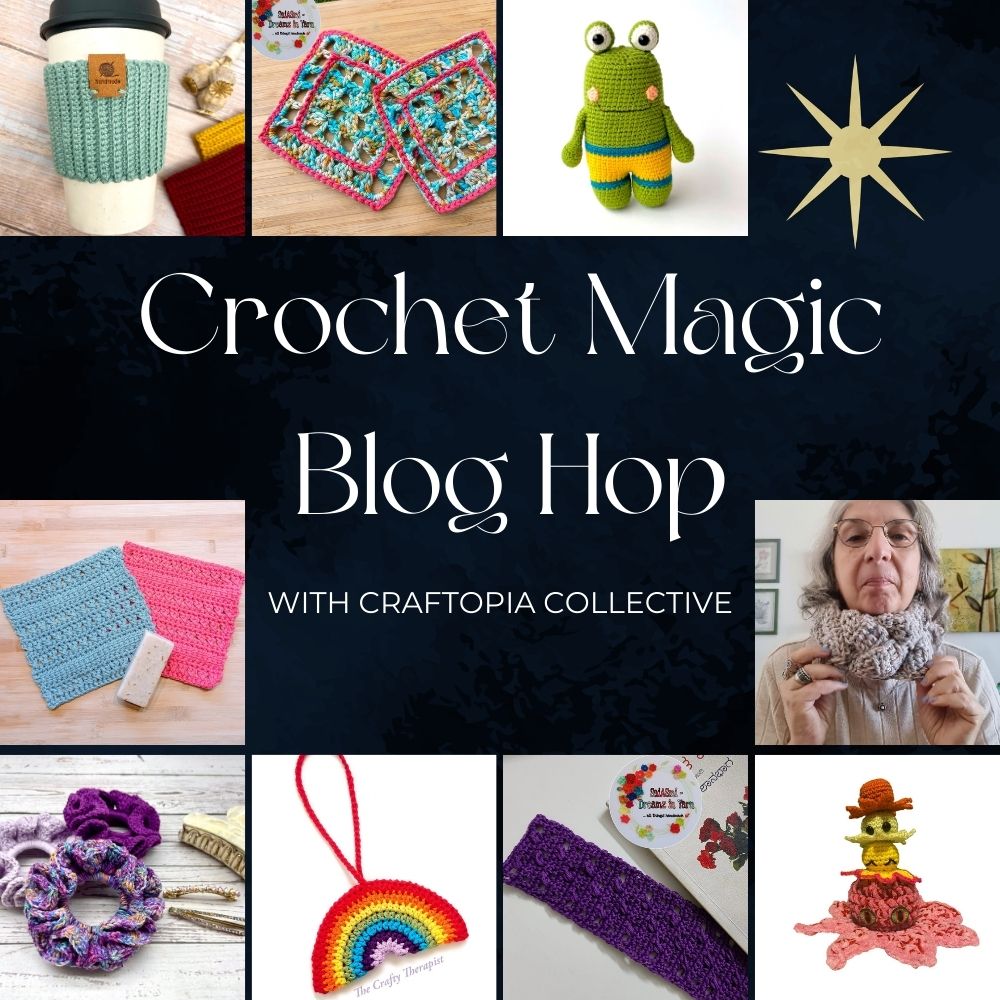
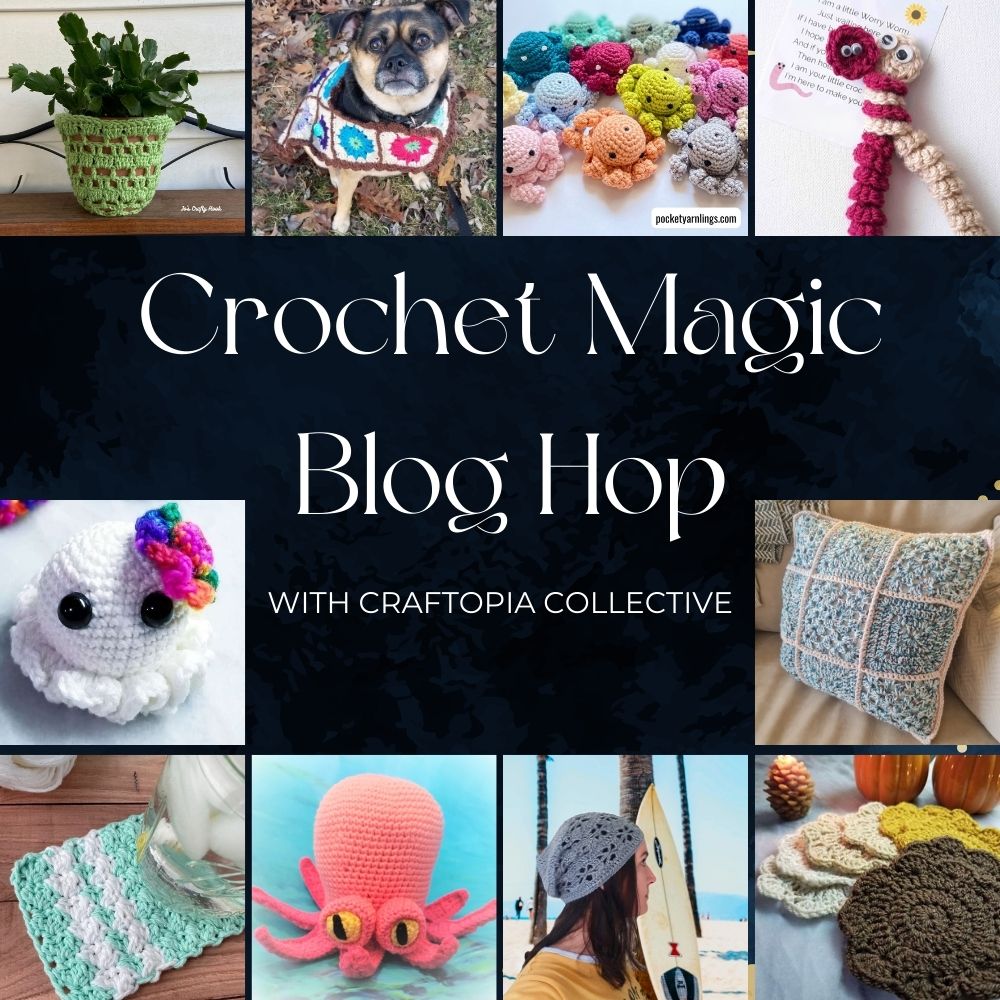
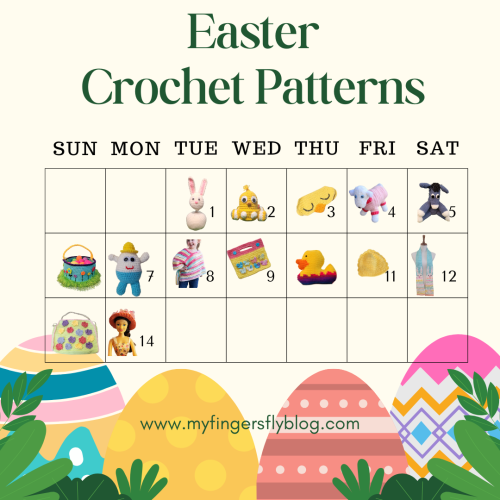
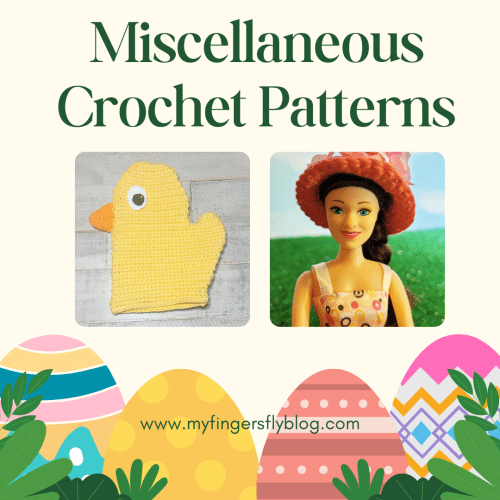
Crochet Magic Blog Hop hosted by Craftopia Collective
My Cream Pop Handbag & Clutch Crochet Pattern is being featured in the Crochet Magic Blog Hop. You can get a FREE pdf on April 21, 2024.
Scroll down to find out how you can a free PDF and to find more Free and Discounted premium crochet patterns from this great blog hop!

Get an Ad-Free premium copy
You can find a premium copy the Cream Pop Handbag Crochet Pattern with the Cream Pop Clutch at my Ravelry Store, Etsy Shop or LoveCrafts for a small fee.
Information Needed to make the Cream Pop Handbag
I used 100 yards of Caron Premium Acrylic Yarn in Apricot (3oz/85g)
I also used 50 yards of Caron One Pound in White (454g / 16 oz, 742 meters / 812 yards)
Materials:
100 yards of 4 Ply Worsted Weight Yarn
50 yards of 4 Ply Worsted Weight Yarn
US I or 5.5 mm Crochet Hook
Scissors
Tapestry Needle
Stitches Used/Abbreviations:
ch = chain
sc = single crochet
hdc = half double crochet
hdc in 3rd loop = half double crochet in 3rd loop
hdc2tog = half double crochet 2 together
sp = space
ws = wattle stitch
MC = Main Color
CC = Contrasting Color
Notes:
handbag is worked in the round
ch 2 counts as a hdc
alt ch 2 counts as a hdc
Size: 11” tall x 12” wide
Special Stitches:
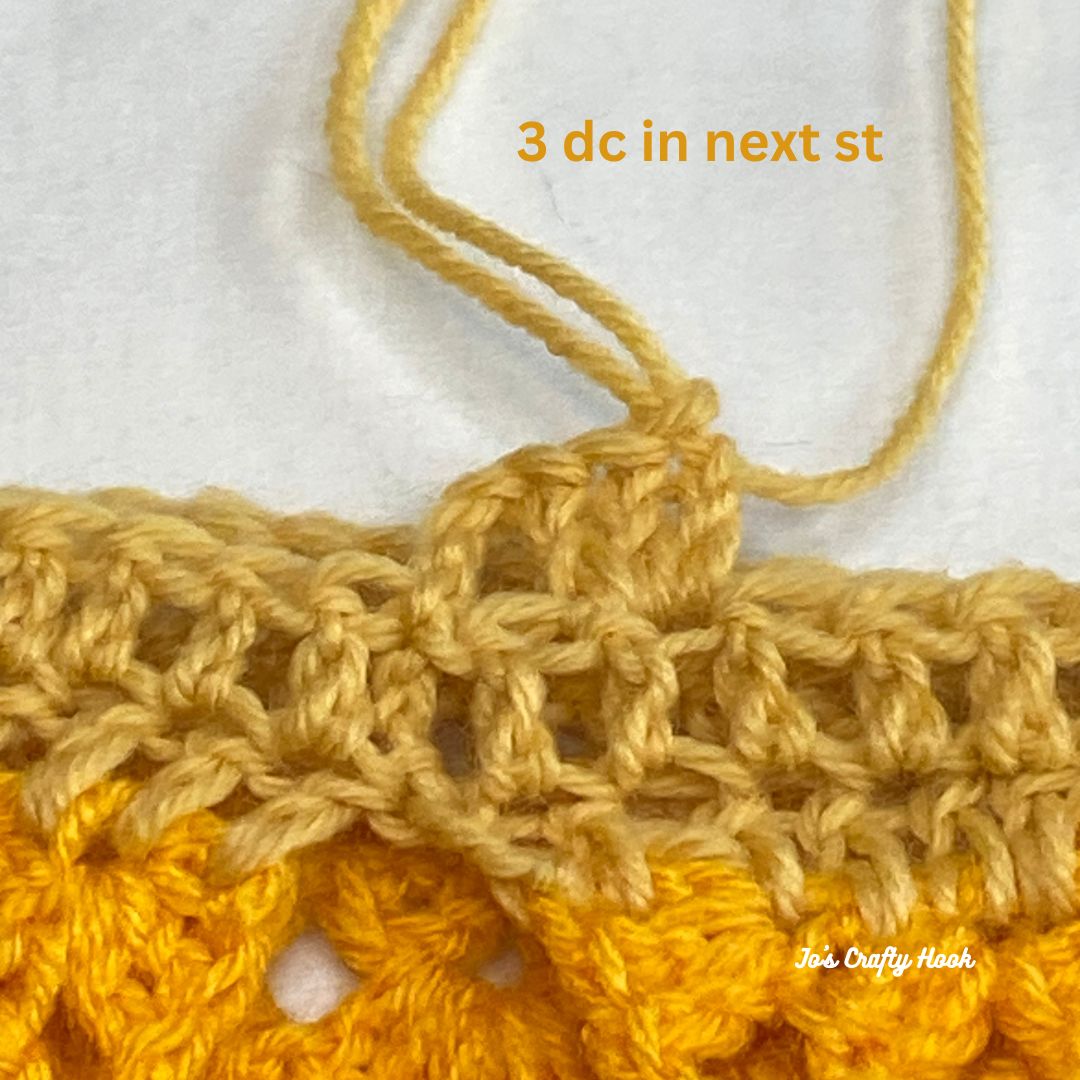
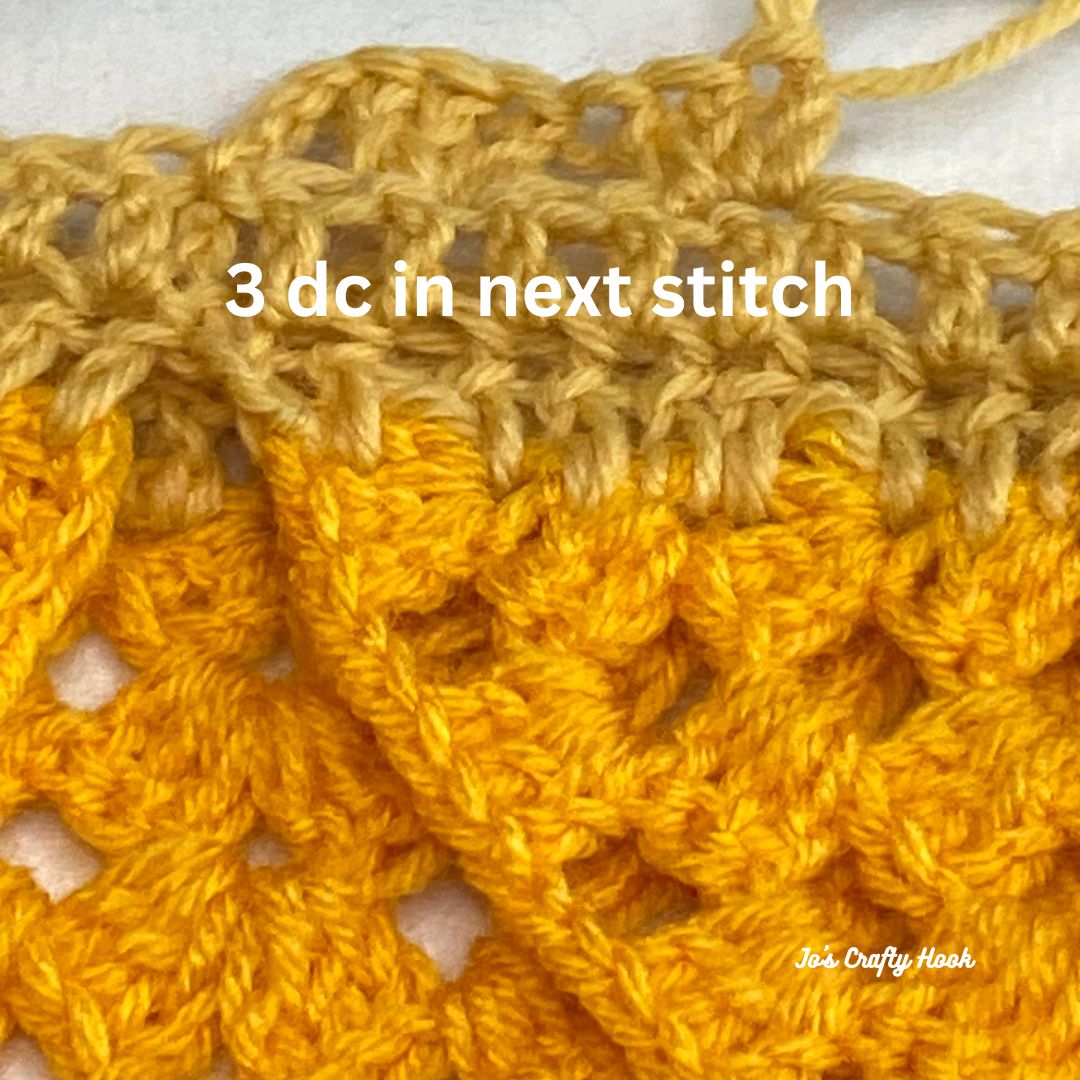
Wattle Stitch – consists of (sc, ch 1, dc) all in the same stitch.
Alternate Chain 2 – takes the place of a chain 2 at the beginning of a row and counts as a half double crochet.
Half Double Crochet 2 Together – used as a way to decrease row count.
Half Double Crochet in the 3rd Loop – working in the 3rd loop of a half double crochet creates a knit like look.
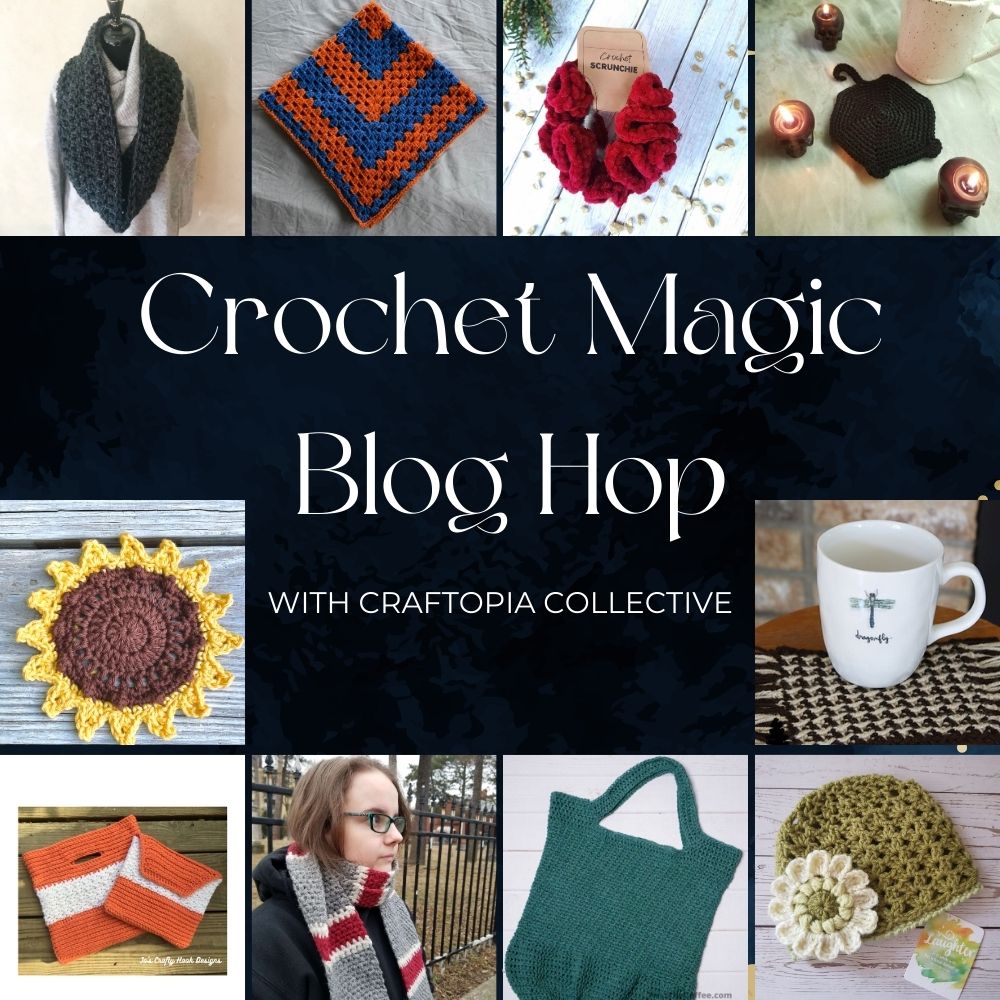
Crochet Magic Blog Hop hosted by Craftopia Collective
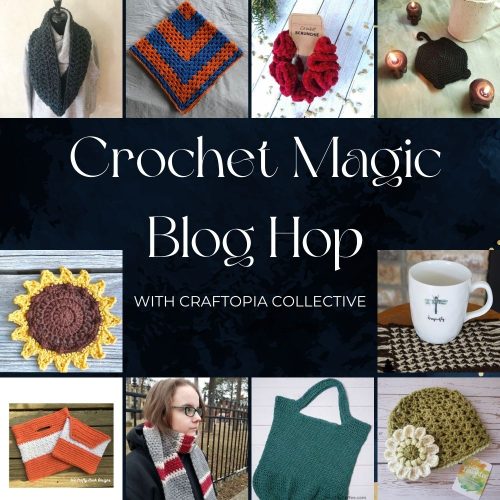
From April 1-30, 2024 you will find 30 days of FREE and Discounted premium crochet patterns from some great crochet designers! These crochet patterns are geared toward Beginners, but are a perfect make for any level of crocheters.
On April 21-22, 2024 get a FREE copy of my Cream Pop Handbag & Clutch Crochet Pattern!
Click on the Button below to visit the Crochet Magic Blog Hop and get the Coupon Code needed to get a FREE copy of the Cream Pop Handbag & Clutch Crochet Pattern on April 21-22, 2024

Once you have the Coupon Code, click on the Button below and use the Coupon Code at Checkout from my Ravelry Store.

If you missed the Free premium copy of the Cream Pop Handbag & Clutch Crochet Pattern, you can find it at my Ravelry Store, Etsy Shop or LoveCrafts for a small fee.
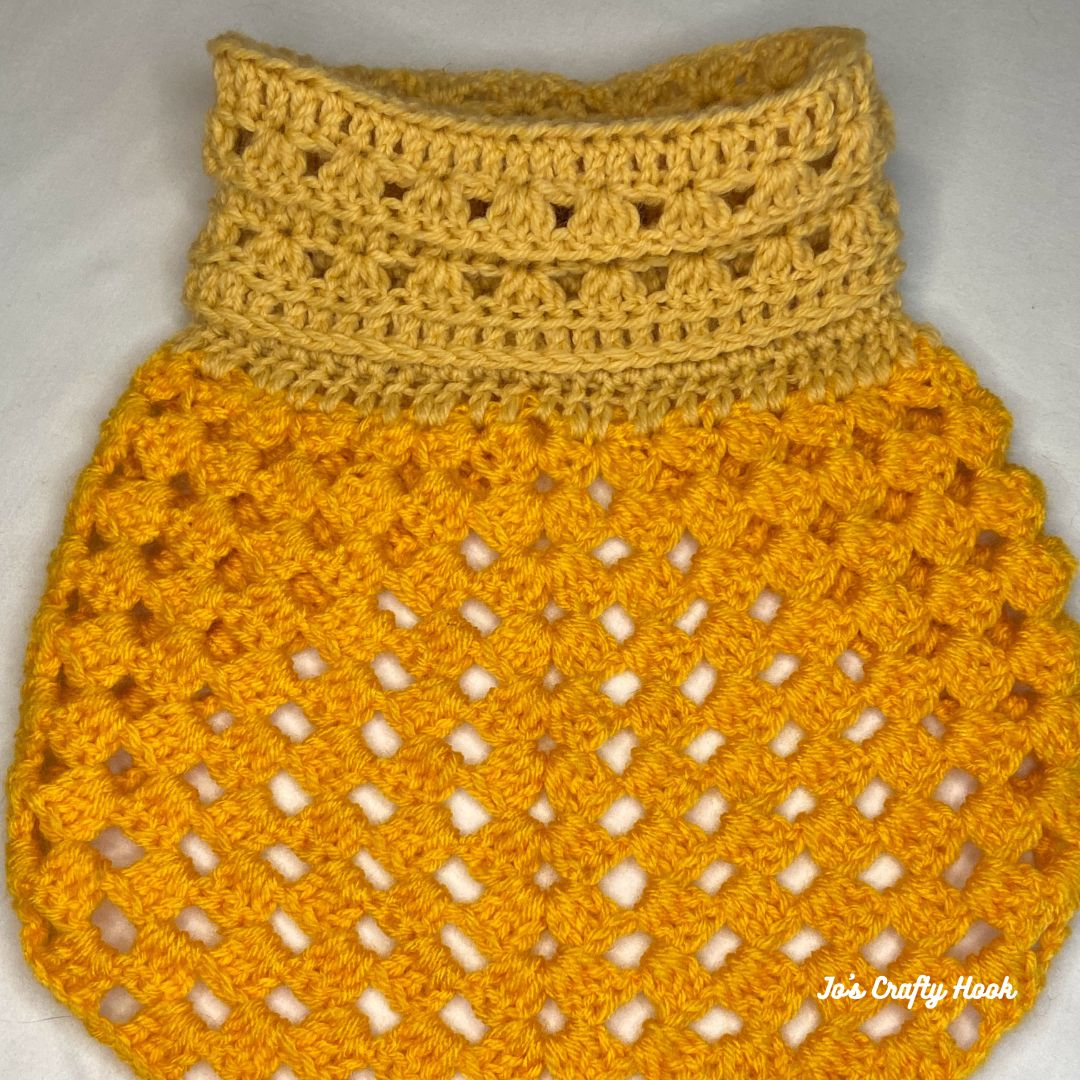
Cream Pop Handbag FREE Crochet Pattern
With MC
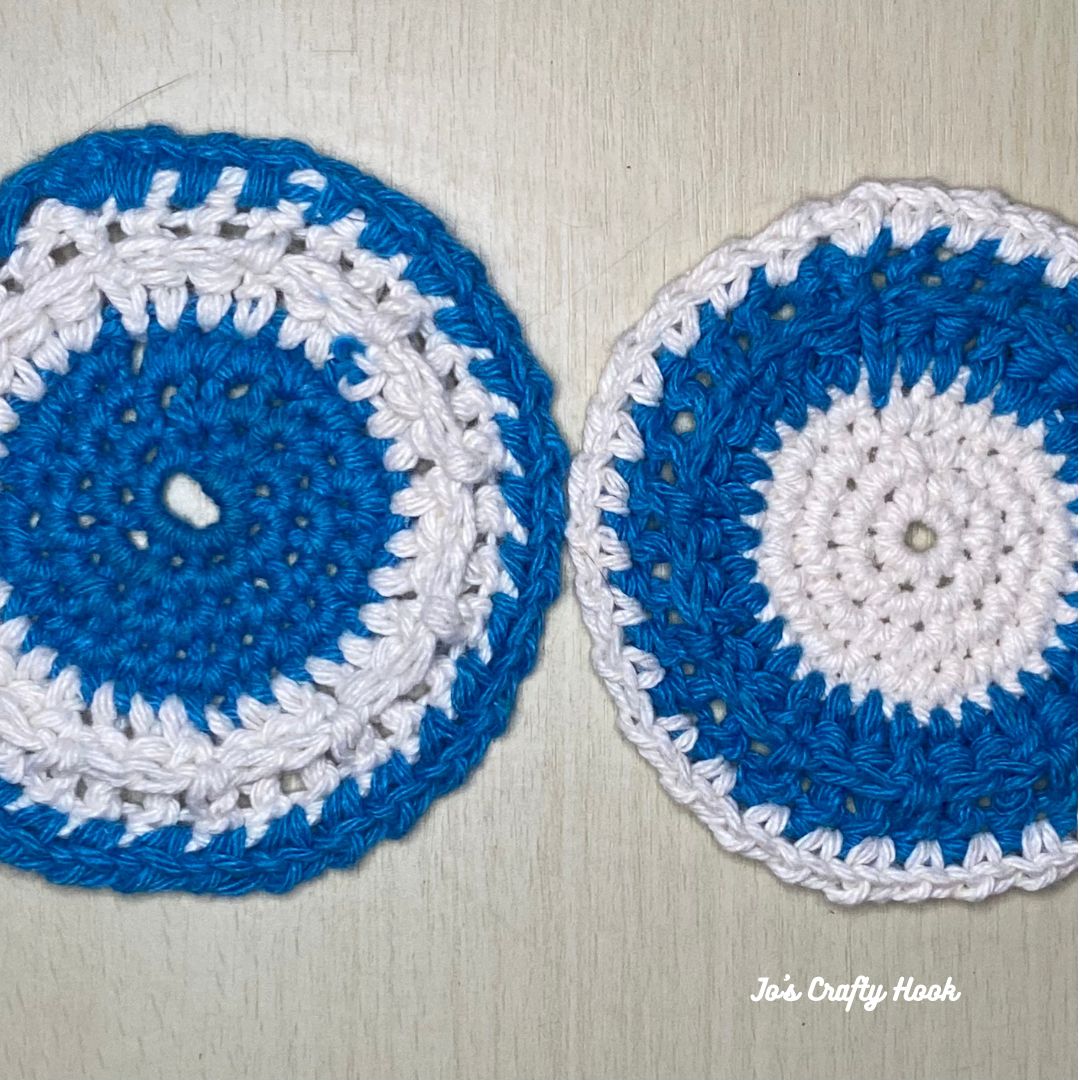
R1: Chain 37, sc in 2nd chain from hook, sc in same space. 2 sc in next st, sc in the next 32 sts, 2 sc in next st, 2 sc in the last st. (on the other side of the chain) 2 sc in 1st of new round, 2 sc in next st, sc in the next 32 sts, 2 sc in the next st, and 2 sc in the last st. (bottom of 1st sc). sl st in 1st st to join. (80 sc) total
R2: ch 1 and alt ch 2 in same st. hdc in each remaining st around. sl st in 1st st to join. (80 hdc)
R3-R10: ch 1 and alt ch 2 in same st. hdc in 3rd loop in next st until last st, hdc in last st. sl st in 1st st to join. (80 hdc)
Change to CC
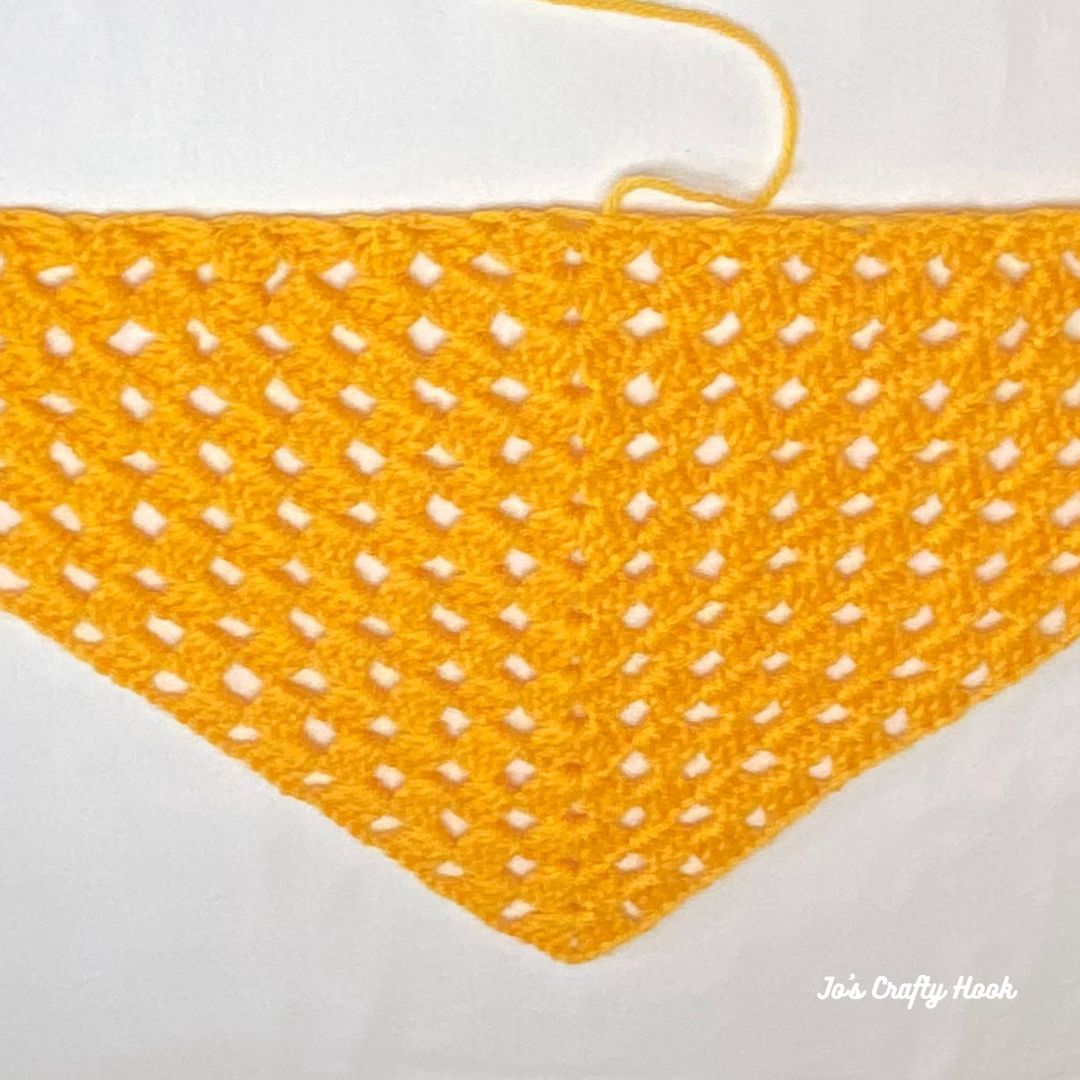
R11: attach yarn with a sl st in alt ch 2 sp. ch 1, sc in the same st and each remaining st around. sl st in 1st st to join. (80 sc)
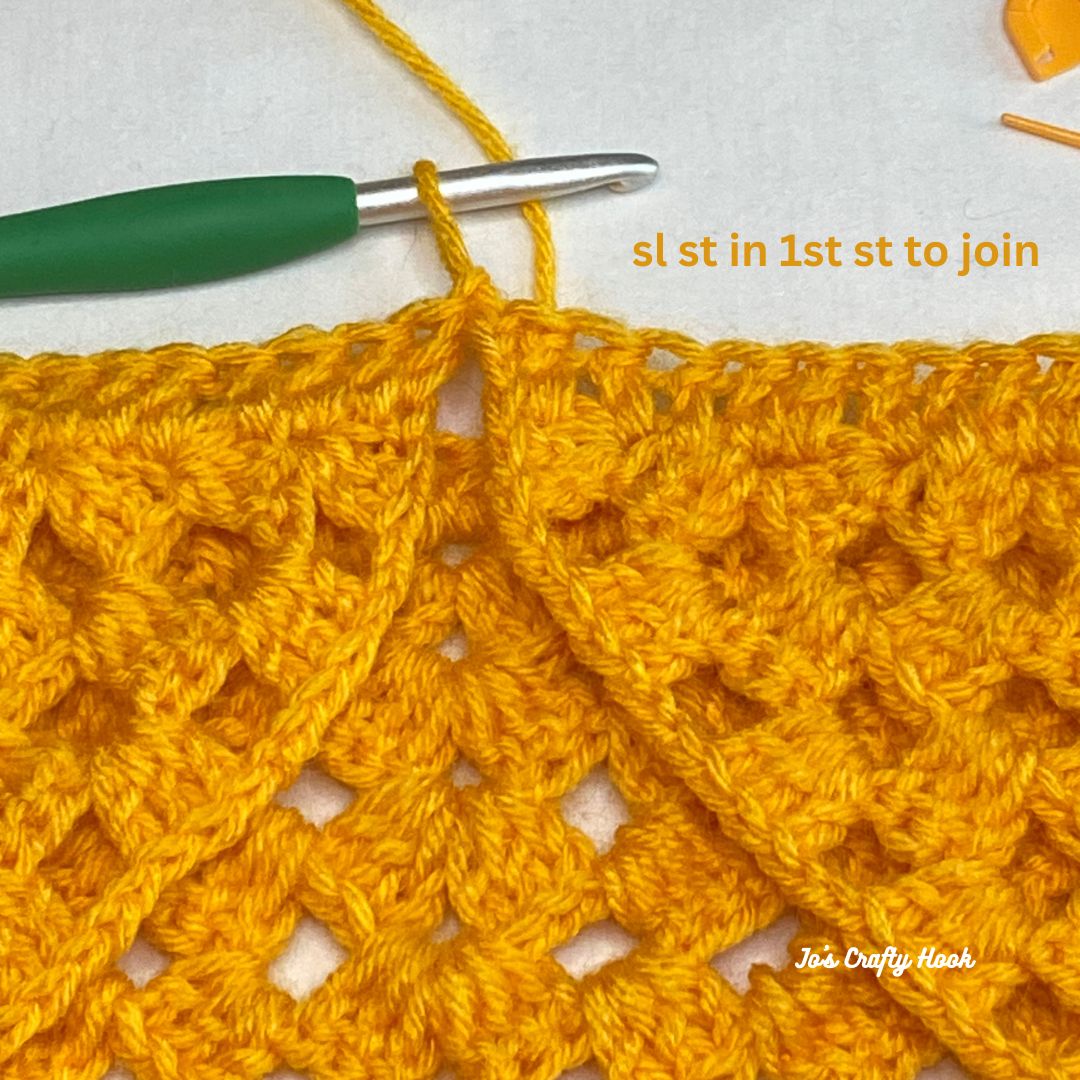
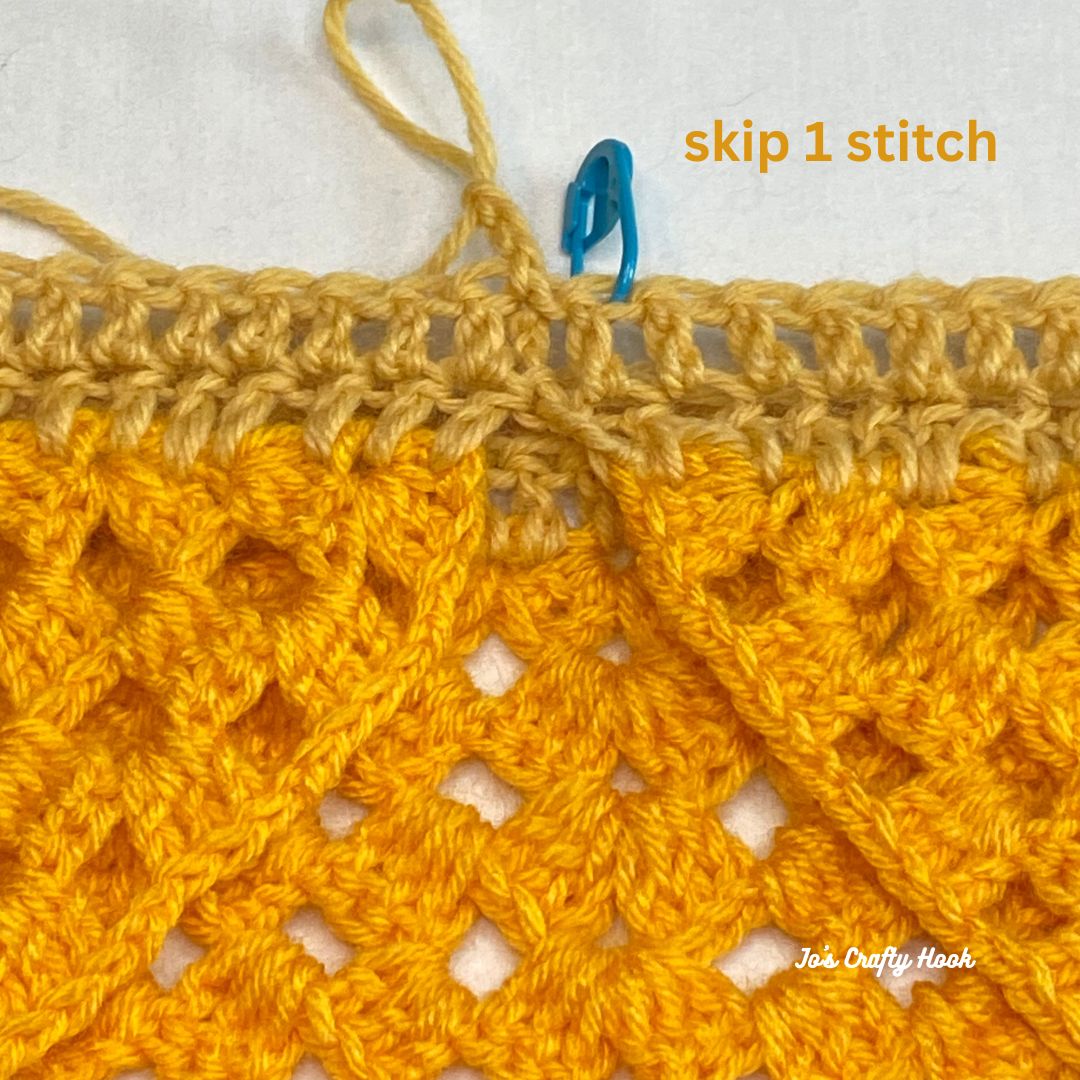
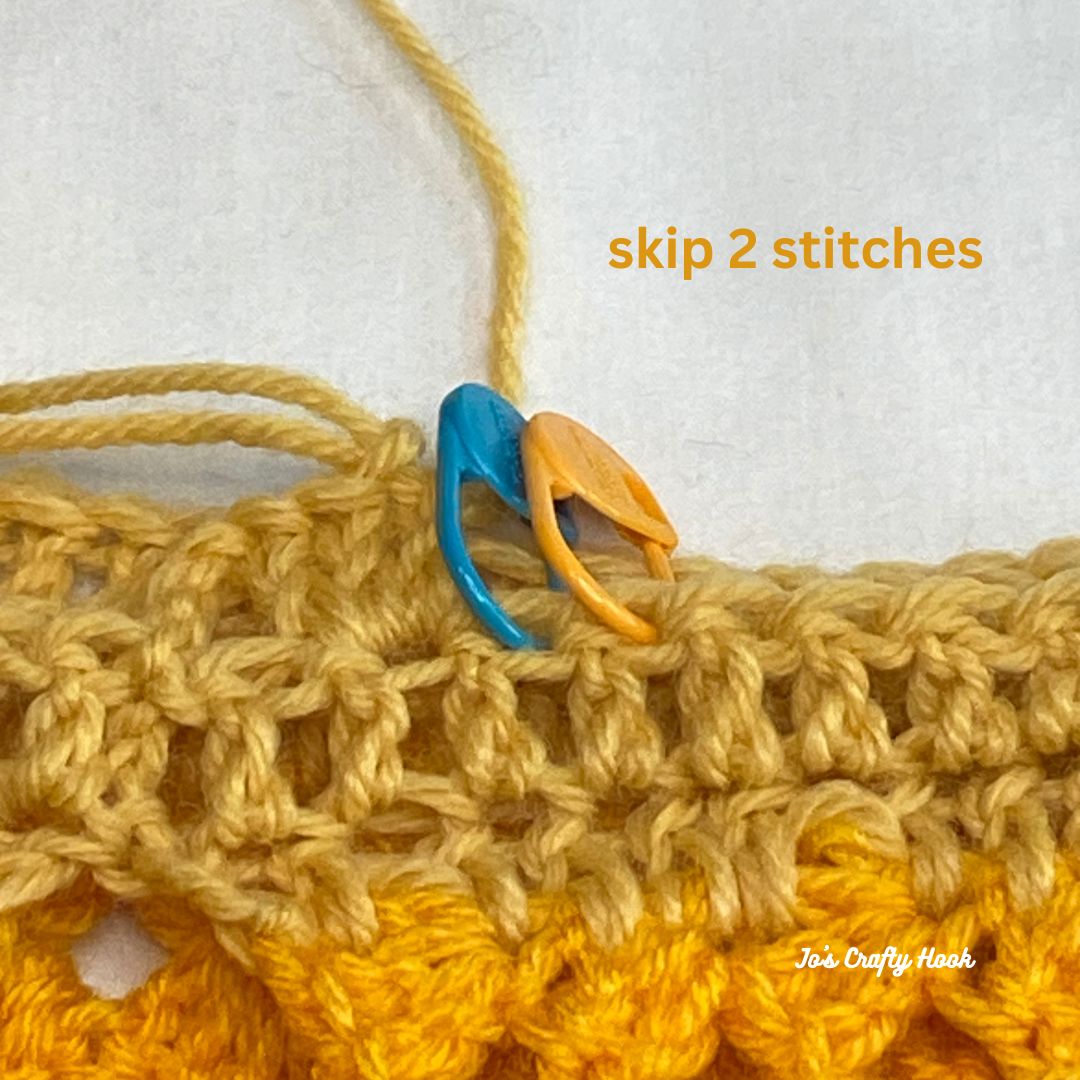
R12: ch 1 and (sc, ch 1, dc) all in the same st (ws made), *sk 2 st, ws in next st* Repeat from * to * until the last 2 st. sk 2 st and sl st in 1st sc to join. (27 ws & 81 st)
**your st count will increase by 1 after R12**
R13: ch 1, turn, and ws in 1st ch-1 sp. ws in each ch-1 sp around. sl st in 1st st to join. (27 ws & 81 st)
R14-R20: Repeat R13
**Do not turn after R20**
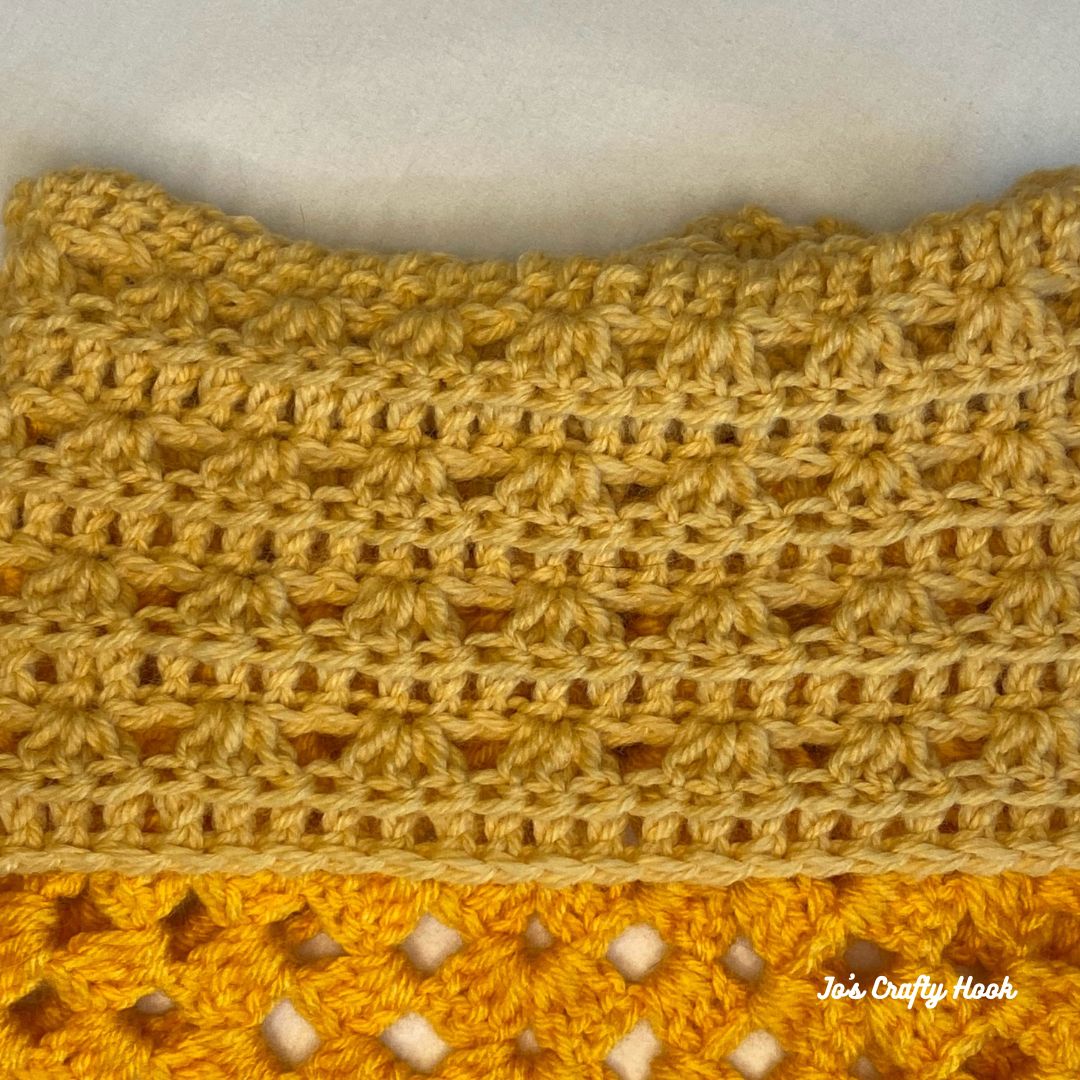
Change to MC
R21: attach yarn with a sl st in 1st sc from previous row. ch 1, alt ch 2 and hdc in the same st. hdc in each remaining st around. sl st in 1st st to join. (80 hdc)
R22-R24: ch 1 and alt ch 2 in same st. hdc in 3rd loop in the next st until last hdc. hdc in the last st. sl st in 1st st to join. (80 hdc)
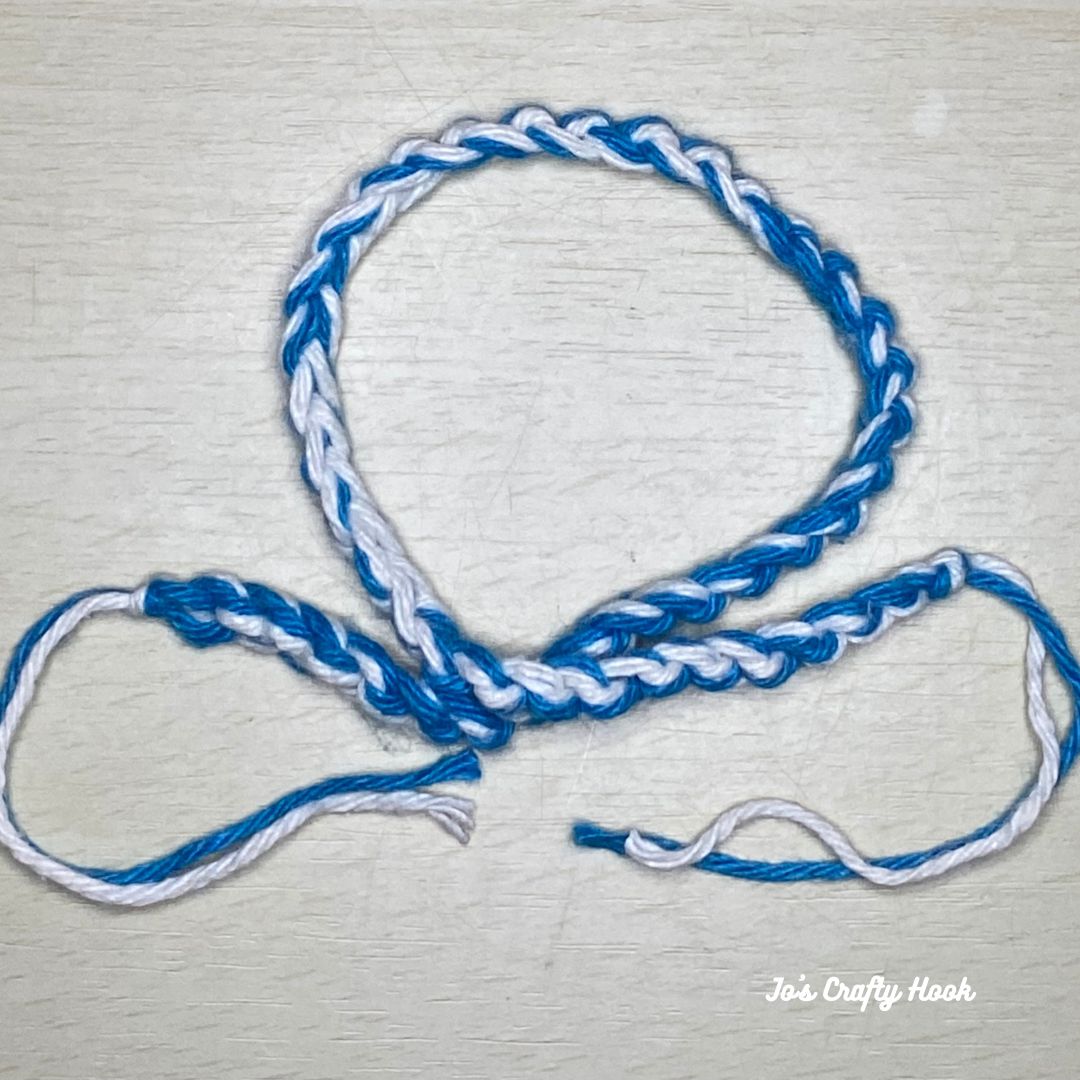
Making Handle:
R25: alt ch 2 in 1st st, hdc in 3rd loop in next 13 sts, hdc in the next st. ch 10, skip 10 sts, hdc in next st, hdc in 3rd loop in the next 29 sts. ch10, skip 10 sts, hdc in 3rd loop in the next st until the last hdc. hdc in last st. sl st in 1st st to join. (60 hdc & 2 ch-10 sp)
R26: alt ch 2 in 1st st, hdc in 3rd loop in the next 14 sts, hdc in each ch of ch-10 sp, hdc in 3rd loop in the next 30 sts, hdc in each ch of ch-10 sp, hdc in 3rd loop in the next st until the last hdc. hdc in last st. sl st in 1st st to join. (80 hdc)
**If you prefer a wider handle hole, add chain count in multiples of 4, being sure to subtract that number from hdc st counts on both sides of the round.**
R27-R28: alt ch 2 in 1st st, hdc in 3rd loop in the next st until last hdc, hdc in last st. sl st in 1st st to join. (80 hdc)
**If you prefer the top of the handle to less bulky, decrease row count by 2s. If you prefer a thicker handle, add rows in multiples of 2**
Fasten off and weave in your ends.
That’s it! You have made your own Cream Pop Handbag!
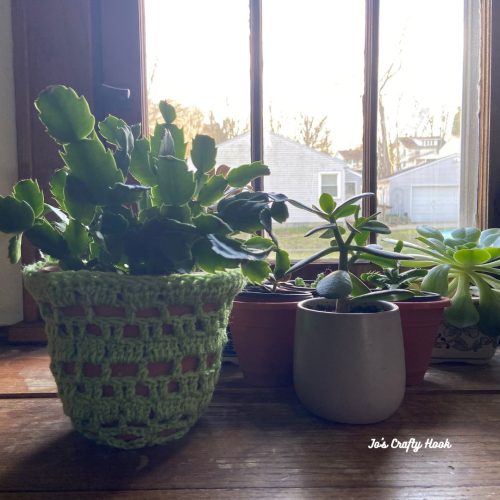
Thanks for stopping by Jo’s Crafty Hook!
You can find more of my FREE crochet patterns on my website HERE.
You can find a premium copy the Cream Pop Handbag Crochet Pattern with the Cream Pop Clutch at my Ravelry Store, Etsy Shop or LoveCrafts for a small fee.
You can find my Premium Crochet Patterns at any of my Stores listed below.
Ravelry Store
Etsy Shop
LoveCrafts
Email: jo@joscraftyhook.com
Facebook Group Jo’s Crafty Hookers
Facebook Group Jo’s Crafty Hook Designs
Facebook Page Jo’s Crafty Hook
Facebook Page: Crochet Designer Community
![]()


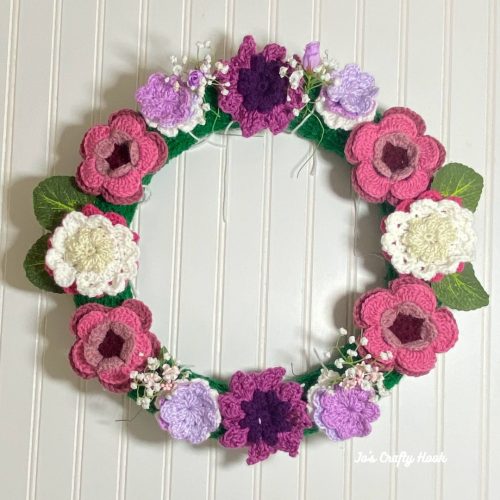
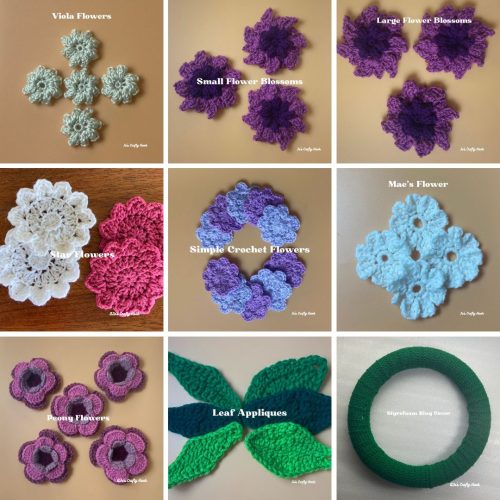
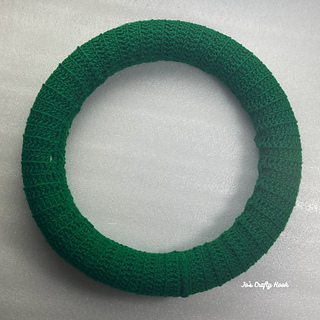
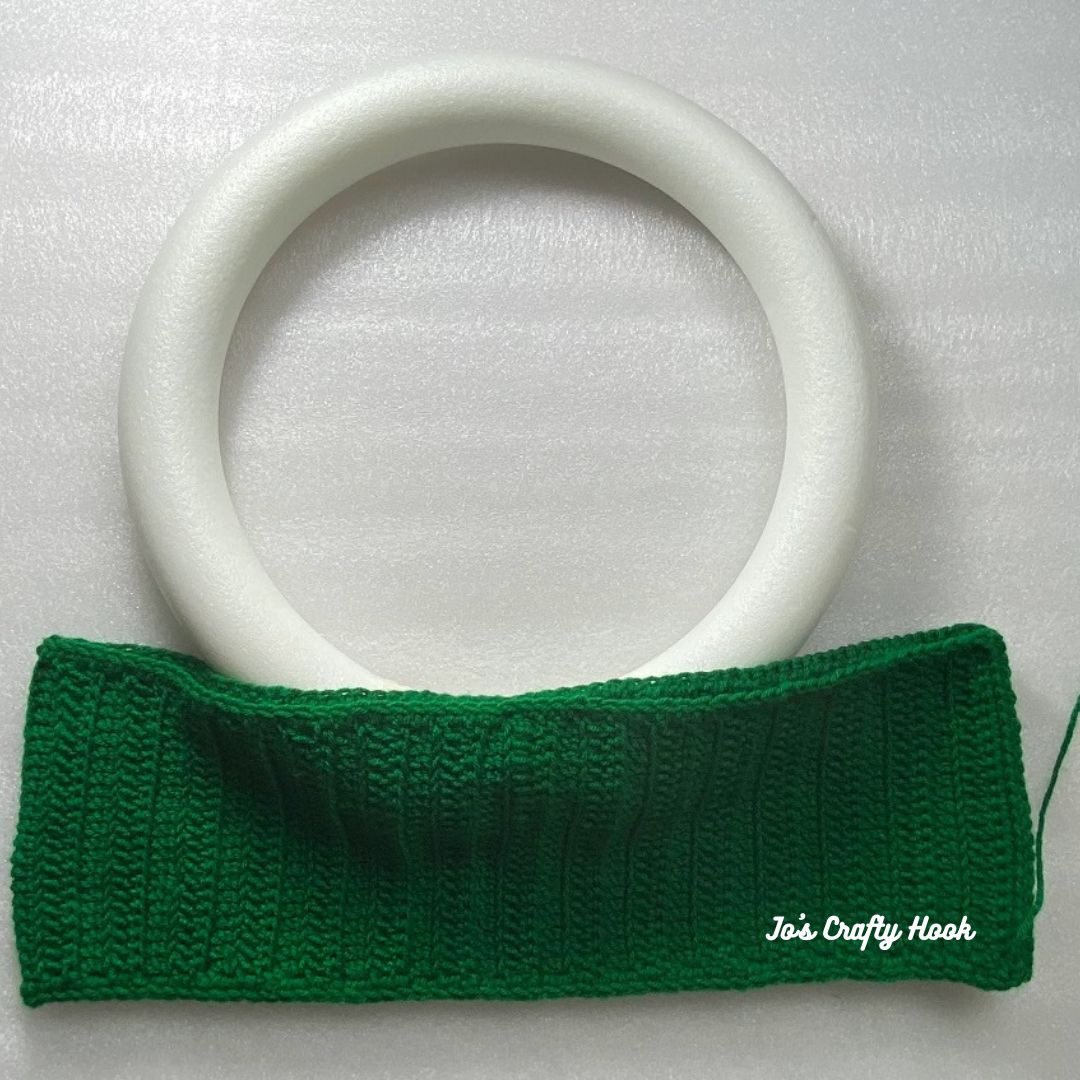
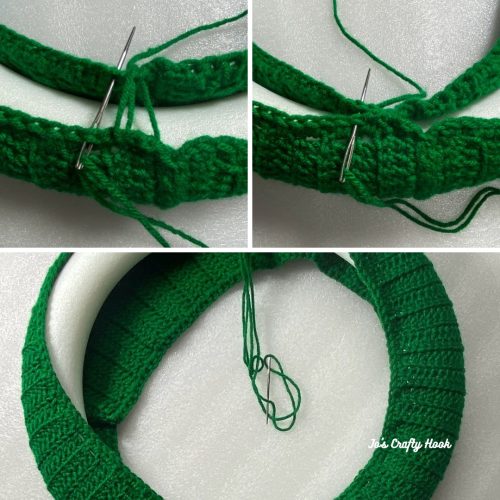


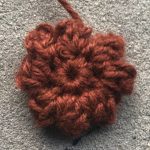
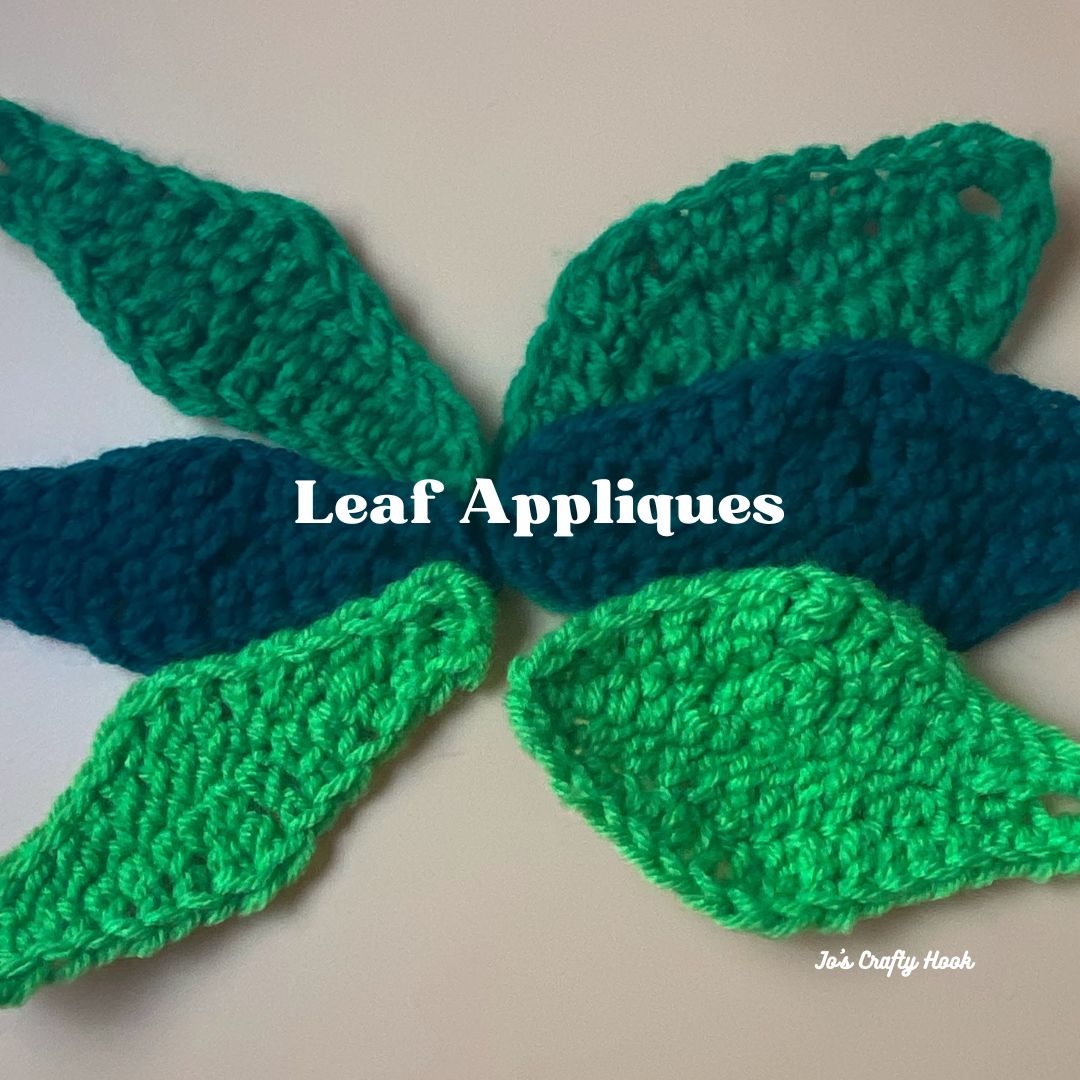
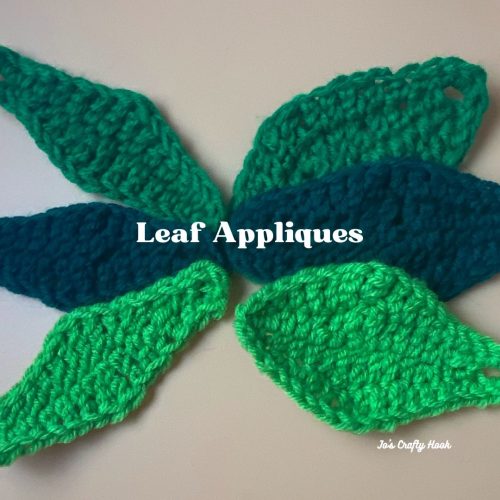
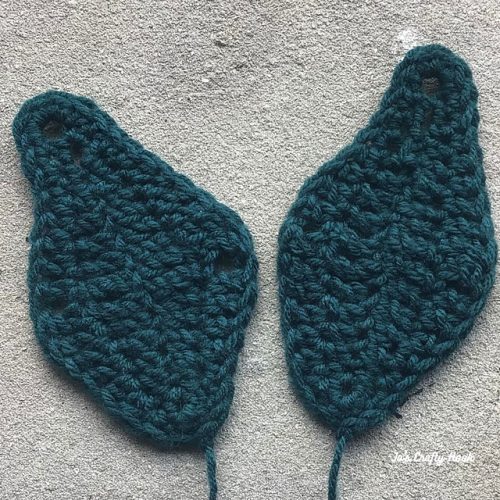
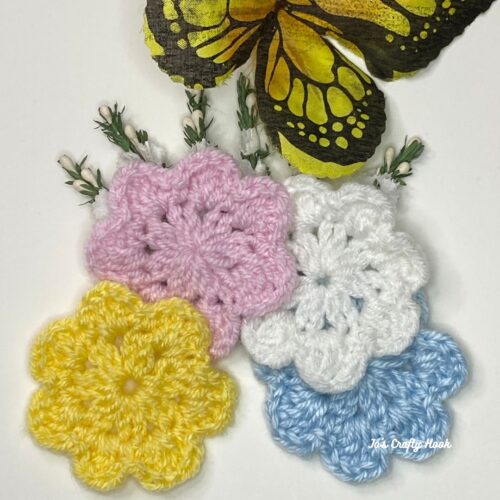
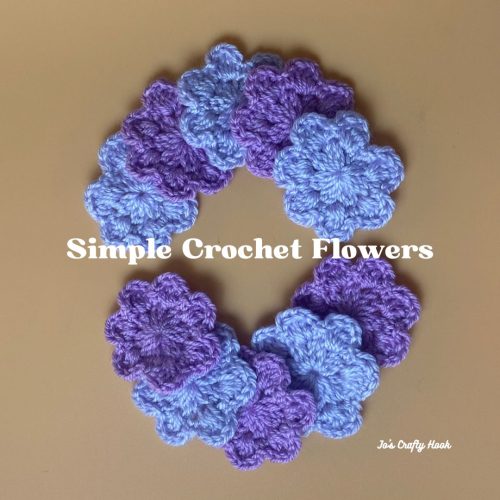
 I have a Blooming Flowers Wall Hanging eBook. It contains all 7 flowers crochet patterns, a leaf appliques crochet pattern with 2 versions and the Styrofoam Ring Cover Crochet Pattern. The eBook can be found at my