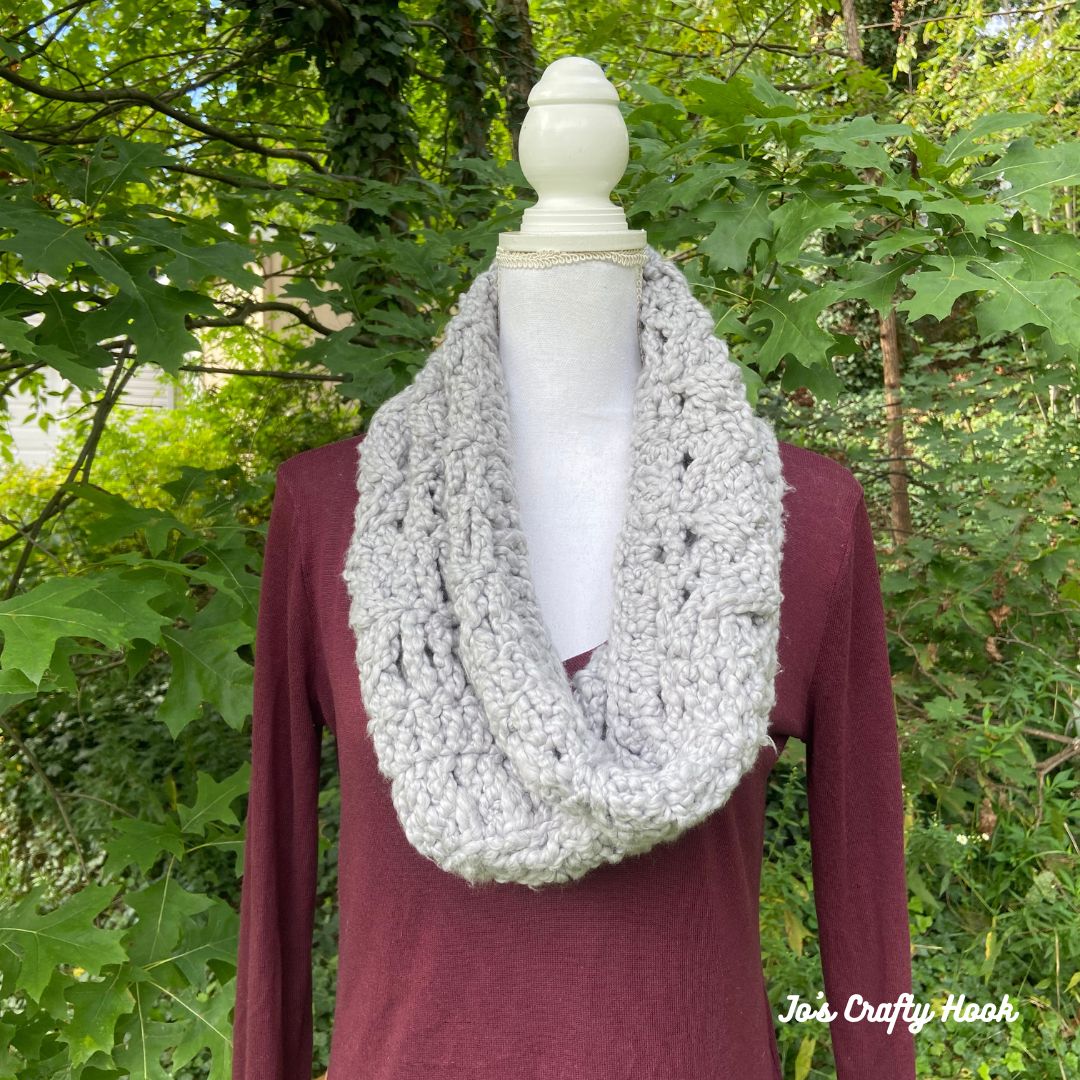
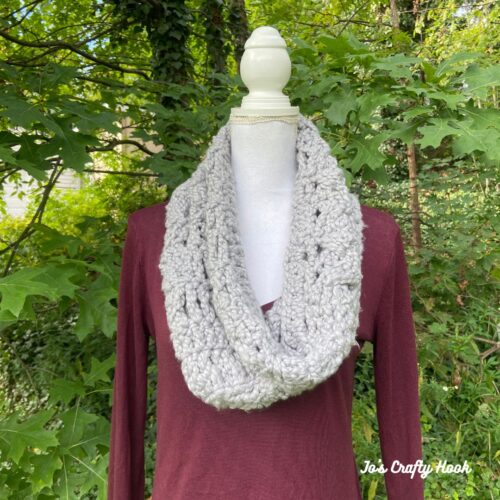
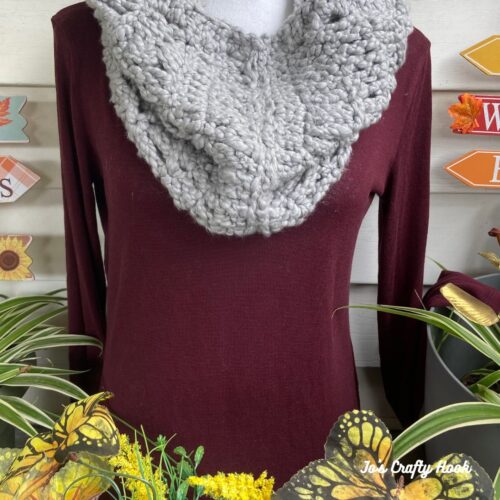
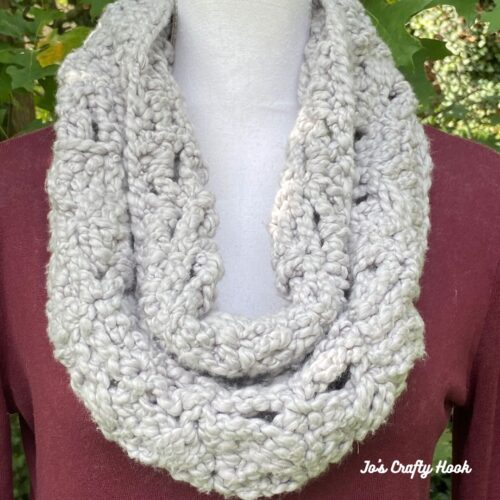
Ava Cowl Crochet Pattern
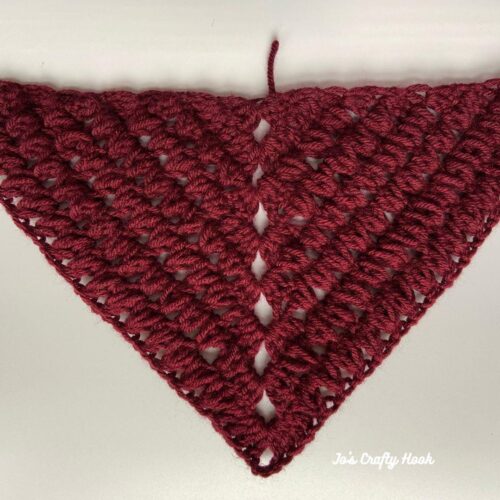
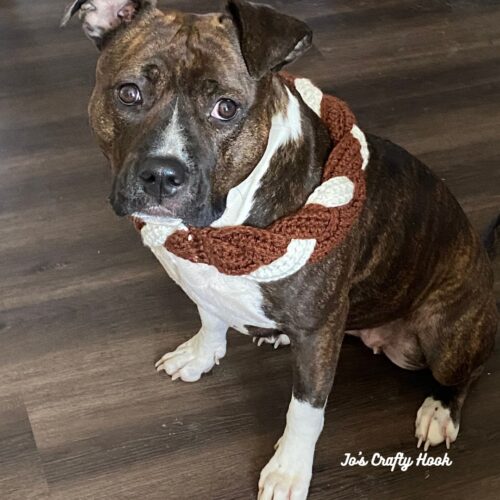
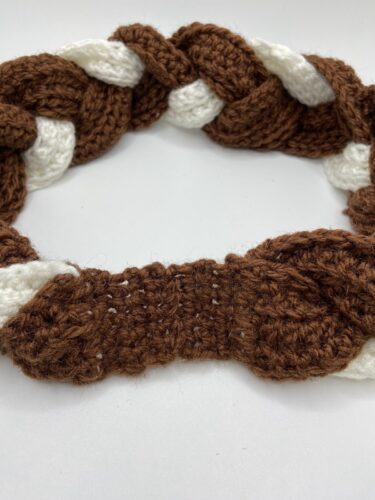
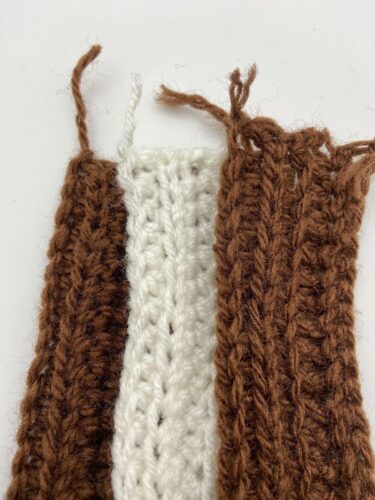
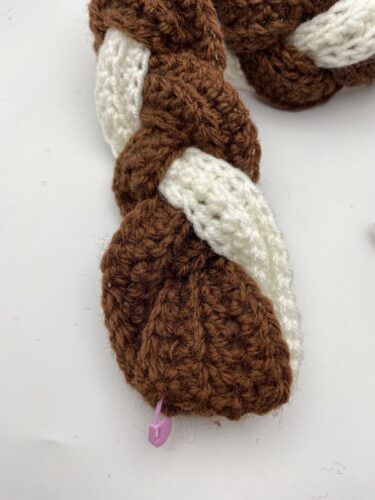
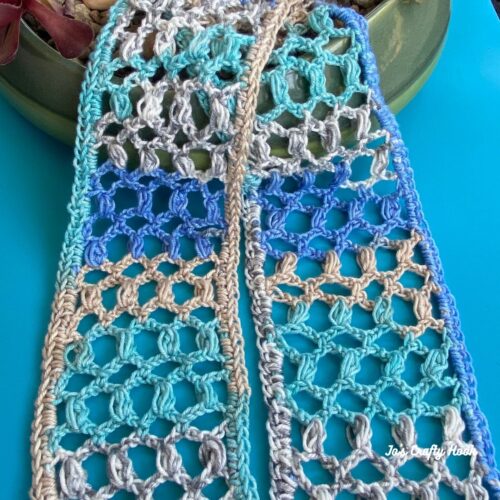
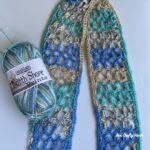
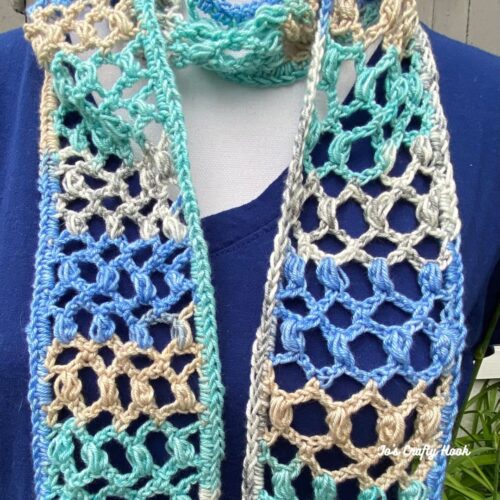
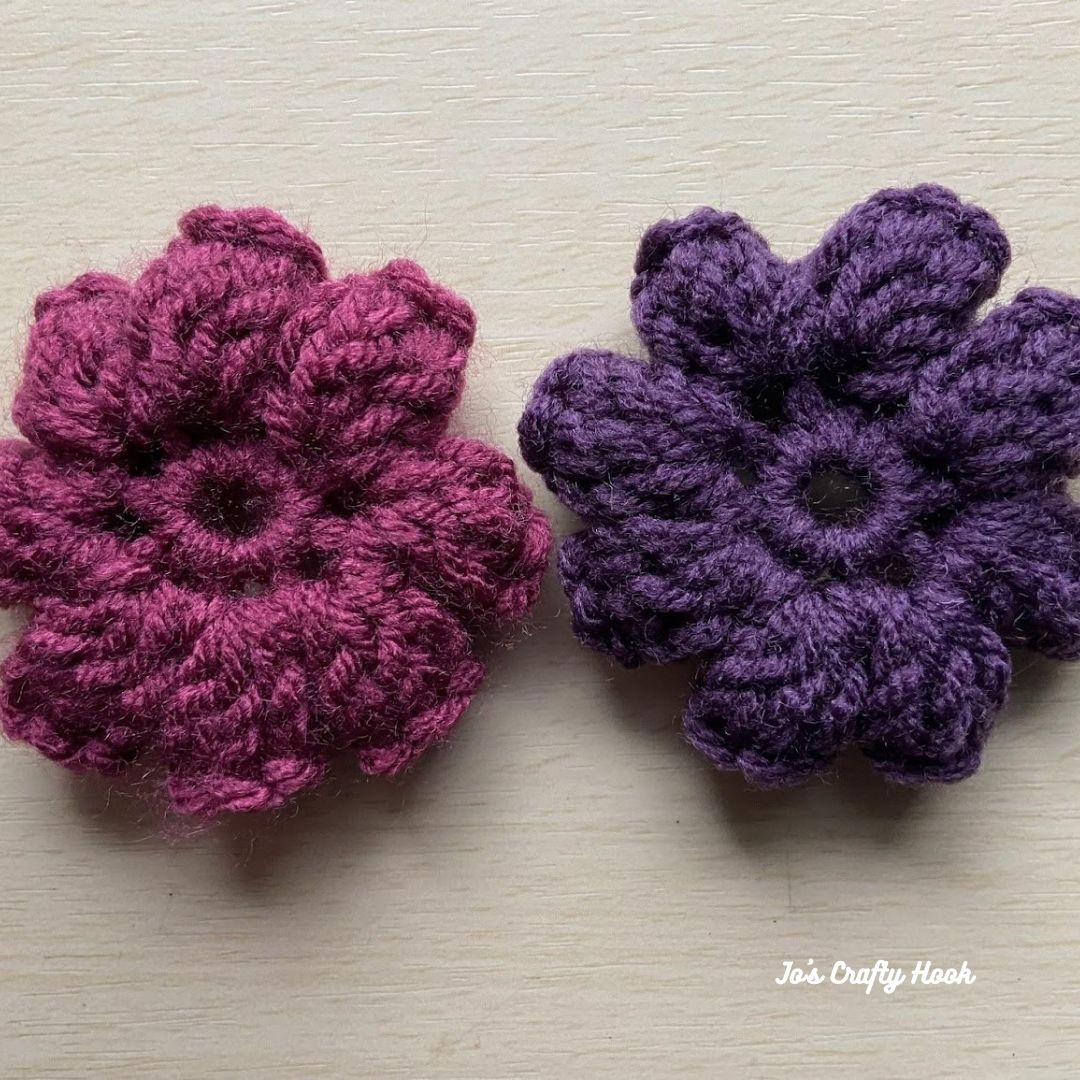
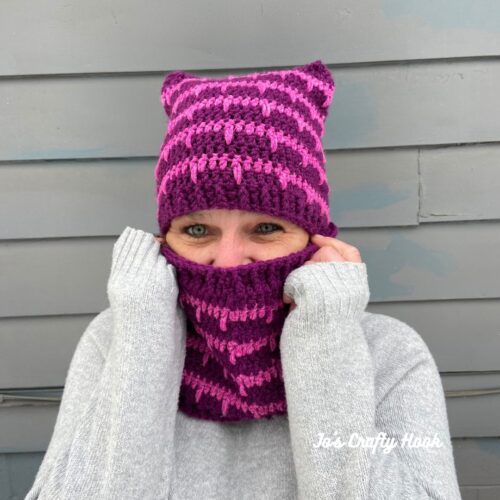
I designed the Ava Cowl Crochet Pattern for my sister’s birthday. I wanted to use 2 colors, because she loves purple. The crochet pattern mainly uses double crochet stitch, but I wanted to add an extra flair, so I added the long double crochet stitch. I used a contrasting color for the long double crochet rows for the extra flair.
In today’s post you will find a free crochet pattern for the Ava Cowl for size 12-24 months. You can purchase a premium copy of the Ava Cowl Crochet Pattern that contains instructions for all 7 sizes.
You can find a premium copy of Ava Cowl Crochet Pattern at my Ravelry Store or LoveCrafts.
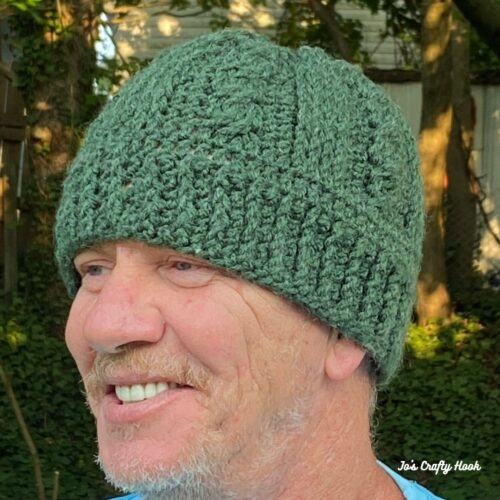
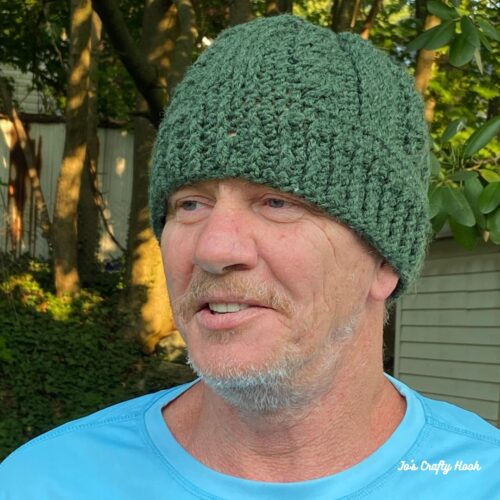
You can also find a copy of the premium crochet pattern of the matching Ava Beanie at my Ravlery Store and LoveCrafts as well.
SCRAP-TASTIC Discount Blog Hop
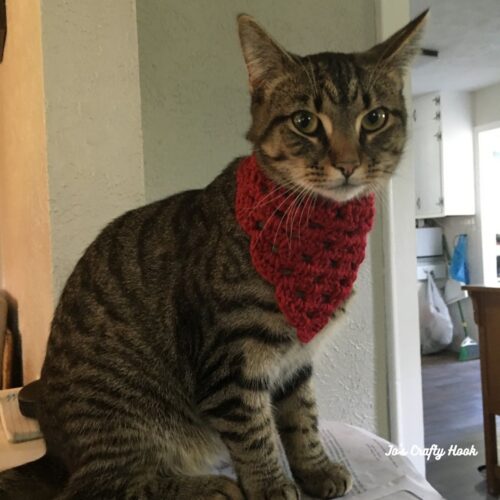
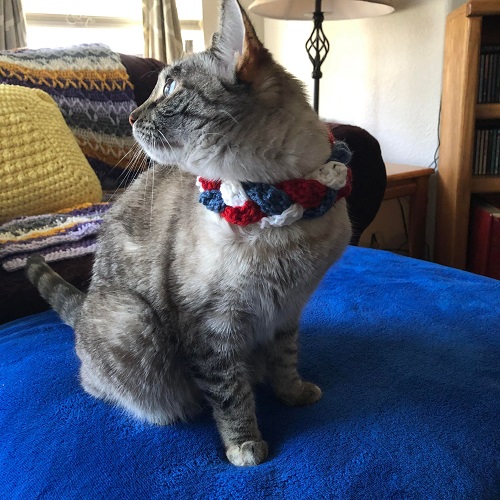
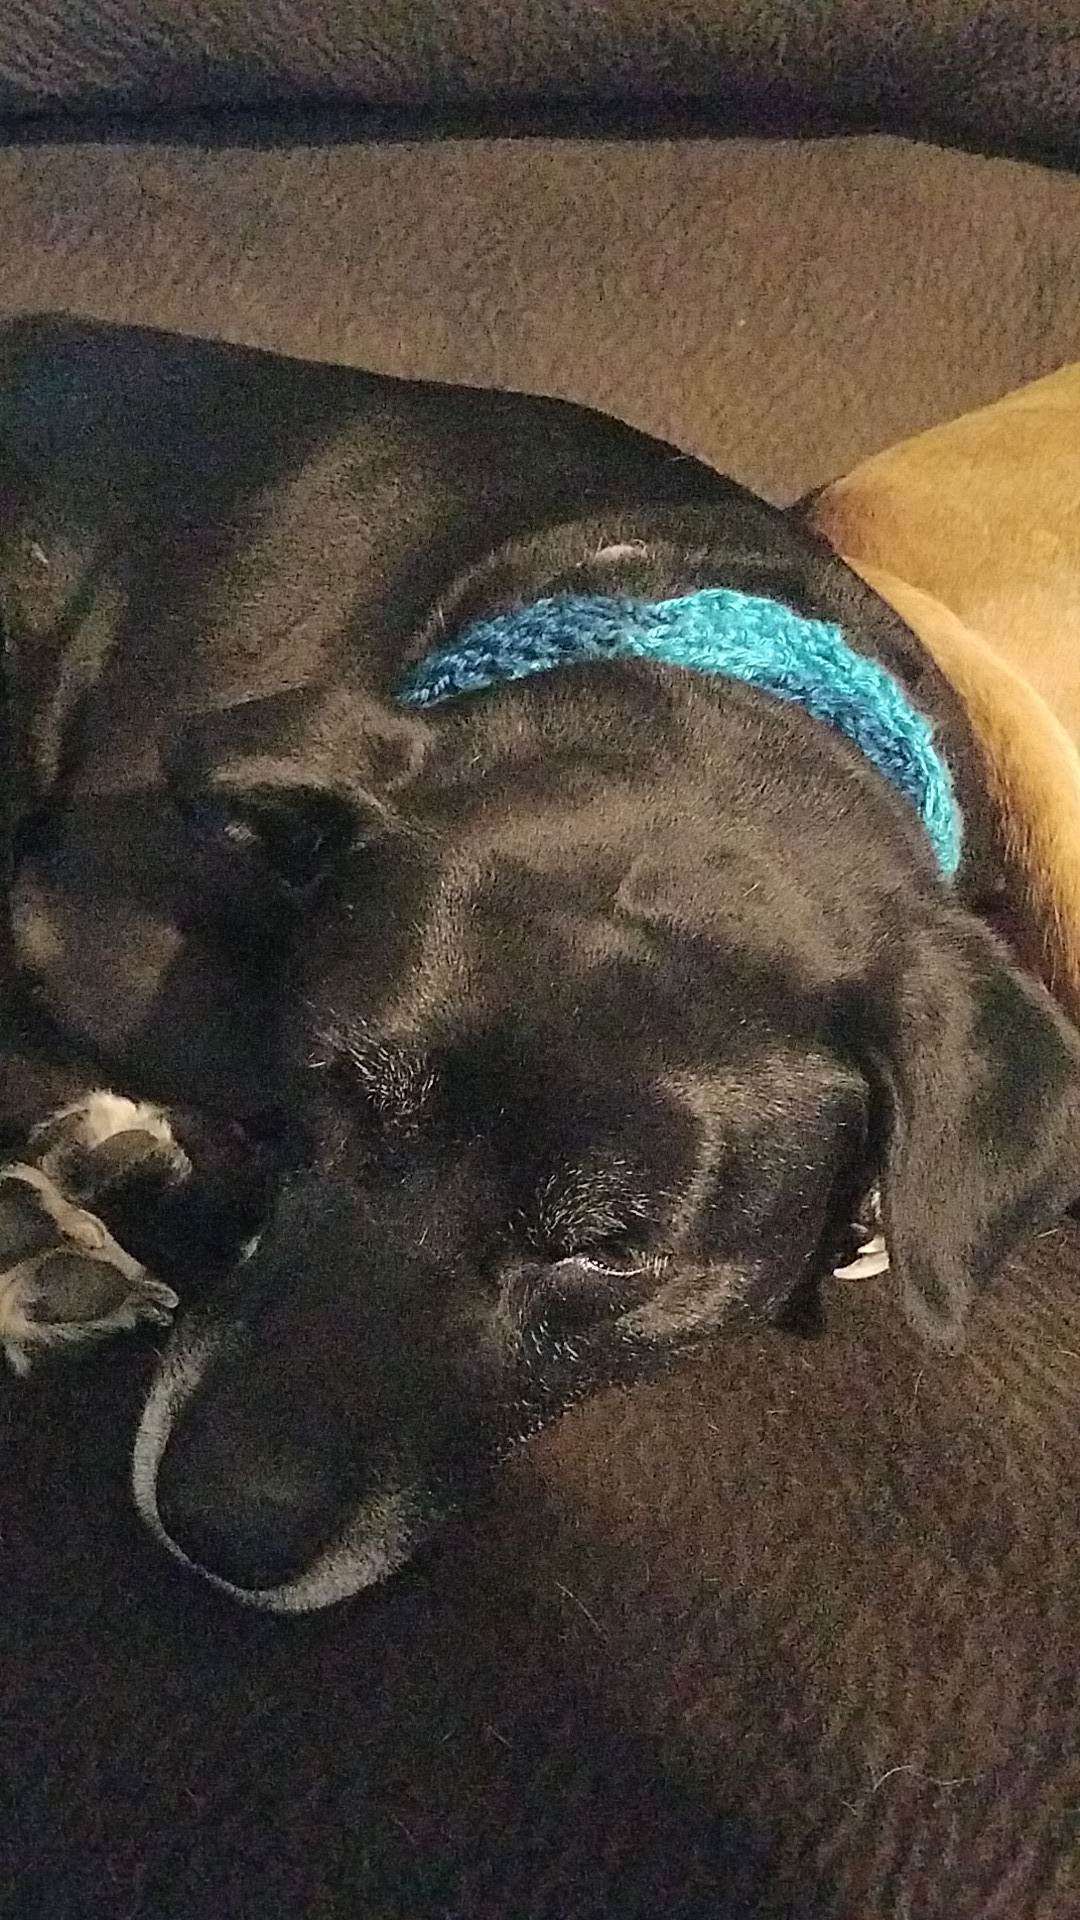
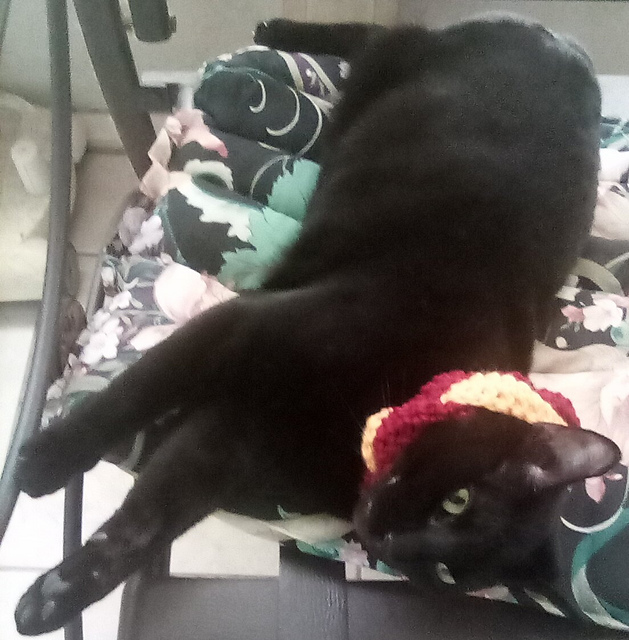
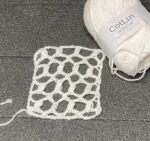
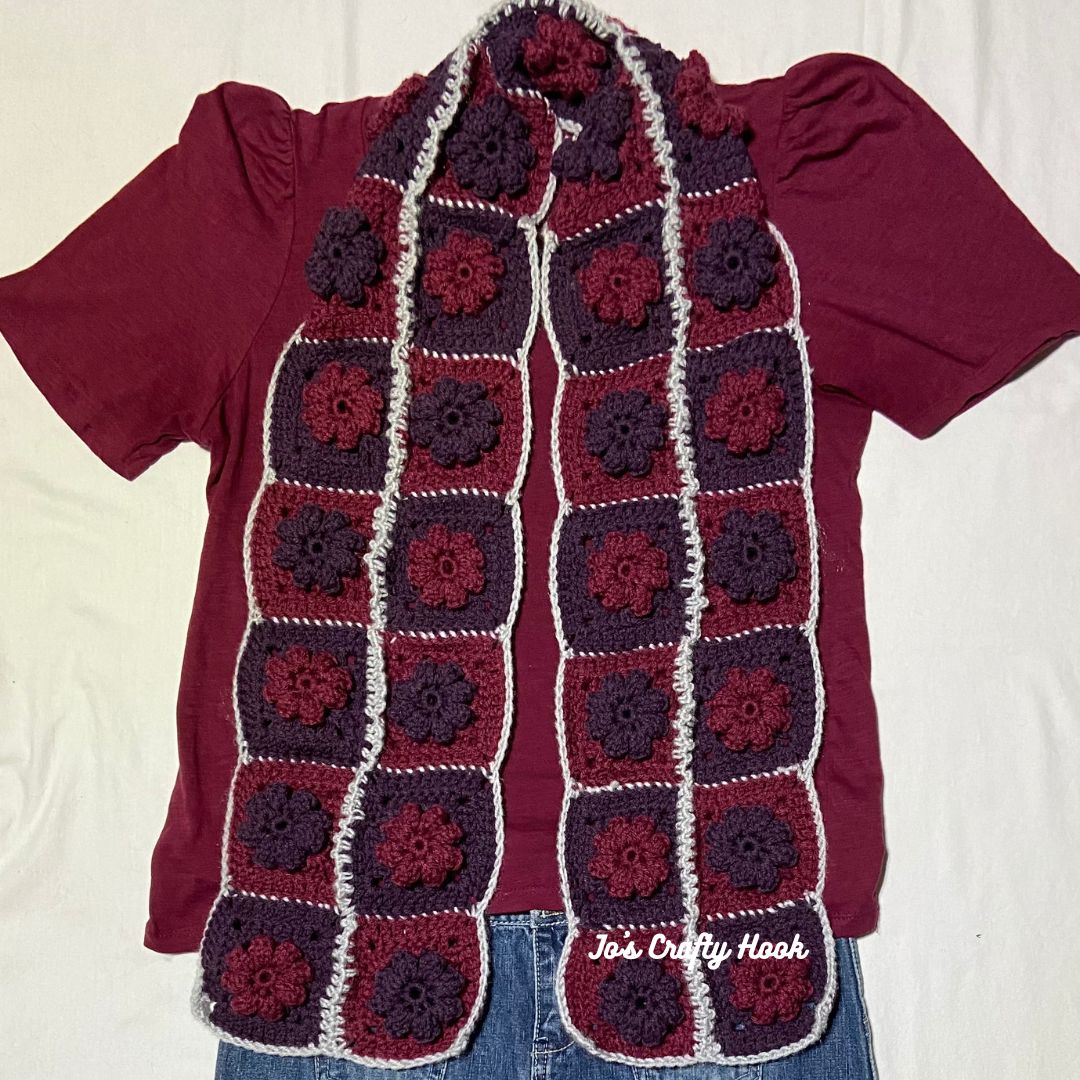
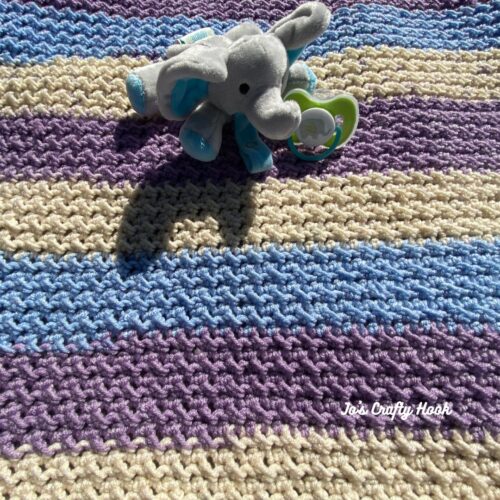
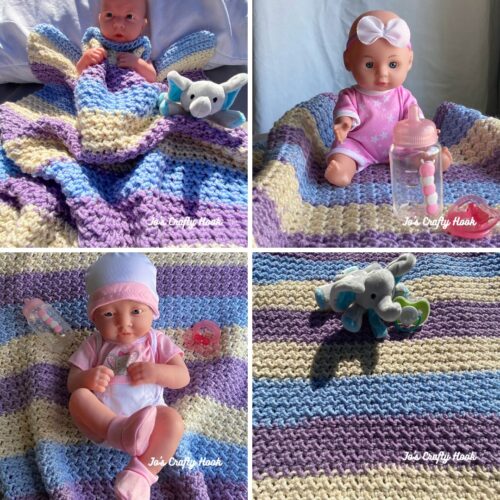
The Ava Cowl is a great Scrap Busting Crochet Pattern that is perfect for using up the scraps of yarn you have been putting to the side all year round. You can make this is 2 colors or more.
This Ava Cowl Crochet Pattern is being featured in the SCRAP-TASTIC Discount Blog Hop hosted by Regina P Designs. Each day during the month of October 2023 you can find a new scrap busting crochet pattern for $1.

On October 14, 2023 from 9a EST for 24 hours you can get a premium copy of my Ava Cowl Crochet Pattern. Inside the pattern you will find 7 sizes to choose from.

October 14, 2023 starting at 9a EST
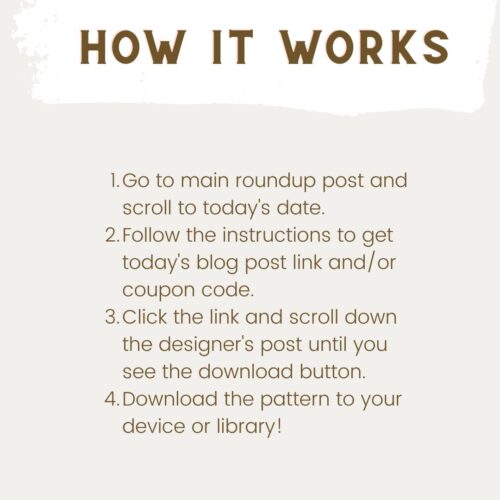
Visit the SCRAP-TASTIC Discount Blog Hop, by clicking on the BUTTON below, on my day, October 14, 2023 to get the Coupon Code needed to get my Ava Cowl Crochet Pattern for $1! You can also use the BUTTON below daily to find another great scrap busting crochet pattern for $1!

Once you have the Coupon Code needed for the discount, click on the BUTTON below and use the code on my Ava Cowl Crochet Pattern at check out at my Ravelry Store.

Information about the Ava Cowl Crochet Pattern
I used Red Heart with Love-Berry Red (370 yds / 7oz) (198g / 338m)
I used Red Heart Super Saver in Hot Pink. 100% Acrylic Yarn (370 yds / 7oz) (198g / 338m
Materials:
US H Hook or 5 mm Crochet Hook
MC (berry) 100-250 yds #4 Worsted Weight Yarn
CC (hot pink) 5-10 yds of #4 Worsted/Aran Weight Yarn
Scissors
Tapestry Needle
Abbreviations/Stitches Used:
ch = chain
sl st = slip stitch
rep = repeat
alt ch 2 = alternate chain 2
dc = double crochet
ldc = long double crochet
fdc = foundation double crochet
fpdc = front post double crochet
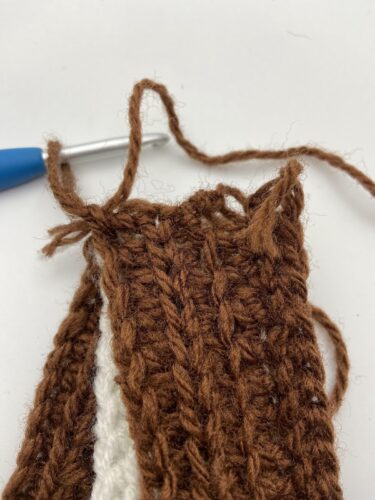
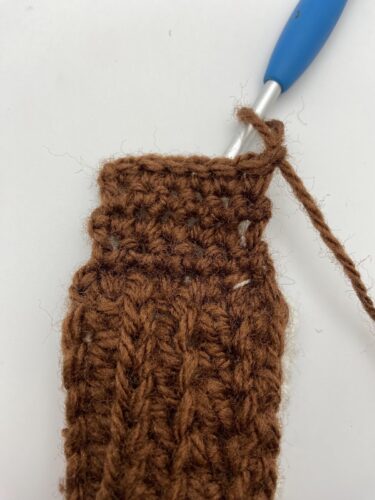
I have a great left handed video tutorial showing you how to do the Long Double Crochet that is used in the design on the cowl.
Notes:
1. ch 3 counts as a dc
2. alt ch 2 takes the place of a ch 3 and counts as a dc
3. ldc counts as a dc
4. Stitch count is a multiple of 4
5. Beanie is worked in the round
6. If your gauge is off, try going up or down a hook size
7. Pattern written for: NB-6month, 6-12 month, 12-24 month, 2-5 yrs, 5-10 yrs, Teen/Sm Adult, Lg Adult consecutively
Video Tutorials:
Long Double Crochet – Right Handed
Long Double Crochet – Left Handed
Gauge:
US H or 5 mm Crochet Hook
16 dc x 8 rows = 4”
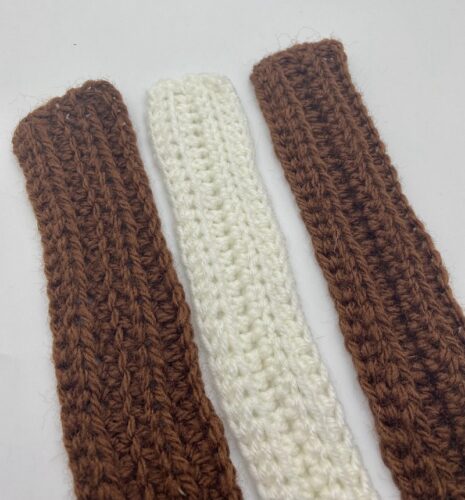
Gauge Swatch:
R1: ch 18, dc in 4th ch from hook, dc across. turn (16 dc)
R2: ch 3, dc across. turn (16 dc)

Ava Cowl Crochet Pattern – size 12-24 months
Using MC (berry)
R1: fdc 60. sl st in 1st st to join. 60 dc
Optional: ch 64 sl st in 1st ch to join, being sure not to twist the chain. ch 3, dc around. sl st in 1st st to join. 60 dc
Note: If you are using the alt ch 2, do NOT sl st to join.
R2: alt ch 2 or ch 3, fpdc in next st *dc in next st, fpdc in next st* rep from * around. sl st in 1st st to join. 60 dc
R3: alt ch 2 or ch 3, dc around. sl st in 1st st to join. 60 dc
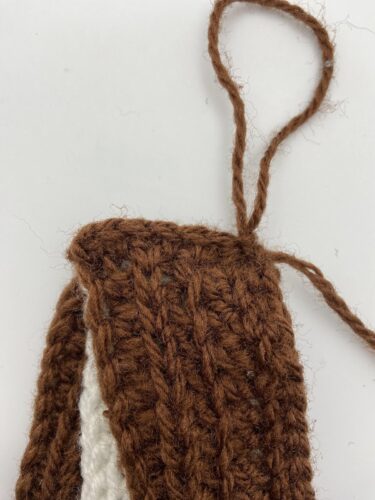
Fasten off and weave in ends.
Change to CC
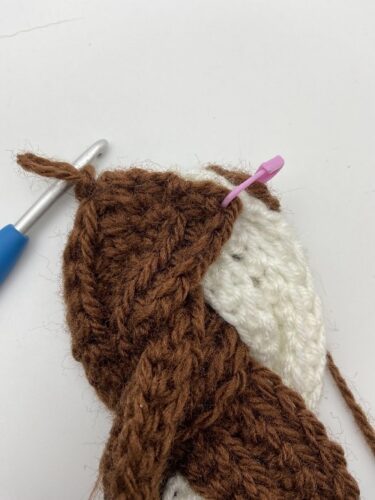
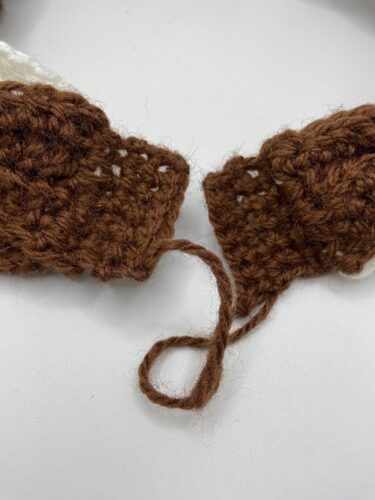
R4: attach yarn with a sl st in 1st st to join, ch 3, dc in next 2 st, ldc in next st, *dc in next 3 st, ldc in next st* rep from * around. sl st in 1st st to join. 60 dc
Fasten off and weave in ends.
Change to MC
R5-R6: attach yarn with a sl st in 1st st, ch 3, dc around. sl st in 1st st to join. 60 dc
R7-R9: Repeat R4-R6 being sure to change colors when stated.
If you would like a little more height to the cowl, repeat R7-R9
R10-R11: alt ch 2 or ch 3, fpdc in next st *dc in next st, fpdc in next st* rep from * around. sl st in 1st st to join. 60 dc
Fasten off and weave in ends.
@Jo’s Crafty Hook 2023
You can find a premium copy of Ava Cowl Crochet Pattern at my Ravelry Store or LoveCrafts.
You can also find a copy of the premium crochet pattern of the matching Ava Beanie at my Ravlery Store and LoveCrafts as well.
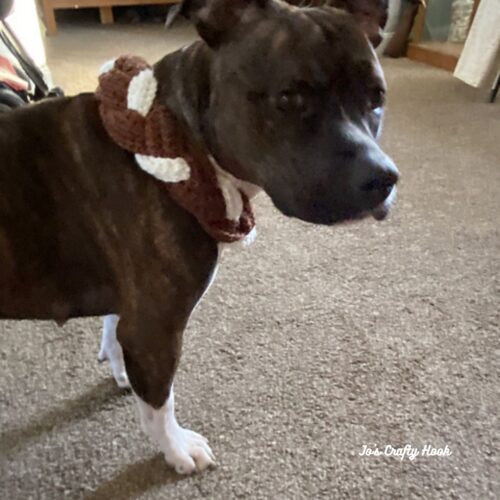
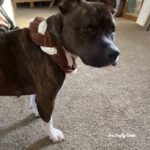
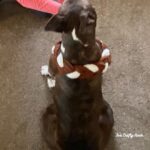
That’s it! You have completed your Ava Cowl! I would LOVE to see your version of the cowl! Please tag me at any of my Social Media Sites listed below using the hashtags below!
@joscraftyhook @joeyleabaird @jo_bear38 or at my FB Group Jo’s Crafty Hook Designs
If you would like to receive more information about the events happening at Jo’s Crafty Hook and receive a FREE crochet pattern, why not Subscribe to my Newsletter at my website.
You can find some of my free crochet patterns at my website.
You can also find more of my premium crochet patterns at my Ravelry Store and LoveCrafts or my Etsy Shop
Find me, Jo of Jo’s Crafty Hook at the places listed below.
Email: j.o@joscraftyhook.com
Facebook Group Jo’s Crafty Hookers
Facebook Group Jo’s Crafty Hook Designs
Facebook Page Jo’s Crafty Hook
Facebook Page: Crochet Designer Community
![]()