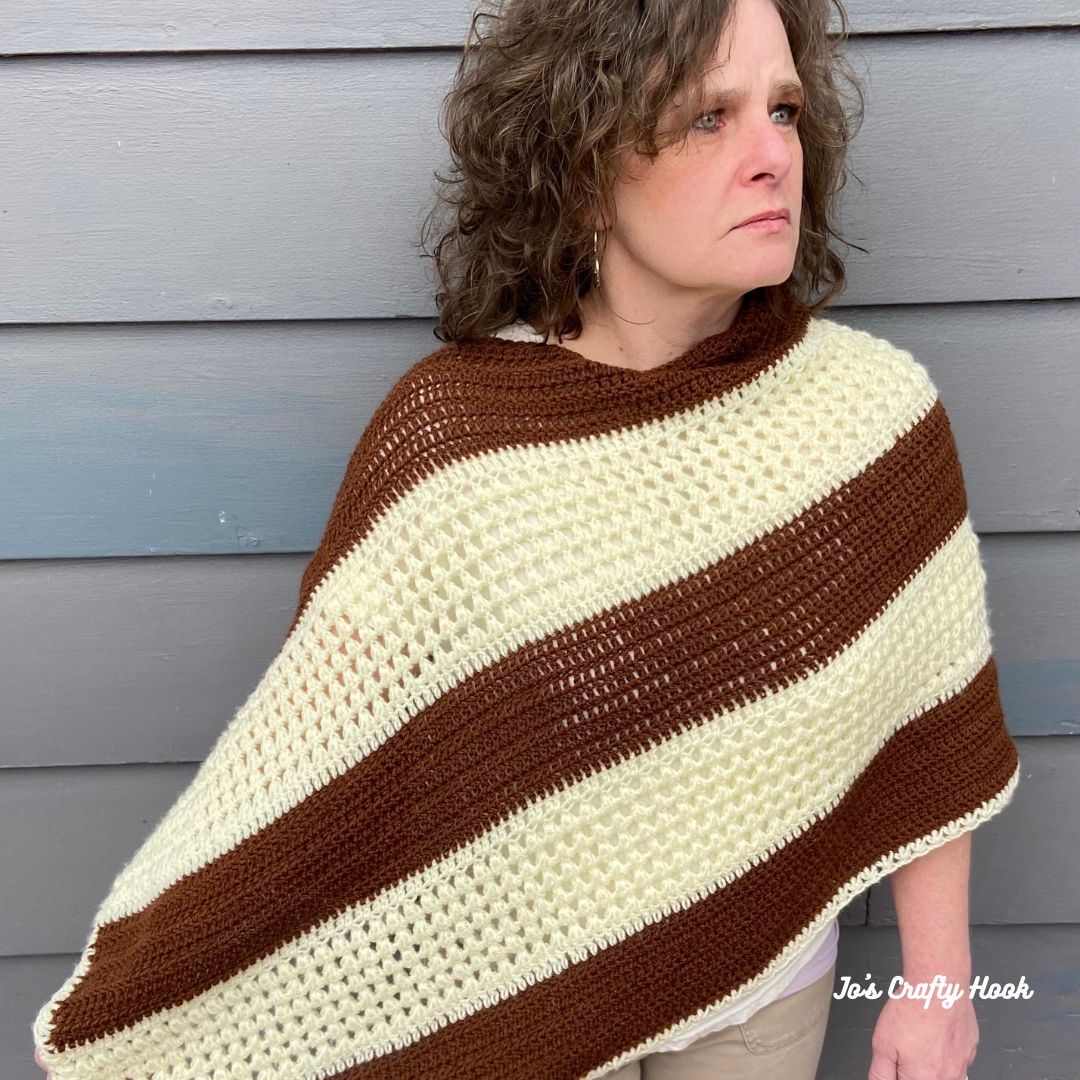
Welsh Poncho Free Crochet Pattern

Are you looking to add a little luxury to your wardrobe? Well, using the Welsh Poncho Free Crochet Pattern will help you achieve just that!
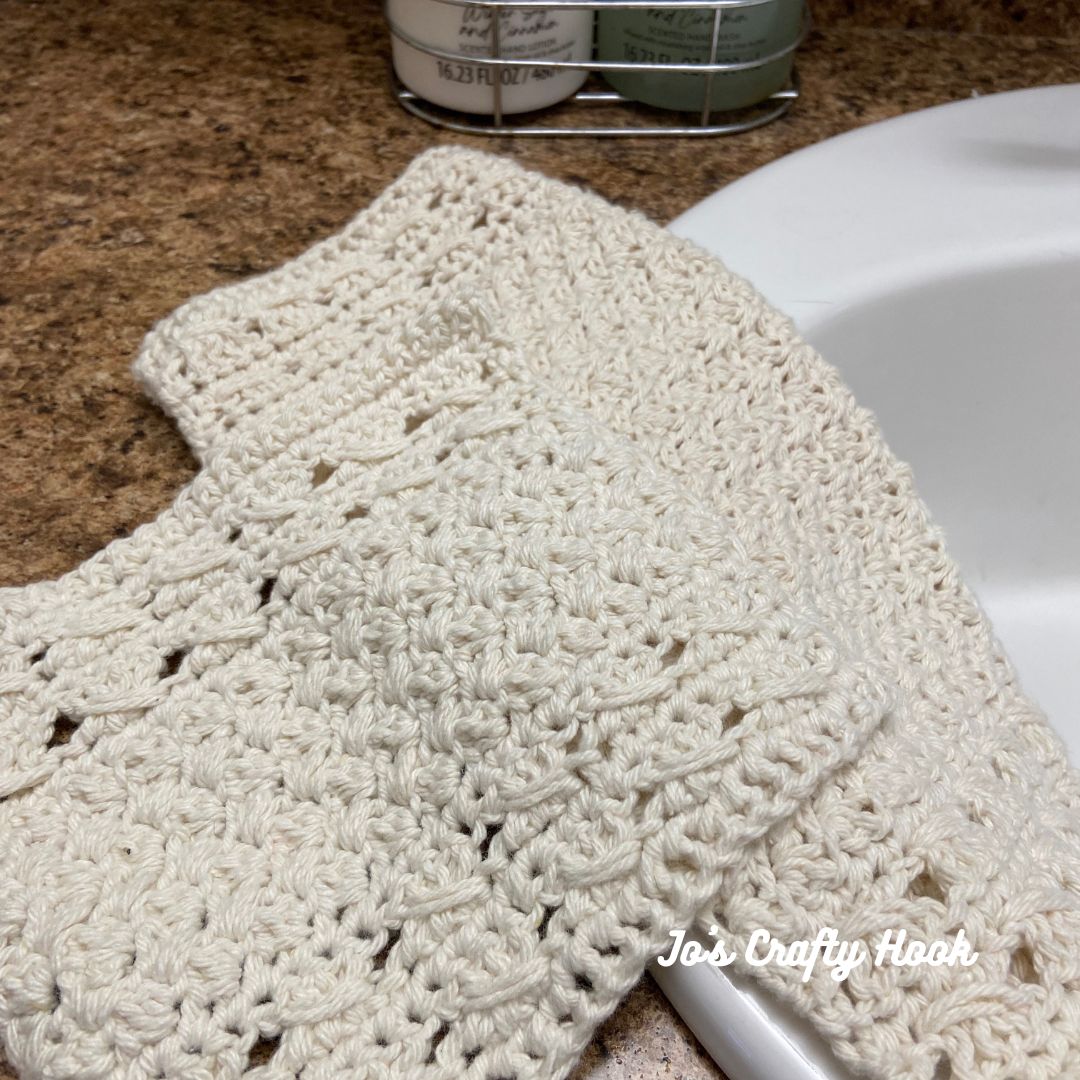
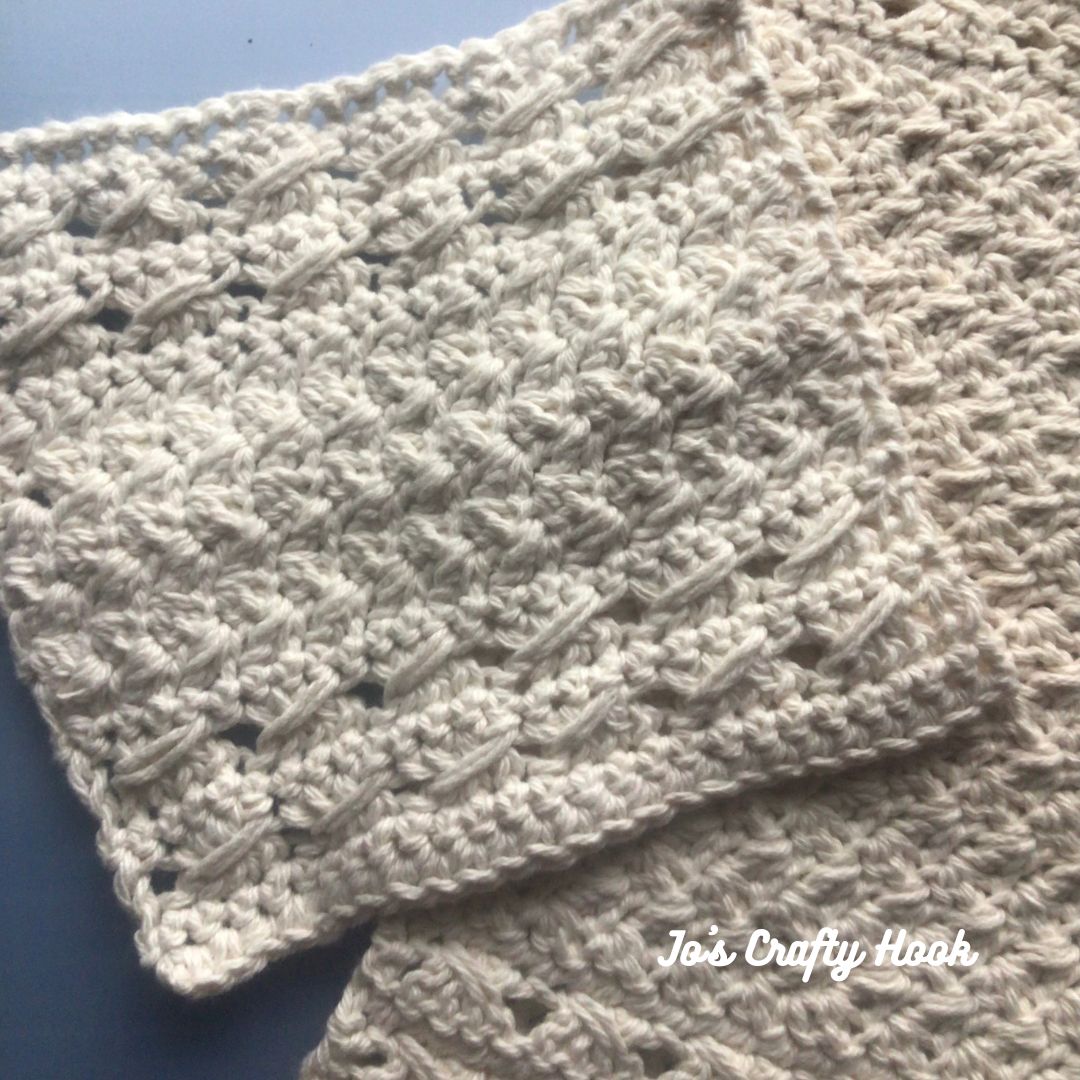
The Welsh Poncho Crochet Pattern uses a crochet stitch that I fell in love with last year, the Triad Stitch. The Triad Stitch is just like a Puff Stitch, only it is done over 3 stitches.
The Triad Stitch has one meaning that I fell in love with, this is where I came up with it’s name Welsh. Triad means a Welsh form of literary composition with an arrangement of subjects or statements in groups of three.
If you think about a crochet pattern it is made up of 3 things:
- using crochet stitches to create the design
- a composition of writing the crochet pattern
- taking pictures to showcase the design
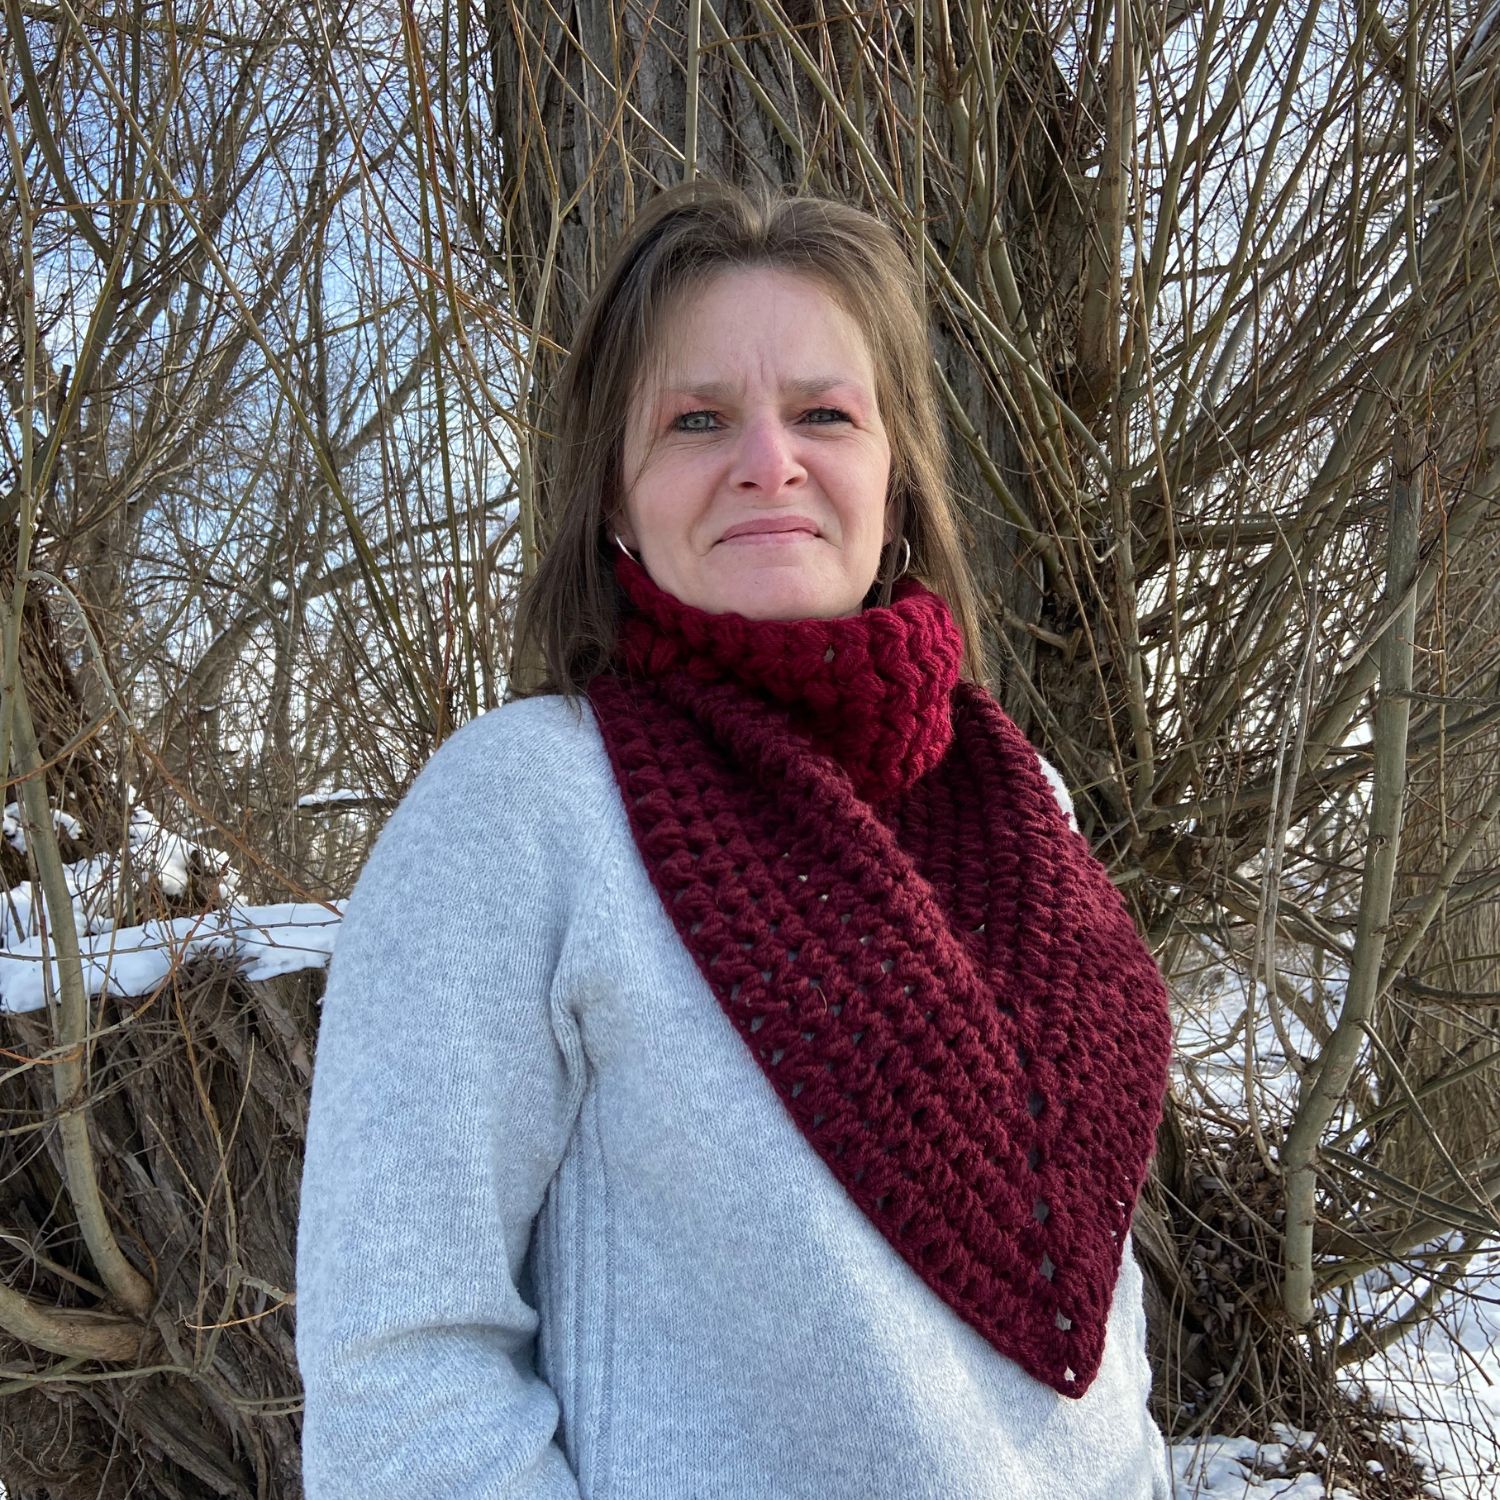
I first used the Triad Stitch in my Welsh Braided Cowl Crochet Pattern (see info below) In the designing of the Welsh Braided Cowl I using another meaning of Triad, the braiding of three things together, this is where the Braided part of the design came in. You can find out more about this below.
This kind of sounds like an English lesson, doesn’t it?! lol
Handmade Wardrobe April
Today, April 10, 2023 you can get a premium copy of my Welsh Poncho crochet pattern at a discounted price, $3.50, this is 50% off the retail price as part of the Handmade Wardrobe April Blog Hop hosted by Fosbas Designs.
Click on the Button below to the Coupon Code needed to get the discounted price of my Welsh Poncho Crochet Pattern from my Ravelry Store.

Come back here and use the Coupon Code to use at my Ravelry Store at Checkout to get the Welsh Poncho Crochet Pattern for $3.50 by clicking on the Button below.

Click on the Button below to use your Coupon Code to get the Welsh Poncho Crochet Pattern at Checkout.

Handmade Wardrobe April Bundle
You can skip all the Blog Hopping and get a savings on all 15 crochet patterns for $9.99! Click on the Button below for more information or to get the Handmade Wardrobe April Bundle for $9.99

If you missed my day as part of the Handmade Wardrobe April Blog Hop, you can purchase a premium copy of the Welsh Poncho Crochet Pattern for a small fee with all of the Picture and Video Tutorials inside. You will find it at my Ravelry Store or LoveCrafts.
Information about the Welsh Poncho Crochet Pattern
The Welsh Poncho Crochet Pattern has 4 different sizes to choose from to make for Small, Medium, Large and XLarge. Inside the Welsh Poncho Crochet Pattern you will find a size chart, step-by-step picture tutorials, and my Left Handed Triad Stitch Video Tutorial to help you every step of the way.
US Terminology
Skill Level:
Advanced Beginner/ Intermediate
I used KnitPIcks Sport Weight Yarn (340 yds/100 g)
I used We Love Yarn Mega Ball (14.1 oz/400 g) 1312 yds/1200 m)
Materials:
US I Crochet Hook or 5.5 mm
MC – Brown 550-680 yds of #3 ply Light/DK Weight Yarn
CC – Cream 700-1200 yds of #3 ply Light/DK Weight Yarn
Scissors
Tapestry Needle
Abbreviations/Stitches Used:
ch = chain
st(s) = stitch
dc = double crochet
sk = skip
rep = repeat
YO = Yarn Over
MC = Main Color
CC = Contrasting Color
Notes:
alt ch 2 counts as a dc.
ch 3 counts as a dc.
ch 4 counts as a dc + ch 1.
The chain-1 sp counts as a st in the Triad Stitch.
There are helpful Picture Tutorials below to help you with the Triad Stitch.
Video Tutorial:
You can find more of my Left Handed Video Tutorials at my YouTube Channel

You can purchase a premium copy of the Welsh Poncho Crochet Pattern for a small fee with all of the Picture and Video Tutorials inside. You will find it at my Ravelry Store or LoveCrafts.
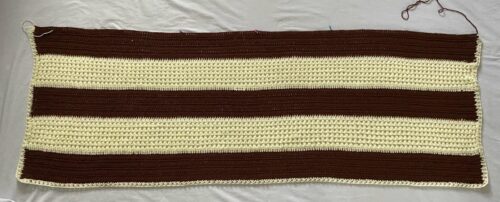
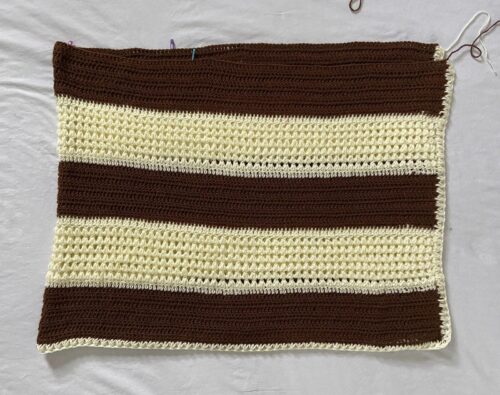
Welsh Poncho Crochet Pattern
Using MC
R1: fdc 192 turn (192 fdc)
Optional: ch 194 (210, 226, 242), dc in 4th ch from hook, dc across. (192 dc)
R2-R8: alt ch 2 or ch 3, dc across. turn (192 dc)
Fasten off and weave in ends.
Change to CC
R9: alt ch 2 or ch 3, dc across. turn (192, 208, 224, 240) dc
R10: Beginning Triad Stitch. (see Special Stitches above). rep from * across until last st. dc in last st. turn (95, 103, 111, 119) Triad Stitch & 2 dc
R11-R15: Triad Stitch. (see Special Stitches above). rep from * across until last st. dc in last st. turn (95 Triad Stitch & 2 dc)
R16: alt ch 2 or ch 3, dc in each st across. turn (192 dc)
Fasten off and weave in ends.
Change to MC
R17-R24: alt ch 2 or ch 3, dc in each st across. turn (192 dc)
Fasten off and weave in ends.
Change to CC
R25: alt ch 2 or ch 3, dc across. turn (192 dc)
R26: Beginning Triad Stitch. (see Special Stitches above). rep from * across until last st. dc in last st. turn (95 Triad Stitch & 2 dc)
R27-R31: Triad Stitch. (see Special Stitches above). rep from * across until last st. dc in last st. turn (95 Triad Stitch & 2 dc)
R32: alt ch 2 or ch 3, dc in each st across. turn (192 dc)
Fasten off and weave in ends.
Change to MC
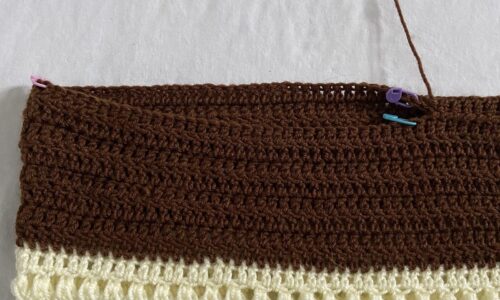
R33-40: alt ch 2 or ch 3, dc in each st across. turn (192 dc)
Leave a long tail of yarn for sewing Neck Opening closed.
Creating Neck Opening
Step 1:
Lay your long piece with the WS facing up
Step 2:
Fold from the longest side in half with the WS facing the WS.
Step 3:
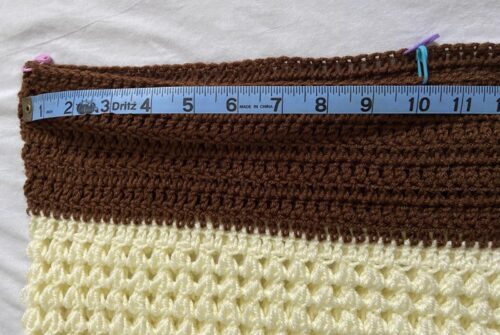
Measure 10” 11” 12” 13” or your desired neck opening from the opposite corner from where your long tail of yarn is at.
Step 4:
Count the number of stitches from the corner of each side of the poncho and place SM in each side.
Step 5:
Sew evenly across the top of both poncho pieces, using the Whip Stitch, until you come to your SM.
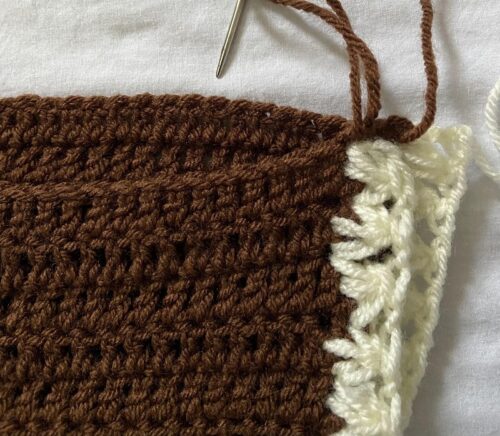
Fasten off and weave in ends.
@Jo’s Crafty Hook 2023
That’s it! You have finished crocheting your Welsh Poncho!
I would LOVE to see your version of the Welsh Poncho!! You can tag me at any of the Social Media sites listed above using the hashtags:
@joscraftyhook @jo_bear38 @joeyleabaird #welshponcho #welshponchocrochetpattern #welshponchopattern #joscraftyhook #joscraftyhookdesigns #jo_bear38
If you would like to receive more information about the events happening at Jo’s Crafty Hook and receive a FREE crochet pattern, why not Subscribe to my Newsletter at my website.
You can find some of my free crochet patterns at my website.
You can also find more of my premium crochet patterns at my Ravelry Store and LoveCrafts.
Welsh Braided Cowl Crochet Pattern

My Welsh Braided Cowl Crochet Pattern designed for a special purpose. Ashley of Through the Loop Yarn Craft showcased me and this design in here Designer Spotlight in part with WeCrochet.
My Welsh Braided Cowl was excepted by WeCrochet and it became my very first published crochet pattern as part of their Independant Designer Partnership! to sell on their platform. This was a HUGE step forward for me as a crochet designer! Needless to say I was and still am Over the Moon about this crochet pattern! You can find my Welsh Braided Cowl Crochet Pattern here.
Find me, Jo of Jo’s Crafty Hook at the places listed below.
Email: j.o@joscraftyhook.com
Facebook Group Jo’s Crafty Hookers
Facebook Group Jo’s Crafty Hook Designs
Facebook Page Jo’s Crafty Hook
Facebook Page: Crochet Designer Community