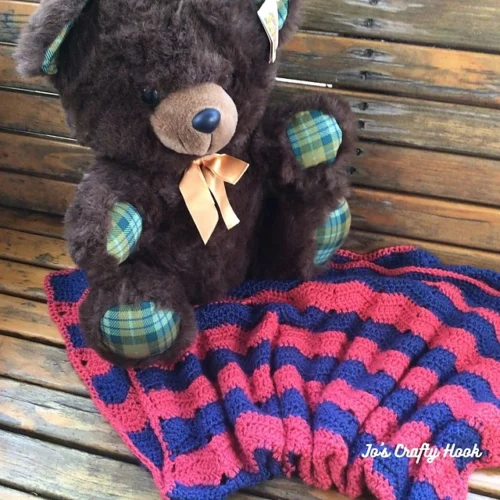
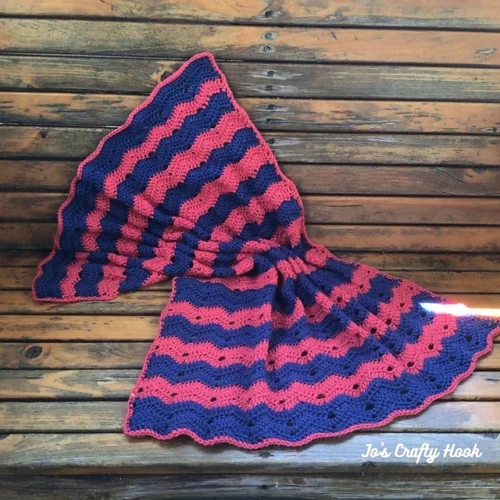
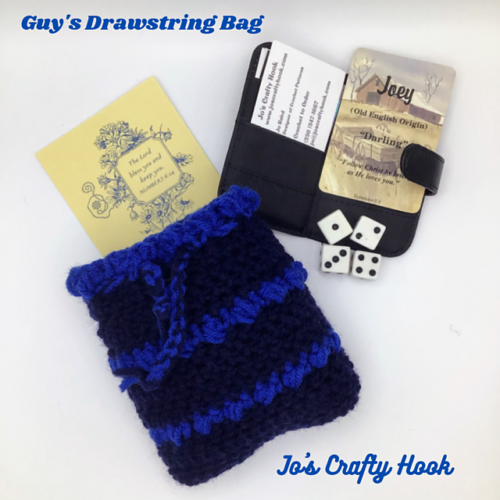
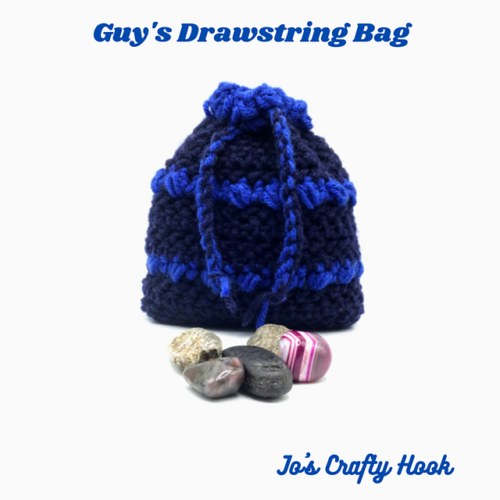
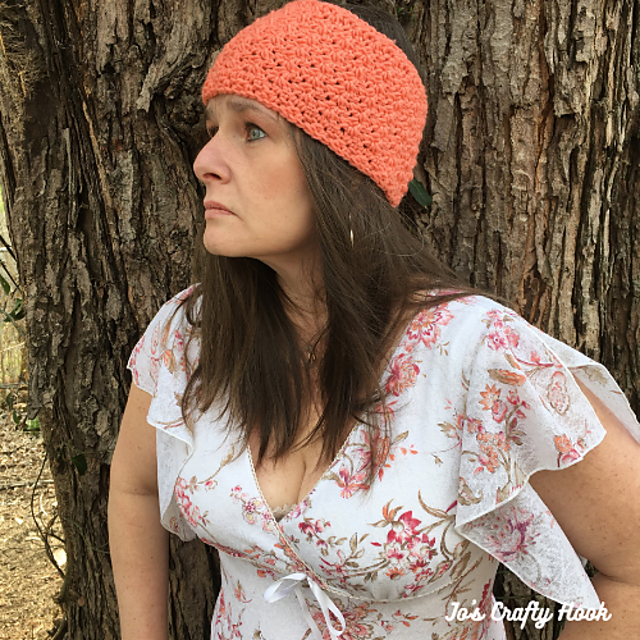
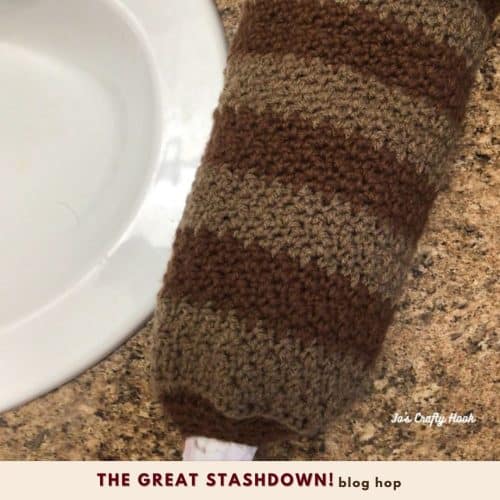
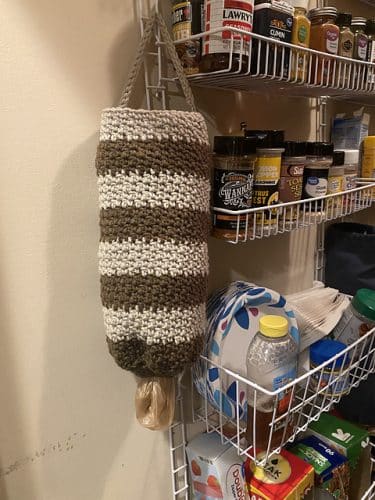
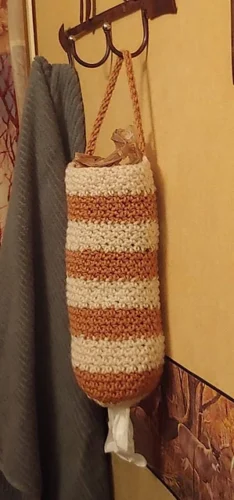
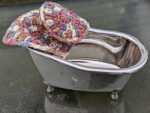
The Drawstring Gift Bag crochet pattern would be the perfect gift to make during the Holidays. But it doesn’t have to be made only for the holidays, it can be made any time of year when you want to give a gift. The drawstring gift bag can also be something the recipient can use time and time again.
************************************************
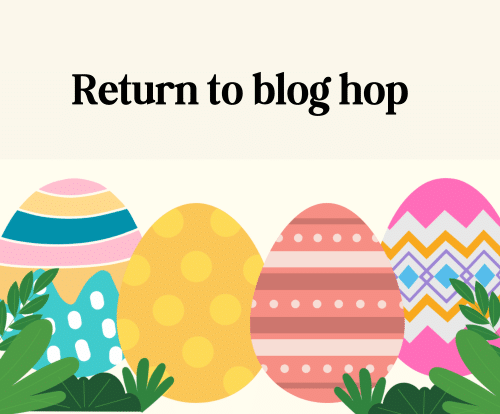
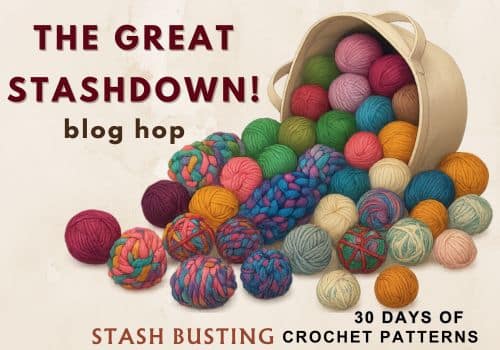
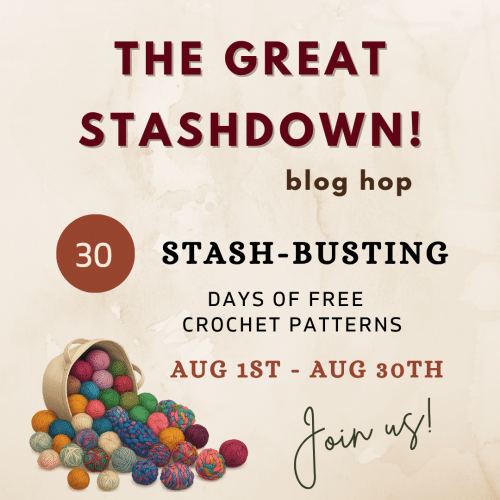
My Drawstring Gift Bag will be a FREE pdf on July 15, 2022 as part of the Christmas in July Blog Hop hosted by Regina P Designs.
During the Christmas in July Blog Hop, each day you can get a FREE pdf Christmas Crochet Pattern from different designers. To find out how the Christmas in July Blog Hop works, click on the button below to visit the blog hop.

************************************************
On July 15, 2022 you can get a FREE pdf copy of my Drawstring Gift Bag. Click on the Button below to visit the Main Blog Hop page, then grab the Coupon Code needed for a free pdf.

Once you have the Coupon Code click on the Button below to add the pattern to your Cart from my Ravelry Store. Check out and get the FREE pdf.

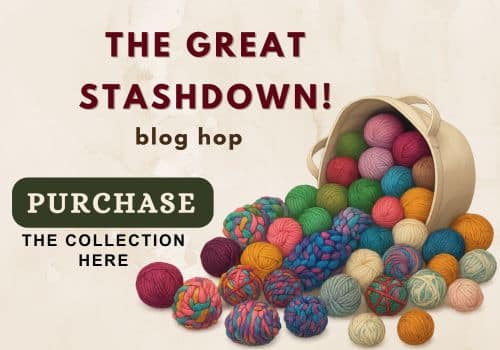
If you do not want to do all the hopping during the Christmas in July Blog Hop, you can purchase the Christmas in July Bundle for $9.99. You will get all 31 crochet patterns plus 4 additional crochet patterns inside the Bundle. Use my affiliate link and grab you a copy of the Bundle!

************************************************
If you would like to purchase any of my Premium crochet patterns , click on any of the Buttons below to find then at my Stores.


************************************************

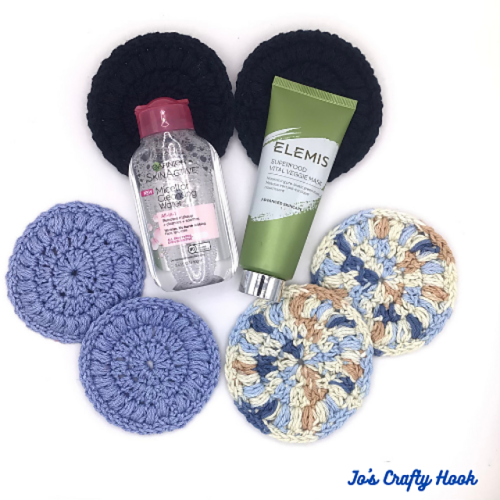
I used Joann Big Twist (6 oz/380 yd)
Materials:
40 yds MC 4 ply Worsted Weight/Aran Weight Yarn
20 yds CC 4 ply Worsted Weight/Aran Weight Yarn
US H Crochet Hook or 5 mm
Scissors
Tapestry Needle
Stitch Markers
4 Beads (Optional)
Stitch/Abbreviations:
st = stitch
ch = chain
sl st = slip stitch
sc = single crochet
hdc = half double crochet
dc = double crochet
ps = puff stitch
MC = Main Color
CC = Contrasting Color
SM = Stitch Marker (optional)
Notes:
The bag is worked in the round from the bottom up.
Chain 1 of the ps counts as a stitch.
Chain 2 counts as a half double crochet.
Chain 3 counts as a double crochet.
You may want to use a stitch marker at the start of each new row.
If you do not like to fasten off when changing colors, you can carry the colors on the inside of the bag.
Special Stitches:
Puff Stitch – Yarn over, Insert hook into the next stitch, *Yarn over and pull up a loop, insert the hook into the same st* rep from *to* for a total of 3 times. You will have 7 loops on hook. Yarn over and pull through all 7 loops on your hook.
Video Tutorials:
Puff Stitch Right Handed
Gauge:
US H Crochet Hook or 5 mm
14 dc x 8 rows = 4”
************************************************

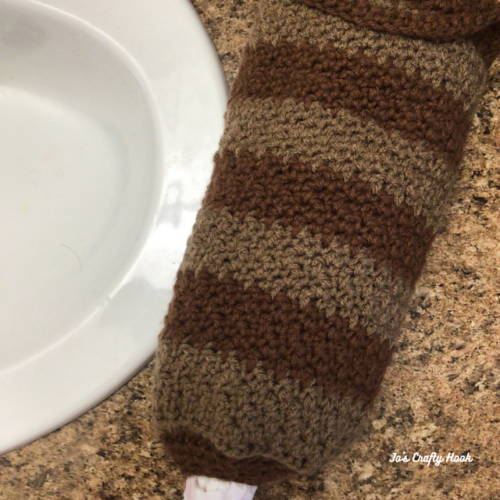
Drawstring Gift Bag Crochet Pattern:
Starting with MC
You will be working on both sides of the starting chain.
R1: ch 11, 2 sc in the 2nd ch from hook, 2 sc in next st, sc in next 6 st, 2 sc in the next 2 st. 2 sc in the bottom of the starting ch. 2 sc in the next st, sc in the next 6 st, 2 sc in the last 2 st. sl st in 1st st to join. (28 sc)
R2-R4: ch 2, hdc in each remaining st around. sl st in top of ch 2 to join. (28 hdc)
Fasten off and weave in ends or carry your color up the inside of the bag.
Change to CC
R5: ch 3, *ps in the next st, ch 1, sk 1. rep from * until last st, ps in the last st. sl st in top of ch-3 to join. (28 st)
Fasten off and weave in ends or carry your color up the inside of the bag.
Change to MC
R6-R8: ch 3, dc in ps and ch space around. sl st in top of ch-3 to join. (28 dc)
Fasten off and weave in ends or carry your color up the inside of the bag.
Change to CC
R9: ch 3, *ps in the next st, ch 1, sk 1. rep from * until last st, ps in the last st. sl st in top of ch-3 to join. (28 st)
Fasten off and weave in ends or carry your color up the inside of the bag.
Change to MC
R10-R12: ch 3, dc in ps st and ch space around. sl st in top of ch-3 to join. (28 dc)
Fasten off and weave in ends or carry your color up the inside of the bag.
Change to CC
R13: ch 1, sc in same st and each remaining st around. sl st in 1st st to join. (28 sc)
R14: ch 3, ps in each remaining st around. sl st in top of ch-3 to join. (28 st)
Fasten off and weave in ends.
************************************************
Drawstring
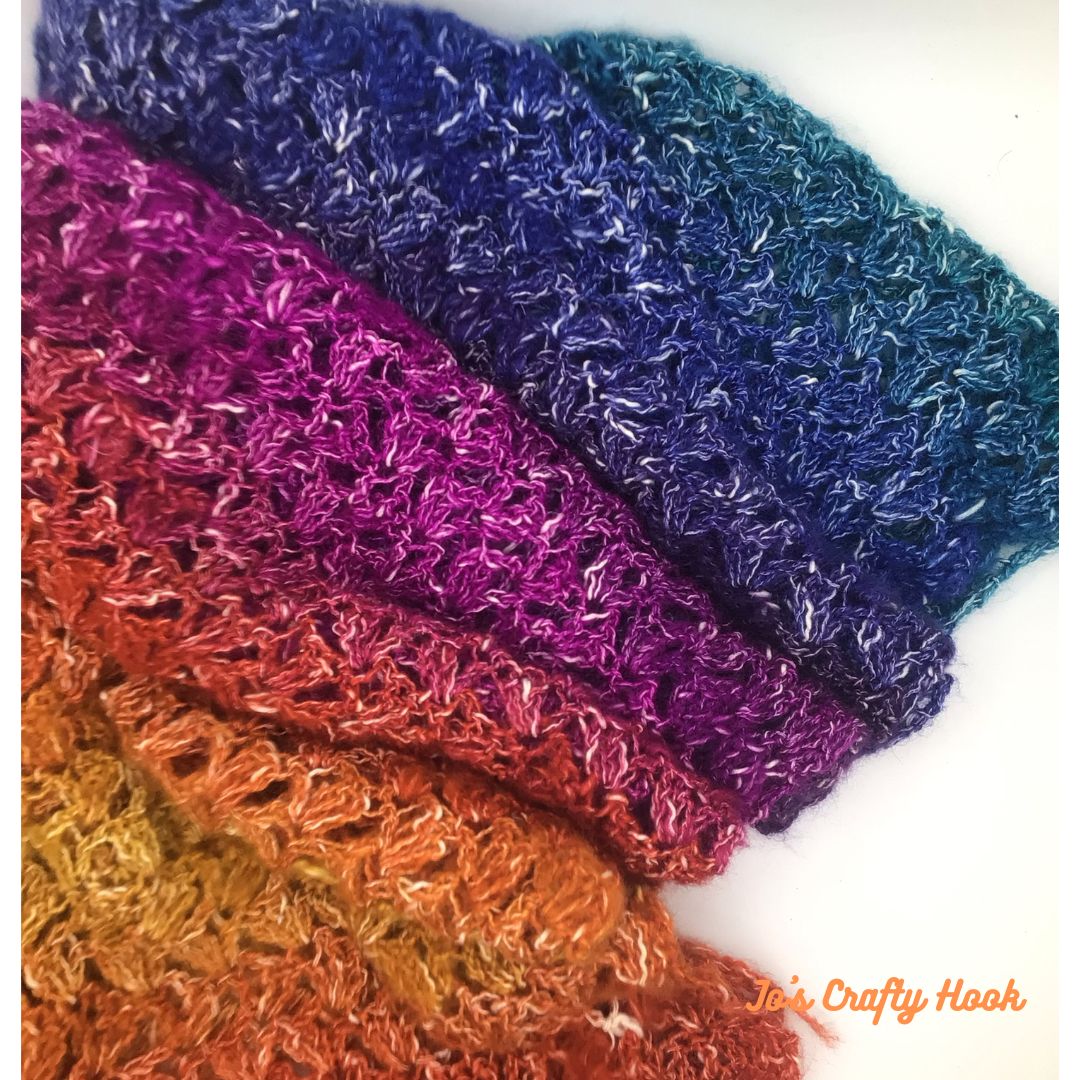
Can be made with the color of your choice.

Step 1:
Leave a 2”-3” tail of yarn for beads, ch of 80.
Step 2:
Leave a 2”-3” tail of yarn for beads.
Fasten off and weave in ends.
Repeat Steps 1 & 2 for second drawstring.
Drawstring Assembly:
Lay your bag flat, staring at an edge of R13, weave one drawstring through every other st to the end of one side.
Flip the bag over, starting of the opposite side of R13, weave the second ch through every other st to the end of one side.

Embellishment
Add 1 bead to the end of each chain.
Tie off, placing knots, at the end of the beads.
Trim your long tails to the same size.
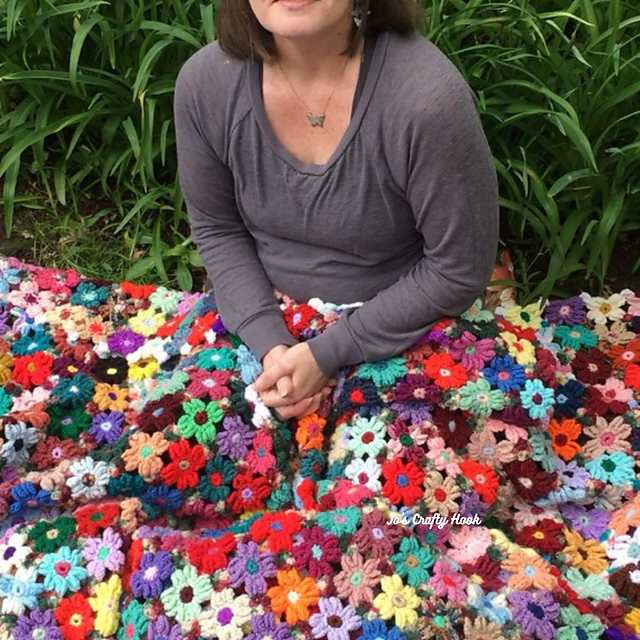
I want to thank my wonderful testers for their awesome versions of the Drawstring Gift Bag! Thank you Kami Jones, Dana Leigh, Stay Secoy and Kristen Temple Taylor.
************************************************
If you would like to purchase any of my Premium crochet patterns , click on any of the Buttons below to find then at my Stores.
************************************************
Find me, Jo of Jo’s Crafty Hook at the places listed below.
Email: j.o@joscraftyhook.com
Facebook Group Jo’s Crafty Hookers
Facebook Group Jo’s Crafty Hook Designs
Facebook Page Jo’s Crafty Hook
Facebook Page Jo’s Crafty Hook Designs
Facebook Page: Crochet Designer Community