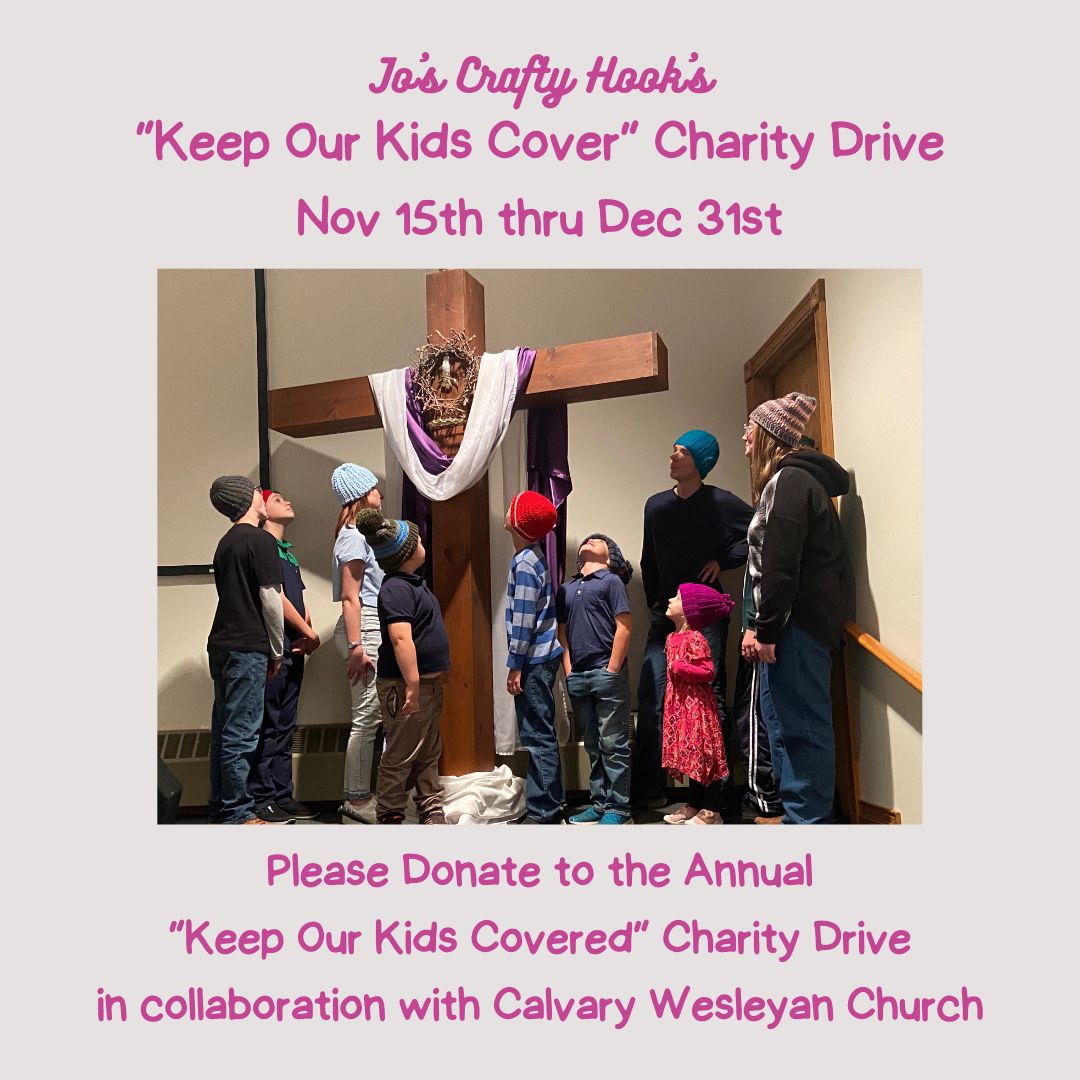
2024 Keep Our Kids Covered Charity Drive
The 2024 Keep Our Kids Covered Charity Drive is a way that my business can give back to help kids in need my community.
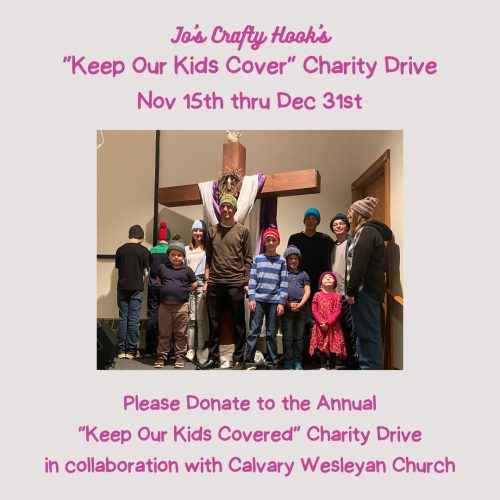
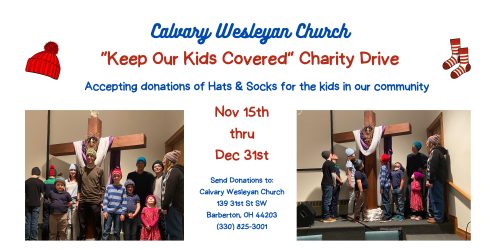
Last year I created the “Keep Our Kids Covered” Charity Drive to help school kids who needed winter accessories in my community. I co-sponsored this event because my church, Calvary Wesleyan Church, was asked to donate hats to kids who needed winter wear for the colder months.
The “Keep Our Kids Covered” Charity Drive has another purpose.
The 2nd purpose of this charity drive is to Keep Our Kids Covered in prayer because we don’t always know what their home life is like. These kids and all of our kids need prayer to help them get through the difficult times they will face in their lives.
Some exciting news!
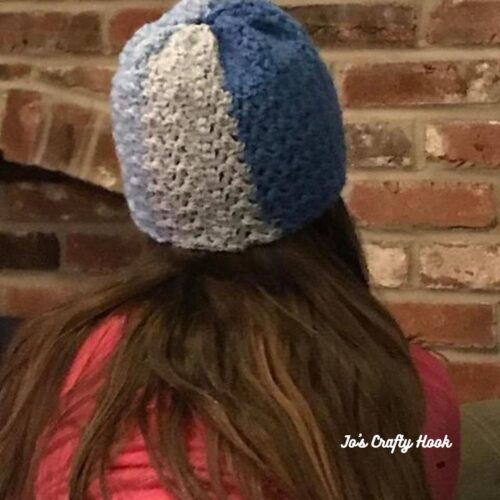
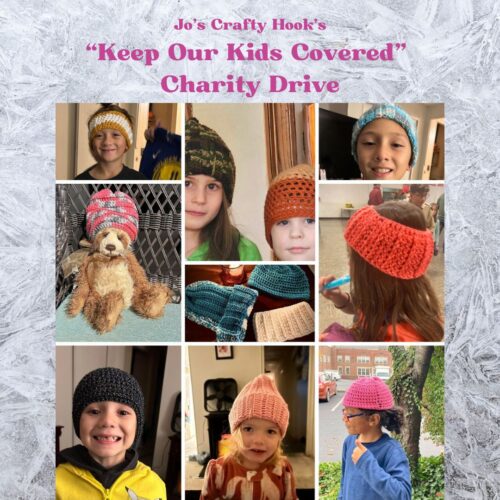
Last year we were so Blessed by our community! We were able to donate 98 beanies, 44 scarves, and 38 pairs of fingerless gloves to the Barberton Intermediate School in Barberton Ohio. I am still so thankful for all of the help we receive not only from our church, but from Jo’s Crafty Hook’s Community as well!
I also Praise God that our church already have over 150 hats to donate to the Barberton Primary School after Thanksgiving. We are so excited about because we make a 2nd donation to them in January by crocheting more hats!
What you can do?
- You can help the kids in need in my community by making a donation to the “Keep Our Kids Covered” Charity Drive from now until December 31st.
- Your donation will not only go to help the kids in need, but it will also give us the opportunity to purchase more yarn and to make more hats to donate. There are very caring ladies who would love to crochet more hats to donate them.
- Spread the word about the “Keep Our Kids Covered” Charity Drive.
- Create a Charity Drive of your own. Ask others in your community to crochet hats and donate them to your local schools, homeless shelters, or places where kids in your community need them the most.
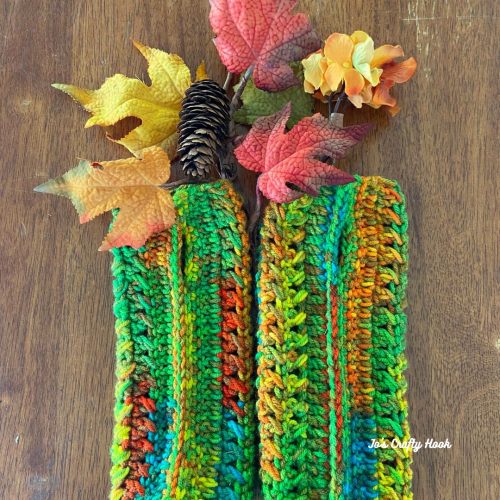
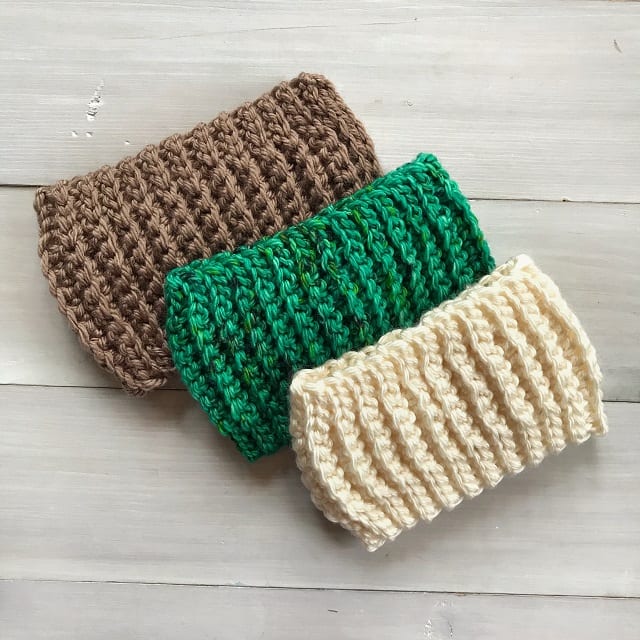
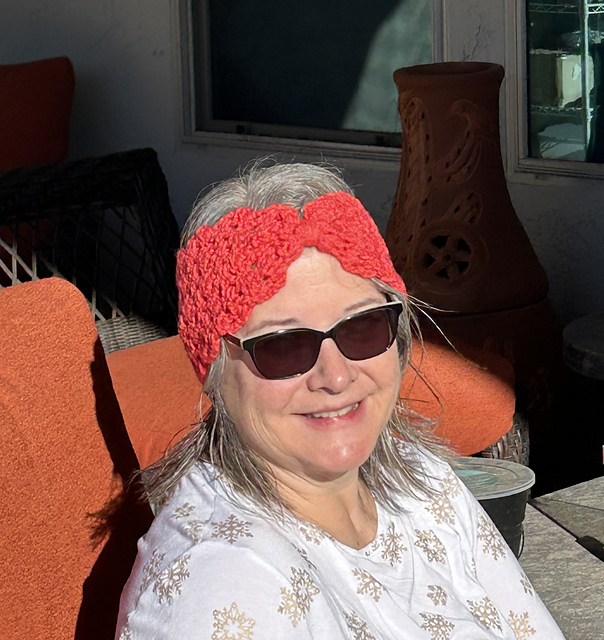
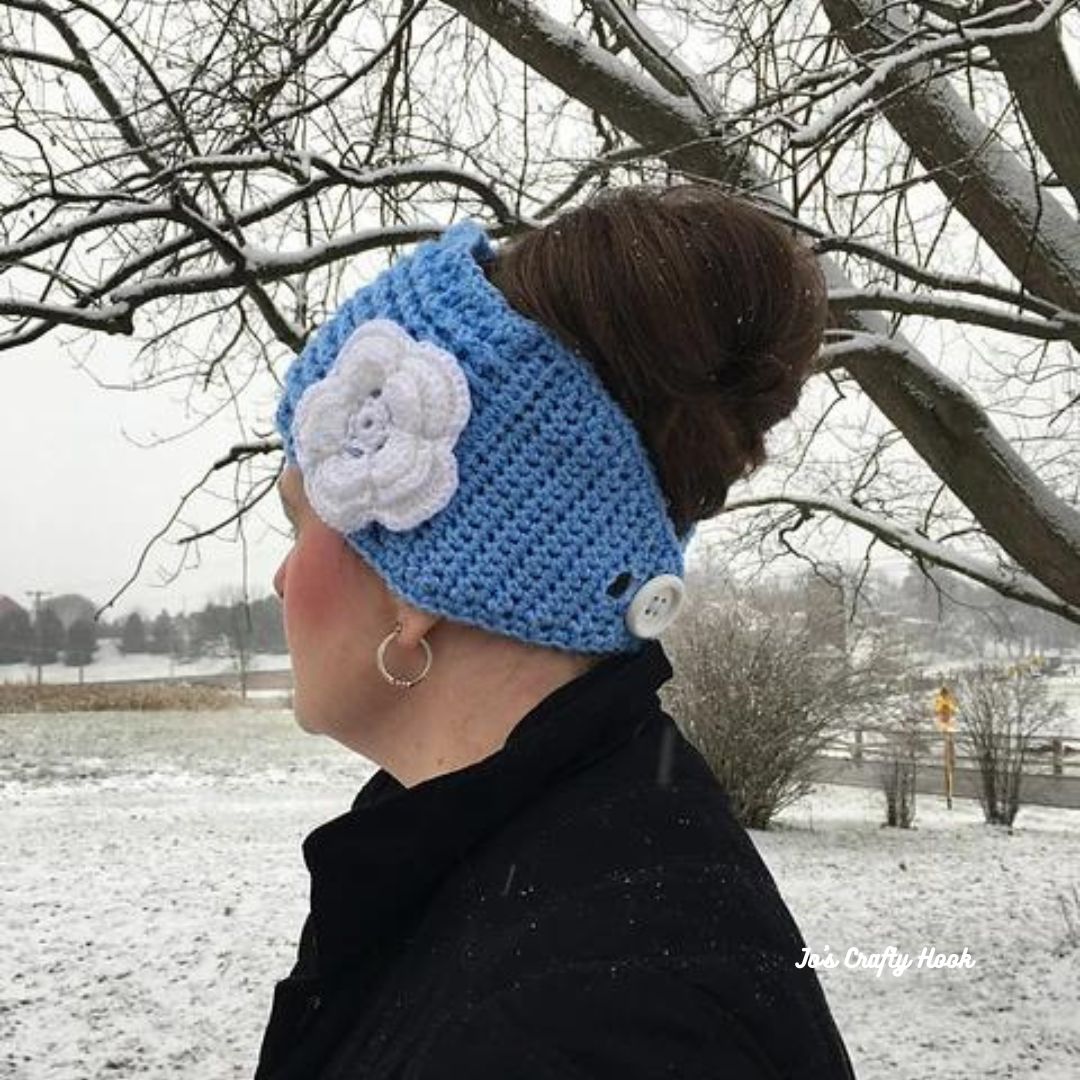
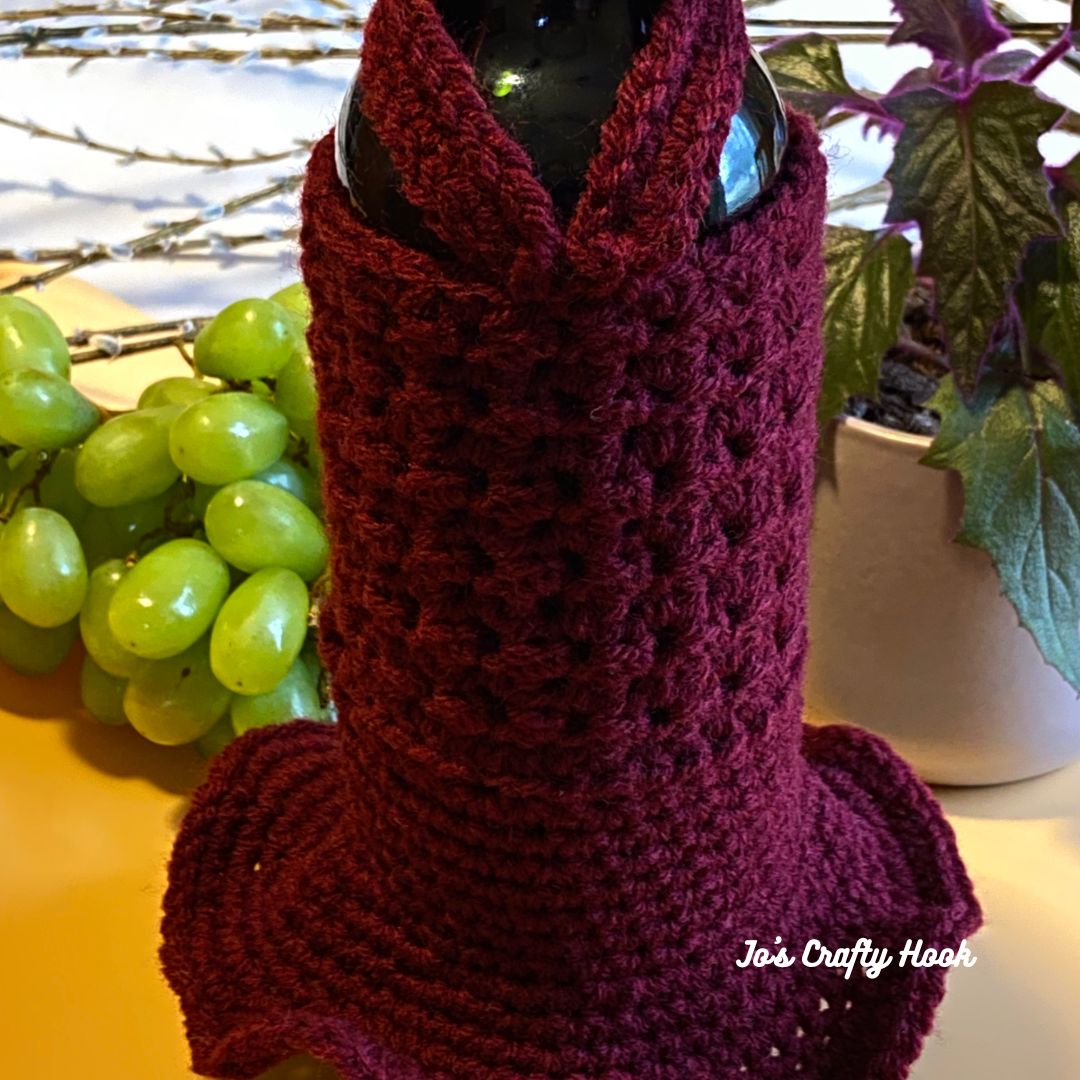
You can read more about the “Keep Our Kids Covered” Charity Drive’s creation and find a crochet hat bundle I designed last year just for the charity drive.
You can get the Barberton Beanie Bundle, with 3 hats crochet patterns, from my Ravelry Store for $2!
I thank all of you who are already a part of Jo’s Crafty Hook’s Community and for all of your support you have given me over the years!
If you are not a part of Jo’s Crafty Hook’s Community why not sign up and join us? You can fill out the form below. When you do, you will receive a FREE premium crochet pattern!
https://dashboard.mailerlite.com/forms/841383/134719051106616408/share
Premium Crochet Pattern Stores

![]()
![]()
If you would like to donate hats for needy kids in the future for the kids in my community, you can send them to my church or contact me for more information at jo@joscraftyhook.com
Church Contact Information
Calvary Wesleyan Church
Pastor Gage Norem
c/o Joey Baird
139 31 St SW
Barberton, OH 44203
(330) 825-3001
Sunday Morning Service 10:30 AM
Find me, Jo of Jo’s Crafty Hook at the places listed below.
Linktree
Website
Facebook Page Jo’s Crafty Hook
Facebook Page Jo’s Crafty Hook Designs
Facebook Group Jo’s Crafty Hook Designs
Facebook Group Jo’s Crafty Hookers
Ravelry
LoveCraft
Instagram
Etsy
YouTube
Donations Accepted
![]()


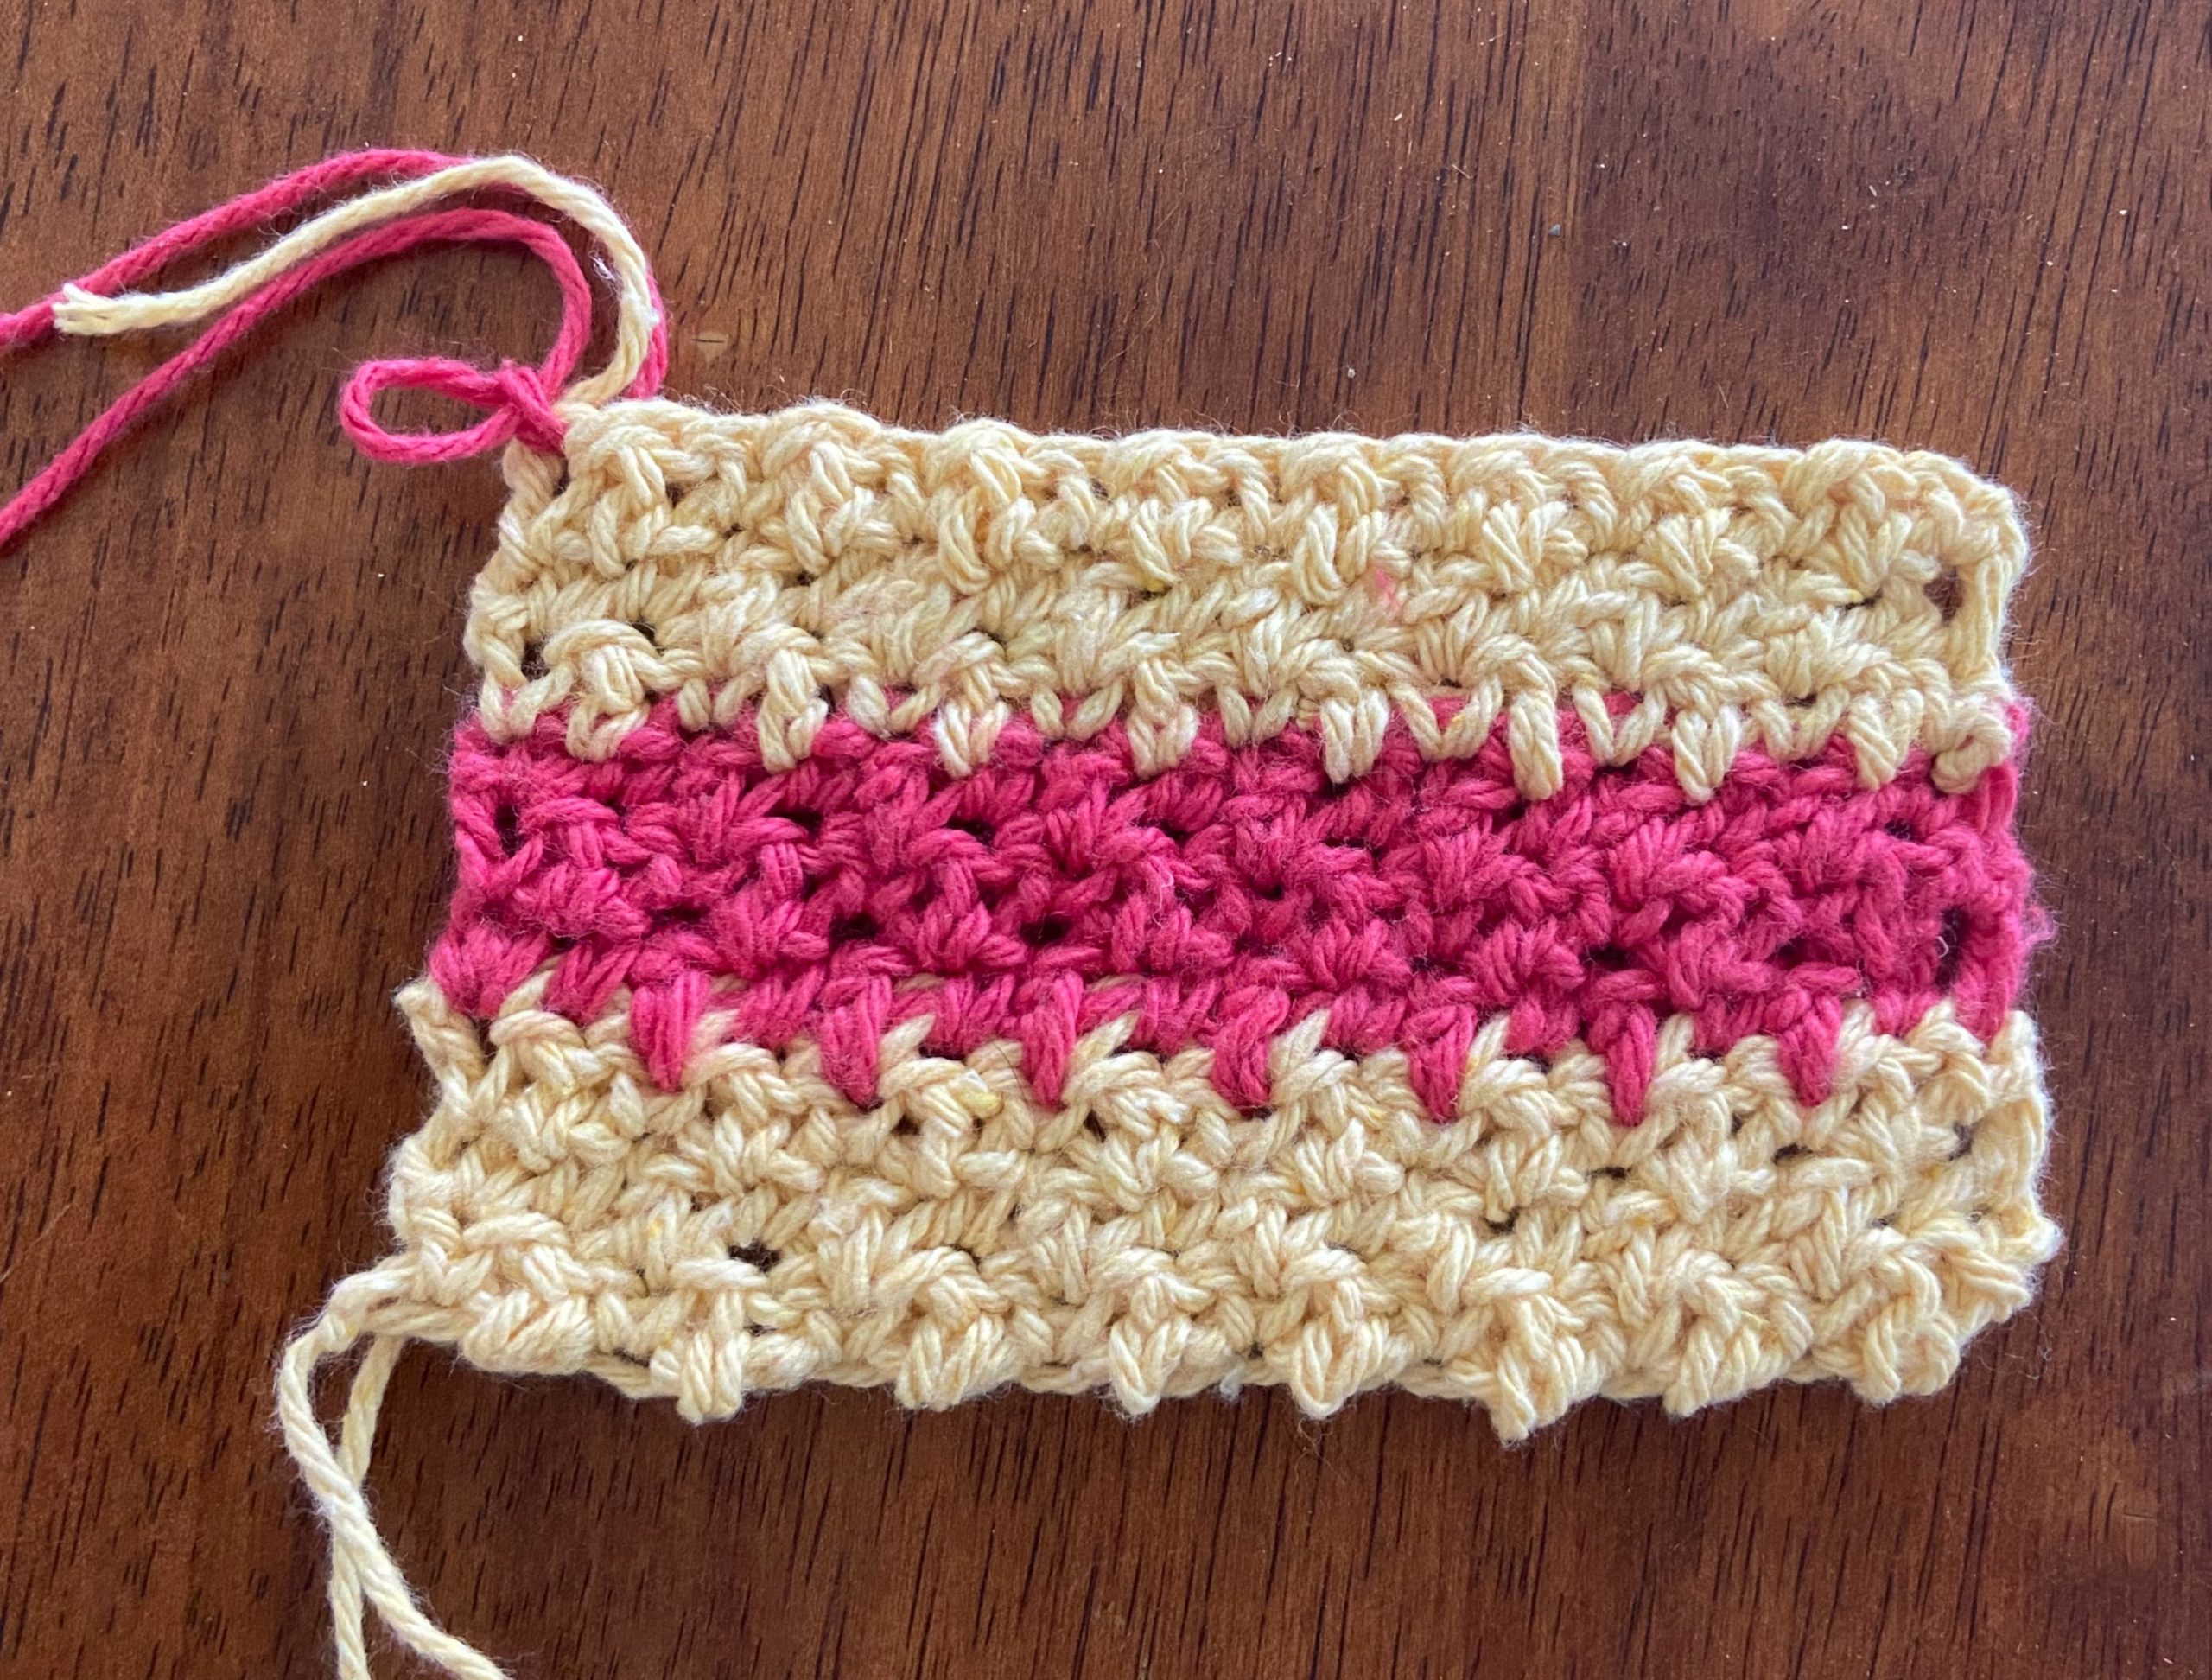
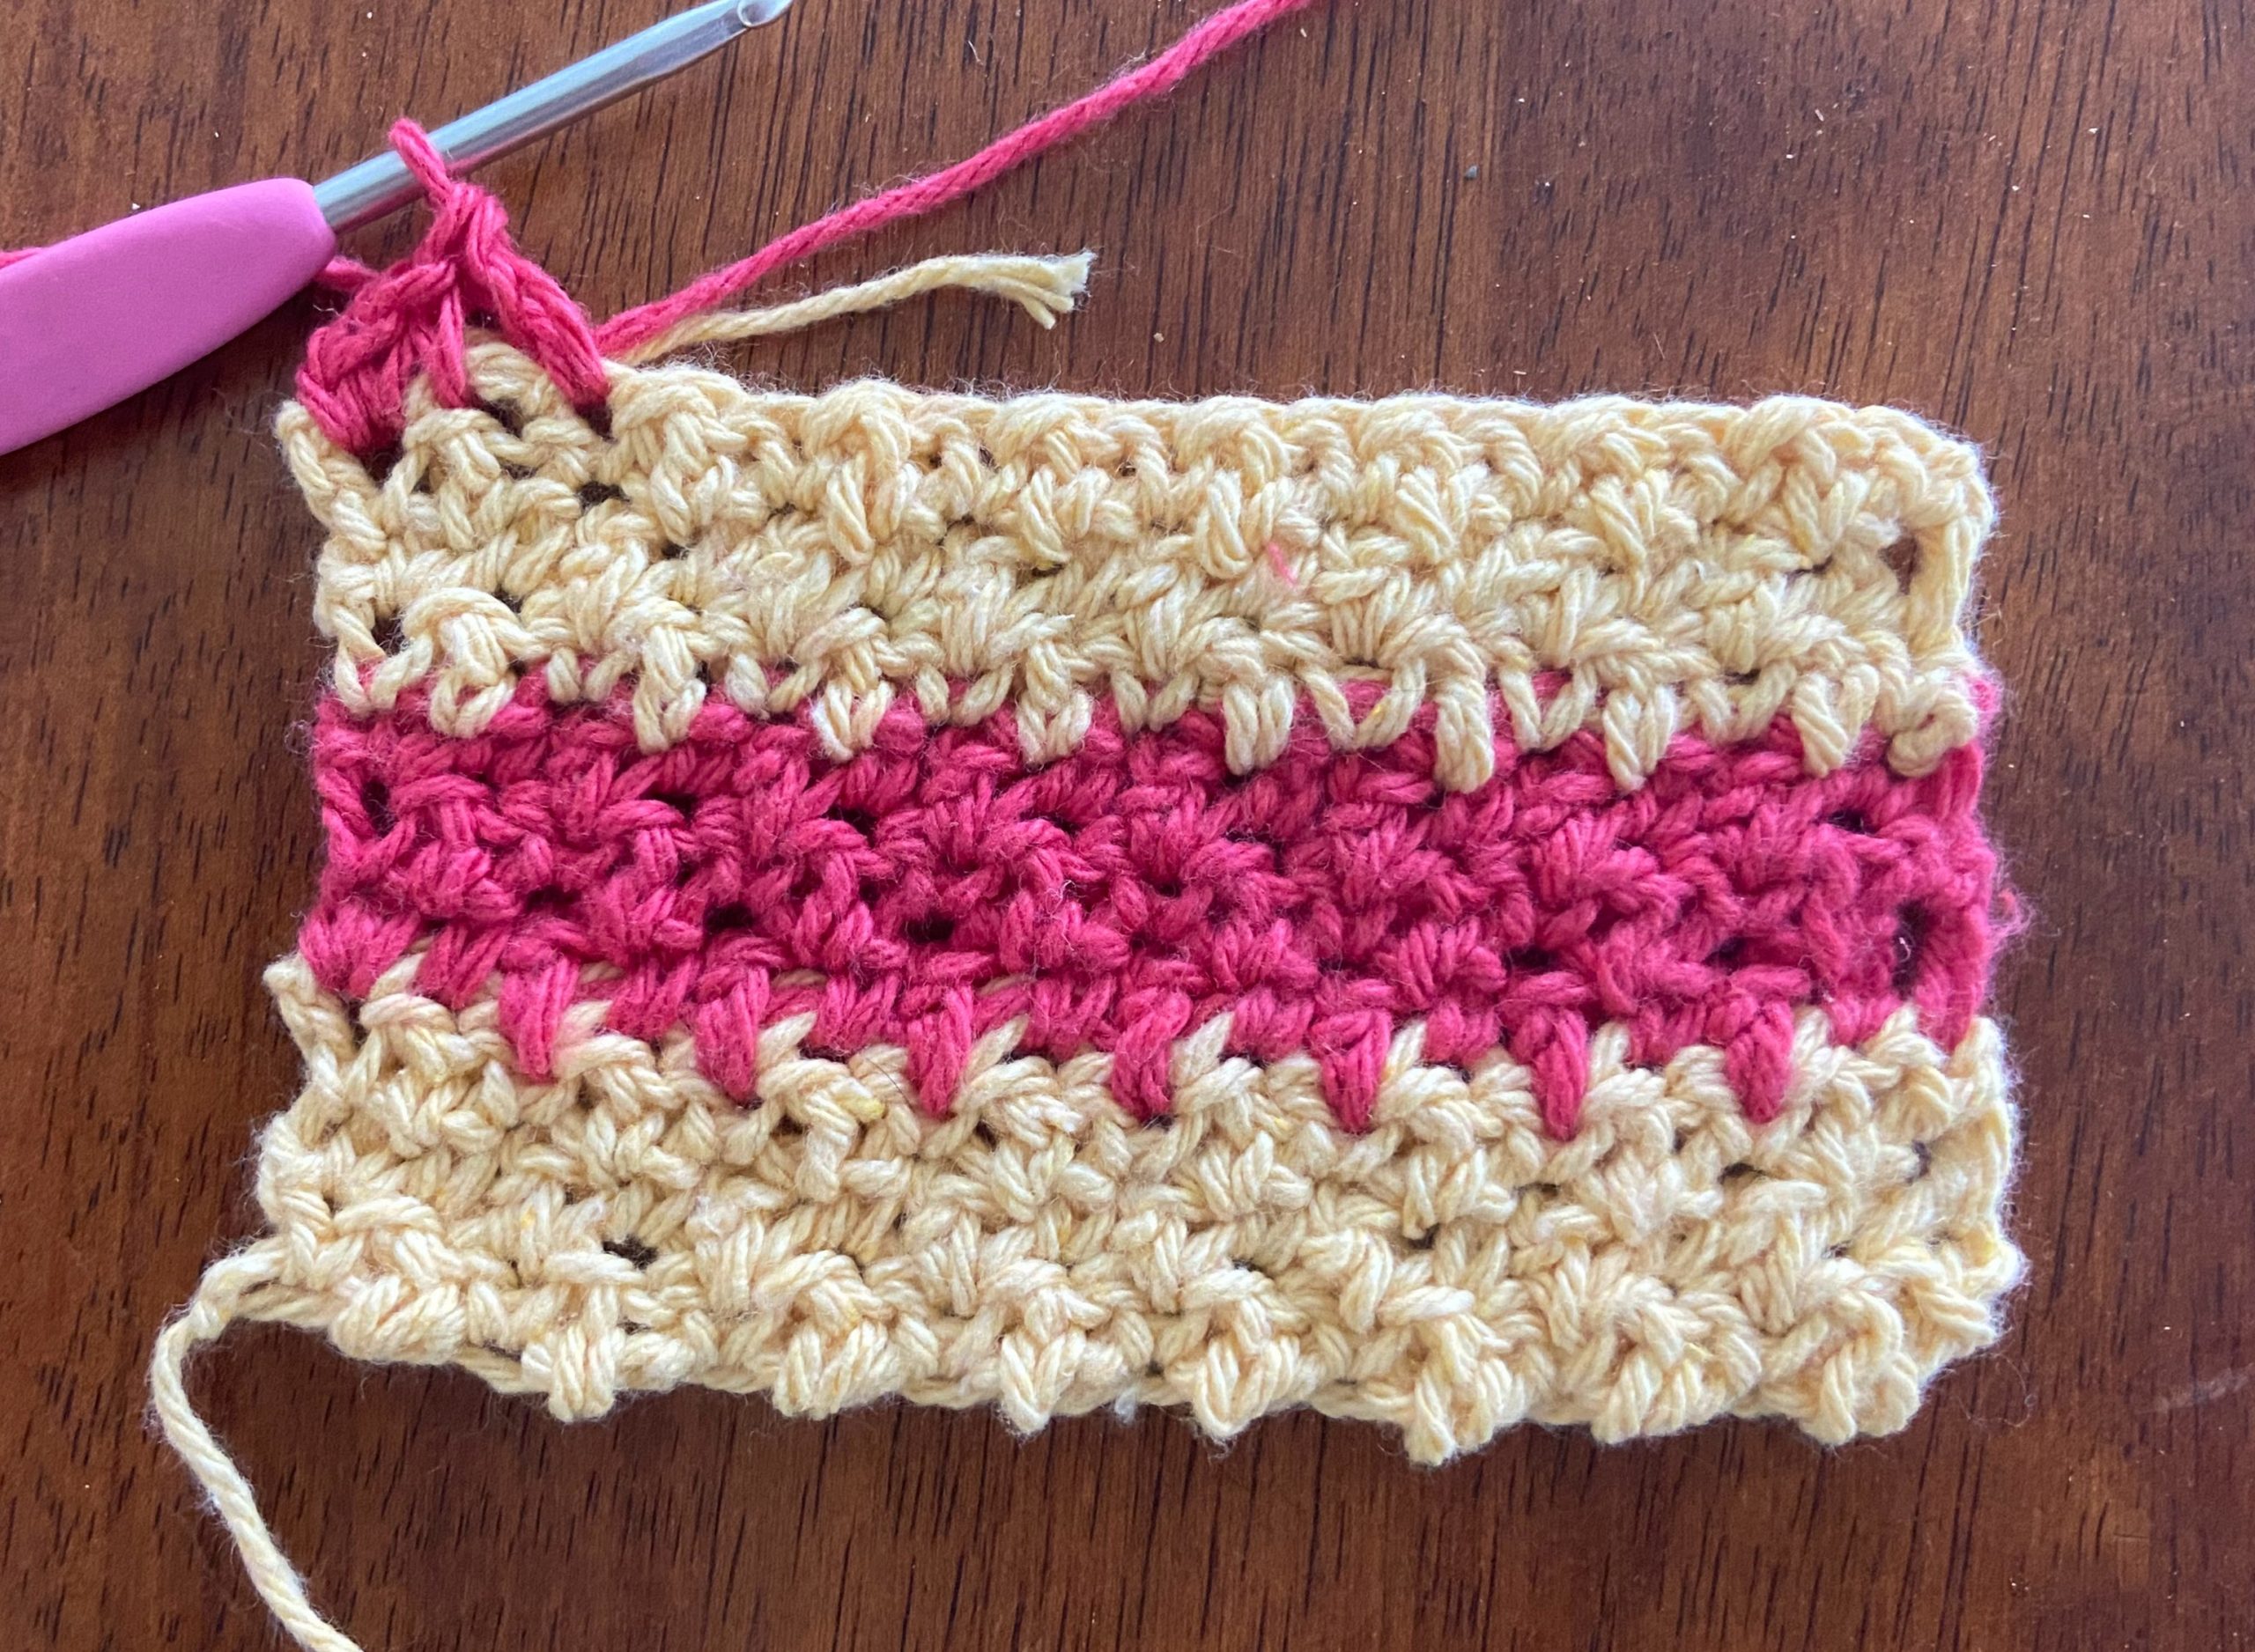
 Gauge for Bodice