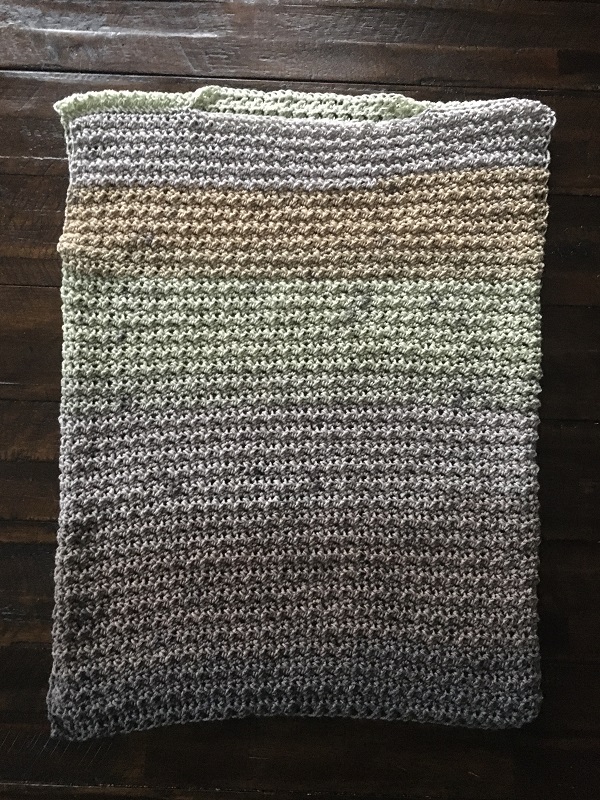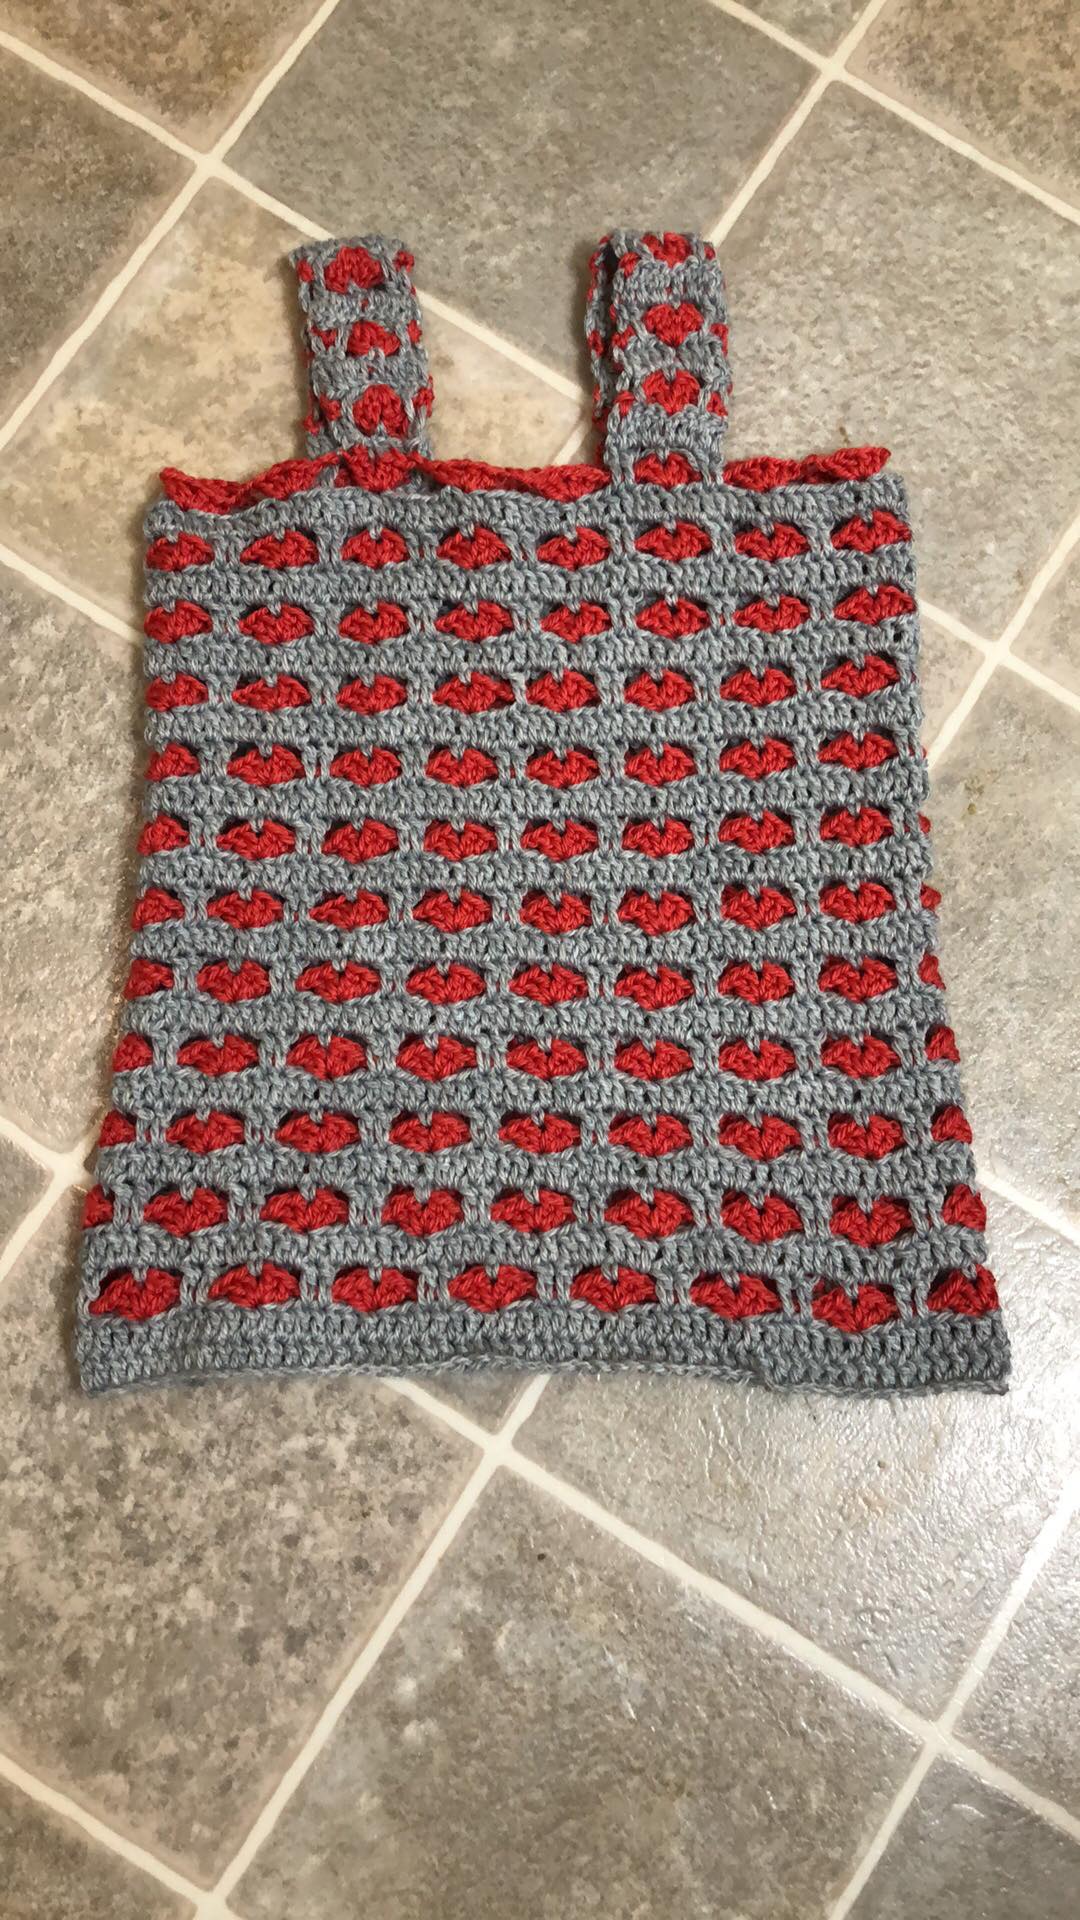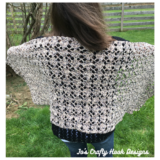
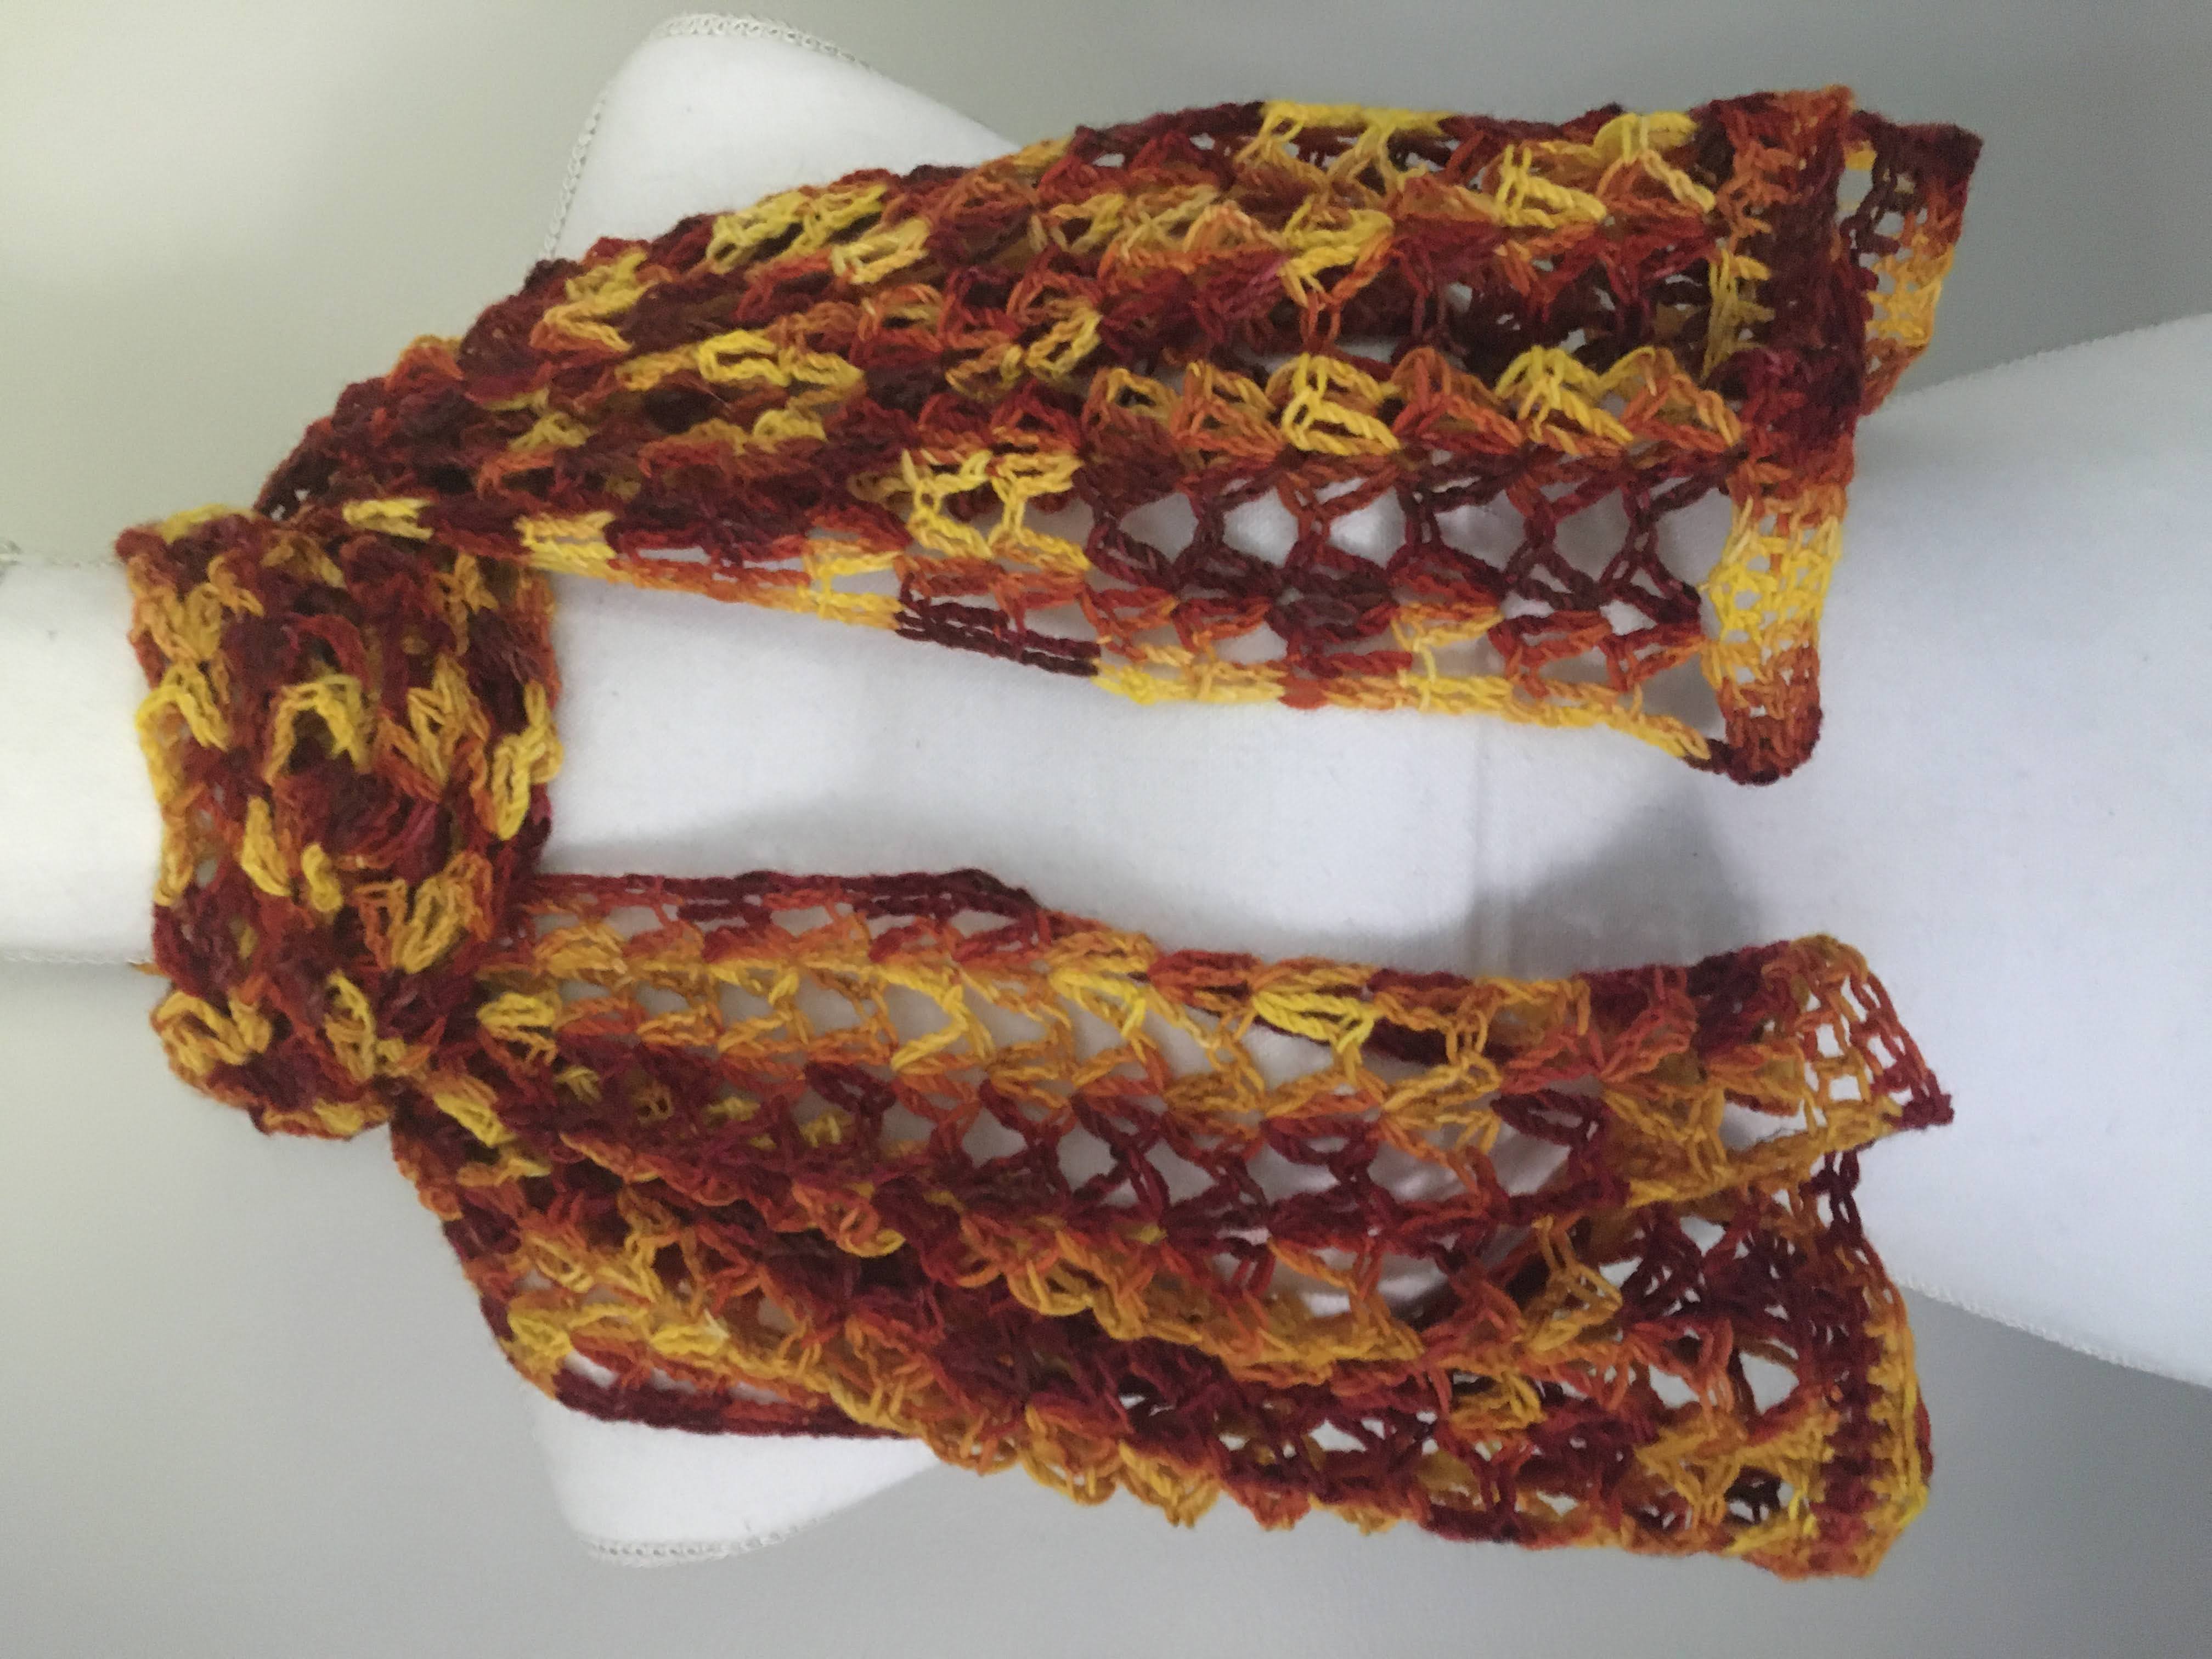
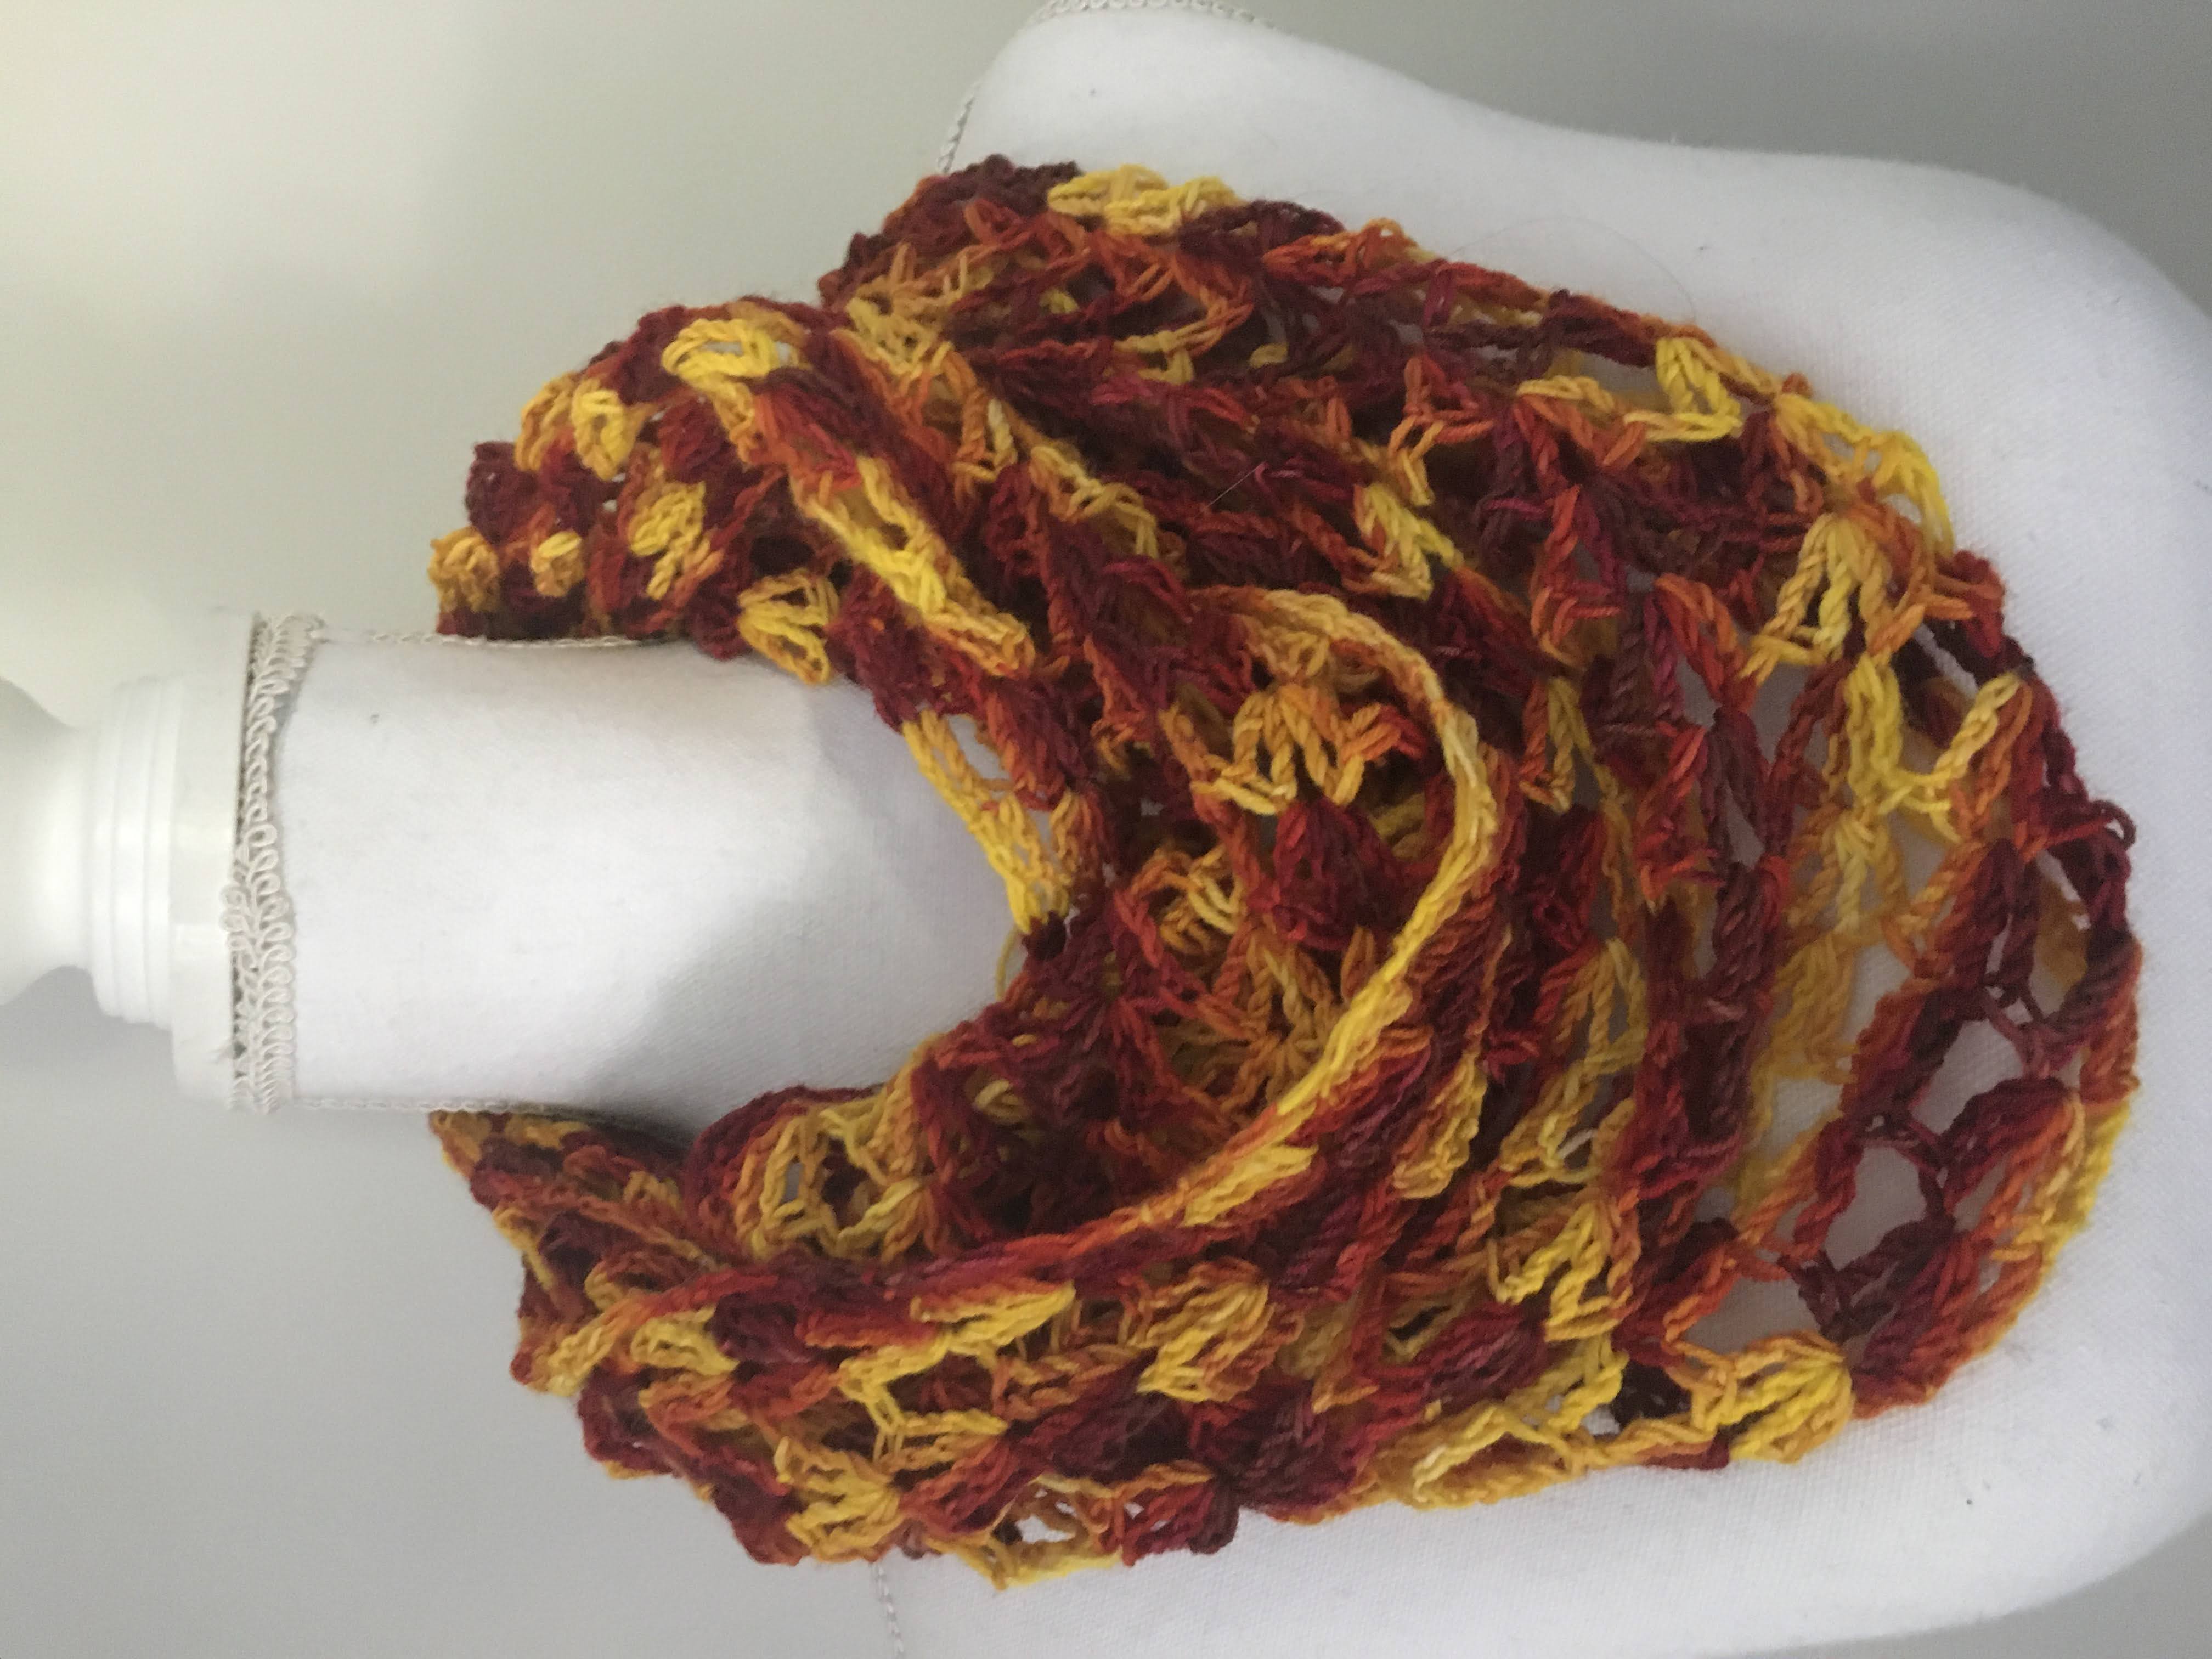
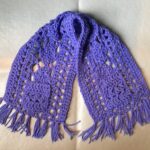
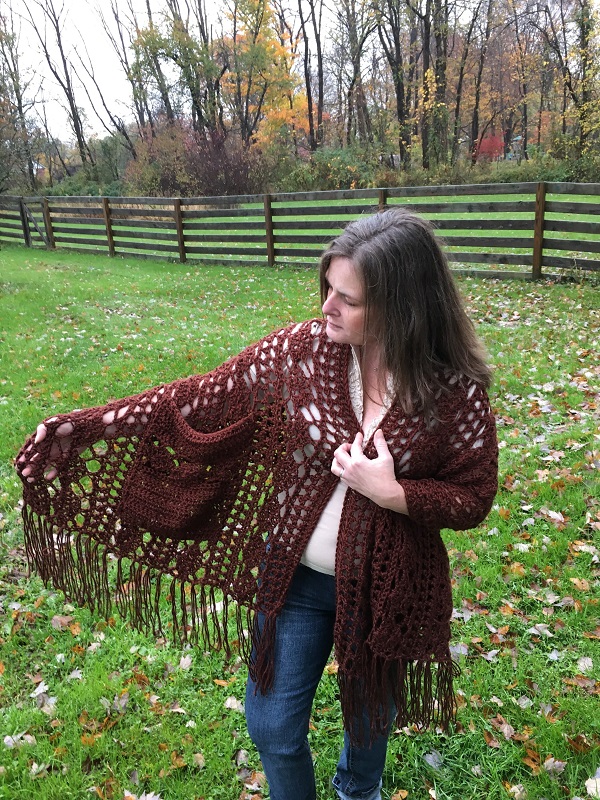
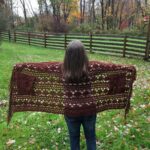
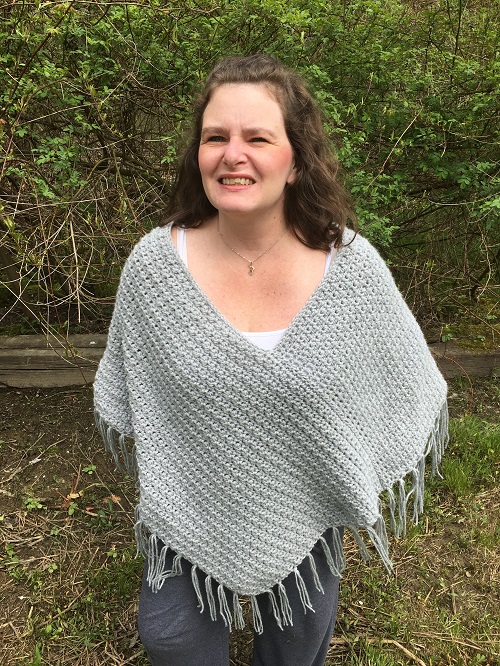
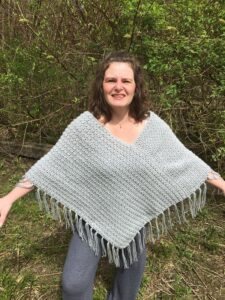
The weather has really turned cold here in NE Ohio! Since we still have a few more months of cold weather ahead, I decided to bring you a perfect crochet pattern to wrap you up in warmth. The Wrapped in Diamonds Free Crochet Pattern will help you stay warm. You can also make it for a loved one and wrap them in what many girls love, Diamonds. Below you will find the Wrapped in Diamonds Free Crochet Pattern!
This page contains affiliate links. You can make a purchase using these links that I provide where I may receive compensation (at no added cost to you.) Purchases you make will help keep my website, my Ravelry Store, my Etsy Shop, and LoveCrafts going and provide quality designs just for you!
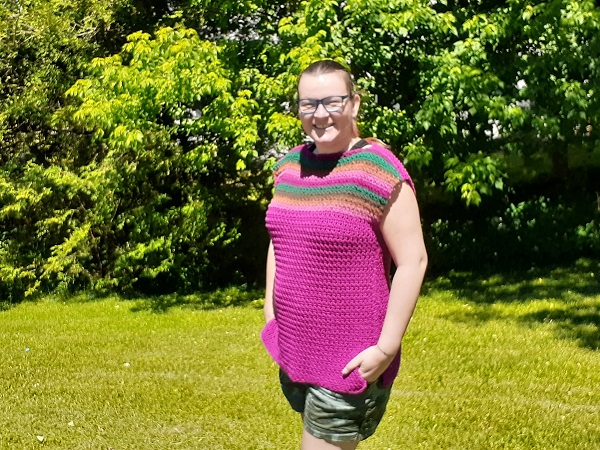
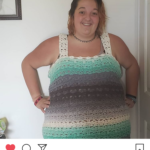
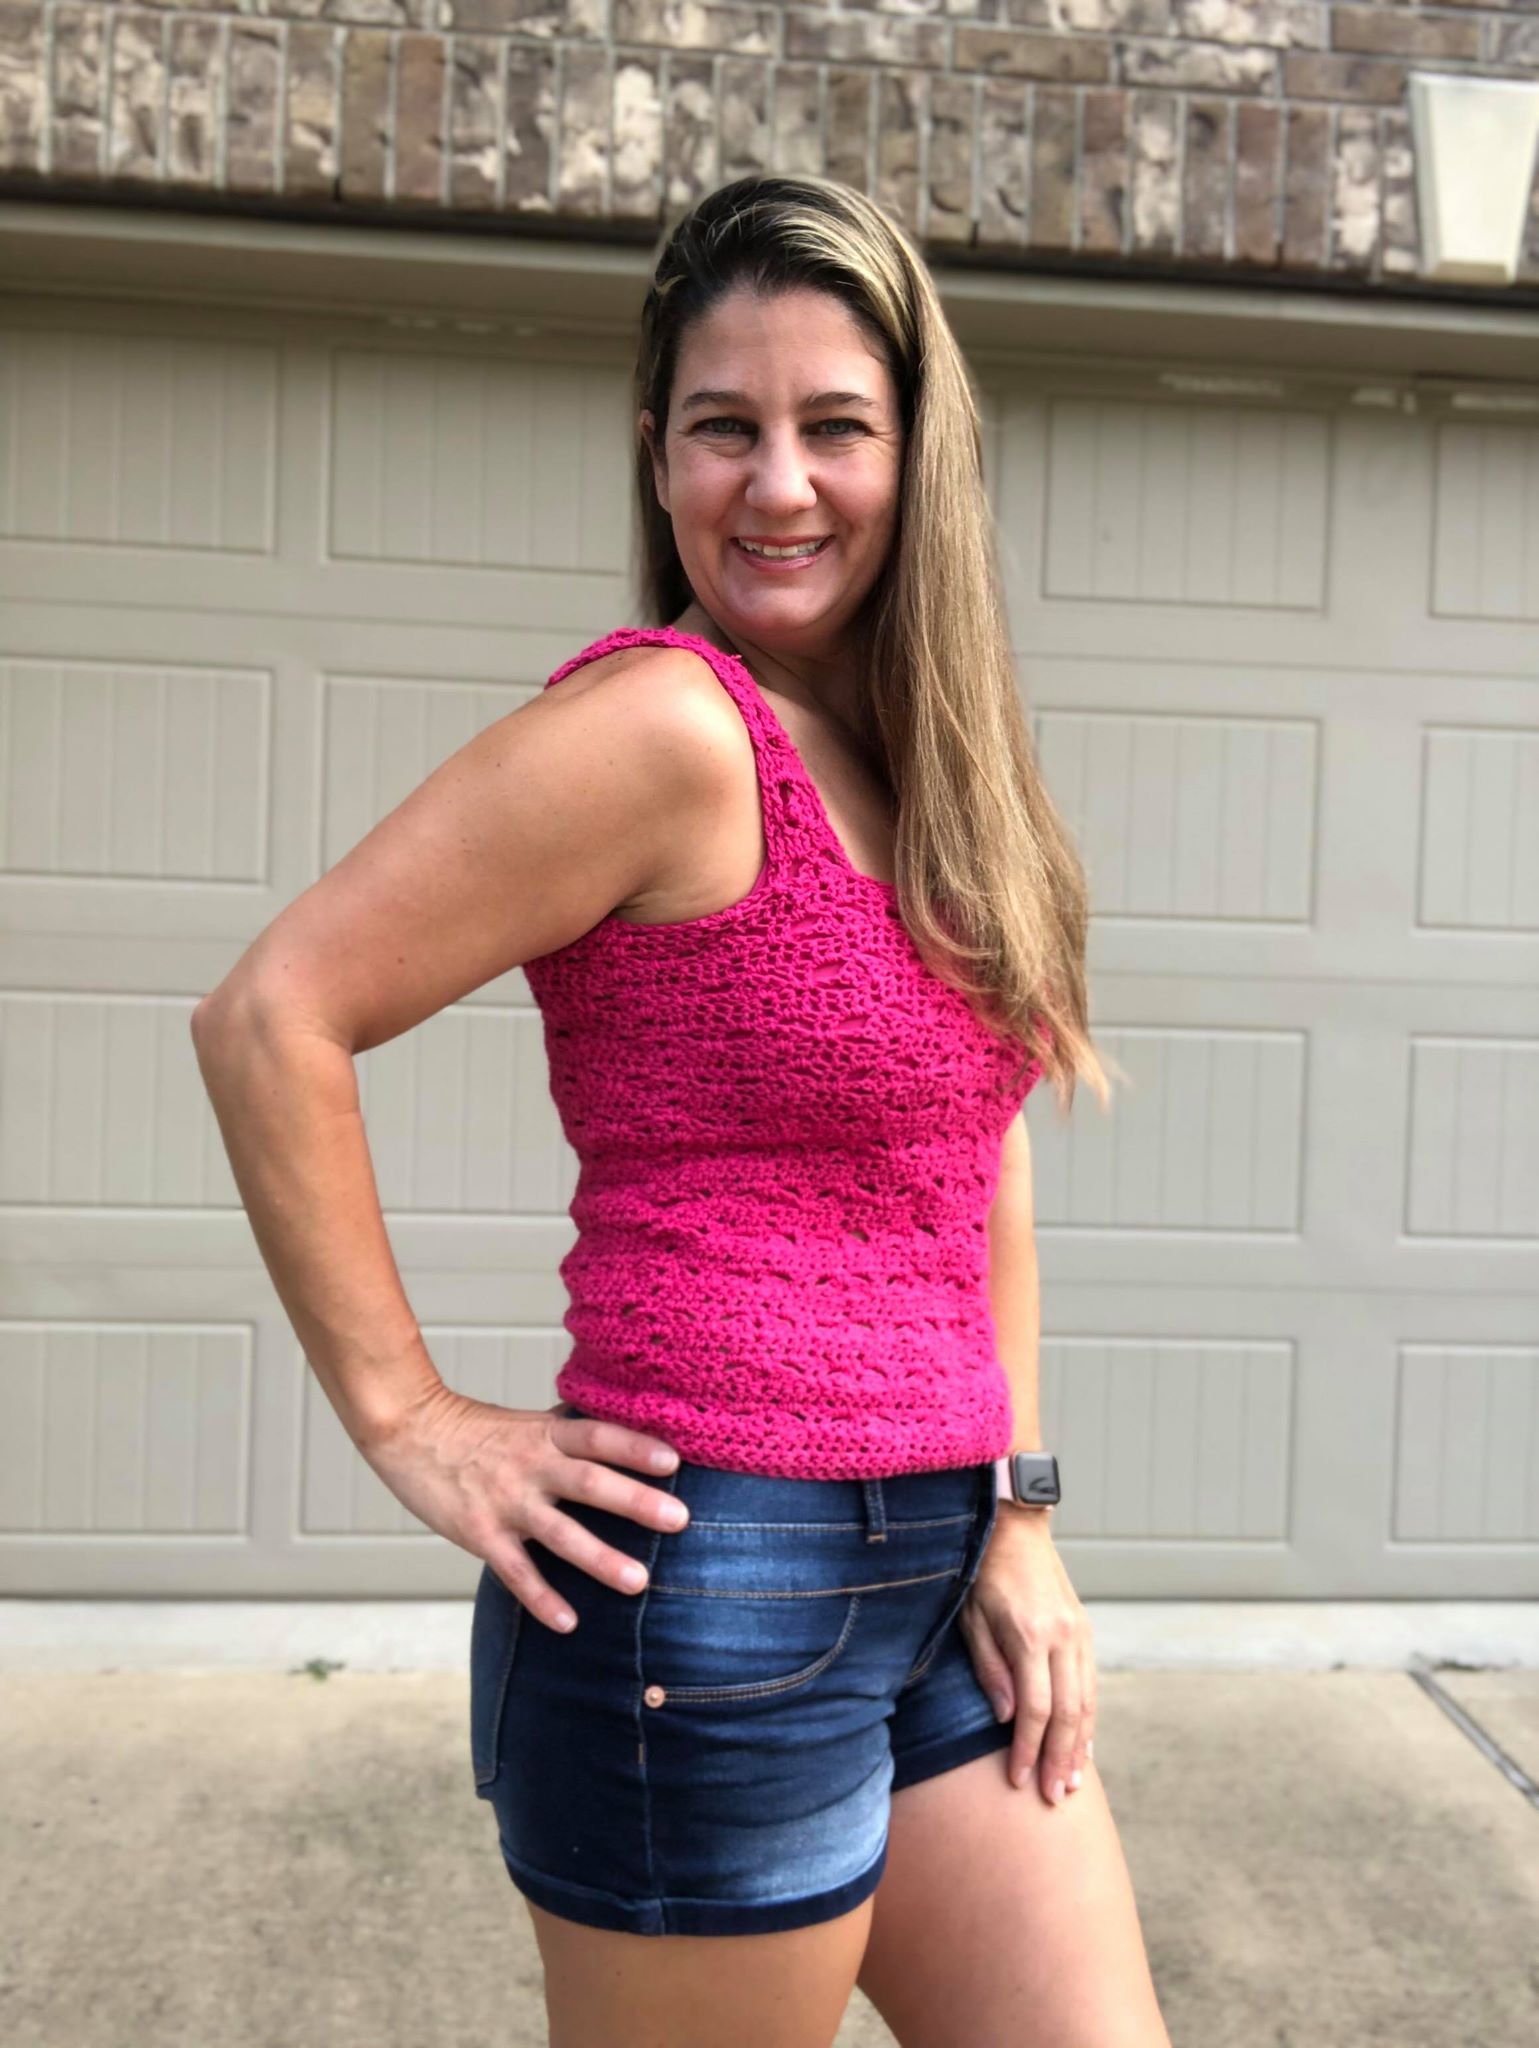
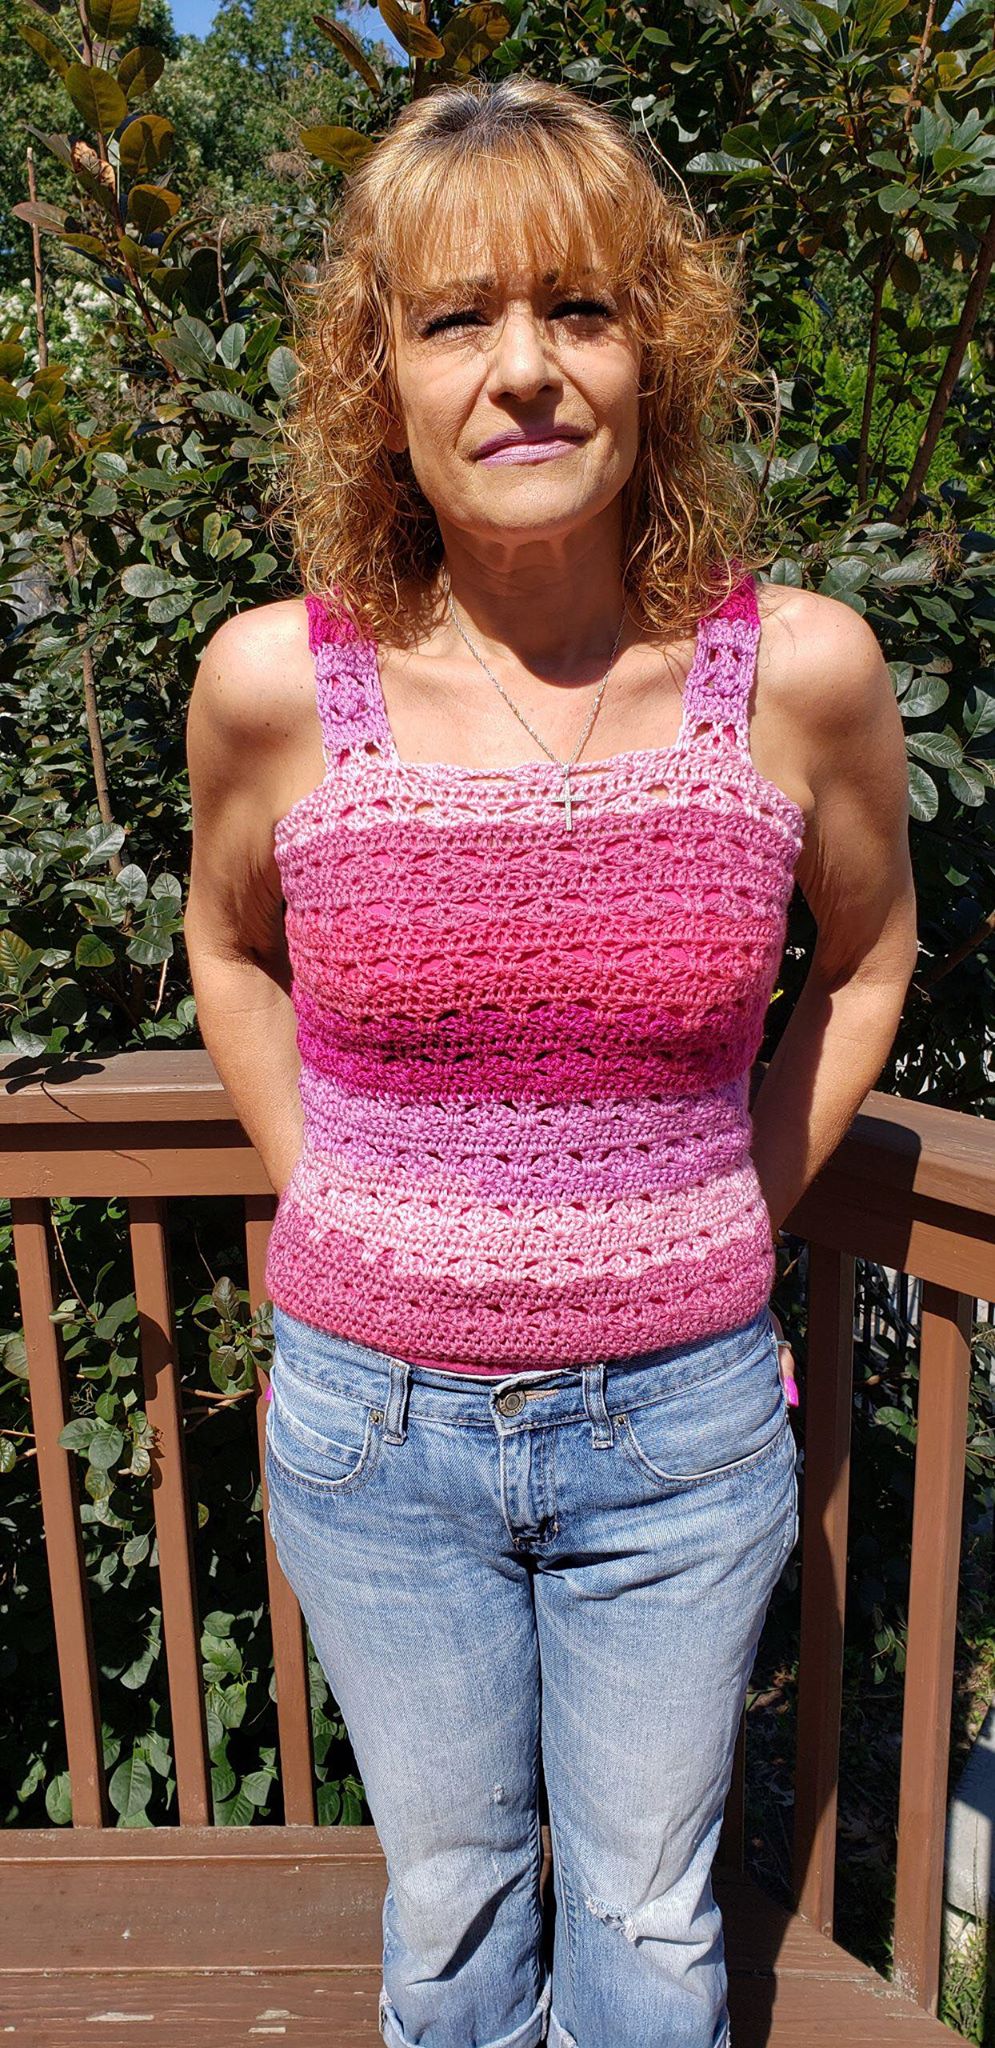
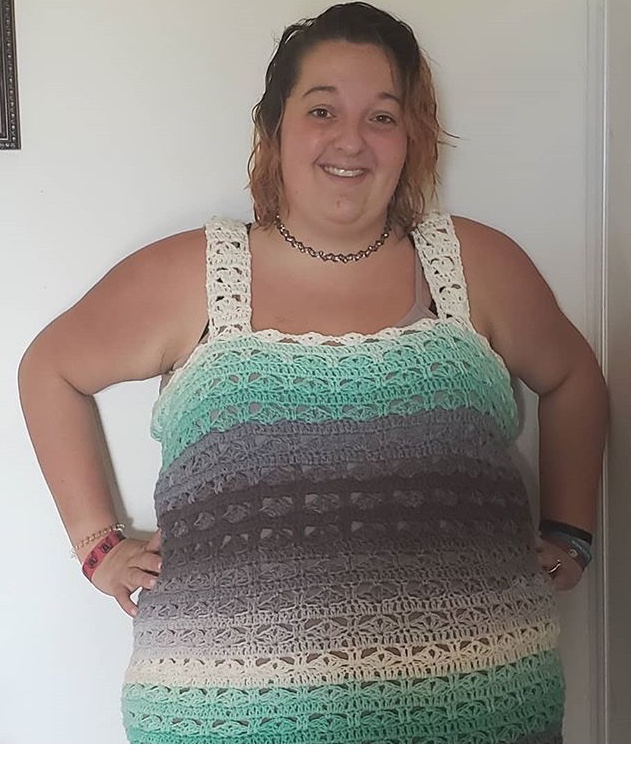
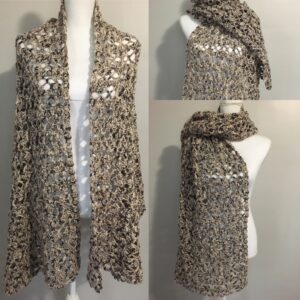
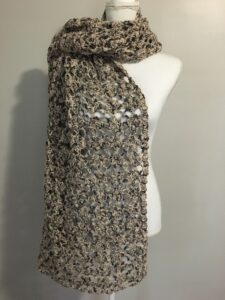
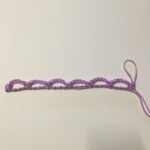
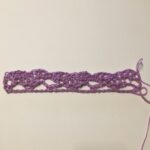
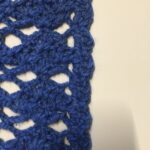
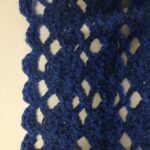
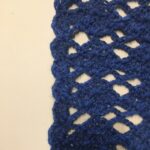
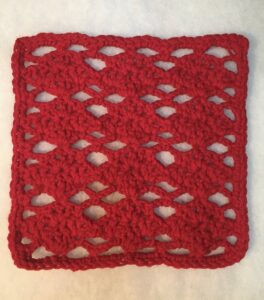
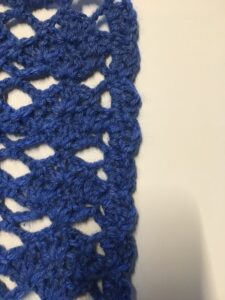
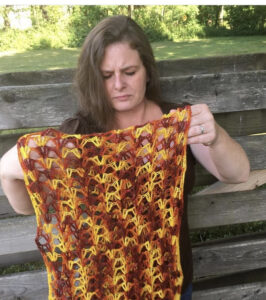
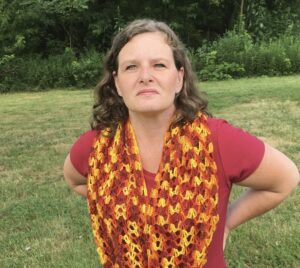
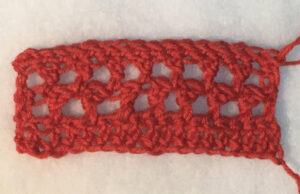
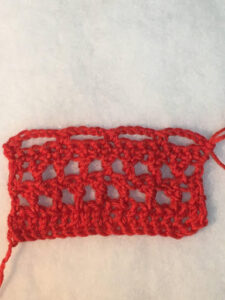
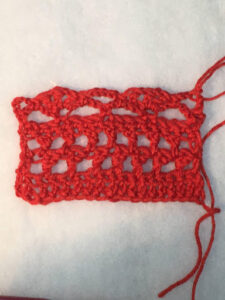
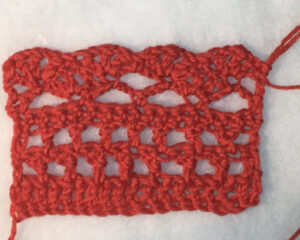
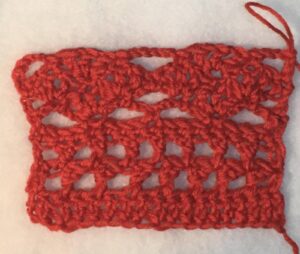
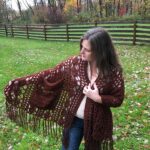
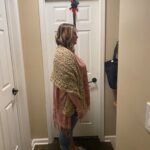
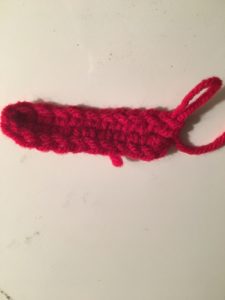
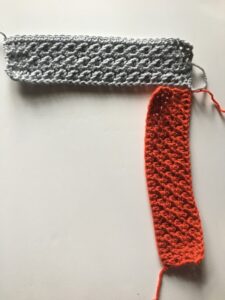
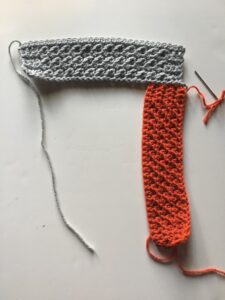
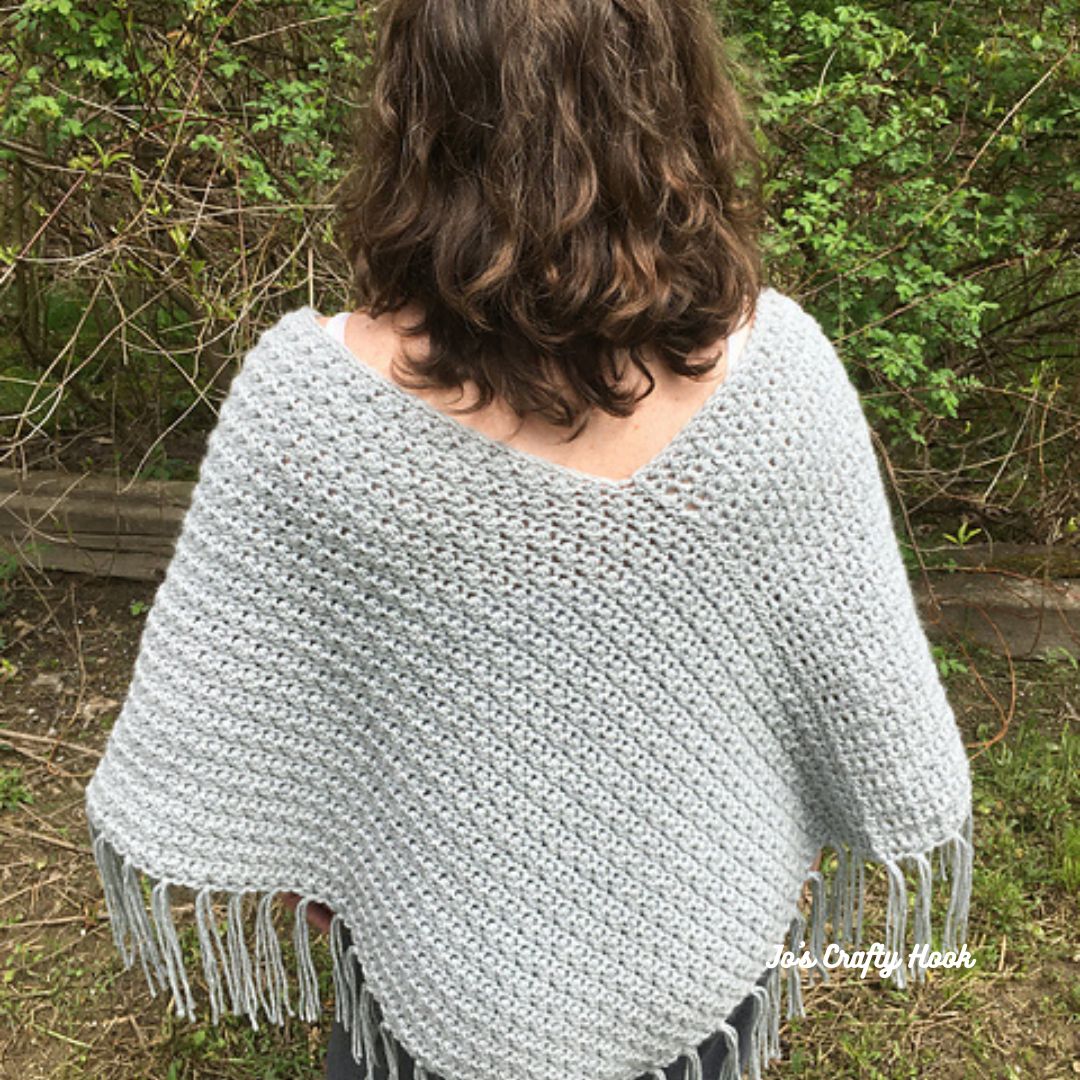
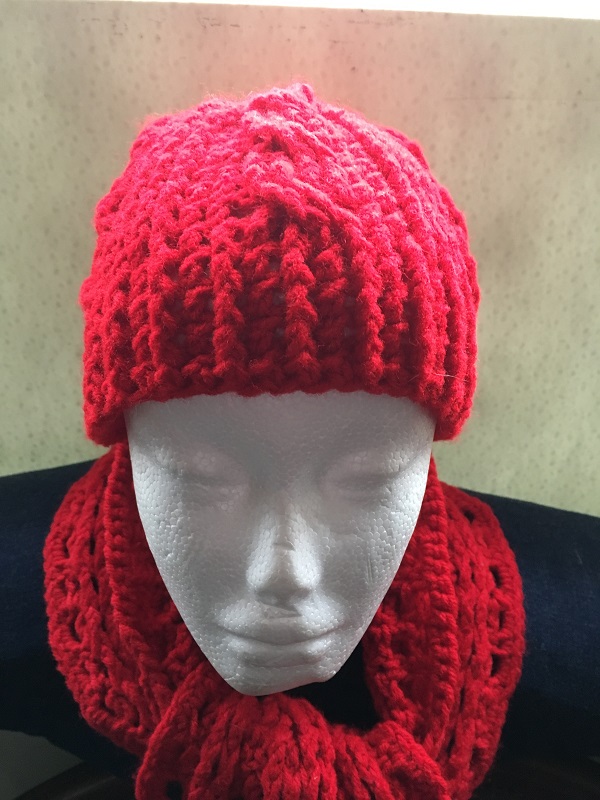
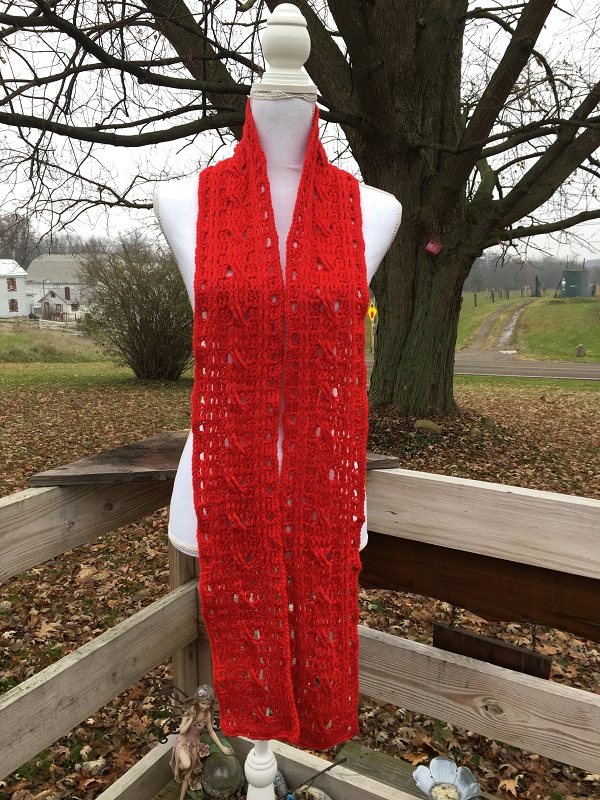
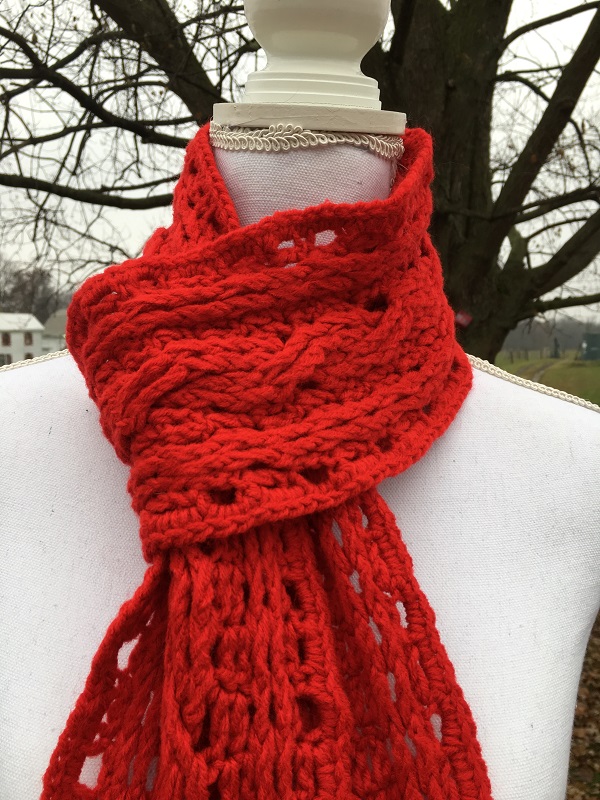
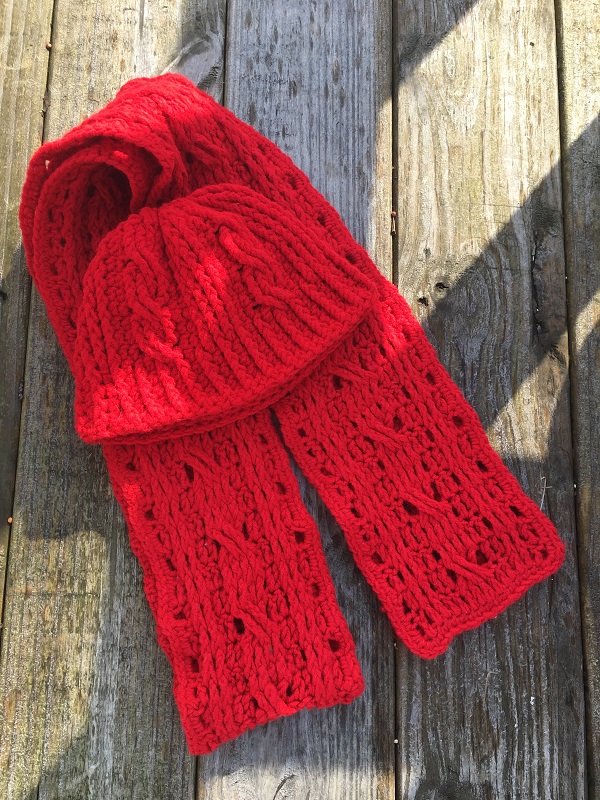
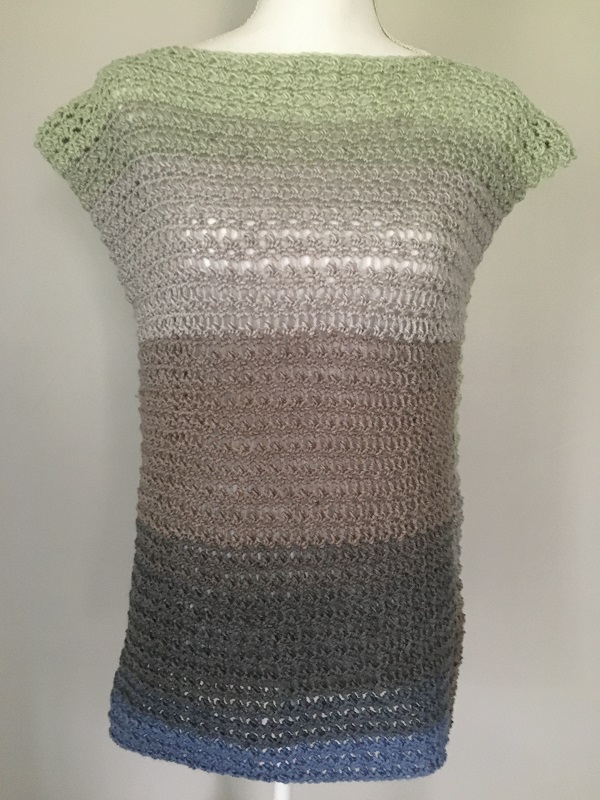
 Wrapped in Diamonds Wrap
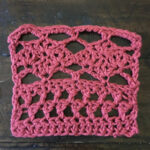
The Wrapped in Diamonds Wrap uses a new stitch for me that I found last year, the Argyle Shell Stitch. I have created 9 other crochet patterns using this stitch. Once you get the hang of the pattern repeats, the wrap will be done before you know it!
Be sure to sign up for my Newsletter so you don’t miss information about more free crochet patterns, blog hops, giveaways and more!
[yikes-mailchimp form=”1″]
I am collaborating with Bernadine of Me N My Hook and over 20 other crochet designers in the Mother’s Day Gift Ideas Blog Hop. In this blog hop we will be bringing a wide range of crochet patterns that would be perfect for moms. The Mother’s Day Gift Ideas Blog Hop runs from February 1, 2021 until February 28, 2021. This blog hops runs each day starting at 10a GMT or 5a EST and runs until 9:59a GMT or 4:59a EST until the next day.
On my day, February 8, 2021 you can get a free pdf copy of my Wrapped in Diamonds Wrap crochet pattern.
To find out how the Mother’s Day Gift Ideas Blog Hop works and to get the Coupon Code for my free pdf copy of my Wrapped in Diamonds Wrap on February 8, 2021 visit Me N My Hook or click on the button below.

On my day, February 8, 2021 you can get a free pdf copy of my Wrapped in Diamonds Wrap crochet pattern. Click on the button below to go directly to Ravelry with your Coupon Code you just got from Me N My Hook using the button above.

********************************************************
You can find more of my crochet patterns at these locations listed below.
Below you will find the free crochet pattern for the Wrapped in Diamonds Wrap.
Pattern Information:
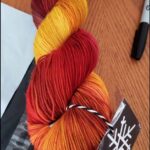
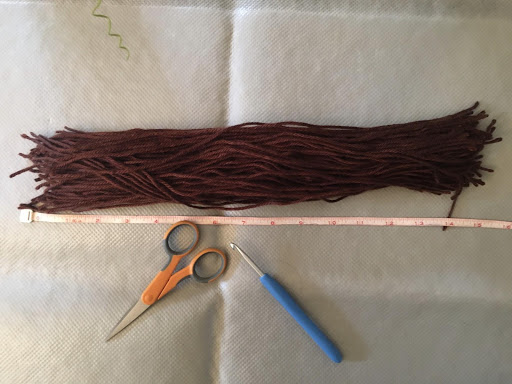
Materials:
1000 yards #3 Lightweight Yarn
US Hook I or 5.5mm
Tapestry Needle
Scissors
Gauge:
US I Hook or 5.5mm
2 full diamonds = 4″ wide
2 full diamonds 4″ length
Abbreviations/Stitches Used:
ch = chain stitch
sc = single crochet
dc = double crochet
sp = space
ss = slip stitch
Size:
26” x 73”
Notes:
Stitch count is a multiple of 8 + 2
There are helpful Video Tutorials below
Special Stitch:
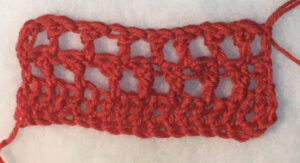
Shell = (dc, ch 1, dc, ch 1, dc) all in the same stitch.
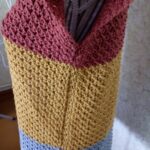
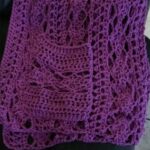
Argyle Shell Stitch = consist of the base chain plus the repeat rows R2-R5, this creates the stitch which makes the Diamond shapes.
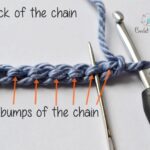
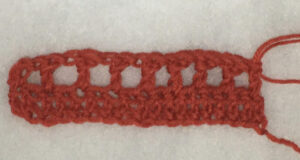
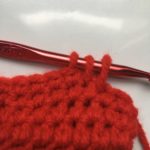
How to crochet in the Back Bar of Chain
Video Tutorials:
Right Handed Version here.
Left Handed Version here.
———————————————————–
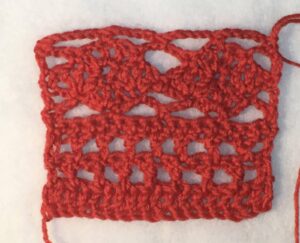
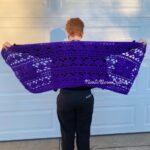
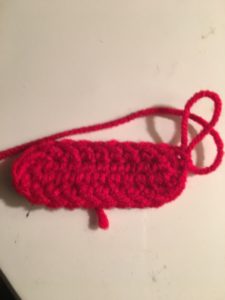
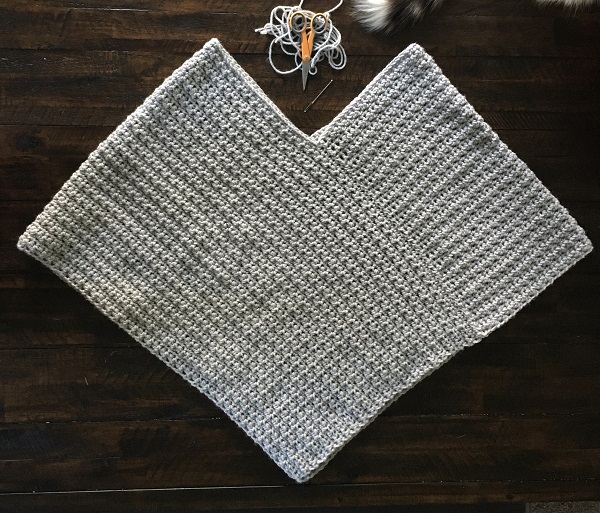
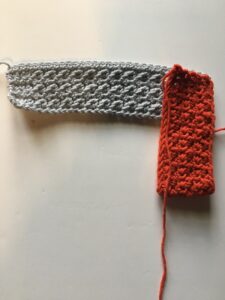
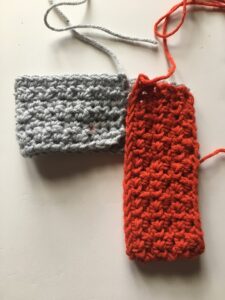
 Wrapped in Diamonds Wrap
Pattern:
**If you prefer a wrap that is not as wide at the bottom, this is where you would shorten your chain count. Be sure to use the multiple of 8 + 2**
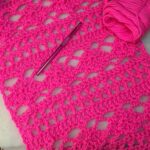
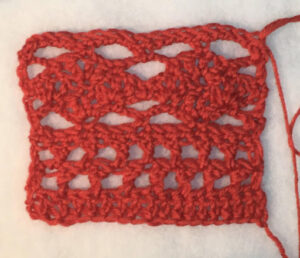
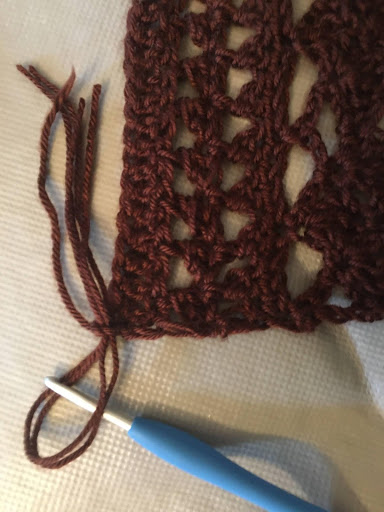
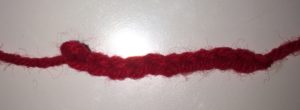
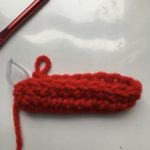
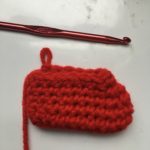
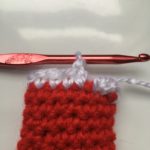
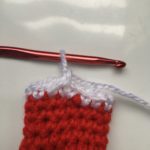
R1: Chain 82, in the back bar of the chain, sc in 2nd chain. (see pic above) *Ch 5, skip 3 ch, sc in the back bar of the next ch*. Repeat to the end. Make sure you have a sc in the last stitch.
R2: Ch 5 and turn. sc in ch-5 sp, shell in next sc, sc in next ch-5 sp. *ch 5, sc in next ch-5 sp, shell in next sc, sc in next ch-5 sp.* Repeat from * to * until the last sc, then ch 2 and dc in last sc.
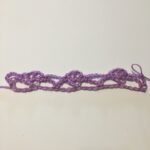
R3: Ch 1 and turn. sc in 1st st, shell in next sc, sc in center dc of shell, shell in next sc. *sc in next ch-5 sp, shell in next sc, sc in center dc of shell, shell in next sc* Repeat from * to * until the last ch-5 sp, then sc in 3rd ch of the last ch-5 sp.
R4: ch 5 and turn. sc in center dc of shell, shell in next sc, sc in center dc of shell, *ch 5, sc in center dc of shell, shell in next sc, sc in dc of shell.* Repeat from * to * until the last sc, then ch 2 and dc in last sc.

R5: ch 1, turn, sc in 1st st. Ch 5, *sc in center dc of shell, ch 5, sc in ch-5 sp, ch 5* Repeat from * to * until the last ch-5 sp, then sc in center dc of shell, ch 5, sc in 3rd ch of the last ch-5 sp.

R6-R145: Repeat R2-R5 or until your desired length is reached.
**If you prefer a wrap that is not as long, this is where you would not crochet as many rows**
********************************************************
Border:
Side of Wrap
Step 1:
Turn your work to work on the long side of the Wrap.
Step 2:
(dc, ch 1, dc) all in the same stitch. *sc in the next st, (dc, ch 1 dc)* Repeat from * to * until you come to the corner of Wrap.
Bottom of the Wrap
Step 1:
Turn your work to work along the bottom of the Wrap.
Step 2:
*sc, (dc, ch 1, dc, ch 1, dc), sc all in the same stitch*. Repeat from * to * to the corner.
Other Side of Wrap
Step 1:
Turn your work to work on the long side of the Wrap.
Step 2:
(dc, ch 1, dc) all in the same stitch. *sc in the next st, (dc, ch 1 dc)* Repeat from * to * to the corner of Wrap.
Top of the Wrap:
Step 1:
Turn your work to work along the top of the Wrap.
Step 2:
*sc, (dc, ch 1, dc, ch 1, dc), sc all in the same stitch*. Repeat from * to *to the corner. ss in next st and fasten off.
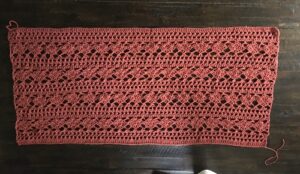
Fasten off and Weave in the ends. Wrap yourself or your loved ones in Diamonds and warmth!
**********************************************************
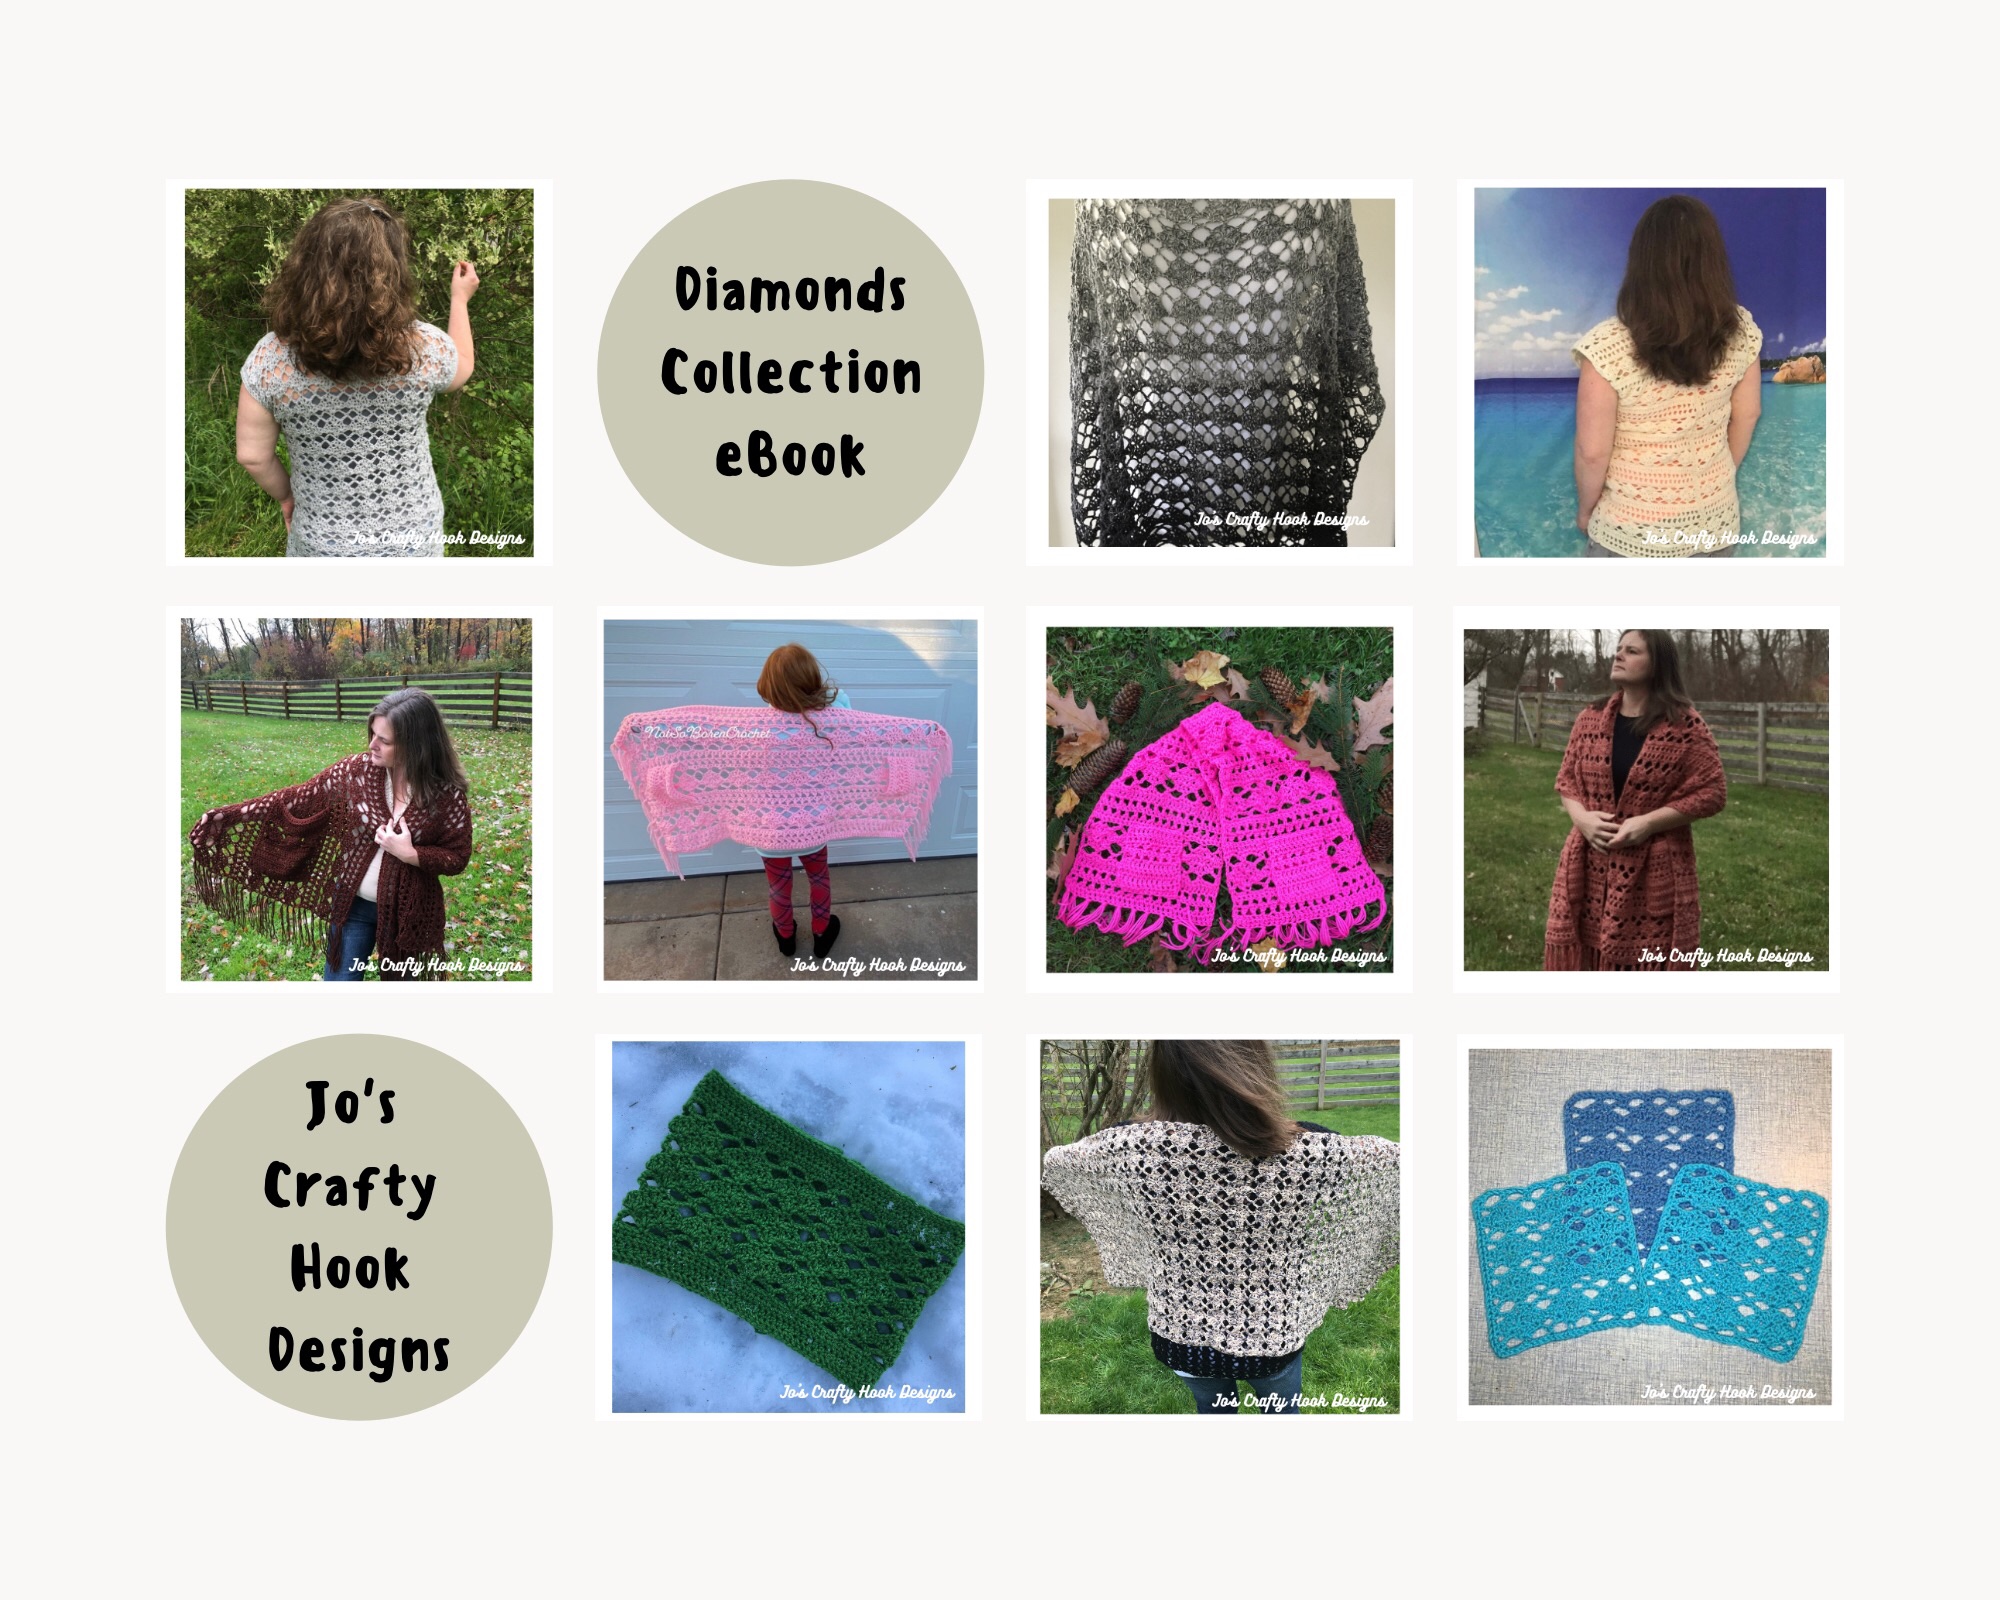
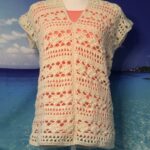
Earlier I stated that I used the Argyle Shell Stitch in this wrap and 9 other crochet patterns. I am happy to announce you can find ALL 10 crochet patterns in one pdf, my Diamonds Collection eBook. You can find it at Ravelry and Etsy!
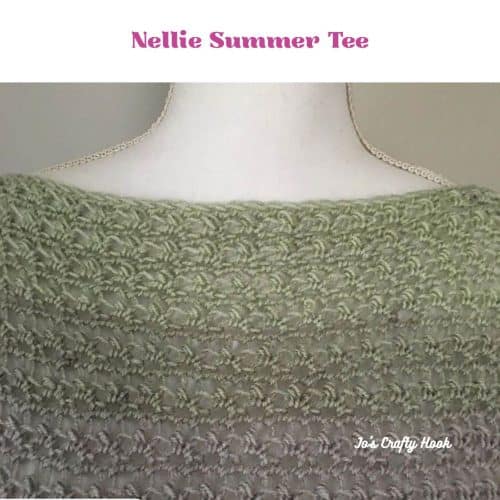
In my collection you will find 1 bonus crochet pattern that is not sold in any of my stores, the Diamond Arches Tee. Inside my eBook you will find patterns for this wrap, 2 summer tees, a poncho, 2 pocket shawl in adult and child sizes, a cowl, and an Afghan square. Each pattern has multiple sizes to choose from. You can customize these patterns to fit your style, size, and colors.
I am offering my Diamonds Collection eBook at an introductory price of $30! The original retail price of all the crochet patterns in my eBook is $50. So you can get it for 40% off that’s $20 off the retail value! Visit my Ravelry Store and Etsy Shop for your copy today!
You can find more of my crochet patterns at these locations listed below.
Find me, Jo of Jo’s Crafty Hook at any one of these places listed below!
Website: www.joscraftyhook.com
Facebook Group: www.facebook.com/JosCraftyHook-ers
Facebook Page: www.facebook.com/JosCraftyHook
Facebook Page: www.facebook.com/JosCraftyHookDesigns
Instagram: www.instagram.com/joscraftyhook
Pinterest: www.pinterest.com/baird0095
Twitter: www.twitter.com/joscraftyhook
YouTube: https://www.youtube.com/channel/UCk-6IB36bg4gkvaawn3xfdg
- If you would like to make a donation to Jo’s Crafty Hook and help me with the costs of running my website, crocheting new designs I would greatly appreciate it!
From the Designer:
- Thank you for stopping by my website! Check out some of my patterns at my Ravelry Store Jo’s Crafty Hook Designs or LoveCraft or Etsy Shop JosCraftyHook or get free crochet patterns at my website joscraftyhook.com! While you are at my website be sure to subscribe to my Newsletter. This way you will be notified when I release another pattern or giveaway or blog post!
- If you have any questions or concerns about this pattern or any other pattern please find me at Joey Lea Baird on Facebook or email me at jo@joscraftyhook.com
- You are free to sell or gift the item you make from my website, please do NOT claim any of my designs as your own. If you share your finished product, please acknowledge me as the designer. Please forward any one who would like to do this crochet pattern or any of my patterns to the Ravelry Store or to LoveCraft or to my Etsy shop, or to my website. The web addresses for any place to connect with me are listed below.
- Every purchase of my patterns helps! It allows me to buy more yarn so I can create and design more Handmade Crocheted Creations for you to enjoy.
- I would LOVE to see your version of my designs! You can “Hook It” at my Ravelry Jo’s Crafty Hook Designs OR add a pic using the hashtag of the design at anyone of the places below that allows you to connect with me! Comments, Feedback, etc. are ALWAYS welcome at my website www.joscraftyhook.com!


 If you have never crocheted the