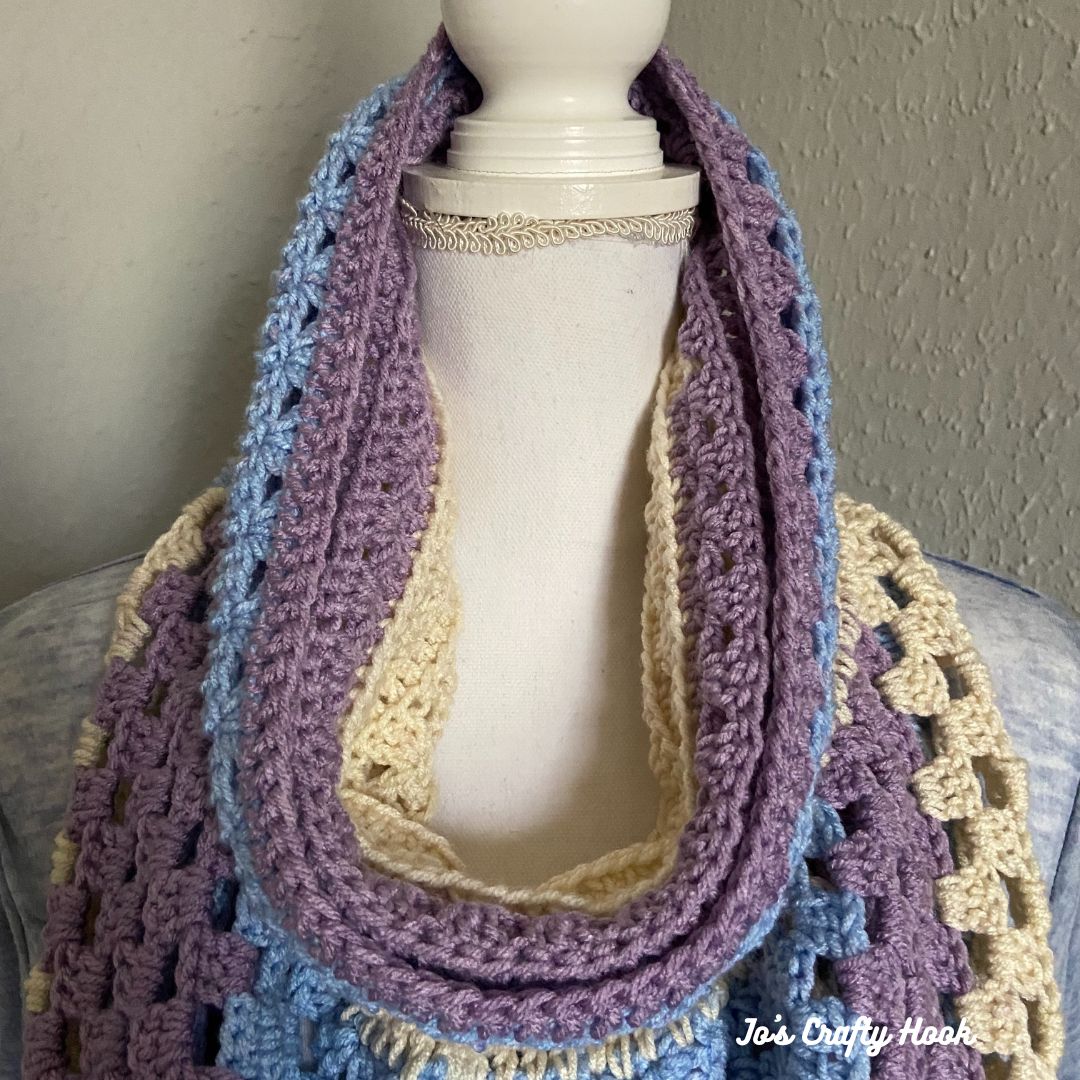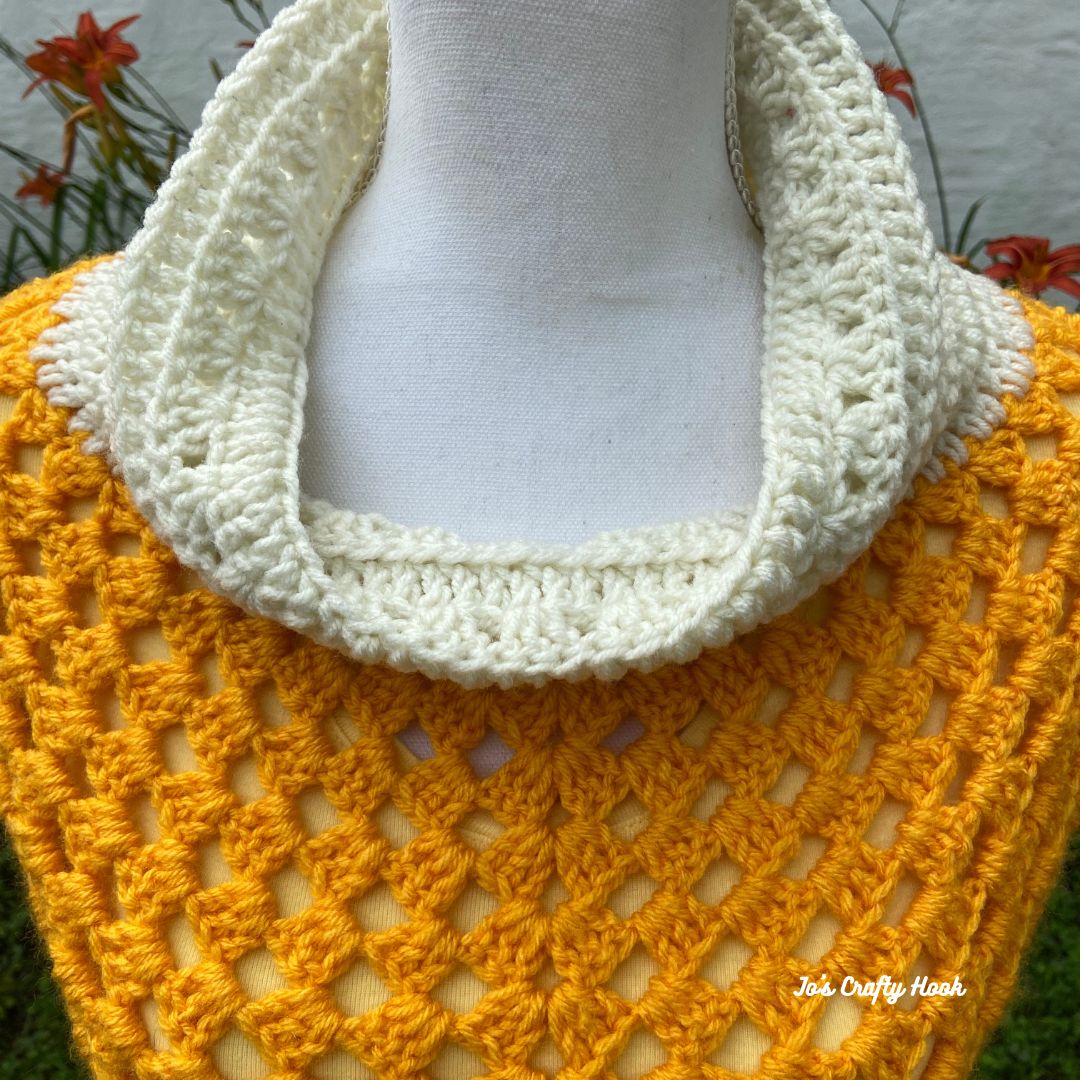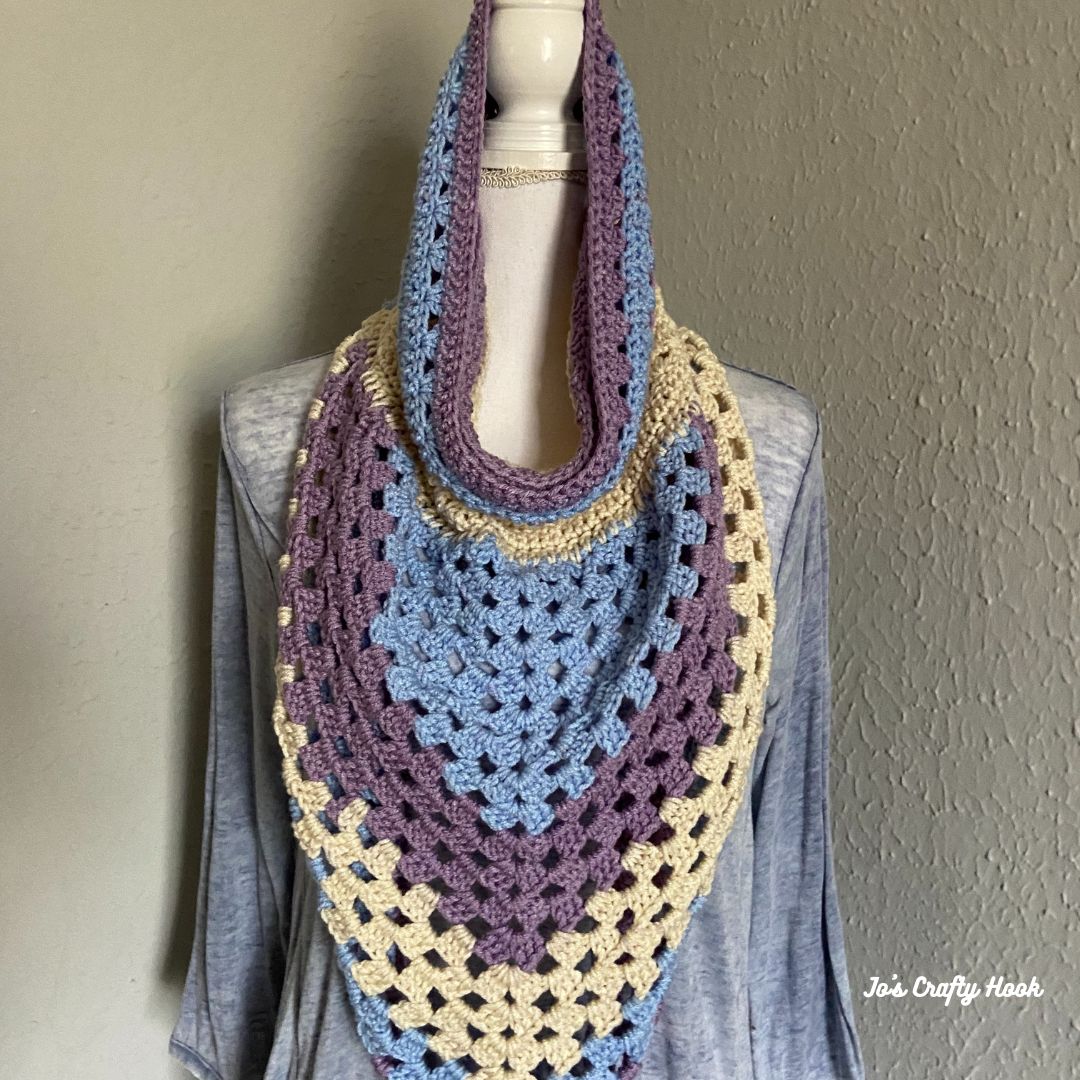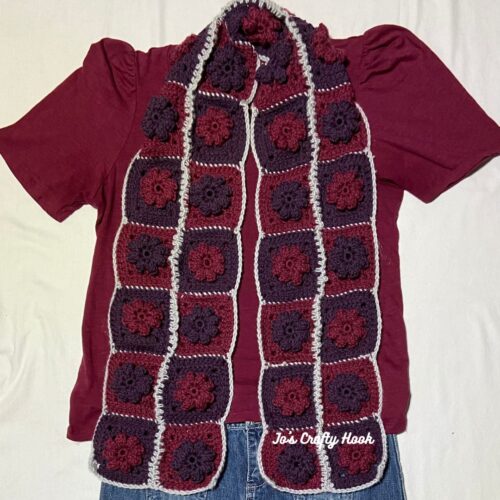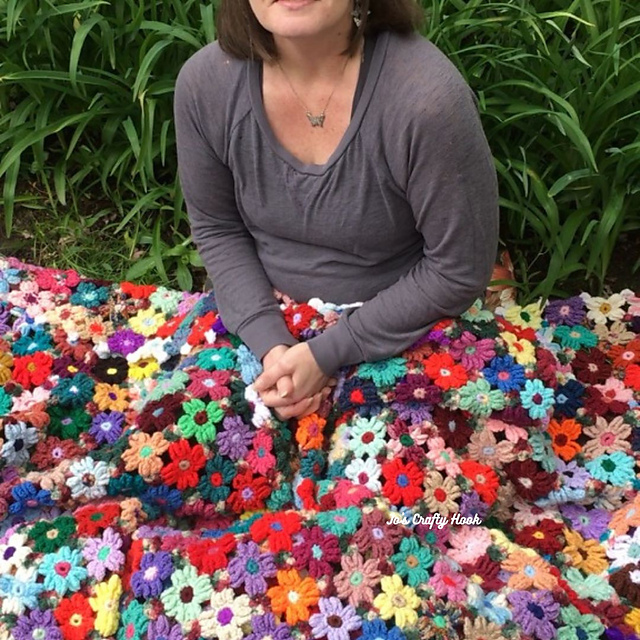
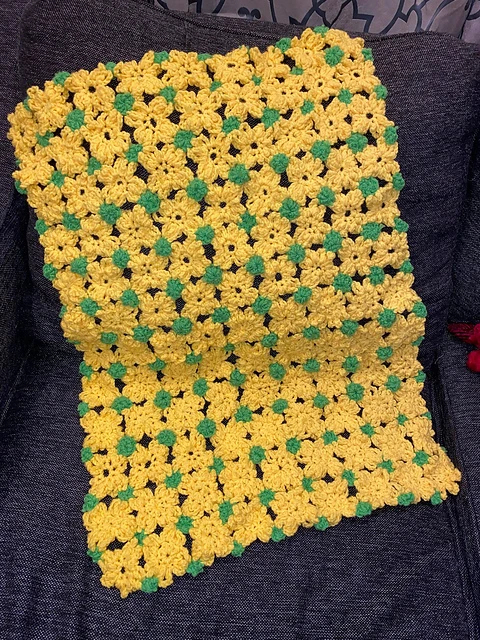
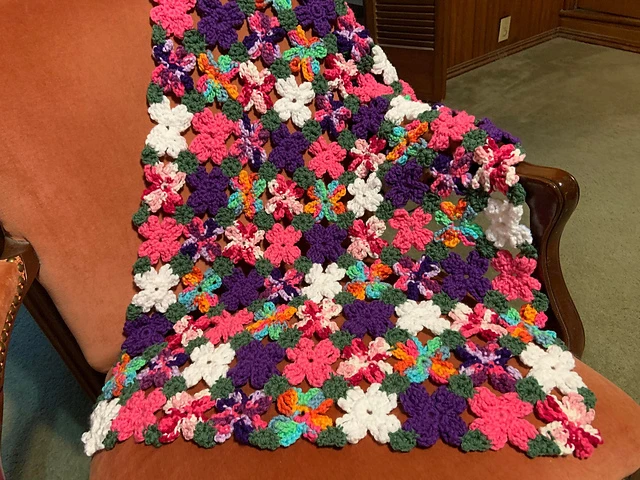
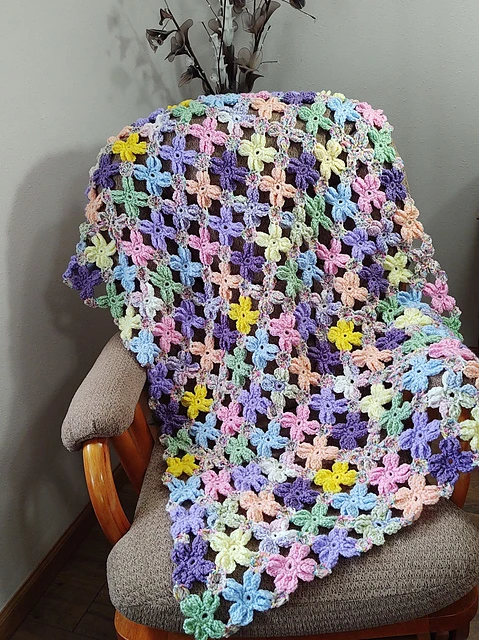
Mae’s Flower Garden Afghan
The Mae’s Flower Garden Afghan was designed with love and appreciation for the people who influence us with our love of crochet and for the legacy they leave behind.
This post contains affiliate links.
In this post, I am sharing a FREE crochet pattern of the Mae’s Flower Garden Afghan.
Story Behind the Design
Thank you for your interest in my Mae’s Flowers Crochet Pattern. This is a project that has been in the works for over 25 years. My gram started making these flowers for an Afghan back in 1994. I inherited the Afghan when she passed away about 20 years ago. It moved from house to house, taken out every once in a while, and I always said I was going to finish it and I have.
I decided I would write out the steps she did and turn it into a crochet pattern. I took the flowers apart to learn the stitches she used, so I could make my own. This pattern is dedicated to Gram. She was a very important part of my life. I hope you enjoy making the Mae’s Flowers too!
The FREE crochet pattern of the Mae’s Flower Garden Afghan below is for a Throw Size. I do have a premium copy of the Mae’s Flower Garden Crochet Pattern for $5 at my Ravelry Store. It contains:
- 2 Sizes to Choose from – Throw or Lapghan
- Step-by-Step Picture Tutorials
- Video Tutorials of Flowers and Assembly

Crochet Pattern Details
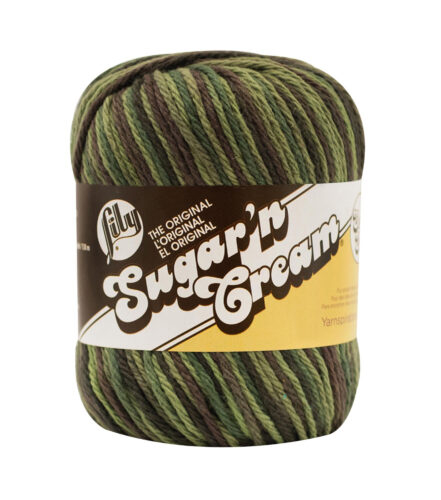
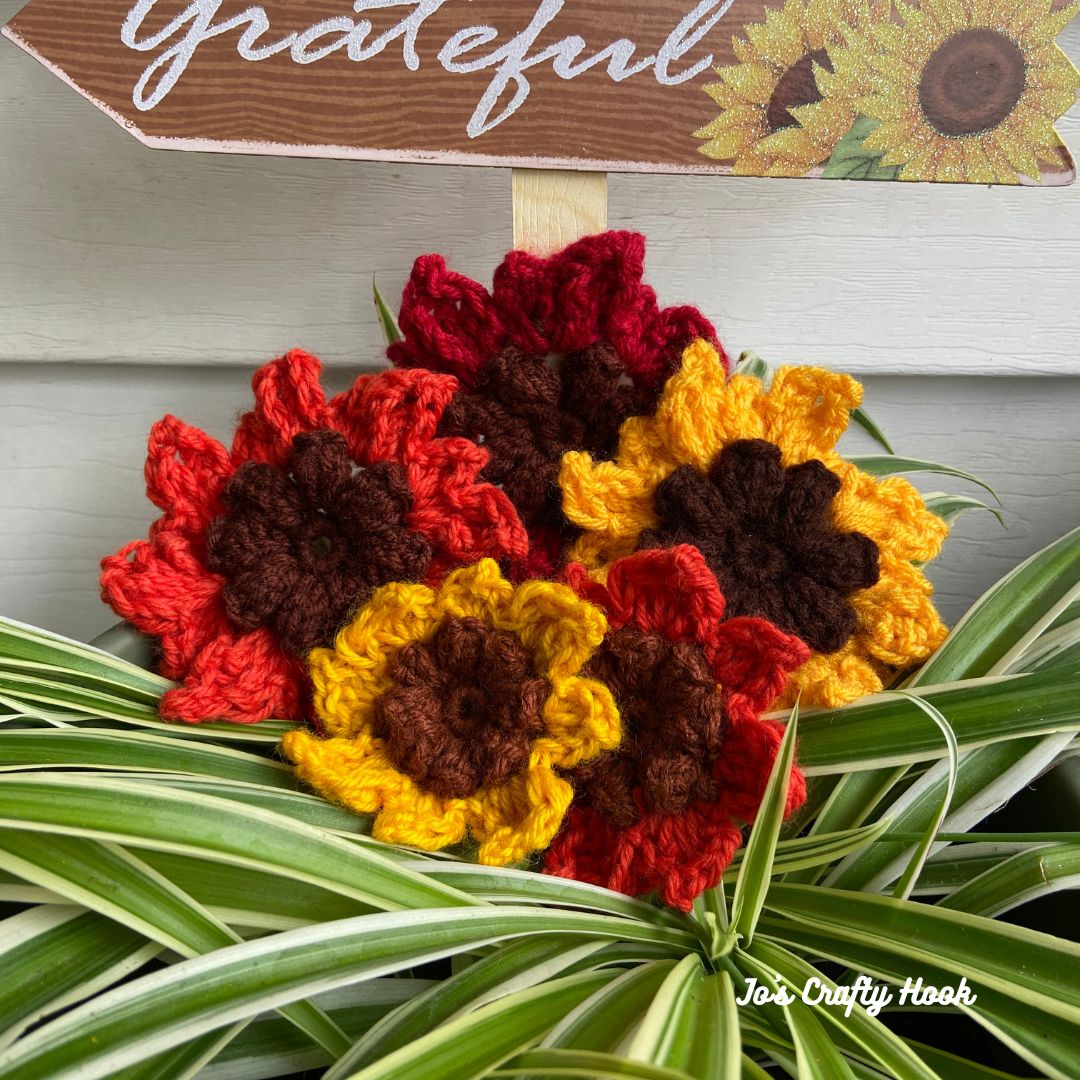
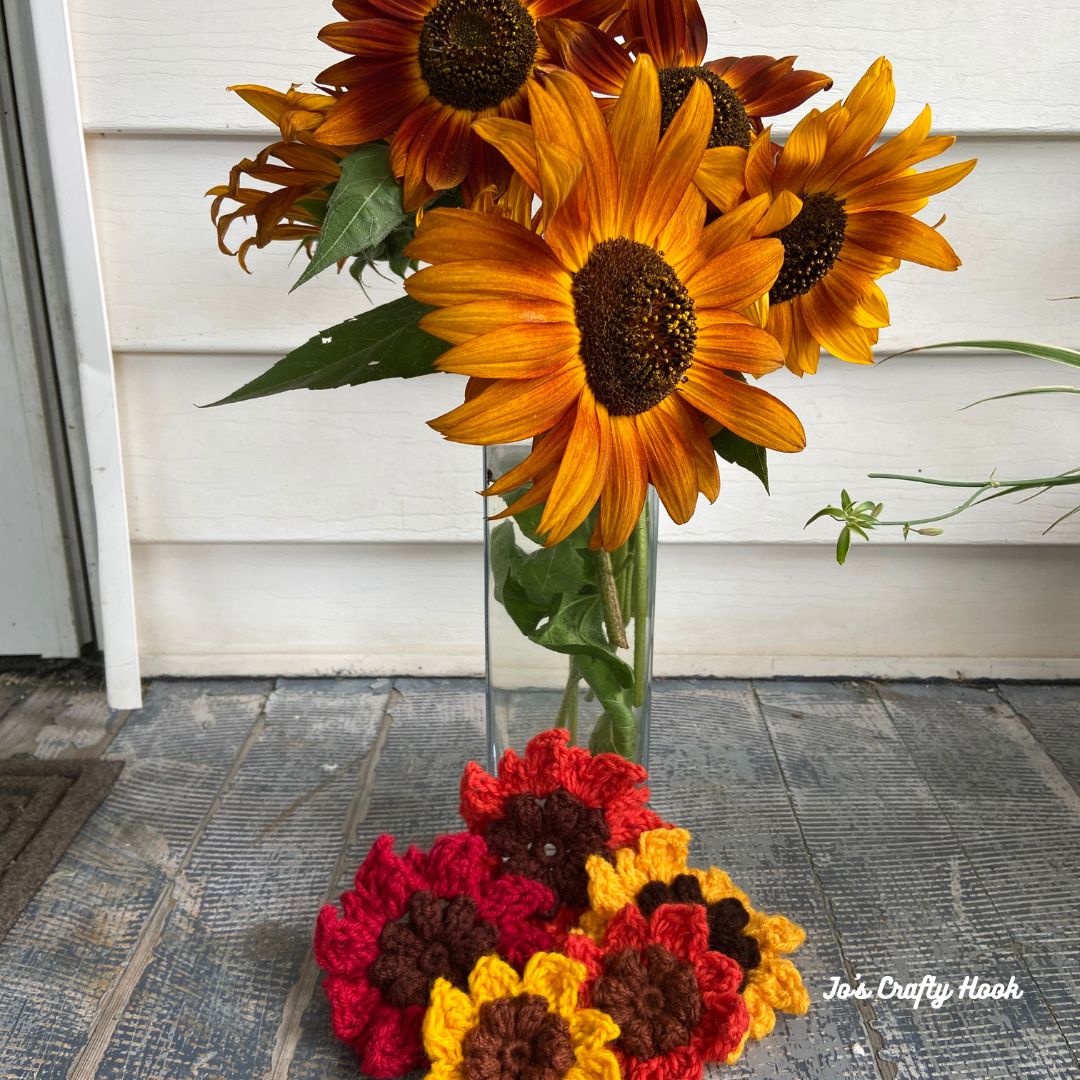
I used a variety of yarns in a variety of colors. The Mae’s Flowers can be made in solid or contrasting colors. This crochet pattern is a great way to use up your scrap yarn.
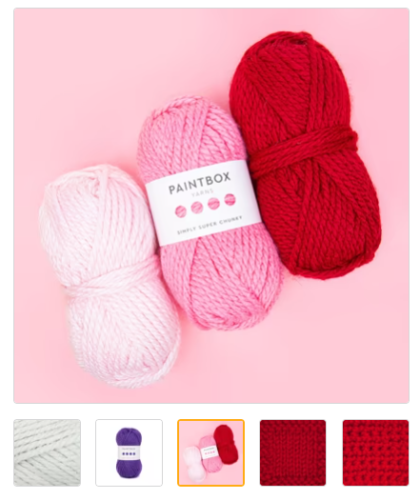
Materials:
2-4 yds of 4 ply Worsted/Aran Weight Yarn
US H Crochet Hook or 5mm
Tapestry Needle
Scissors
Abbreviations/Stitches Used:
sc = single crochet
dc = double crochet
ch = chain
st = stitch
sl st = slip stitch
sp = space
rep = repeat
RS = Right Side
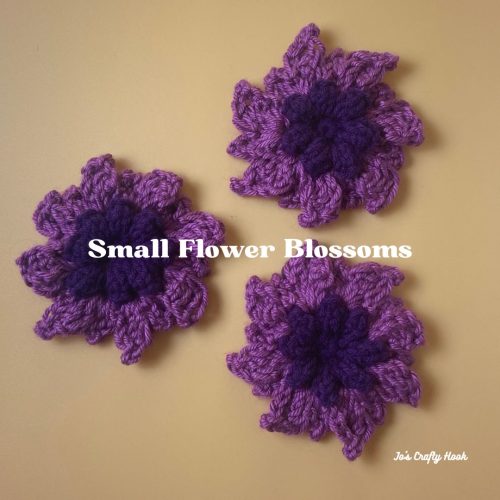
Flower Size: 3” x 3”
Flowers Needed: 176
Throw Afghan Size: 48″ x 60″
Notes:
It would be a great idea to weave in your ends as you go. If you do not, you will spend a long time weaving them in after the afghan is complete
Mae’s Flower Video Tutorial
Mae’s Flower Free Crochet Pattern
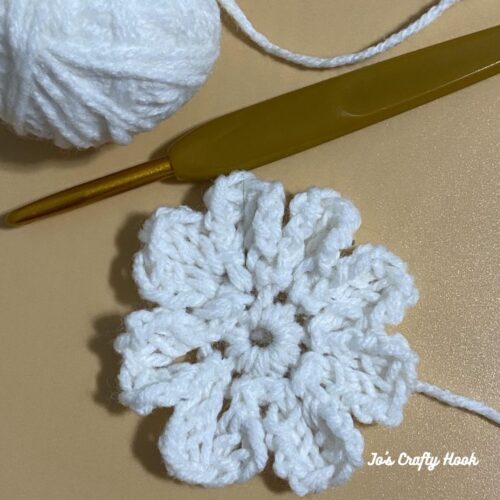
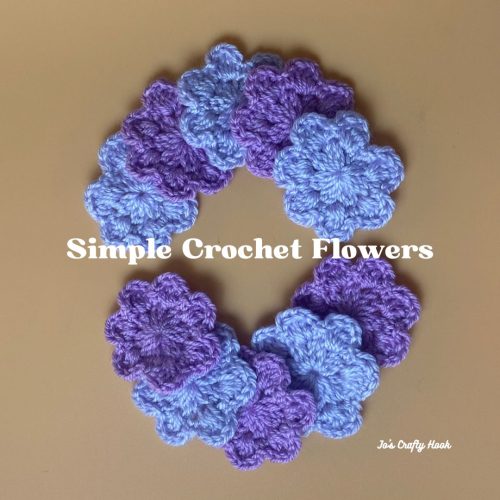
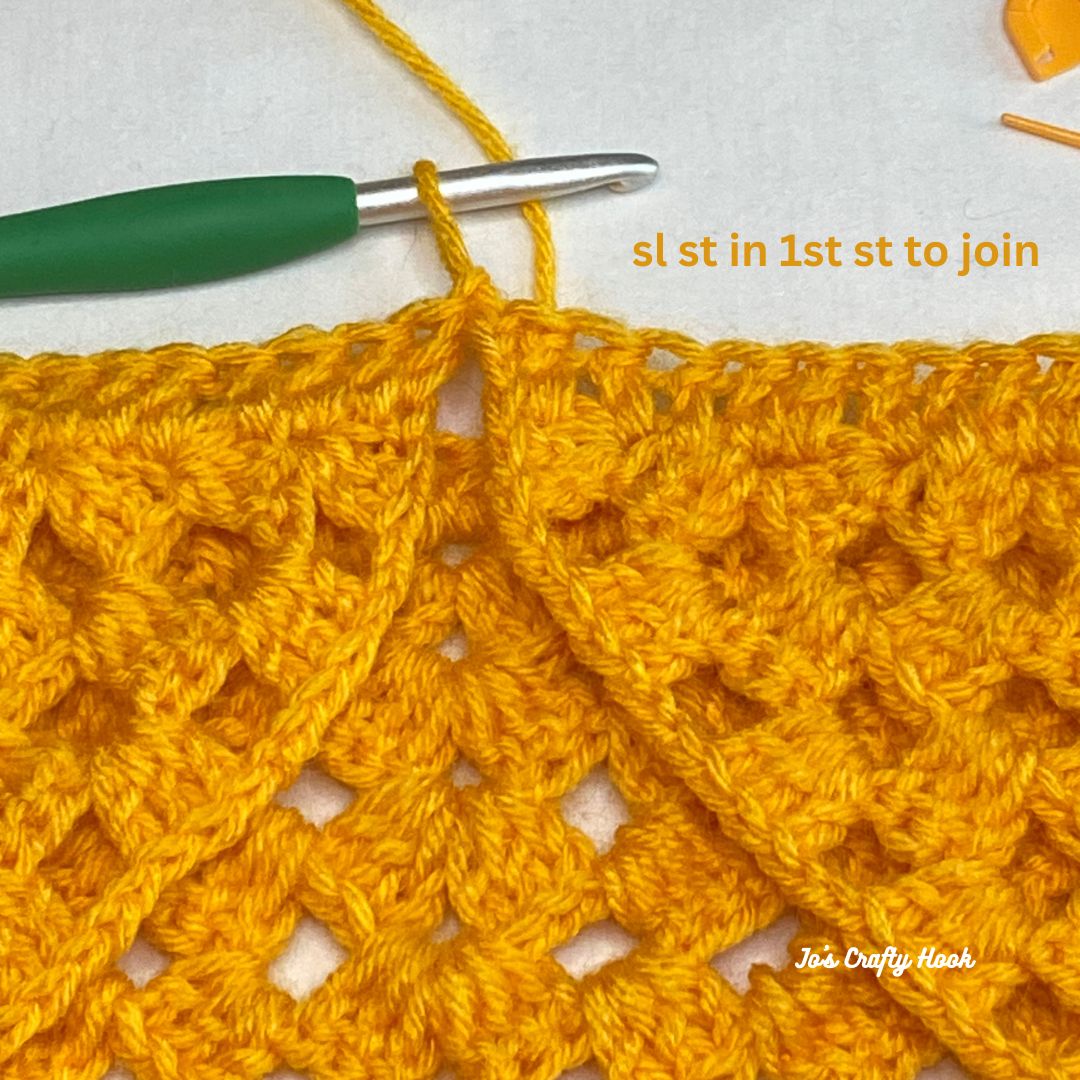
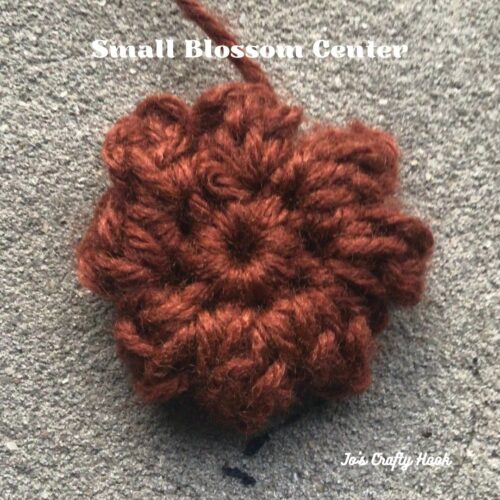
R1: make a loose slip knot or a magic circle, ch 2, 8 sc in ch 1 or magic circle. sl st in 1st sc to join.
R2: ch 4, dc in ch 1 just made , ch 4, dc in 2nd ch 1 made, sl st in same sc. *sl st in next sc, ch 4, dc in ch 1 just made, ch 4, dc in 2nd ch 1, sl st in same sc. rep from * around. sl st in 1st st to join.
Rep R2 until you have 8 flower petals.
Fasten off and weave in ends.
Continue these steps until you have 180 flowers
************************************************
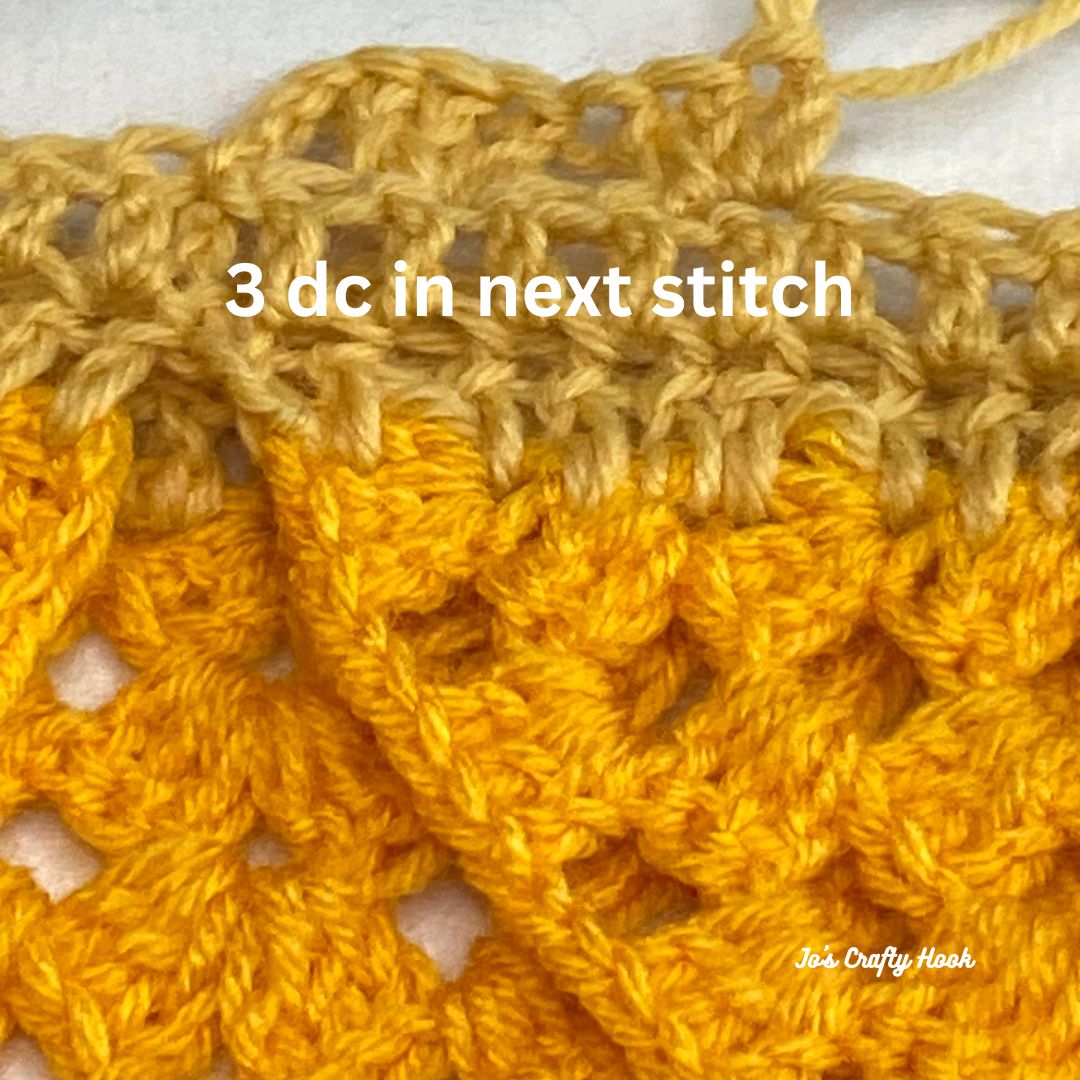
Border Pieces
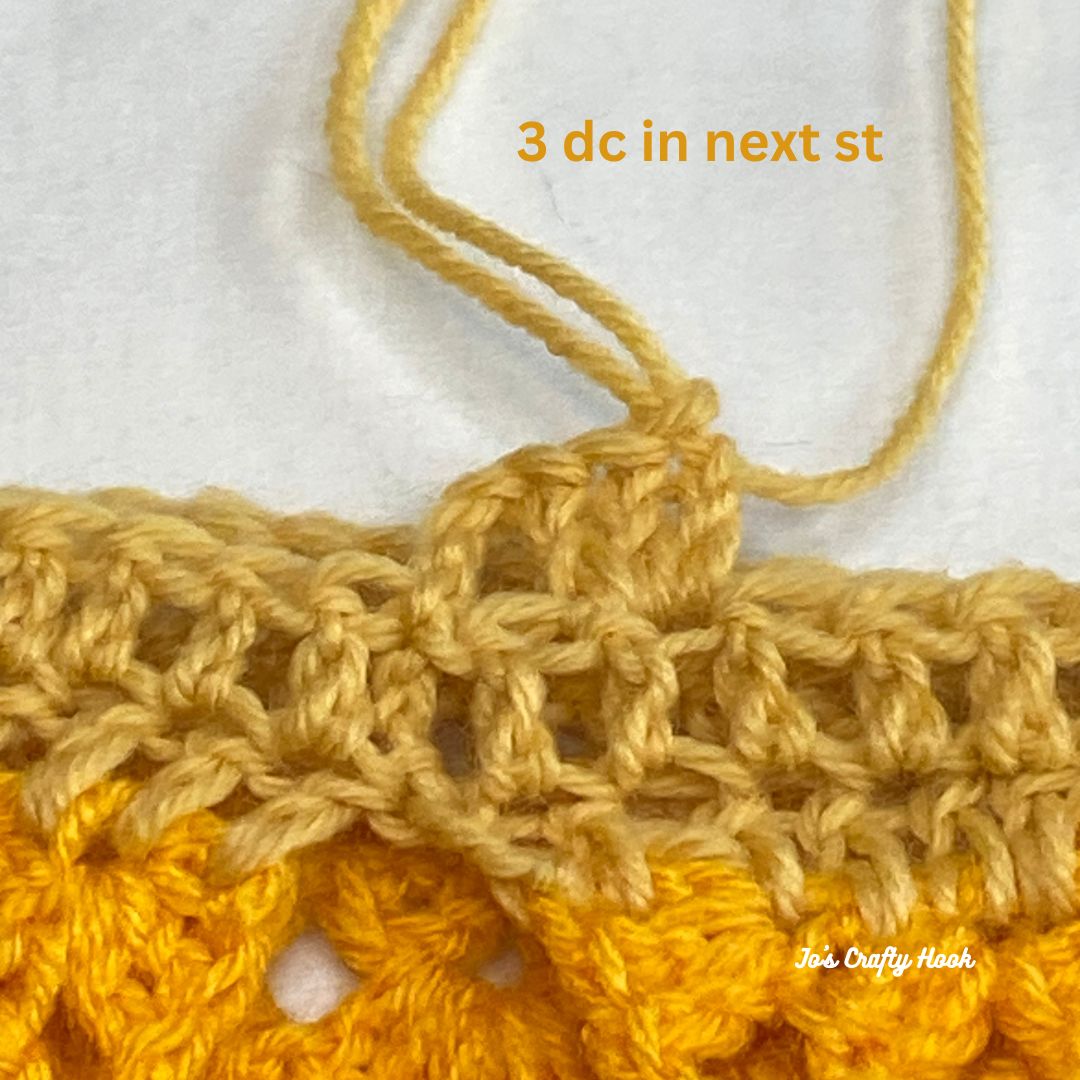
ch 1, 4 dc in ch-1 sp. sl st in 1st dc to join. 4 dc
Fasten off and weave in ends.
rep until you have 50 Edgers.
Connection Pieces
ch 1, 8 dc in ch-1 sp. sl st in 1st dc to join. 8 dc
Fasten off and weave in ends.
rep until you have 180 Connectors.
************************************************
The Mae’s Flower Garden Afghan Assembly
The assembly of the afghan is simple, but it is better explained in my Assembly Instructions Video Tutorial found on my YouTube Channel.
![]()
You can purchase the premium copy of the Mae’s Flower Garden Afghan Crochet Pattern for $5 at my Ravelry Store.
Inside the premium copy of the Mae’s Flower Garden Afghan crochet pattern there are a lot of extra goodies. You get:
- 2 Sizes to Choose from – Throw or Lapghan
- Step-by-Step Picture Tutorials
- Video Tutorials of Flowers and Assembly
Shop my Stores
Find me, Jo of Jo’s Crafty Hook at the places listed below.
Email: jo@joscraftyhook.com
LinkTree
Facebook Group Jo’s Crafty Hookers
Facebook Group Jo’s Crafty Hook Designs
Facebook Page Jo’s Crafty Hook
Facebook Page: Crochet Designer Community
![]()

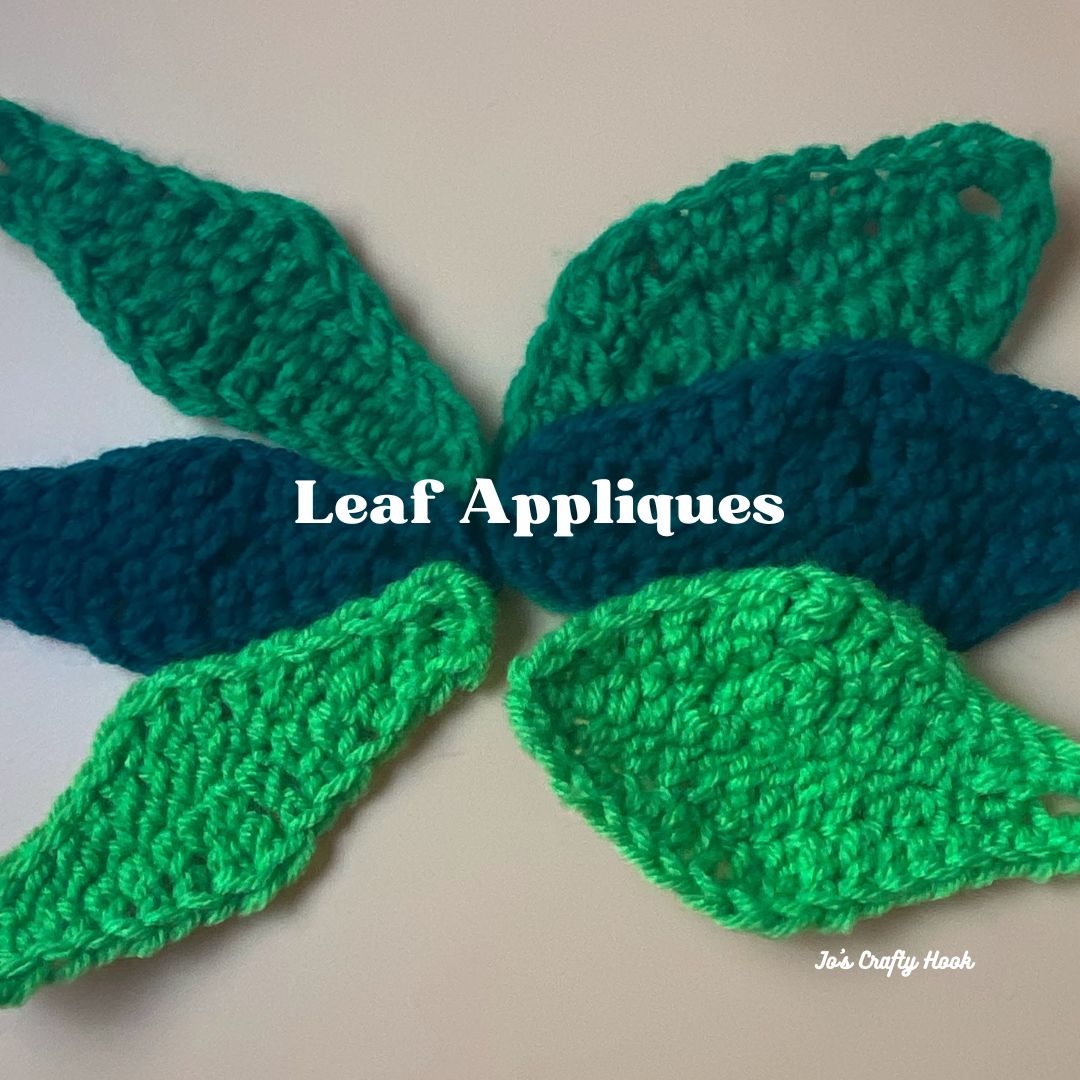
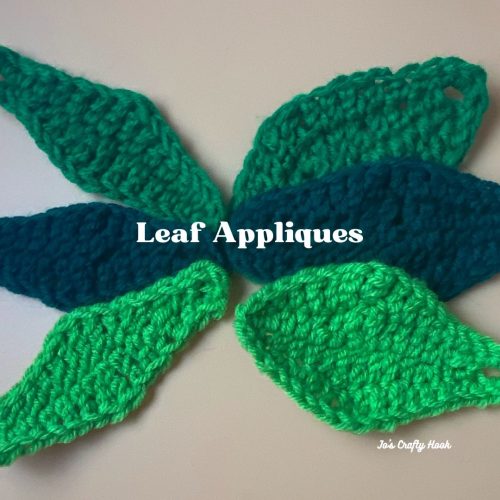
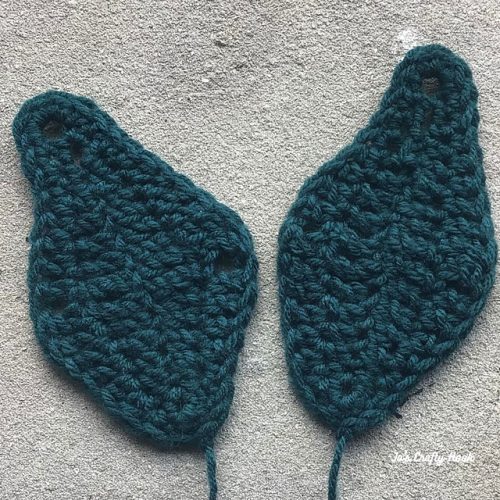
 I have a Blooming Flowers Wall Hanging eBook. It contains all 7 flowers crochet patterns, a leaf appliques crochet pattern with 2 versions and the Styrofoam Ring Cover Crochet Pattern. The eBook can be found at my