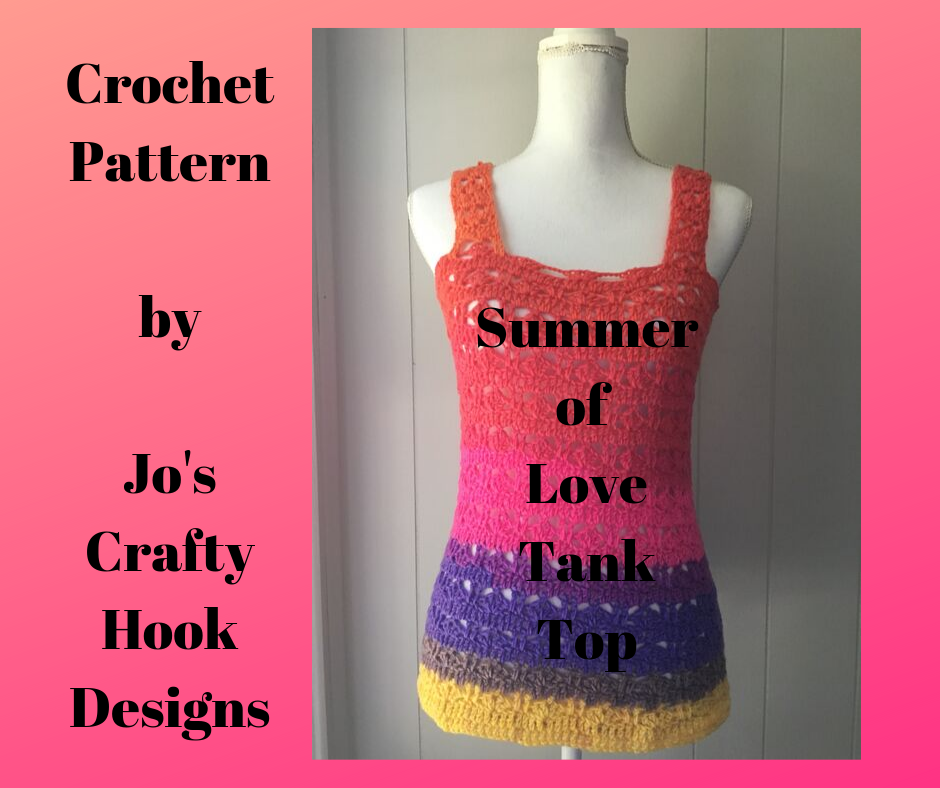
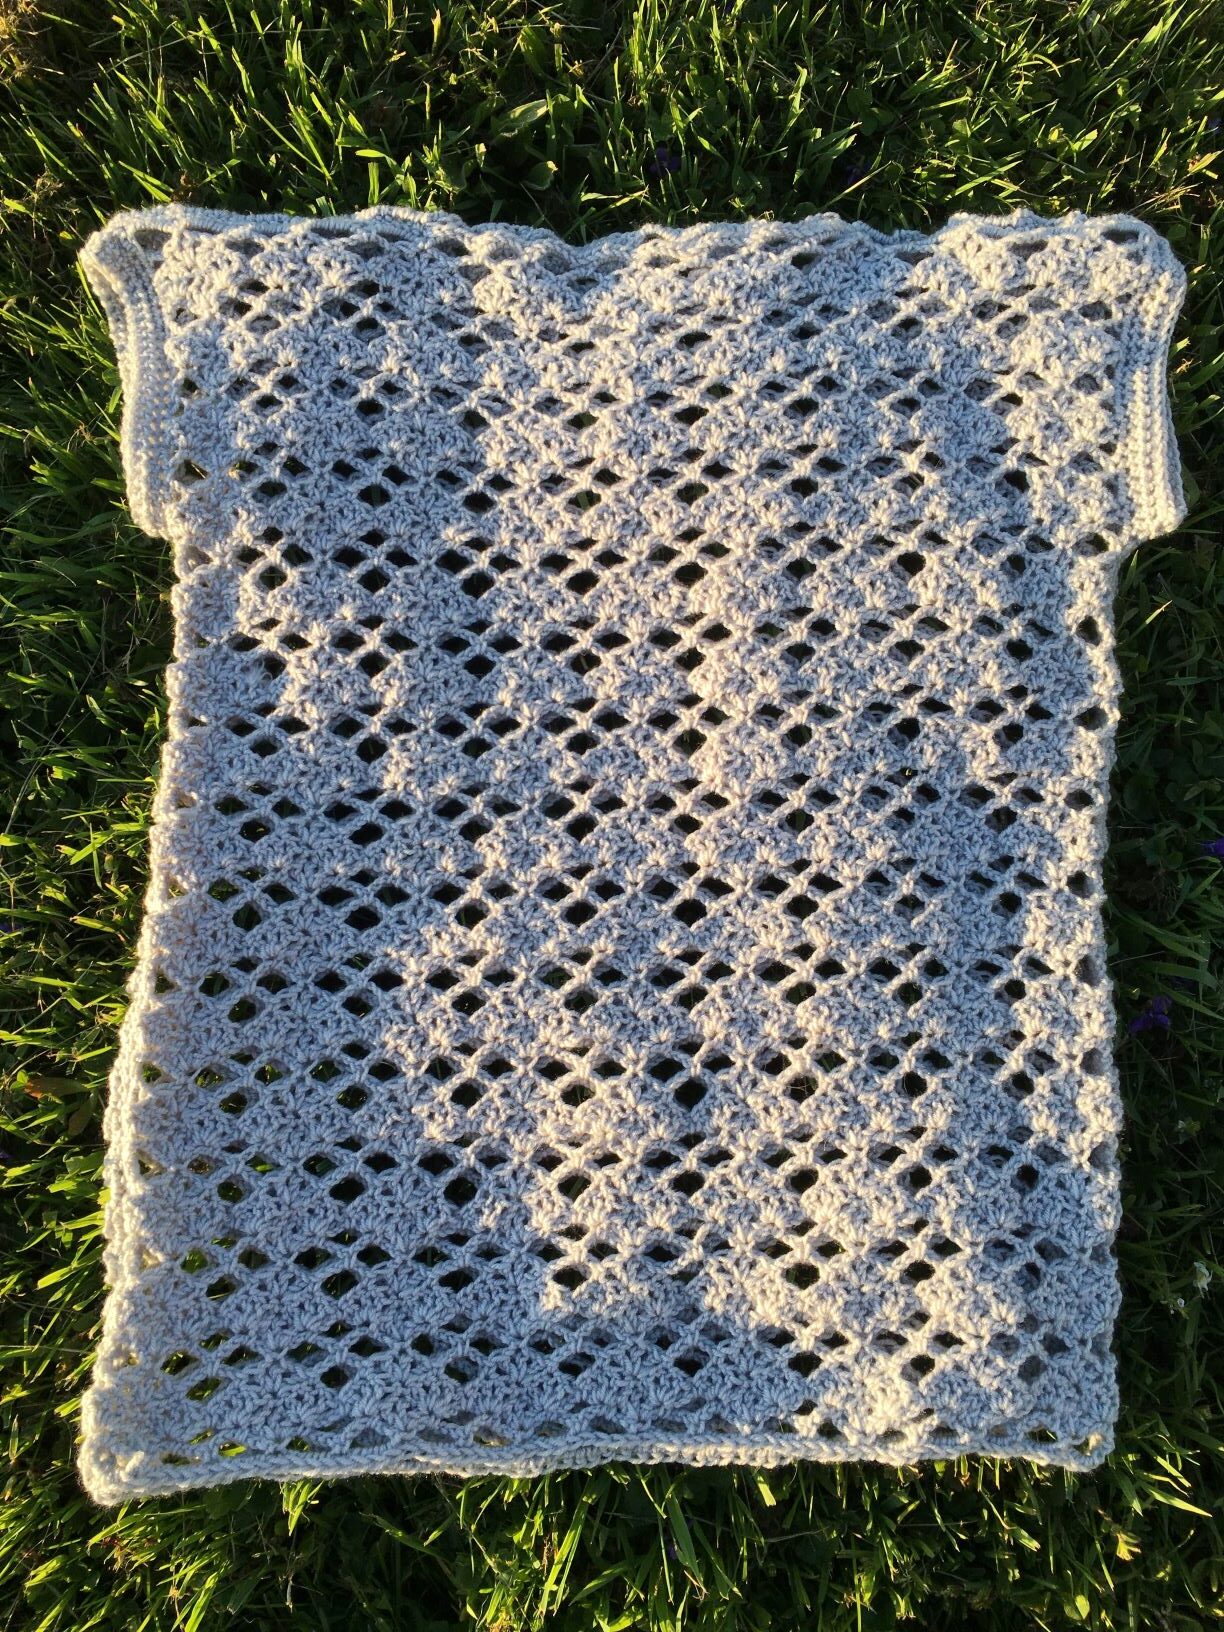
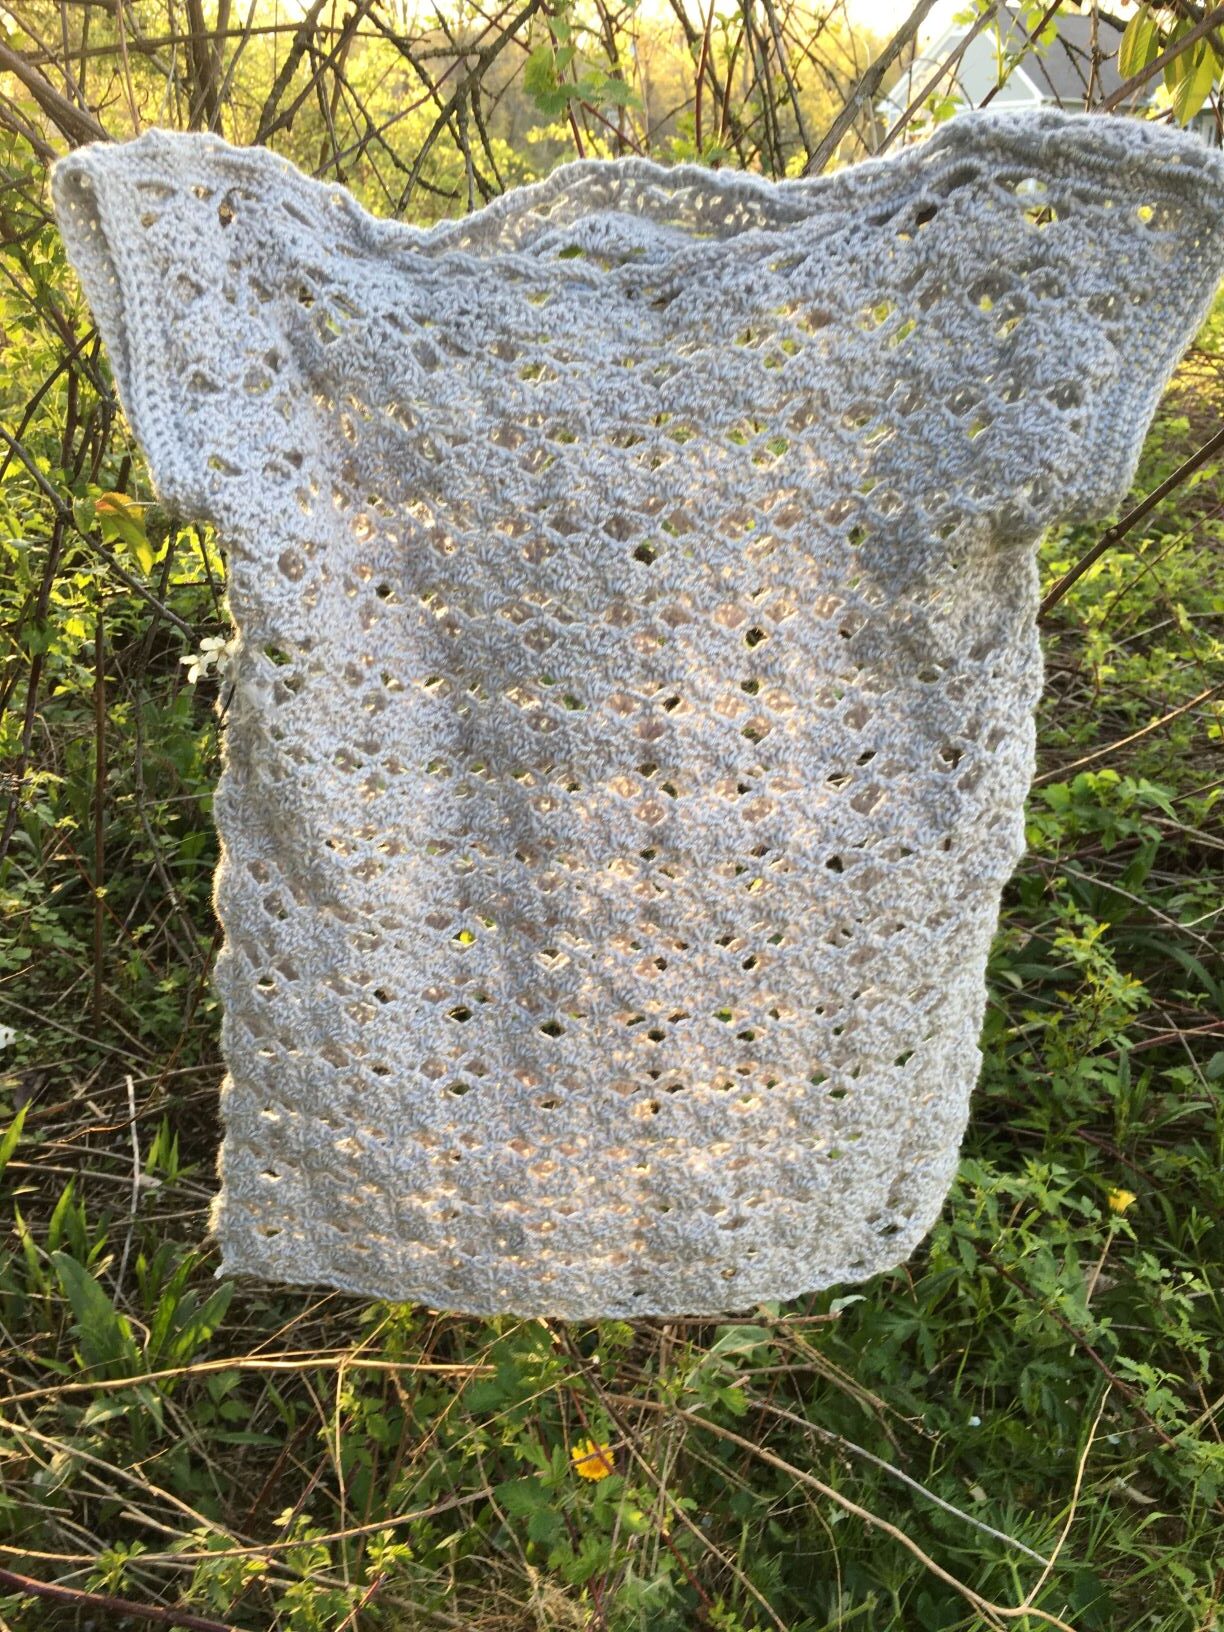
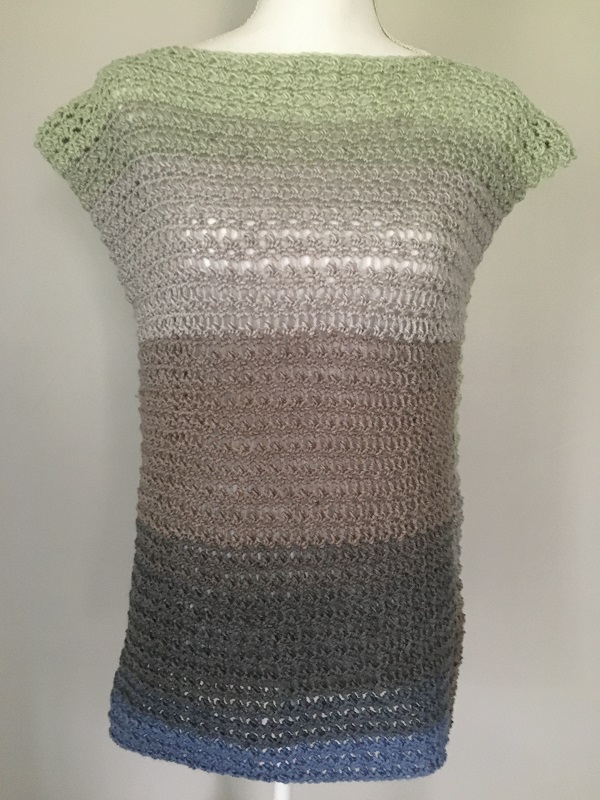
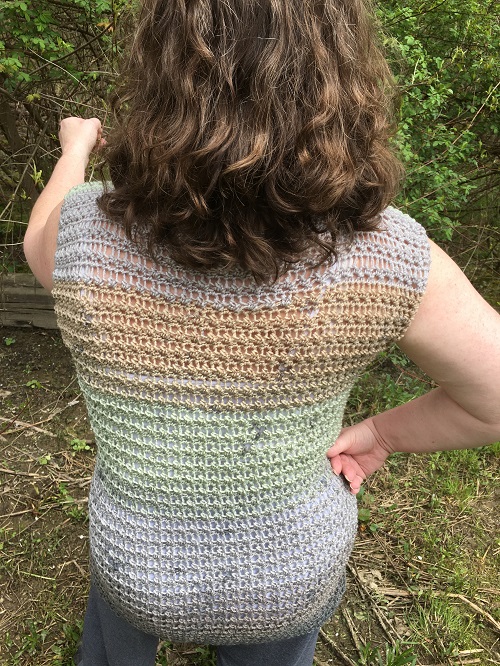
Nellie Summer Tee Free Crochet Pattern
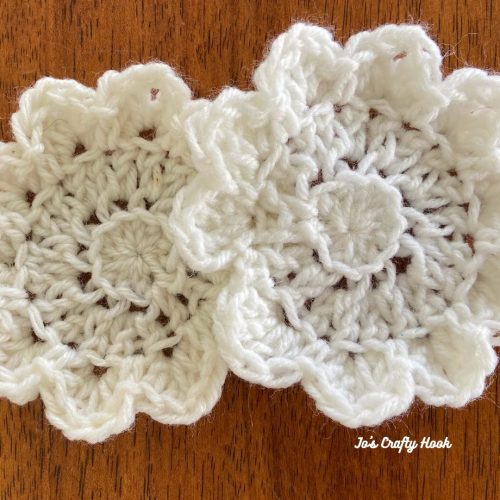
Today I would LOVE to share with you another free crochet pattern by Jo’s Crafty Hook Designs! The Nellie Summer Tee Free Crochet Pattern started with a new stitch, the N-Stitch. I learned the N-Stitch during the Spring while testing for another great crochet designer group, Sunflower Cottage Crochet.
This page contains affiliate links.
 If you have never crocheted the N-Stitch, I have a great one you can find on my YouTube Channel.
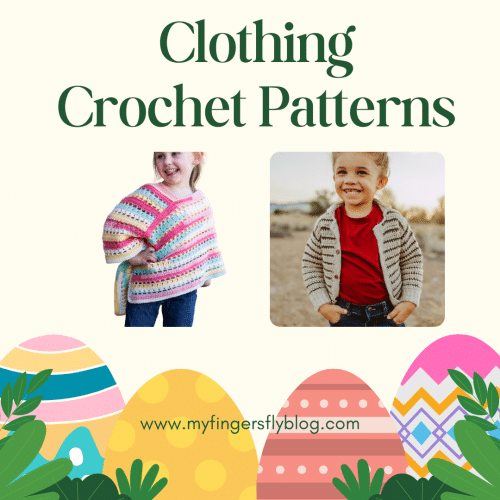
Easter Advent Calendar Event
Easter and Spring is a great time to add new items to your wardrobe. My Fingers Fly is hosting an Easter Advent Calendar Event that has FREE crochet patterns to help you crochet these things.
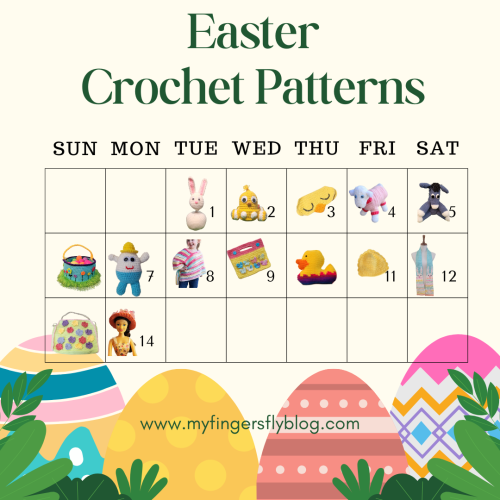
Day 8 – Clothing
The Nellie Summer Tee Crochet Pattern is being featured in the Easter Advent Calendar Event along with clothing from My Fingers Fly. You can find free crochet patterns her, the Pinstripe Sweater and the Tutti Frutti Poncho.
Ad-Free Premium Copy
You can find a premium copy of the Nellie Summer Tee Crochet Pattern on sale until April 30, 2025 for $2!
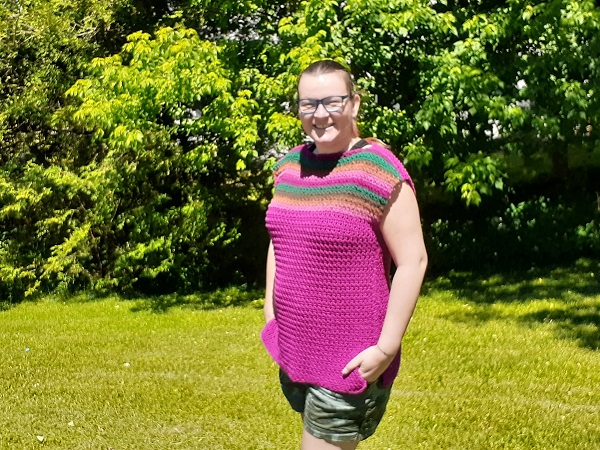
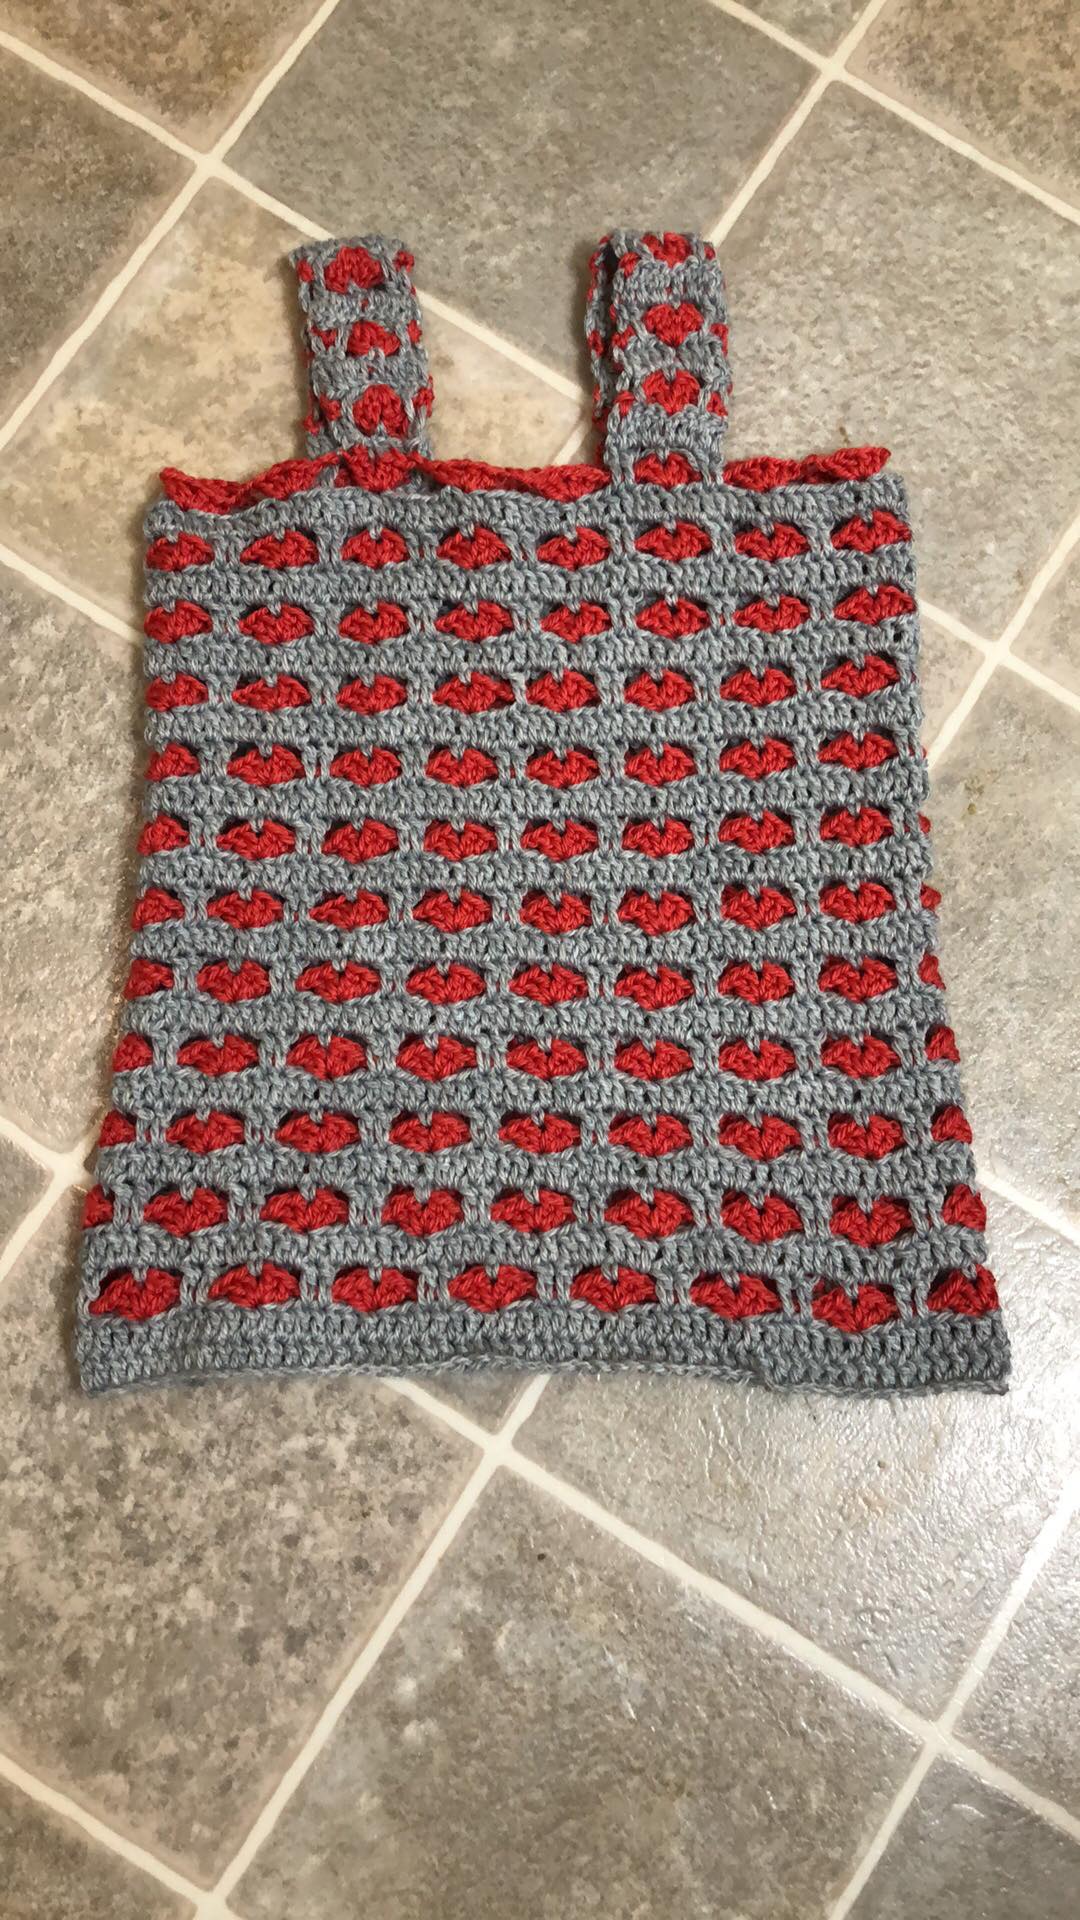
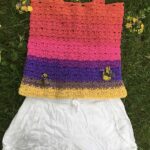
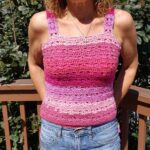
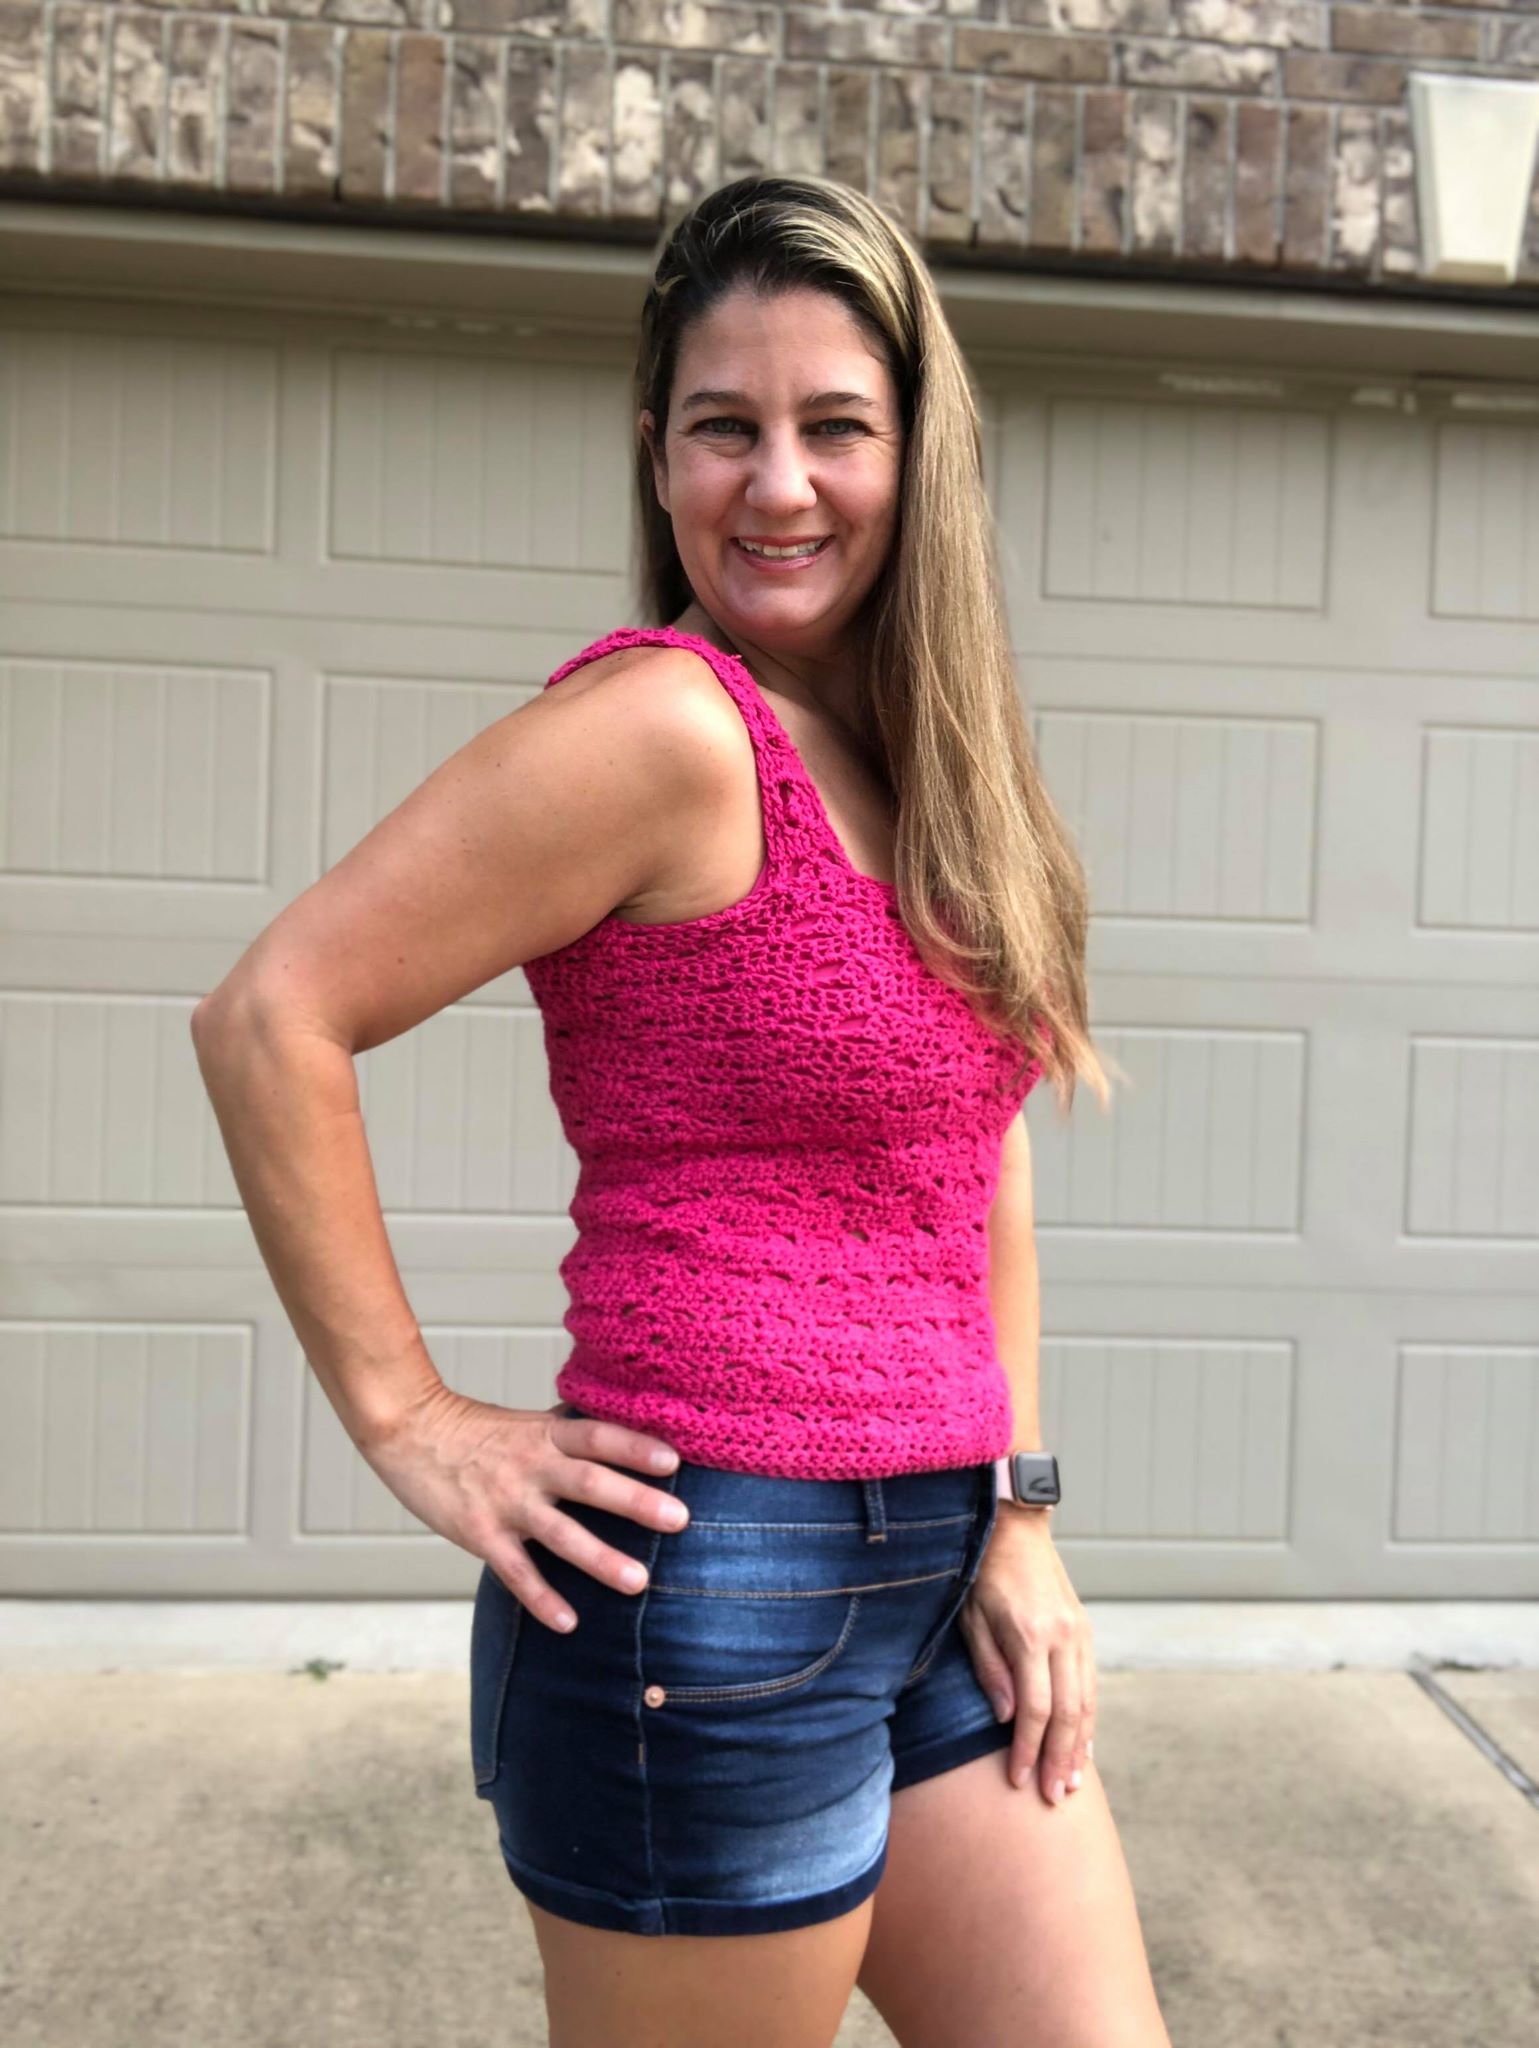
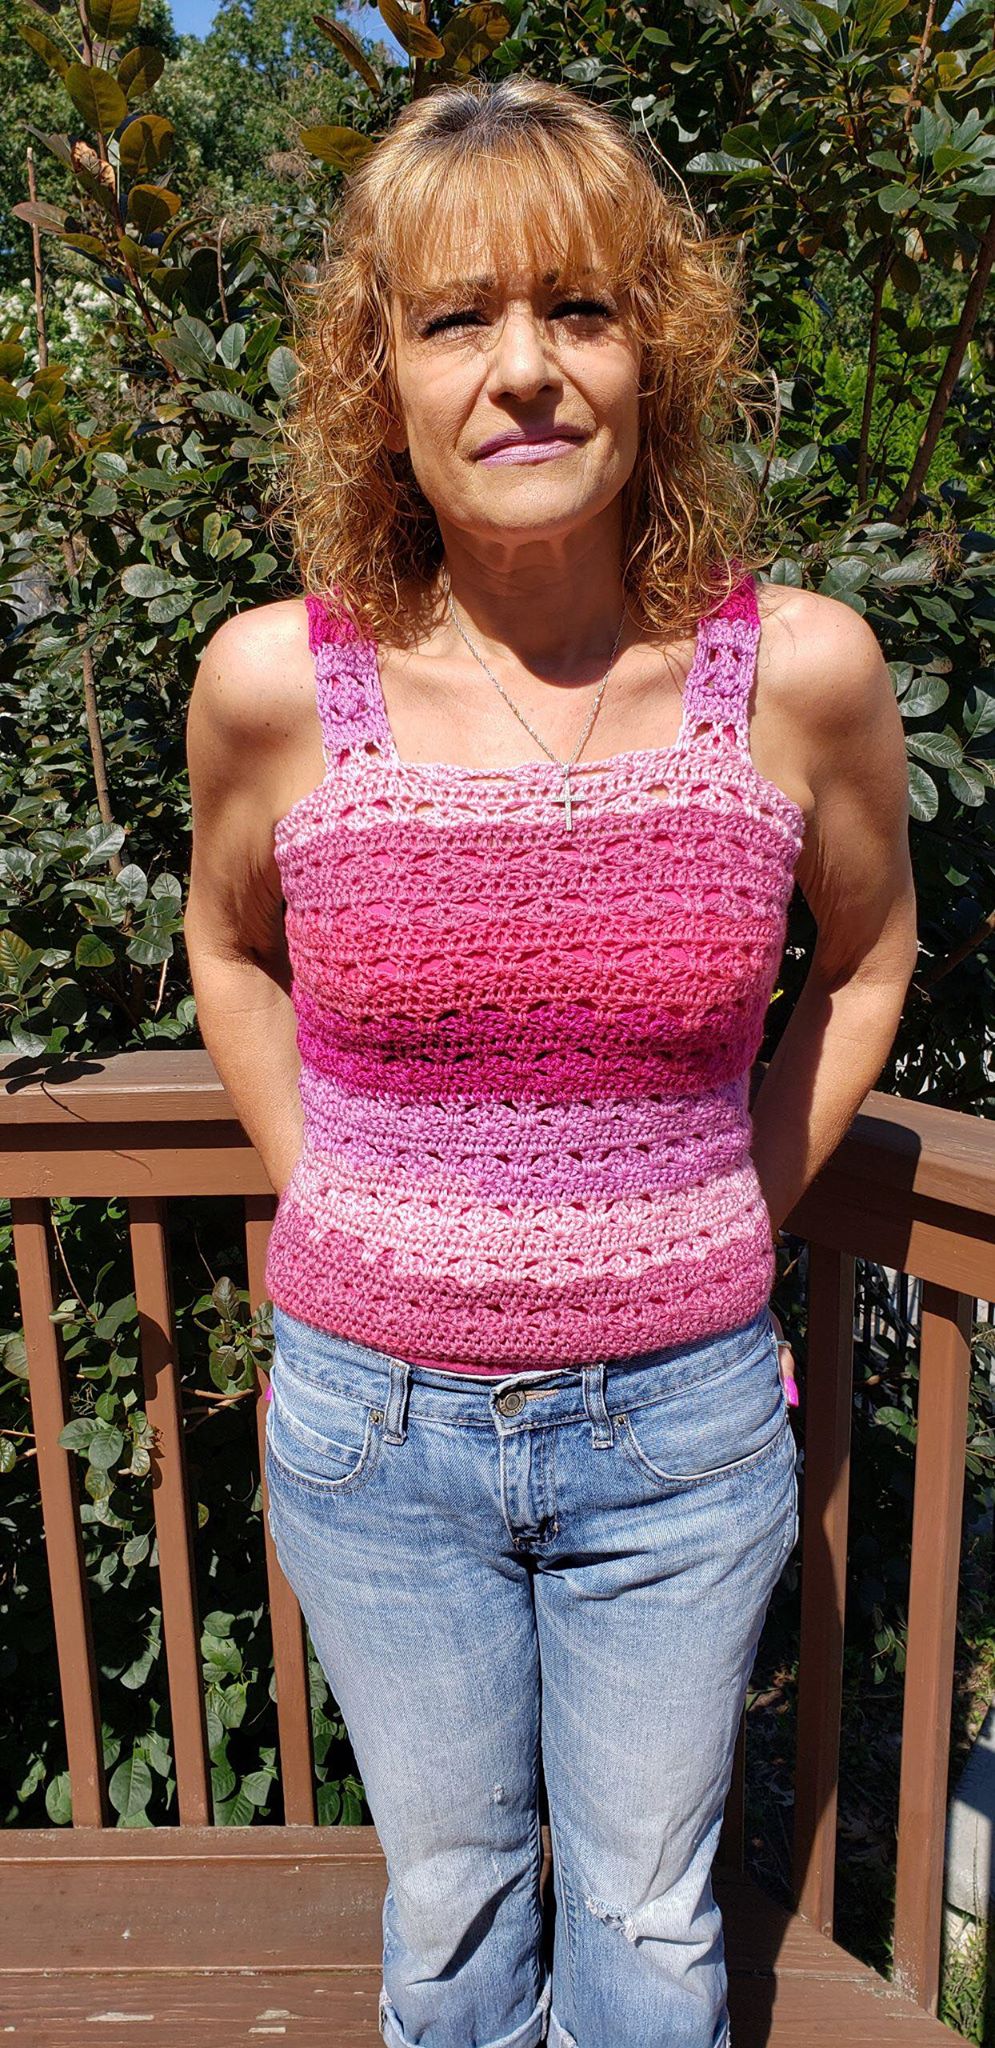
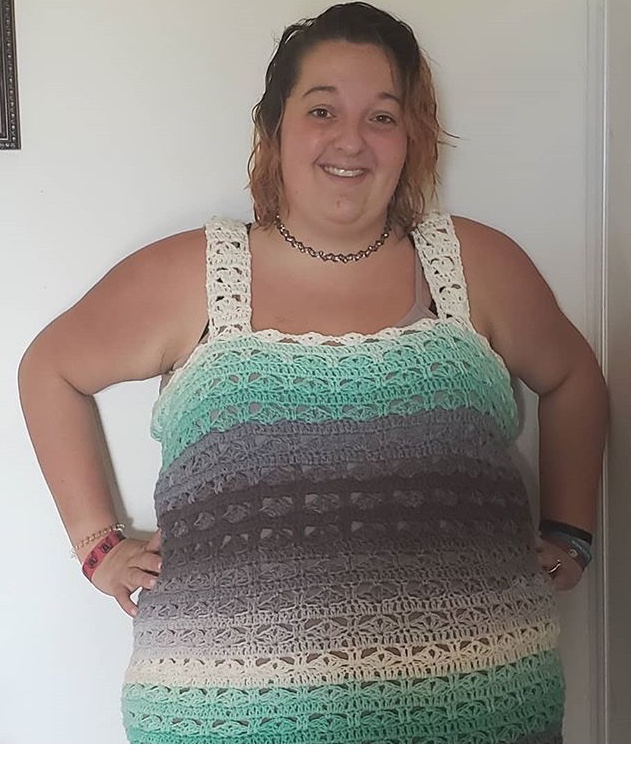
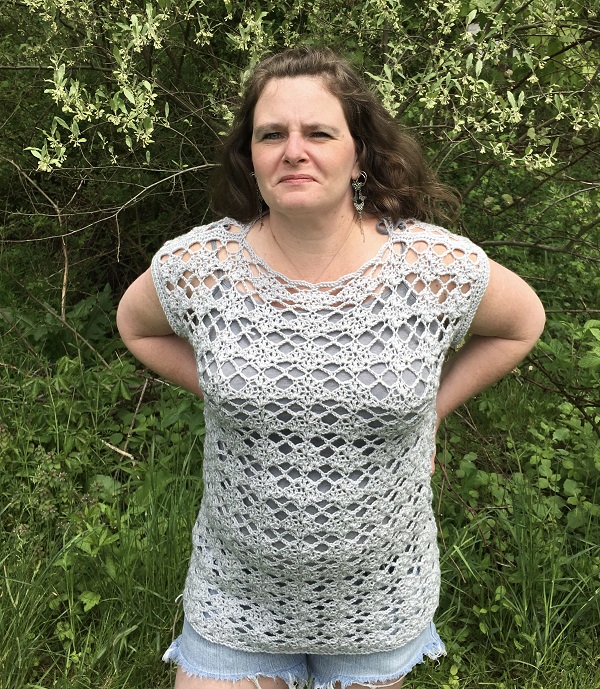
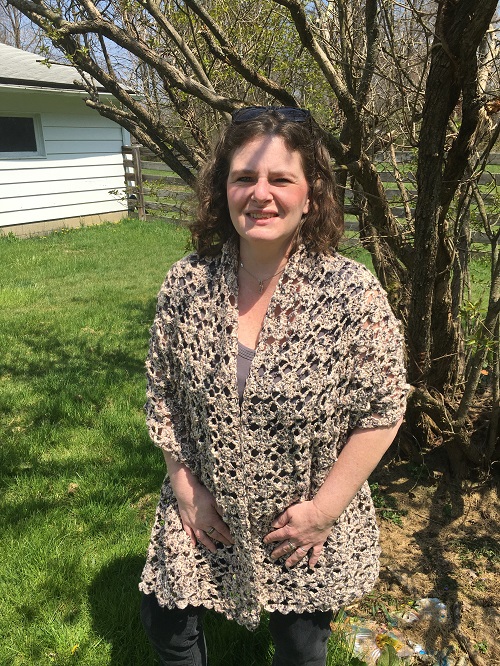
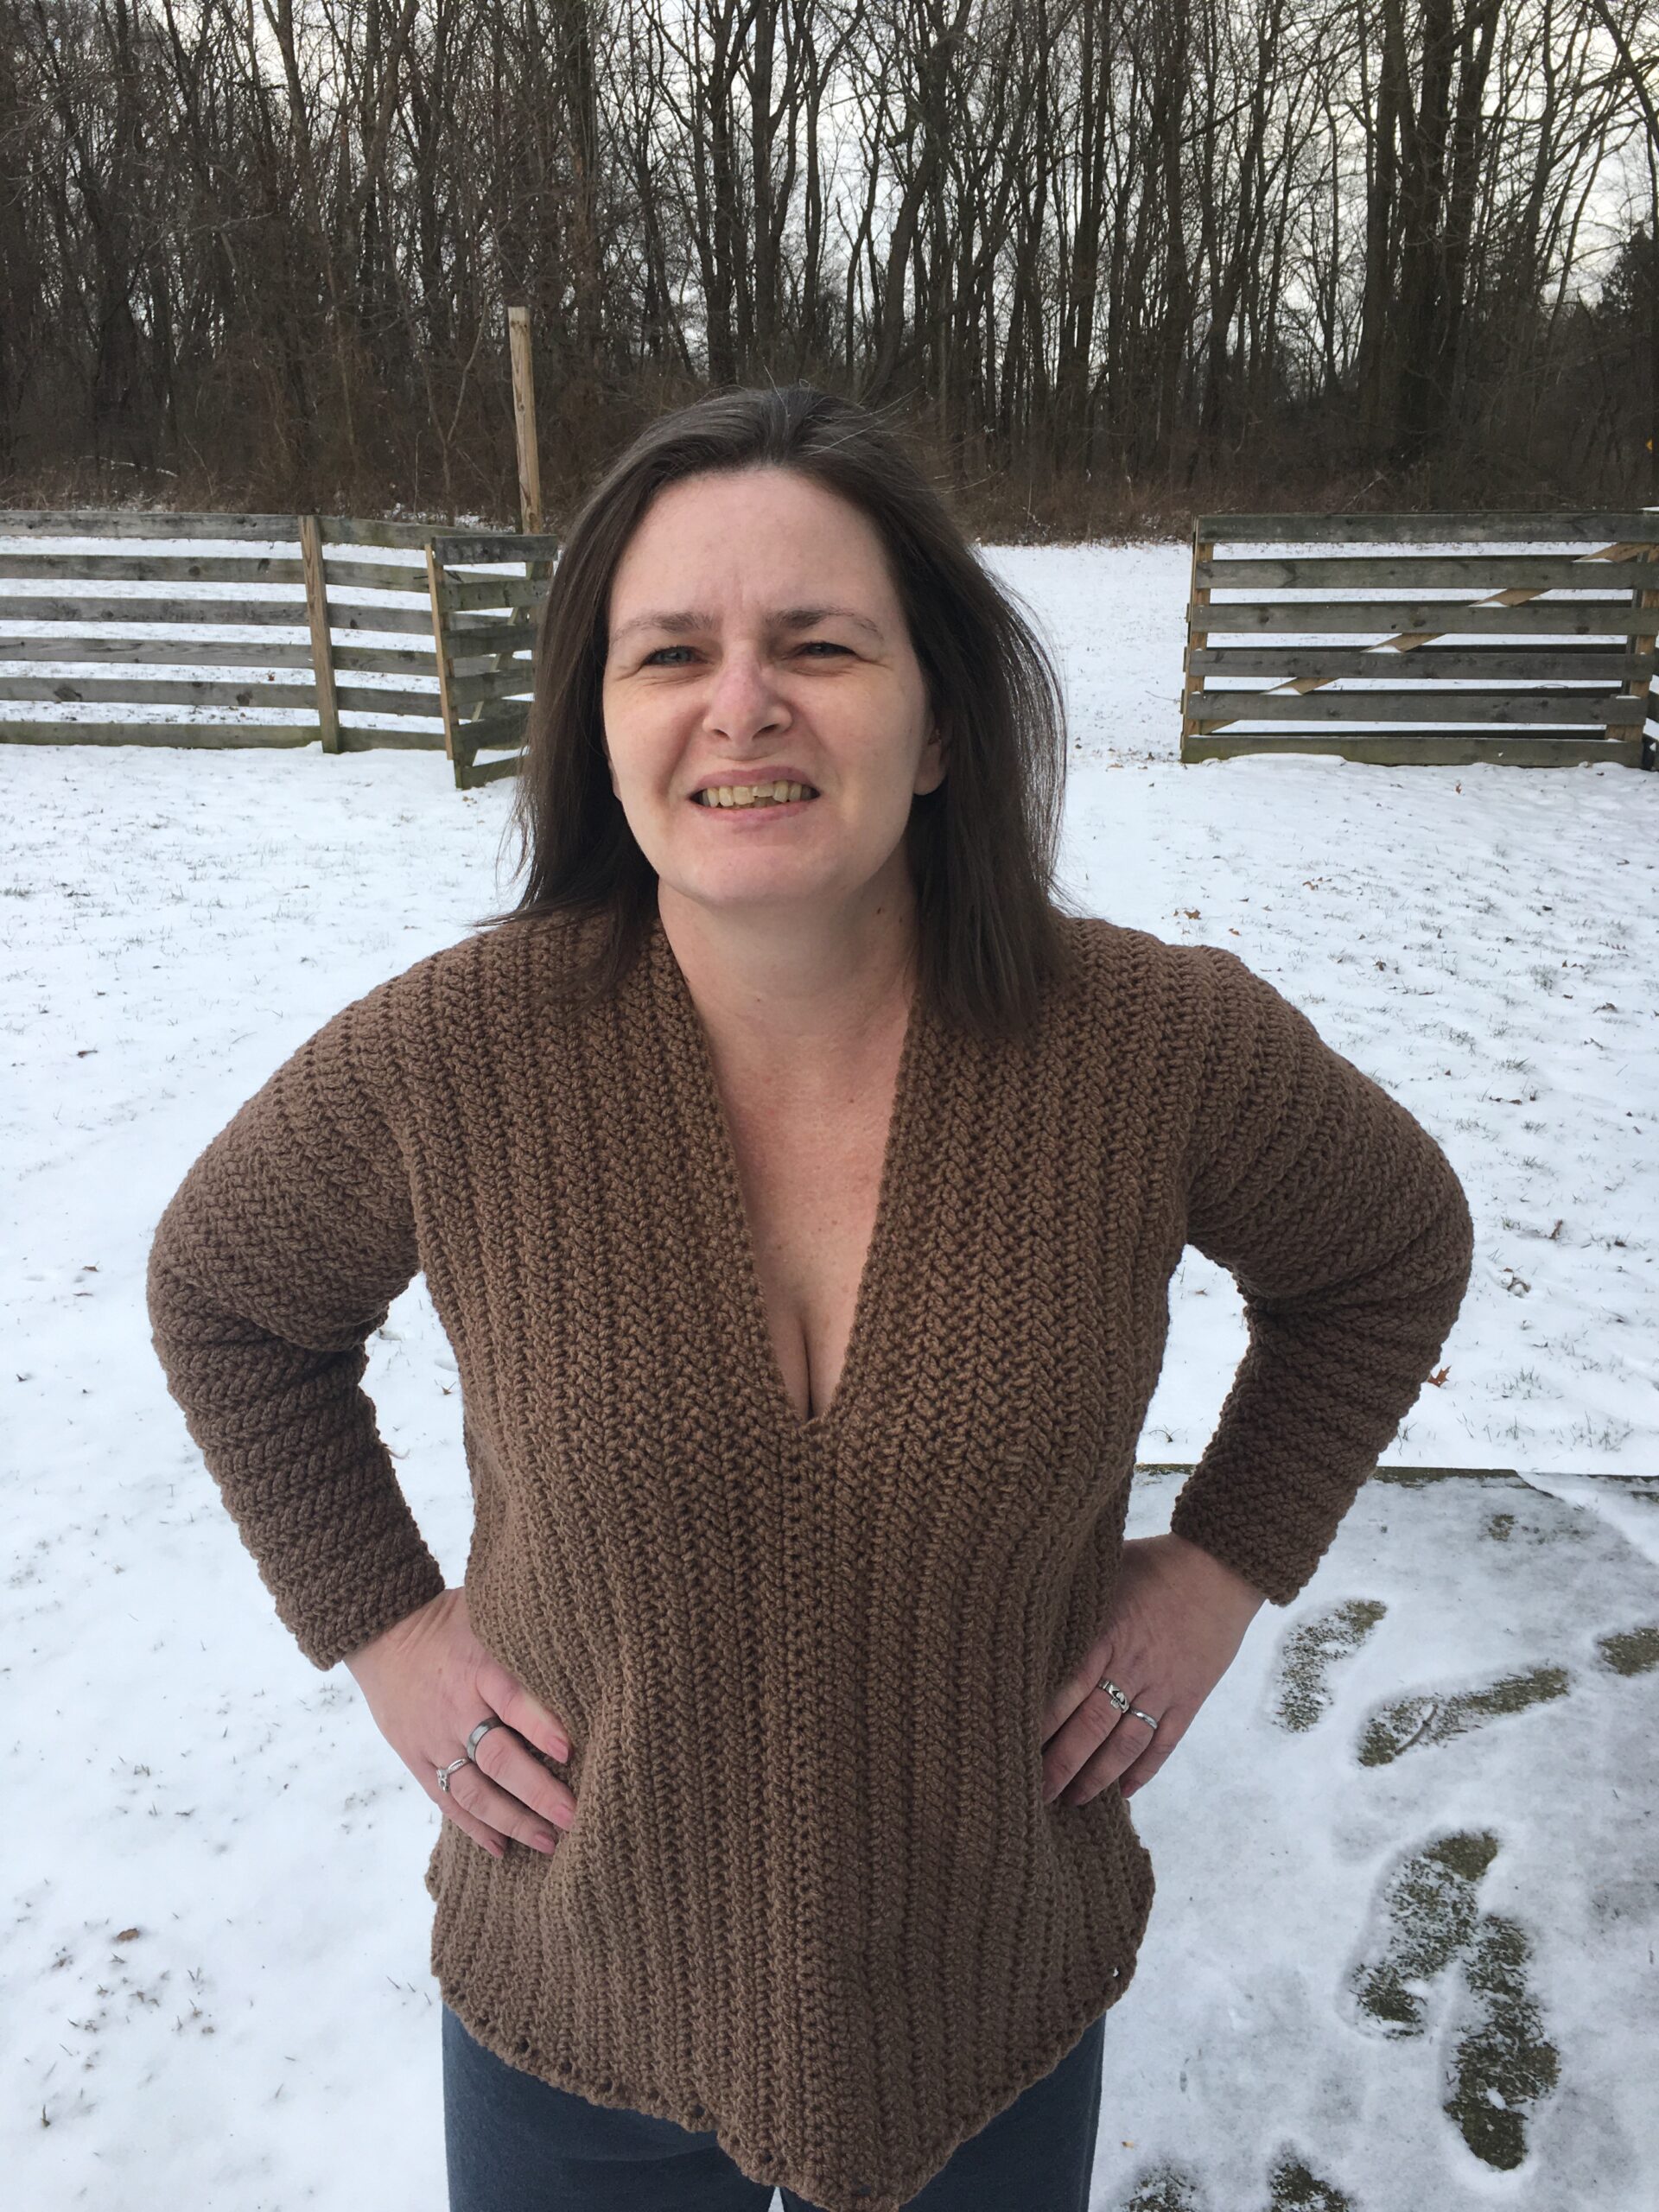
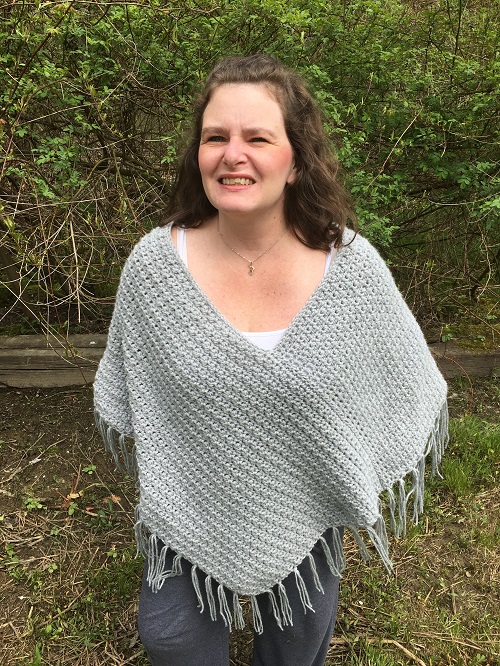
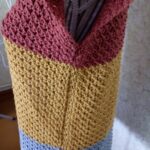
My crochet pattern testers fell in LOVE with the N-Stitch just like I did! I would LOVE to give them a BIG shout out because they worked really hard on this design. There were many hiccups because of the trying times we are in right now. There were yarn delivery delays, finding time to finish the test, and just trying to function during these troubled times.
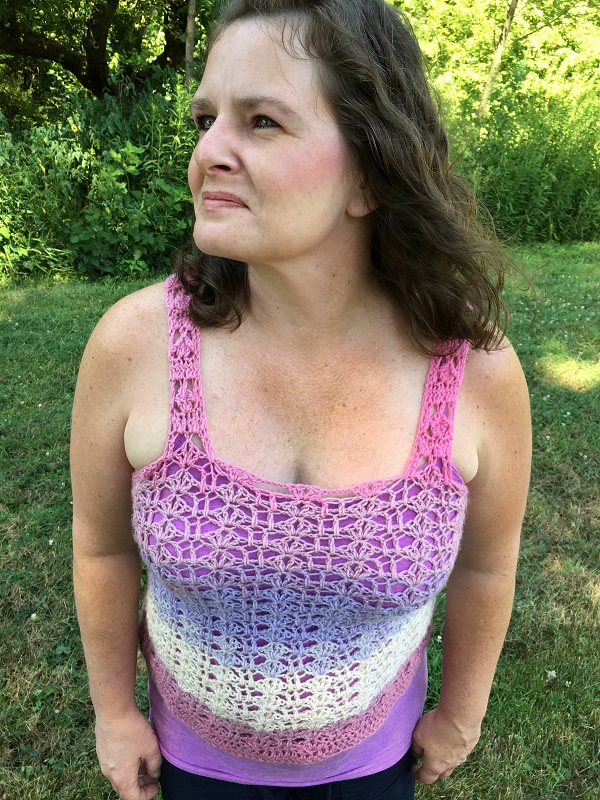
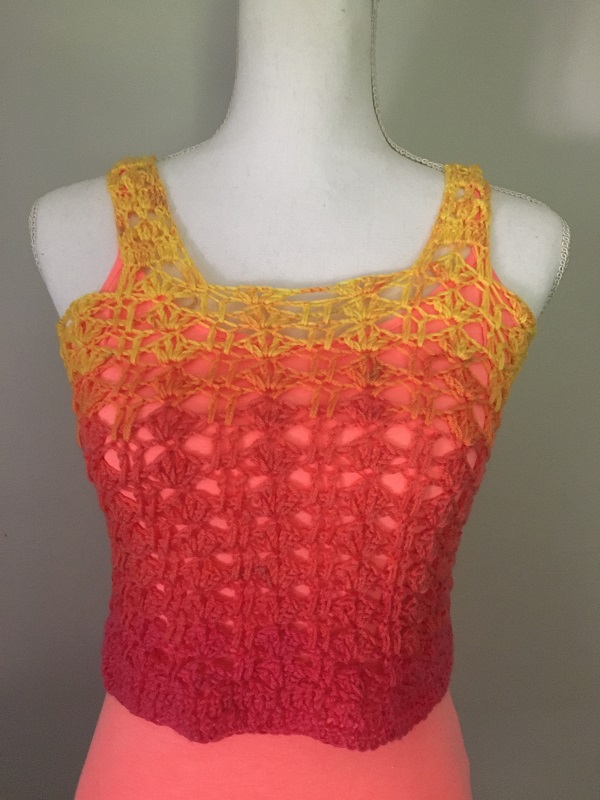
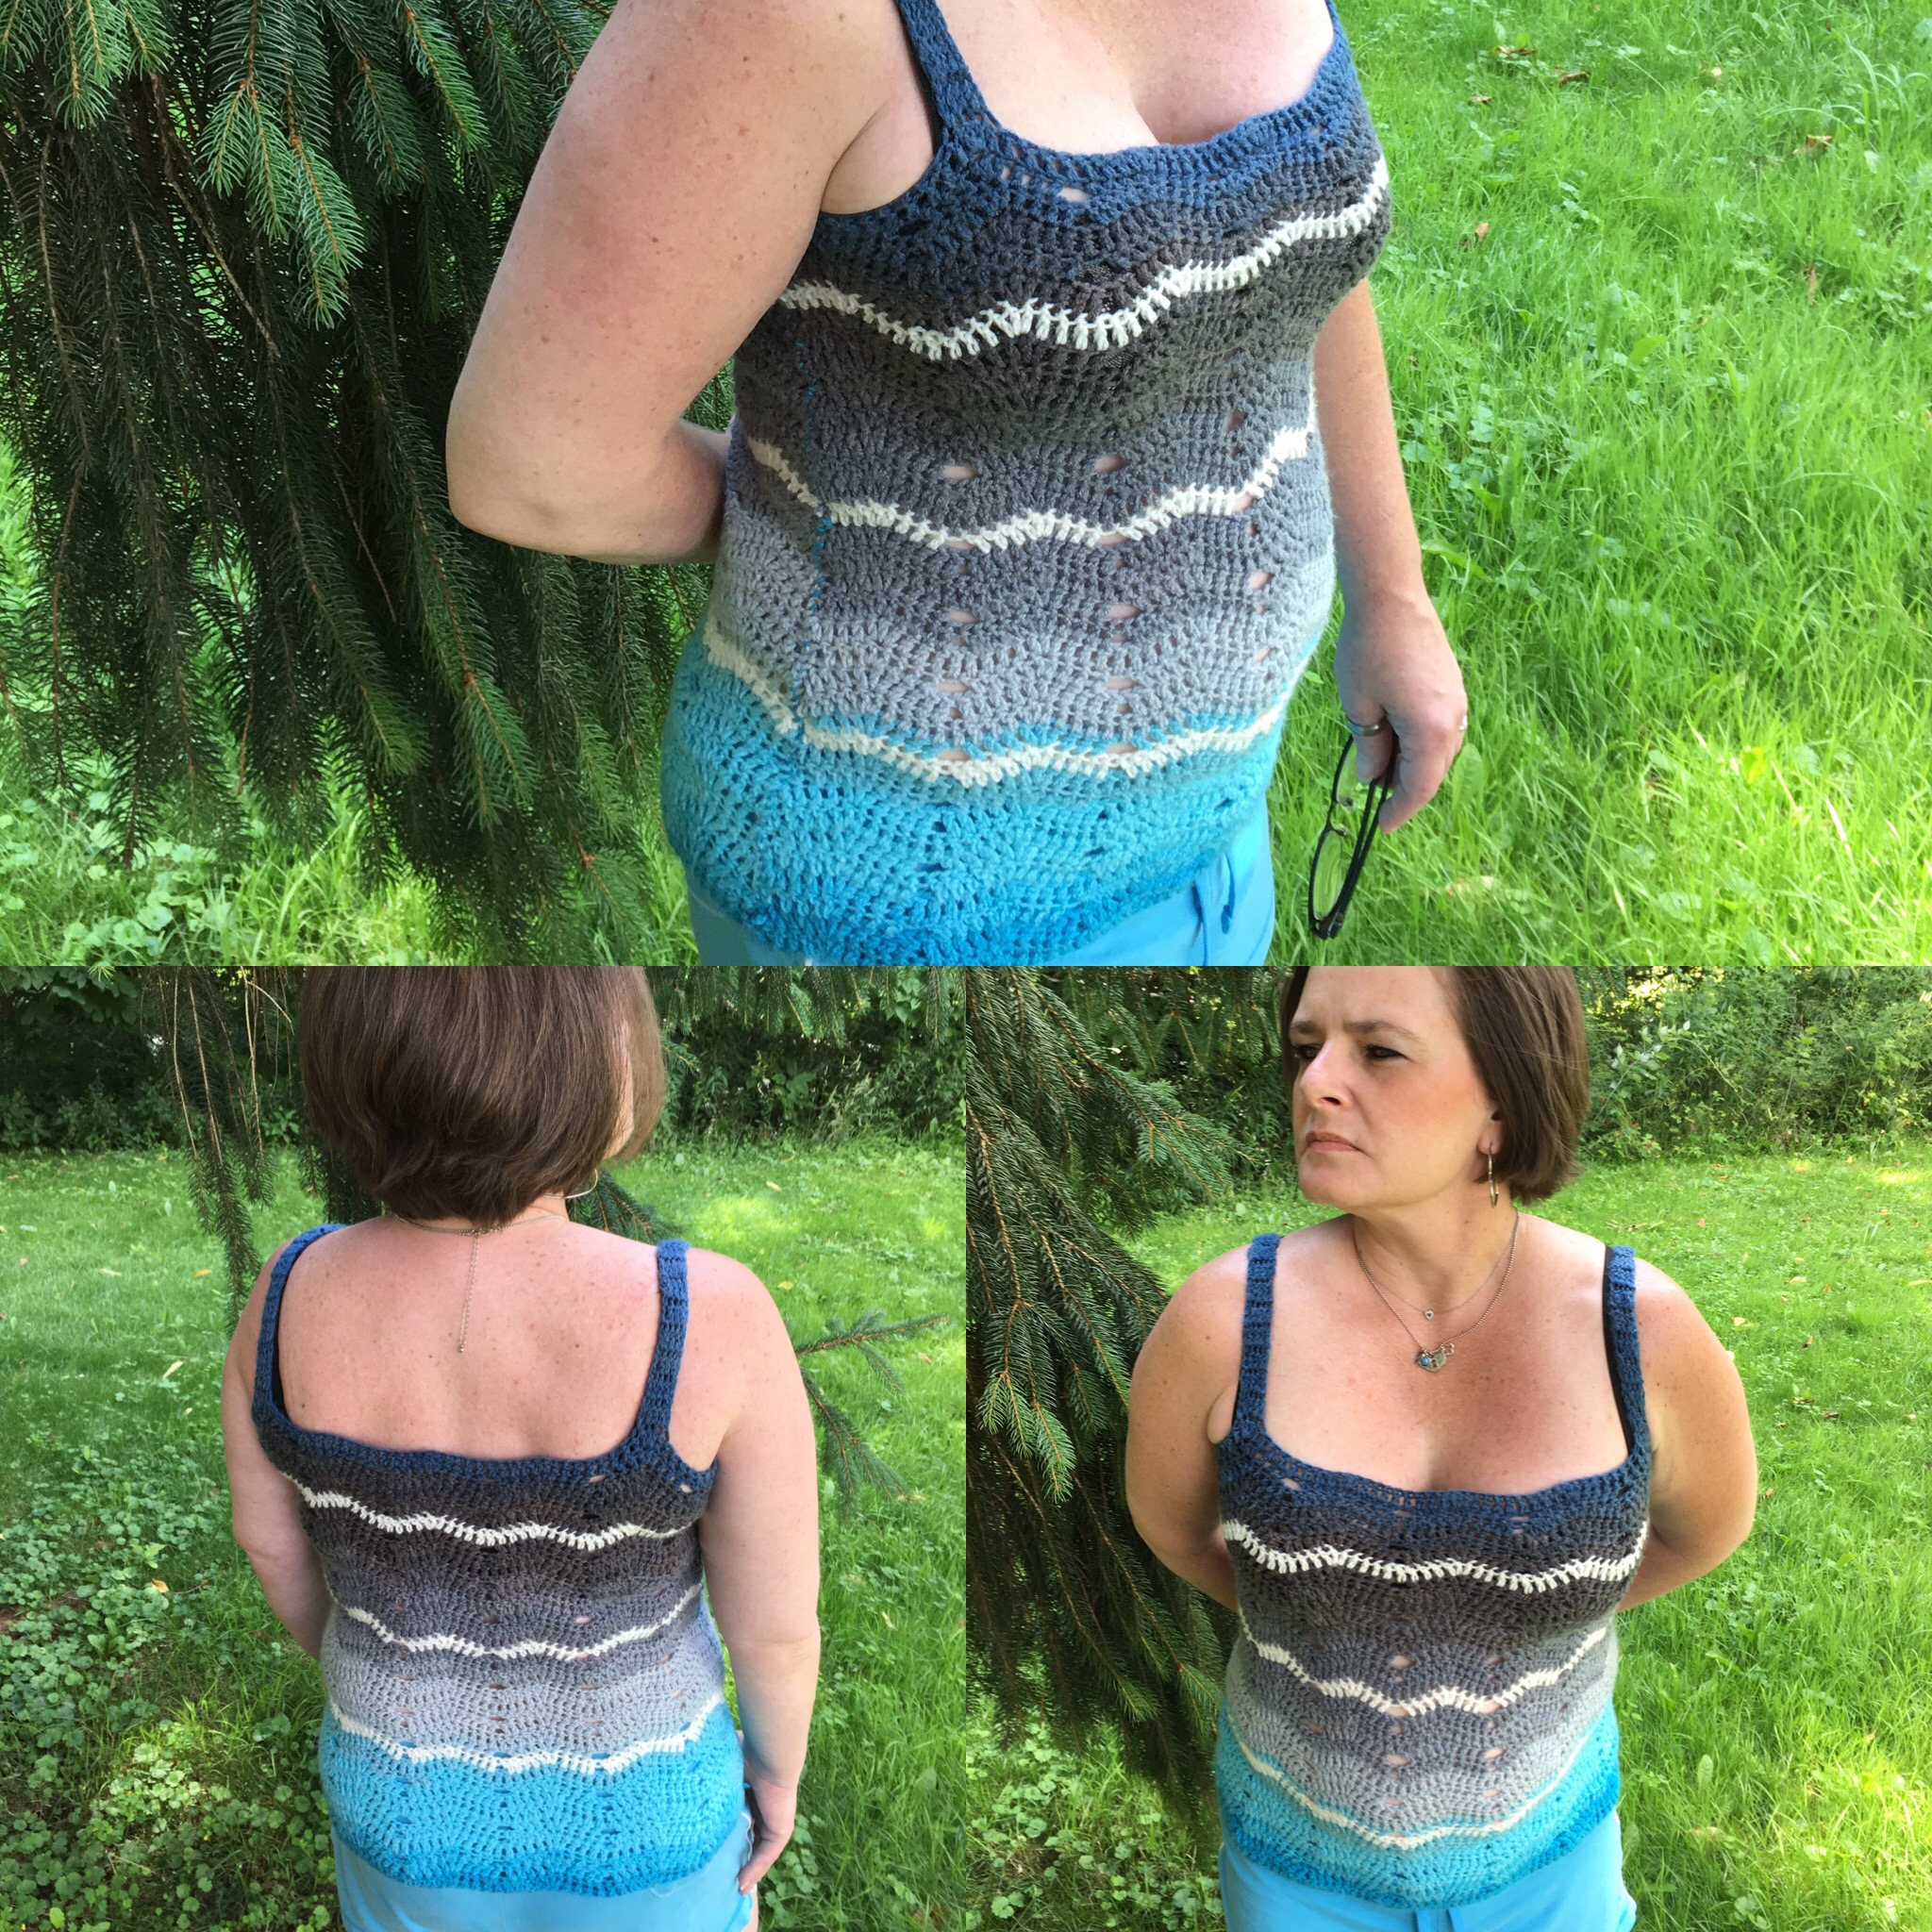
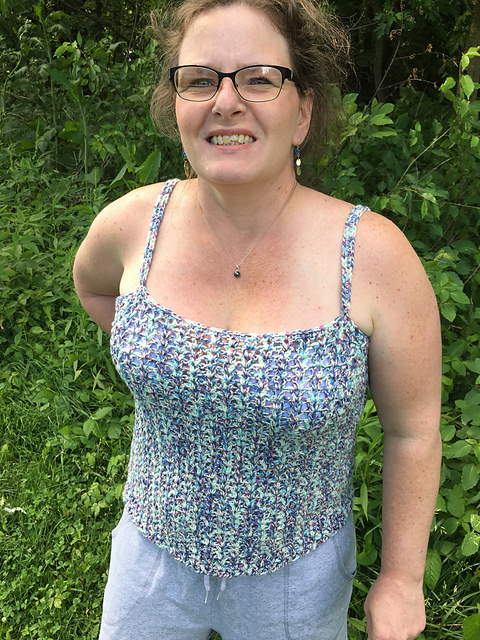
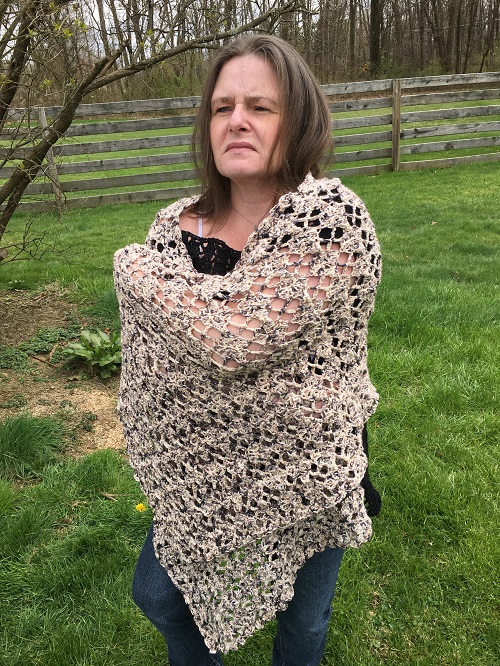
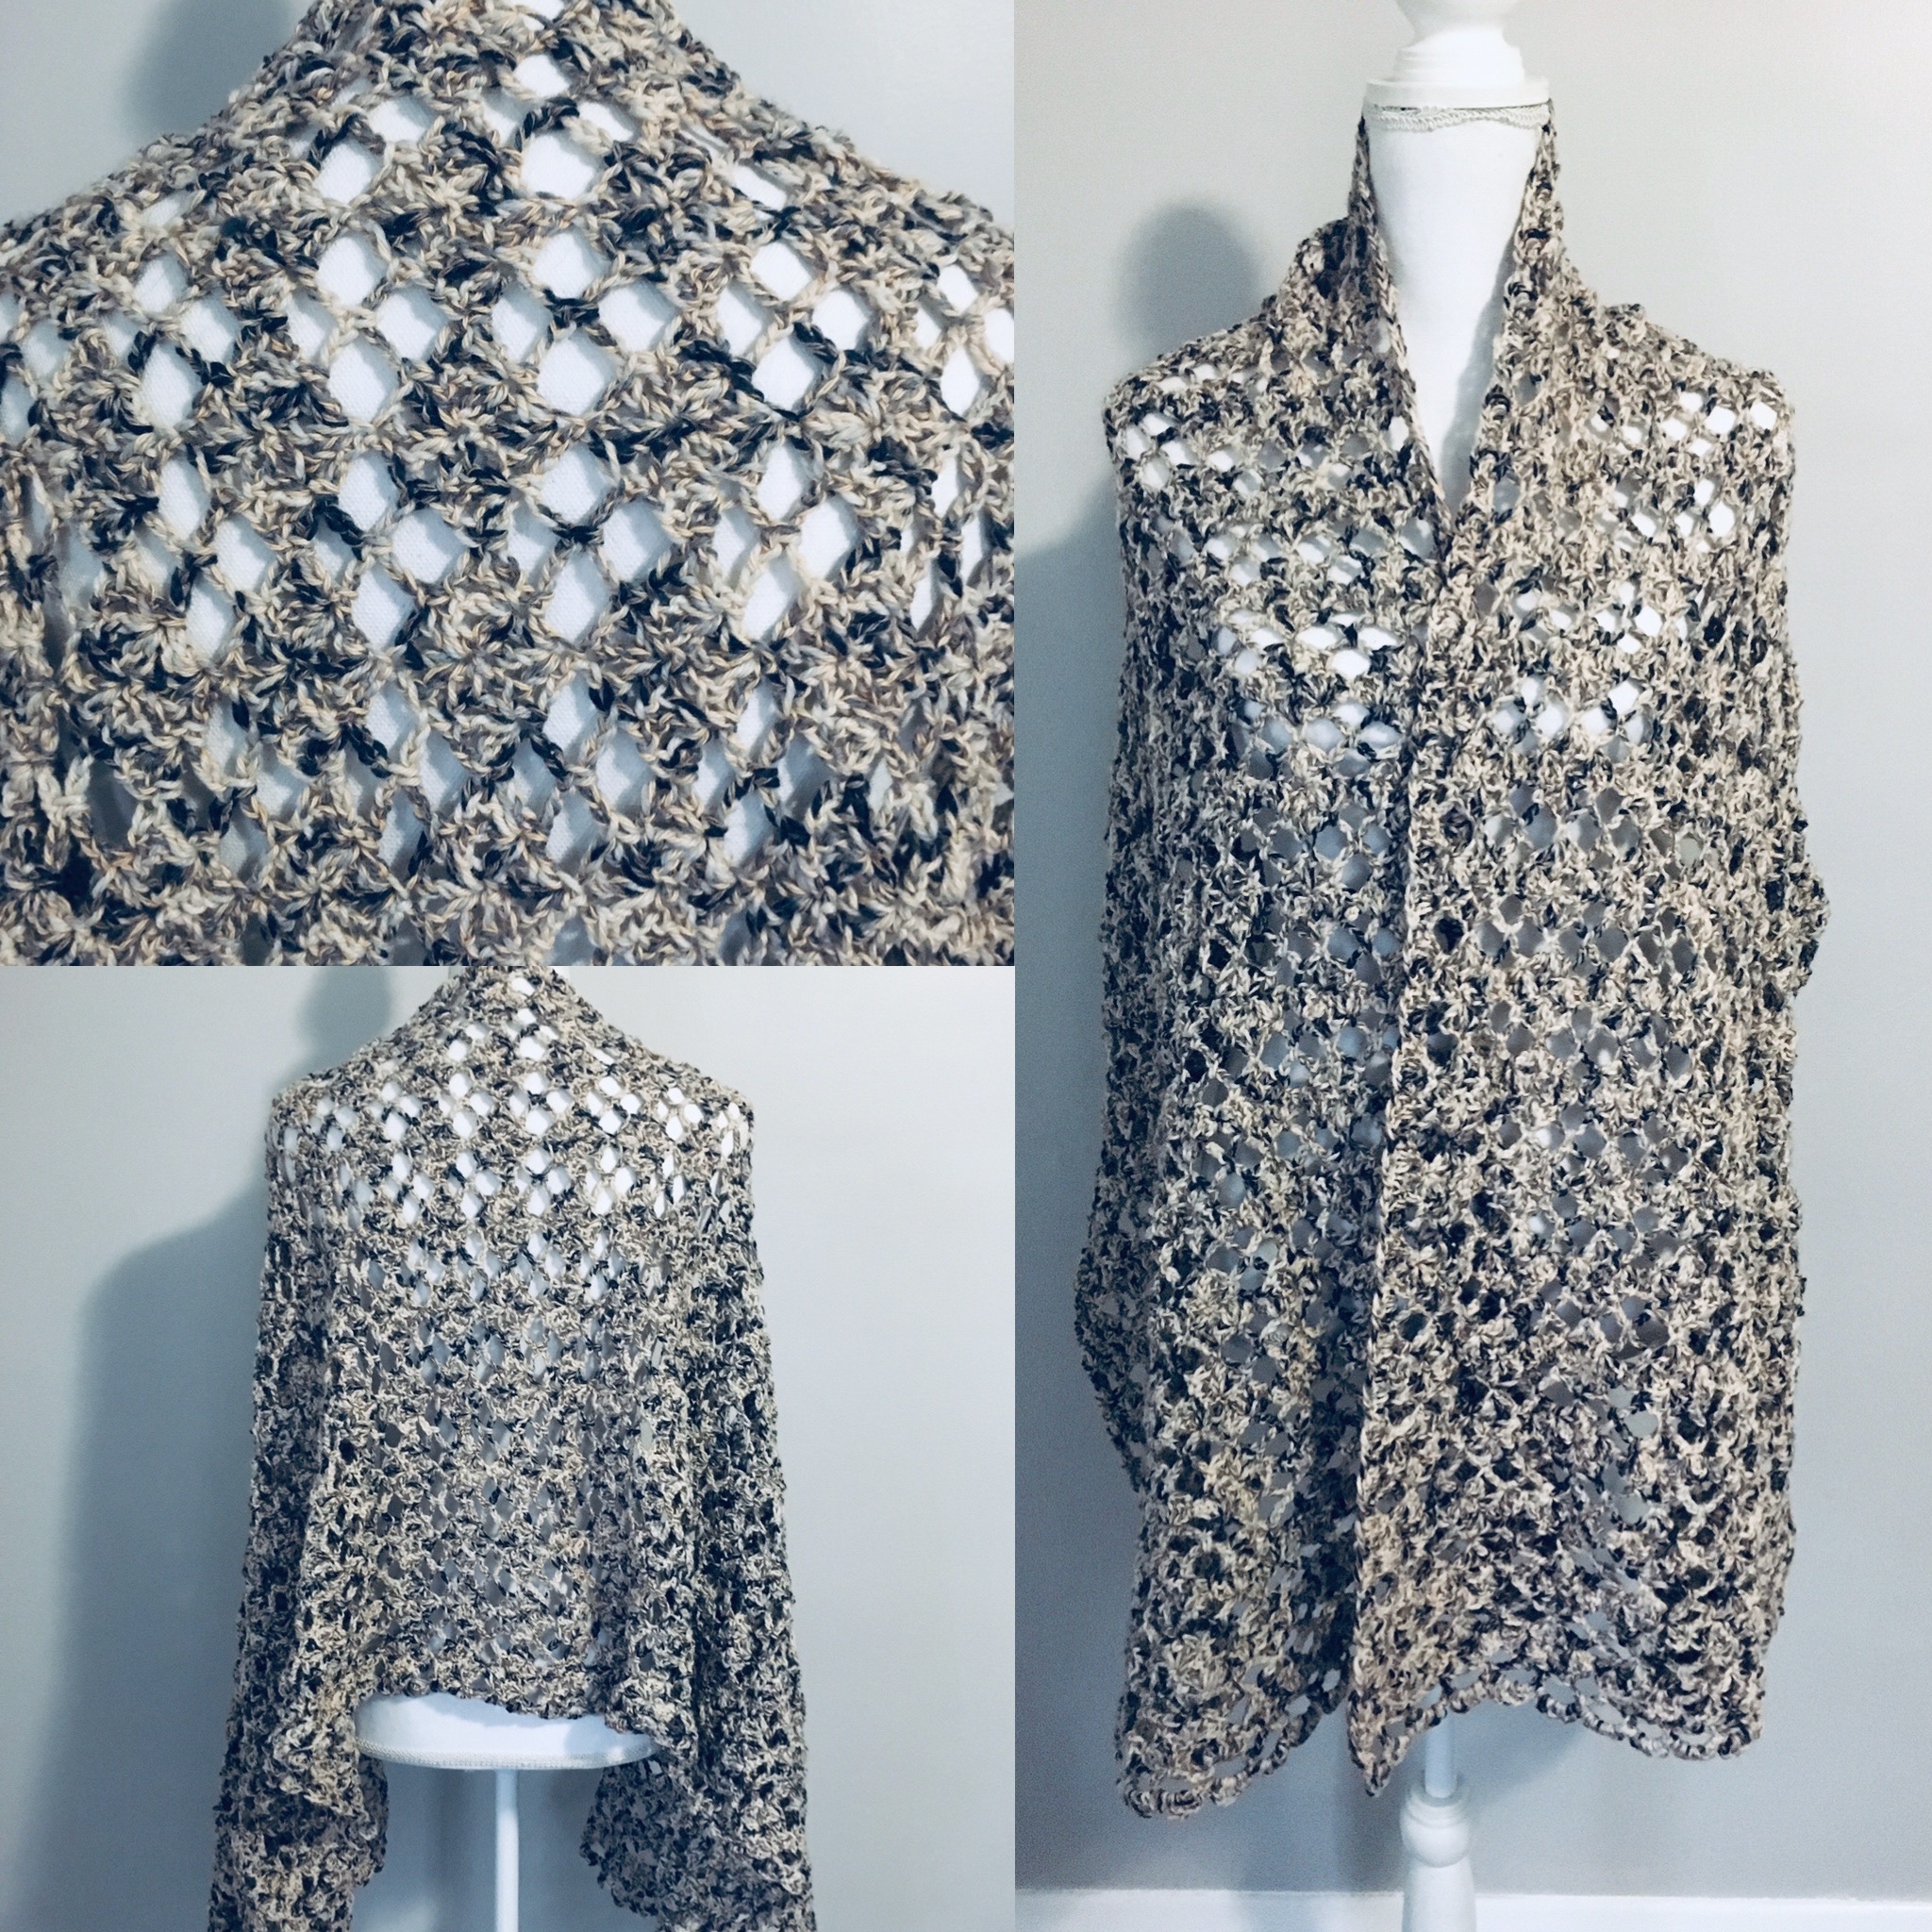
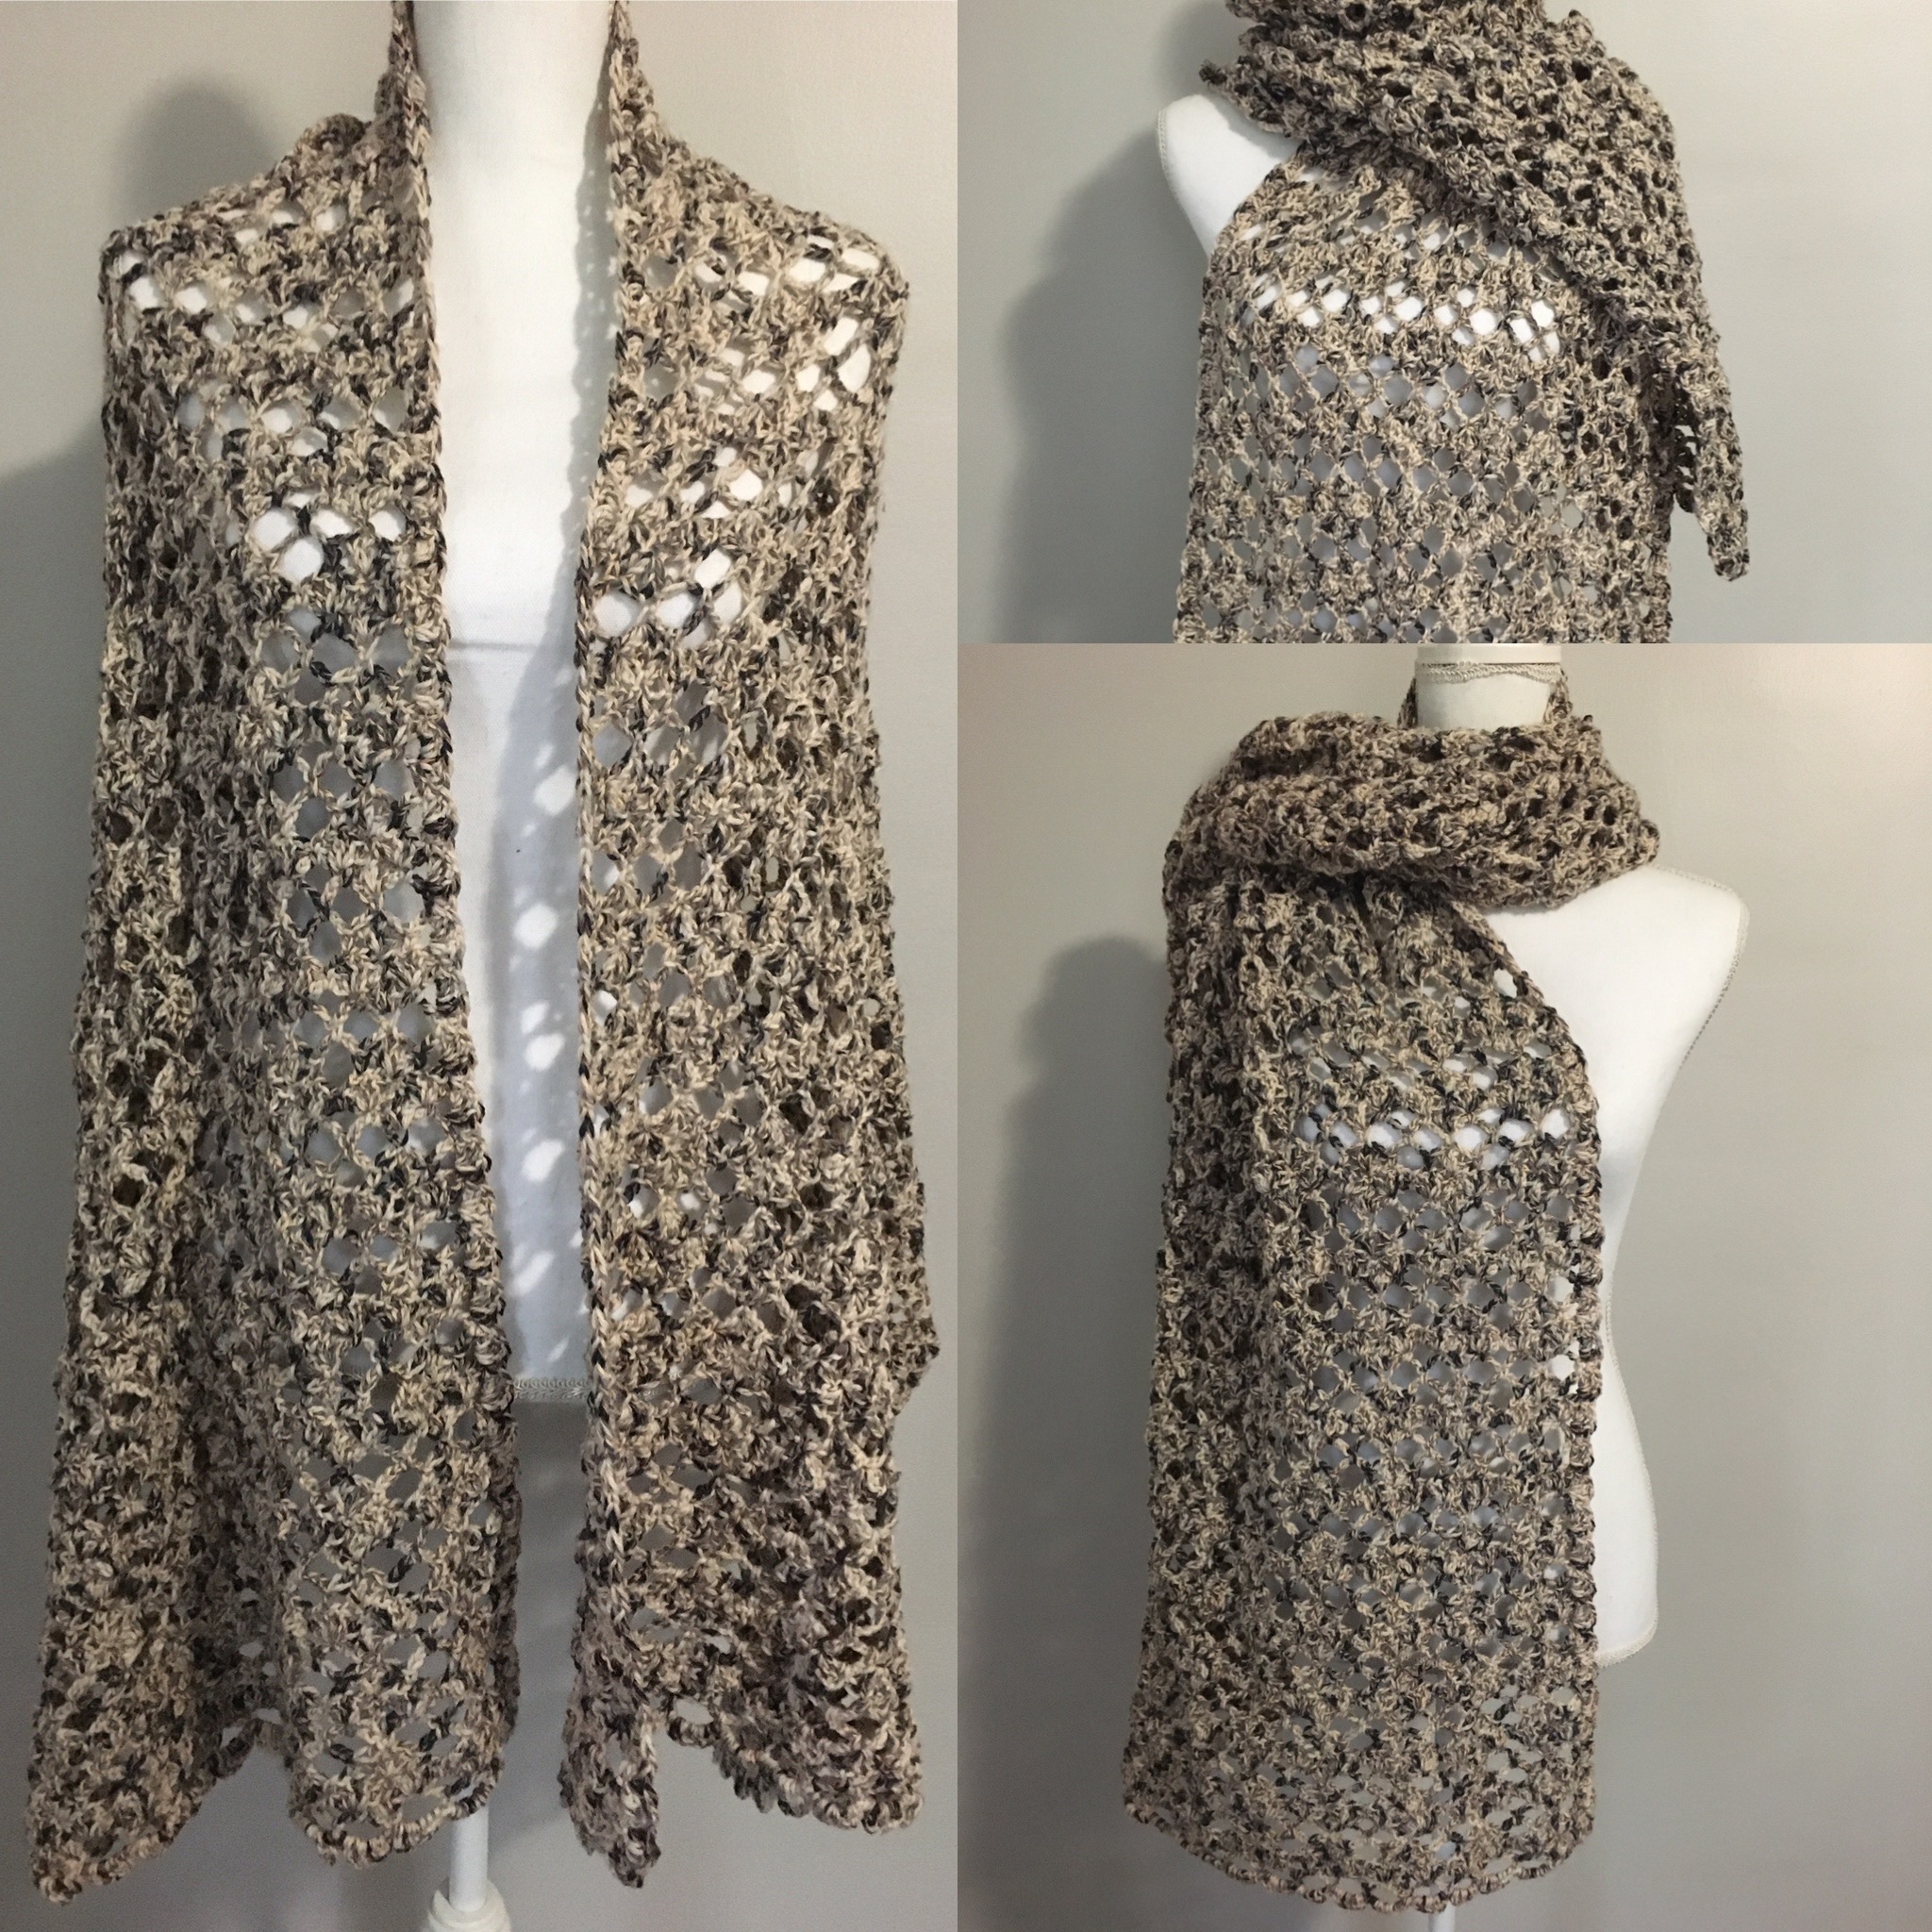
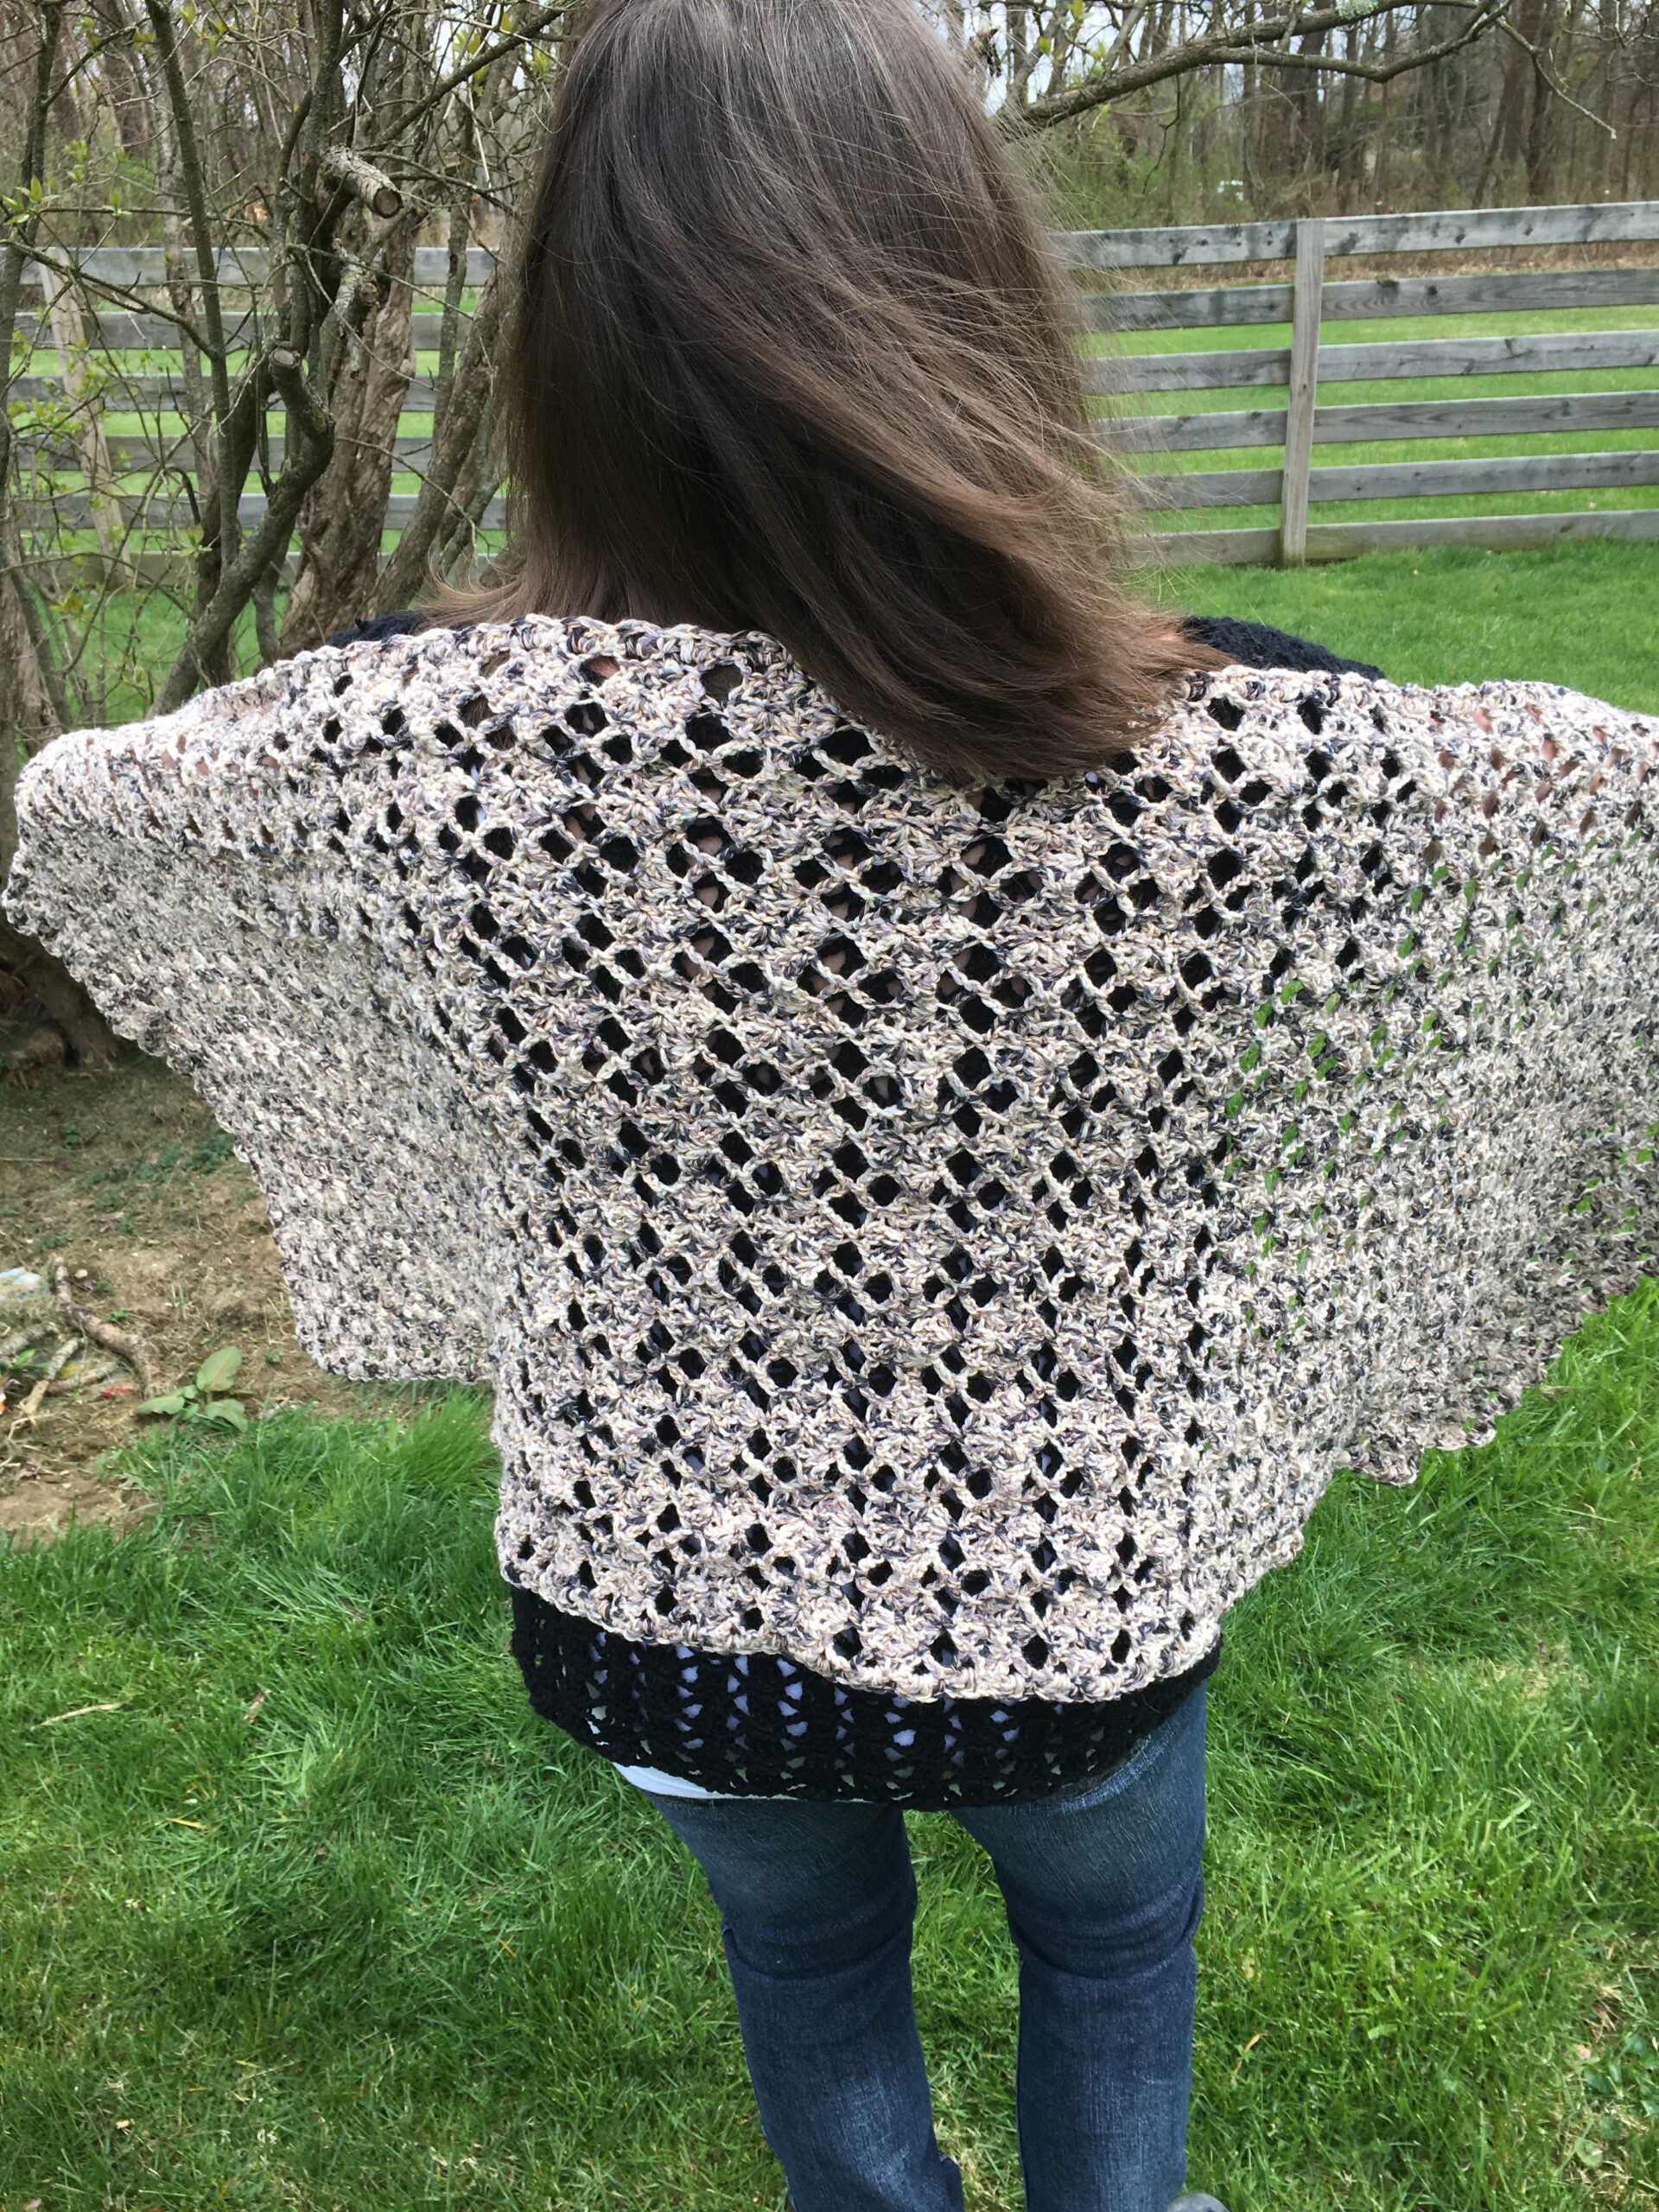
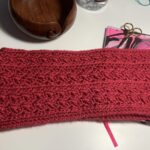
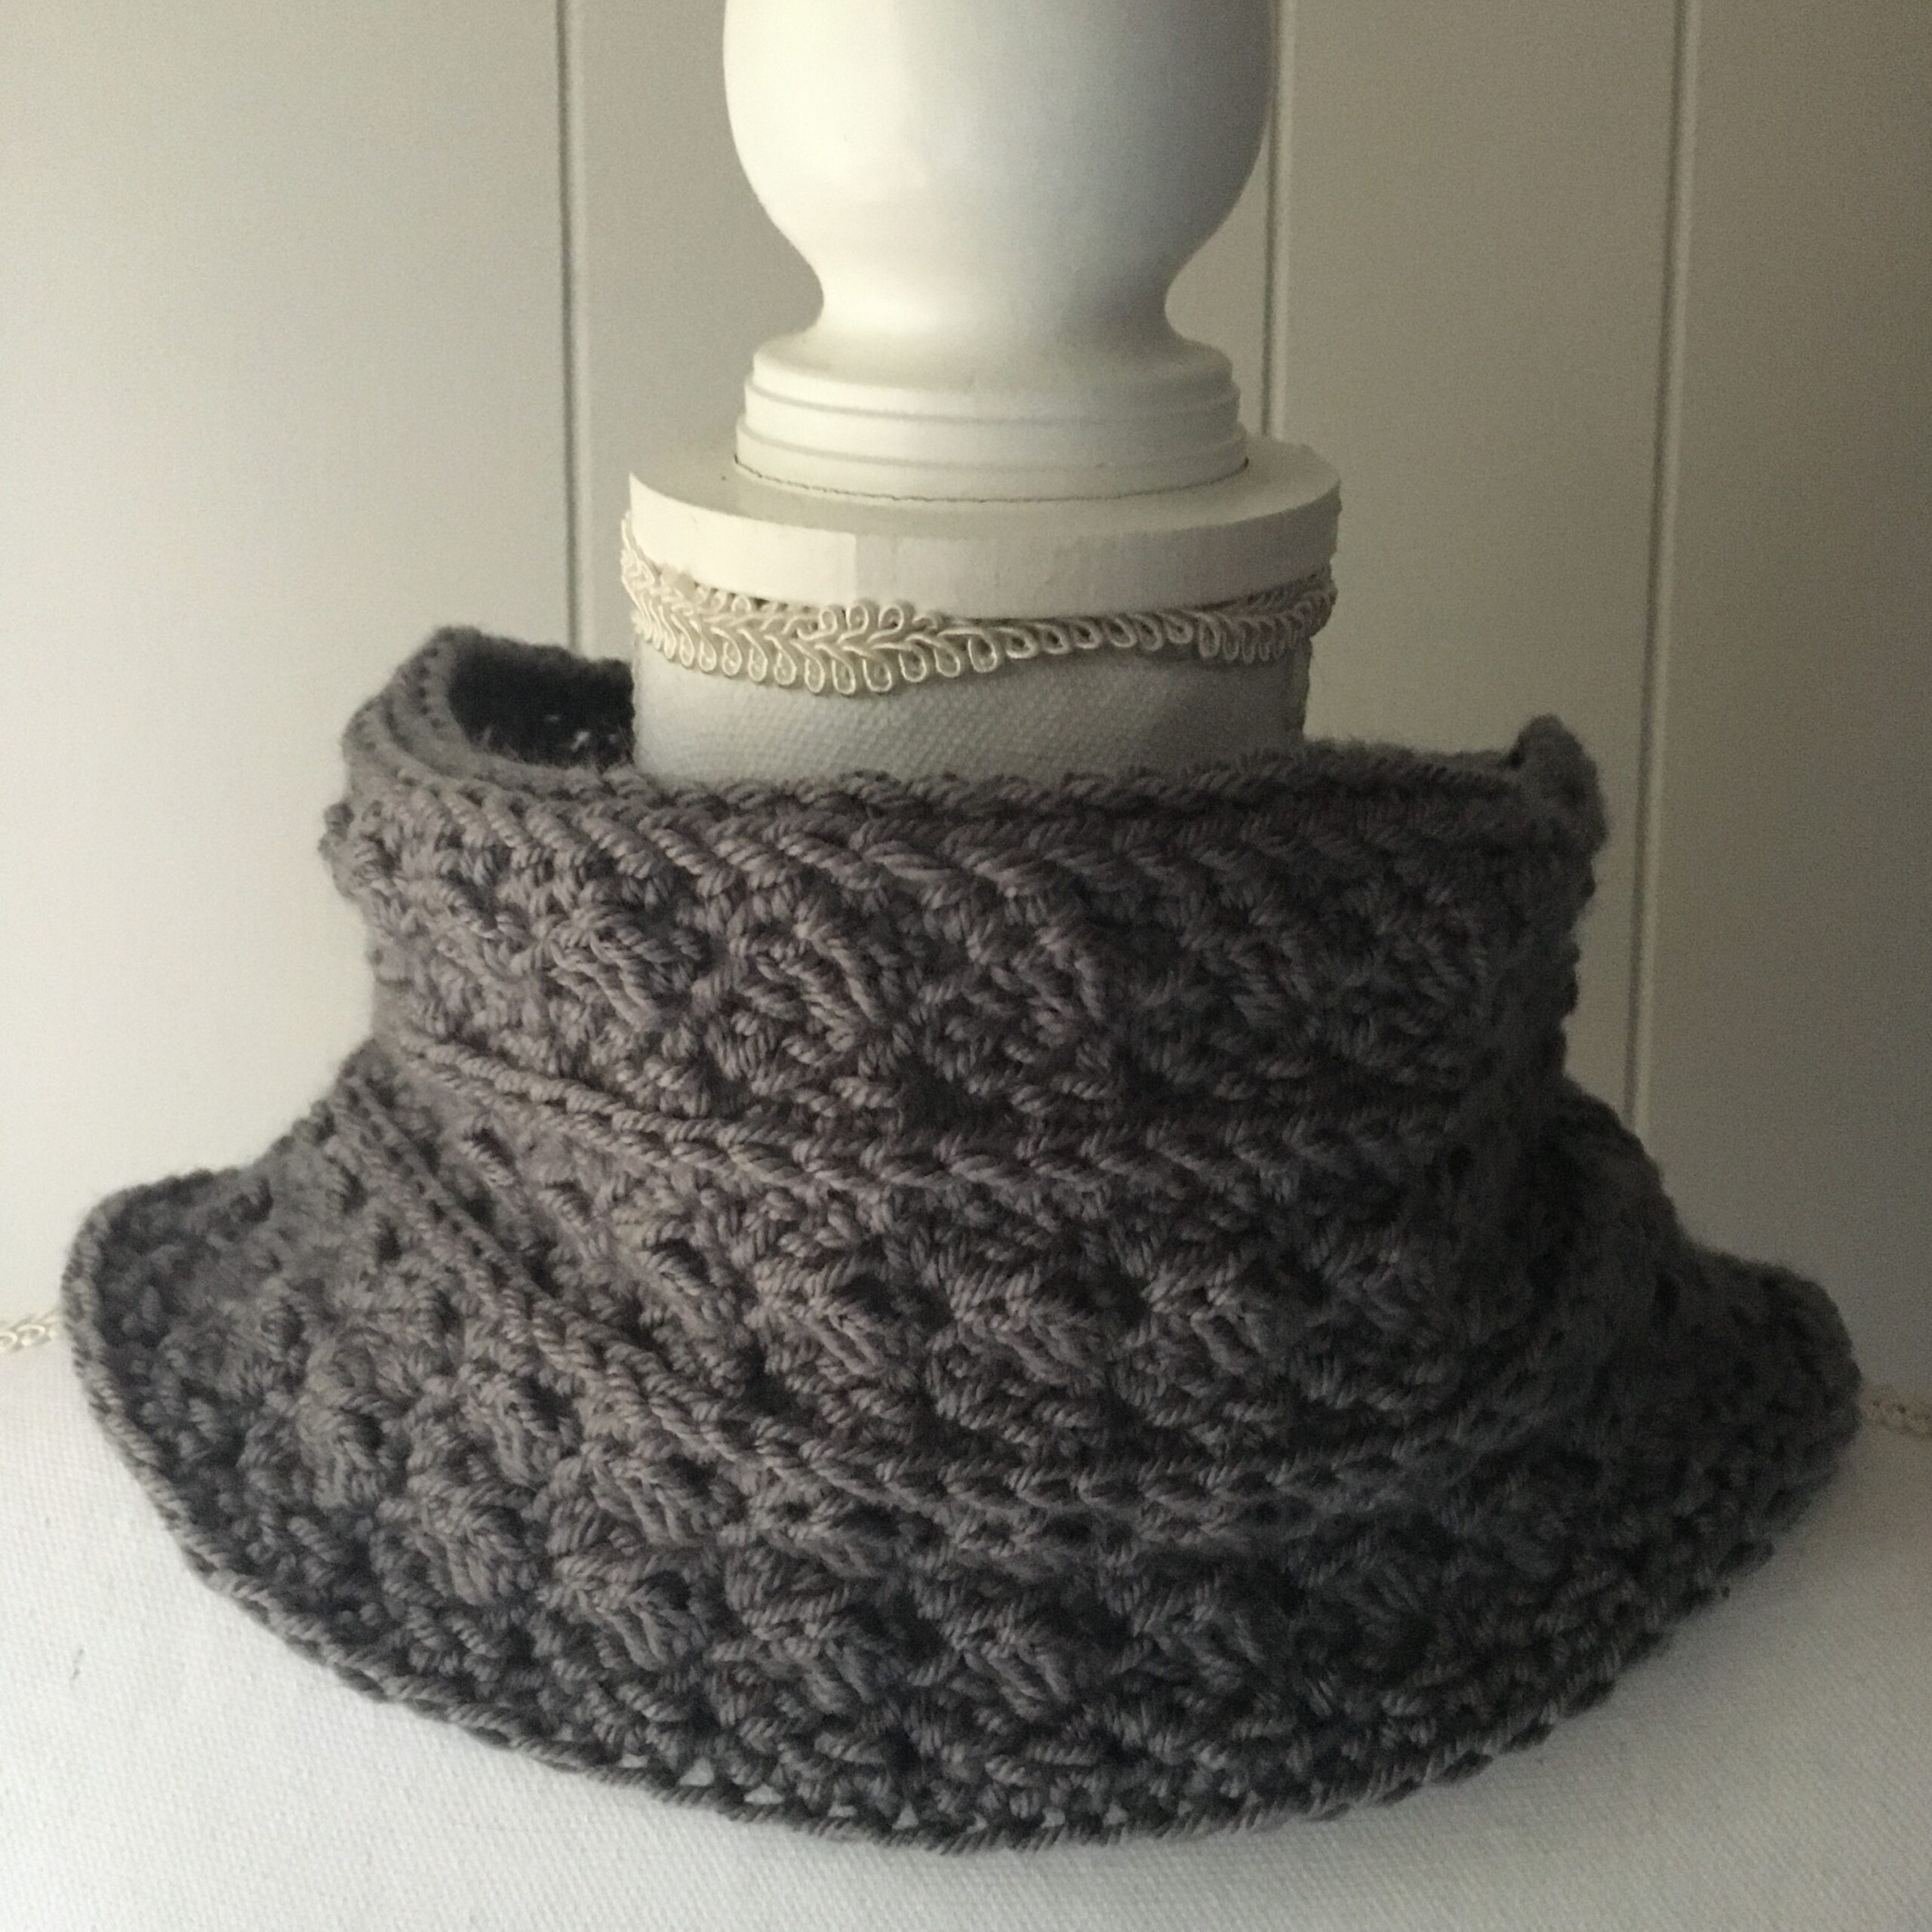
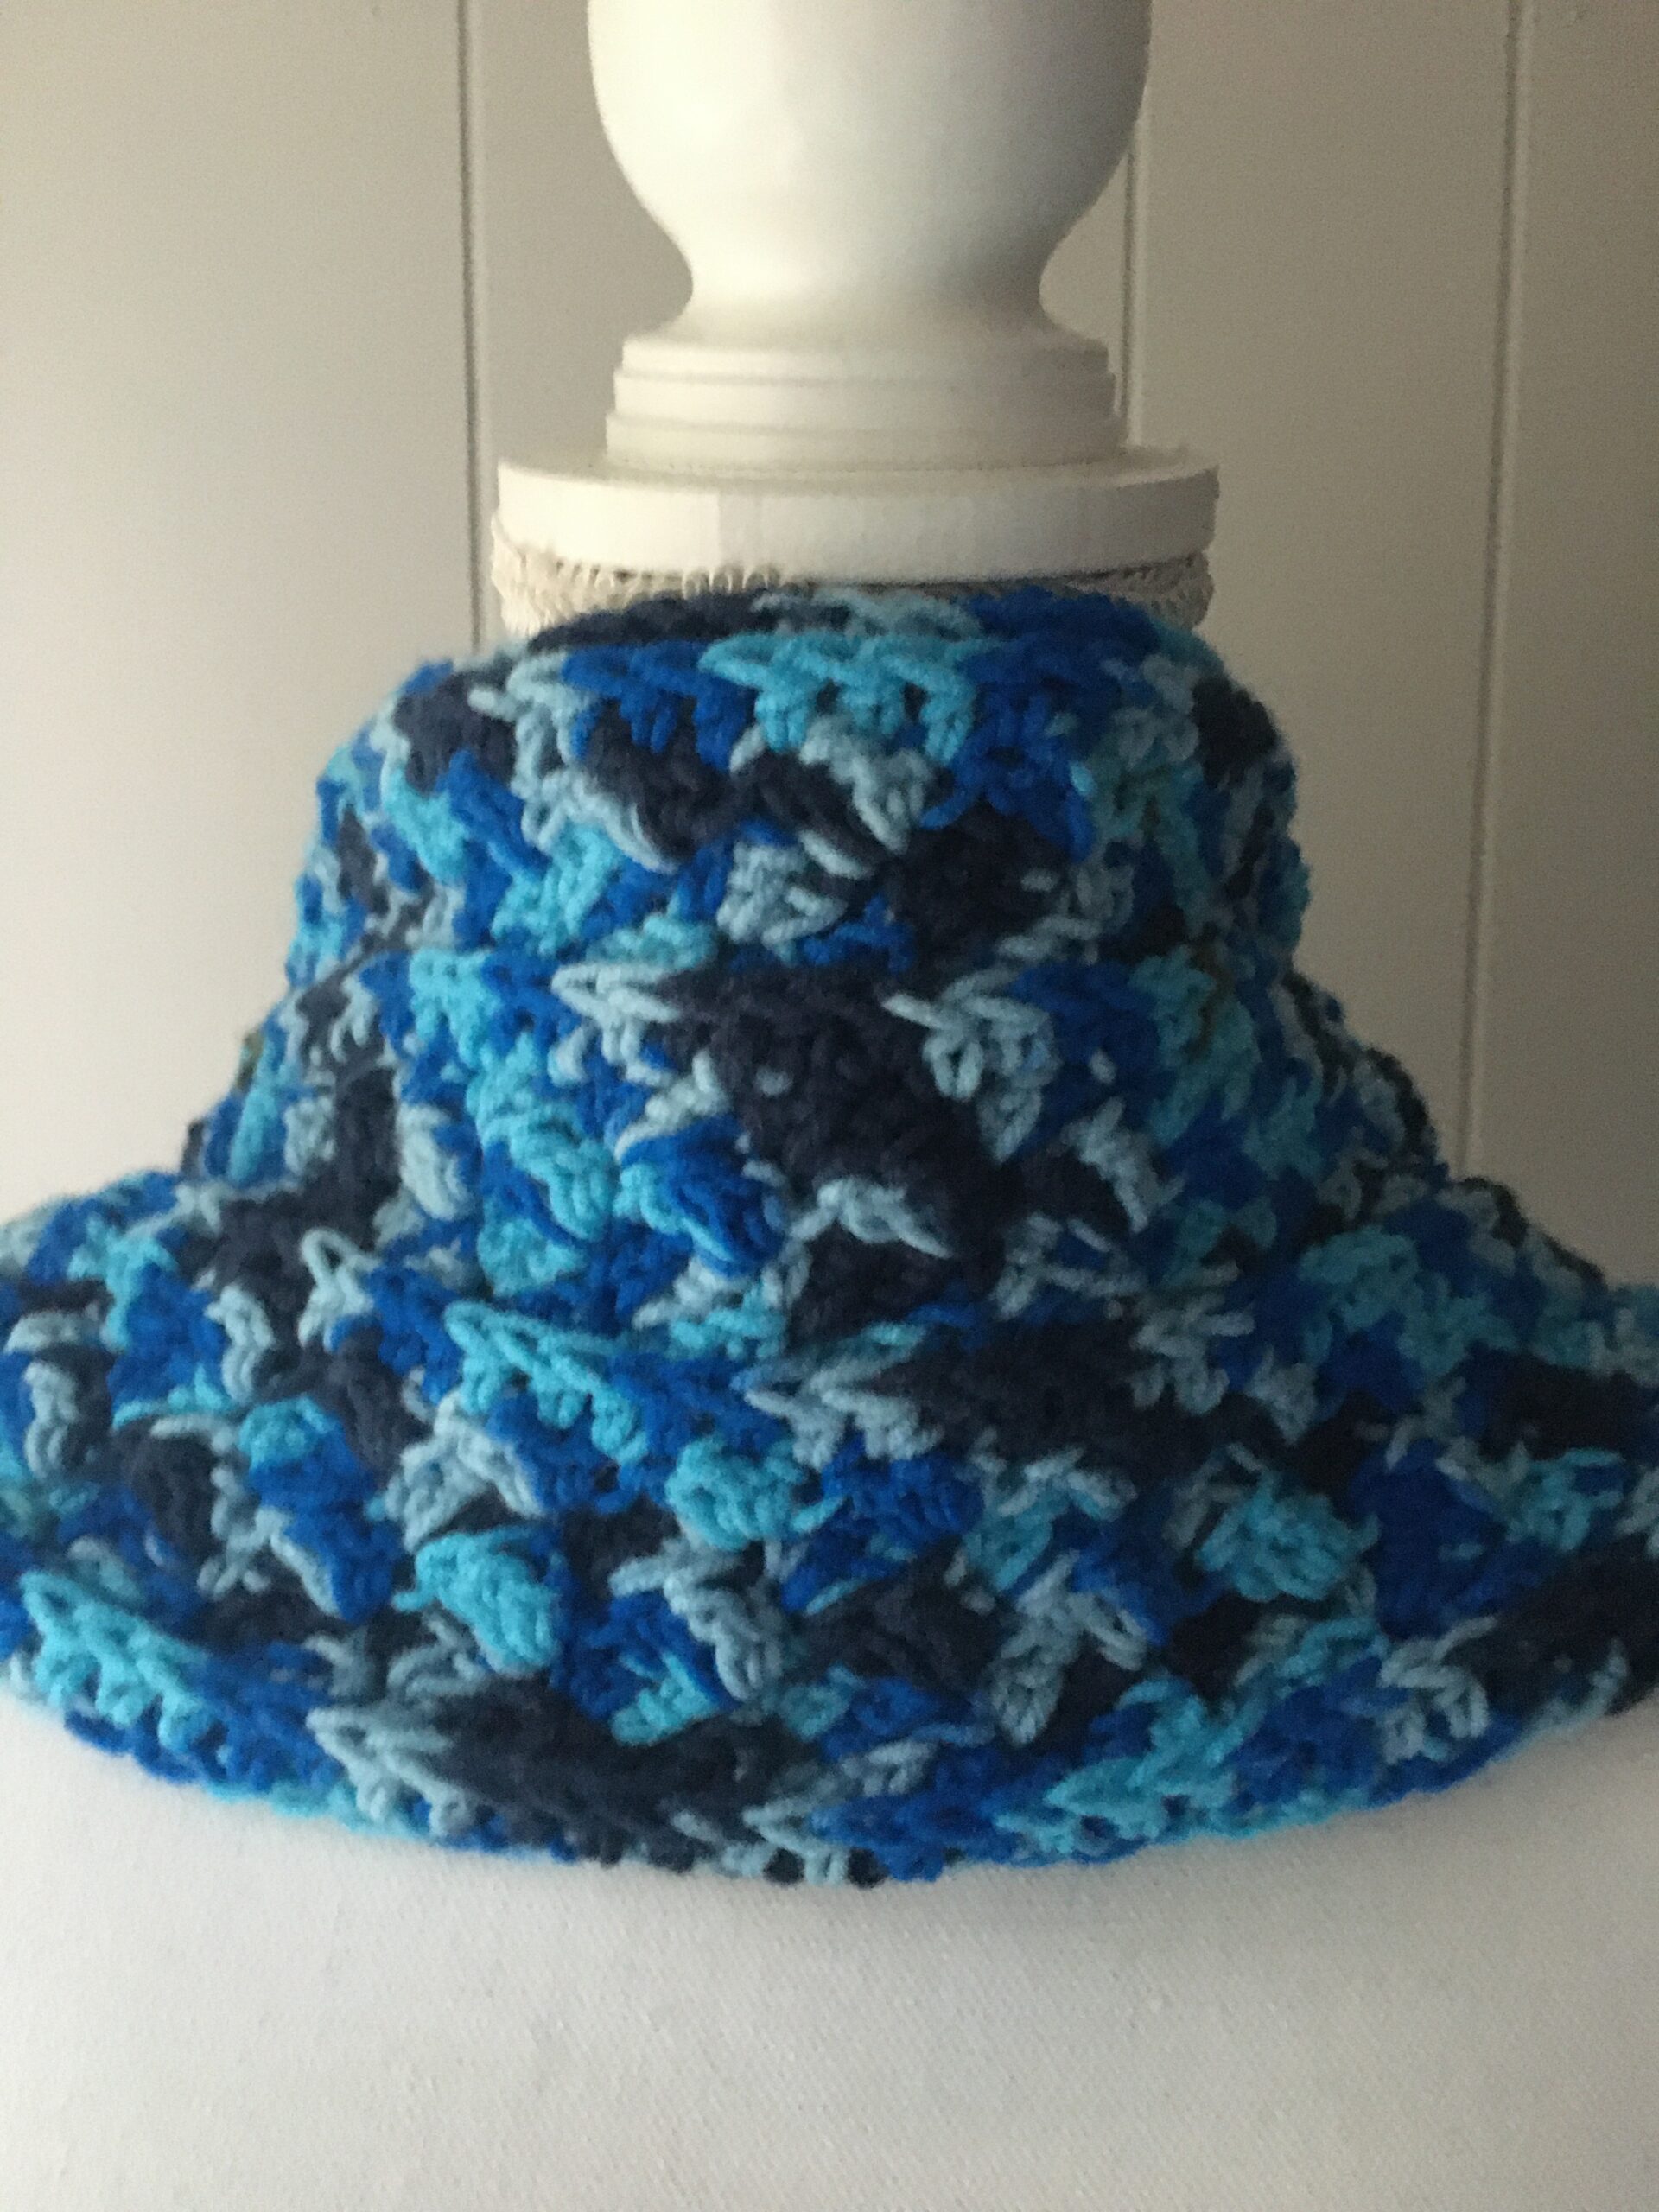
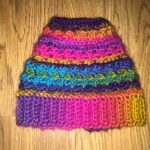
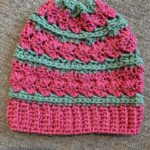
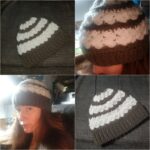
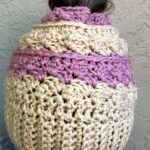
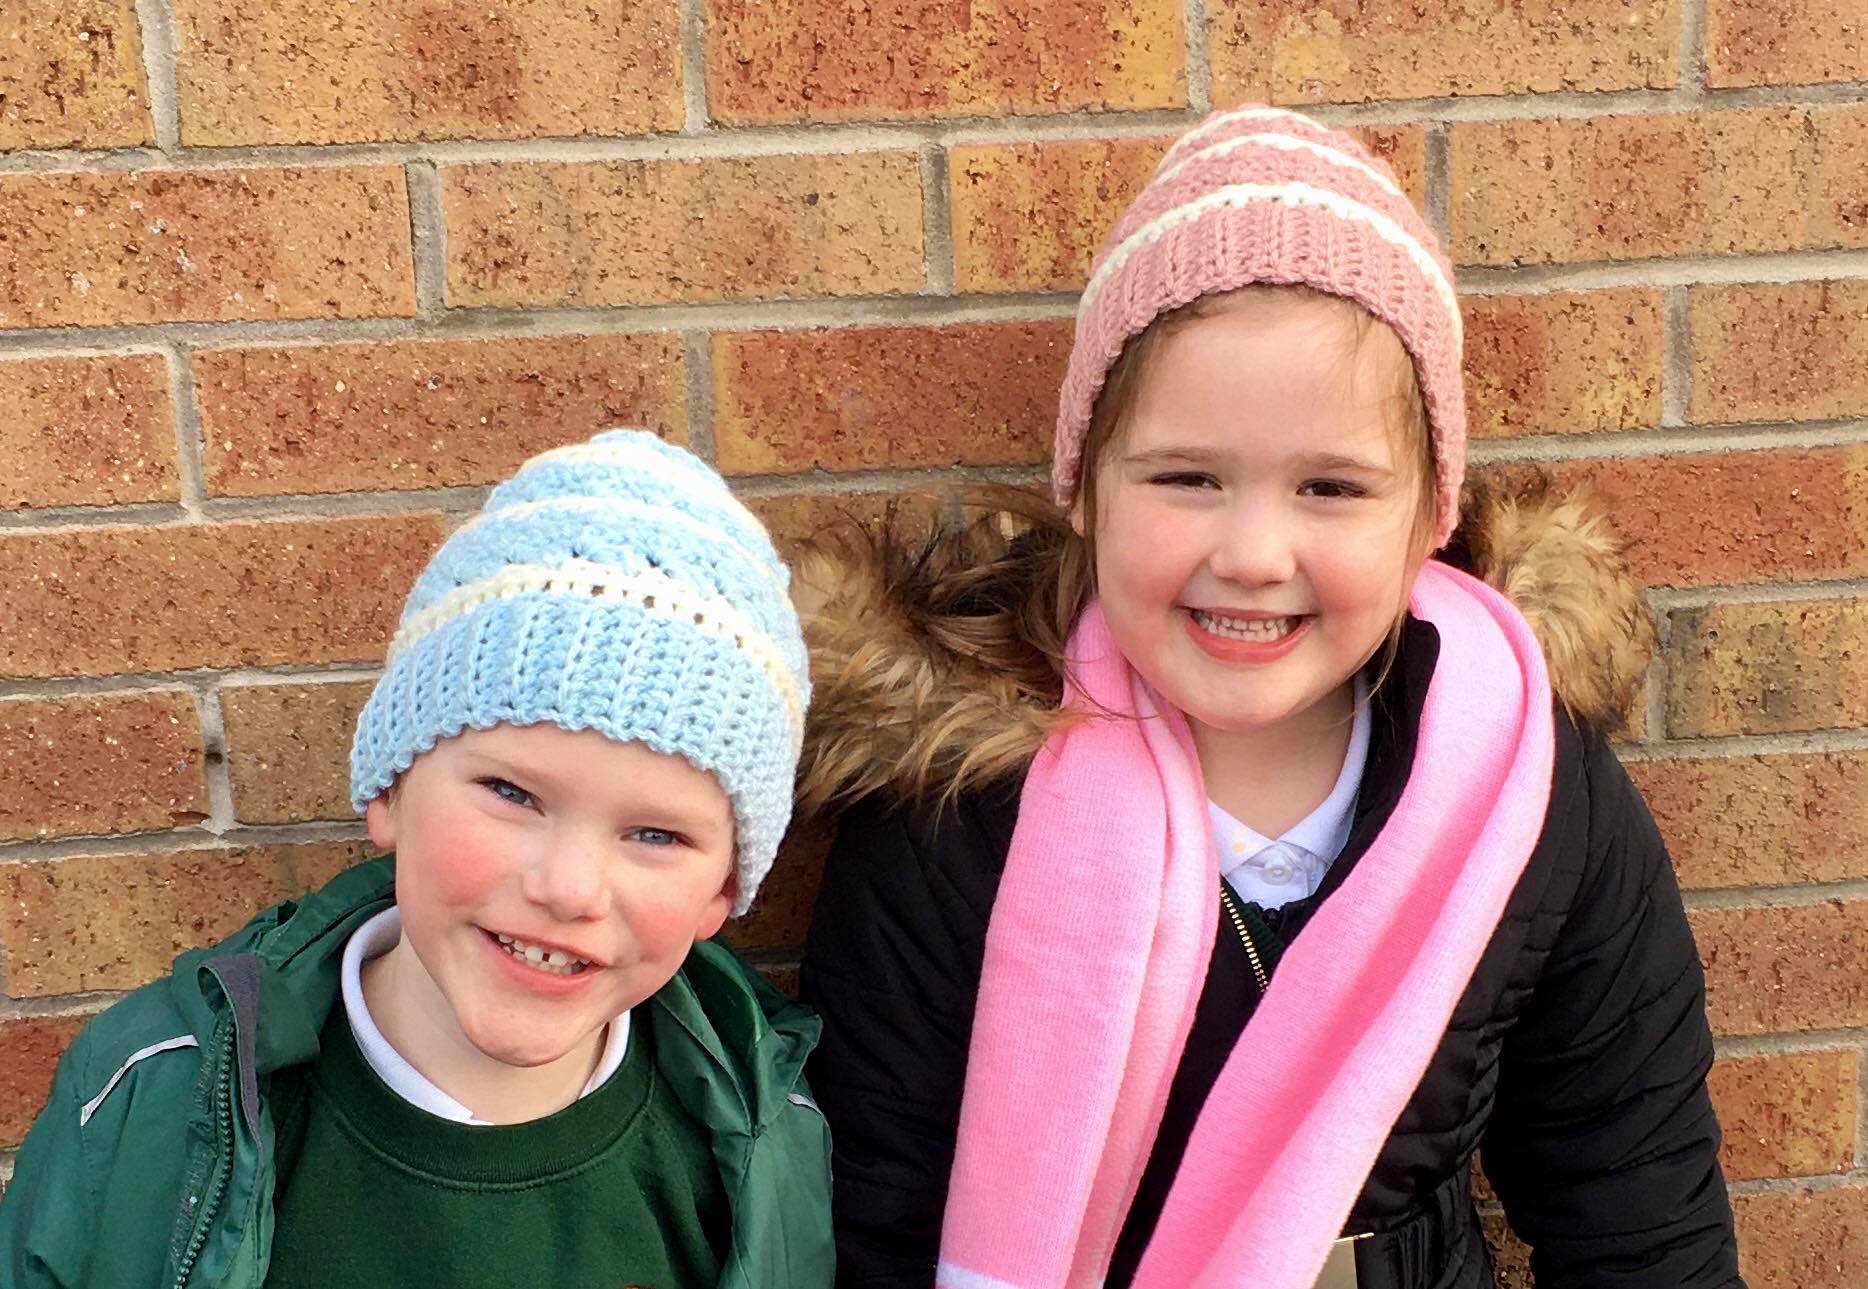
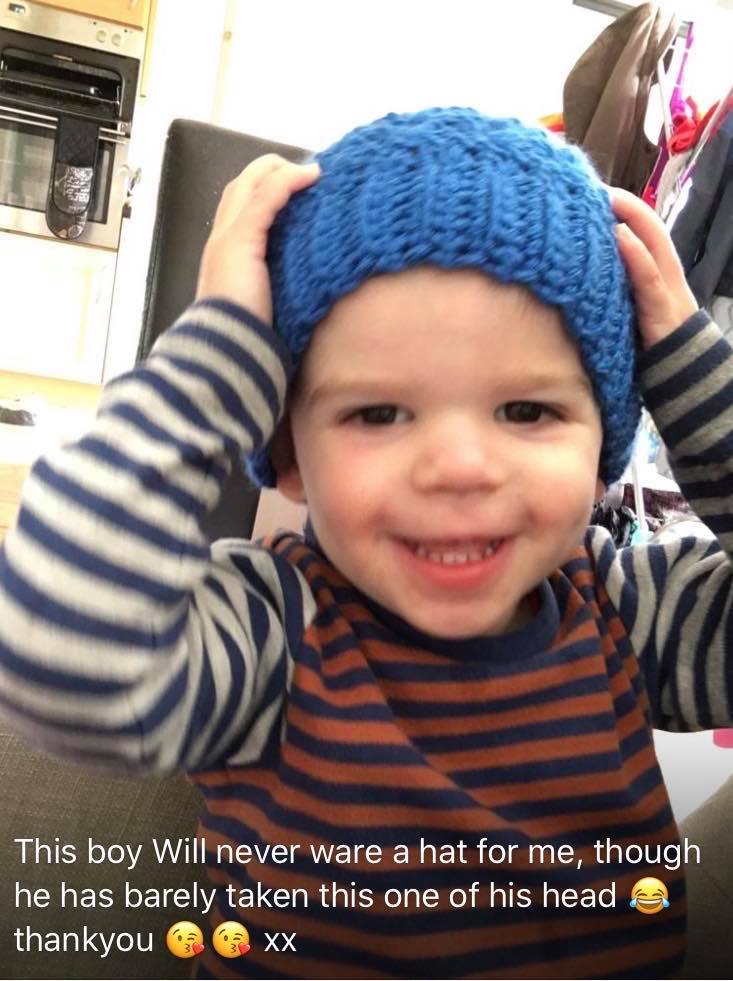
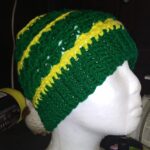
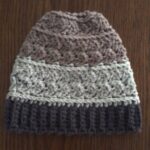
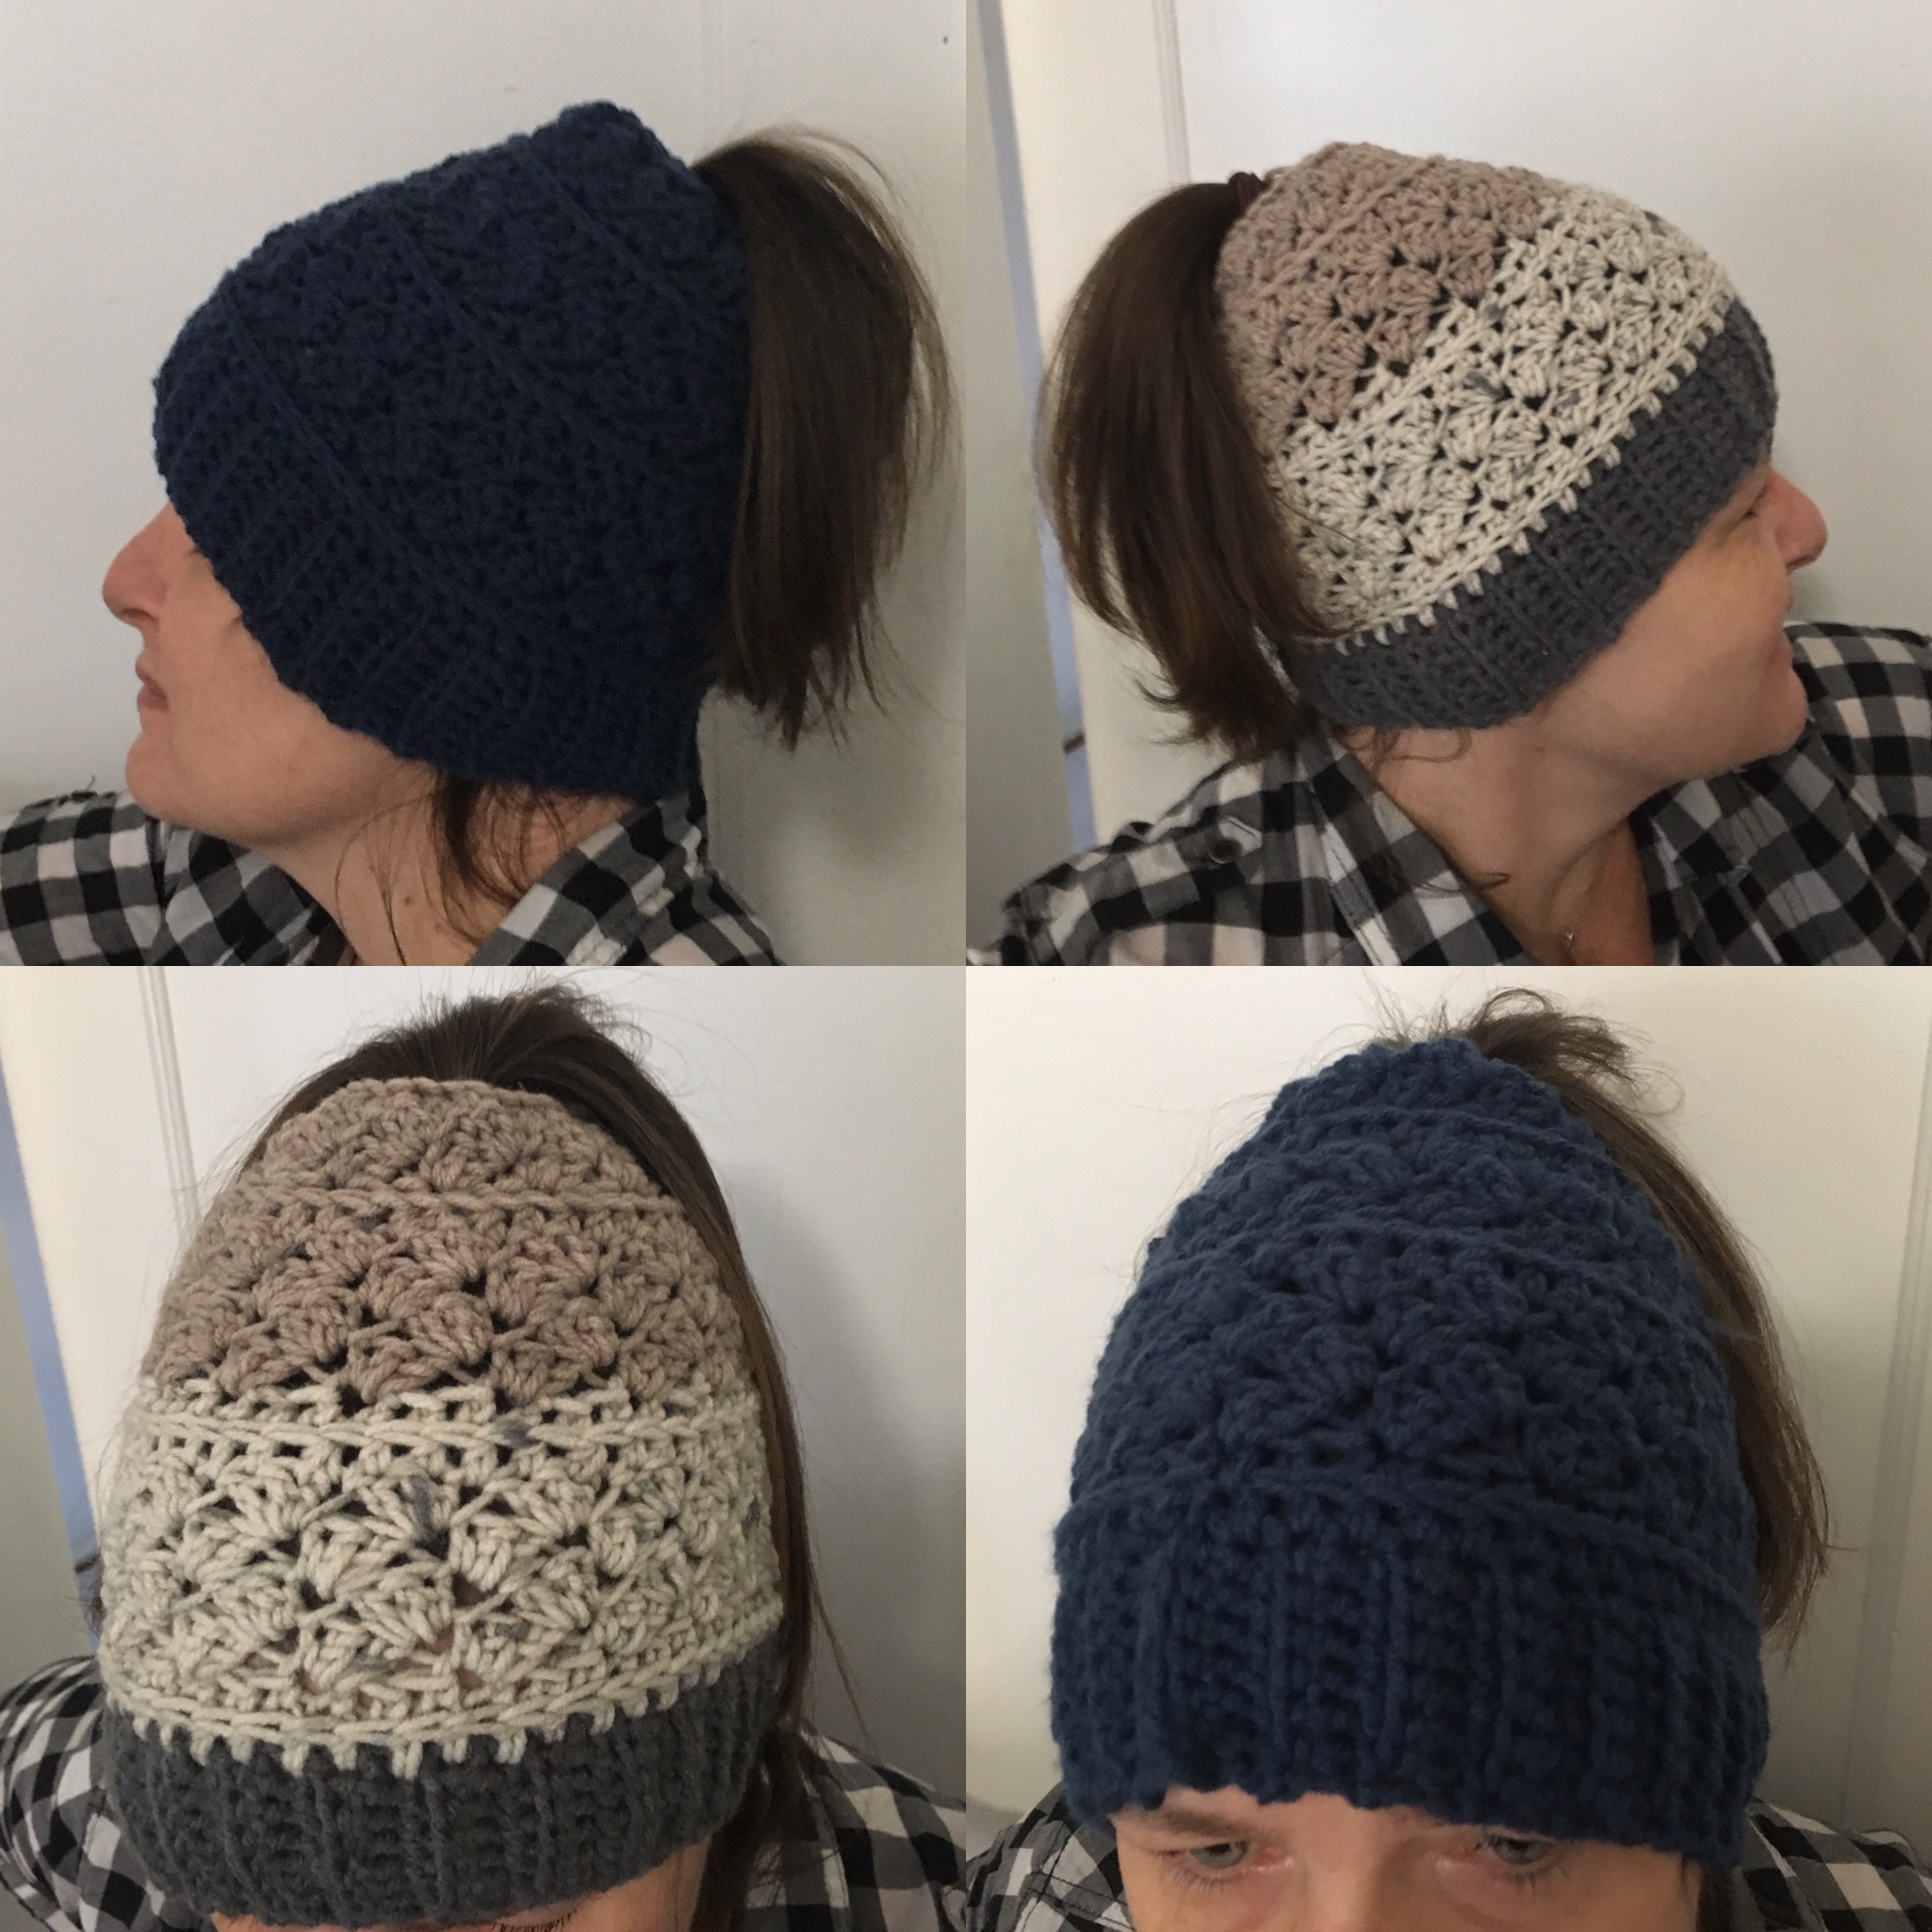
I appreciate EVERY single one of them! They are Jolanta Urb, Anita Reinisch, L. Holly George, and Laina Mann Malcolm. Below are their versions of the Nellie Summer Tee.


If you would like to receive news when I release another free crochet pattern, or take part in another giveaway, or when I am having a sale please use the form below to sign up for my Newsletter.
Nellie Summer Tee Free Crochet Pattern
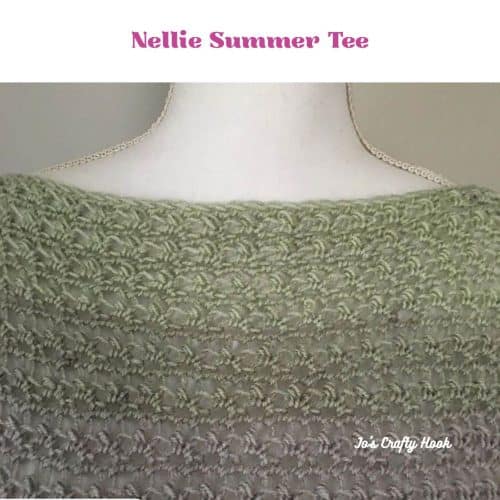
Nellie Summer Tee Crochet Pattern
Finished Sizes
| Size | Bust Size | Width of Panel | Length of Panel | Neck Opening | Armhole Opening |
| XSmall | 34 | 16” | 22” | 9.5” | 6.5” |
| Small | 36 | 18” | 24” | 10” | 7” |
| Medium | 38 | 20” | 24” | 10” | 7” |
| Large | 42 | 22” | 26” | 11” | 7.5’ |
| XLarge | 46 | 24” | 26” | 11” | 7.5” |
| 2XLarge | 50 | 26” | 28” | 11.5” | 8” |
| 3XLarge | 54 | 28” | 28” | 11.5” | 8.5” |
| 4XLarge | 58 | 30” | 30” | 12” | 9” |
| 5XLarge | 62 | 32” | 32” | 12” | 9.5” |
Materials:
800-1400 yards #3 Light Weight Yarn or DK Yarn
US Hook J or 6 mm
Tapestry Needle
Scissors
Stitch Markers
Gauge:
12 stitches x 12 rows = 4”
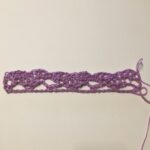
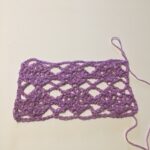
Gauge Swatch:
You will be crocheting a 6” x 6” Swatch and use the N Stitch repeats to find your 4”
R1: fsc 18 or chain 19 and s in 2nd chain from hook and each st across. Ch 1 and Turn.
R2: sc in 1st, hdc, and N stitch until 2 st remain. Hdc in the next st and sc in the last st. Ch 1 and Turn.
R3: sc in 1st and each st across.
R4-R17: Repeats R2-R3
R18: Repeat R2 once more
Abbreviations/Stitches:
FSC = Foundation Single Crochet
CH = Chain
SC = Single Crochet
ST(S) = Stitch(es)
NS = N Stitch
SP = Space
RS = Right Side
WS = Wrong Side
Special Stitch:
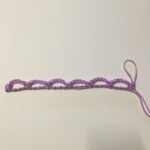
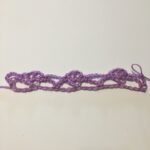
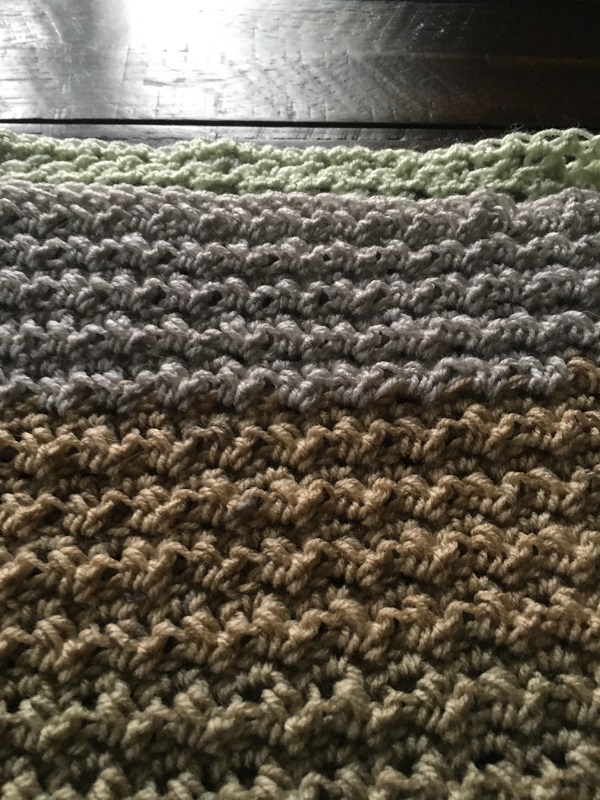
The N Stitch
-
- Sk 1 st
- hdc in the next st
- insert hook from the top to the bottom of the front loop of the skipped stitch
- YO, pull up a loop,
- YO, pull through one loop
- YO, insert the hook back into the same st as the hdc, YO, pull up a loop,
- YO, pull through all 4 loops on hook.
Notes:
Stitch count is a multiple of 2
Ch 1 does not count as a stitch
The sizes are XSmall (Small, Medium, Large, XL, 2X, 3X, 4X, 5X) consecutively
Video Tutorials:
N Stitch Right Handed Version here.
N Stitch Left Handed Version here.
Foundation Single Crochet Right Handed Version here.
Foundation Single Crochet Left Handed Version here.
If you found my Video Tutorials helpful, please subscribe to my YouTube Channel so you can be notified when I release another helpful tutorial.
Nellie Summer Tee Crochet Pattern
Panel 1 (make 2)
R1: FSC 48 (54, 60, 66, 72, 78, 84, 90, 96) st. Turn
Optional: Chain 49 (55, 61, 67, 73, 79, 85, 91, 97), sc in 2nd chain and each st across. Turn. 48 (54, 60, 66, 72, 78, 84, 90, 96) st
R2 (RS): Ch 1 and sc in same st, hdc in the next st and NS to the last 2 st. Hdc in the next st and sc in the last st. Turn
R3 (WS): Ch 1, sc in the same st and each st across. Turn
R4 – 67 (73, 73, 79, 79, 83, 83, 89, 95): Repeat R2 & R3 or until you reach your corresponding length. 22 (24, 24, 26, 26, 28, 28, 30, 32)
Leave a long tail for sewing shoulders closed.
Sides:
- Lay Right Sides of the panels facing each other.
- Use the Table at the top of the pattern for the size of your Armholes. I measured from the top of the panels and placed Stitch Markers where you will stop when sewing sides closed.
- Start at the bottom of the panels and sew the sides together using the Whip Stitch, or Mattress Stitch until you get to the Armholes.
- If you would like more room at the hips, leave a 2”-4” slit at the bottom on each size of the Panels. I made a 2” slits.
Shoulders:
- Using the Table at the top of the pattern, find the size of the neck hole opening.
- Place your Stitch Marker where you want to stop the opening on both sides of the top.
- Sew the panels together using the Whip Stitch or whichever method you prefer to sew the shoulders closed.
If you have any questions regarding the Nellie Summer Tee Free Crochet Pattern, please don’t hesitate to contact me at jo@joscraftyhook.com. I would LOVE to hear what you think of the Nellie Summer Tee, so please leave a comment or feedback below.
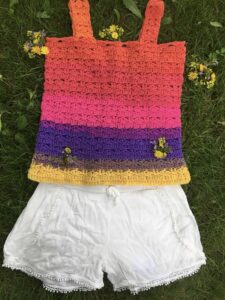
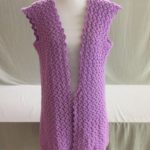
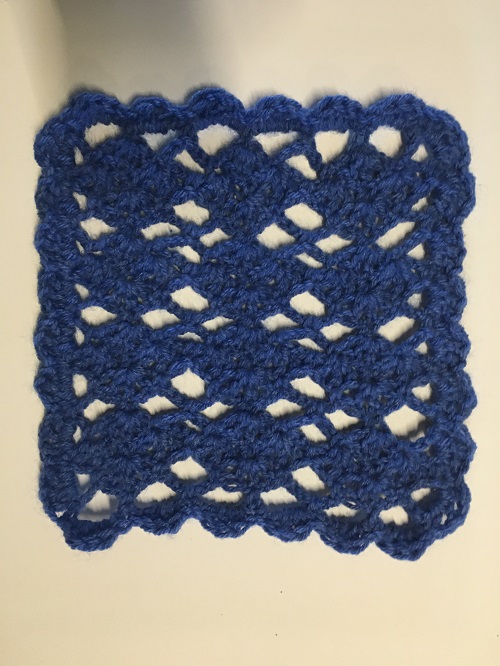
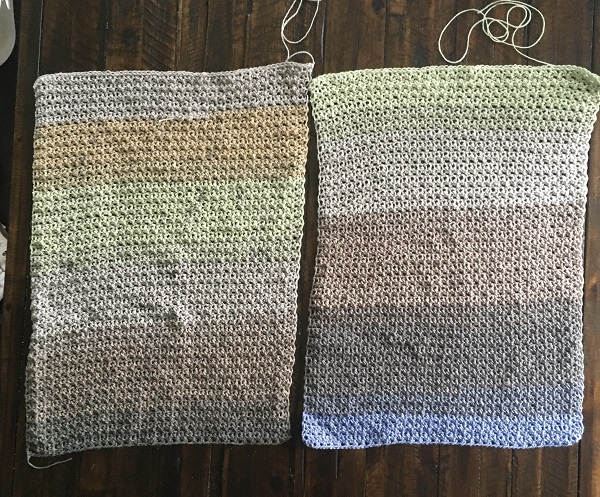
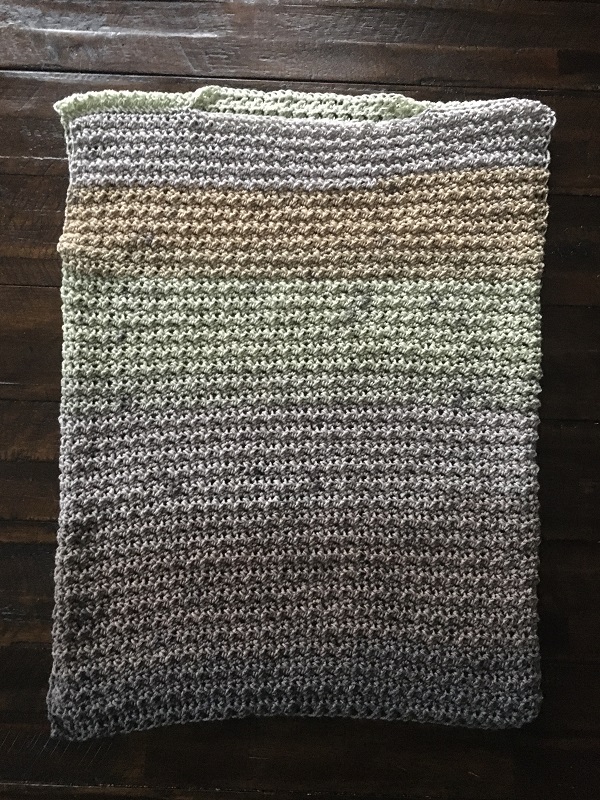
Below are the testers’ version of their Nellie Summer Tee. Please share YOUR version of the Nellie Summer Tee with me on Instagram, Facebook, or any of the social media sites listed below. Please use #nelliesummertee or #joscraftyhookdesigns when you do share your version with me.
Find me, Jo of Jo’s Crafty Hook Designs at any one of these places listed below!
Website: www.joscraftyhook.com
Ravelry: https://www.ravelry.com/designers/jos-crafty-hook
Etsy Shop: www.etsy.com/shop/JosCraftyHook
Facebook: www.facebook.com/JosCraftyHook
Facebook: www.facebook.com/JosCraftyHookDesigns
Instagram: www.instagram.com/joscraftyhook
Instagram: www.instagram.com/jo_bear38
Pinterest: www.pinterest.com/baird0095
Twitter: www.twitter.com/joscraftyhook
Twitter: www.twitter.com/jo_baird
YouTube: https://www.youtube.com/channel/UCk-6IB36bg4gkvaawn3xfdg
From the Designer:
- Thank you for your interest in this crochet pattern! Check out some of my patterns at my Ravelry Store Jo’s Crafty Hook Designs or Etsy Shop JosCraftyHook or at my website joscraftyhook.com! While you are at my website be sure to subscribe to my Mailing List and Newsletter. This way you will be notified when I release another pattern or blog post!
- If you have any questions or concerns about this pattern or any other pattern please find me at Jo’s Crafty Hook Designs on Facebook or email me at jo@joscraftyhook.com
- You are free to sell or gift the item, please do NOT claim this design as your own. Please forward any one who would like to do this crochet pattern or any of my patterns to my Etsy shop, the Ravelry Store, or to my website. The web addresses for any place to connect with me are listed below.
- Every purchase of my patterns helps! It allows me to buy more yarn so I can create and design more Handmade Crocheted Creations for you to enjoy.
- I would LOVE to see your version of my designs! You can “Hook It” at my Ravelry Jo’s Crafty Hook Designs OR add a pic on my Facebook Page Jo’s Crafty Hook Designs OR at anyone of the places below that allows you to connect with me! Pictures, Comments, Feedback, etc. are ALWAYS welcome at my website www.joscraftyhook.com!