I am taking part in another free crochet pattern roundup! The Summer Solstice Roundup consist of 25 Crochet Designers, including myself, and their designs. The Summer of Solstice Roundup is being sponsored by The Loophole Fox. You can find out more about The Loophole Fox here.
This post contains affiliate links. You can make a purchase using these links that I provide where I may receive compensation (at no added cost to you.) Purchases you make will help keep my website, Etsy Shop, and my Ravelry Store going and provide quality designs just for you!
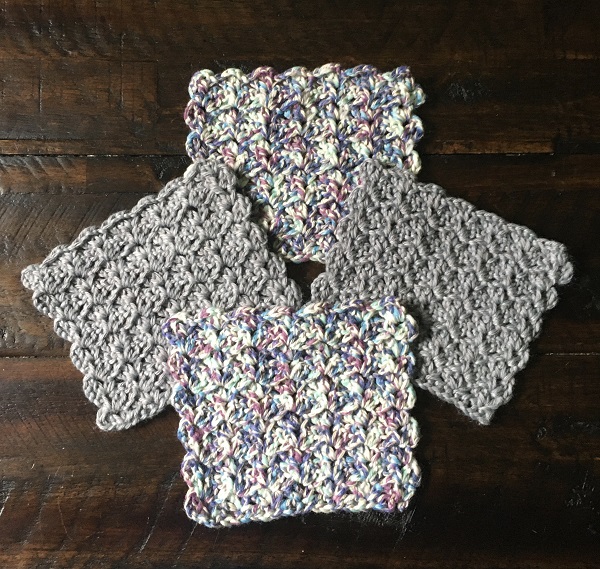
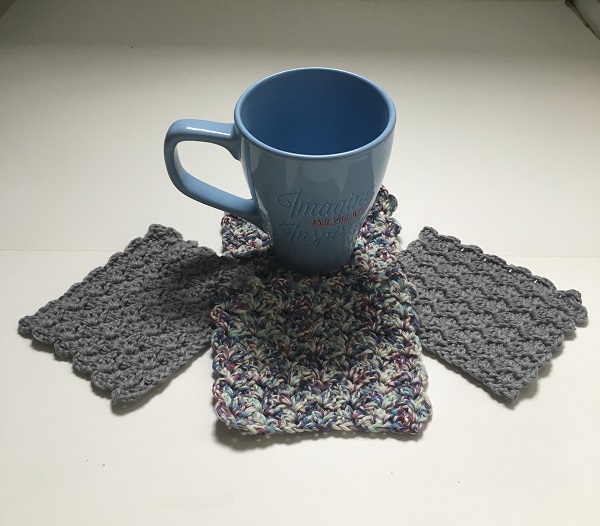
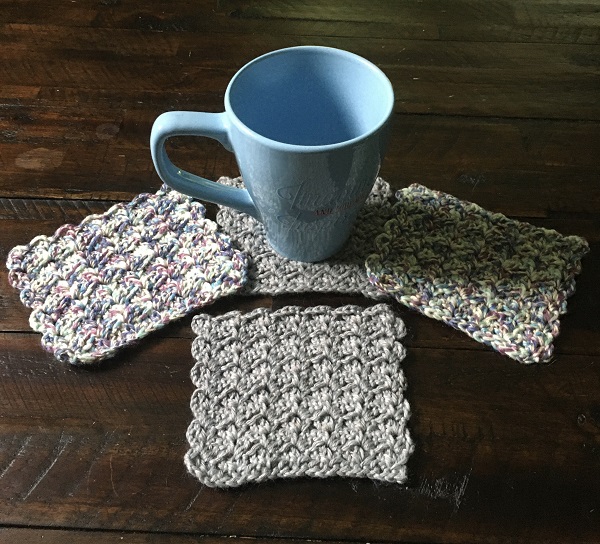
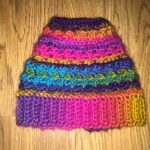
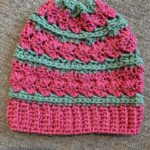
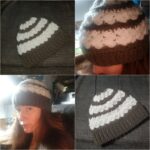
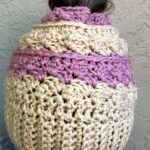
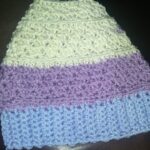
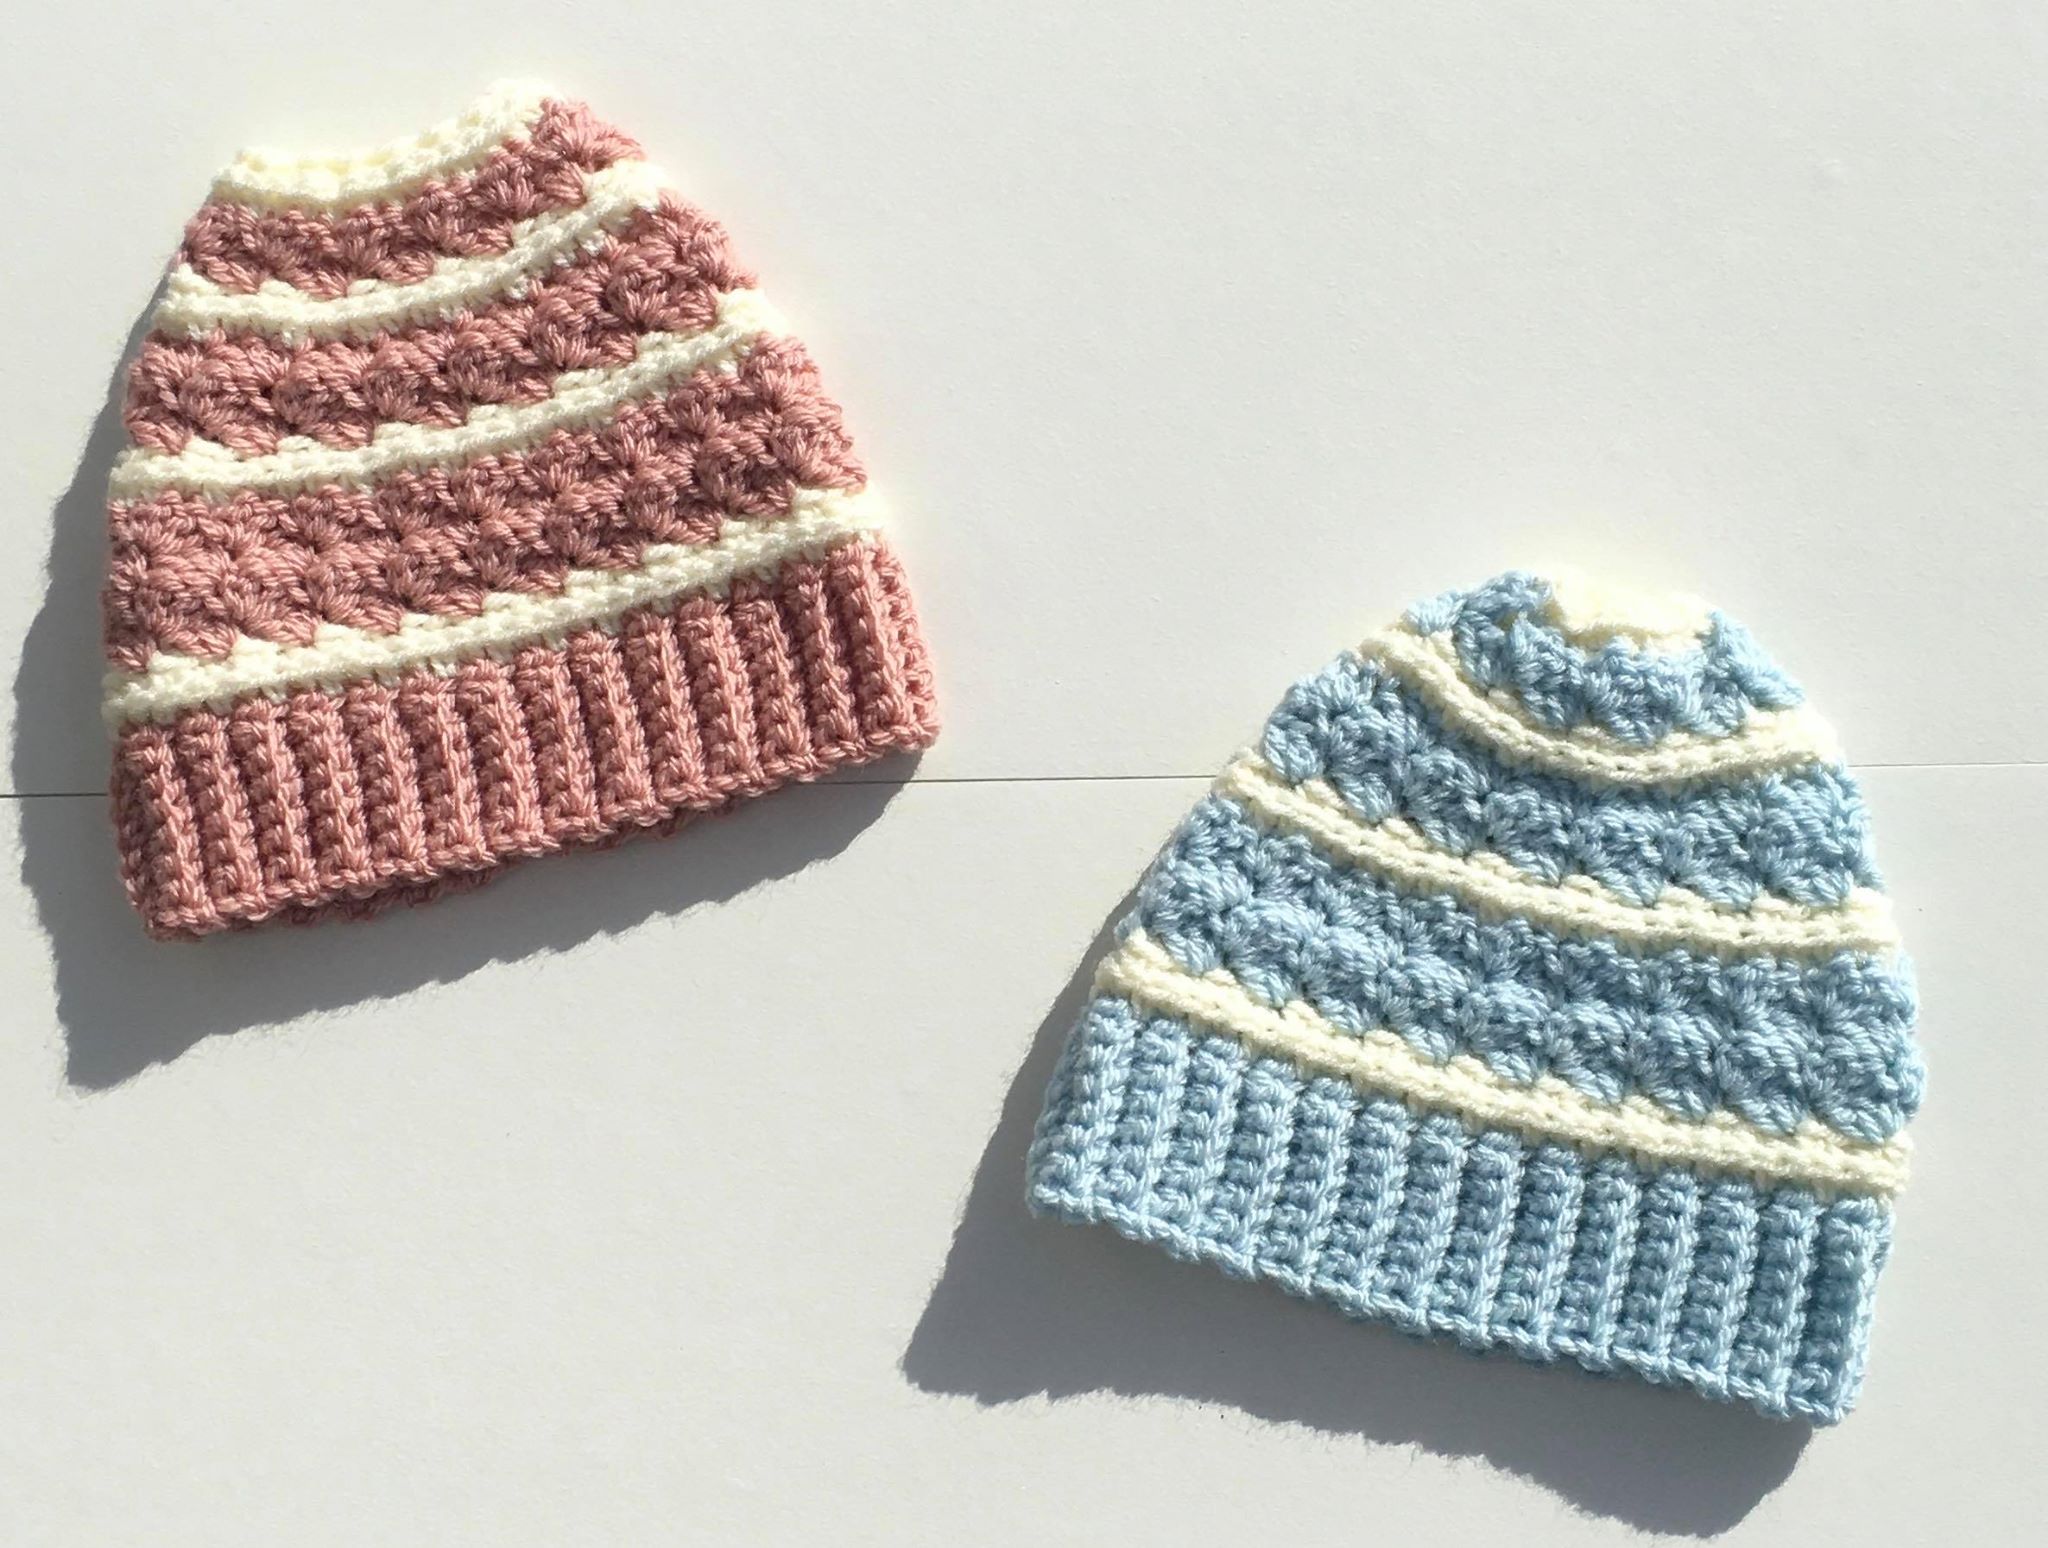
Below you will find a picture of each crochet designer and their design and the FREE crochet pattern that you can download from the Summer Solstice Roundup. All you need to do is click on the link under each designer’s design and you will be redirected to that designer’s website where you can find their free crochet pattern.
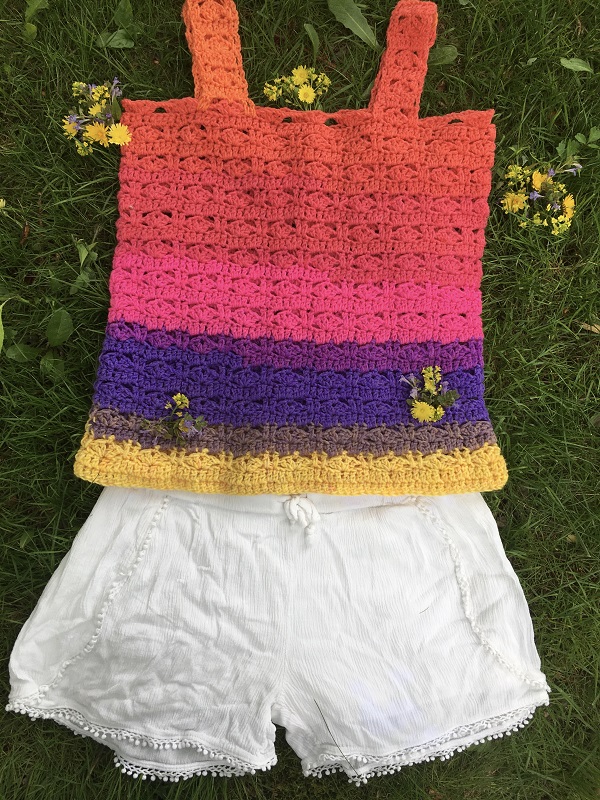
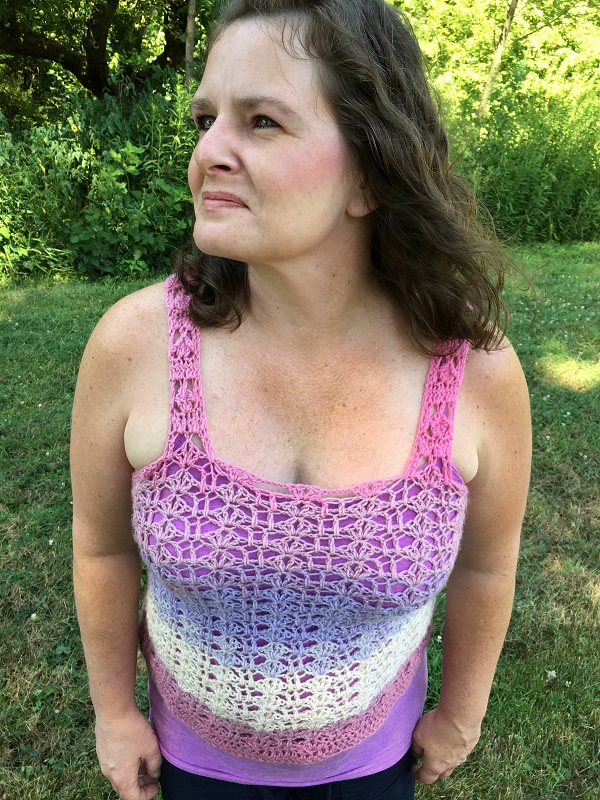
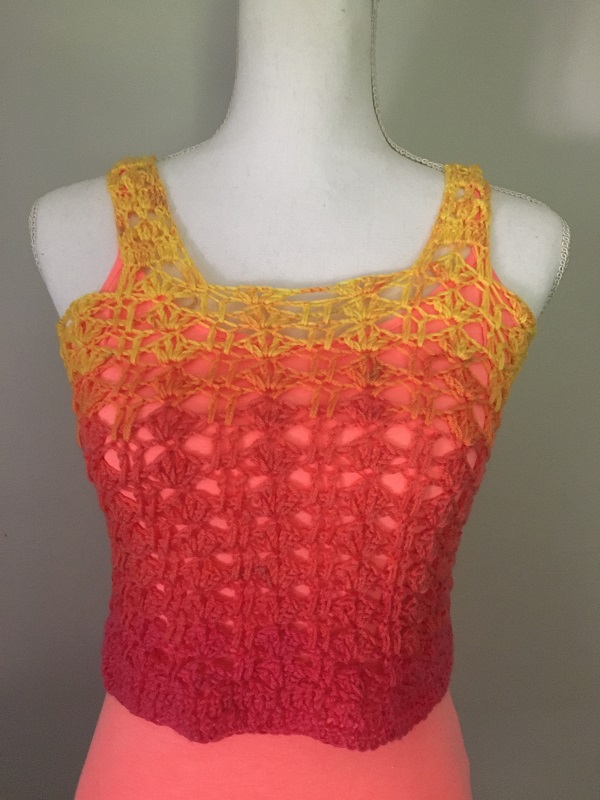
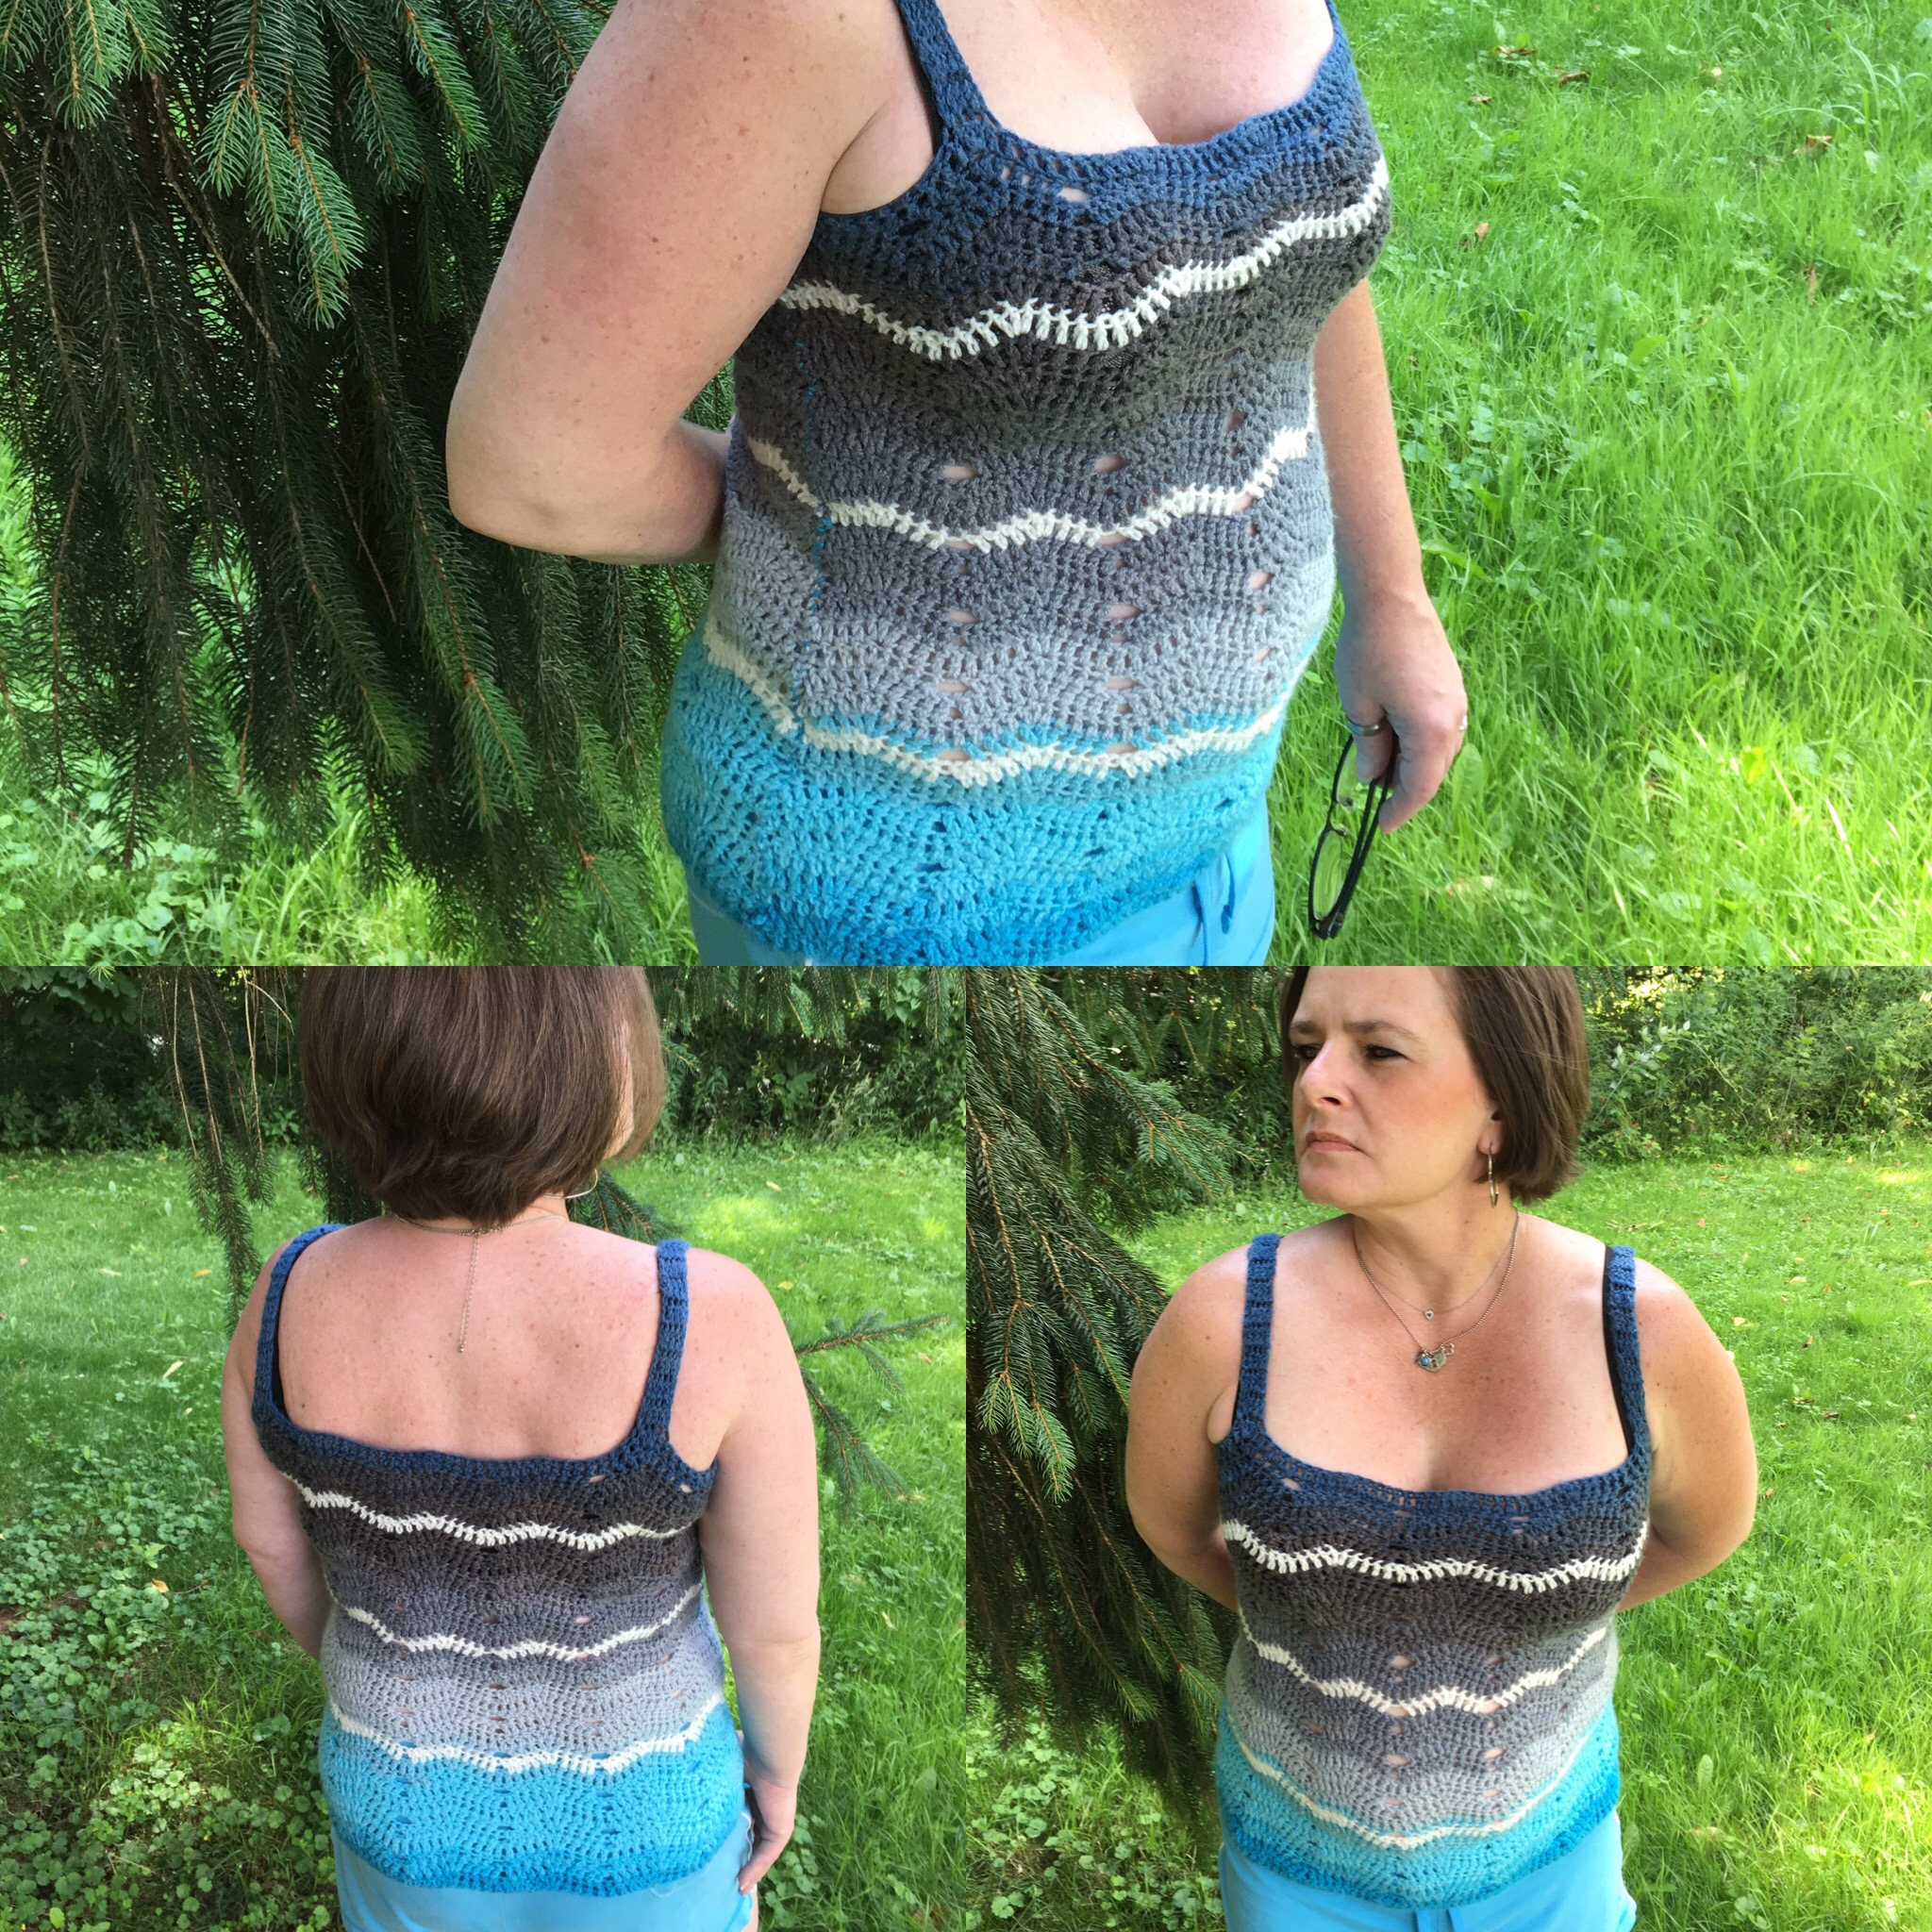
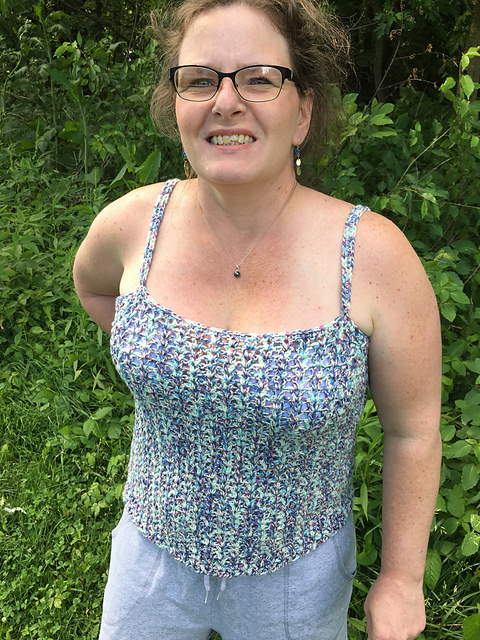
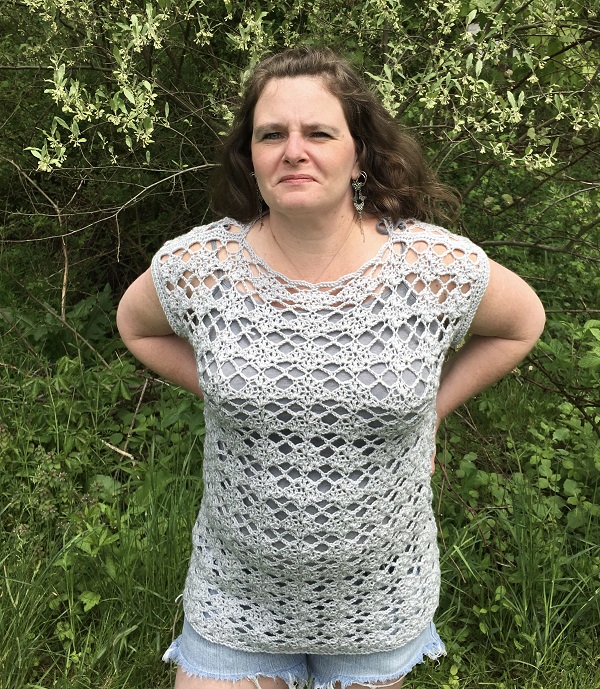
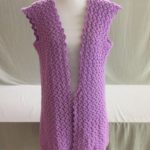
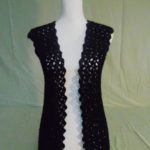
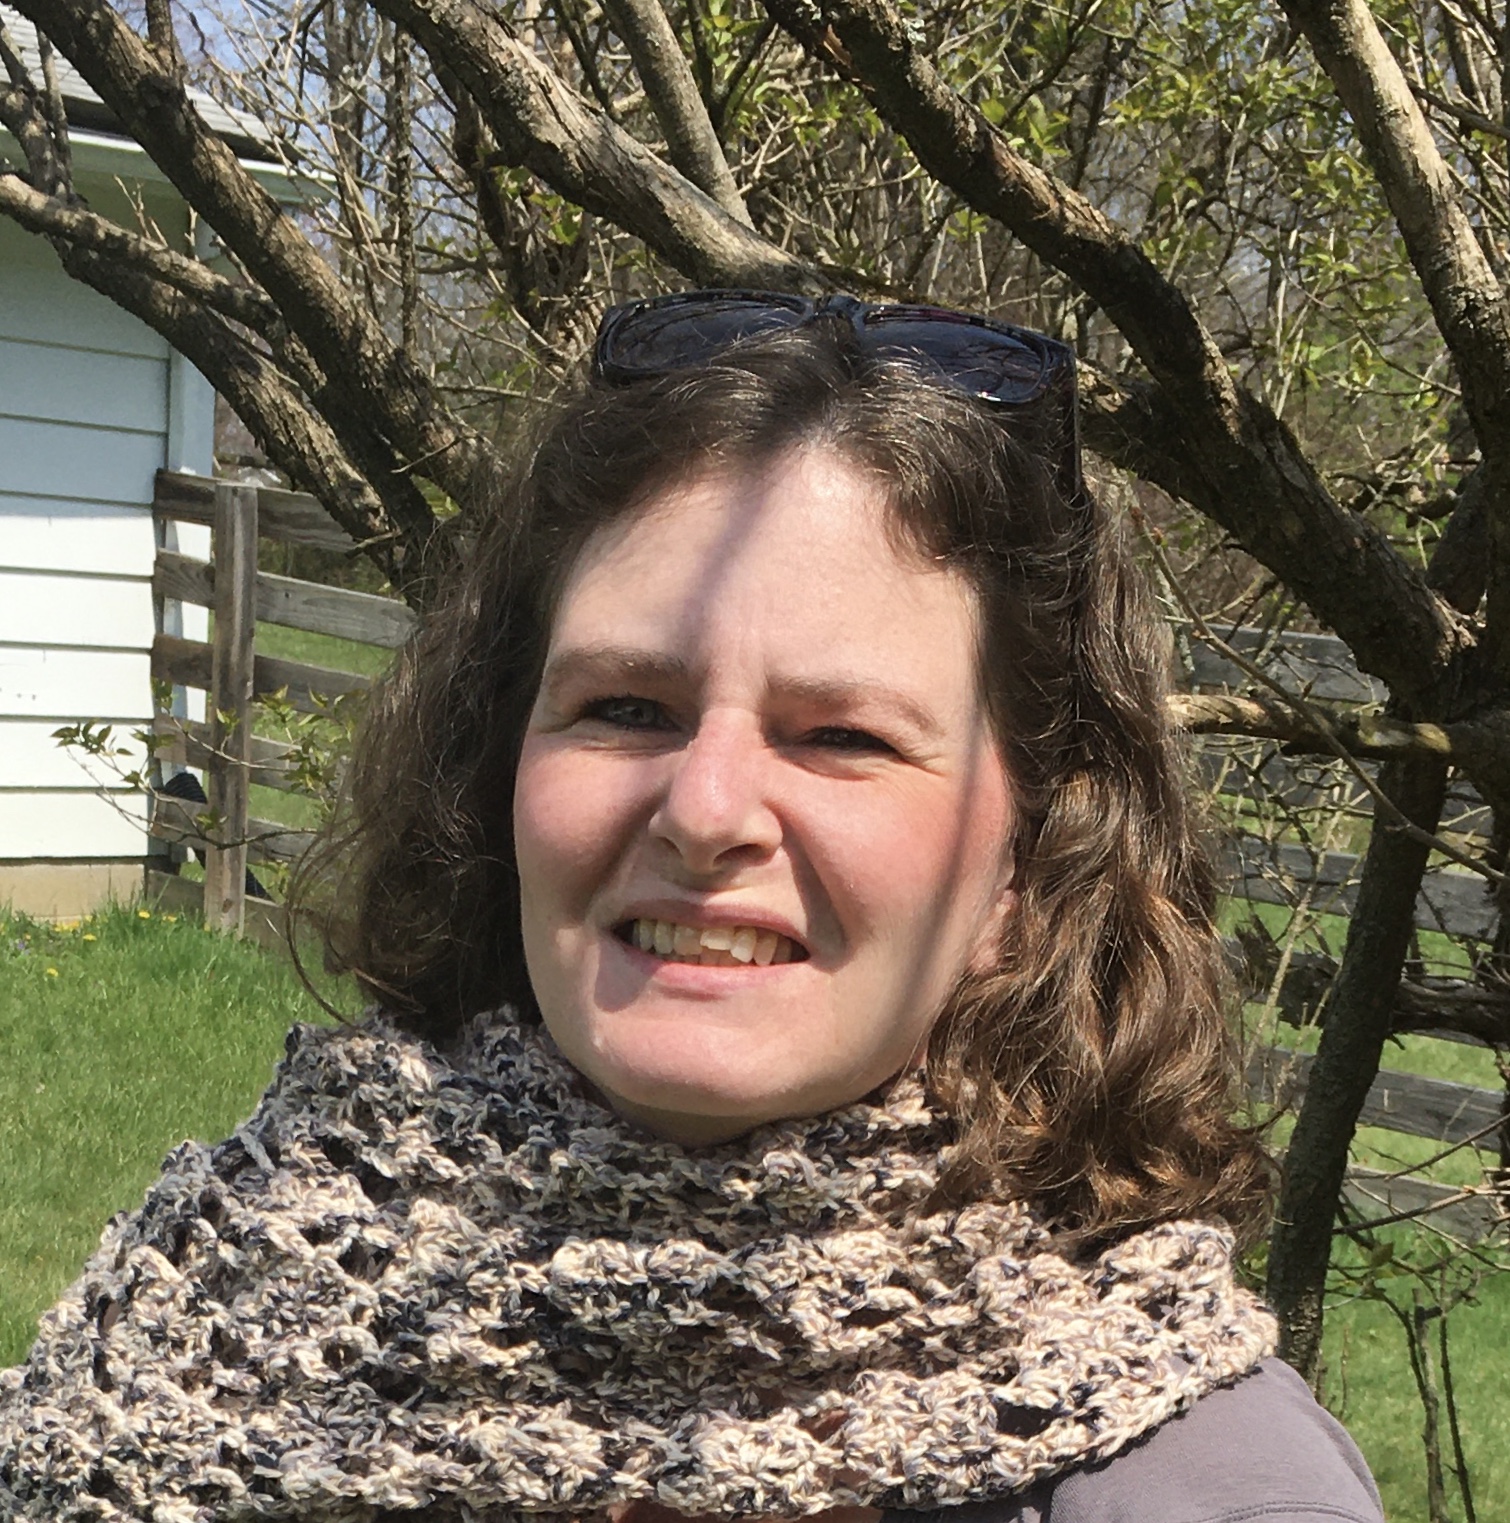
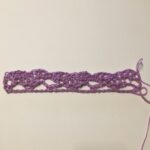
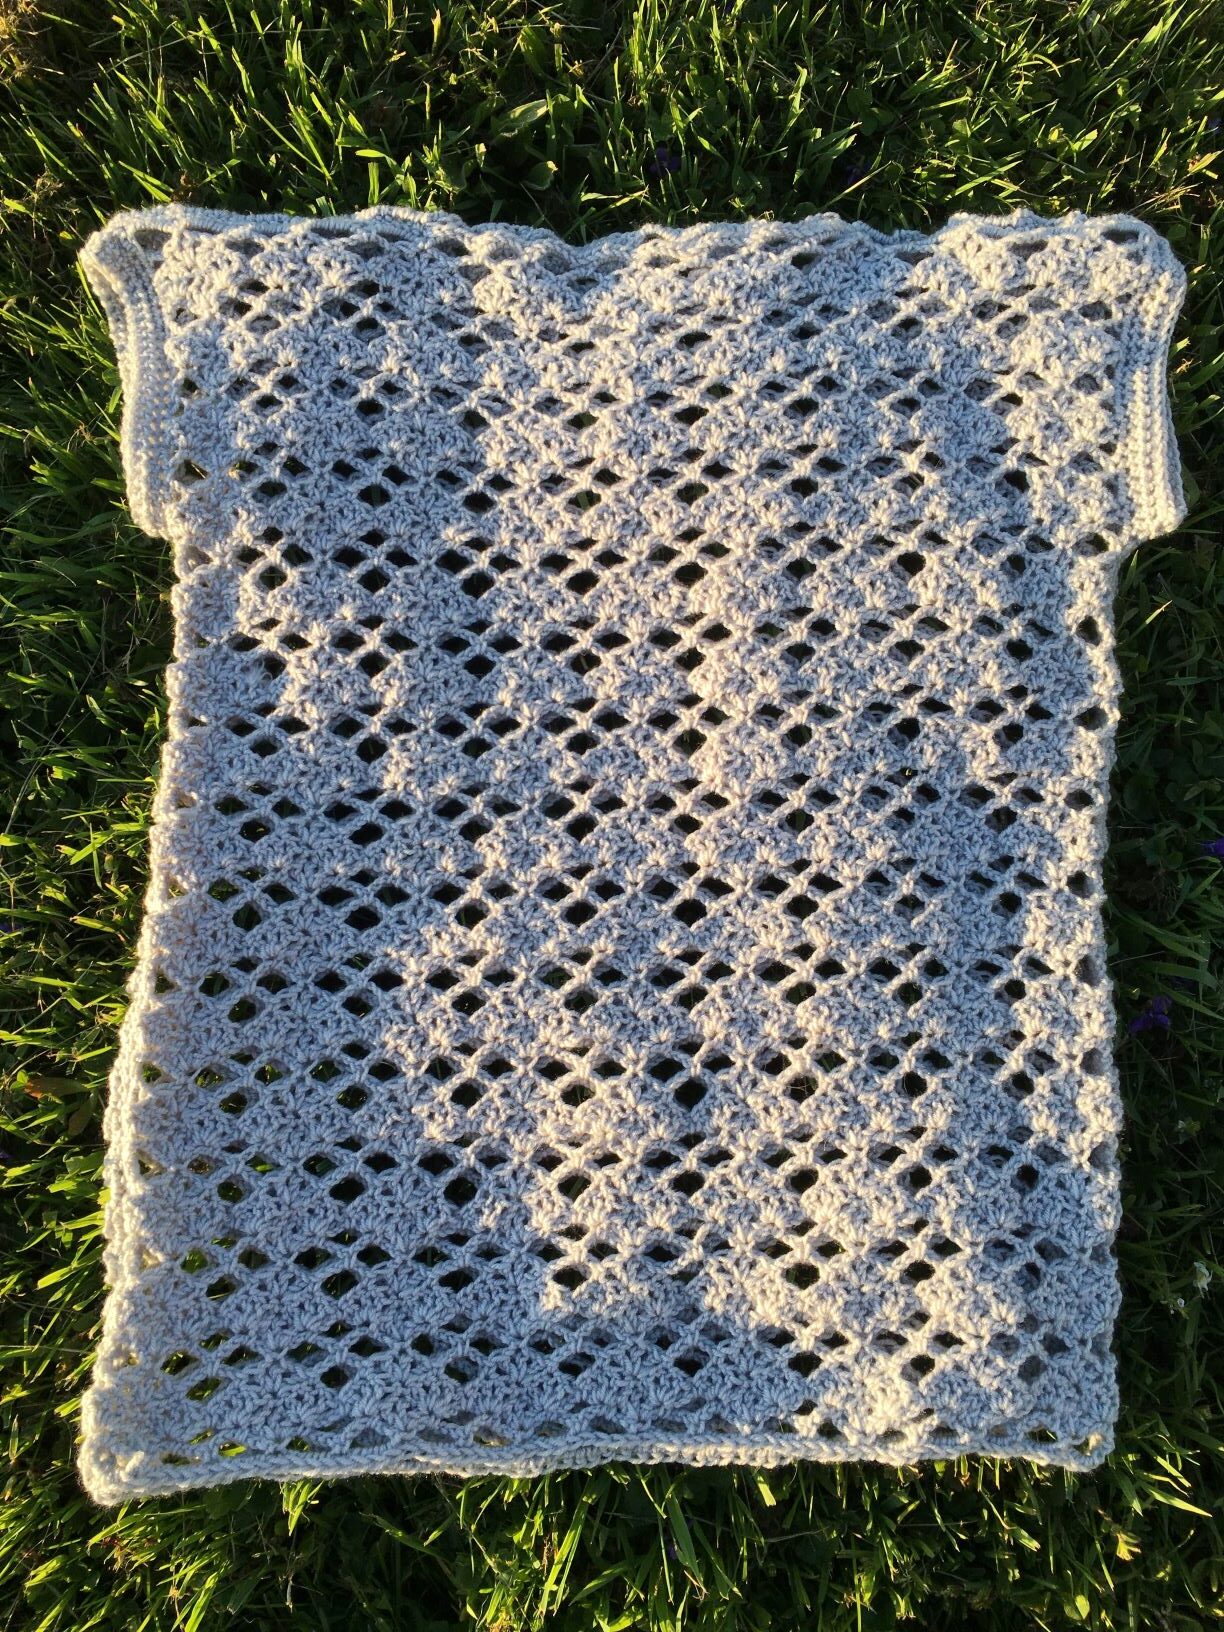
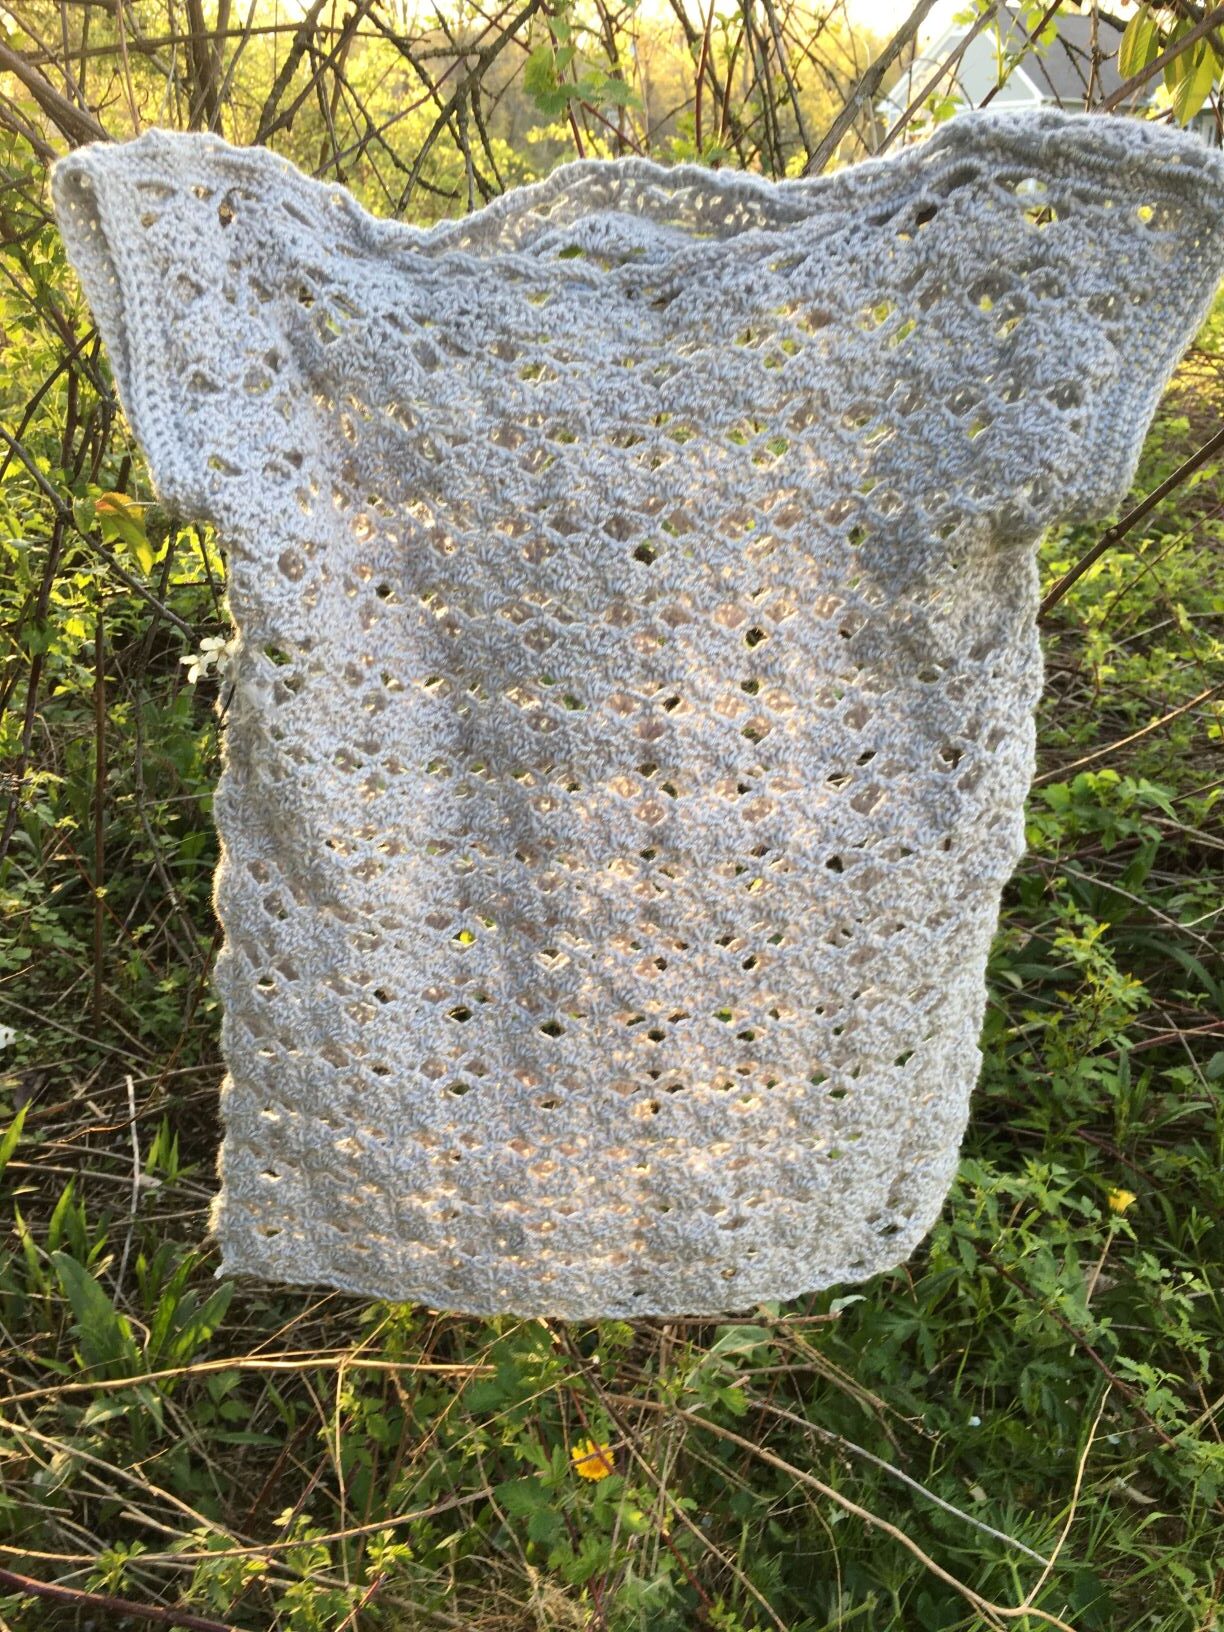
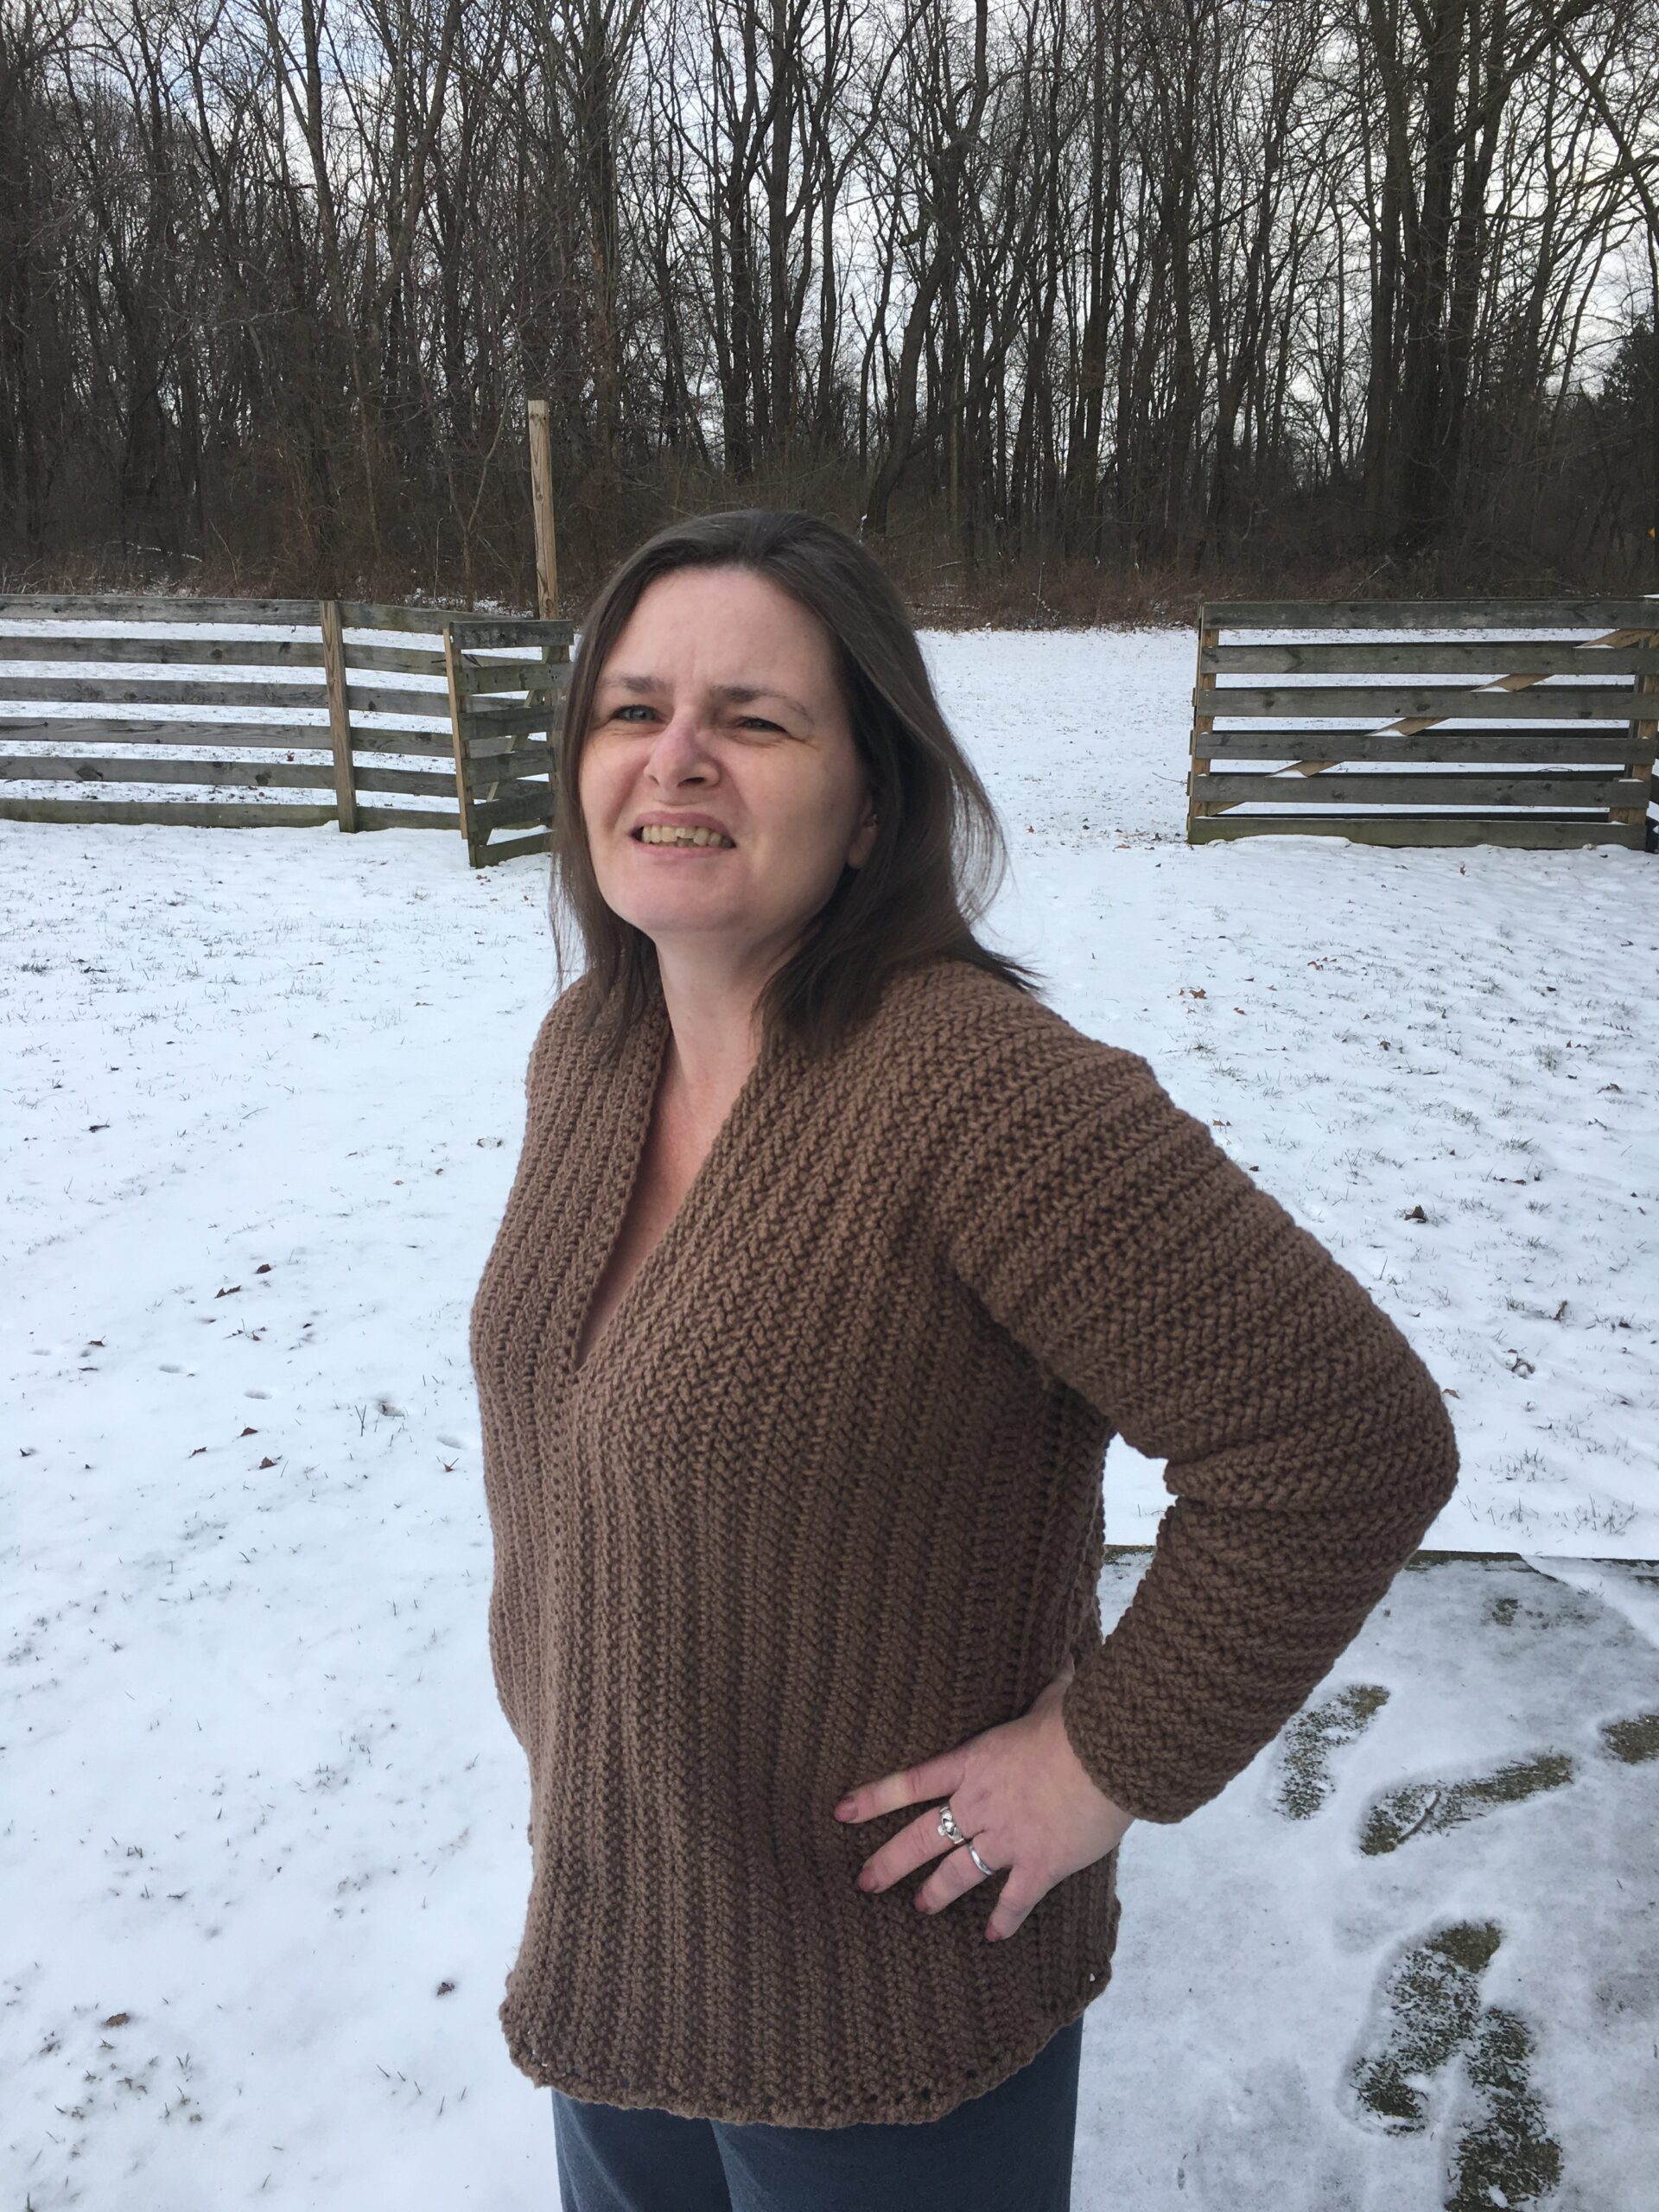
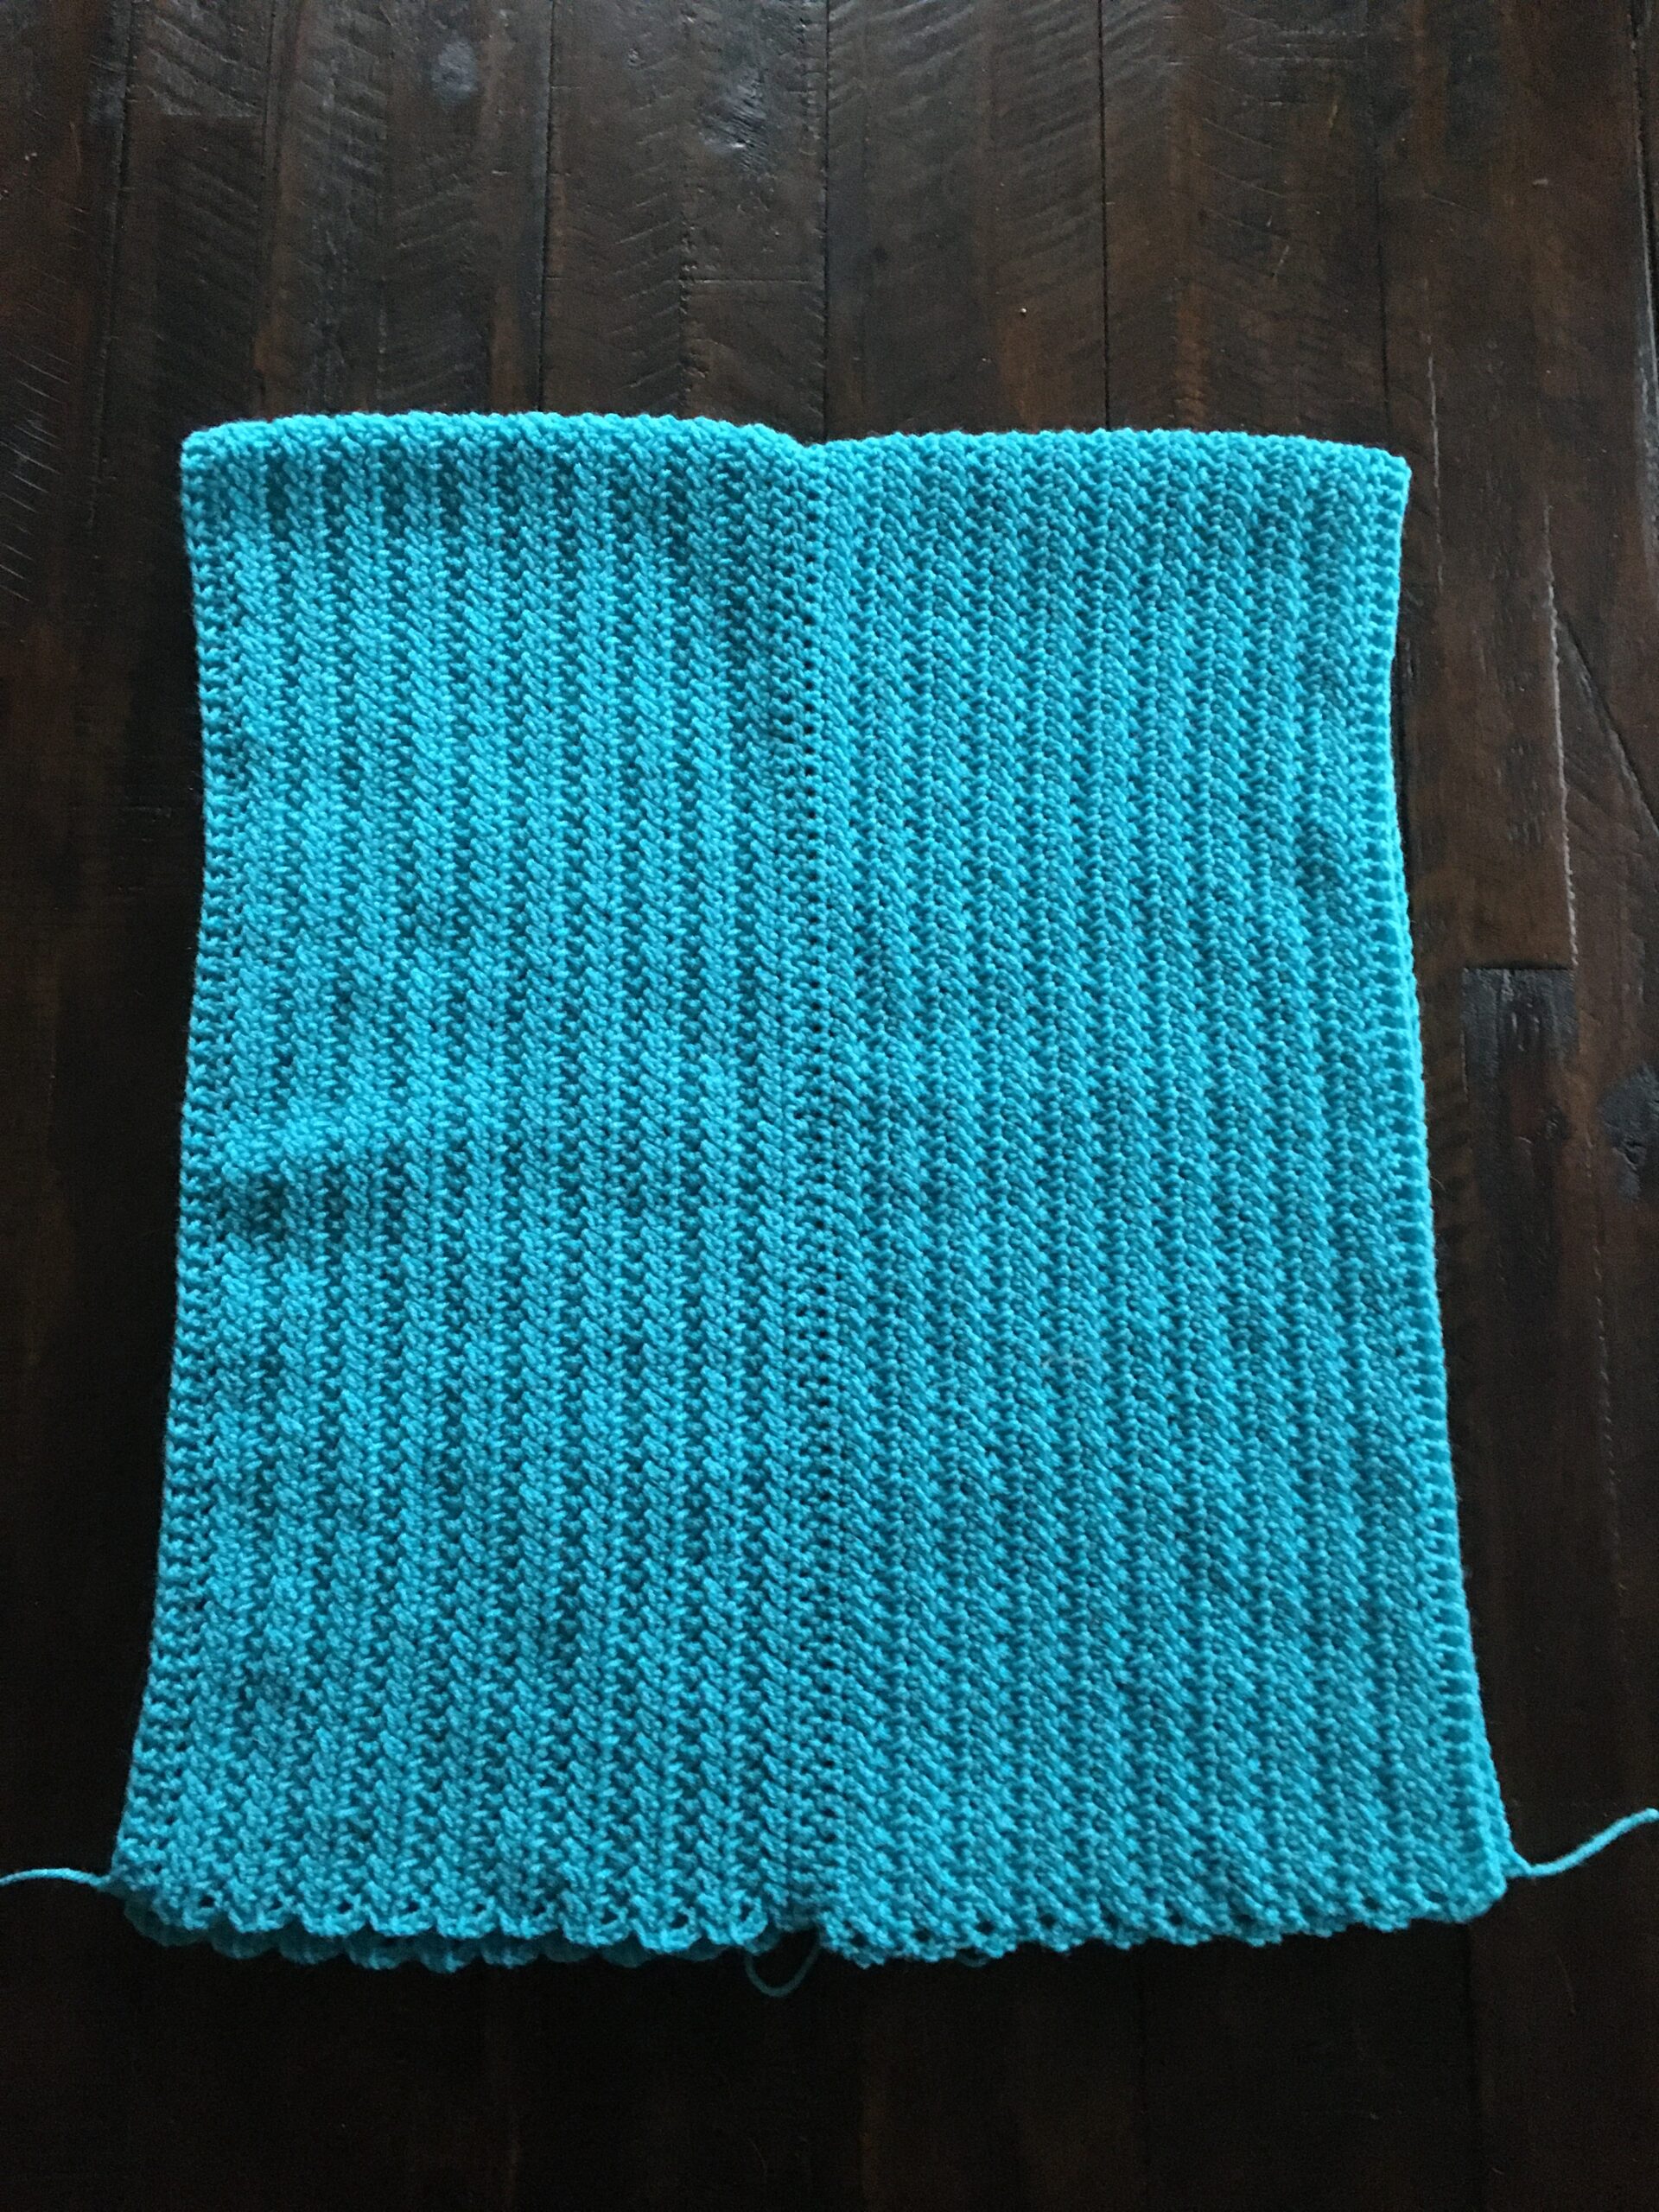
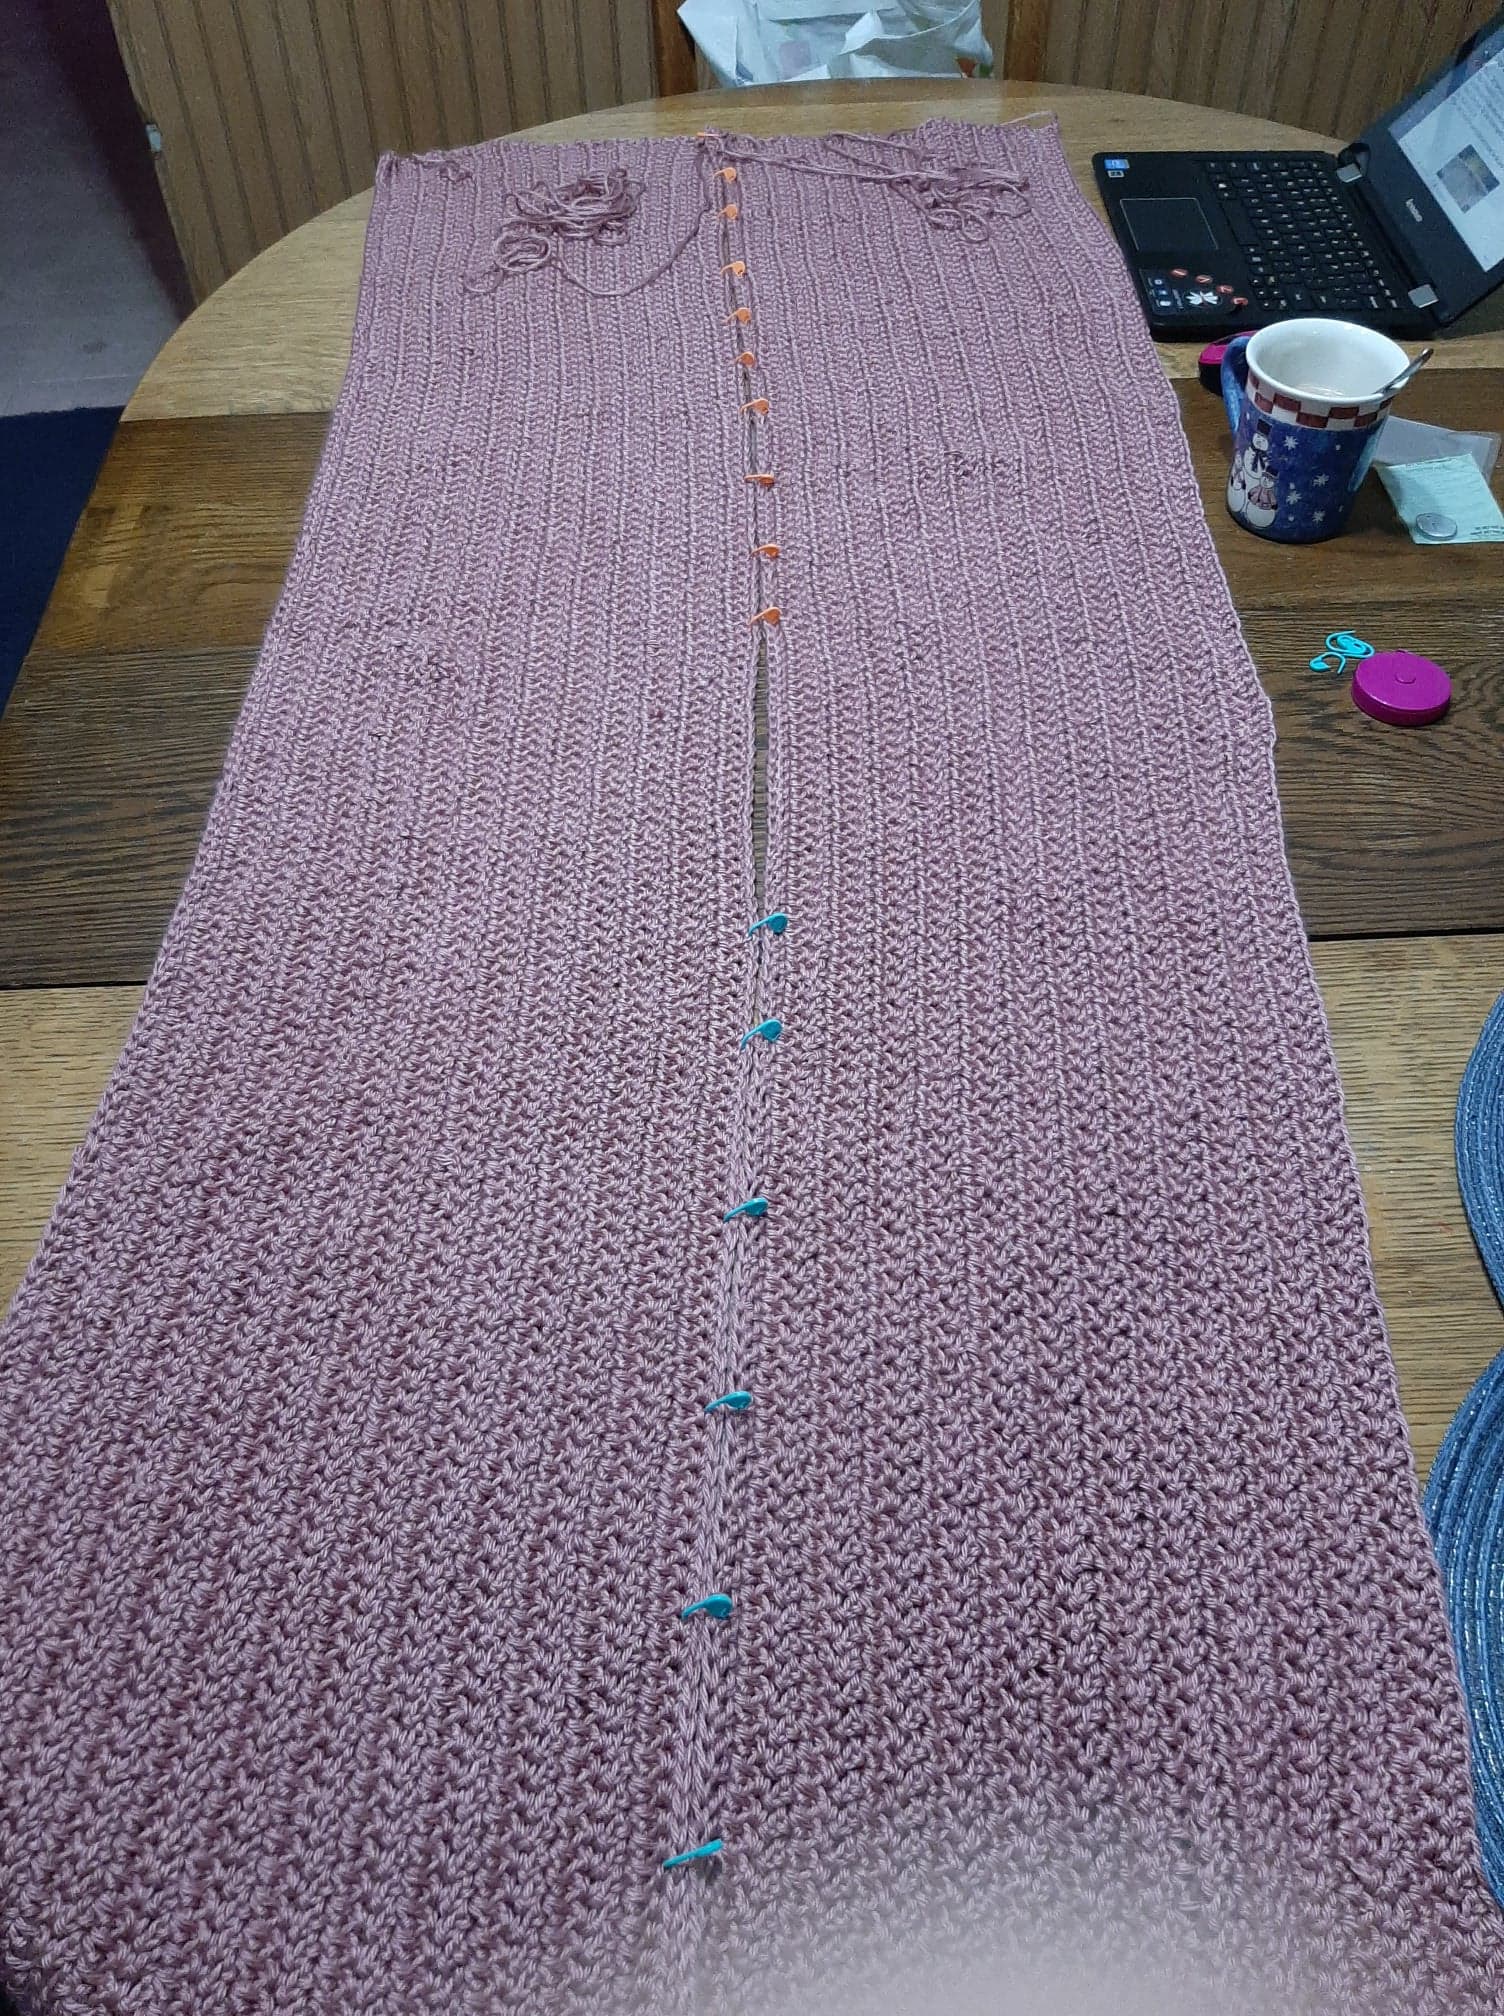
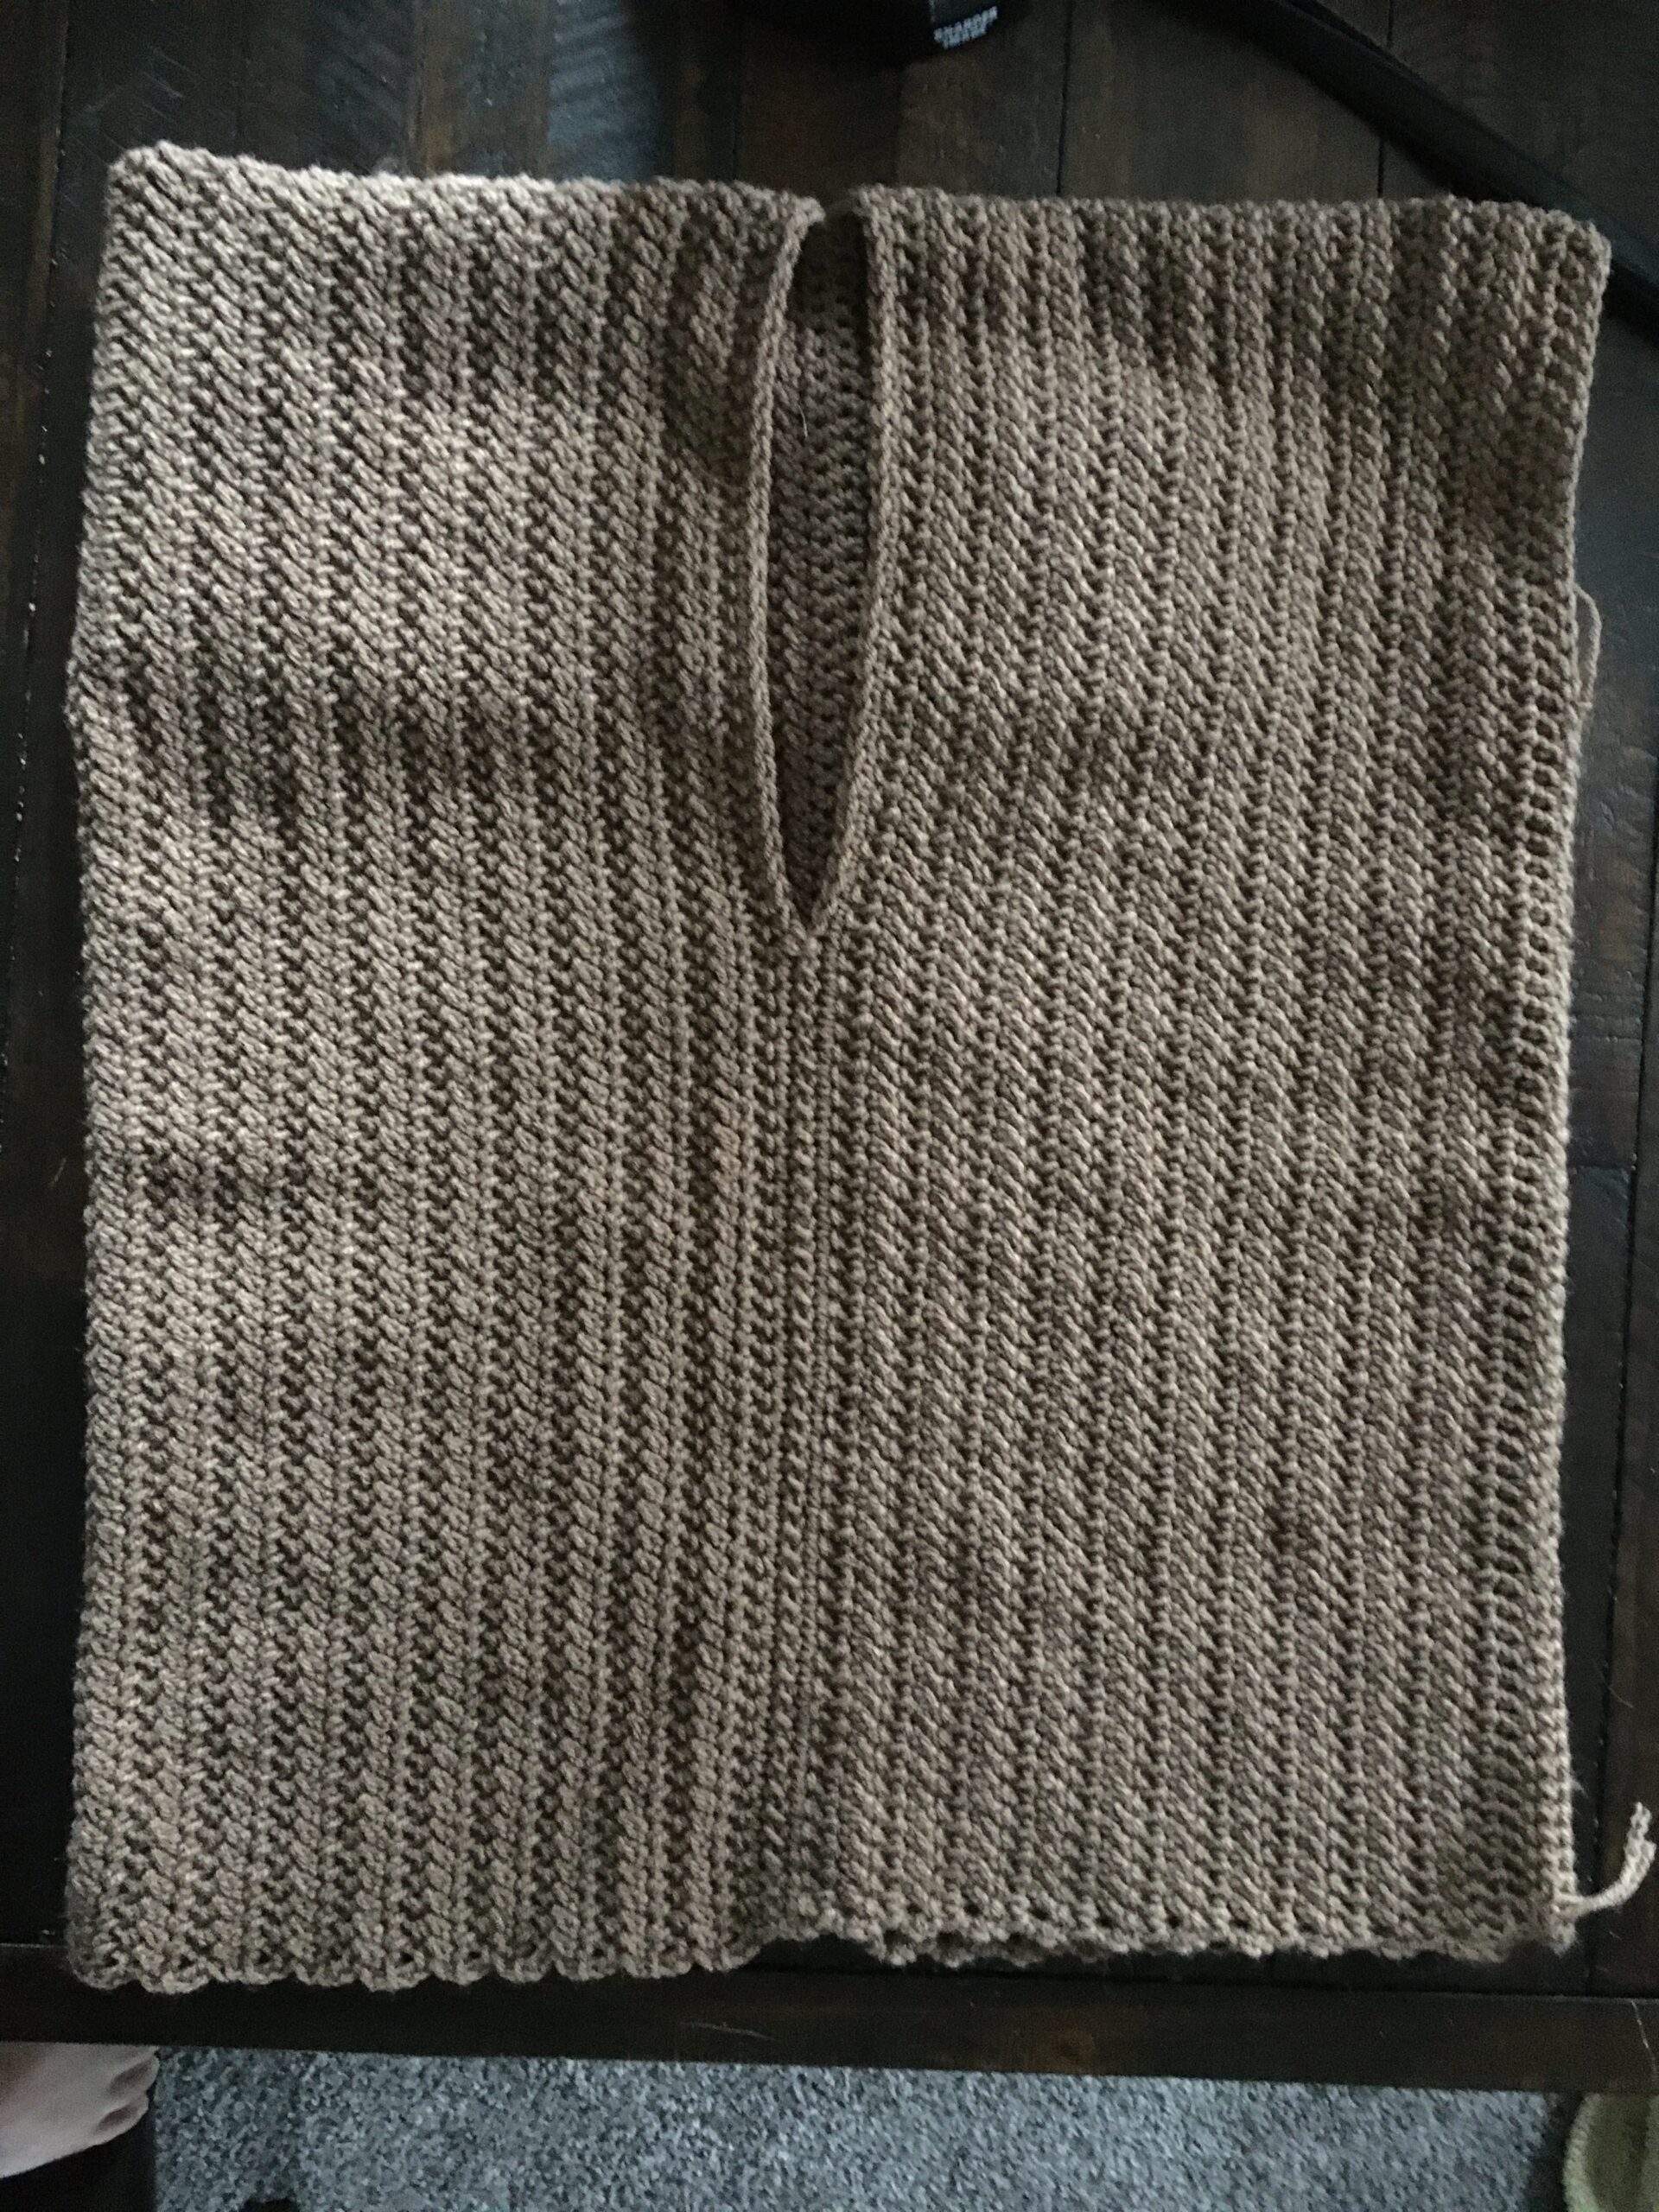
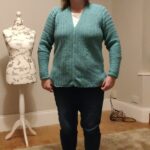
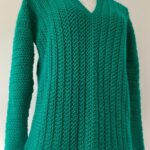
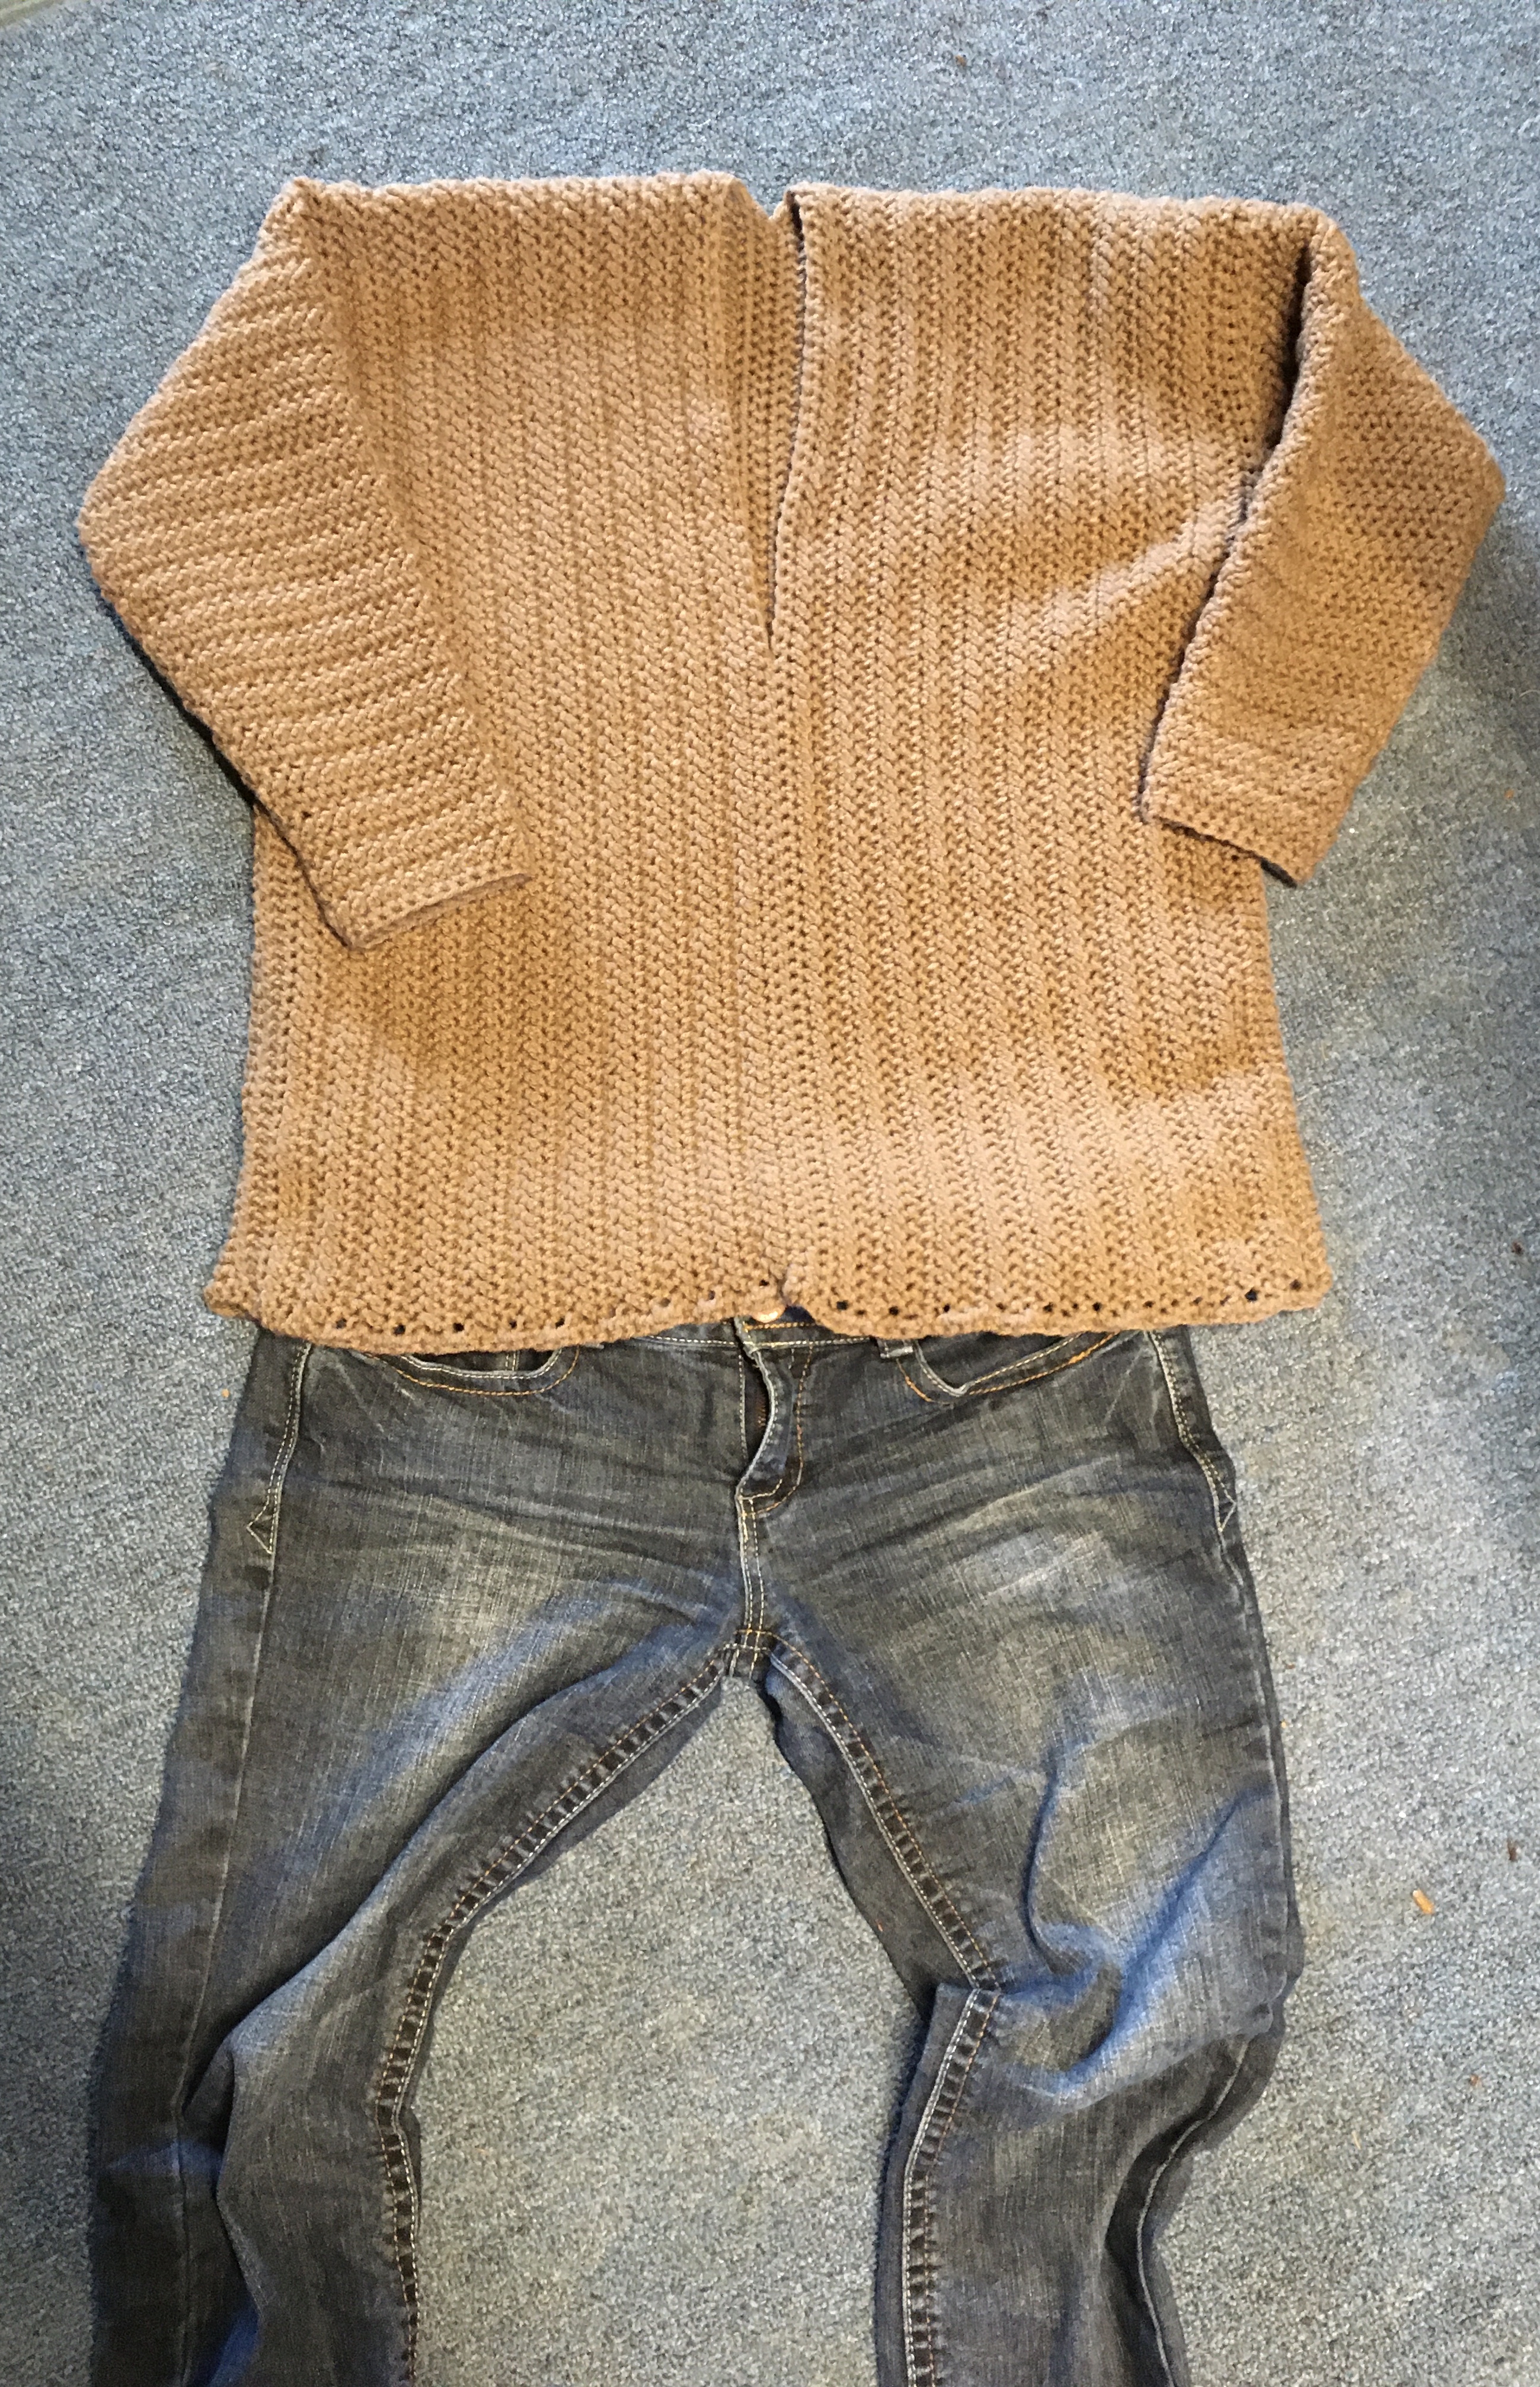
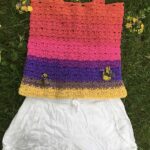
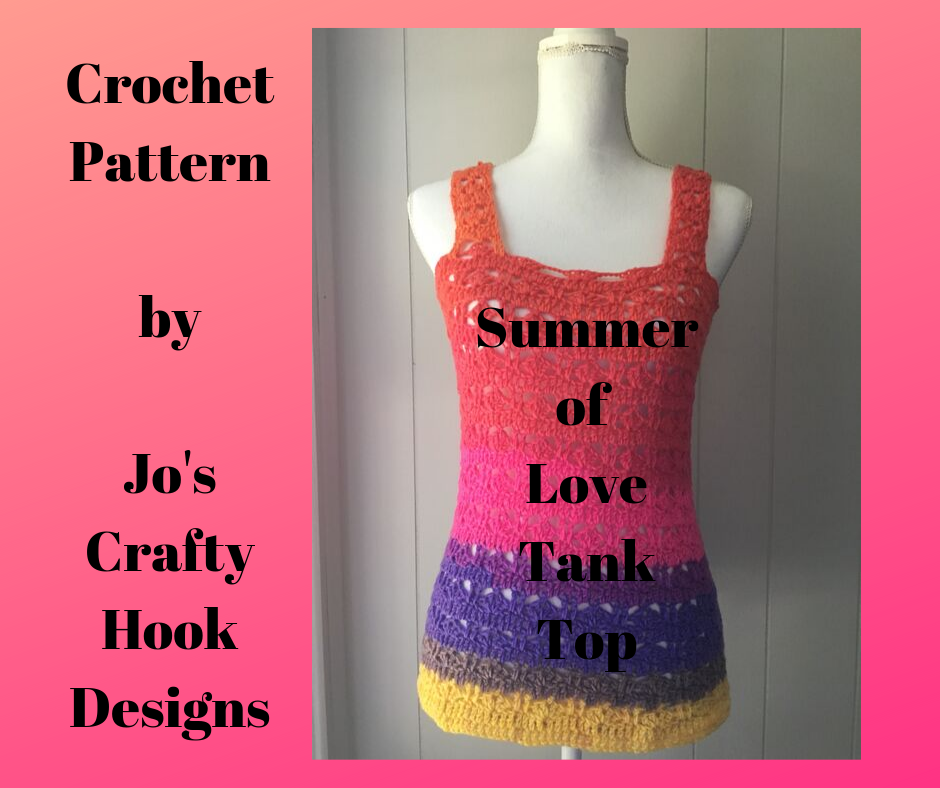
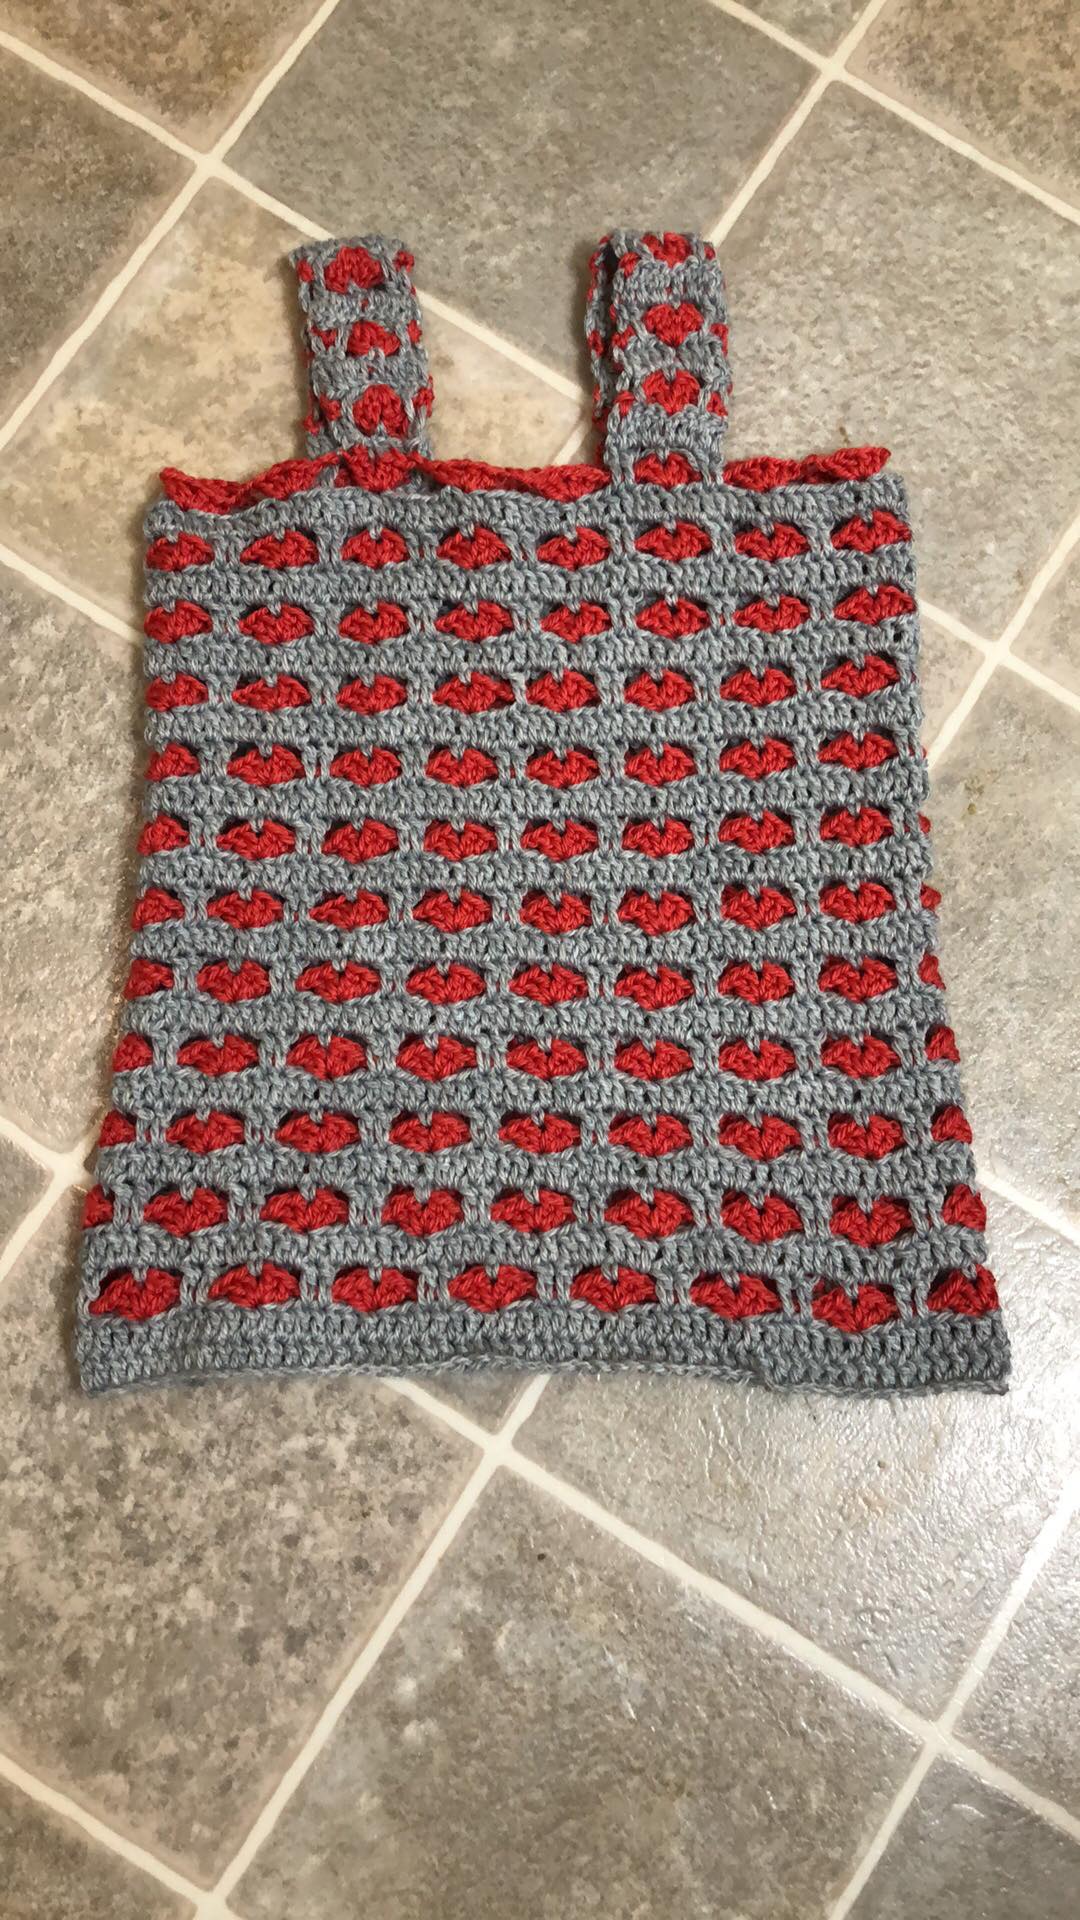
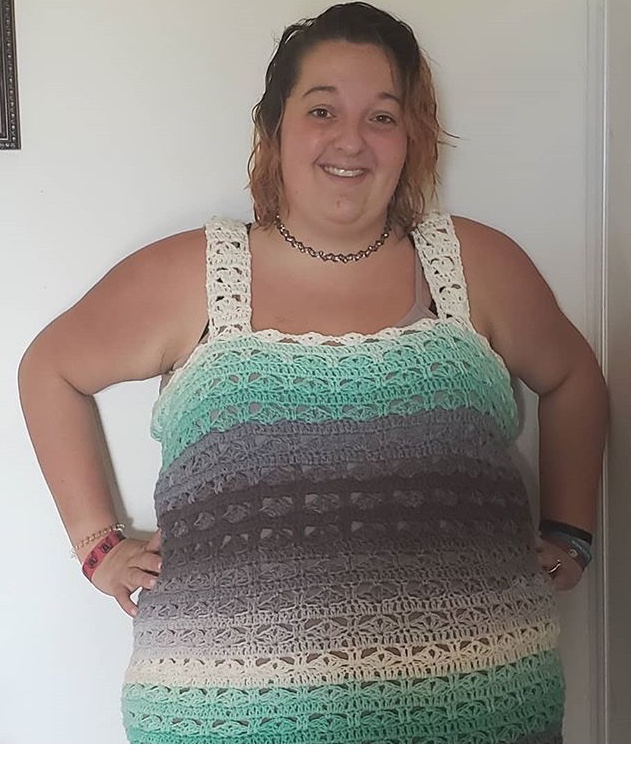
My design of the Summer of Love Tank Top crochet pattern, picture above, will be a FREE crochet pattern in the Summer Solstice Roundup! All you need to do is scroll down and find the free crochet pattern. If you would like an Ad-Free PDF copy of the Summer of Love Tank Top, click on the link under my picture or go to the Ravelry Store here.
Scroll down and find the design YOU like best! Click on the link under the picture and you will be directed to the designer’s FREE crochet pattern! Have FUN and ENJOY!


Thank you for stopping by Jo’s Crafty Hook’s and The Loophole Fox’s Summer Solstice Roundup! All of us designers would LOVE to see what your version of our crochet patterns look like! You can find each designer’s User Name on Instagram. Follow them, show their designs some LOVE, and share your version of their designs! If you do crochet any of these designs, please share them with the designer by using #CrochetSummer2020.
The Loophole Fox Crochet @theloopholefoxcrochet
Itchin for Some Stitchin @itchinforsomestitchin
Green Fox Farms @greenfoxfarms
Crafting Each Day @craftingeachday
Raffamusa Designs @raffamusa_designs
Carroway Crochet @carrowaycrochet
Hanjan Crochet @hanjancrochet
Ned and Mimi @nedandmimi
Simply Hooked by Janet @simplyhookedbyjanet
Crochet Fosbas @crochet_fosbas
Sunflower Cottage Crochet @sunflower.cottage.crochet.too
King and Eye @kingandeye.co.uk
Noors Knits @noorsknits
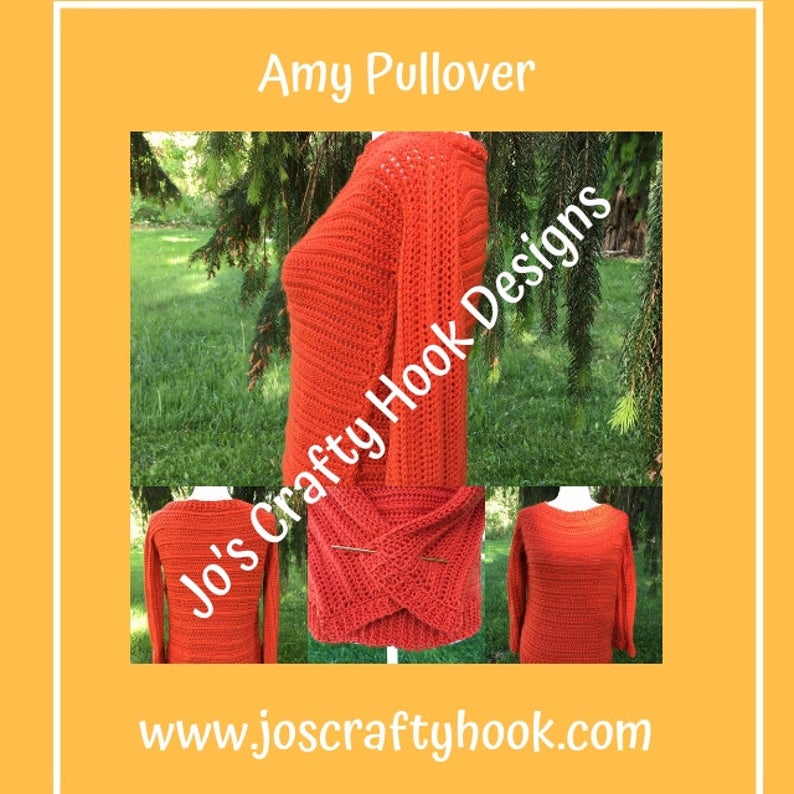
Jo’s Crafty Hook @joscraftyhook
Needle Klankers @needlesklankers
Brittany Alice Crochet @brittanyalicecrochet
My Fingers Fly @myfingersfly
Blue Star Crochet @bluestarcrochet
Three Fates Creations @threefatescreations
Desamour Designs @desamourdesigns
No Hooks Given @nohooksgiven
Made by Gootie @madebygootie
Yarn Hild @yarnhild
Pine Tree Crochet @pretty.pine.tree.crochet
Below you will find out more about the Summer of Love Tank Top and the free crochet pattern that follows. Again, thank you for taking part in the Summer Solstice Roundup!
The Summer of Love Tank Top Crochet Pattern is another design I created in recognition of Cancer Awareness Month and the women in my family who were diagnosed with one form of Cancer or another. I am glad to say they all are cancer FREE right now. I am so proud of them and their survival, so I decided to design another crochet pattern called the Summer of Love Tank Top!
This post contains affiliate links. You can make a purchase using these links that I provide where I may receive compensation (at no added cost to you.) Purchases you make will help keep my website, Etsy Shop, and my Ravelry Store going and provide quality designs just for you!
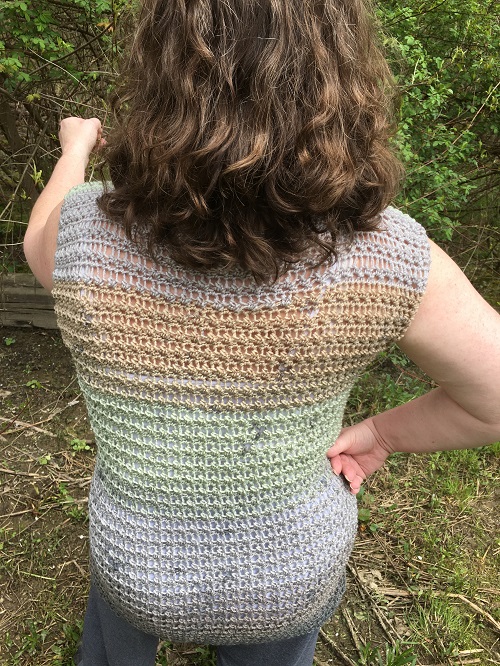
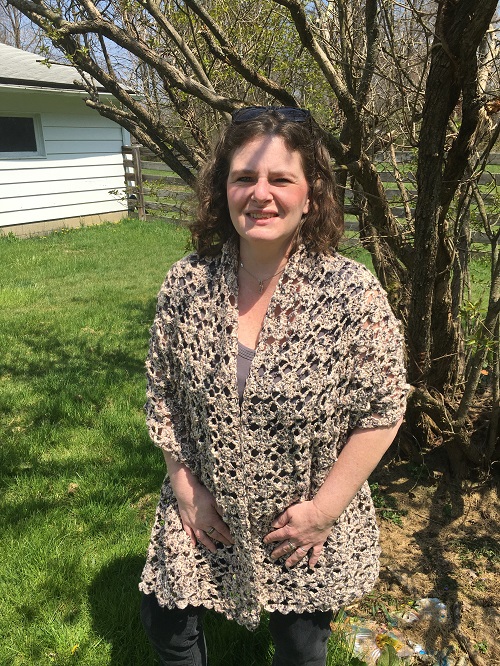
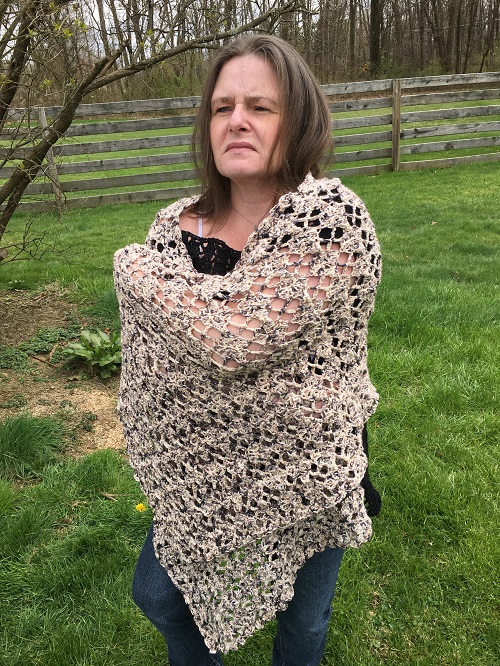
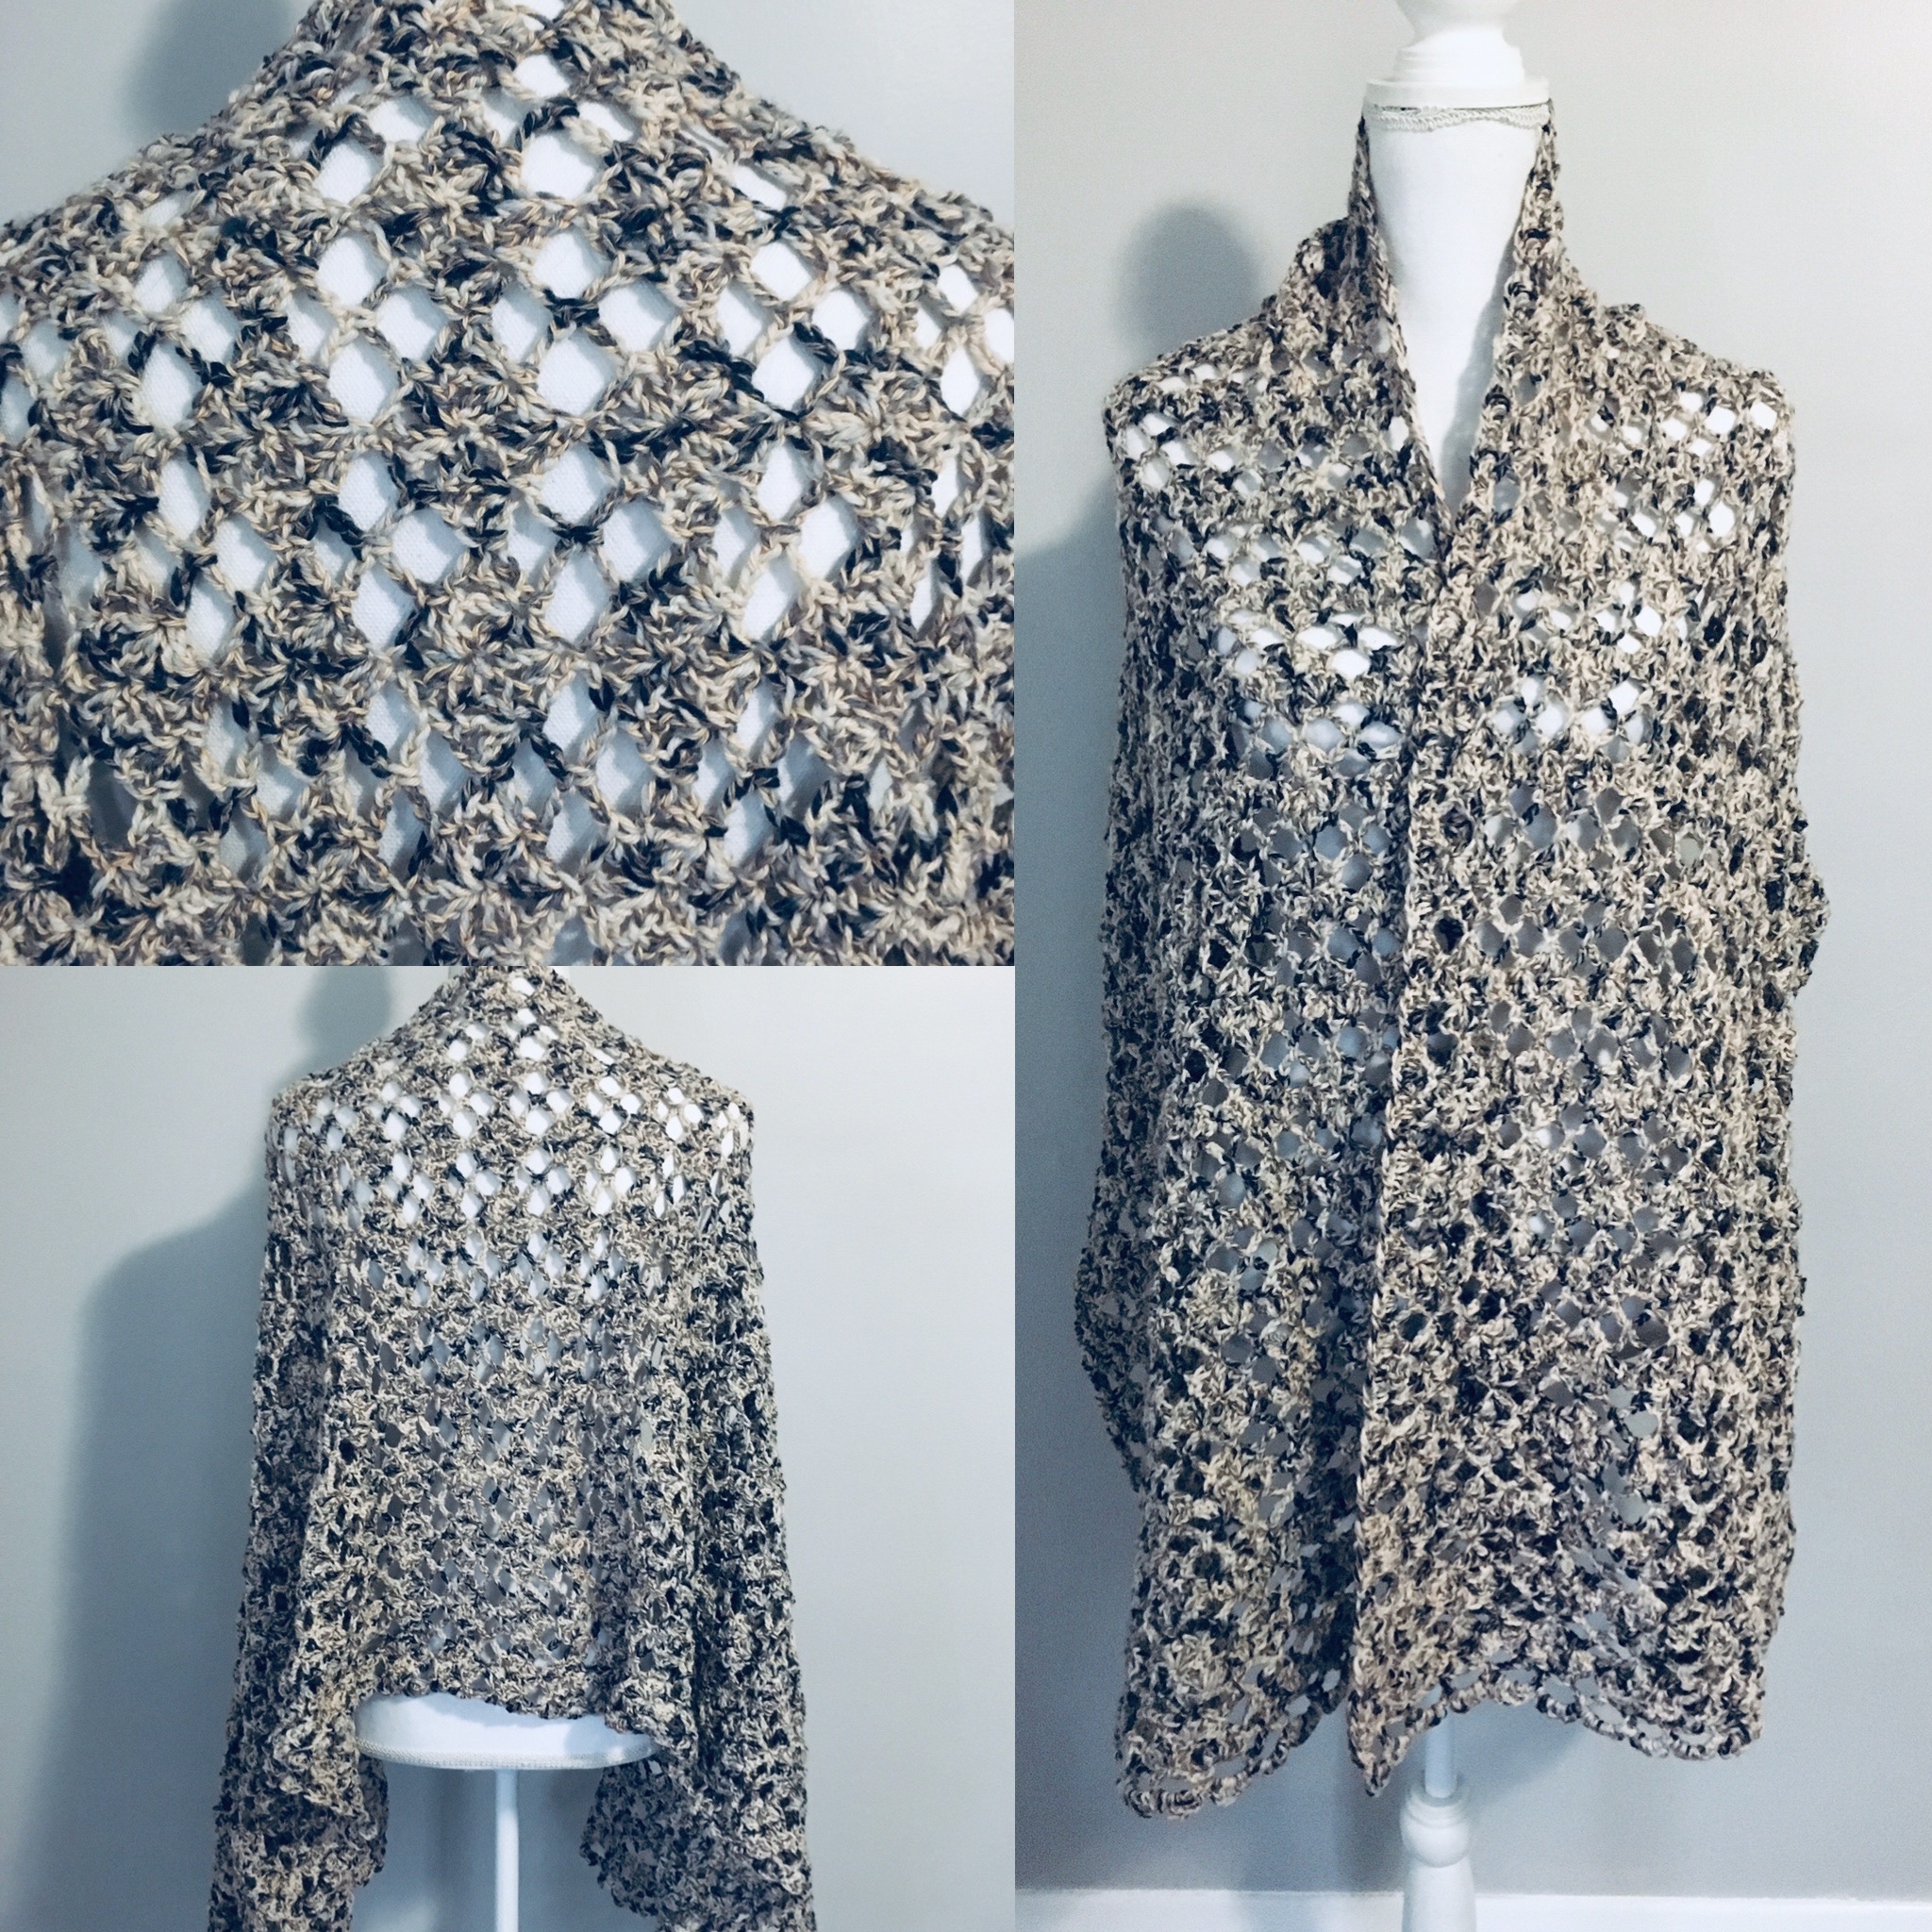
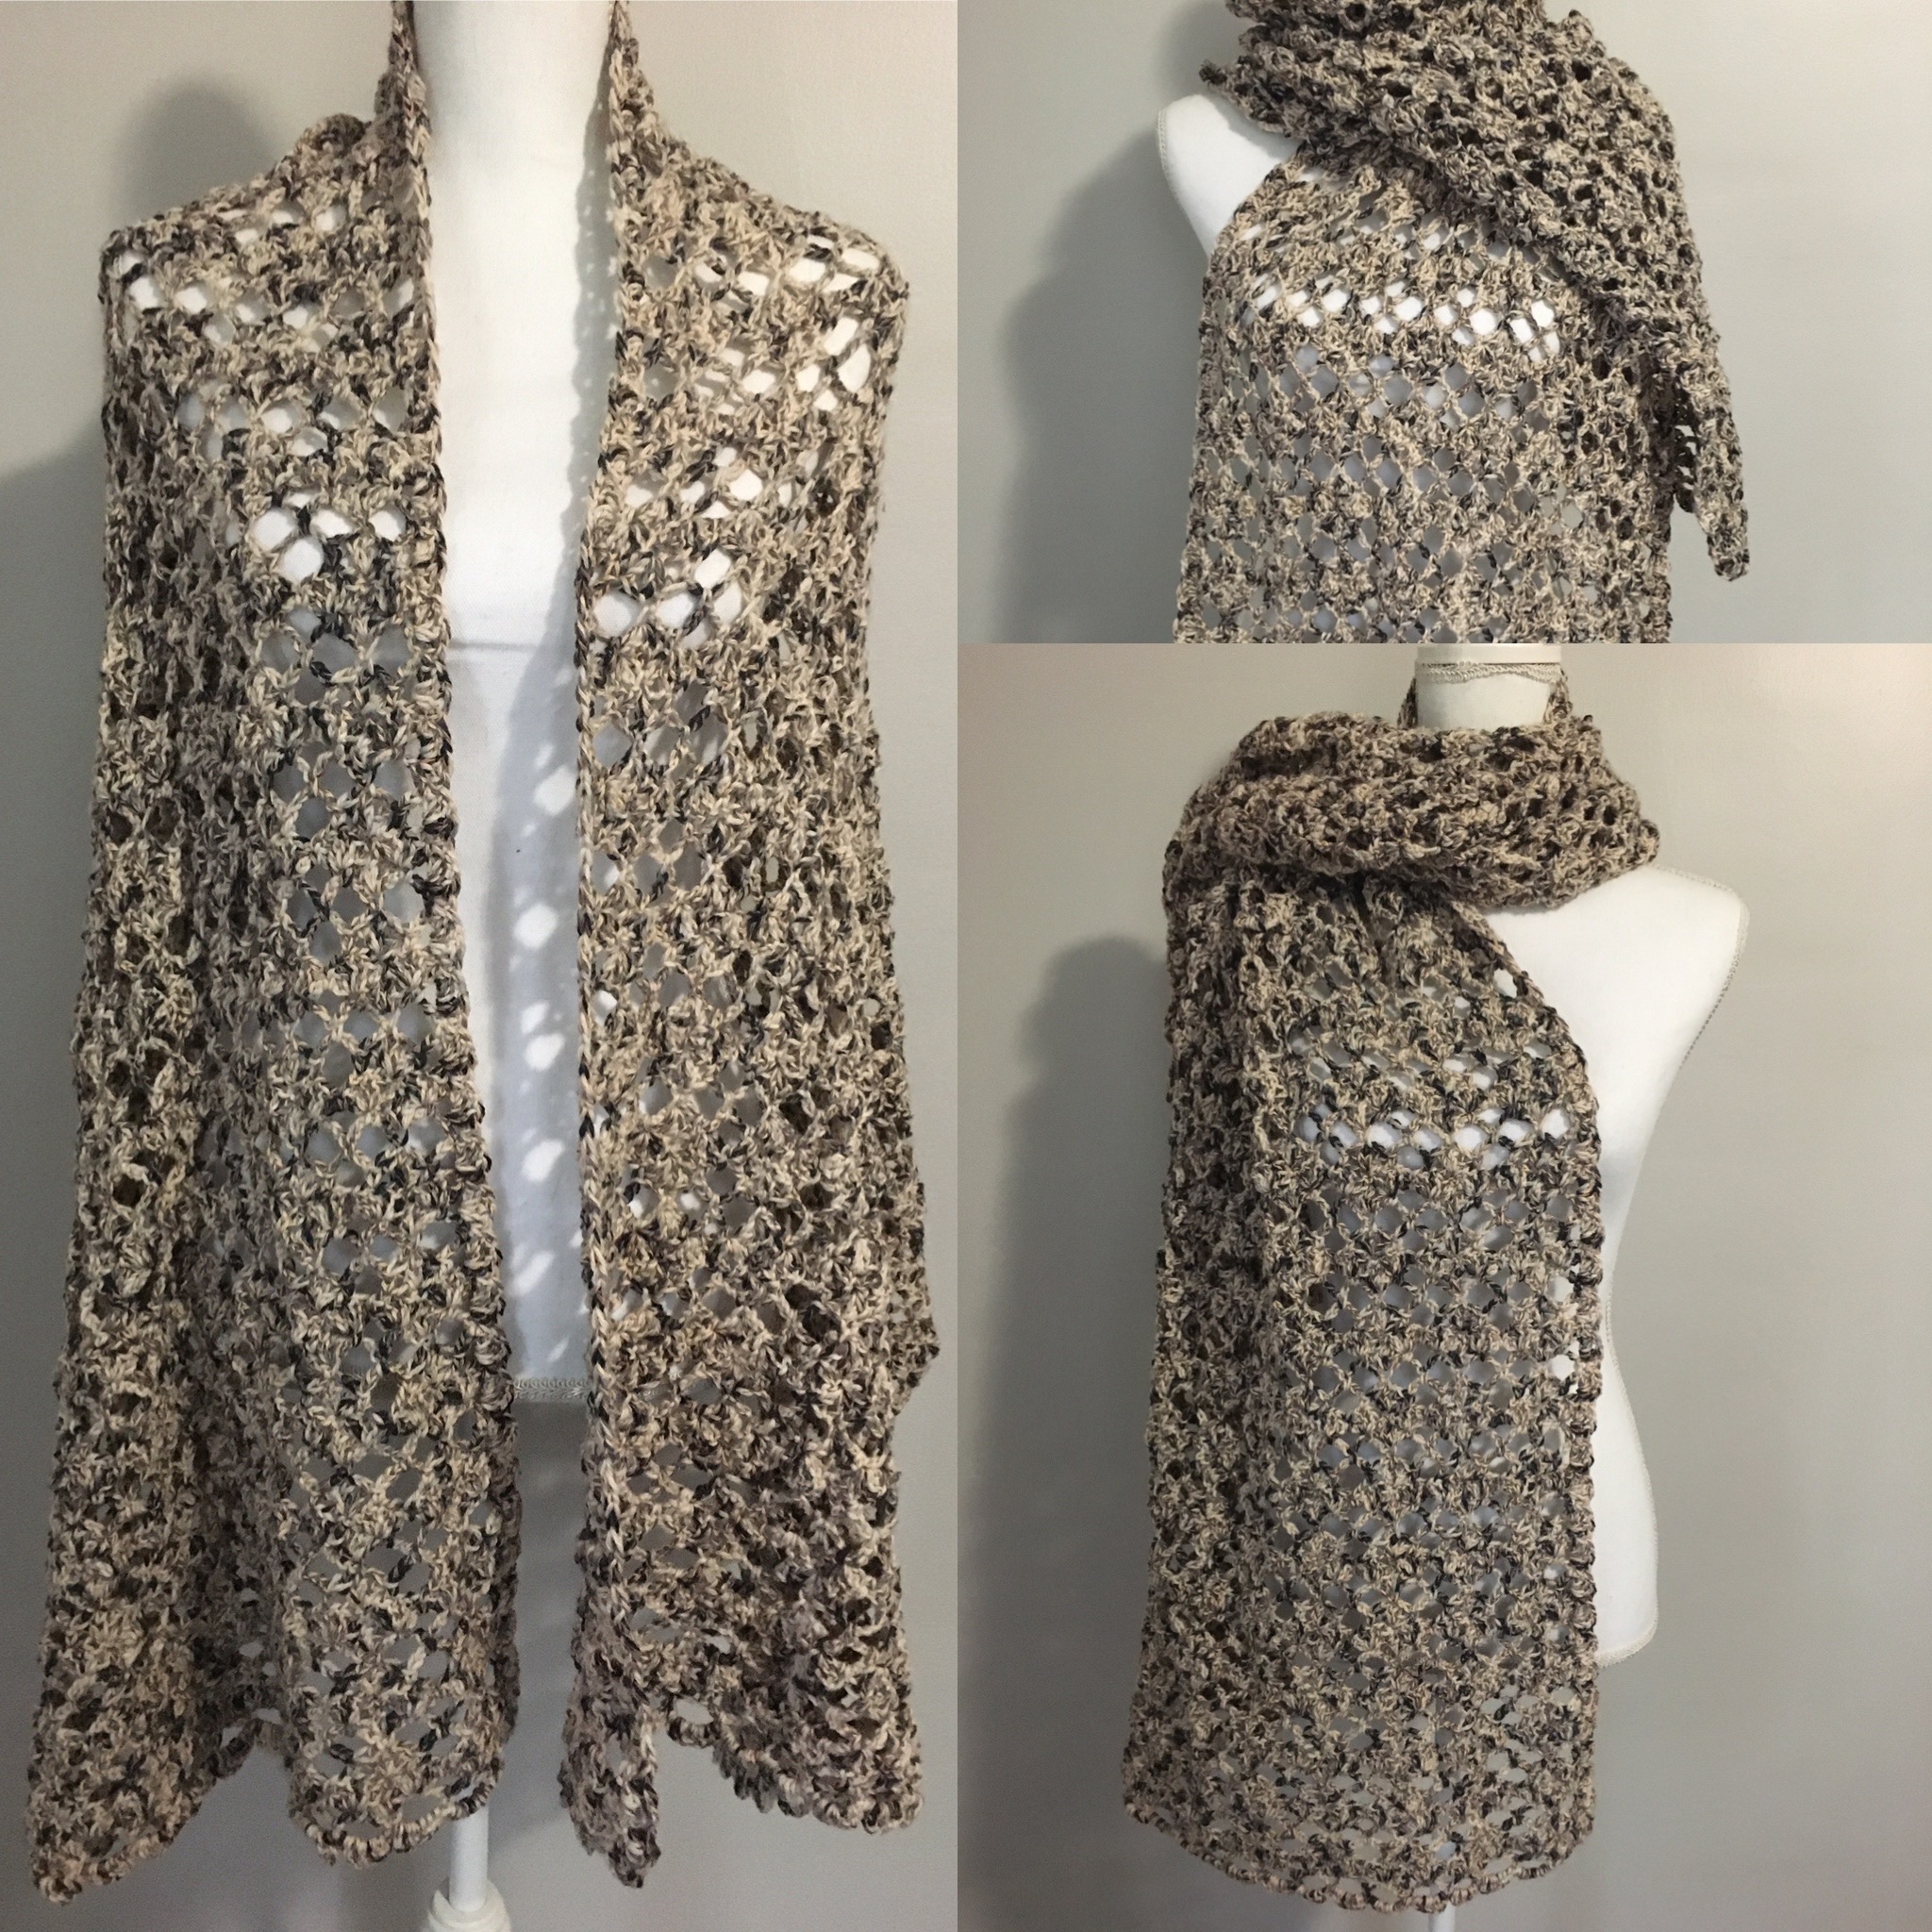
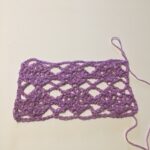
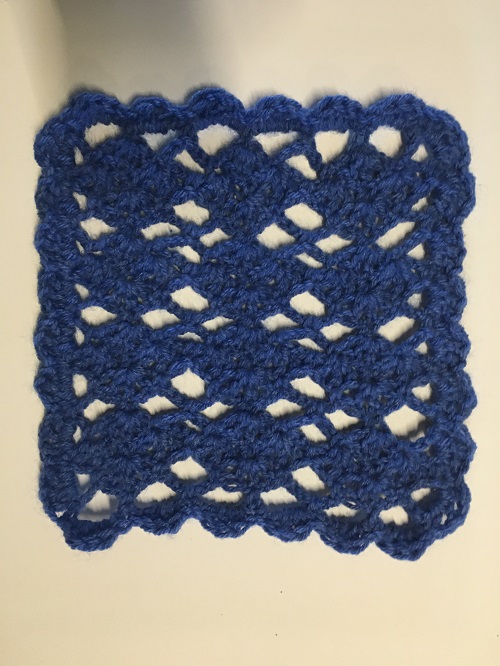
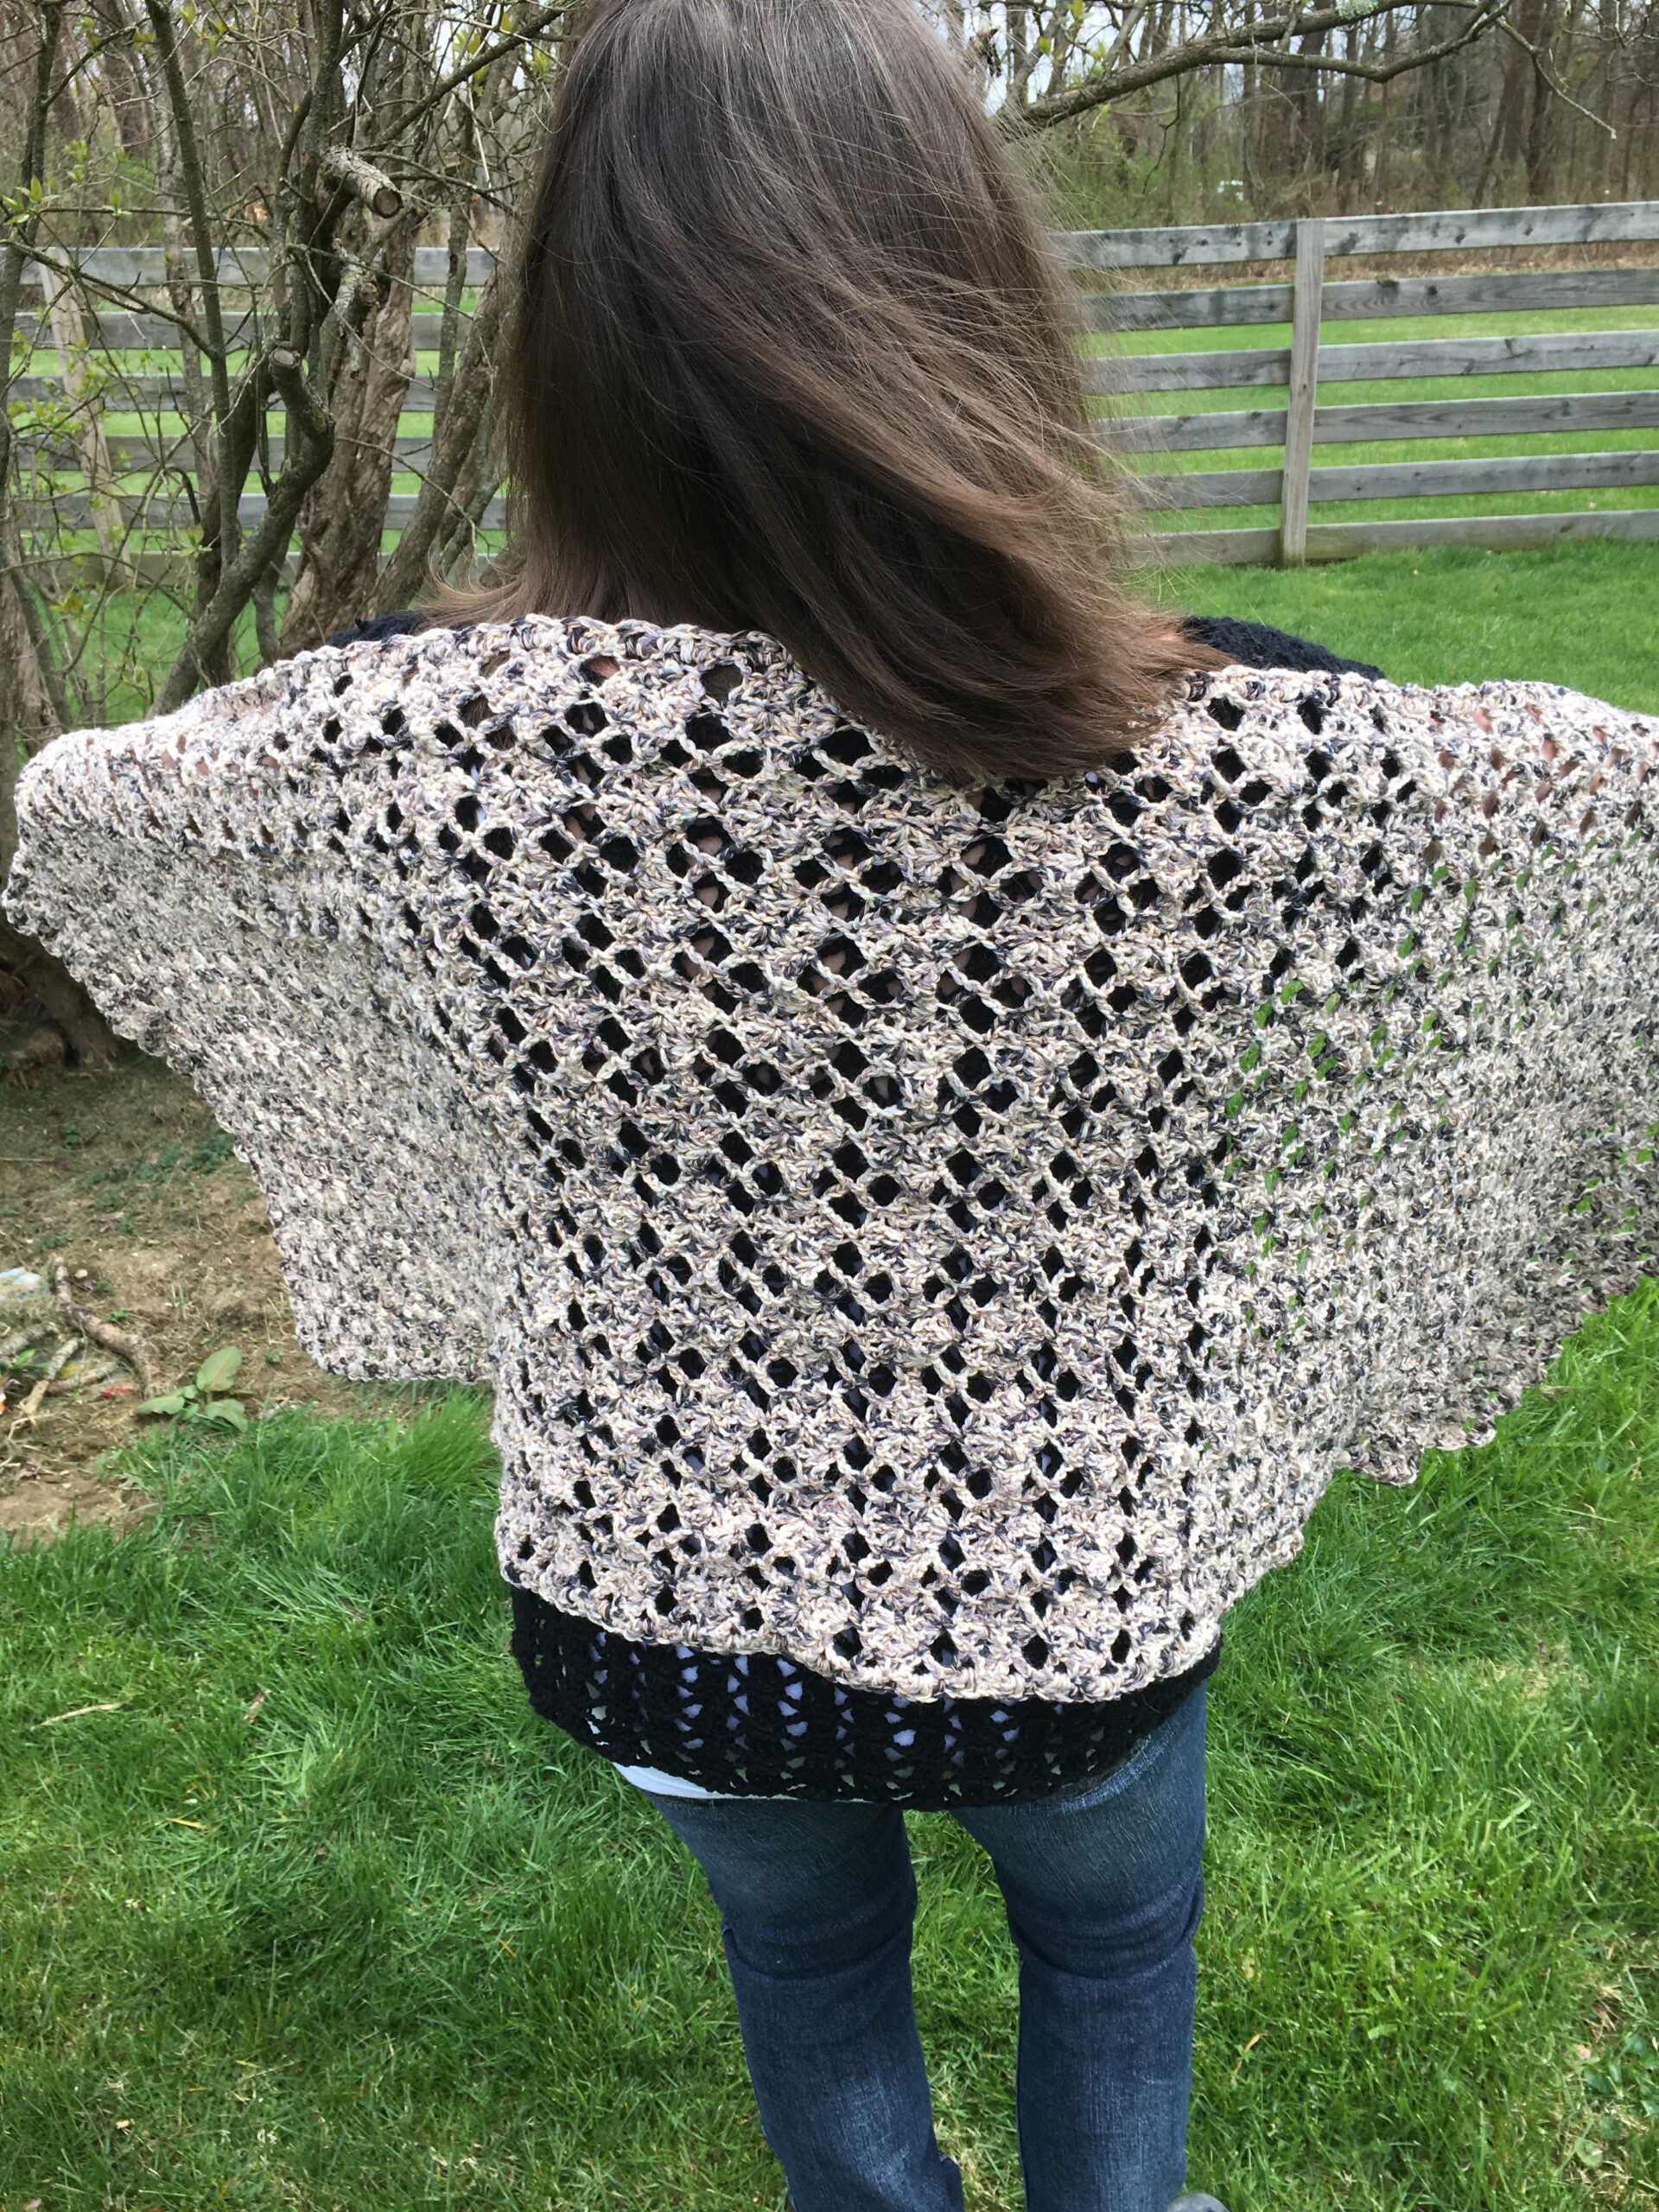
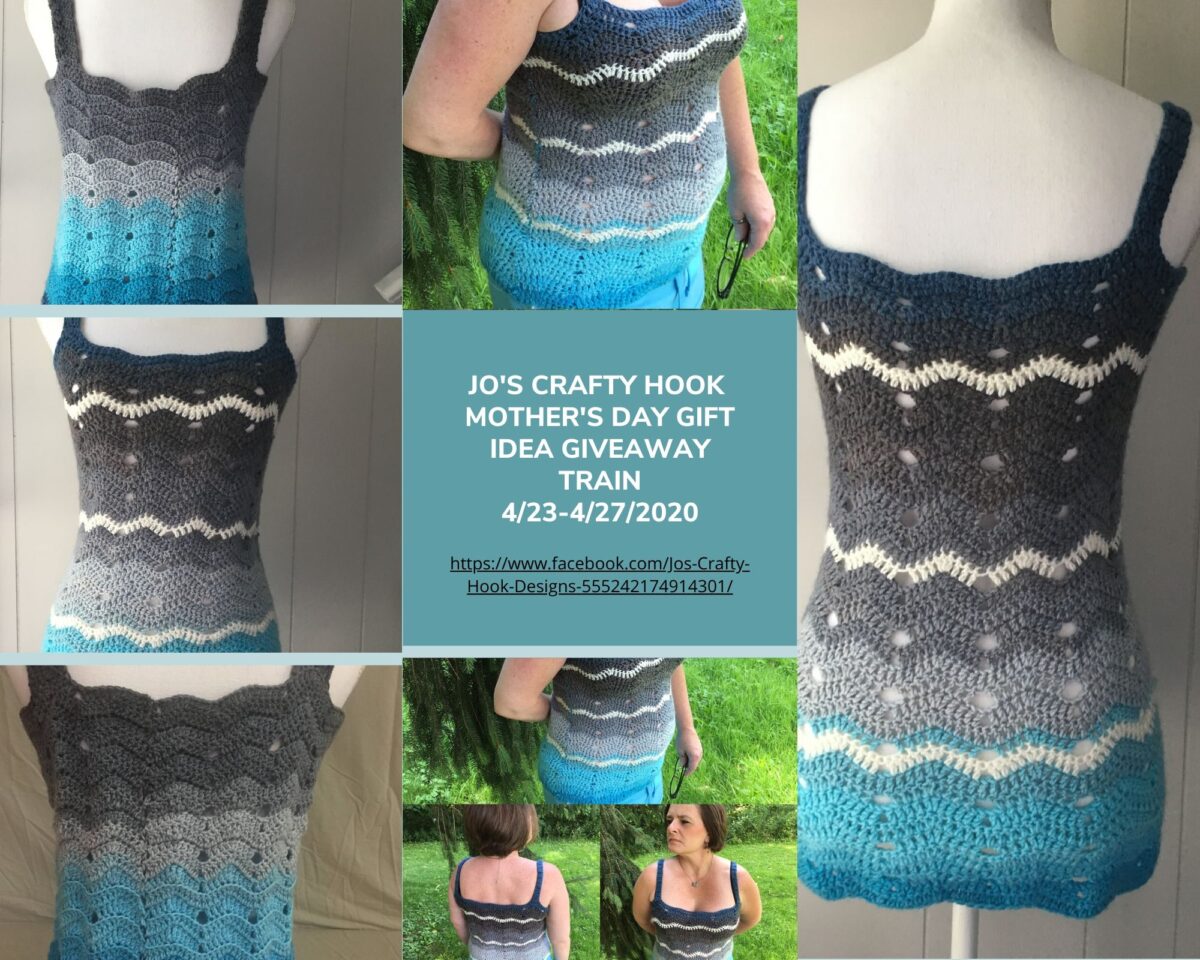
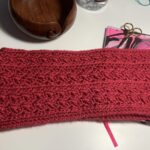
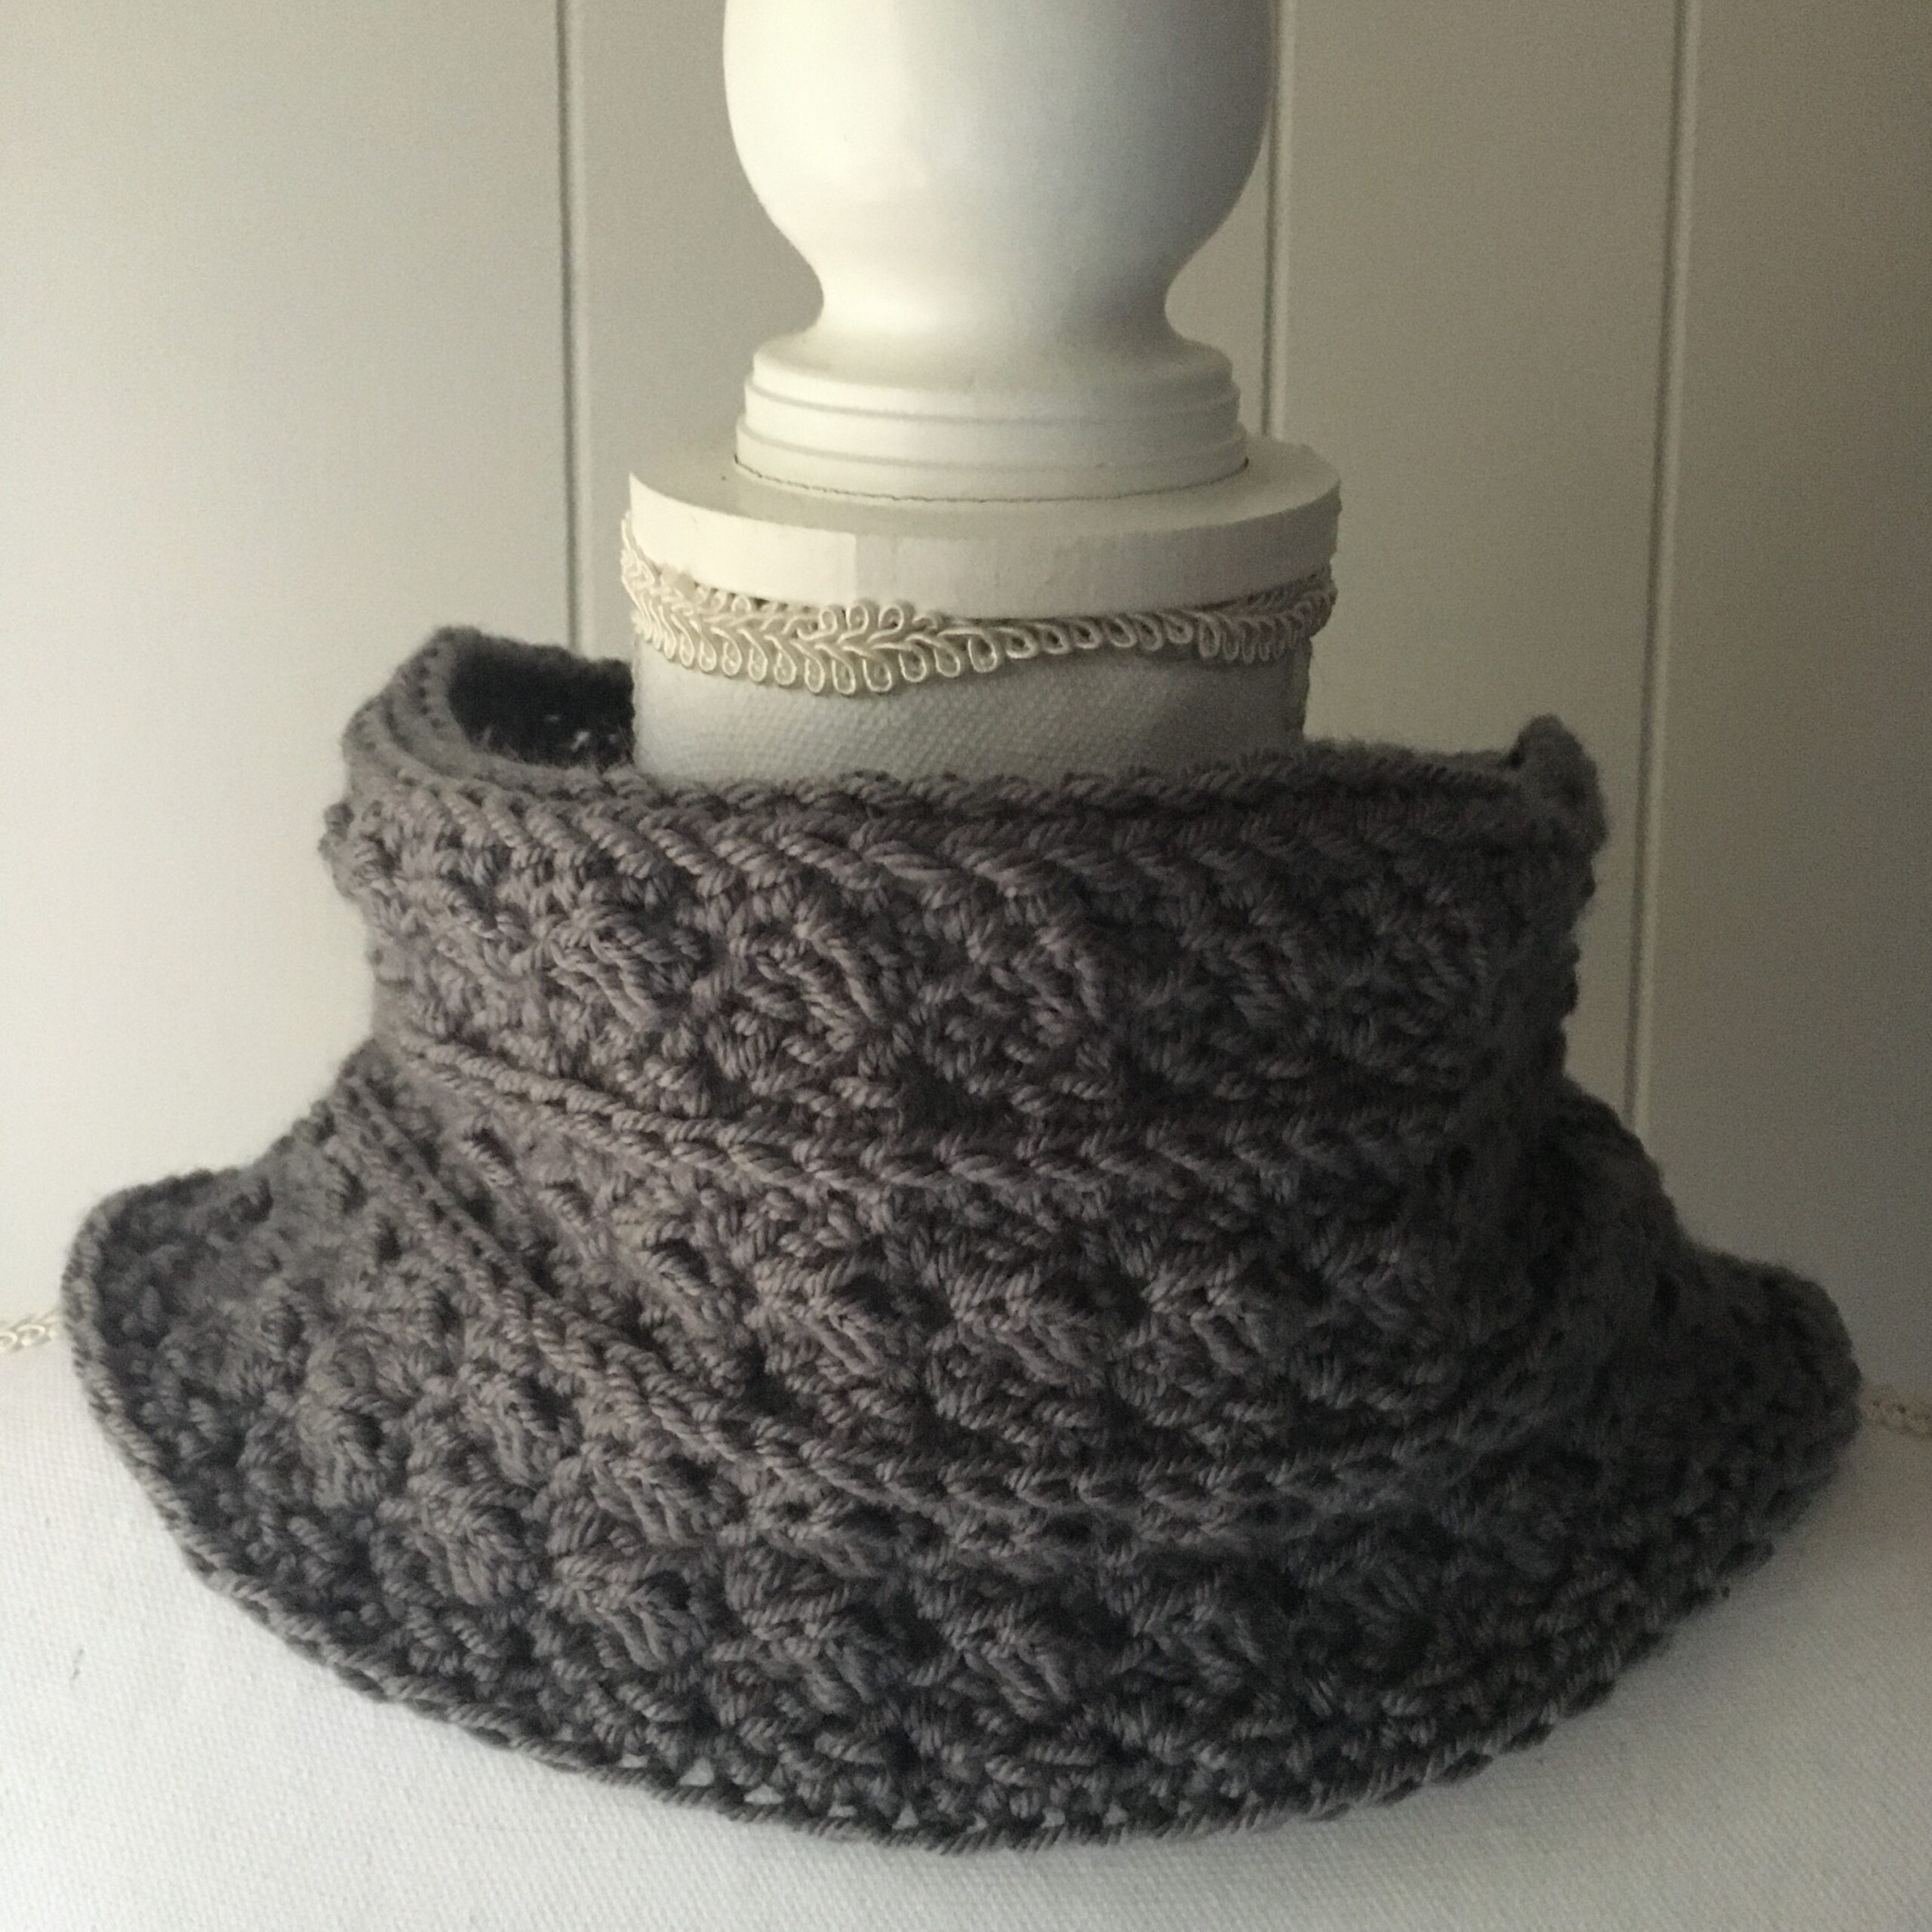
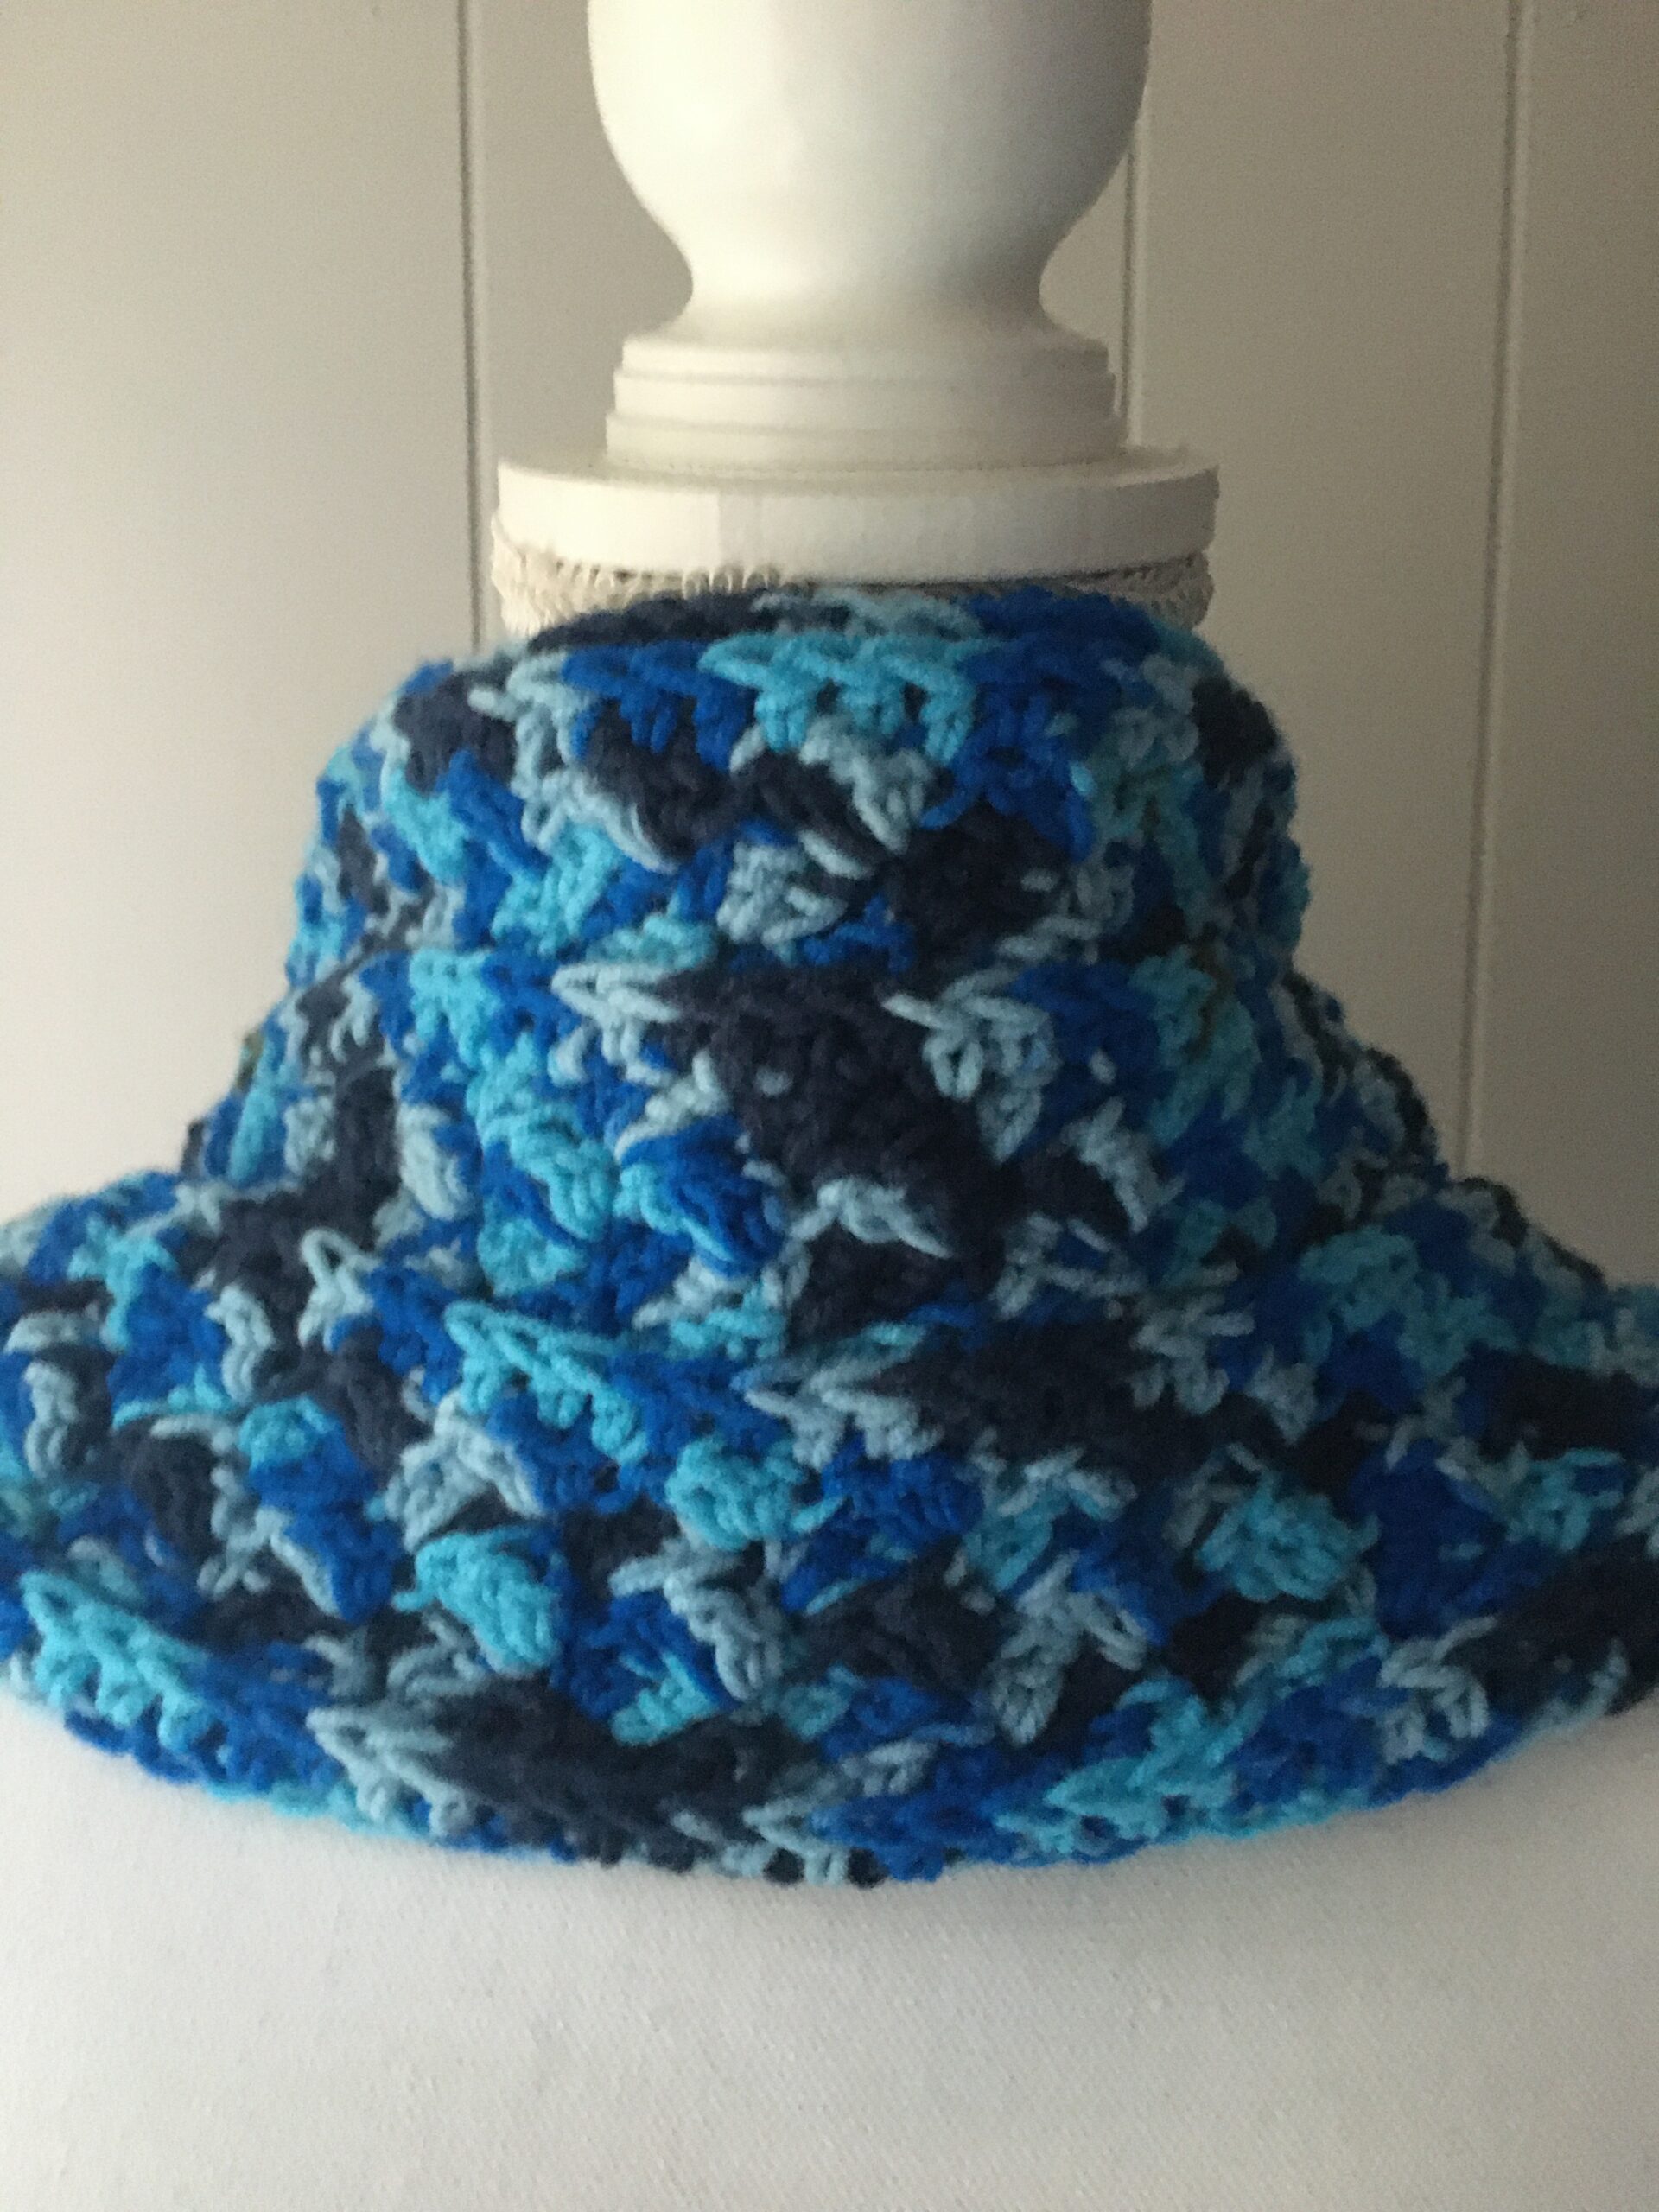
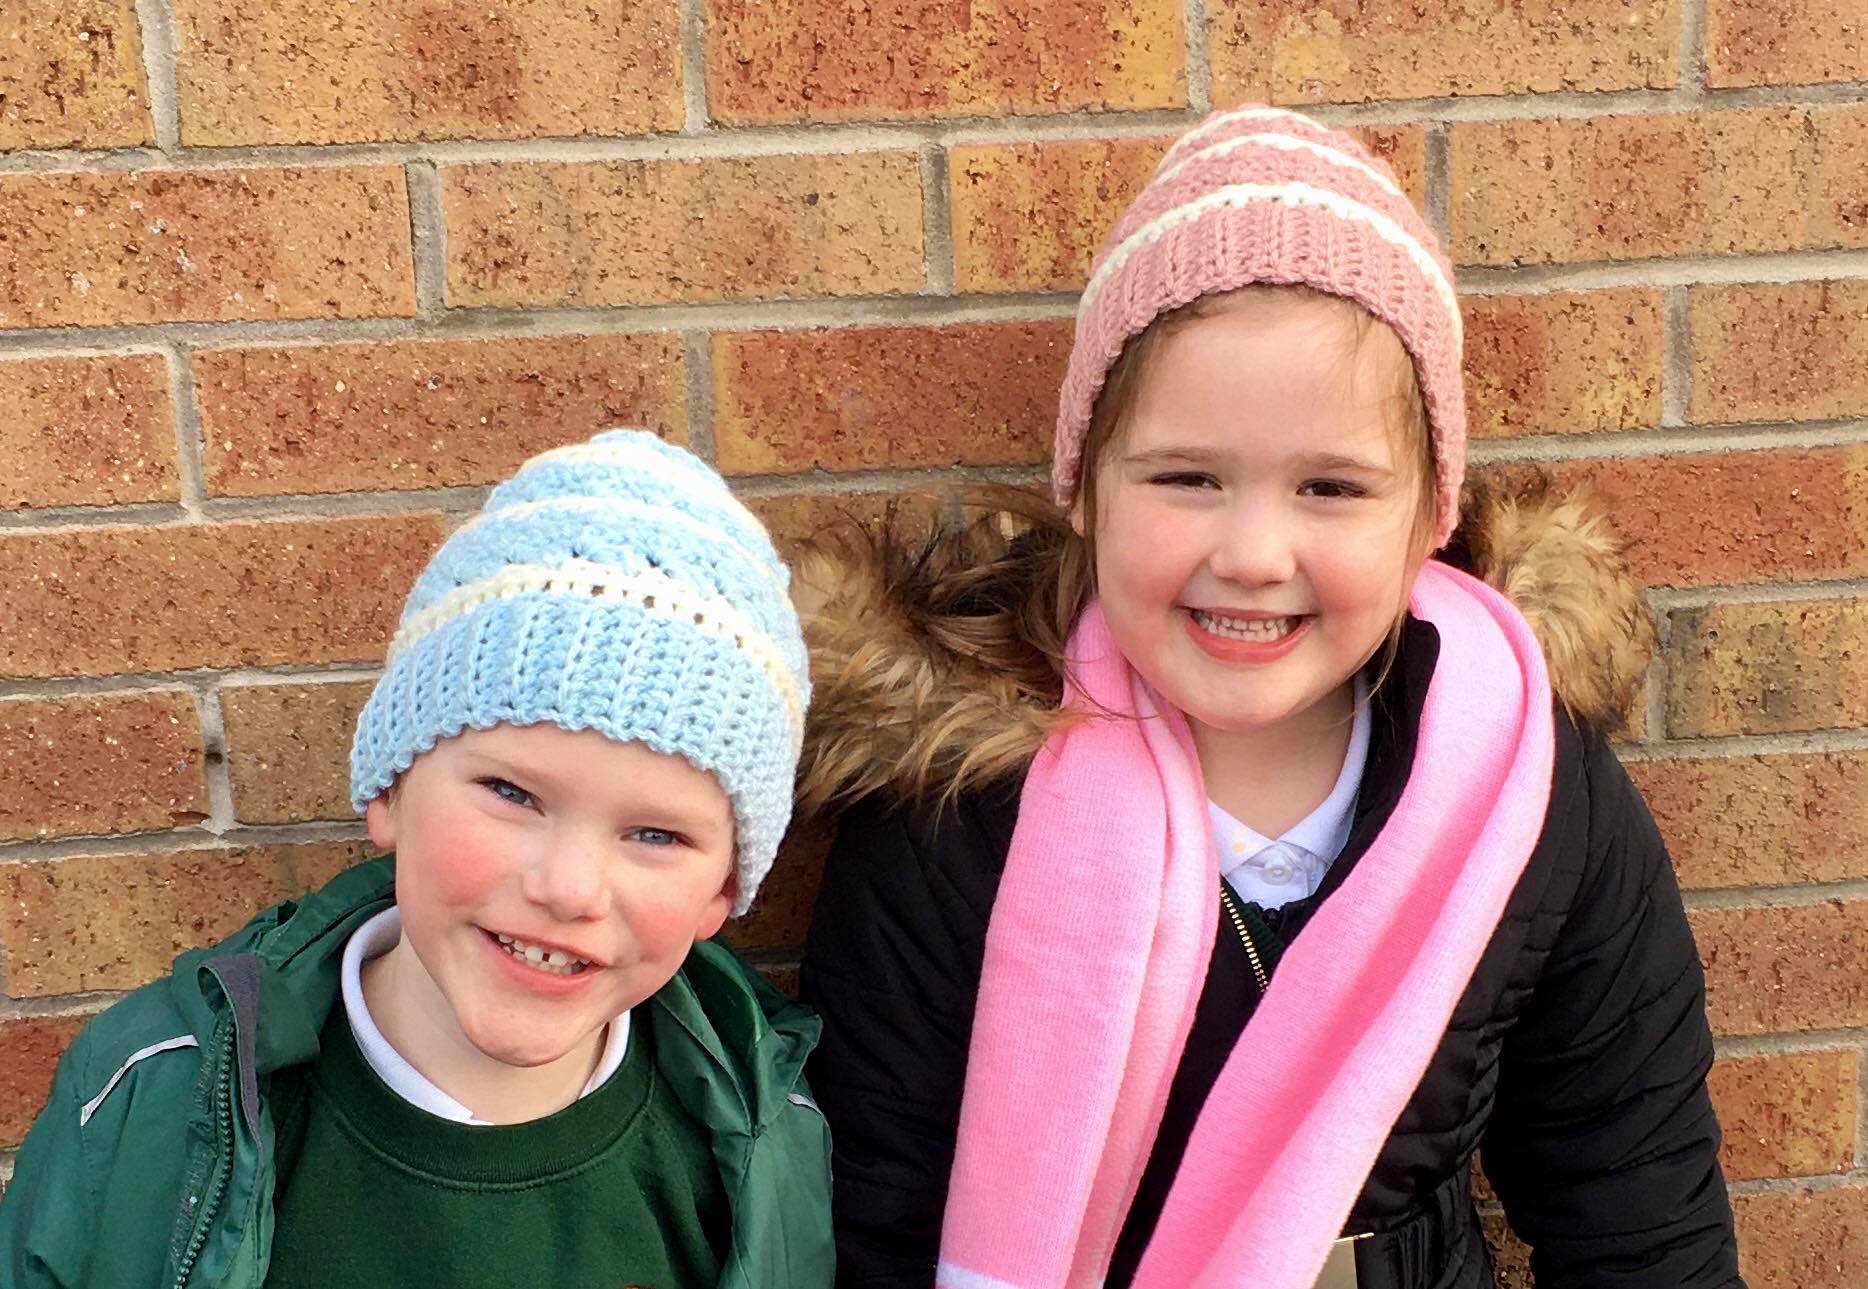
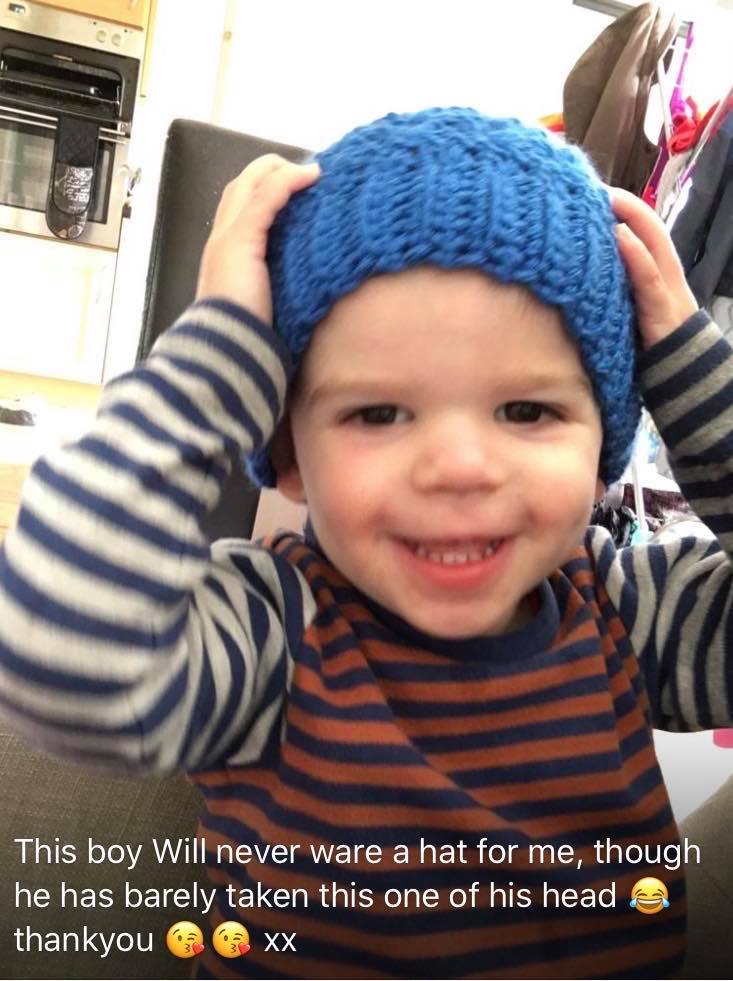
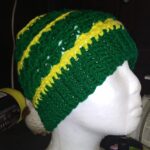
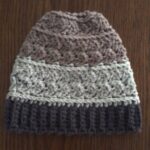
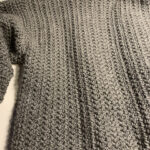
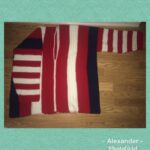
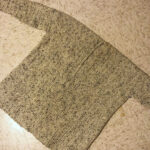
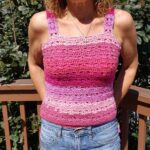
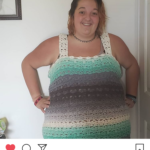
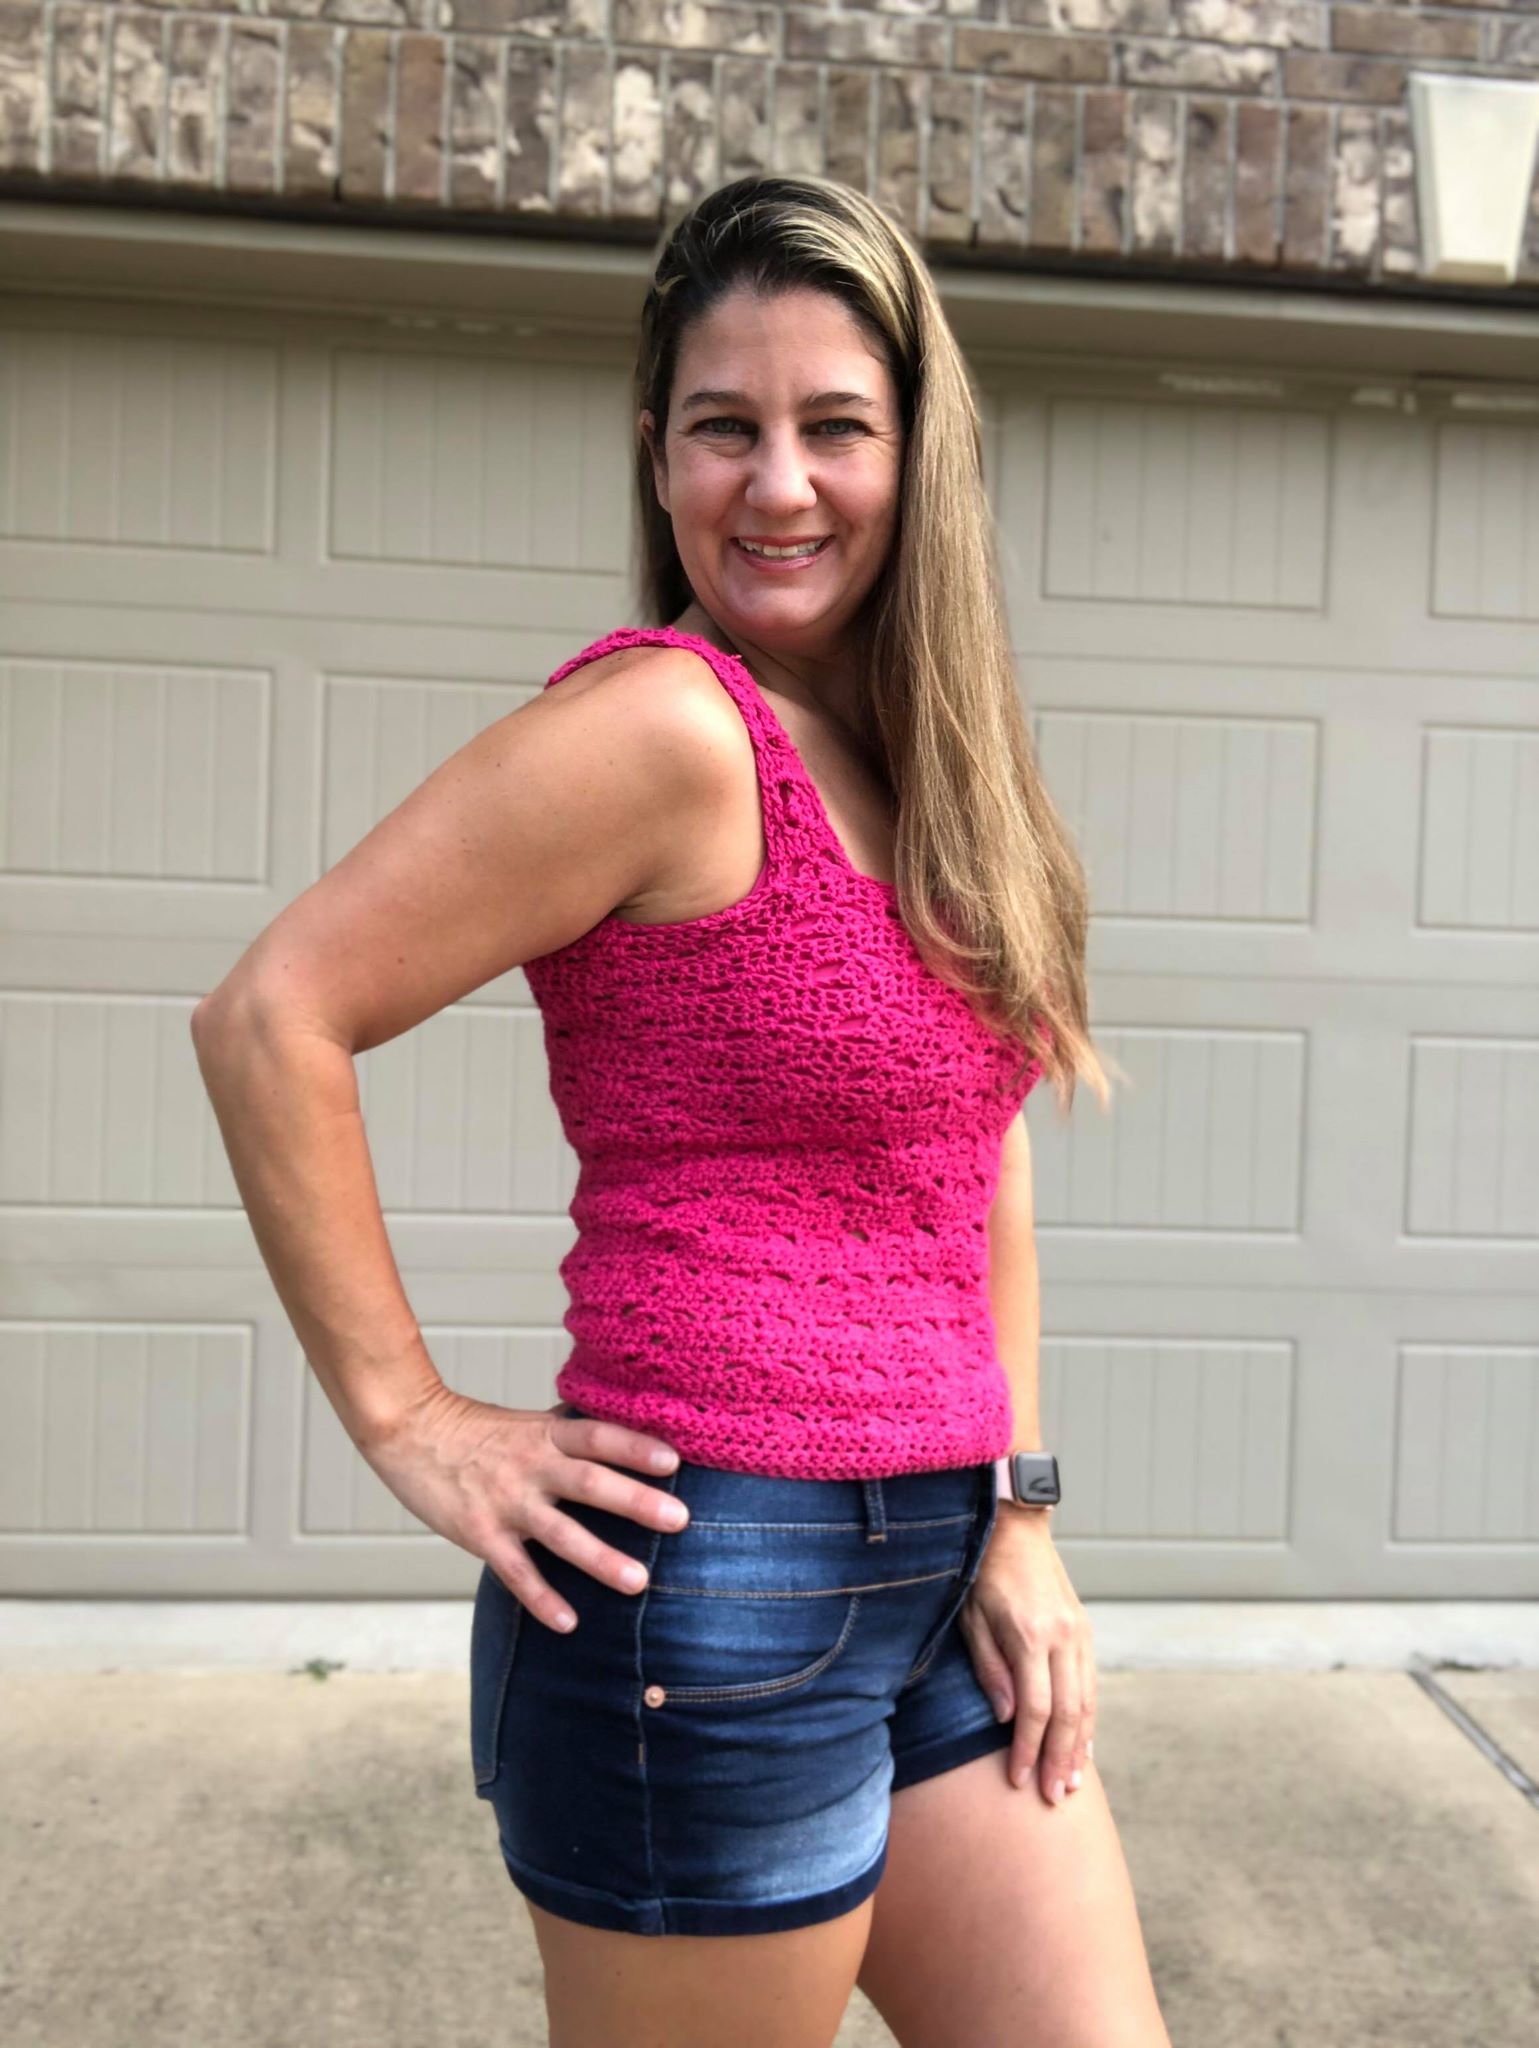
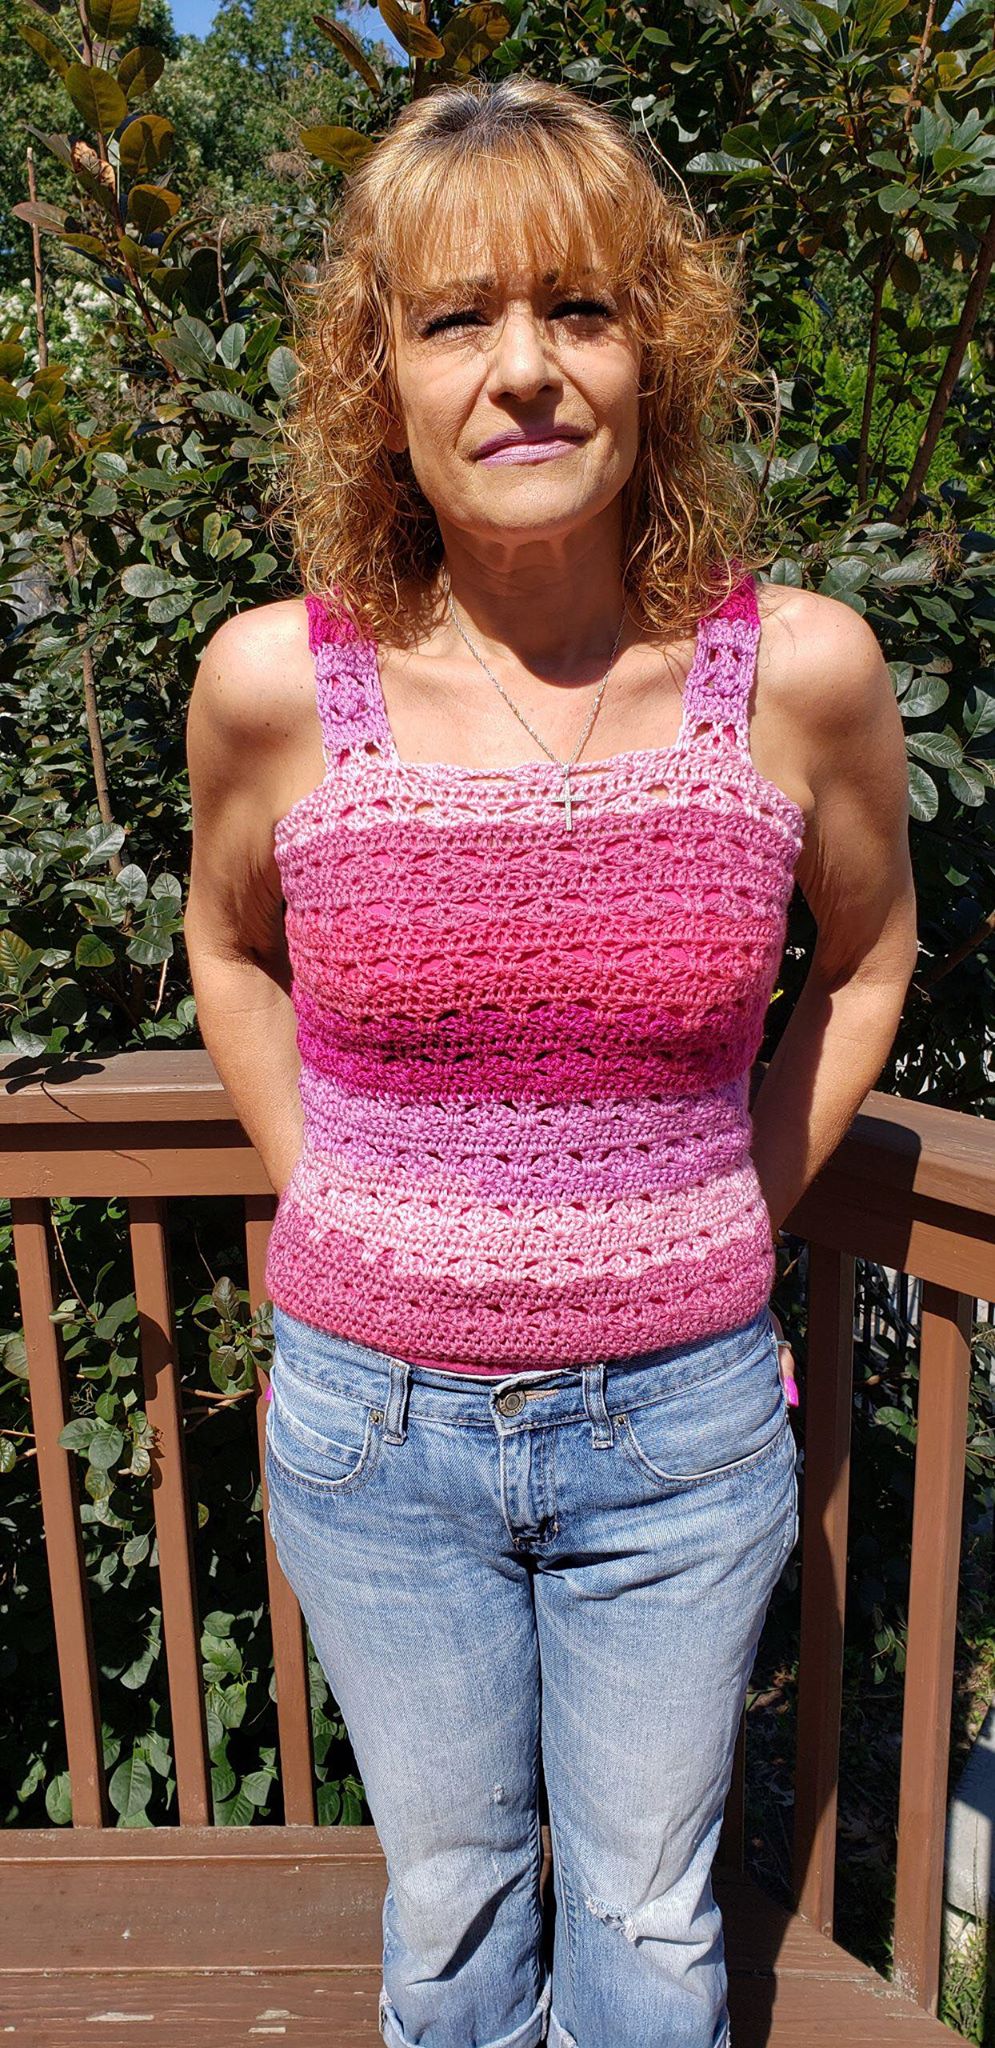
I would LOVE to thank 5 of my crochet pattern testers for all of their hard work and dedication to this design. They are Lindsay Silvestrini, Candace Broussard Doucet, Kelly Vecchione, Laura Poulsen, and Tara Smith. Below their versions of the Summer of Love Tank Top are being modeled.


Summer of Love Tank Top Crochet Pattern
Materials:
US Hook I or 5.5 mm
500-1200 yards of #3 Light Weight Yarn
Scissors
Tapestry Needle
Stitch Markers
Stitches Used:
DC = Double Crochet
SC = Single Crochet
Ch Sp = Chain Space
St = Stitch
SS = Slip Stitch
SC = Single Crochet
SS = Slip Stitch
FDC = Foundation Double Crochet (YouTube video here.)
LDC = Long Double Crochet (YouTube has GREAT instructional videos!)
Beg Shell = ch 3, DC, ch 1, 2 DC all in the same stitch
Shell = 2 DC, ch 1, 2 DC all in same stitch
Gauge:
US Hook I/5.5 mm
8 DC x 5 Rows = 2”
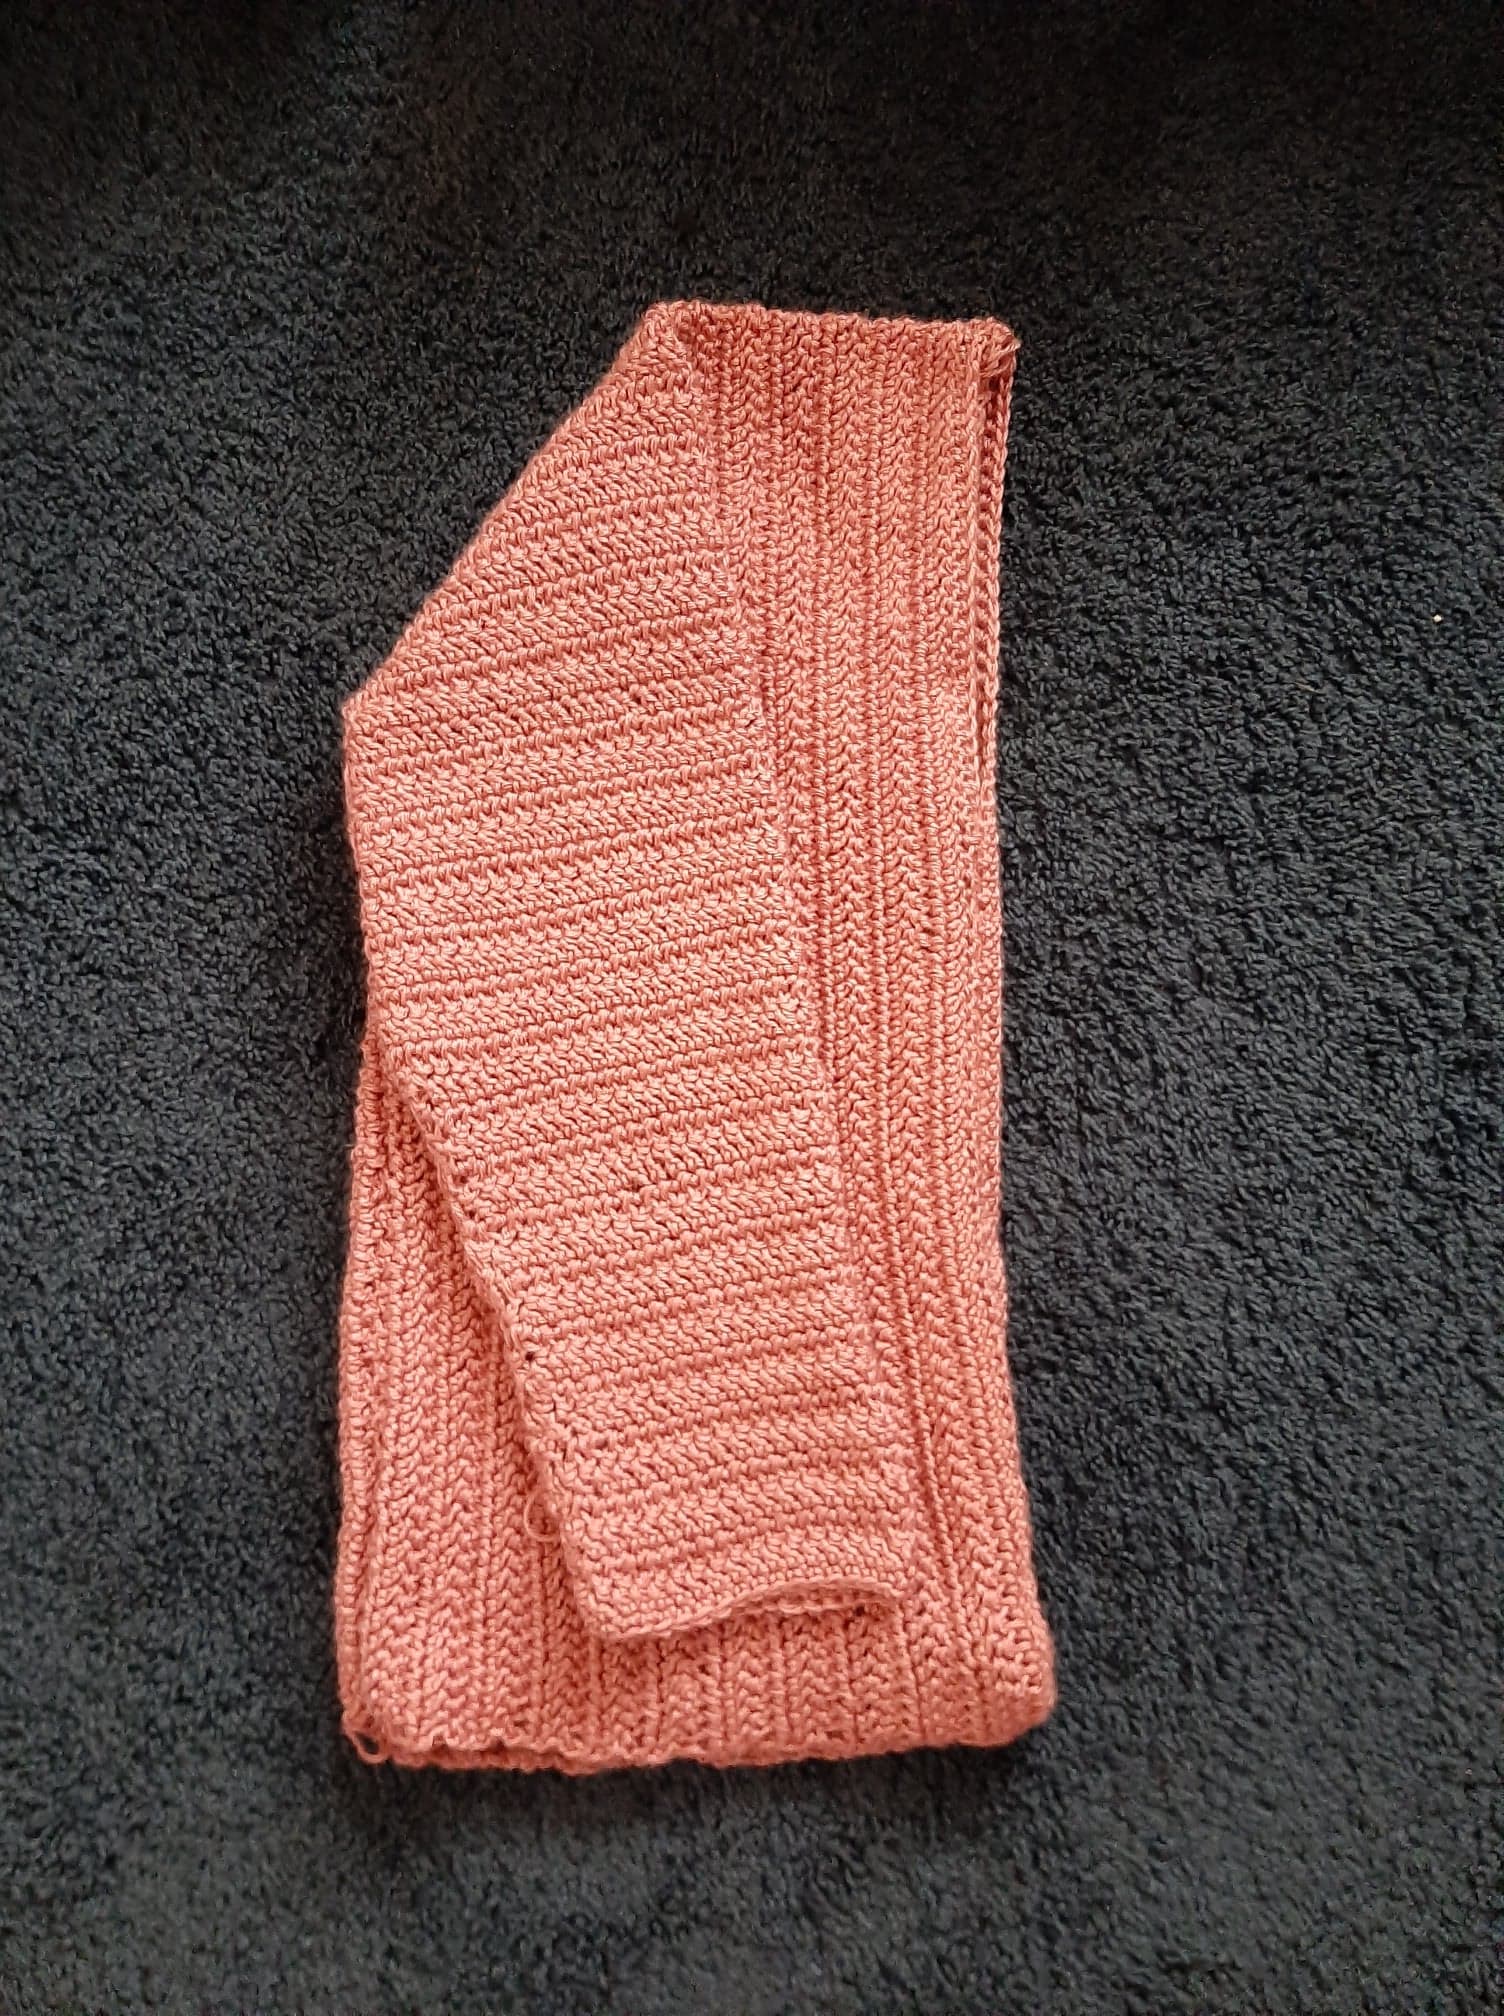
4” x 4” Gauge Swatch:
16 FDC or ch 18, dc in the 4th ch from hook and remaining 14 st. Turn
R2-R8: Ch 3 and dc in each st across. Turn (16 dc)
Notes:
- You can find a Video Tutorial for the Straps at my YouTube Channel here.
- Ch 2 does not count as a DC
- Ch 3 does count as a DC
- Shells made create the Heart
Special Notes
*Sizes range from S, M, L, XL, 2X, and 3X
*FDC 112 (126, 140, 154, 168, 184)
*The Top is crocheted from the Bottom to Top.
*The top is crocheted as One Piece except for when attaching the Sleeves.
| Bust Size | 34 | 38 | 40 | 42 | 44 | 46 |
| Sizes | Small | Medium | Large | X-Large | 2X | 3X |
| Tank Top Width | 15” | 17” | 19” | 21” | 23” | 25” |
| Tank Top Height w/o Straps | 14” | 16” | 18” | 20” | 22” | 24” |
| Tank Top Straps Height | 6” | 6” | 8” | 8” | 10” | 10” |
| Tank Top Height | 20” | 22” | 26” | 28” | 32” | 34” |
Tank Top
Starting at the Bottom of the Top
R1: For Bottom of the Top FDC 112 (126, 140, 154, 168, 184) Join in 1st FDC OR Chain 118, 132, 146, 160, 174, 190, join to form circle being careful to keep it straight. Ch 3 and DC in each ch across. 112 (126, 140, 154, 168, 184) DC.
R2: ch 3, dc in each st around. 112 (126, 140, 154, 168, 184) DC. Join in top of Ch 3.
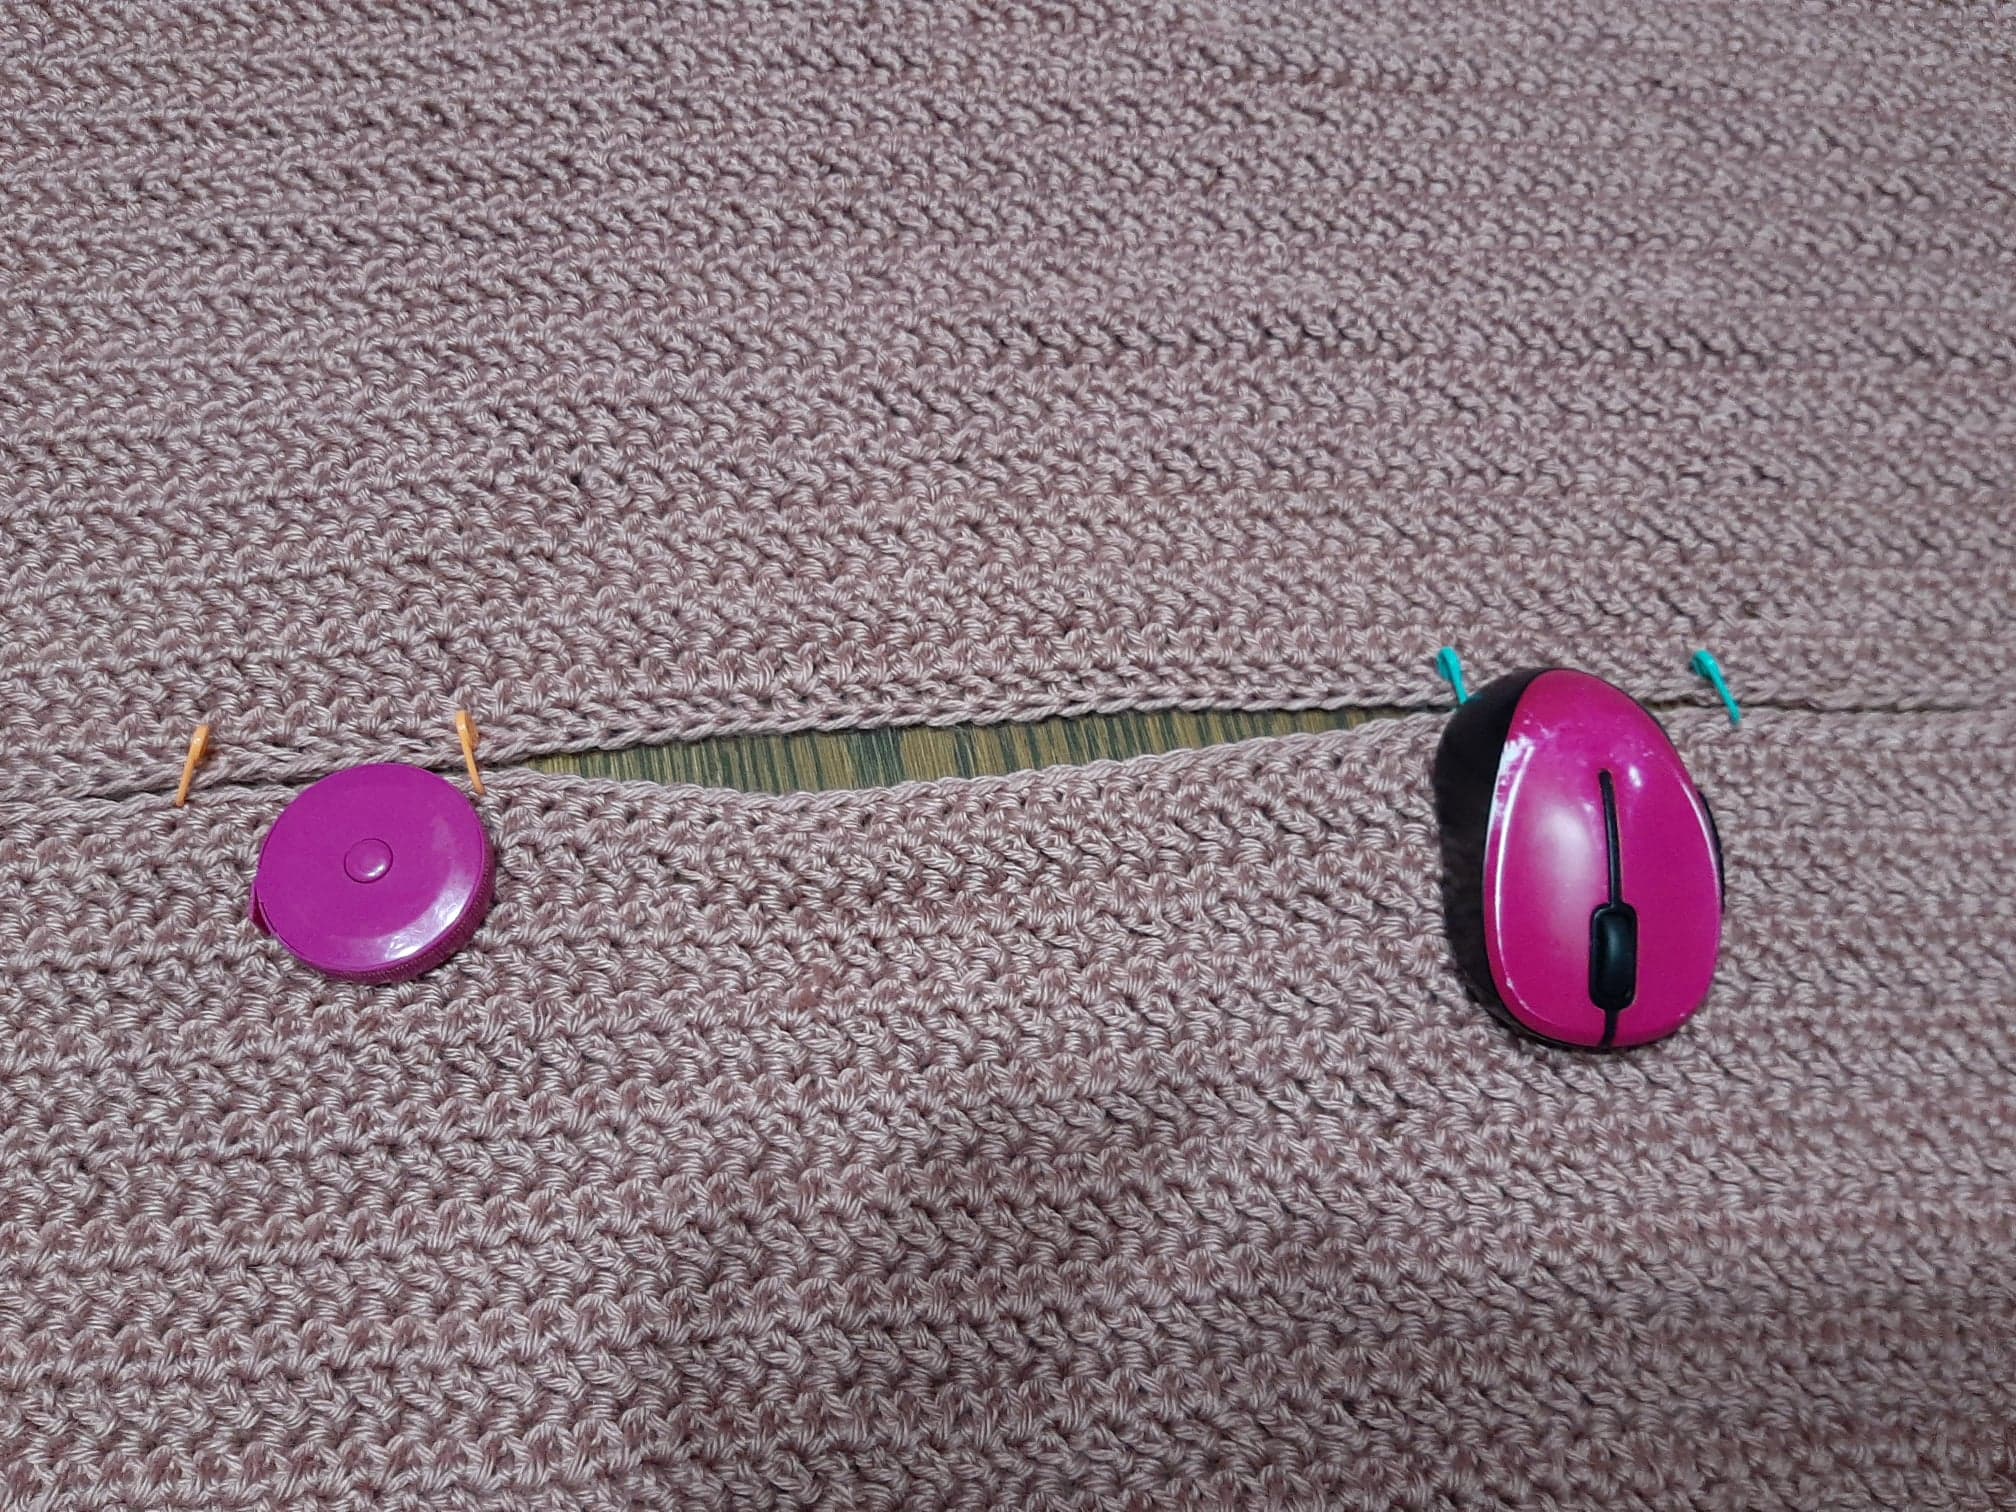
With a Tapestry Needle sew the FDC row closed.
R3: [Ch 3, dc, ch 1, 2 dc all in same stitch. (Beg Shell) made] ch 3, skip 6 st, 2 dc, ch 1. 2 dc all in the same stitch. (Shell made). *Ch 3, skip 6 st, Shell in next st.* Repeat from * to * around. ss in top of ch 3 of Beg Shell.
R4: ss in ch 1 sp of Beg Shell, ch 1, sc in same st., *ch 2, skip 2 dc from previous row, 1 ldc in next 2 st of previous Row, ch 2, sc in ch 1 space of next Shell.* Repeat from * to * around. Join with ss into SC.
Repeat R2-R4 until your Top measures 14” (16” 18” 20” 22” 24”) Be sure to end with R3. Do not turn.
Once your Top measures correctly move on to the Straps.
Straps
Step 1: Fold Shirt in ½ using the Hearts/Shells as your Guide. Place Stitch Markers using the Steps below.
Step 2: Skip 2 Hearts from the Left and Right for Small and Medium
Step 3: Skip 3 Hearts from the Left and Right for Large and XLarge
Step 4: Skip 4 Hearts from the Left and Right for 2X and 3X
Attaching the Strap
R1: Skip 2 st from previous row, ss in next st, ch 4, ldc, ch 2, sc in sc of Shell, ch 2, skip 2 st from previous row, ldc in last 2 st. Turn
R2: ch 3, dc in each st across. (9 dc) Turn
R3: ch 1, sc in same st, ch 3, skip 3 st, Shell in next st, ch 3, sc in last st. Turn
R4: ch 3, ldc in next st, ch 2, sc in heart, ch 2, ldc and dc in last 2 st. Turn
Repeat R2-R4 3 more times for Small and Medium; 4 more times for Large and XLarge; and 5 more times for 2X and 3X. If you need to, add more Rows needed to reach the correct Strap size for You.
Repeat Steps 1-4 3 more times using the same methods mentioned above being sure to place Stitch Markers in the correct positions.
Fasten off and weave in ends. Share your version of the Summer of Love Tank Top at any of my Social Media sites listed below, I would LOVE to see them!
Find me, Joey Lea Baird, Jo of Jo’s Crafty Hook at any one of these places listed below!
Website: www.joscraftyhook.com
Etsy Shop: www.etsy.com/shop/JosCraftyHook
Facebook: www.facebook.com/JosCraftyHookDesigns
Facebook: www.faceboook.com/Jo’sCraftyHook
Ravelry: https://www.ravelry.com/designers/jos-crafty-hook
Instagram: www.instagram.com/joscraftyhook
Instagram: www.instragram.com/jo_bear38
Pinterest: www.pinterest.com/baird0095
Twitter: www.twitter.com/joscraftyhook
Twitter: www.twitter.com/jo_baird
YouTube Channel: https://www.youtube.com/channel/UCk-6IB36bg4gkvaawn3xfdg
From the Designer:
I originally designed the Wrapped in Love Hat and Cowl Set to show my support for Cancer Awareness Month. As I grow as a Fiber Artist, my designs grow. This Tank Top is another design that has been added to the Wrapped In Love Line. I have more than one loved one who had been diagnosed with cancer and have BEATEN It! They are true Survivors and the inspiration behind my crochet patterns in the Wrapped In Love Line.
- Thank you for crocheting from the Wrapped In Love Line of Crochet Patterns! You can check out my other crochet patterns at my website joscraftyhook.com. While you are there be sure to add your email address to my Mailing List and Newsletter. This way you will be notified when I release another pattern, have a sale or produce another blog post! If you have any questions or concerns about any pattern find me at Jo’s Crafty Hook on Facebook!
- You can also find ANY of my Crochet Pattern Designs here at my Etsy Shop or here from the Ravelry Store.
- Every purchase of my patterns helps! It allows me to keep my website going and to buy more yarn so I can create and design more Handmade Crocheted Creations for you to enjoy. If you like to donate to Jo’s Crafty Hook, click on the PayPal button below.
- You are free to sell or gift the item from the Wrapped In Love Line, but Please forward anyone who would like to do this pattern or any other one of my patterns to my Etsy shop, the Ravelry Store, or to my website. The web addresses for any place to connect with me are listed below.
- I would LOVE to see your version of the crochet pattern in the Wrapped In Love Line! You can upload it to any one of the places below that allows you to connect with me! Pictures, Comments, Feedback, etc. are ALWAYS welcome at my website www.joscraftyhook.com!