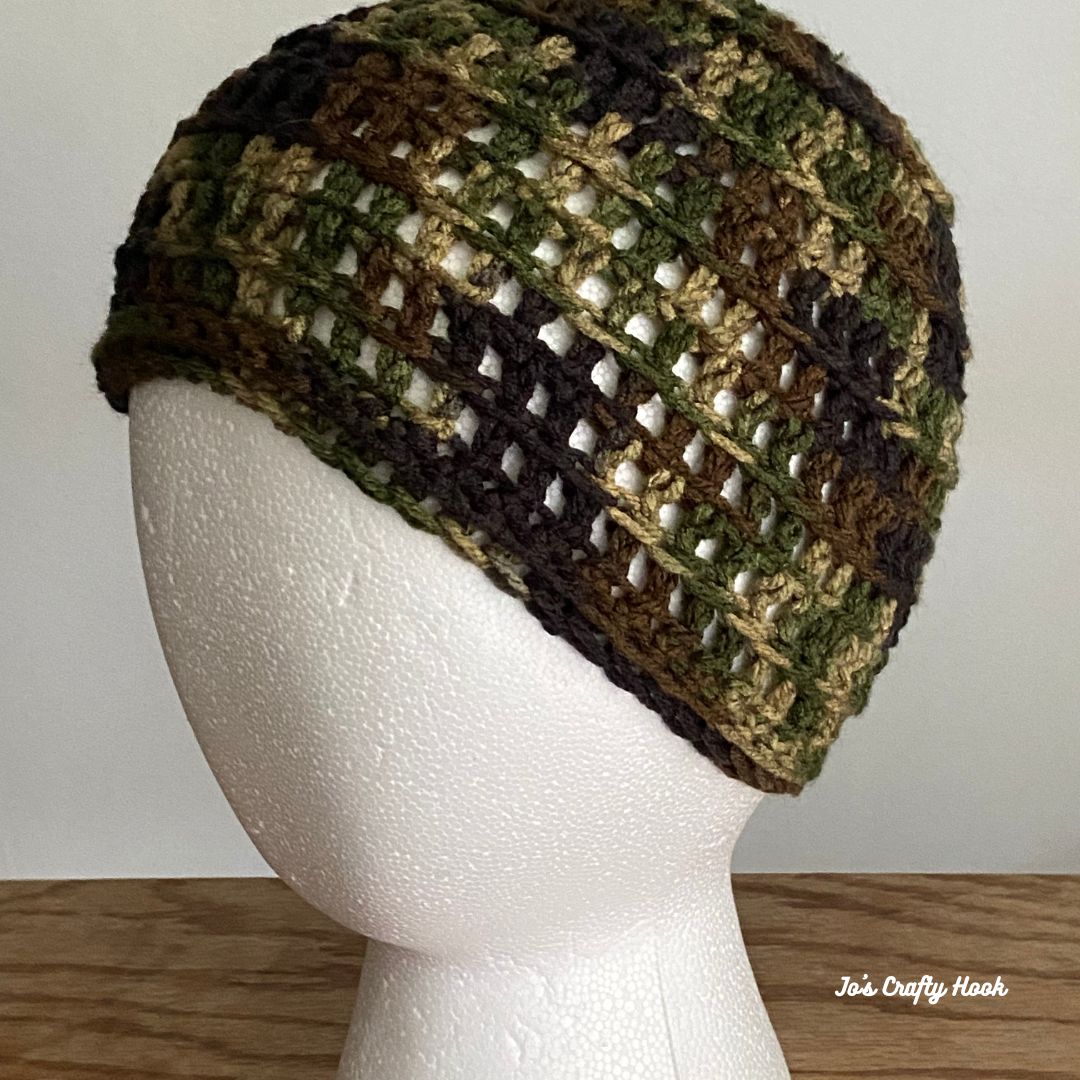
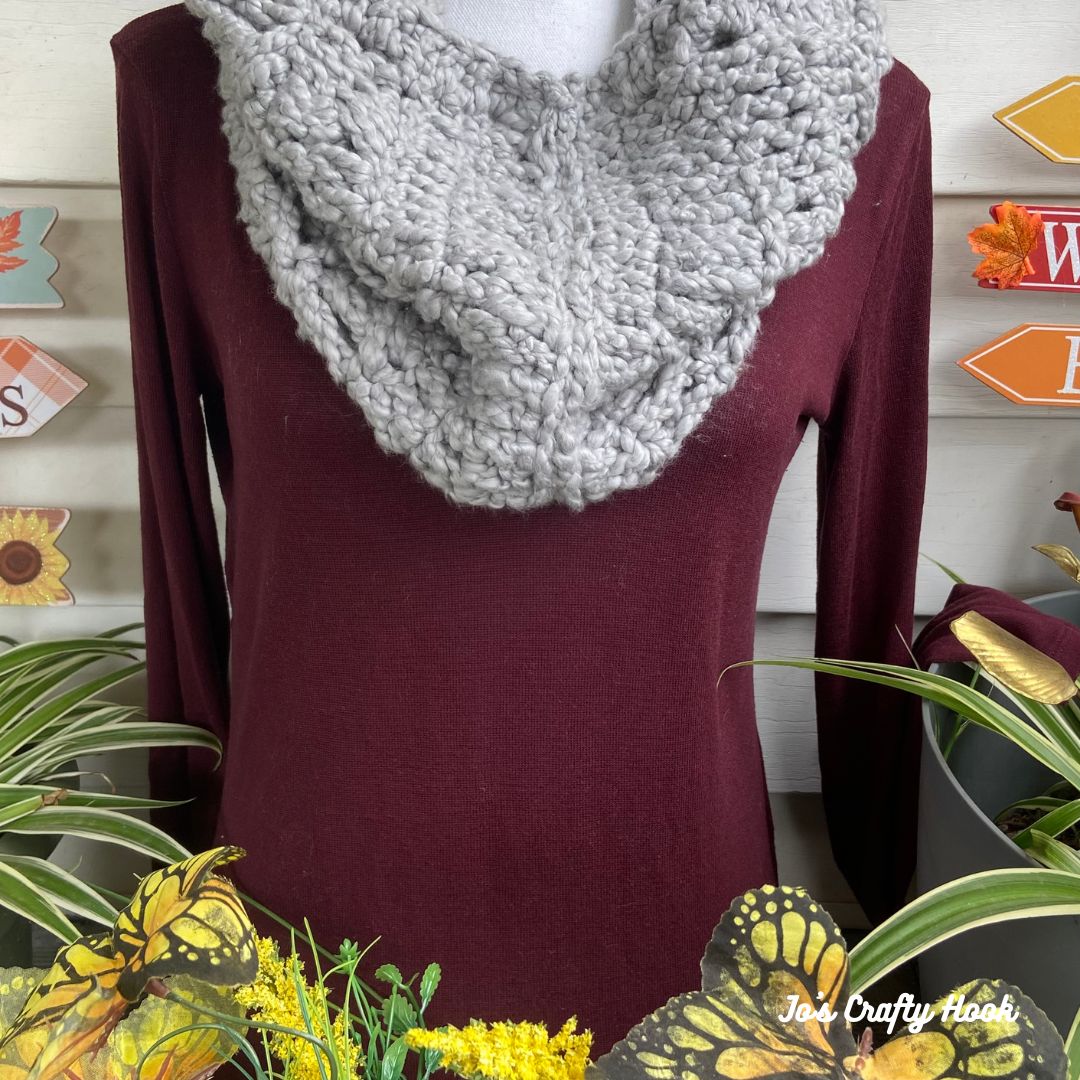
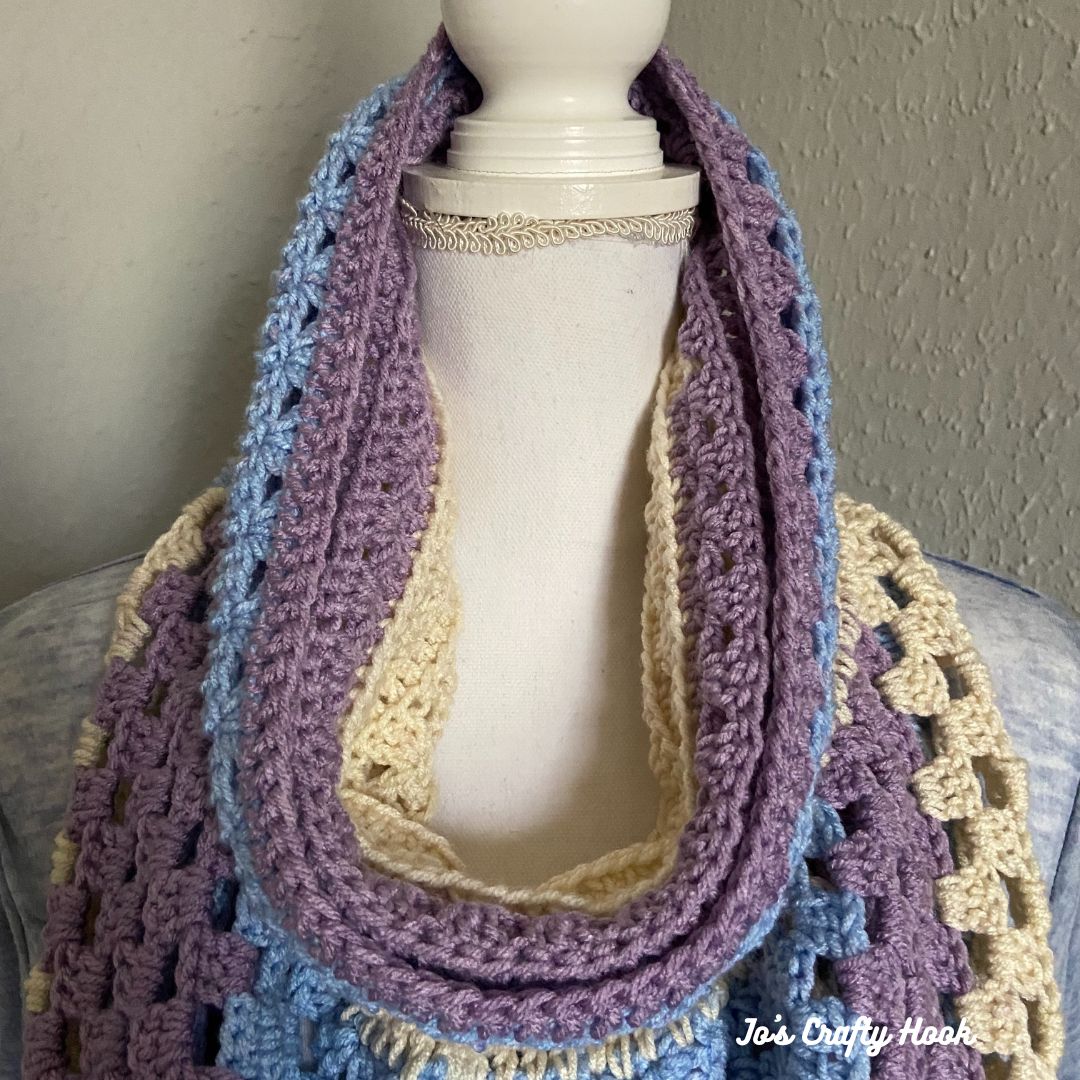
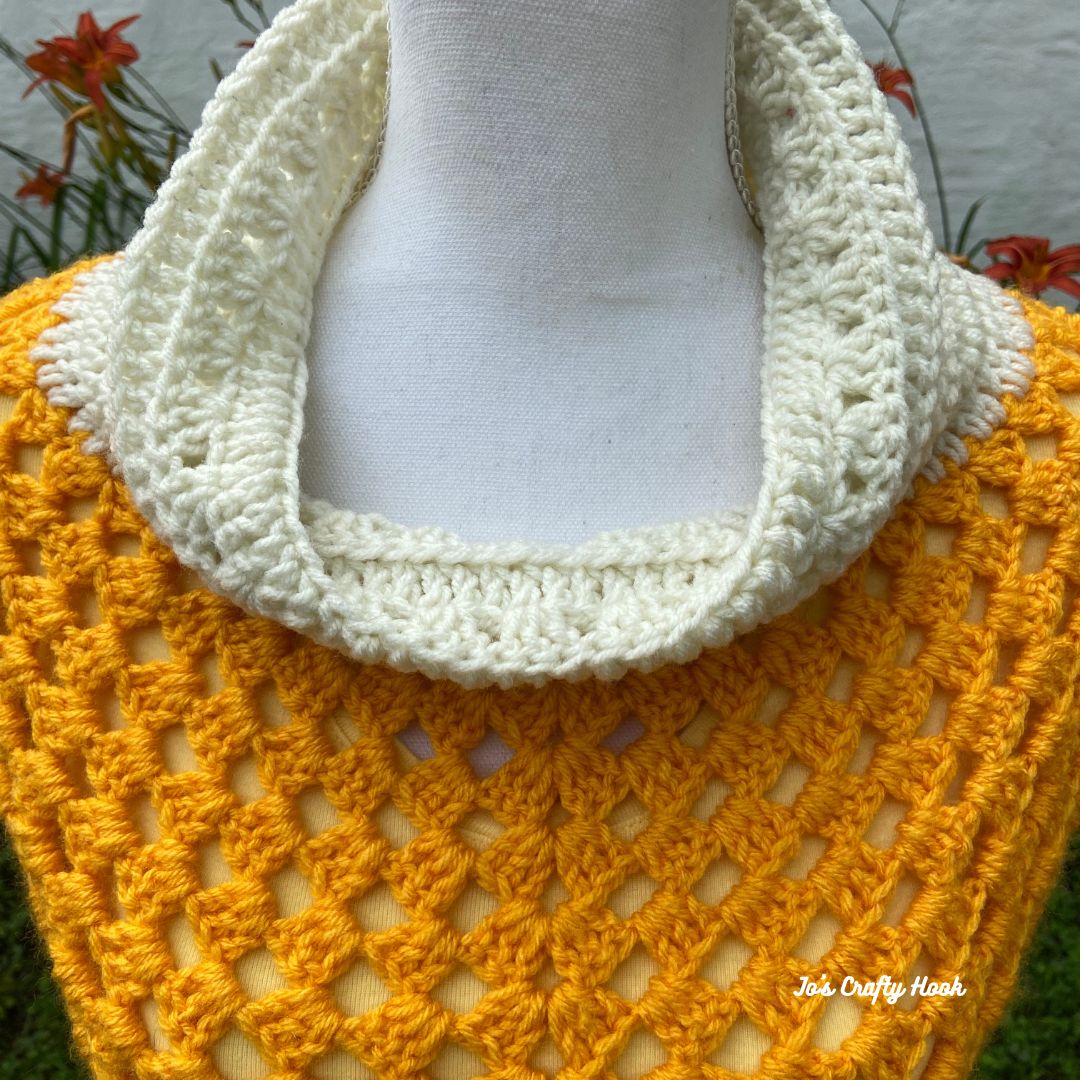
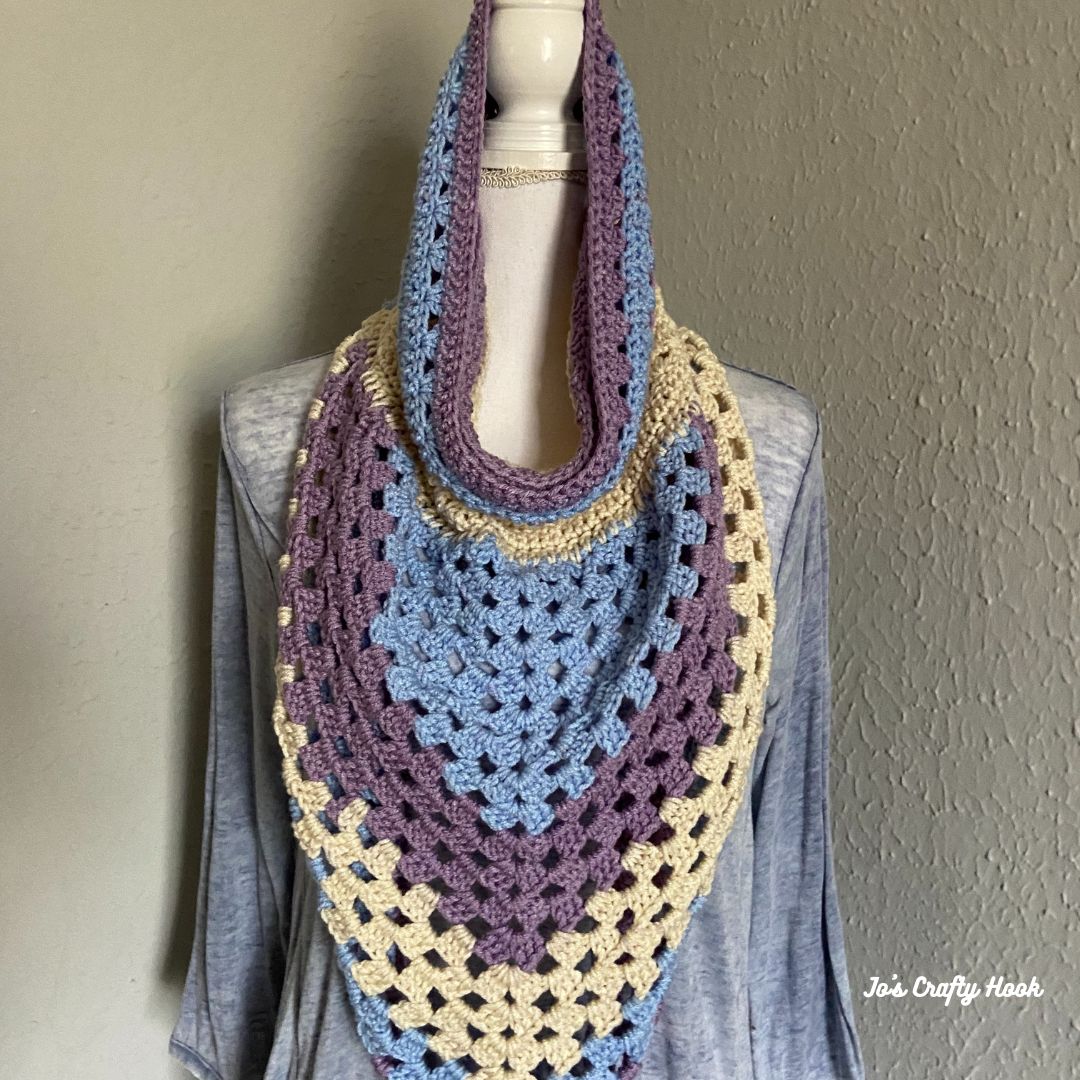
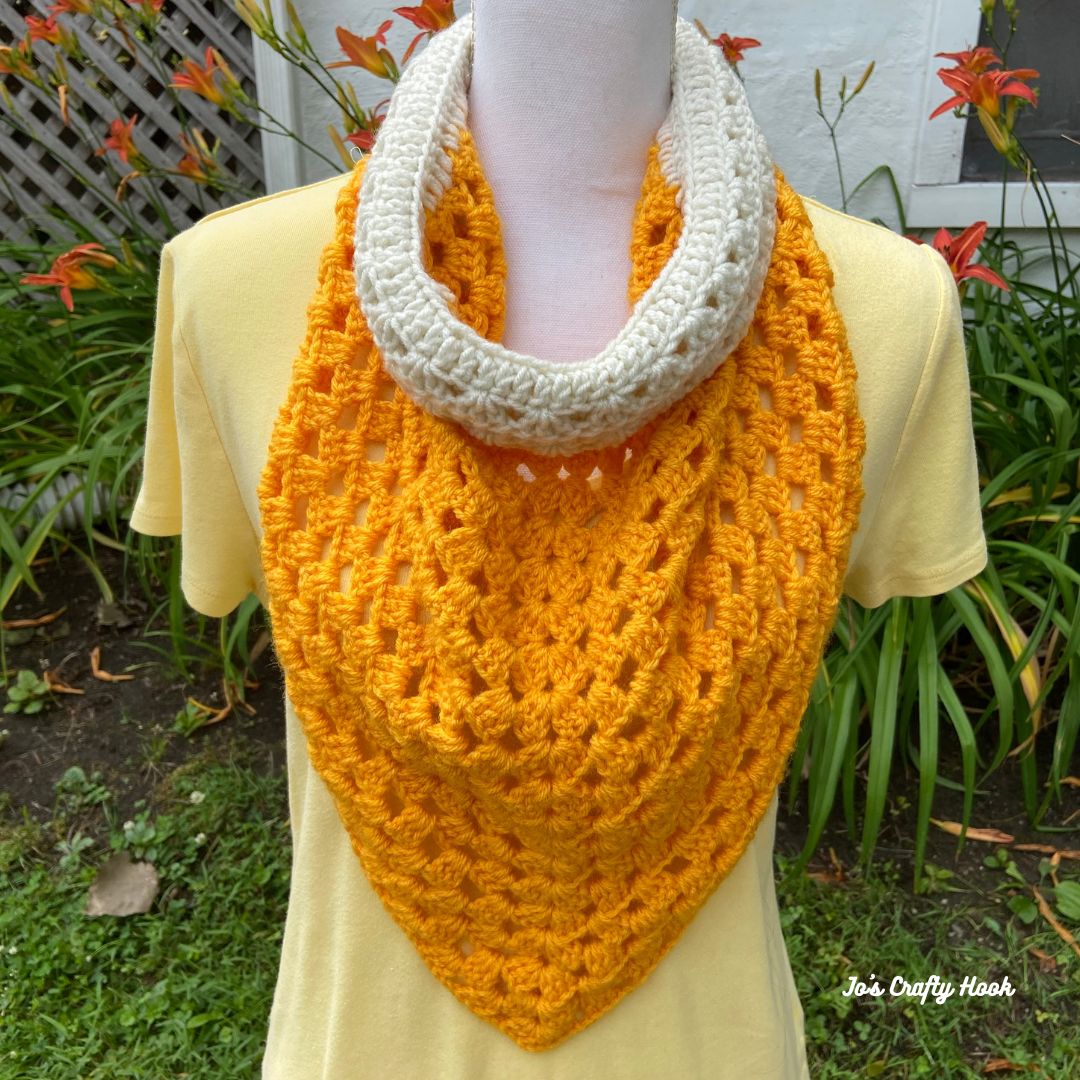
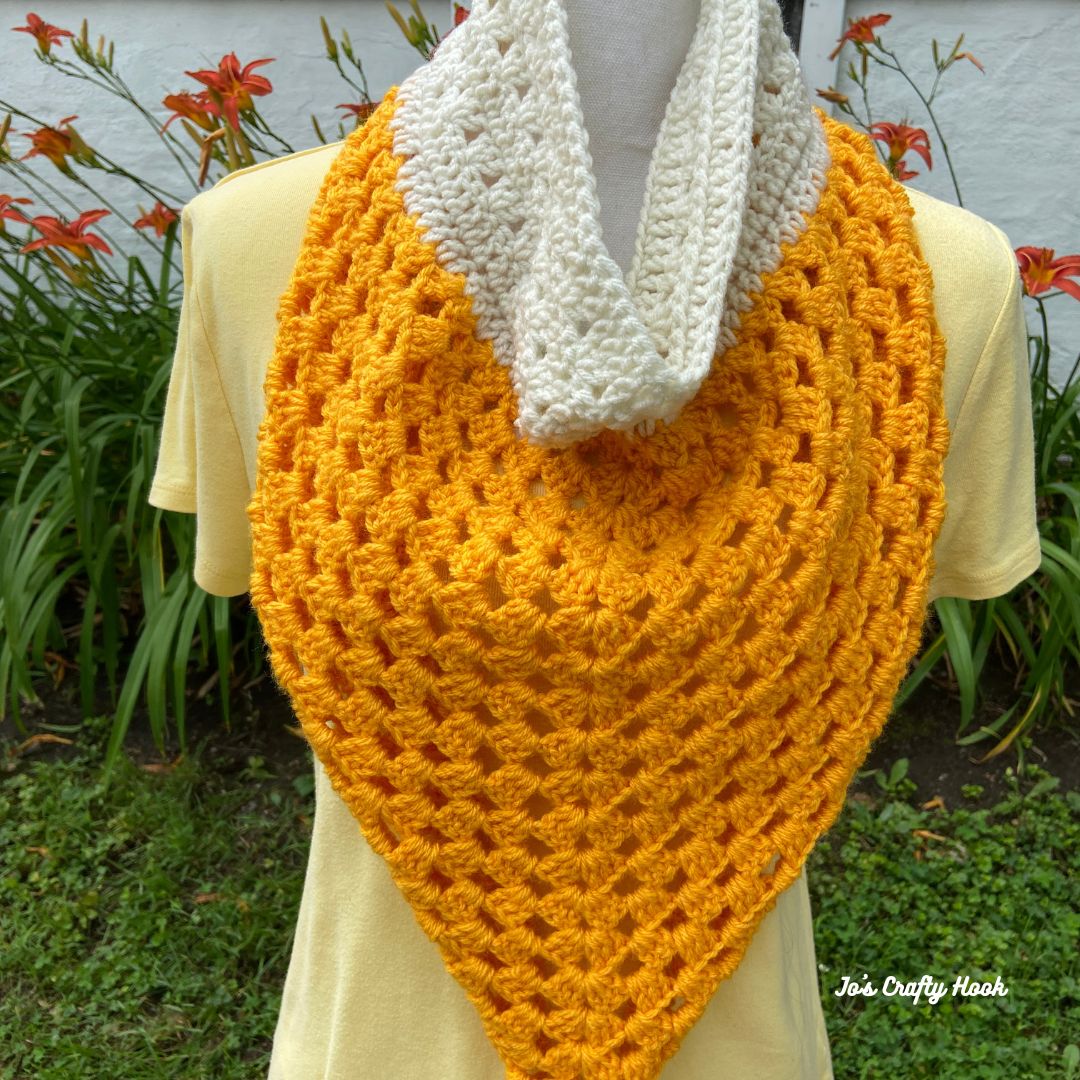
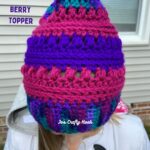
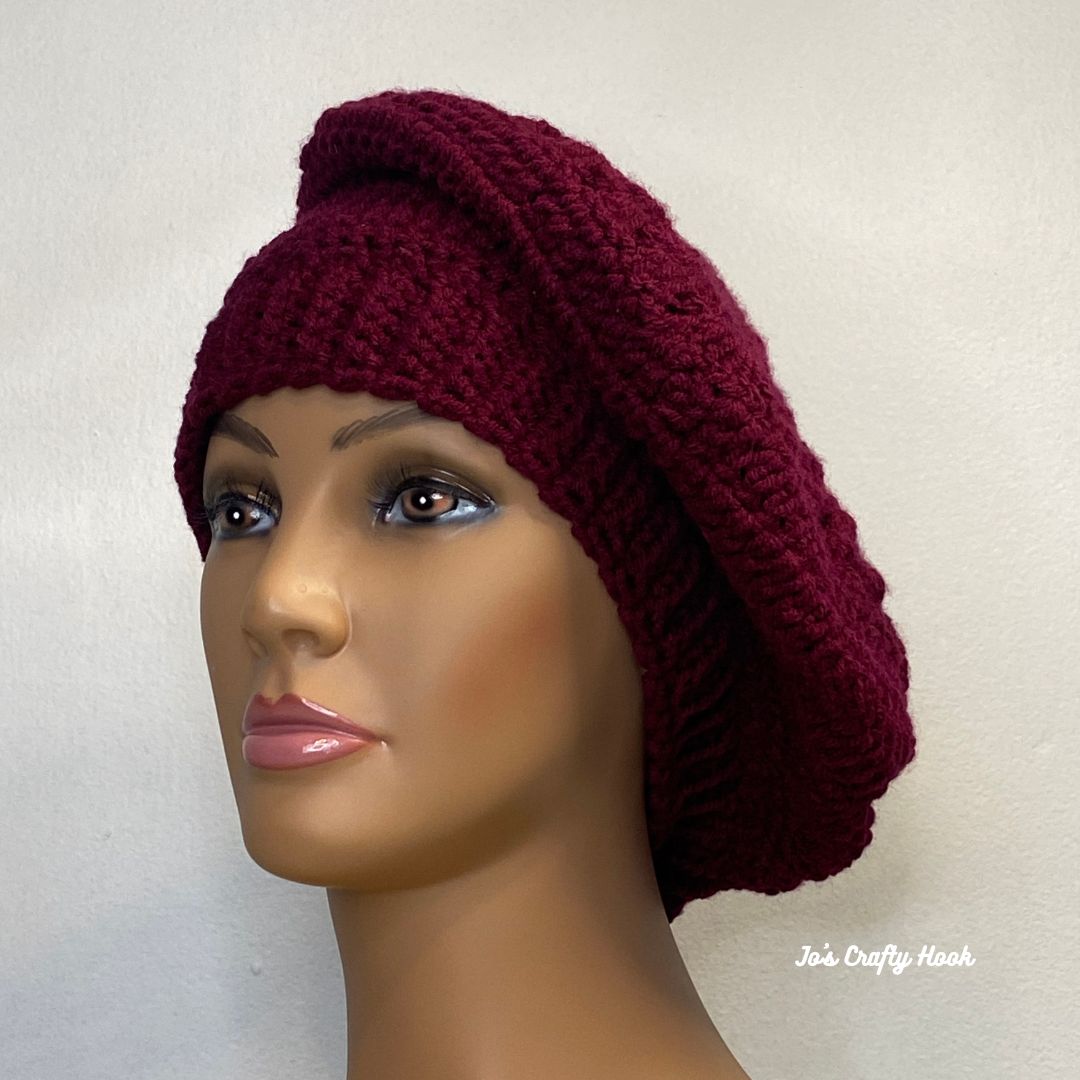
Sherbet Beret Crochet Pattern
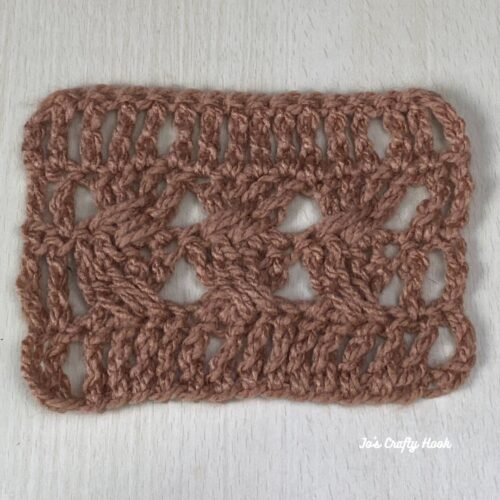
Do you like using the Granny Crochet Stitch? My Sherbet Beret Crochet Pattern uses a Hexagon Granny Square Stitch.
The Sherbet Beret Crochet Pattern adds a little flair to what type of hats you wear. When I see berets I think of France or Military types of hats or a fun hat to wear on St. Patrick’s Day.
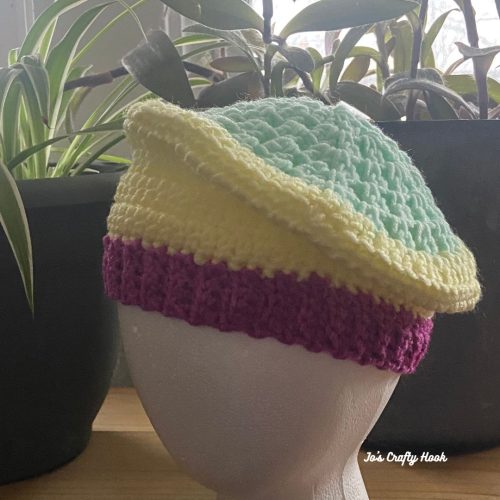
Below you will find a FREE Child Size version of the Sherbet Beret Crochet Pattern. This is a great hat that can be worn by little kids and can even be customized into a slouchy hat.
Ad-Free Premium Sherbet Beret Crochet Pattern with both sizes can be found at my Ravelry Store, LoveCrafts, and Etsy.

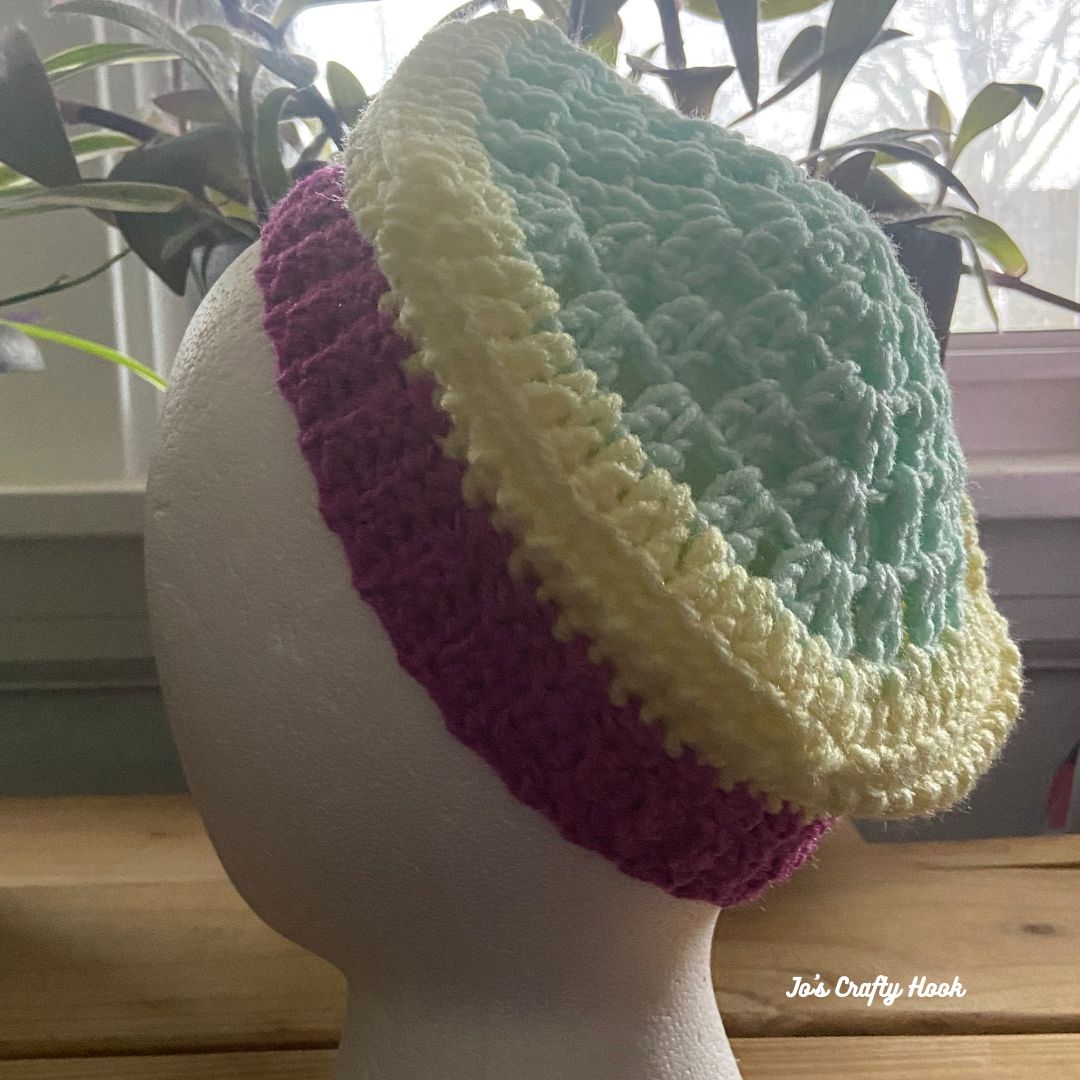
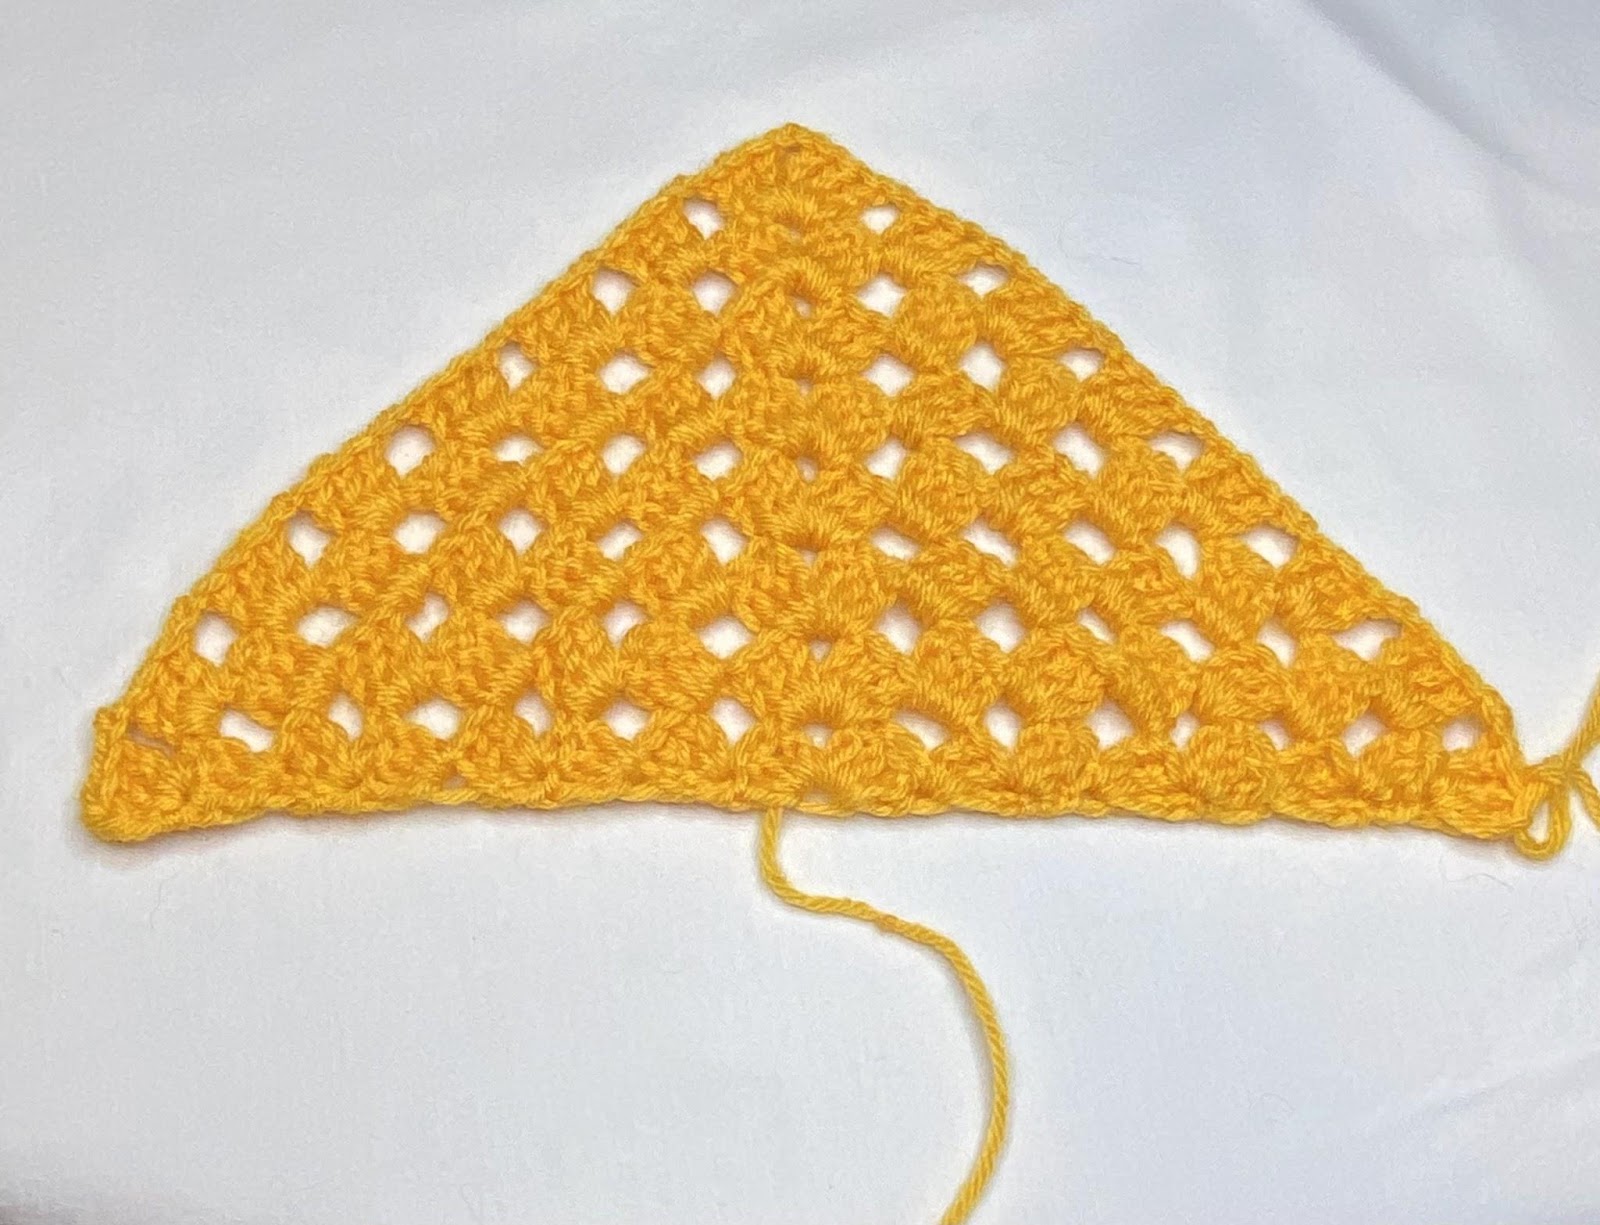
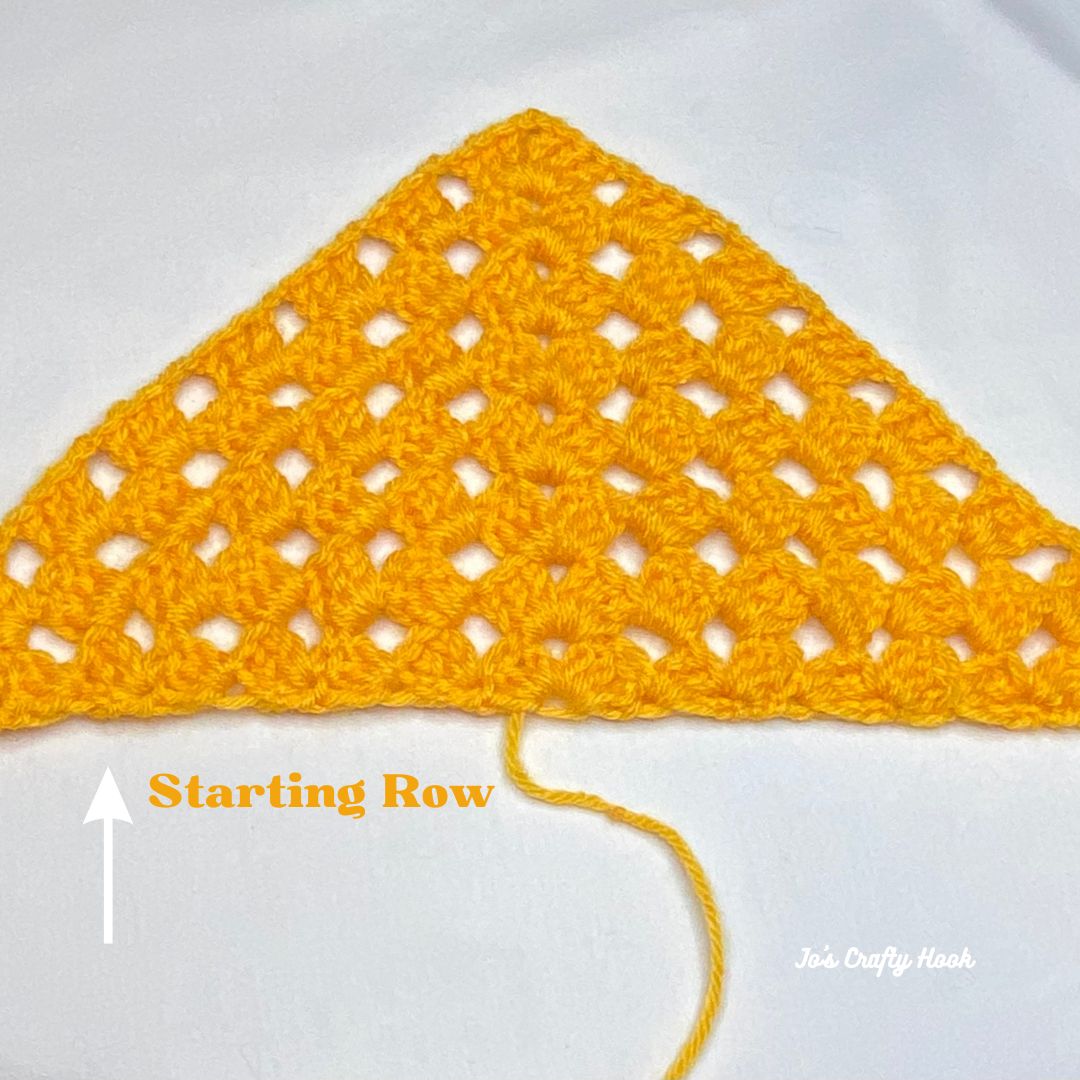
Sherbet Beret Child Size Crochet Pattern
Information Needed
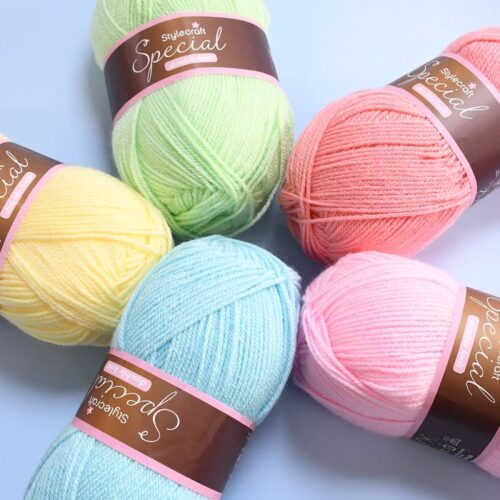
I used Red Heart Super Saver #4 Ply Worsted/Aran Weight Yarn. 100% Acrylic. 7 oz (364 yds) (198 g/333 m)
Materials
125-175 yds of #4 ply Worsted/Aran Weight Yarn
US I or 5.5 mm Crochet Hook
US G or 4.5 mm Crochet Hook
Tapestry Needle
Scissors
Stitches/Abbreviations Used:
ch = chain
sc = single crochet
dc = double crochet
scblo = single crochet back loop only
sl st = slip stitch
sp = space
rep = repeat
Finished Size:
Child: 6” x 6”
Notes:
The ch 3 counts as a dc
The beret is worked in the round.
This is a 5 sided granny square.
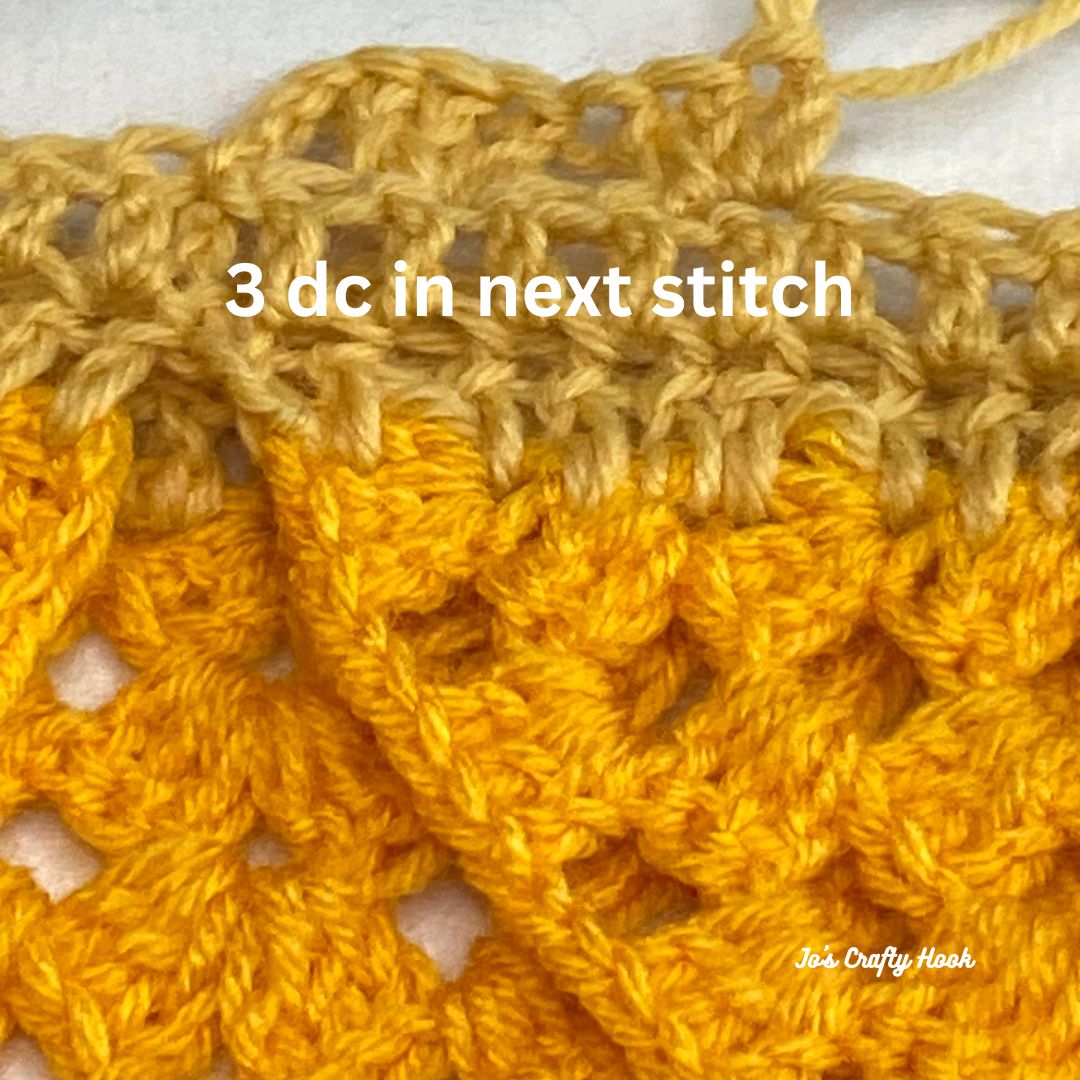
Each corner consists of (2 dc, ch 1, 2 dc, ch 1) all in same ch-1 sp.
Each round will increase by 10 dc & 5 ch-1 sp
Gauge:
US I or 5.5 mm Crochet Hook
12 st x 8 rows = 4”
Gauge Swatch:
R1: ch 15, dc in 4th ch from hook, dc across. turn (12 dc)
R2-R8: ch 3, dc across. turn (12 dc)
Sherbet Beret Child Size FREE Crochet Pattern

If you would like to Change Colors, I changed mine after each section of the beret.
Crown
Using I Hook
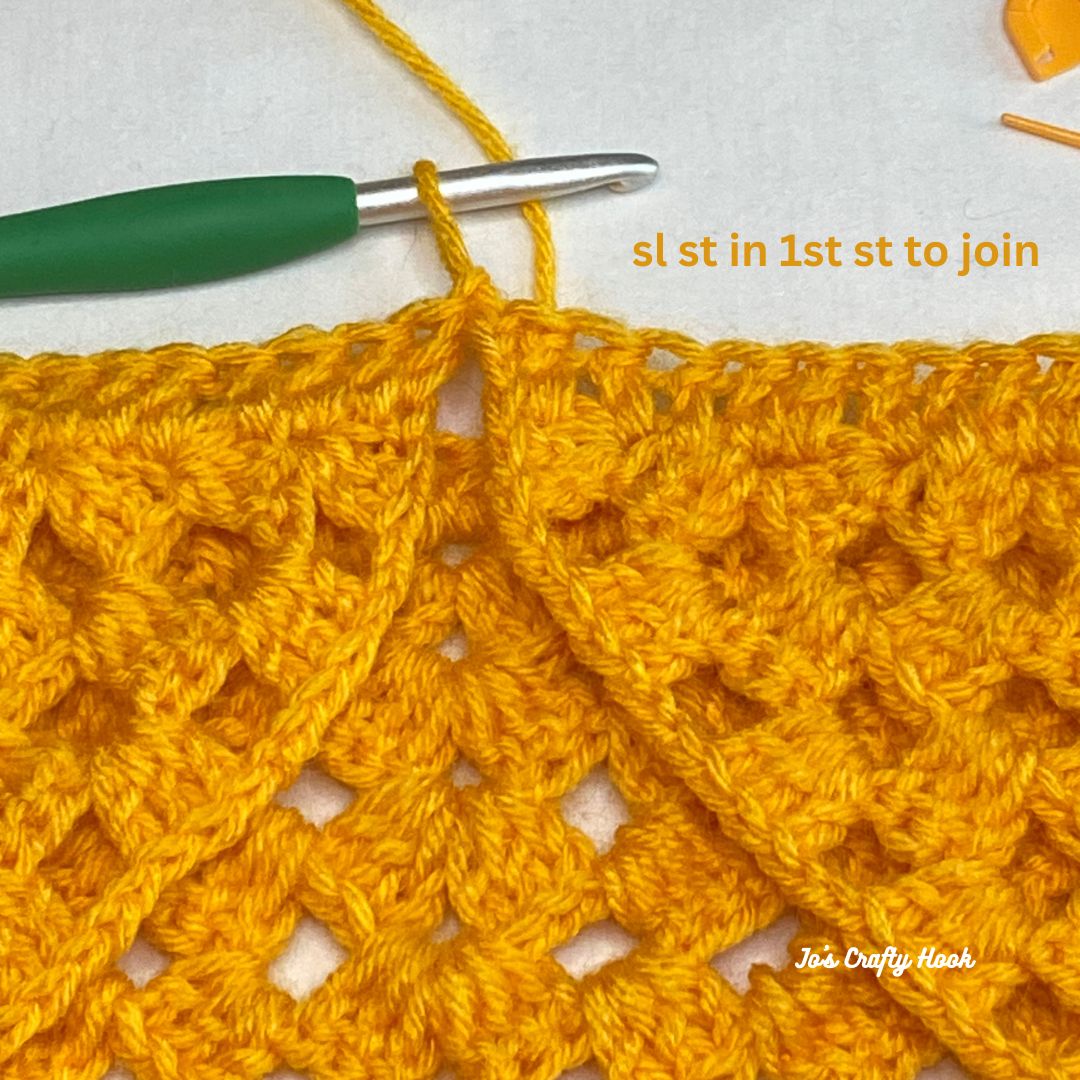
R1: Magic circle. ch 3, ch 1 (2 dc, ch 1) 4 times in magic circle. Pull tight to close circle. sl st in top of ch 3 to join. (10 dc & 5 ch-1)
R2: ch 3, dc in ch-1 sp just made, ch 1. *(2 dc, ch 1, 2 dc, ch 1) all in each ch-1 sp around until last ch-1 sp. 2 dc in ch-1 sp, ch 1. sl st in top of ch 3 to join. (20 dc & 10 ch-1) 5 corners made
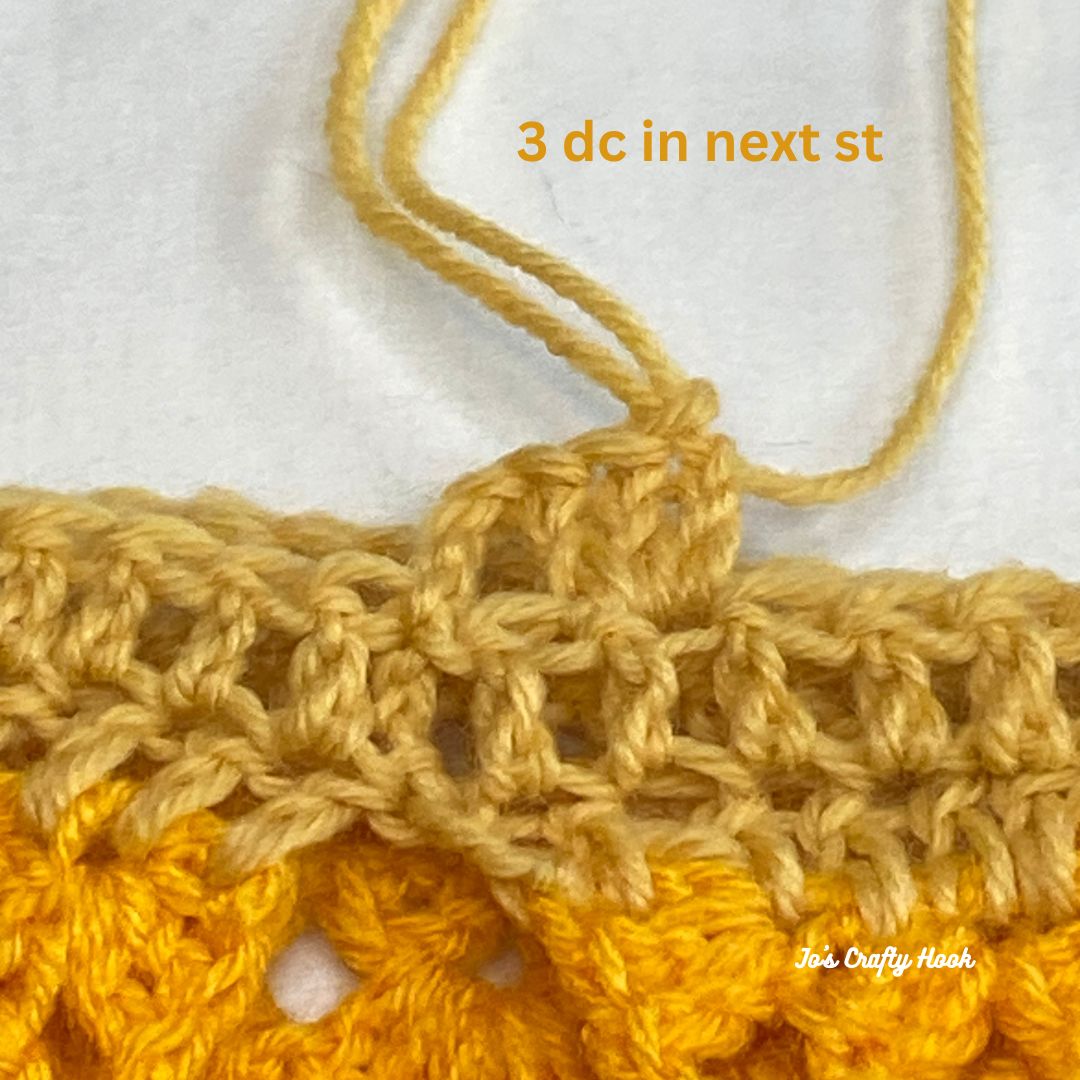
R3: ch 3, dc in ch-1 sp just made, ch 1. *2 dc in next ch-1 sp, ch 1, (2 dc, ch 1, 2 dc) all in next ch sp, ch 1, rep from * around until last 2 ch-1 sp. 2 dc in next ch-1 sp, ch 1 (2x). sl st in top of ch 3 to join. (30 dc & 15 ch-1)
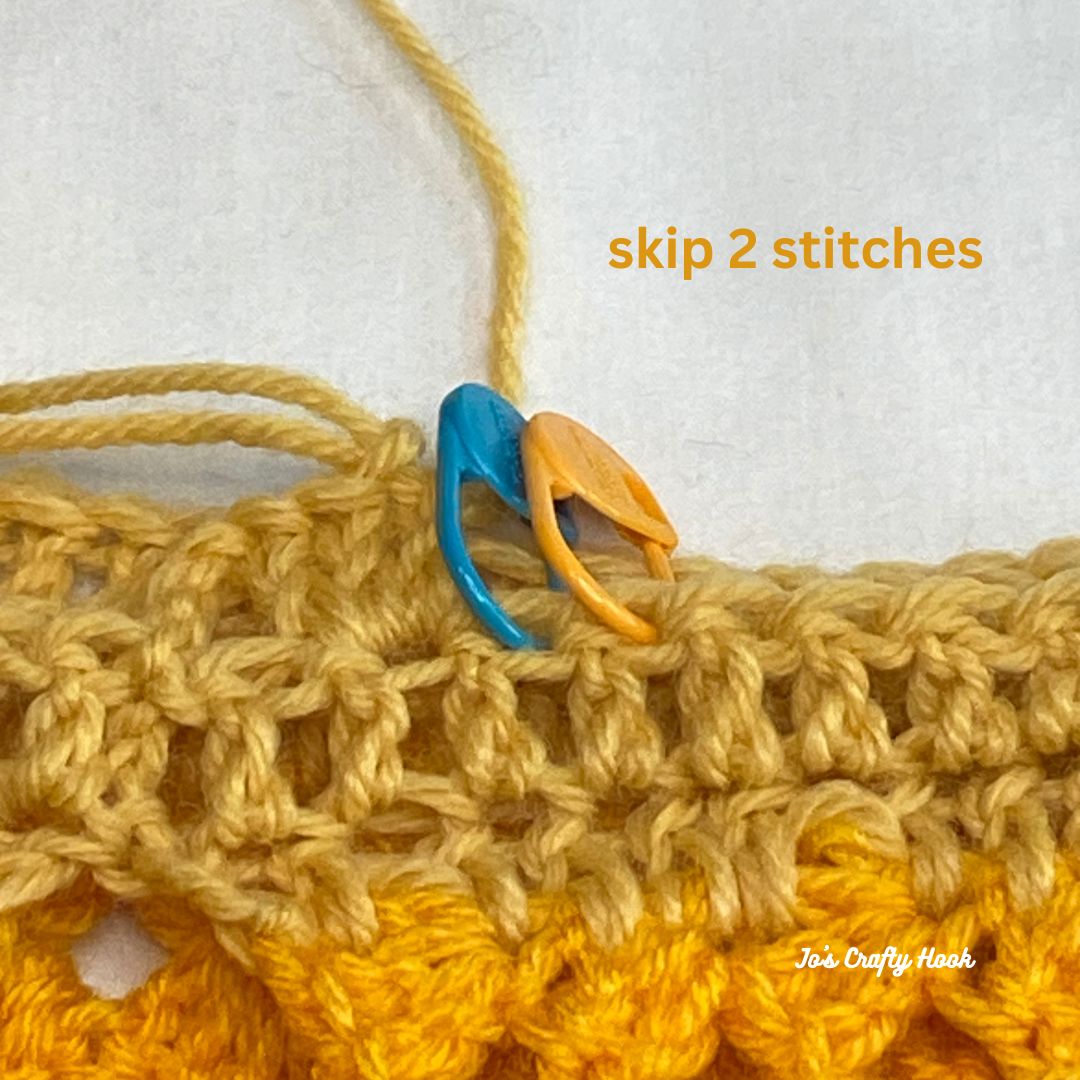
R4: ch 3, dc in ch-1 sp just made, ch 1. *2 dc in next ch-1 sp, ch 1 (2x). (2 dc, ch 1, 2 dc) all in next ch sp, ch 1, rep from * around until last 3 ch-1 sp. 2 dc in next ch-1 sp, ch 1 (3x). sl st in top of ch 3 to join. (40 dc & 20 ch-1)
R5: ch 3, dc in ch-1 sp just made, ch 1. *2 dc in next ch-1 sp, ch 1 (3x). (2 dc, ch 1, 2 dc) all in next ch sp, ch 1, rep from * around until last 4 ch-1 sp. 2 dc in next ch-1 sp, ch 1 (4x). sl st in top of ch 3 to join. (50 dc & 25 ch-1)
Body
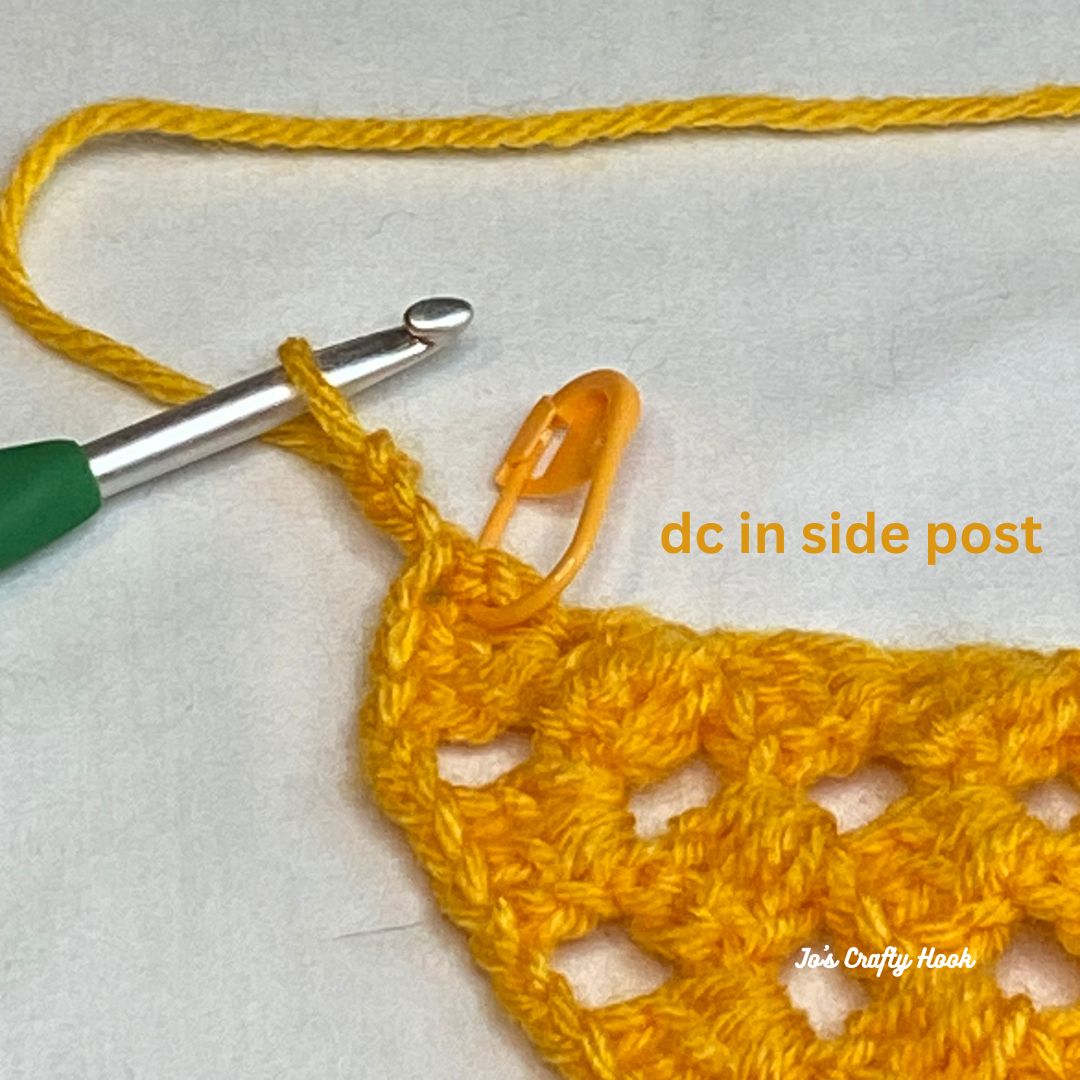
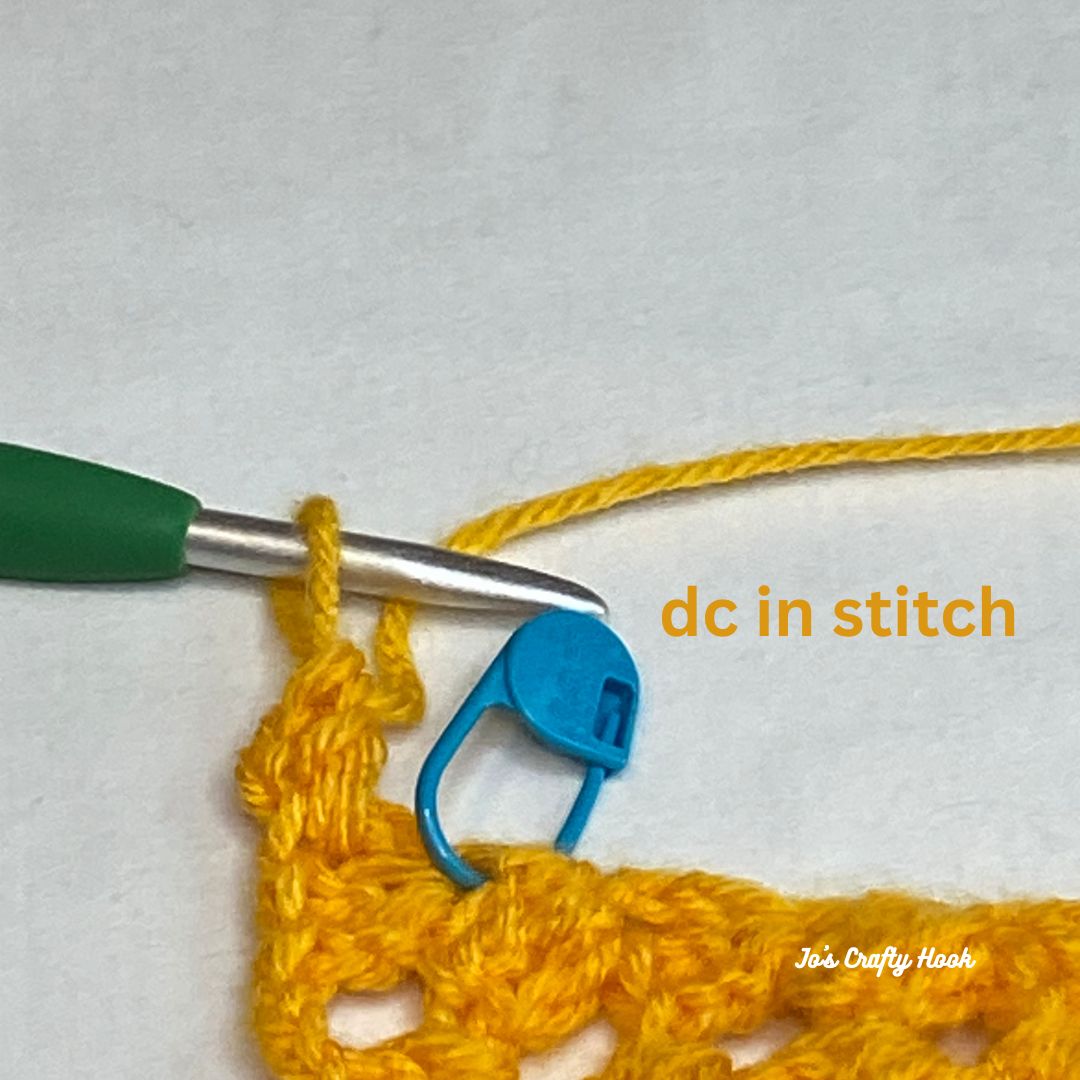
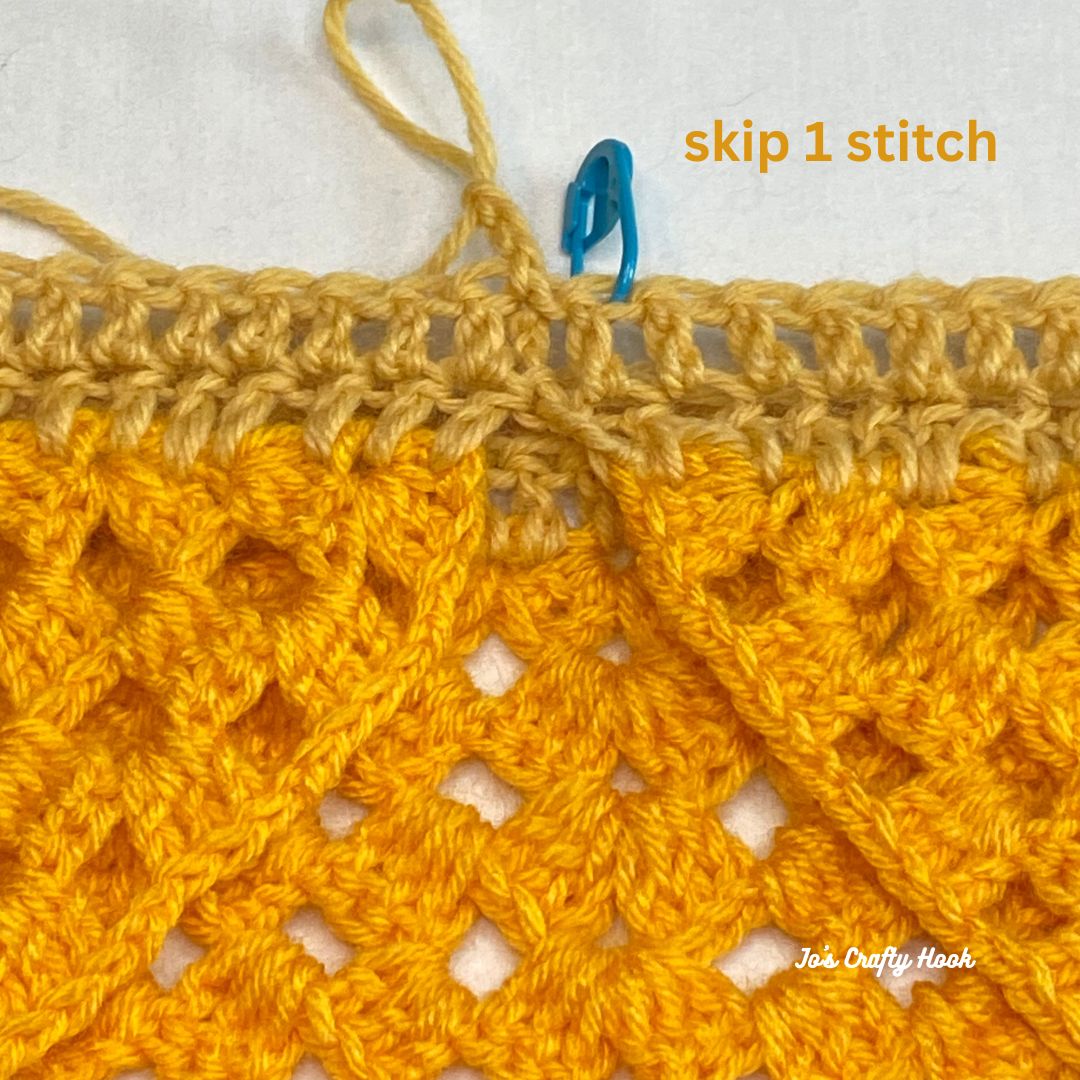
R1: ch 3, *dc in each dc, dc in each ch-1 sp around. sl st in top of ch-3 to join. (75 dc)
R2: ch 1, sc in same sp. scblo in next 10 st, sc3tog. *scblo in next 12 st, sc3tog. from * around until the last 14 st. scblo next 12 st, sc2tog. sl st in 1st sc to join. (66 sc)
R3-R6: ch 3, dc around. (66 dc)
If you would like to make a slouchy version of the beret, rep R3 as many times as you like before moving forward.
Brim
Switch to G Hook
Step 1:
ch 5, sc in 2nd ch from hook, sc in next 3 ch. (4 sc)
Step 2:
sl st in next 2 st on body of hat. ch 1, turn. sc in 1st sc, sc in blo in next 2 st, sc in last sc turn (4 sc)
Step 3:
ch 1, sc in the 1st sc, sc in the blo of the next 4 st, sc in last sc. turn (4 sc)
Repeat Step 2-3 until around until you come to beginning of brim. sl st in blo of each st until last st. sl st to join.
Fasten off and weave in ends.
You can find more of my free crochet patterns at my website.
You can also find more of my premium crochet patterns at my Ravelry Store and LoveCrafts or Etsy.
Custom Orders Welcome
You can also check out my crochet patterns at the links above and place an Custom Order for your own Handmade Crocheted Creations! Let me make something for you in your own style, size, and color! Email me at jo@joscraftyhook.com for more info.
Find me, Jo of Jo’s Crafty Hook at the places listed below.
Email: jo@joscraftyhook.com
Facebook Group Jo’s Crafty Hookers
Facebook Group Jo’s Crafty Hook Designs
Facebook Page Jo’s Crafty Hook
Facebook Page: Crochet Designer Community
![]()