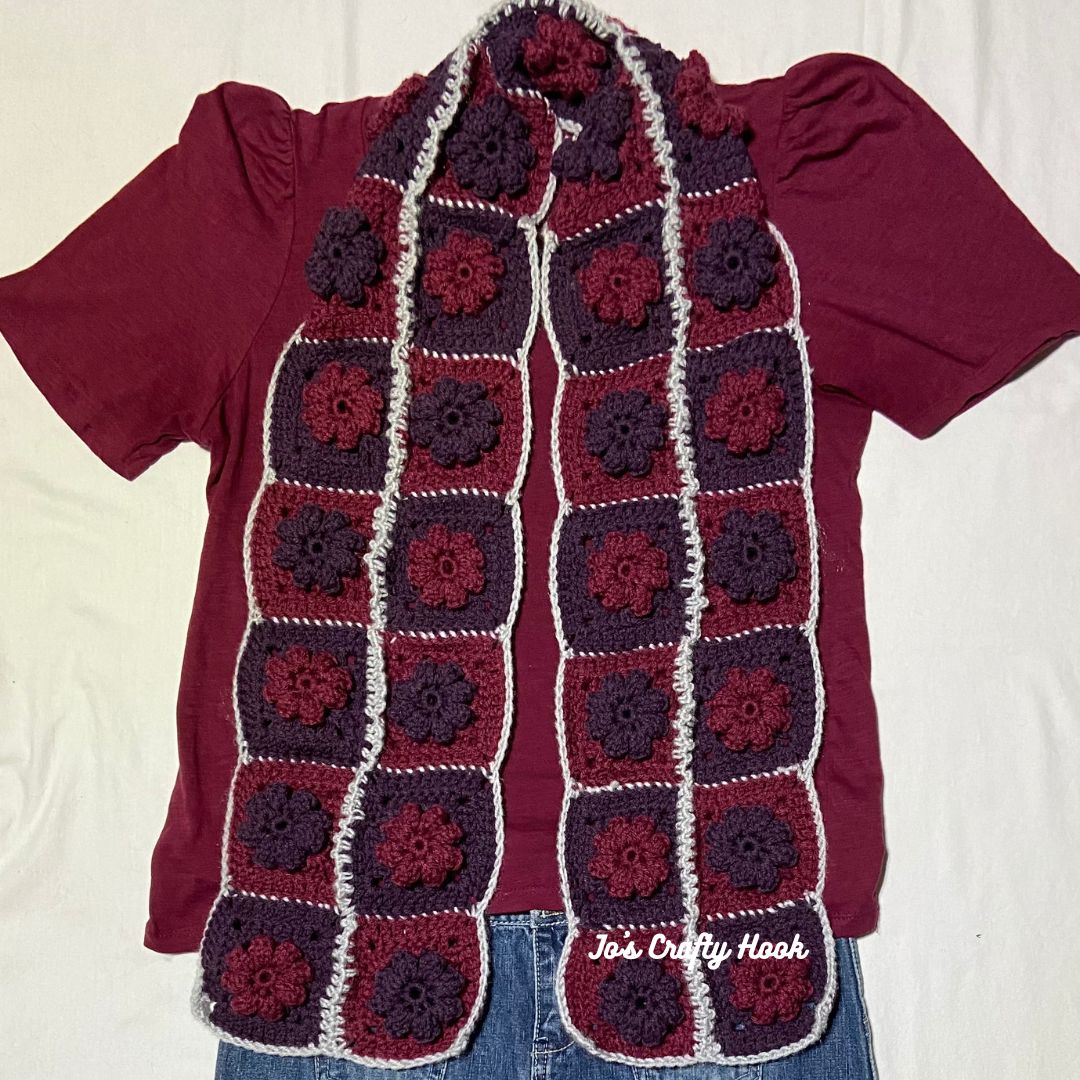
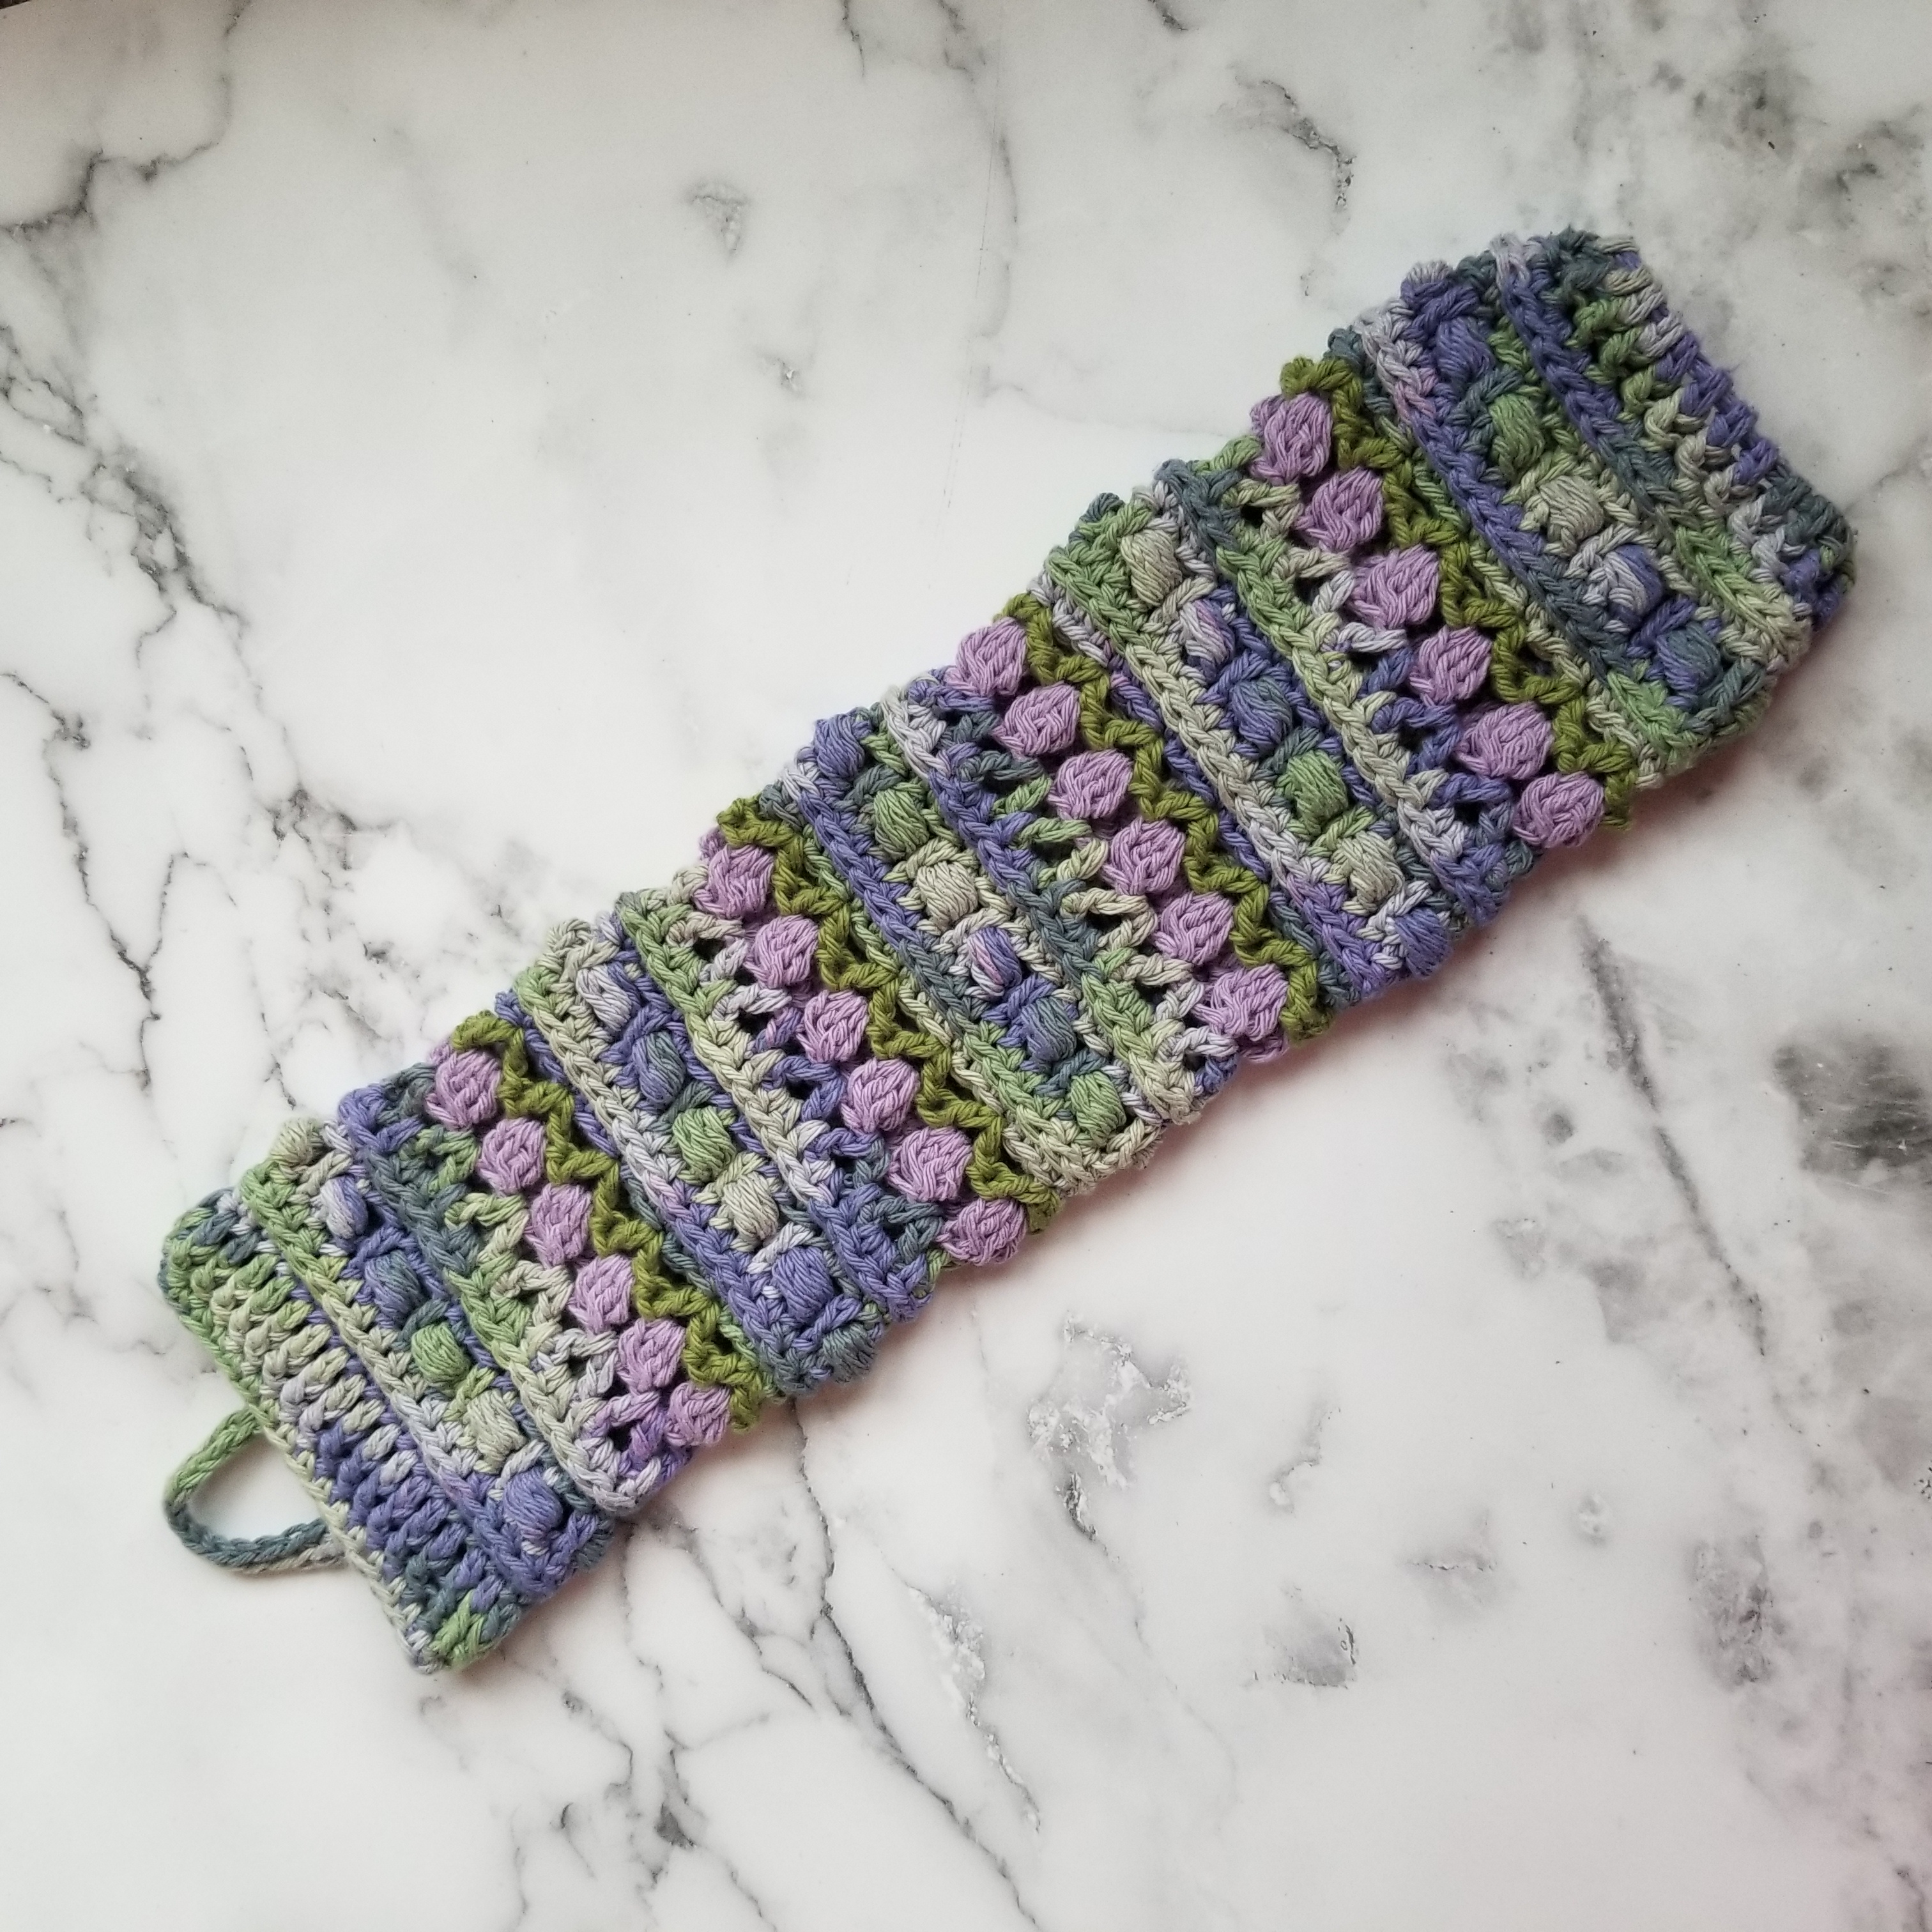
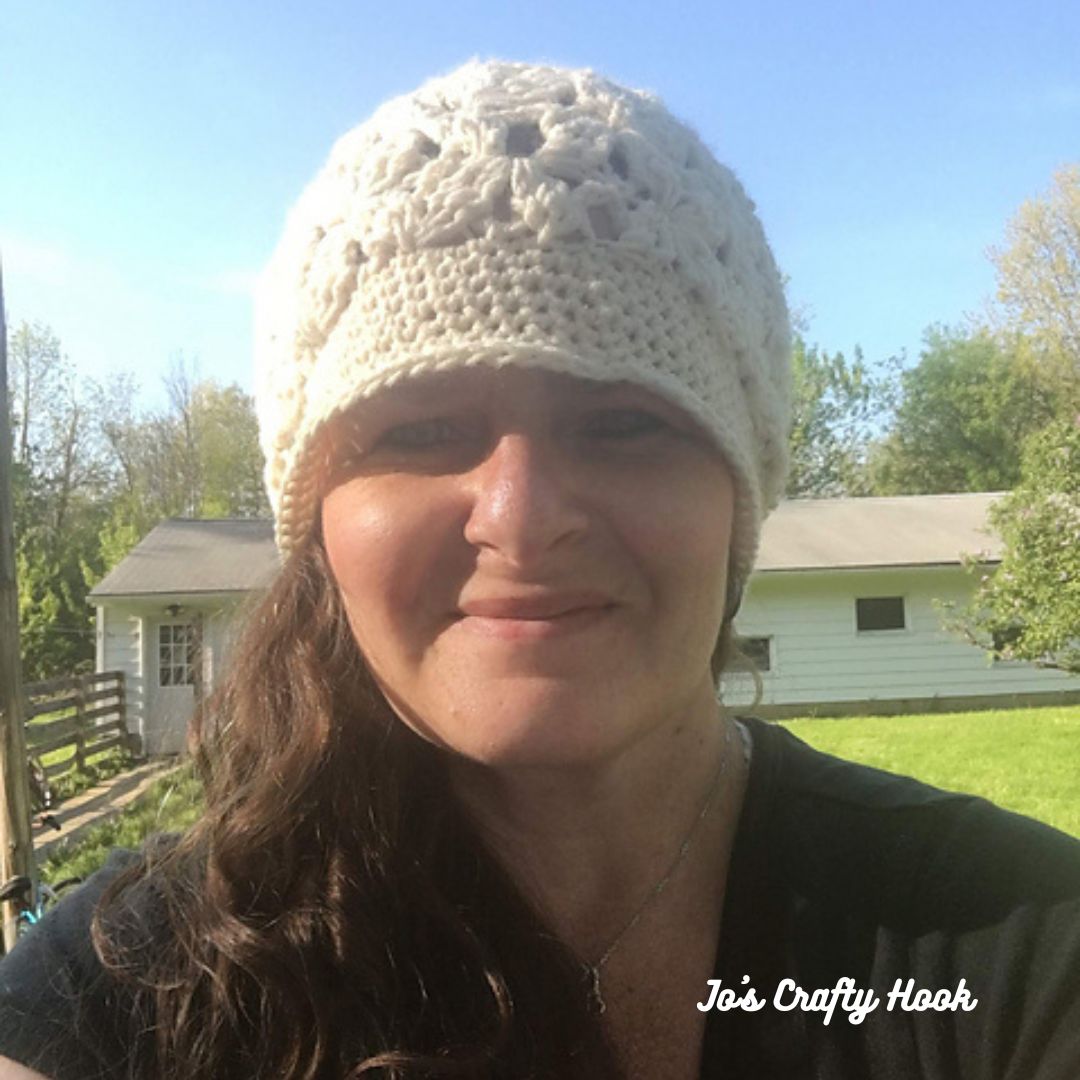
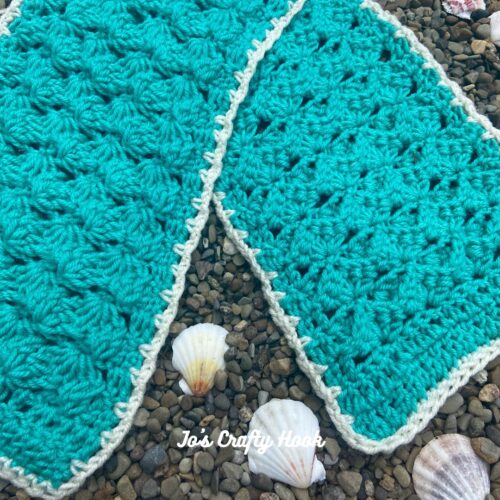
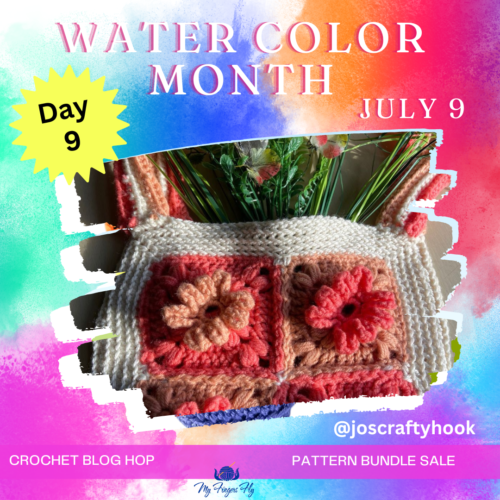
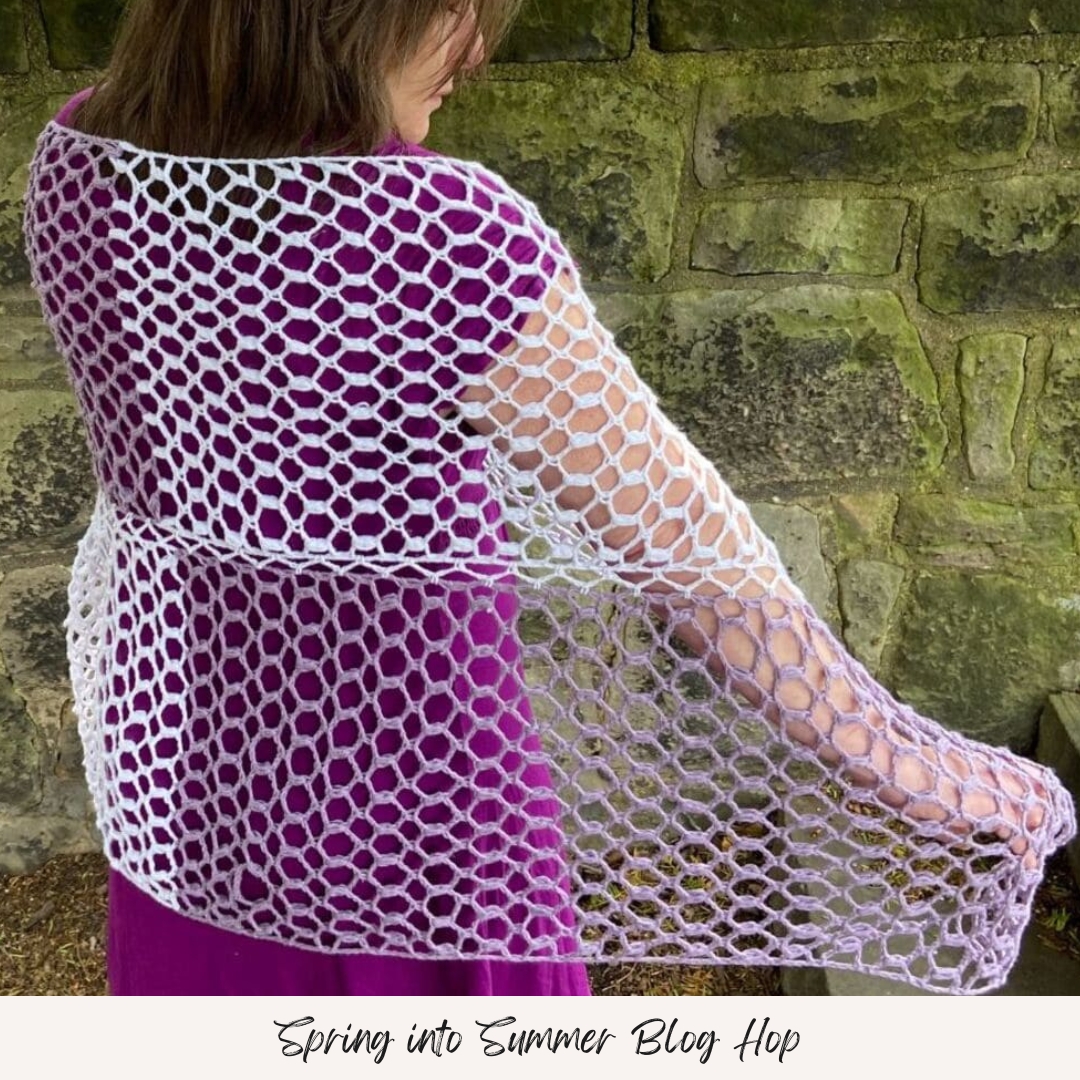
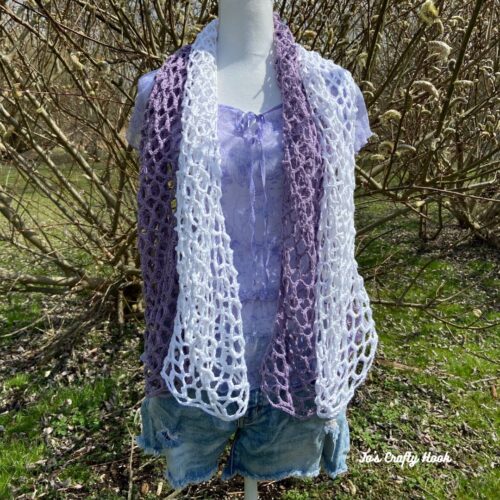
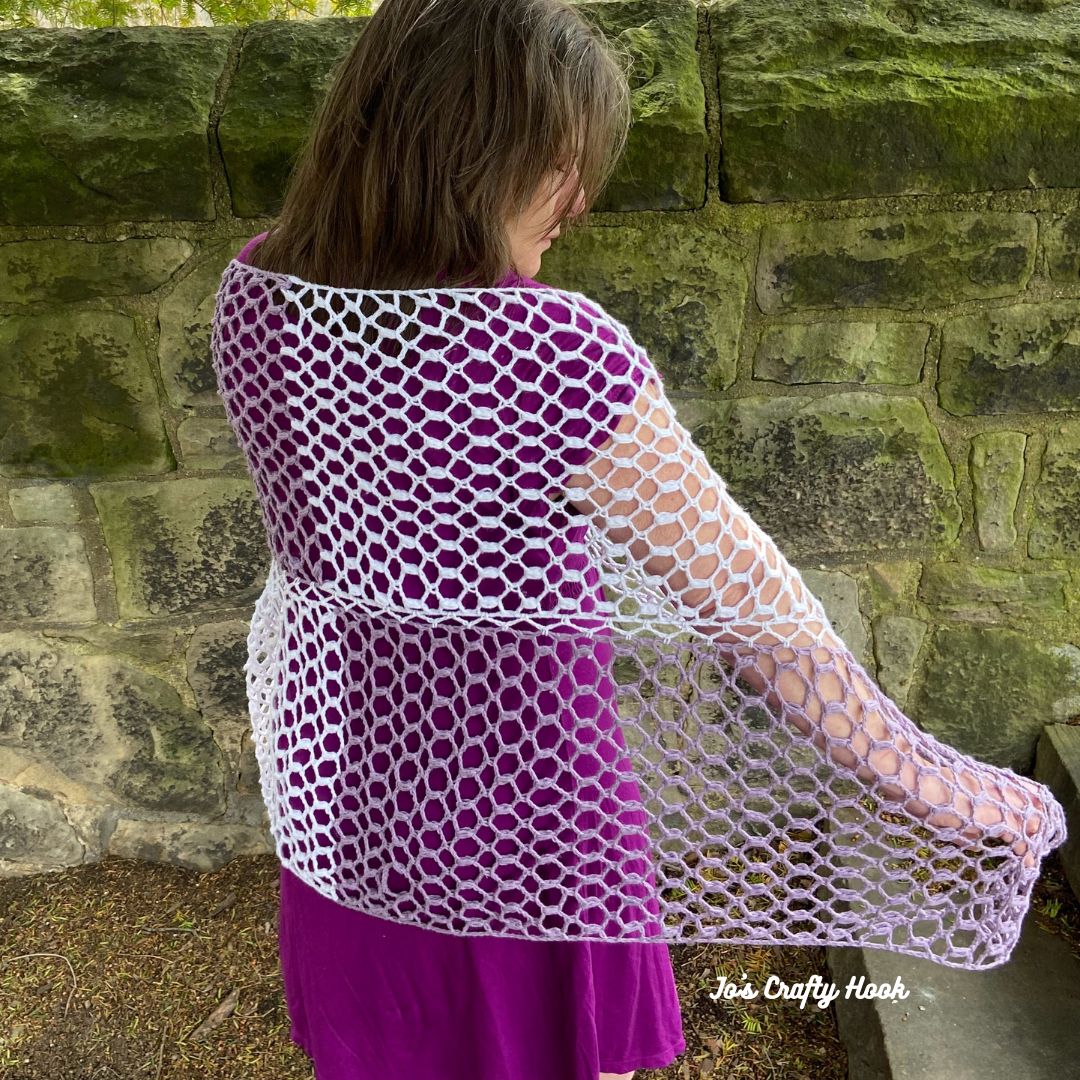
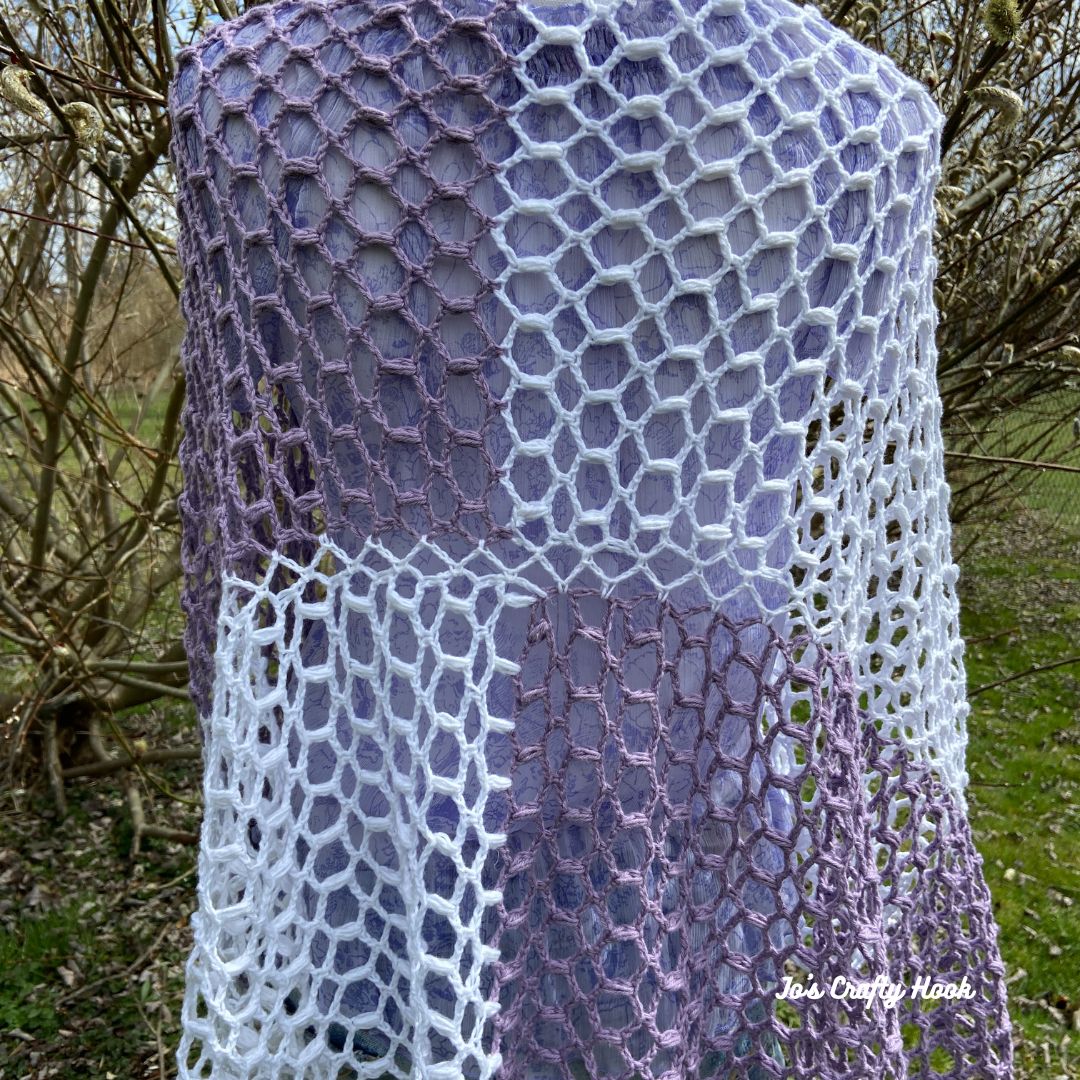
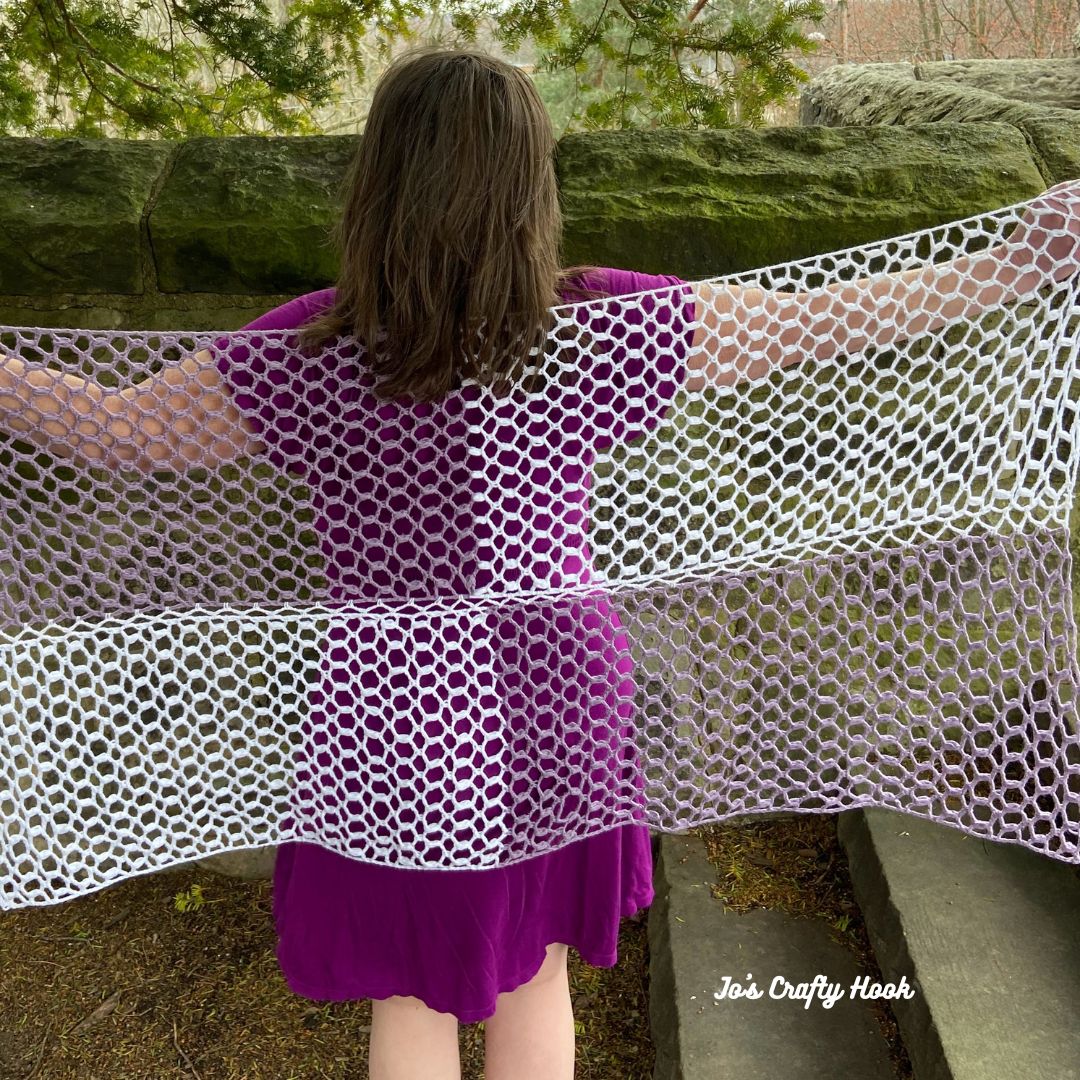
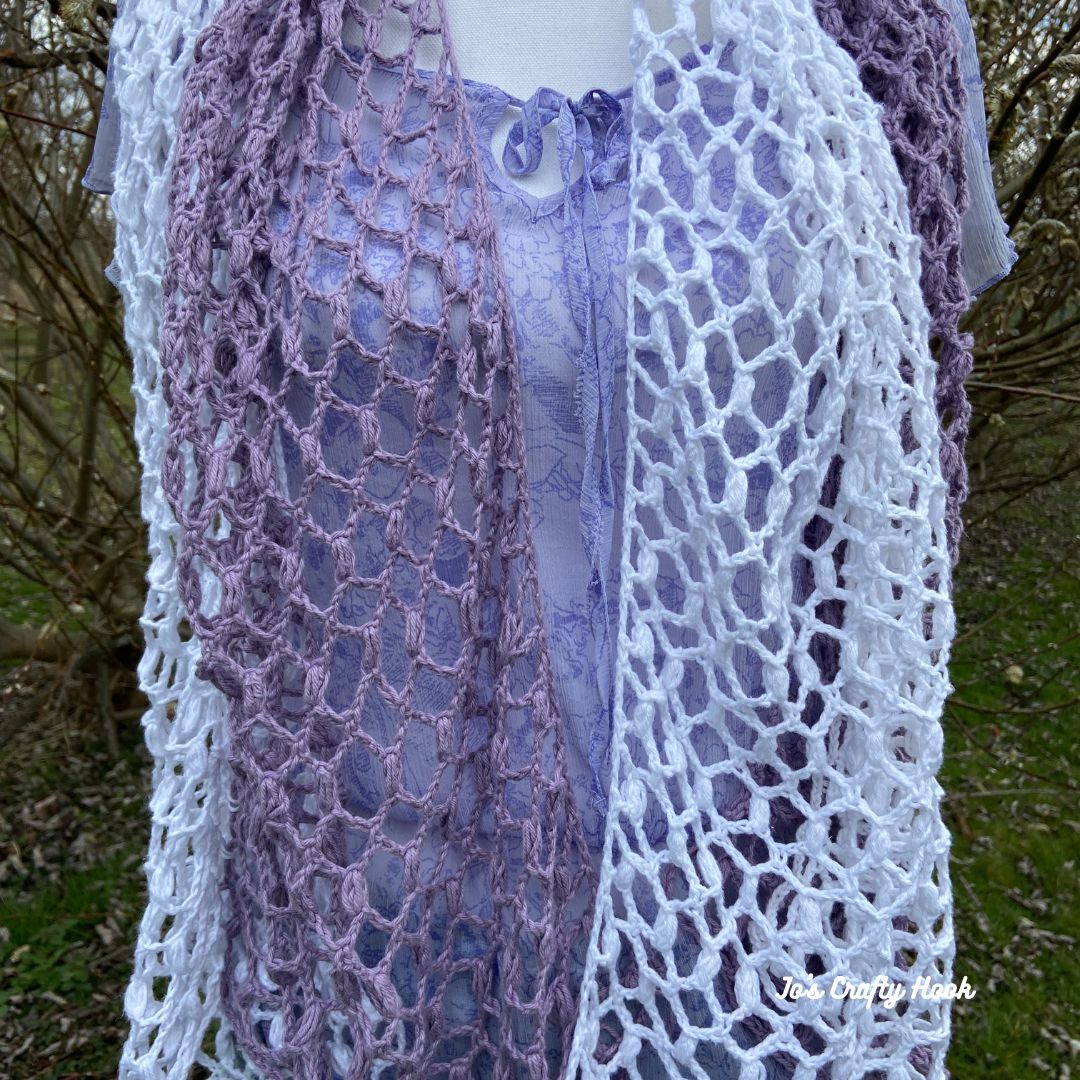
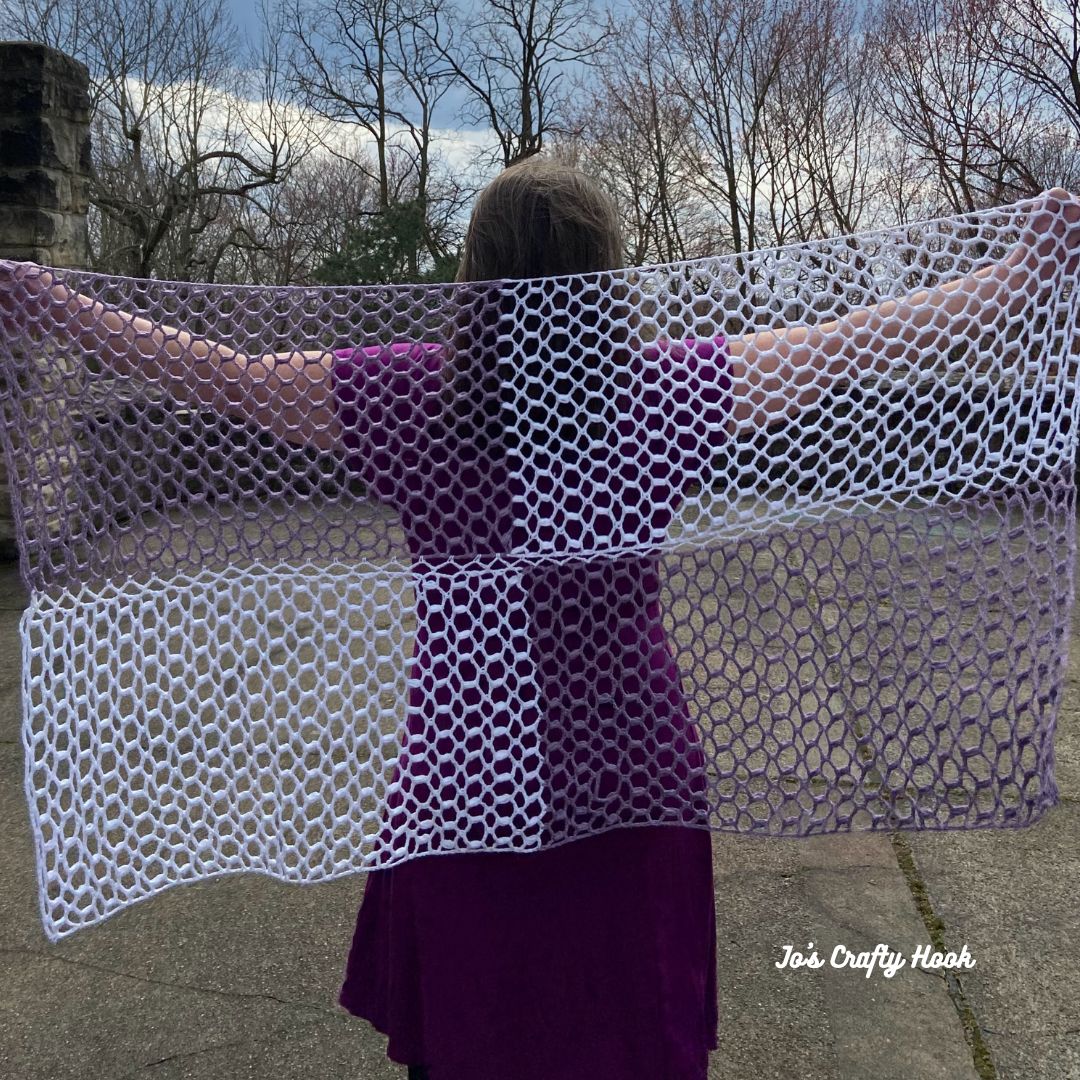
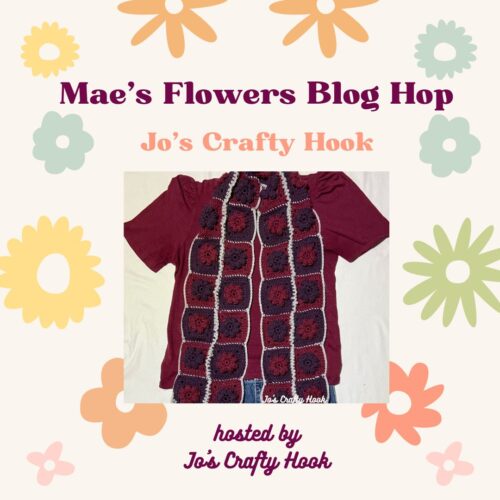
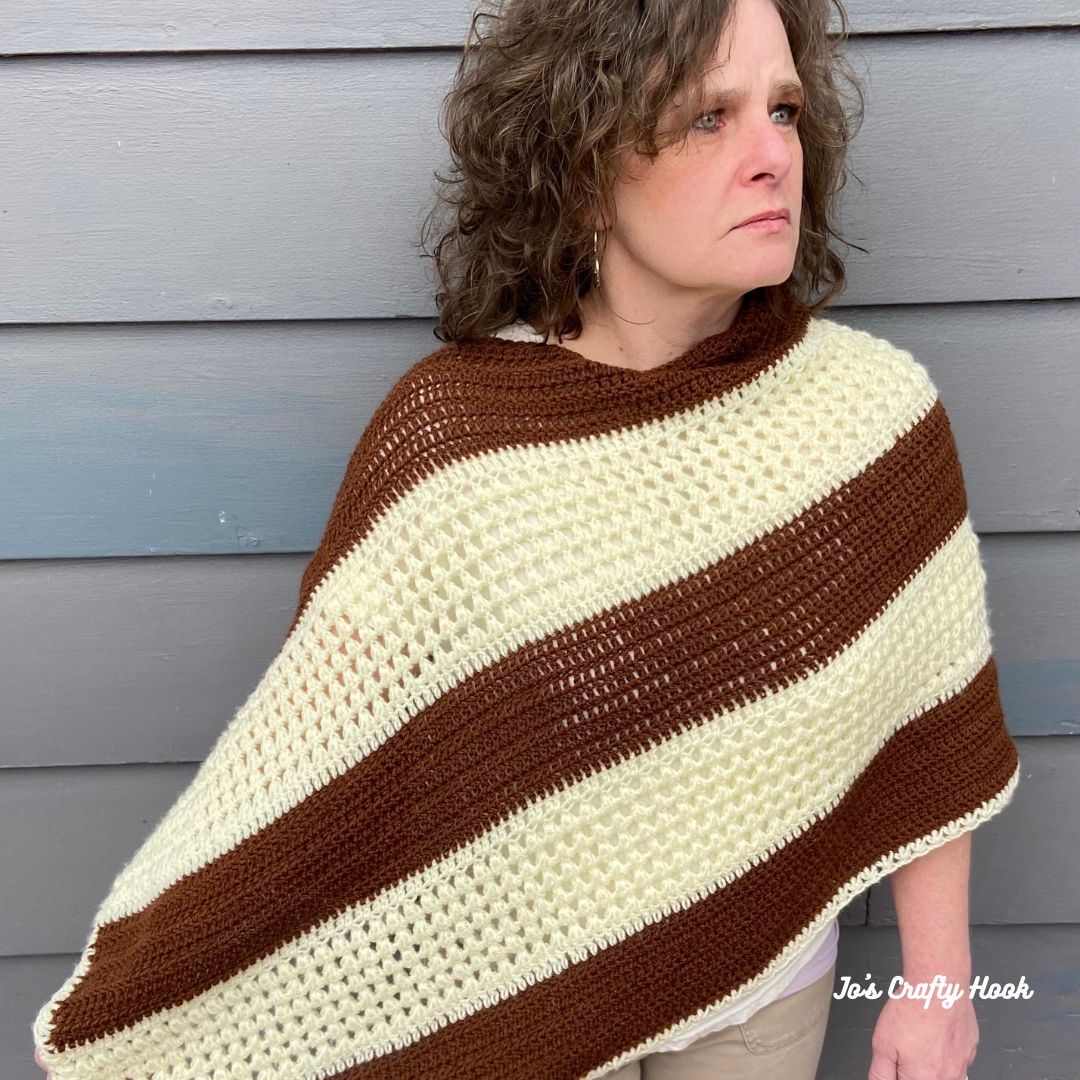
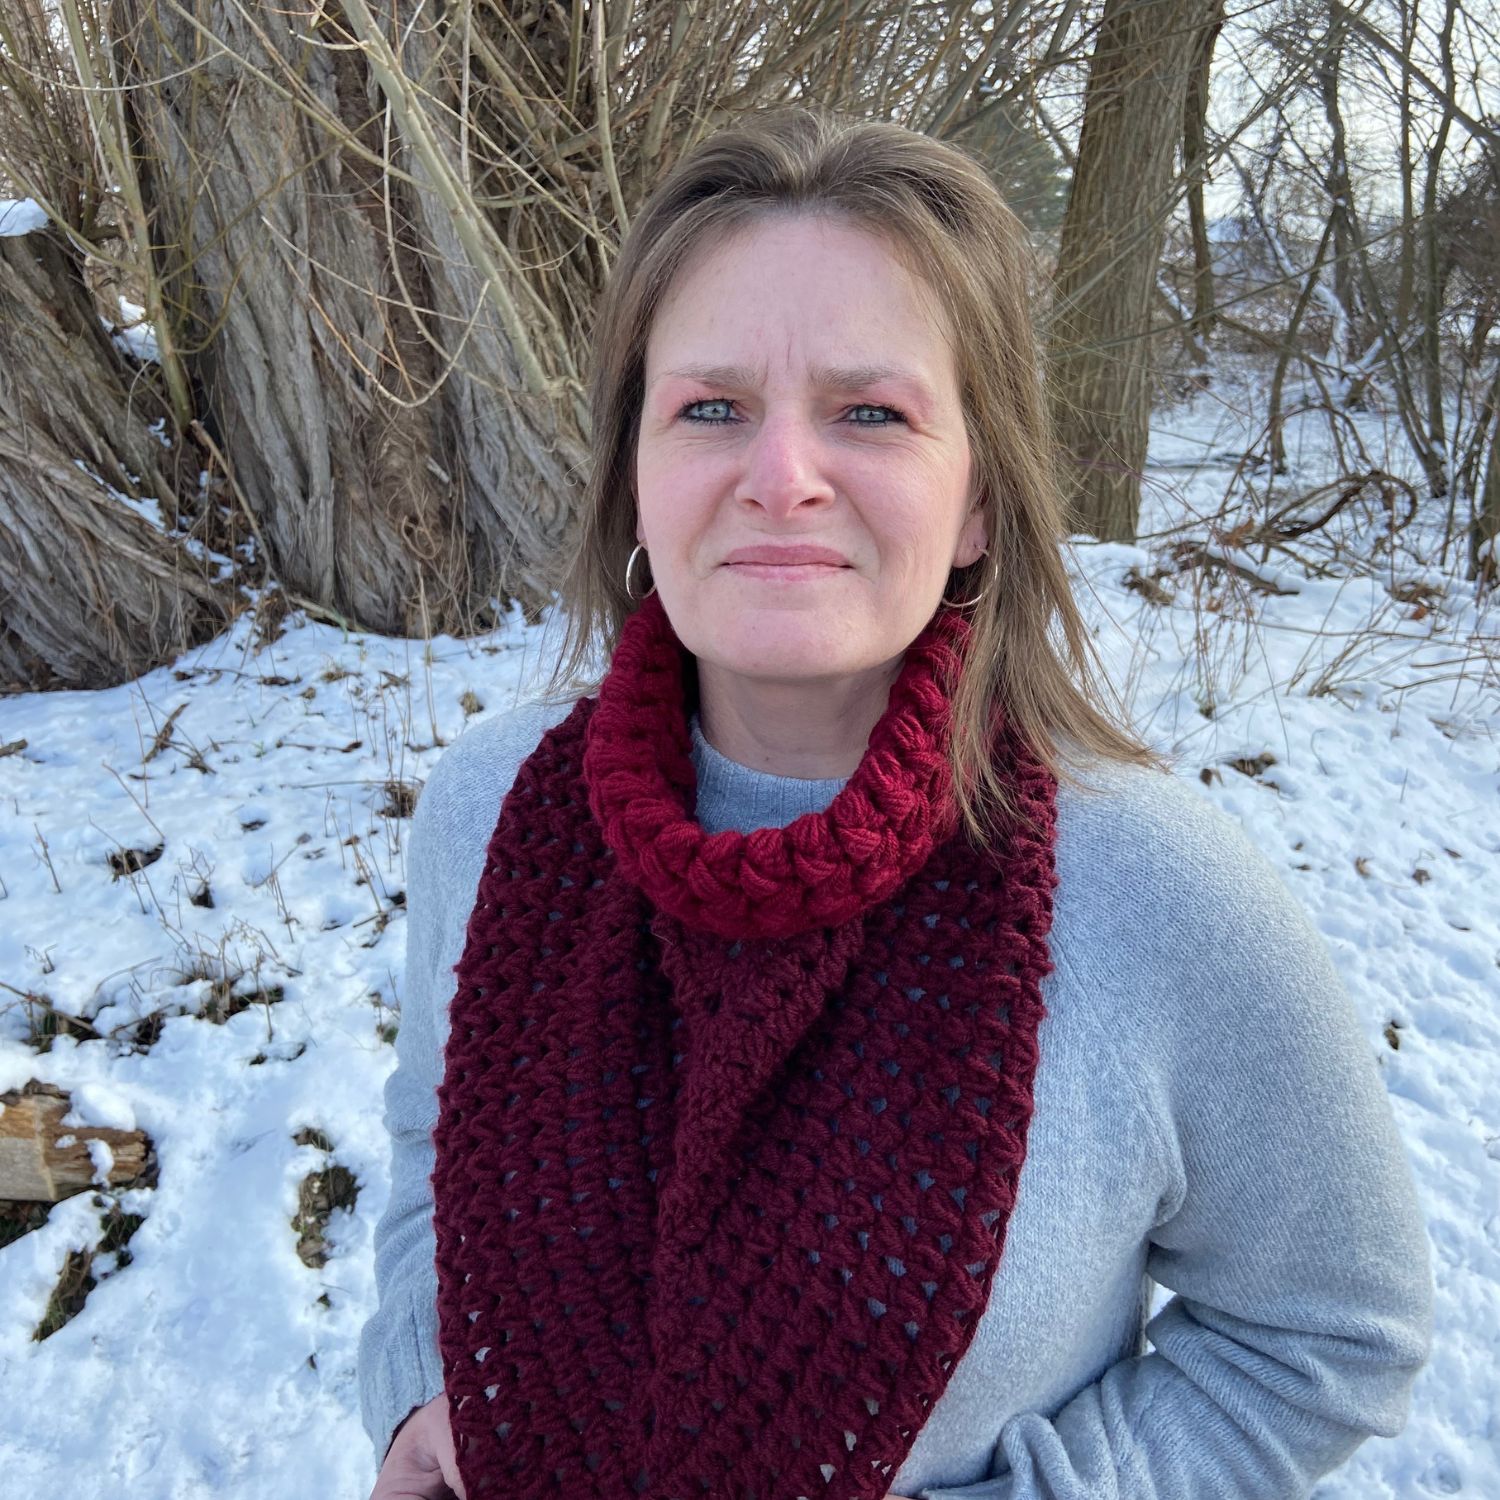
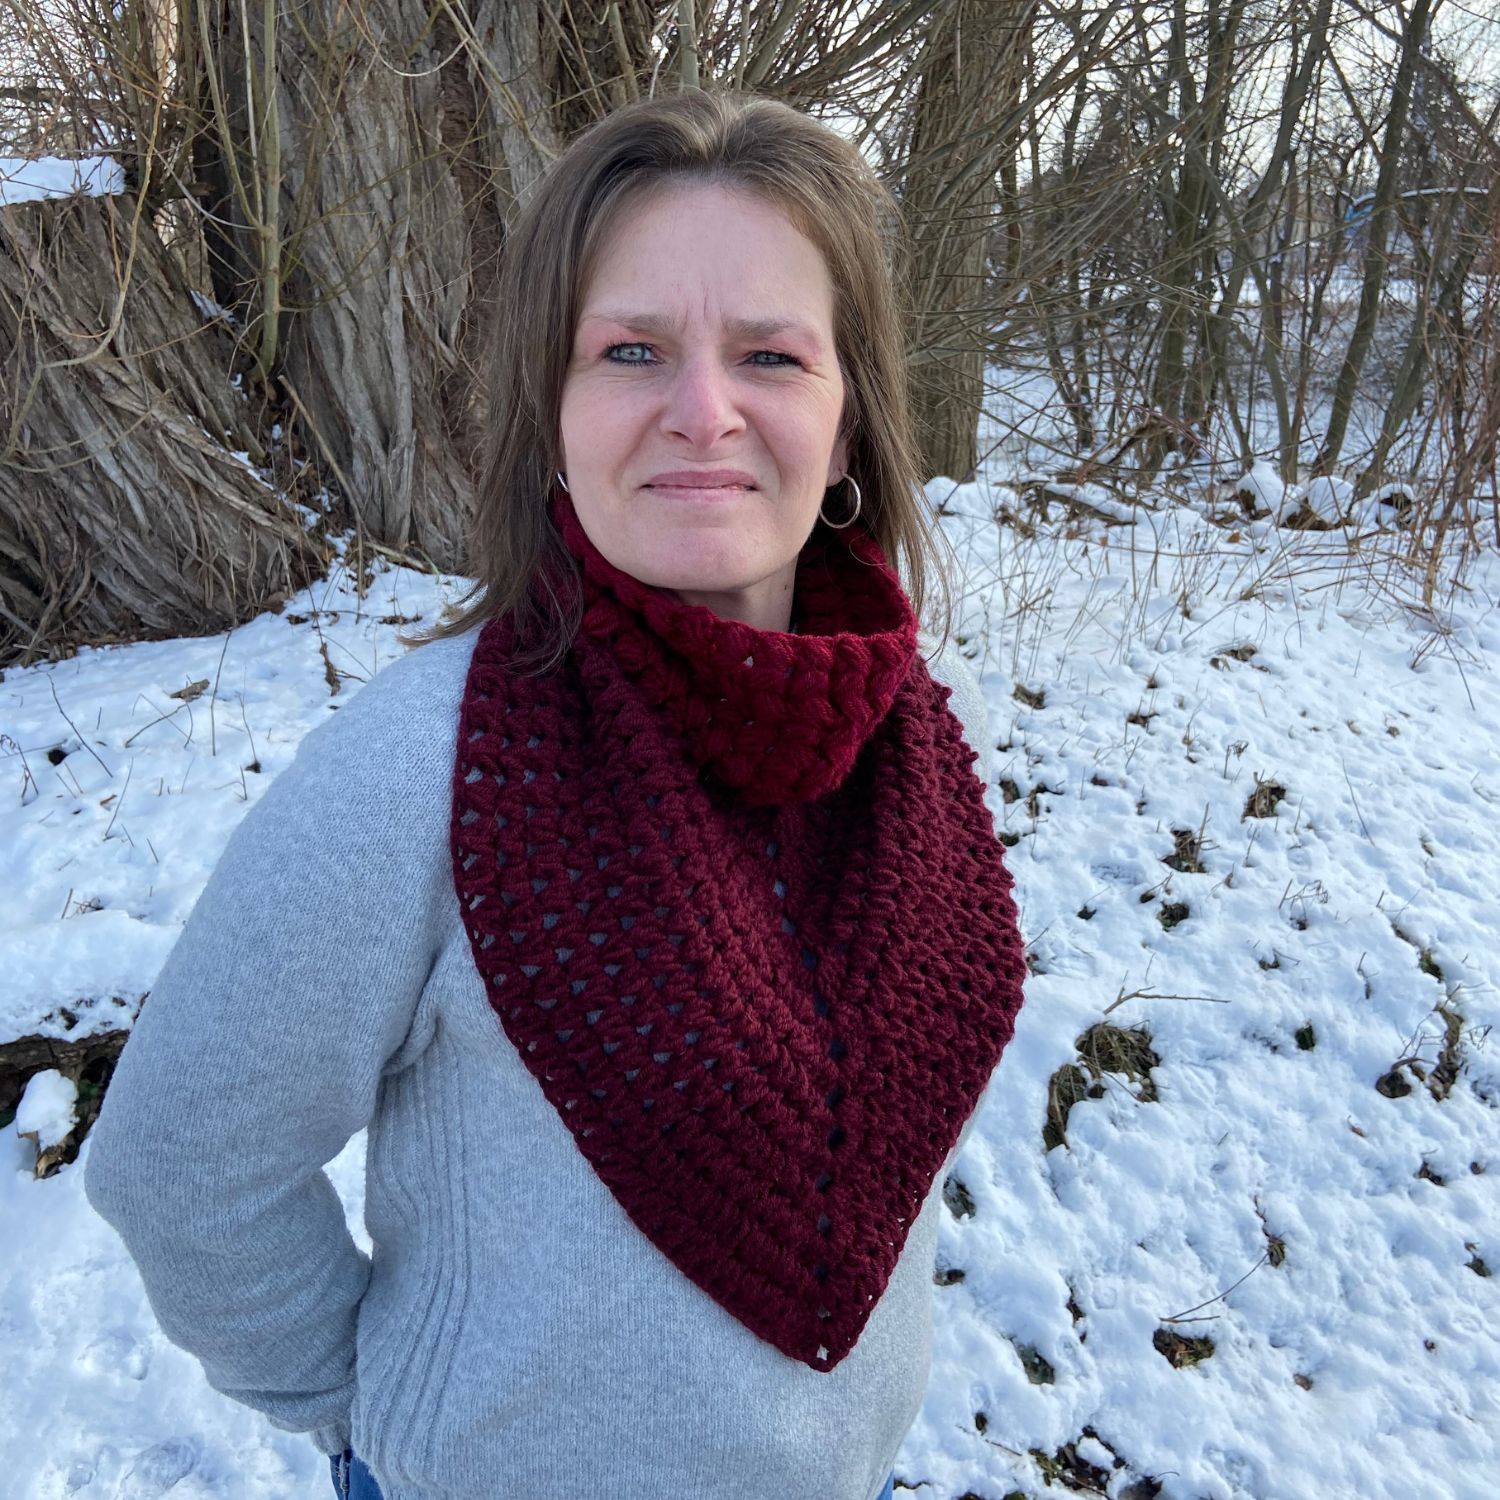
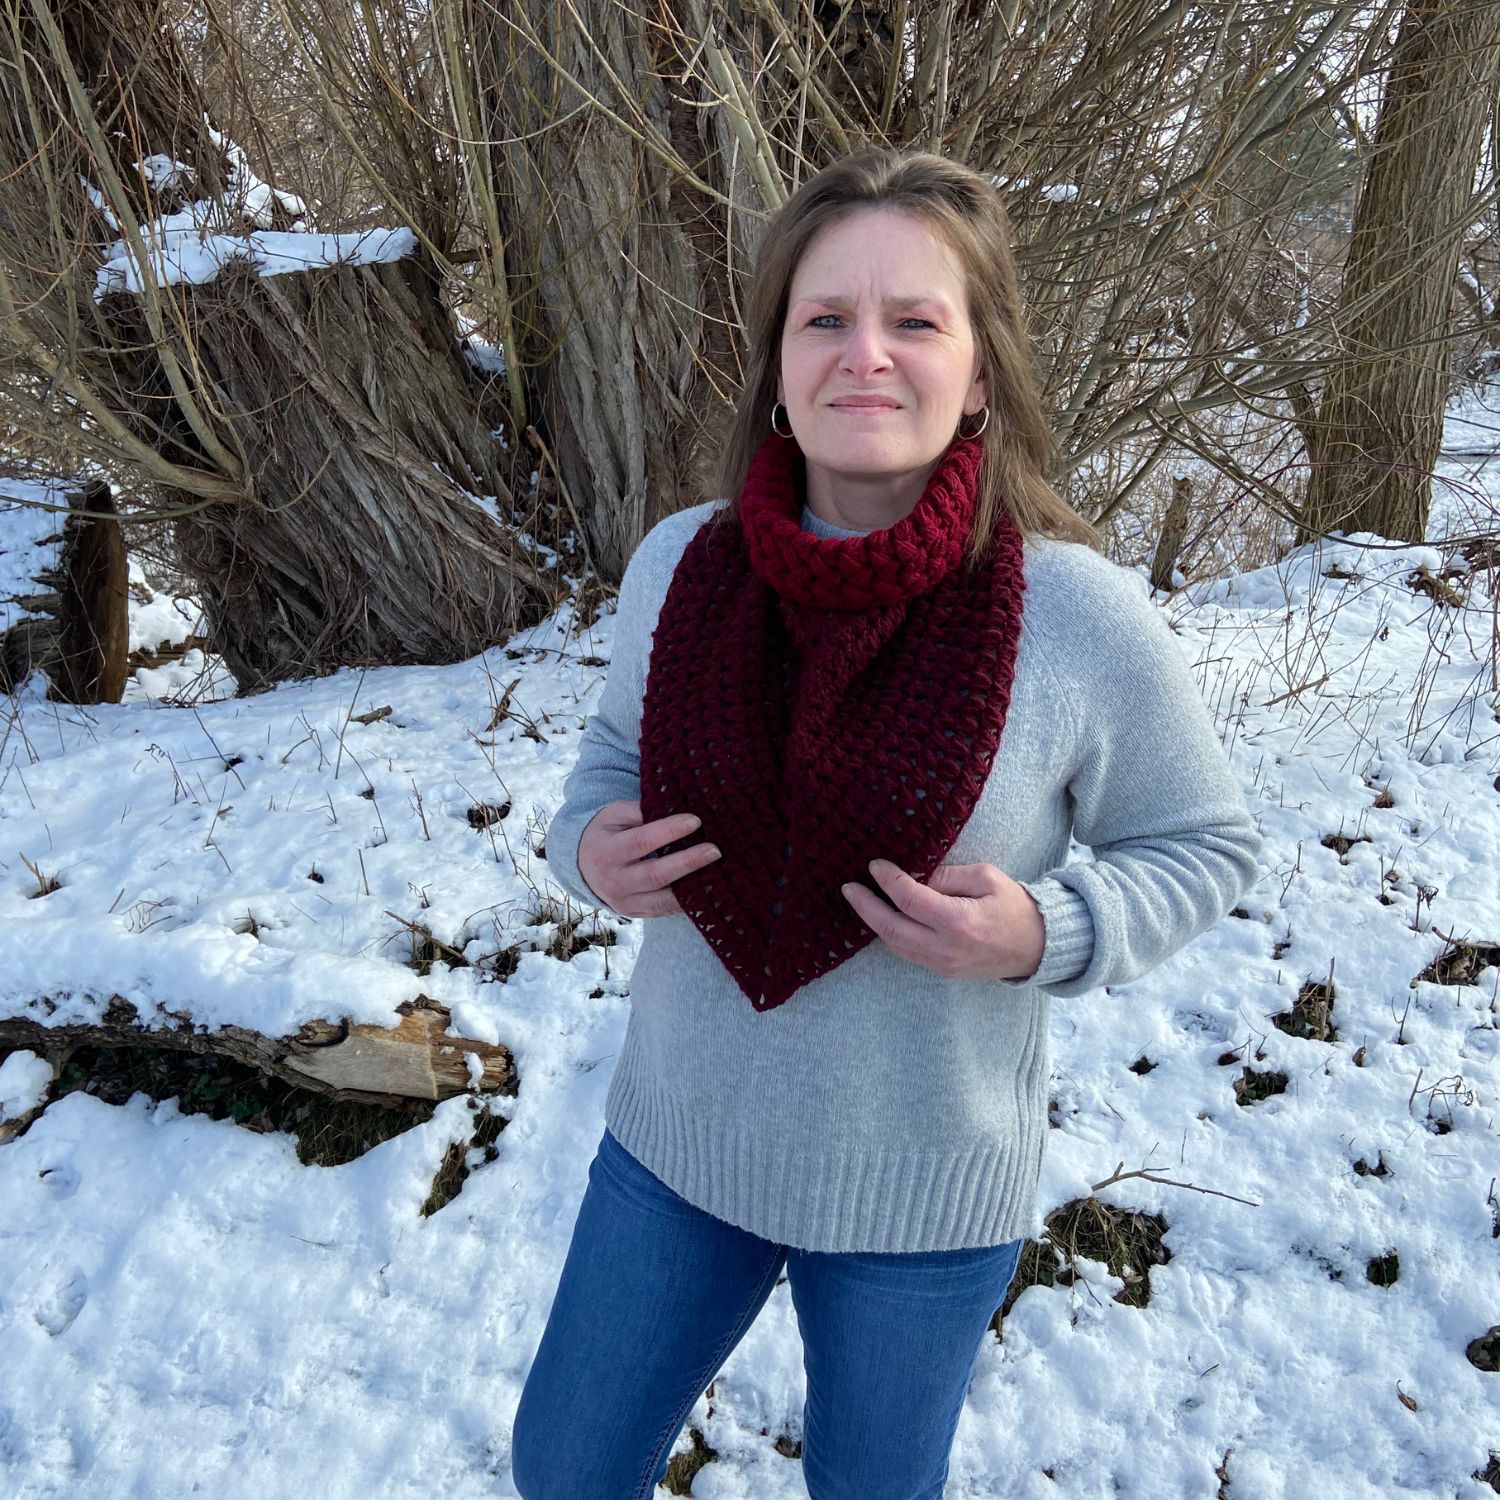
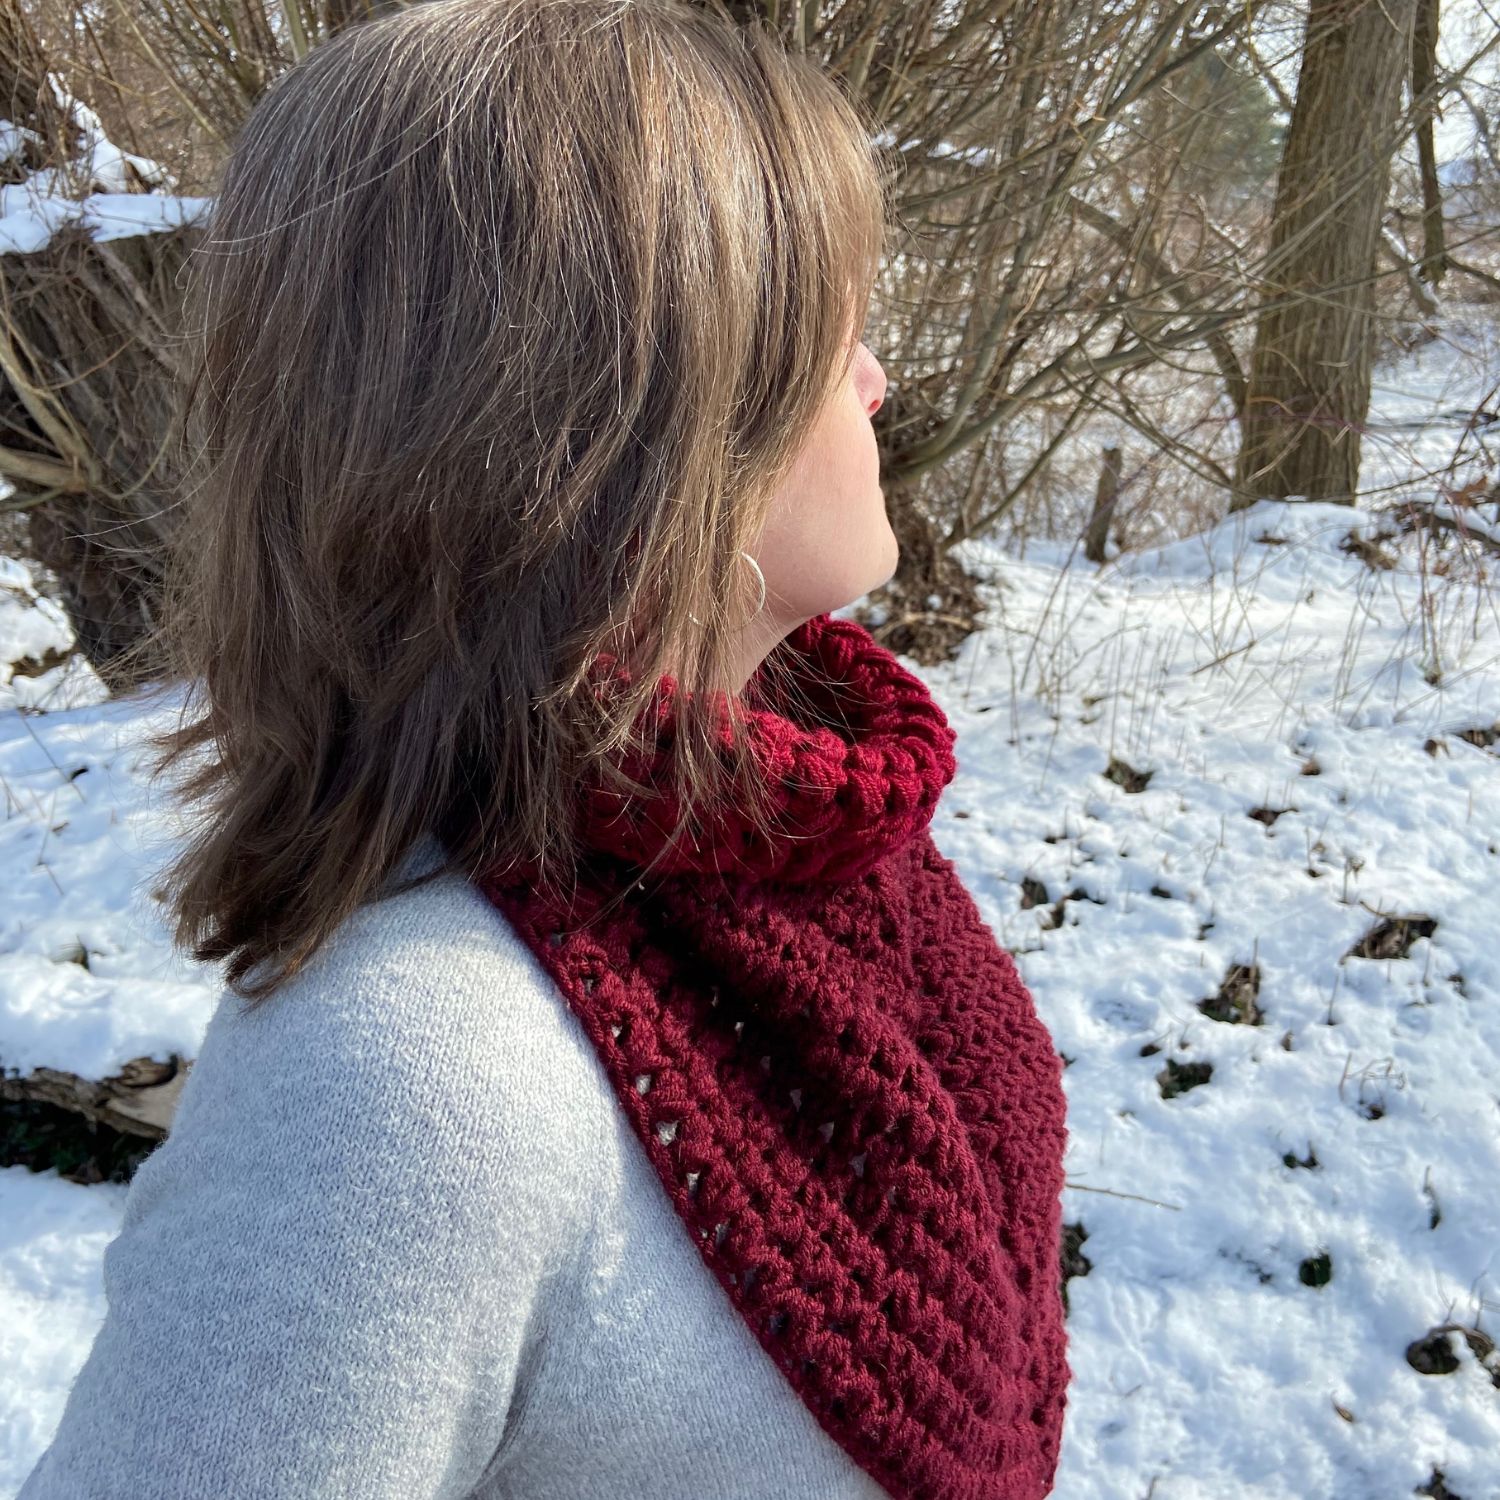
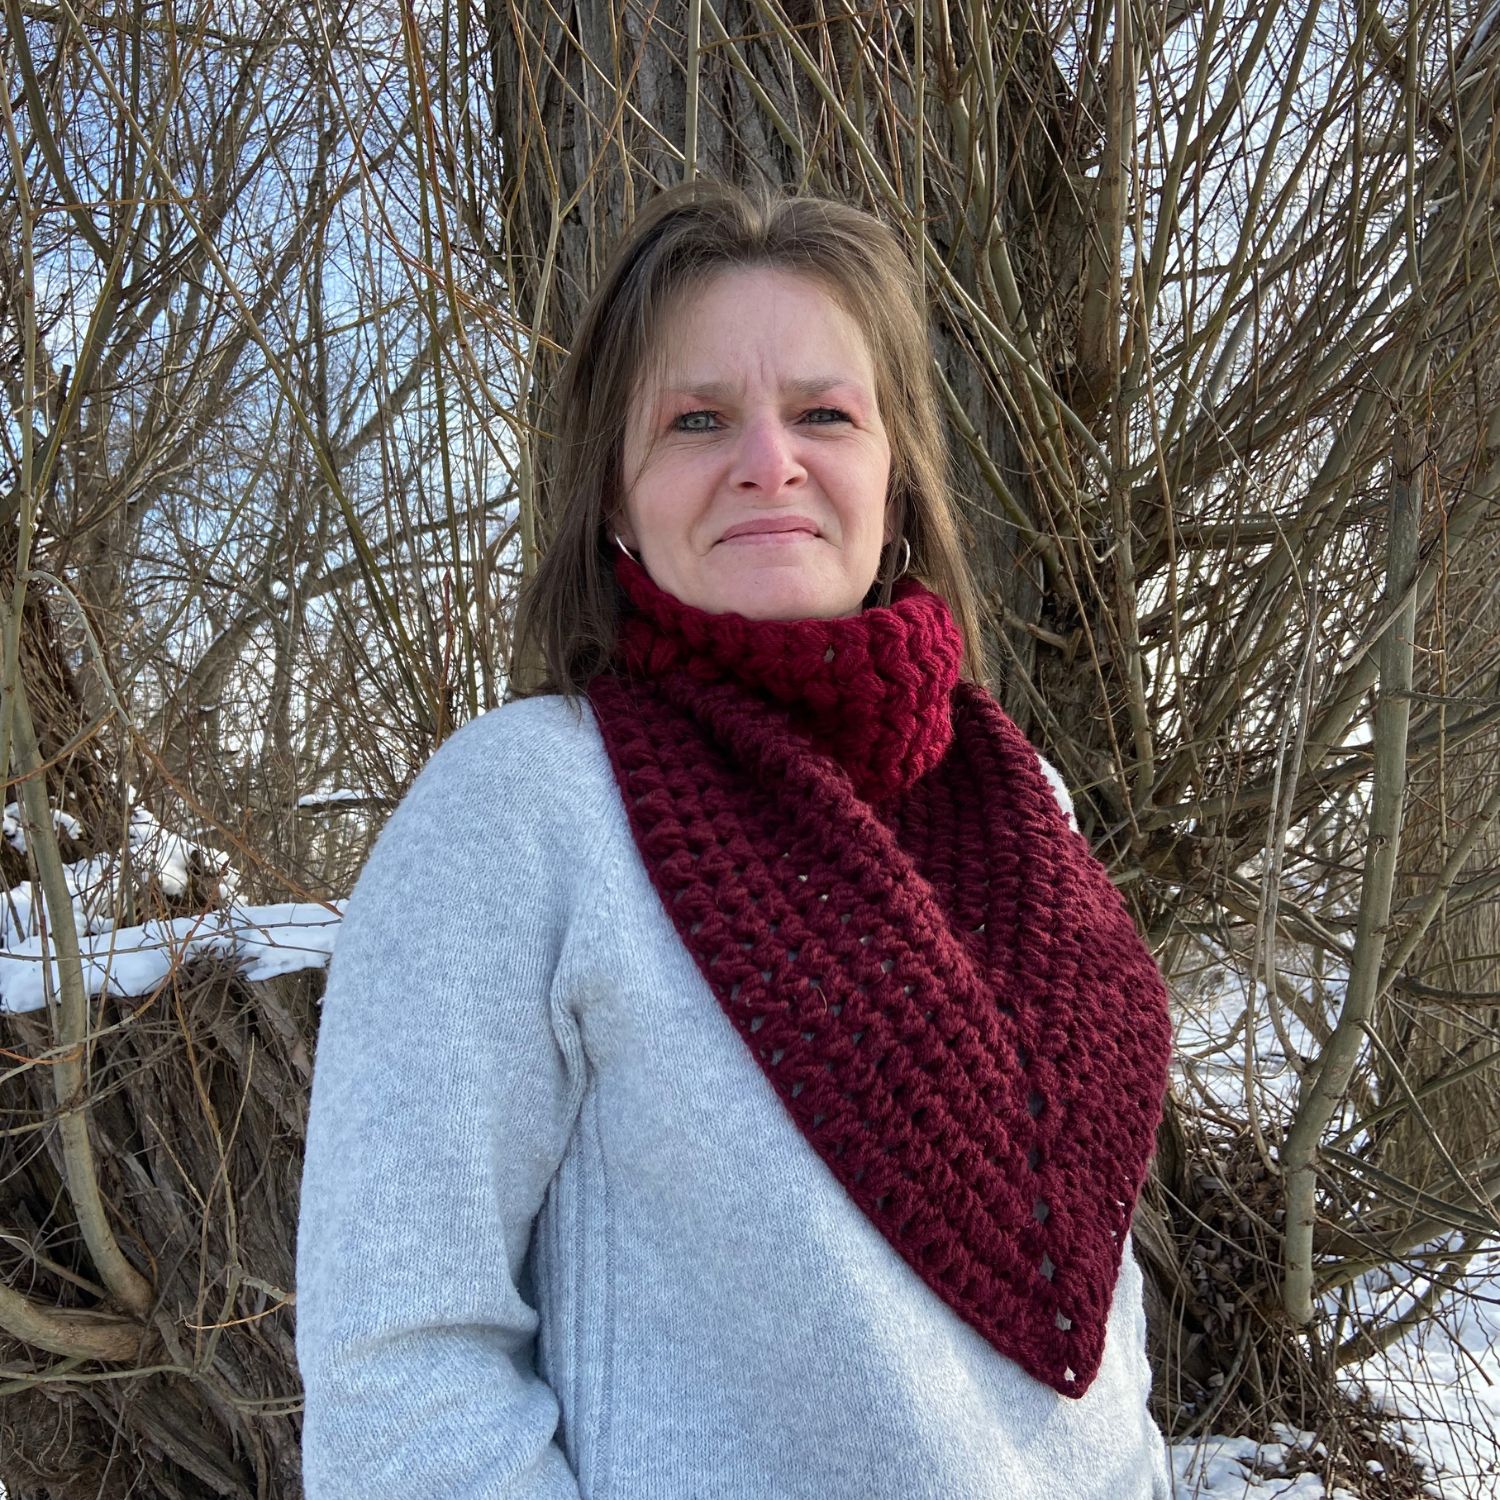
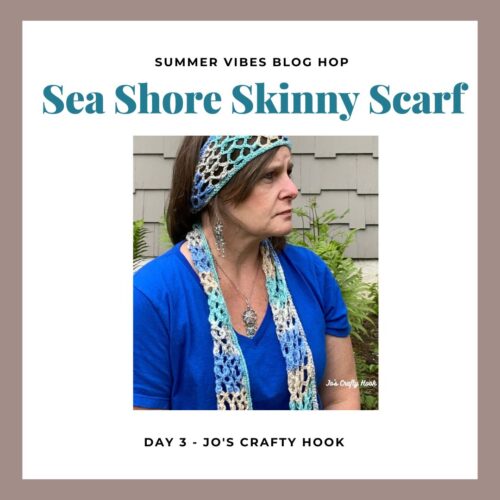
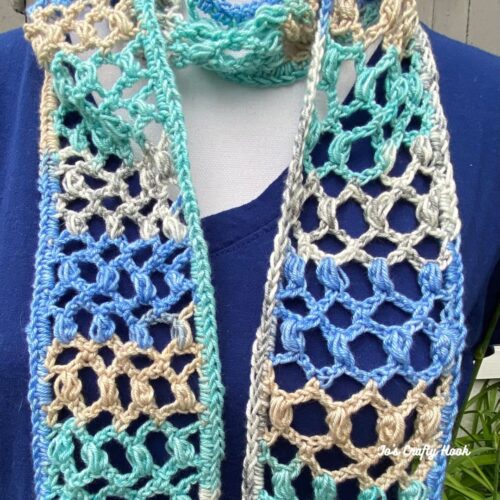
The Sea Shore Skinny Scarf can be worn as you sit at the sea shore and catch those chilly breezes. You can wear it as a head scarf or as a perfect accessory to any outfit. Below you will find the crochet pattern for the Sea Shore Skinny Scarf.
This post contains affiliate links. If you make a purchase using these links I may receive compensation (at no added cost to you.)
While you are there be sure to sign up for my Newsletter by clicking on the Subscribe Button in the top right hand corner. You will receive news about my New Crochet Pattern Releases, Collaborations, and MORE! For signing up you will also get a FREE crochet pattern!
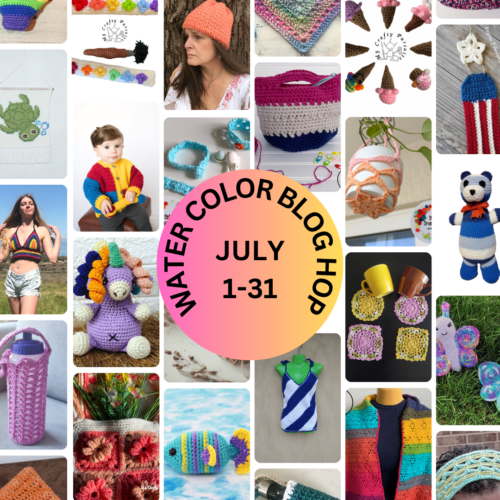
On July 3, 2023 from 6a EST until July 4, 2023 6a EST you can get a free premium copy of the Sea Shore Skinny Scarf as part of the Summer Vibes Blog Hop hosted by Fosbas Designs.
Visit the Summer Vibes Blog Hop’s main page and get the Coupon Code needed to get a free copy by using the Button below.

Once you have the Coupon Code, click on the button below and use the code at from my Ravelry Store.

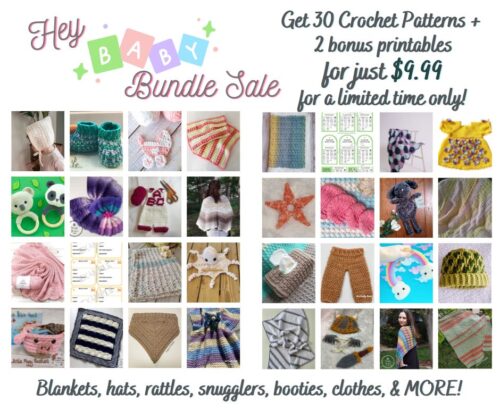
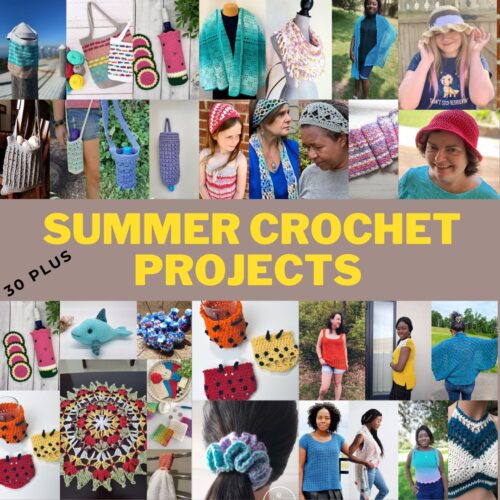
There is also a super deal if you get the Summer Vibes 2023 Bundle for $12.99. Inside the bundle you will get an extra 2 crochet patterns as well as the 31 crochet patterns that are available daily during the hop. Skip the hopping and get you a copy of the bundle for $12.99!

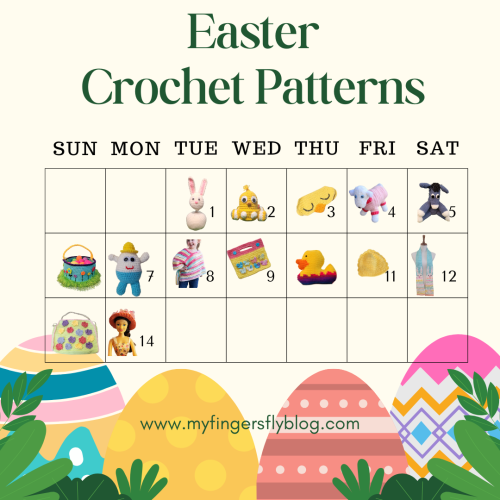
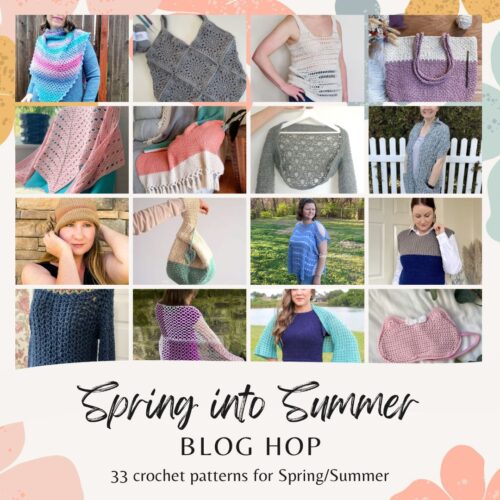
You can get a free premium crochet pattern daily by visiting the Summer Vibes Blog hop where you will find 30+ Best Crochet Summer Projects for 2023. Click on the Button below for more information.
US Terminology
Beginner Friendly
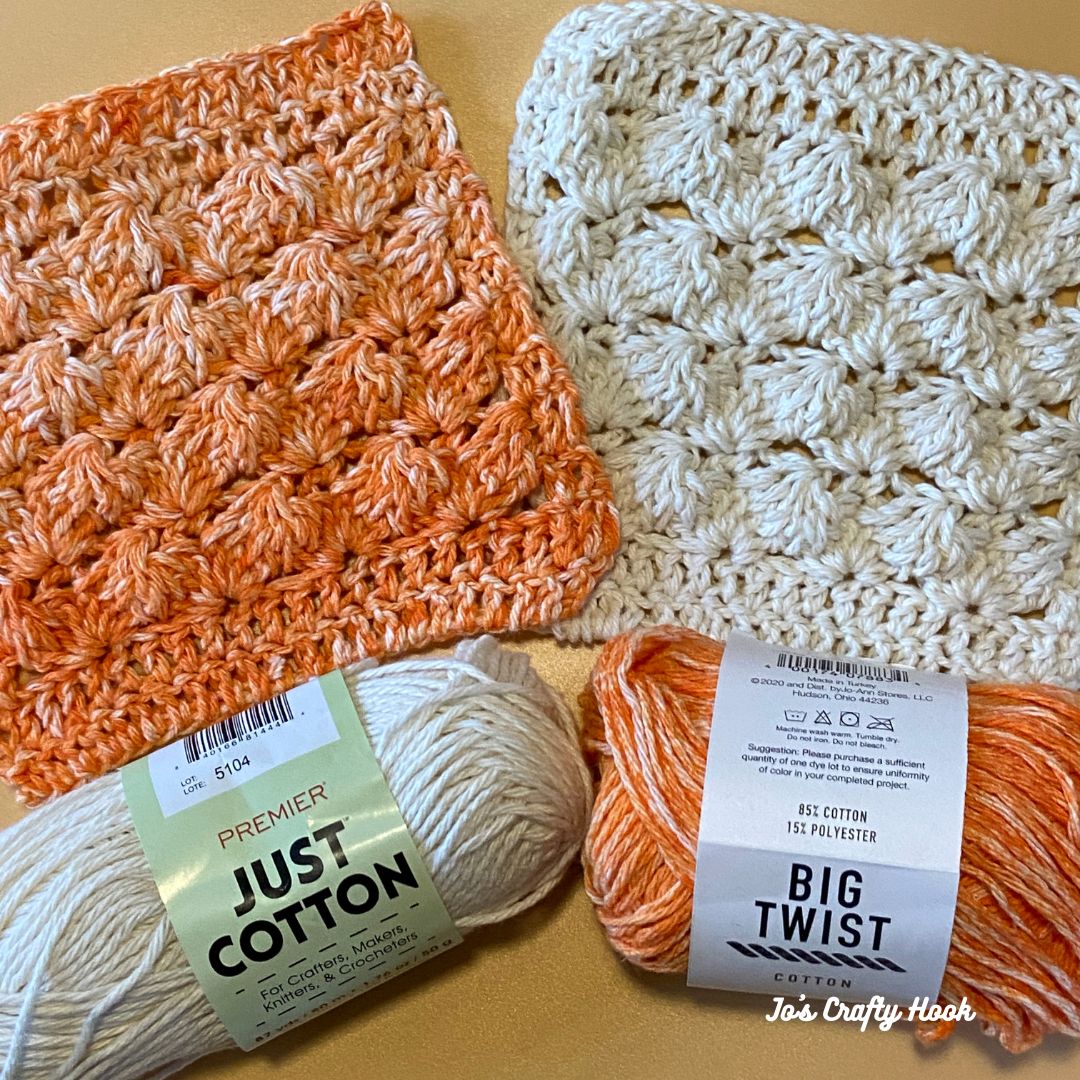
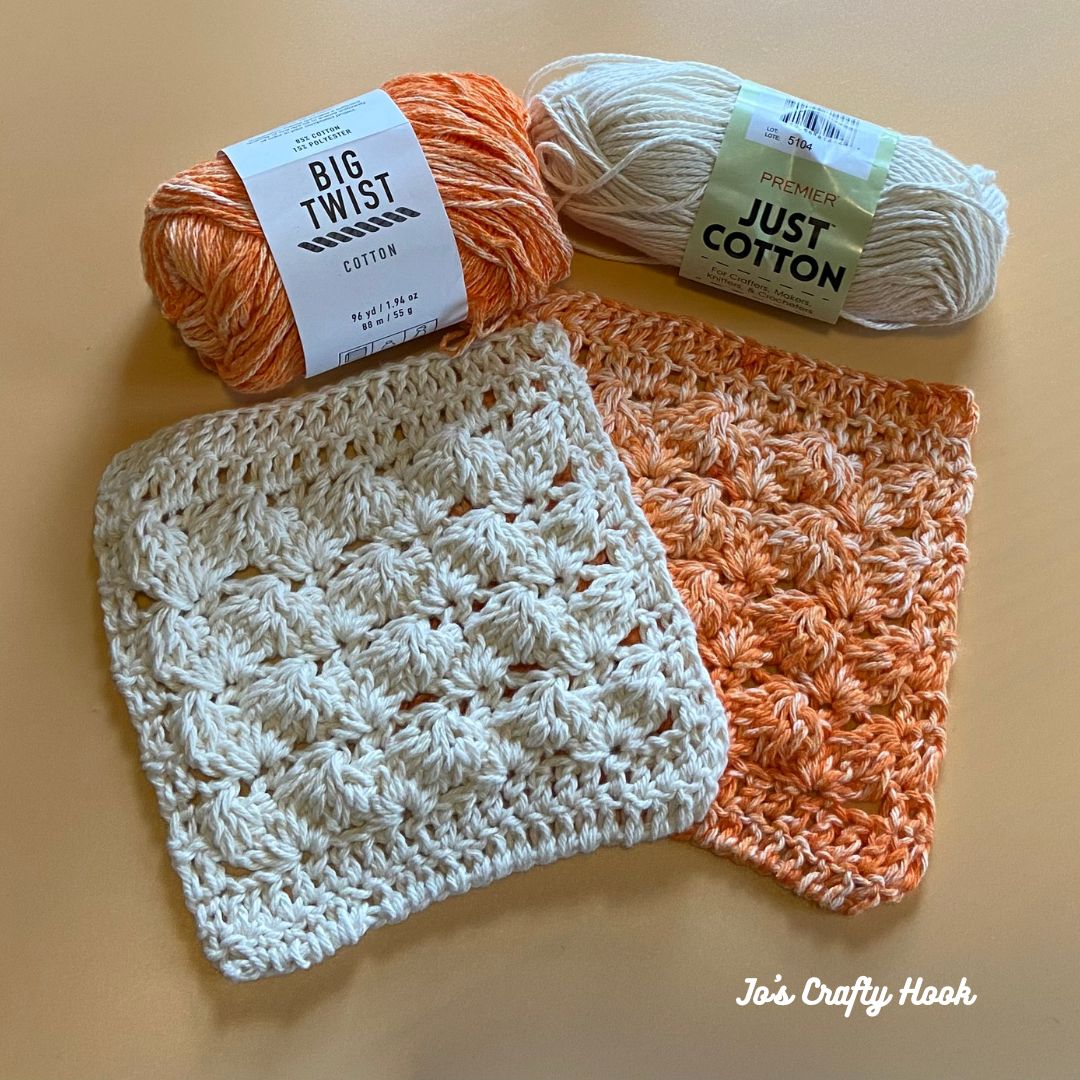
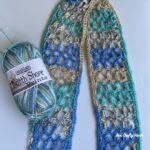
I used Cascade Yarns North Shore Prints #3 Ply or DK Weight Yarn 100% Acrylic (220 yds/3.5 oz) (200 m/100 g)
Materials:
US G or 4.25 mm Crochet Hook
200-260 yds DK Weight Cotton/LInen Yarn
Scissors
Tapestry Needle
Abbreviations/Stitches Used (US Terms):
ch = chain
st(s) = stitch(es)
sl st = slip stitch
sc = single crochet
dc = double crochet
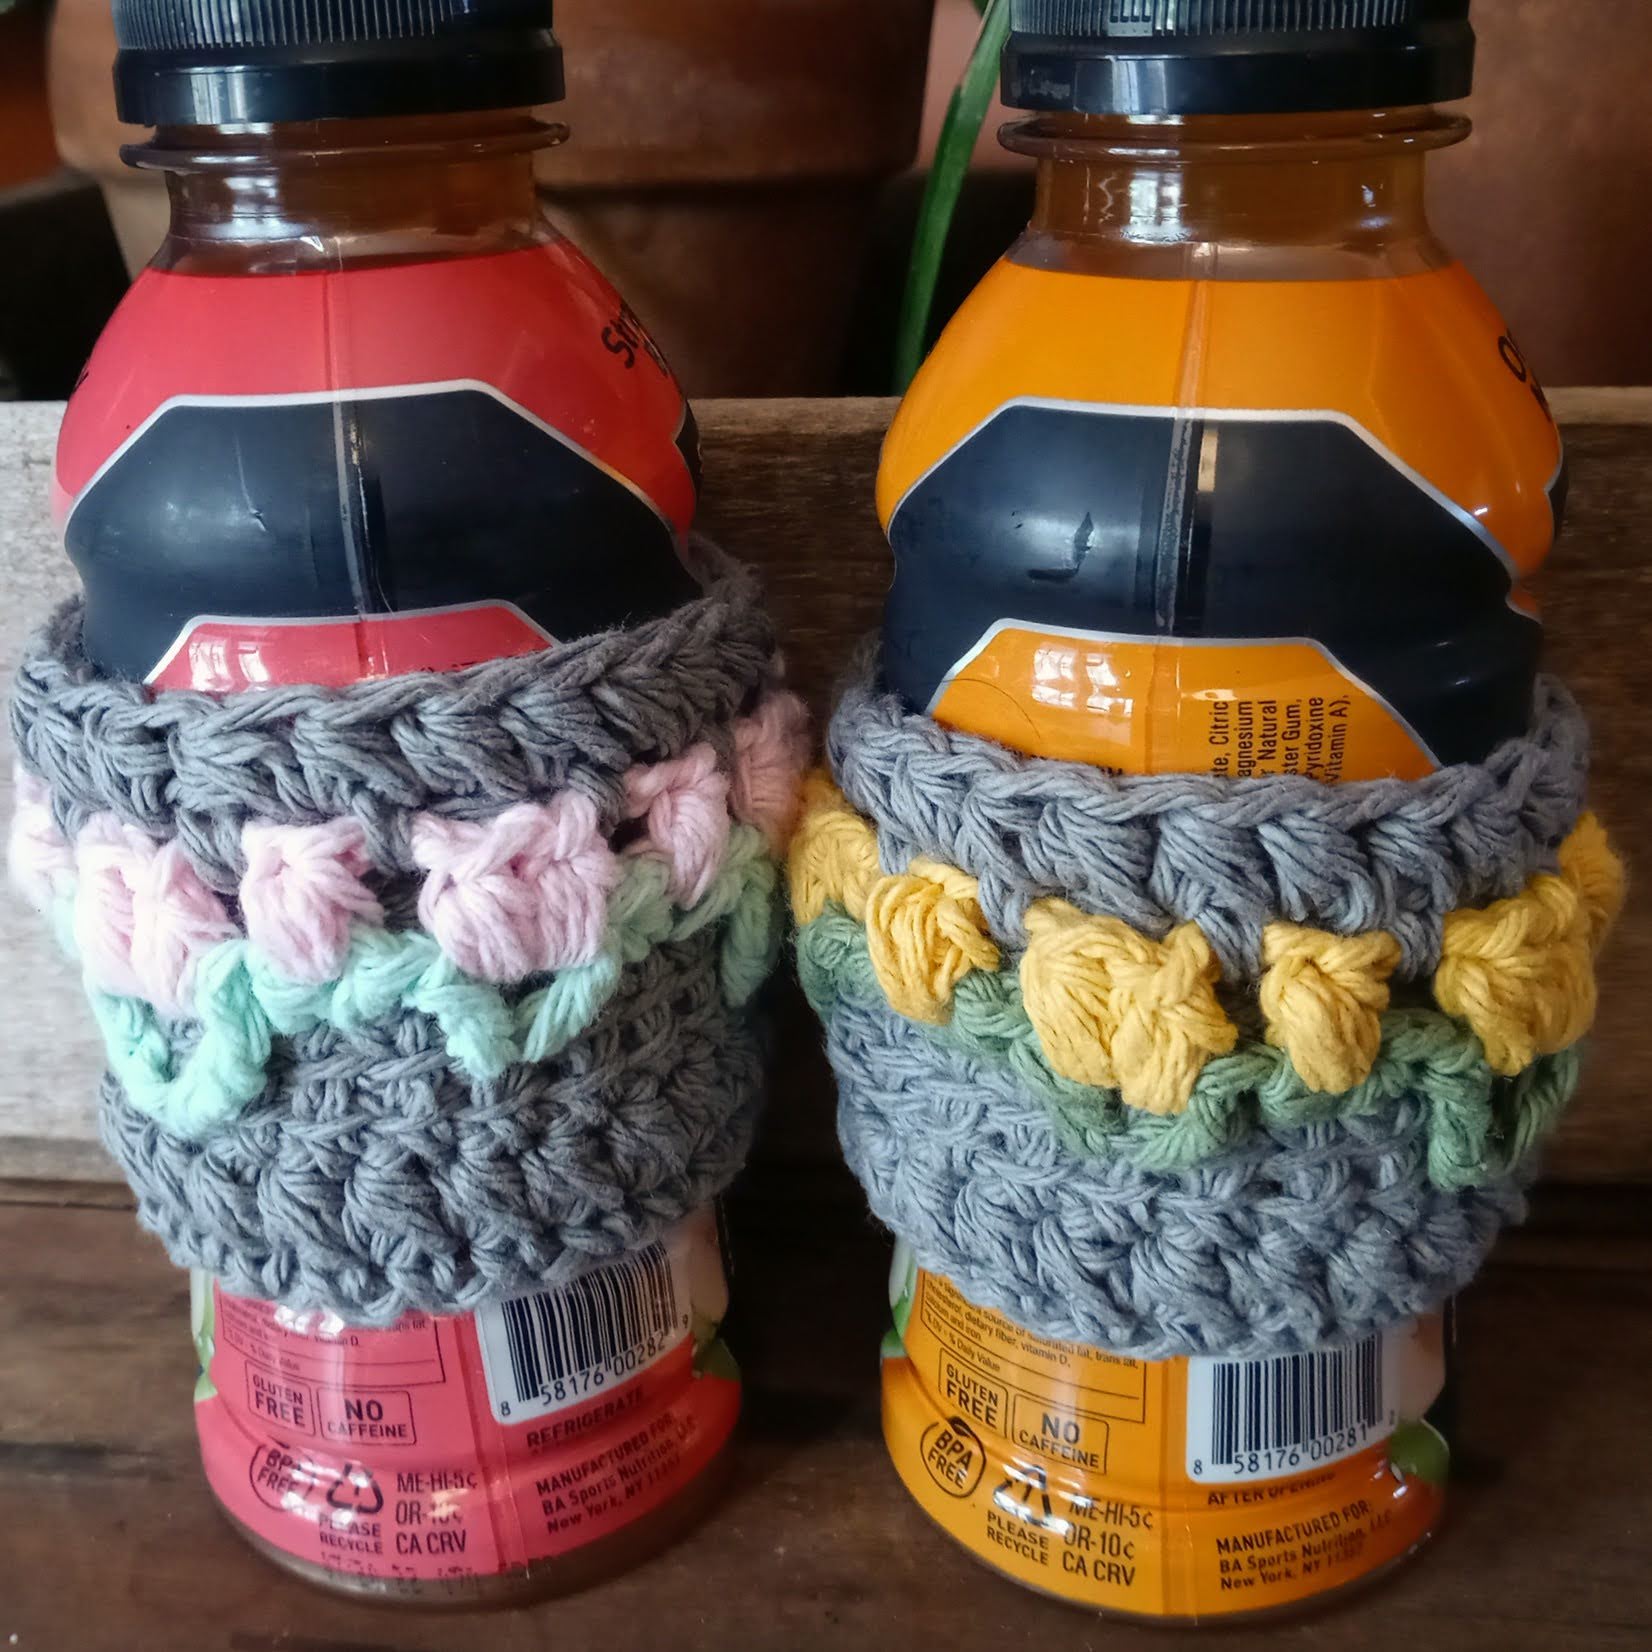
ps = puff stitch
sk = skip
rep = repeat
Notes:
stitch count is a multiple of 10+1
scarf is worked in turning rows
Special Stitch:
Puff Stitch
- YO, insert hook into specified st, YO, draw up a high loop, 3 loops on hook.
- YO, insert hook into same st, draw up a high loop, 5 loops on hook.
- YO insert hook into same st, draw up a high loop, 7 loops on hook.
- YO, draw through all 7 loops on hook.
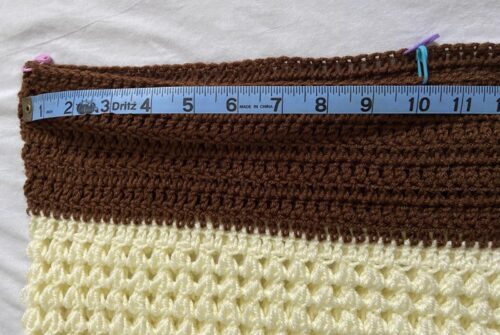
Gauge:
US G or 4.5 mm Crochet Hook
20 st x 8 row repeats = 4”
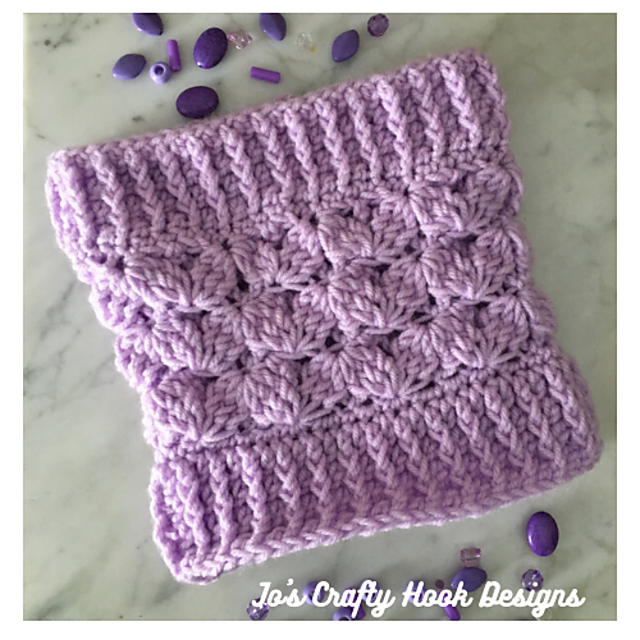
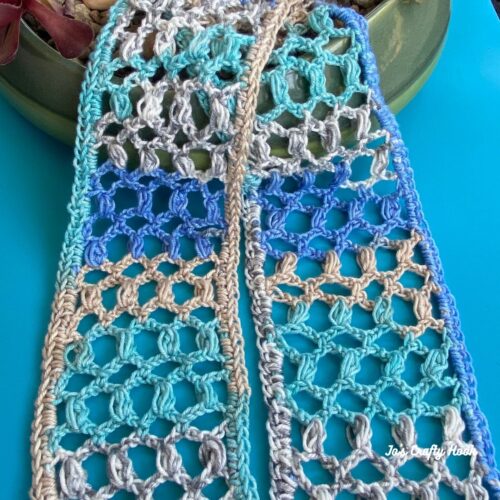
Gauge Swatch:
If you do not meet Gauge, try going up or down a hook size.
Note: the SeaShore Scarf is the same width and uses the same stitch repeats, so if you prefer, you can start at the actual pattern.
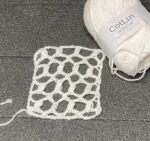
Gauge Swatch
R1: ch 22, sc in 2nd ch from hook *ch 5, sk 4 ch, sc in next ch. rep from * across. turn (4 ch-5 sp) (4 sc)
R2: ch 5, sk sc, ps in 3rd ch of ch-5 sp. *ch 5, sk next sc, ps in 3rd ch of next ch-5 sp. rep from* across until last ch-5 sp. ps in 3rd ch of last ch-5 sp, ch 2, dc in last st. turn (4 ps) (4 ch-5 sp) (ch 2) (1 dc)
R3: ch 1, sc in same st. *ch 5, sk the next ps, sc in 3rd ch of next ch-5 sp. rep from * until the last ps. ch 5, sk the last ps, sc in 3rd ch of last ch-5 sp. turn (4 ch-5 sp) (4 sc)
R4-R8: Rep R2-R3
Size Chart
| Size | Width | Length | Yardage Used |
| Child | 4” | 48” | 200 |
| Small | 4” | 60” | 220 |
| Medium | 4” | 72” | 240 |
| Large | 4” | 84” | 260 |
Sea Shore Skinny Scarf Crochet Pattern
If you prefer your scarf to be wider, add multiples of 10.
R1: ch 22, sc in 2nd ch from hook *ch 5, sk 4 ch, sc in next ch. rep from * across. turn (4 ch-5 sp) (4 sc)
R2: ch 5, sk sc, ps in 3rd ch of ch-5 sp. *ch 5, sk next sc, ps in 3rd ch of next ch-5 sp. rep from* across until last ch-5 sp. ps in 3rd ch of last ch-5 sp, ch 2, dc in last st. turn (4 ps) (4 ch-5 sp) (ch 2) (1 dc)
R3: ch 1, sc in same st. *ch 5, sk the next ps, sc in 3rd ch of next ch-5 sp. rep from * until the last ps. ch 5, sk the last ps, sc in 3rd ch of last ch-5 sp. turn (4 ch-5 sp) (4 sc)
Rep R2-R3 until your Scarf measures 48” 60” 72” 84” or until you reach your desired length.
Once you reach your desired length, do not turn after R3
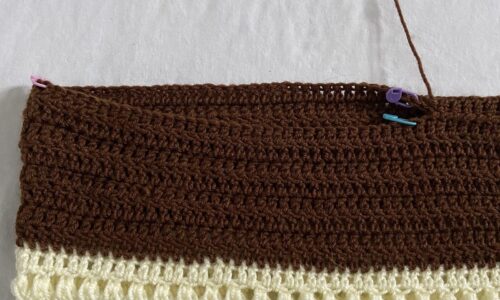
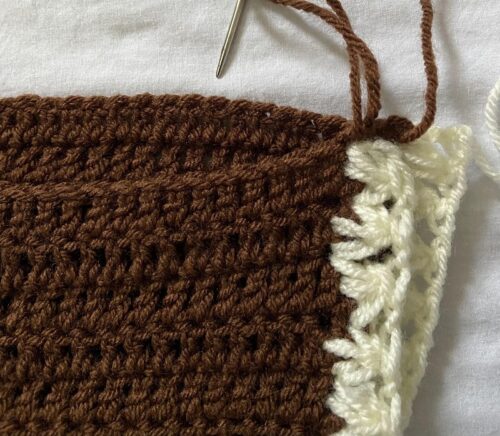
Border
Down the side
ch 1, sc in side of sc just made, sc in next st, 3 sc in ch sp, *sc in next 2, 3 sc in ch sp. rep from * until last st. (sc, ch 1, sc) all in last st.
Across the bottom
4 sc in ch sp, *sc in next st, 4 sc in ch sp. rep from * until last st. (sc, ch 1, sc) all in last st.
Up the side
sc in next st, 3 sc in ch sp, *sc in next 2 st, 3 sc in next ch sp. rep from * until last st. (sc, ch 1, sc) all in last st.
Across the top
4 sc in ch sp, *sc in next st, 4 sc in ch sp. rep from * until last st. sc, ch 1. sl st in 1st st to join.
Fasten off and weave in ends.
@Jo’s Crafty Hook 2023
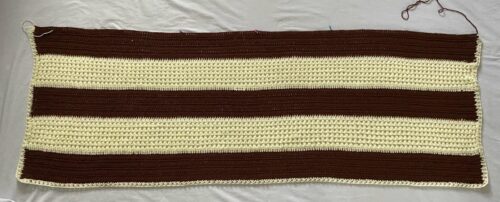
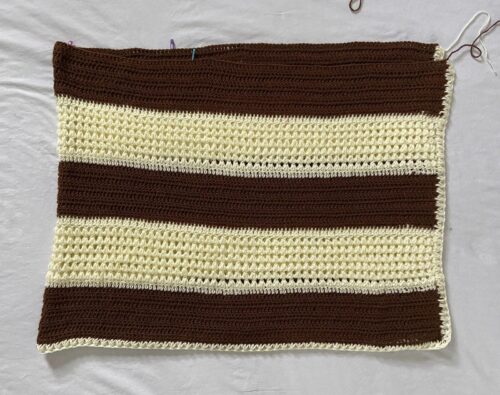
That’s it! You have made your own Sea Shore Skinny Scarf!
I would LOVE to see your finished version! Share your pics with me at any of my social media sites above using the hashtags below. You can find all of my social media sites at the beginning of the pattern.
@joscraftyhook @joscraftyhookdesigns @joeyleabaird @jo_bear38
If you would like to receive more information about the events happening at Jo’s Crafty Hook and receive a FREE crochet pattern, why not Subscribe to my Newsletter at my website.
You can find some of my free crochet patterns at my website.
You can also find more of my premium crochet patterns at my Ravelry Store and LoveCrafts.
Find me, Jo of Jo’s Crafty Hook at the places listed below.
Email: j.o@joscraftyhook.com
Facebook Group Jo’s Crafty Hookers
Facebook Group Jo’s Crafty Hook Designs
Facebook Page Jo’s Crafty Hook
Facebook Page: Crochet Designer Community