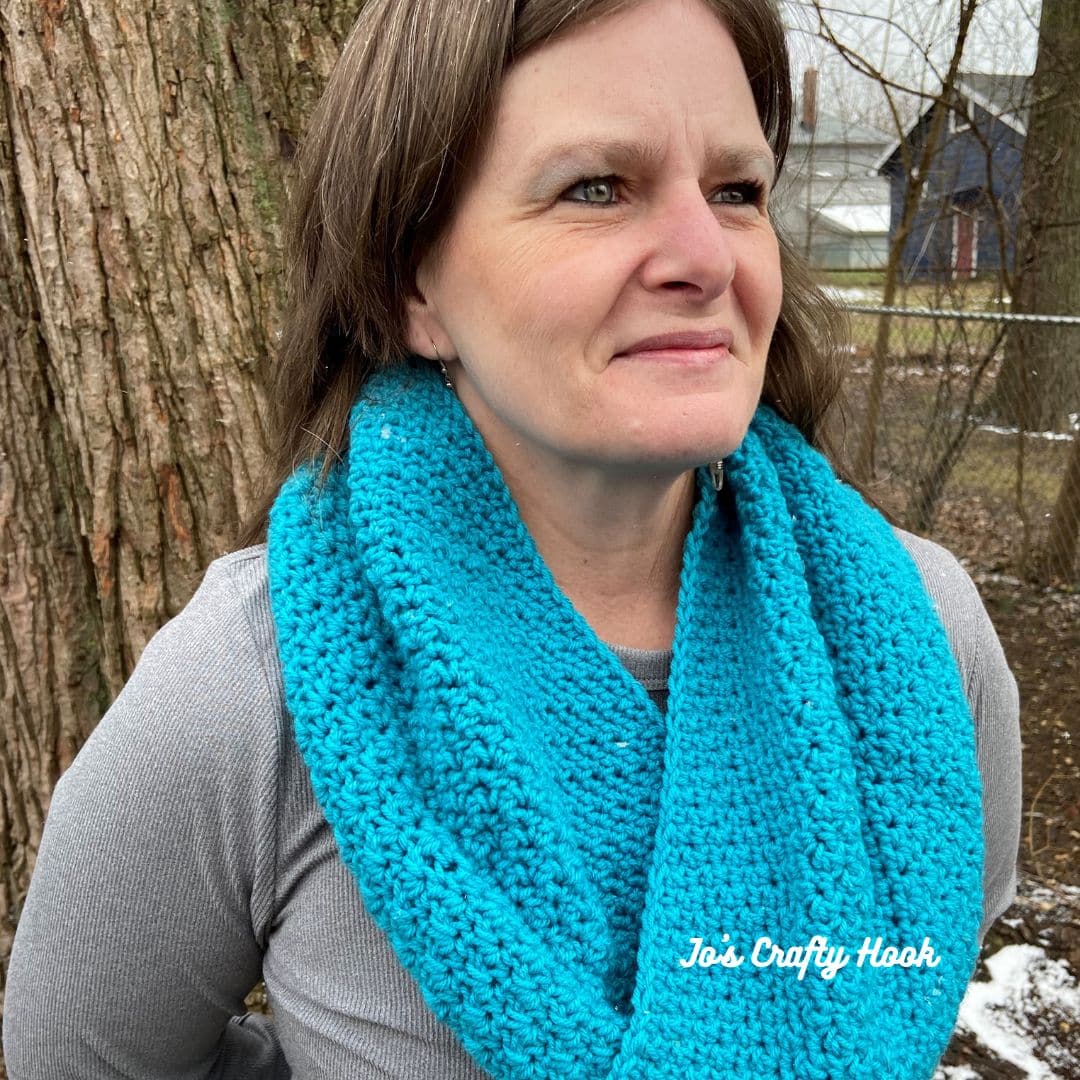
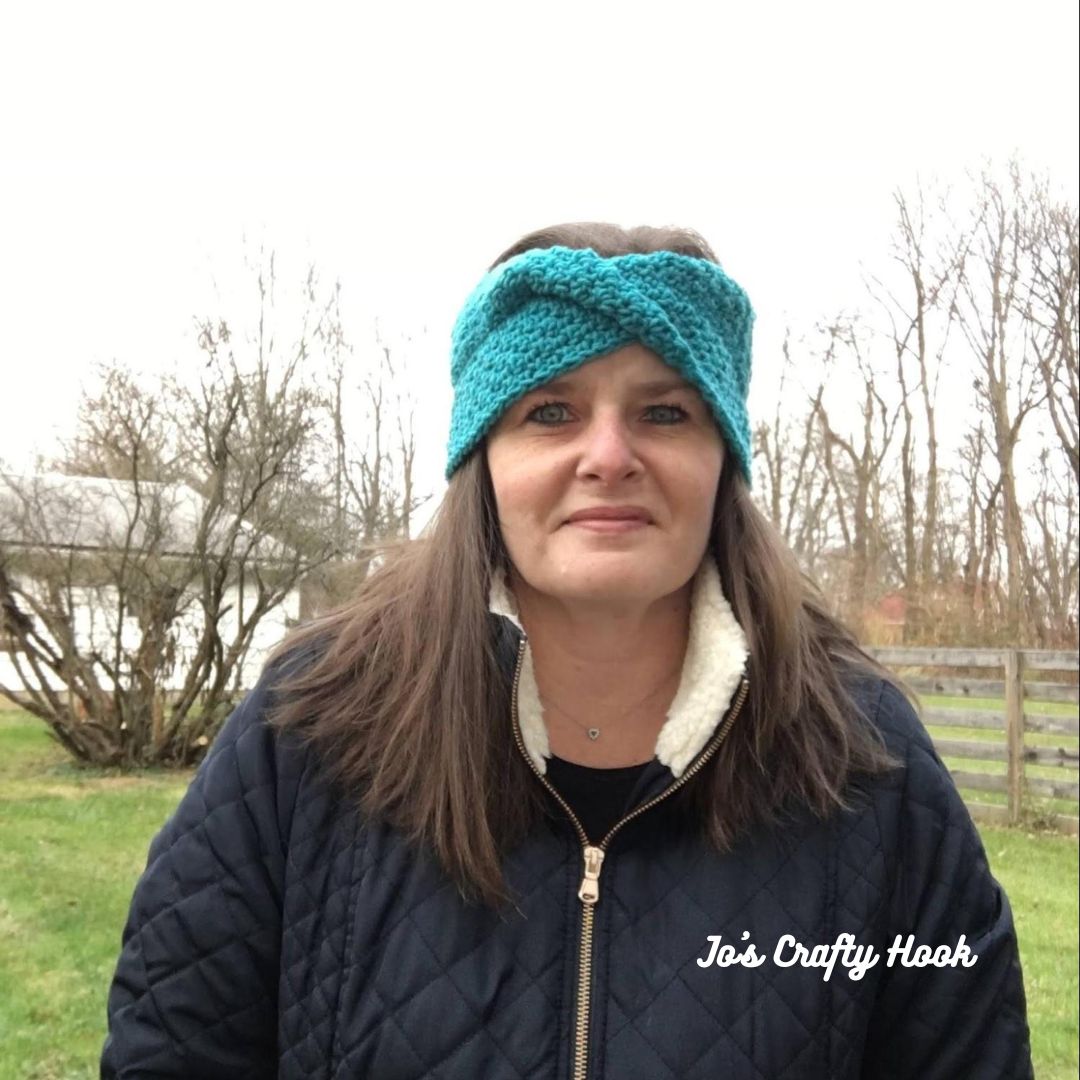
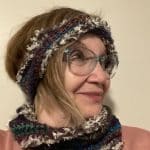
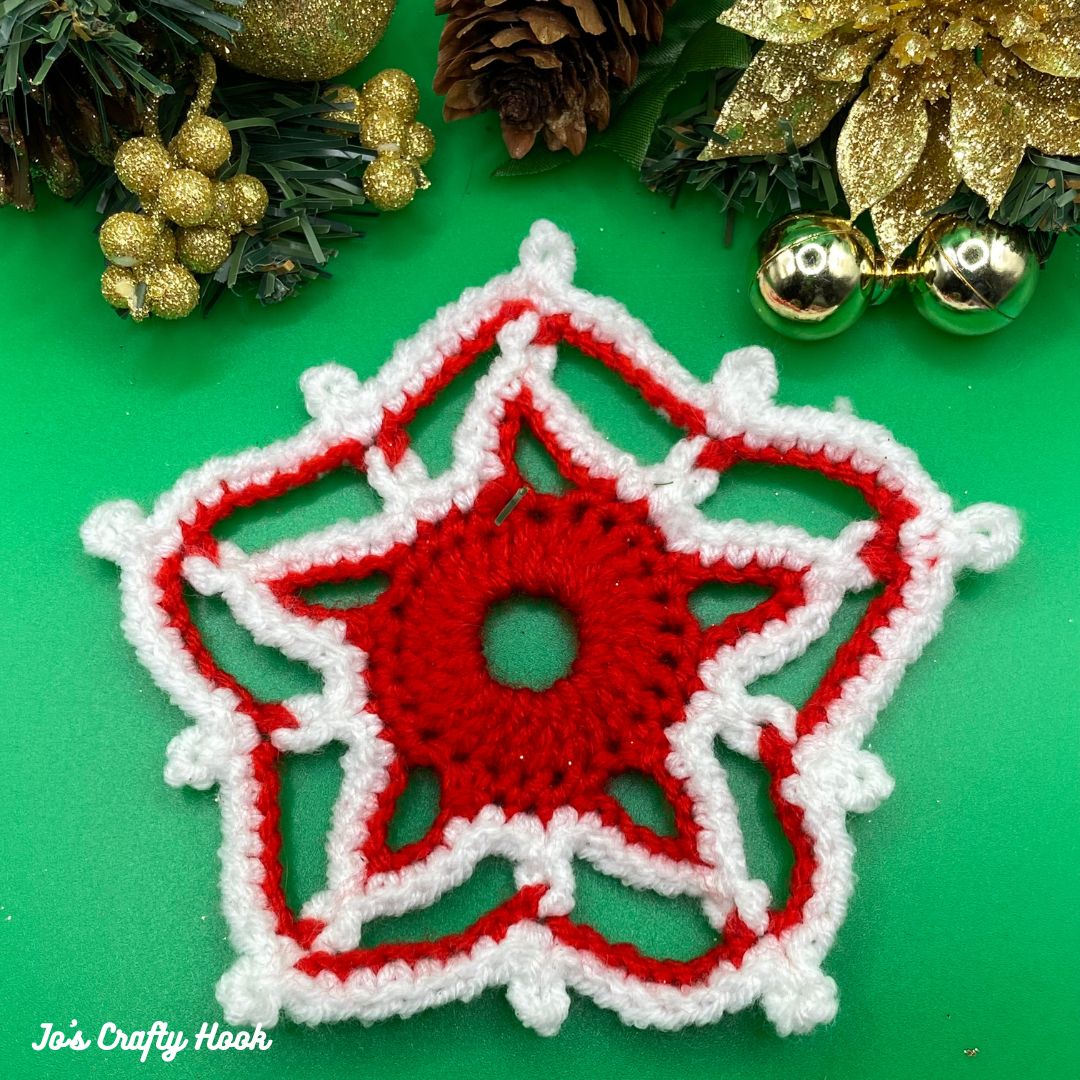
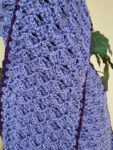
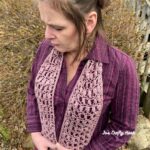
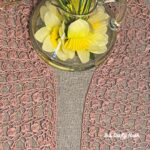
The Lacey Scarf Crochet Pattern is a new crochet pattern design that creates a nice lacy scarf that has a great drape. It uses Truboo yarn from Lion Brand Yarn that creates a nice soft airy, lacy texture. I am excited about this crochet design of the Lacey Scarf!
This post contains affiliate links.
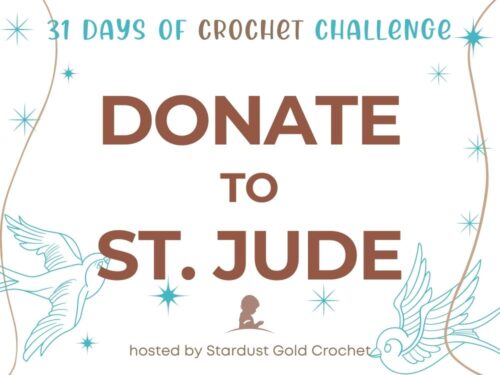
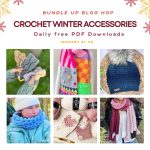
On March 18, 2024 starting at 10a EST until March 19, 2024 10a EST you can get a FREE premium copy Lacey Scarf Crochet Pattern as part of the March Maker Madness Free Pattern 2024 Hop hosted by Carroway Crochet.
If you missed any of the previous free crochet patterns or prefer to skip all the blog hopping, you can get the March Maker Madness Bundle for $9.99 with all of the 25 crochet patterns all in one place.
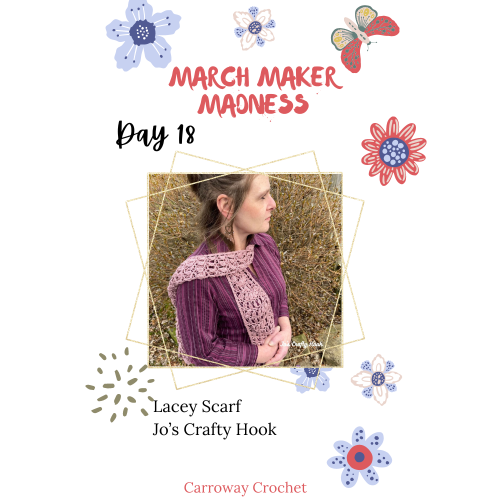
On March 18, 2024 you can get a FREE premium PDF of my Lacey Scarf Crochet Pattern. You will need to visit the March Maker Madness to find the Coupon Code needed to use at Checkout for the FREE copy.
From 10a EST to 10a EST March 18-19, 2024 bring the Coupon Code back here to use it during Checkout from my Ravelry Store. Enjoy the Lacey Scarf Crochet Pattern!
Be sure to visit the March Maker Madness daily to see each designer’s beautiful crochet pattern you can get that day for FREE!
Below you will find out more information about the stitches used in the Lacey Scarf Crochet Pattern and all the information needed to make your own version!
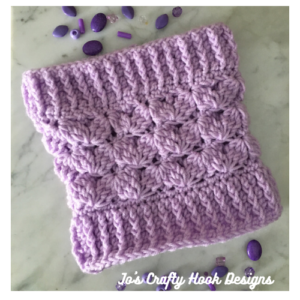
The Lacey Scarf Crochet Pattern uses a crochet stitch that I designed a couple of years ago, the Lilac Cluster Stitch. The Lilac Cluster Stitch uses the DC6TOG, Double Crochet 6 Together and the DC3TOG, Double Crochet 3 Together.
Because of this stitch is also used in the Lacey Scarf Crochet Pattern I made a Video Tutorial specifically for this design using my DC6TOG, Double Crochet 6 Together. Therefor the video demonstrates how to do this stitch specifically for the Lacey Scarf.
I also made a Video Tutorial demonstrating the DC3TOG, Double Crochet 3 Together specifically used in the Lacey Scarf Crochet Pattern.
Shop my Stores for the Lacey Scarf
You can find the premium copy of the Lacey Scarf Crochet Pattern from my Ravelry Store or my LoveCrafts Store for a small fee.

![]()
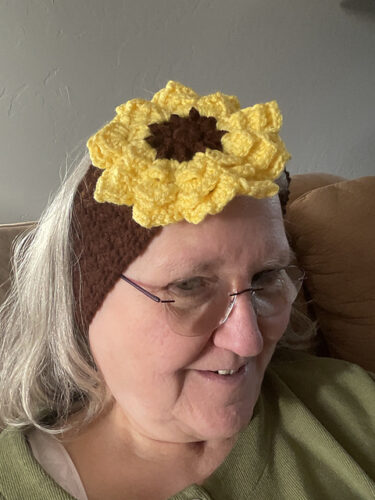
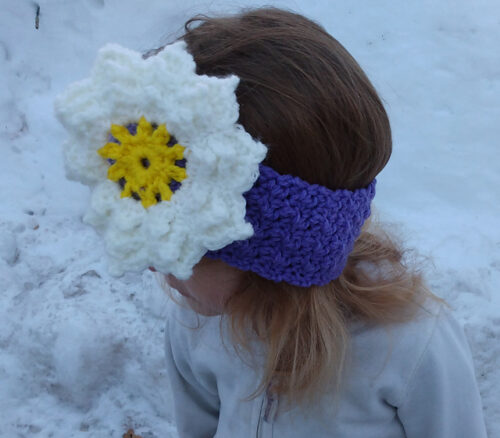
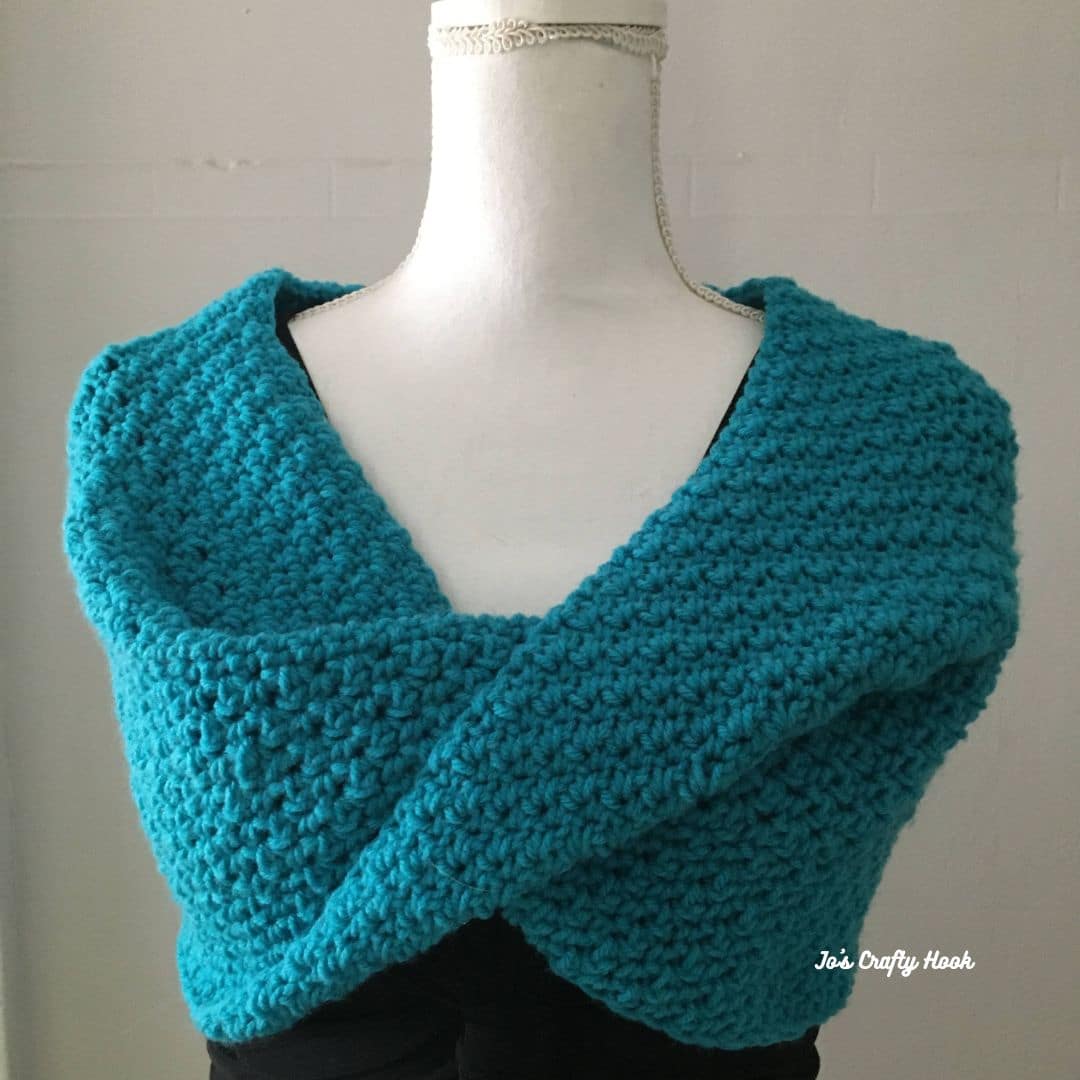
This crochet stitch was used in my Lilac Cluster Beanie Crochet Pattern and Lilac Cluster Cowl Crochet Pattern.
You can find the Lilac Cluster Beanie Crochet Pattern at my Ravelry and LoveCrafts Store. Also you can find the Lilac Cluster Cowl Crochet Pattern at my Ravelry and LoveCrafts Stores.
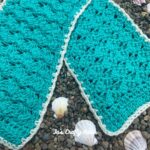
I also used this stitch in my Oyster Shell Scarf Crochet Pattern. You can find all of these crochet patterns at my Ravelry and LoveCrafts Stores for a small fee. You can also find the Oyster Shell Scarf Crochet Pattern free on my website.
Information Needed for the Lacey Scarf Crochet Pattern

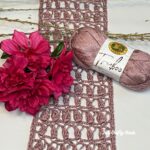
I used Lion Brand Truboo Yarn in 100% Rayon Yarn from Bamboo. (3.5 oz/100 g) (241 yd/220 m)
Materials:
US J or 6 mm Crochet Hook
150 – 300 yds Light Weight Yarn
Scissors
Tapestry Needle
Abbreviations/Stitches Used:
ch = chain
st(s) = stitch(es)
sl st = slip stitch
sc = single crochet
dc = double crochet
dc3tog = double crochet 3 together
dc6tog = double crochet 6 together
Notes:
stitch count is a multiple of 3+2
scarf is worked in turning rows
ch 1 does NOT count as a stitch
ch 3 does NOT counts as a stitch
inside the crochet pattern there are 4 size to choose from. Child, Teen, Small Adult and Large Adult consecutively
Gauge:
US J or 6 mm Crochet Hook
16 st x 8 rows = 4”
Special Stitches:
Double Crochet 3 Together
- YO, insert hook into specified st, YO draw through 2 loops
- YO, insert hook into same st, YO, draw through 2 loops
- YO, insert hook into same st, YO, draw through 2 loops
- YO, draw through all loops on hook
Double Crochet 6 Together
- YO, insert hook into specified st, YO draw through 2 loops
- YO, insert hook into same st, YO, draw through 2 loops
- YO, insert hook into same st, YO, draw through 2 loops
- YO, insert hook into same st, YO draw through 2 loops
- YO, insert hook into same st, YO, draw through 2 loops
- YO, insert hook into same st, YO, draw through 2 loops
- YO, draw through all loops on hook
Shop my Stores for the Lacey Scarf
You can find the premium copy of the Lacey Scarf Crochet Pattern from my Ravelry Store or my LoveCrafts Store for a small fee.
![]()
Find me, Jo of Jo’s Crafty Hook at the places listed below.
Email: jo@joscraftyhook.com
Facebook Group Jo’s Crafty Hookers
Facebook Group Jo’s Crafty Hook Designs
Facebook Page Jo’s Crafty Hook
Facebook Page: Crochet Designer Community